Would you like to add more integration options to your calendar? With Zapier, you can easily allow site managers to connect Sugar Calendar to Zapier and integrate it with over 5,000 other web apps.
This tutorial will show you how to install and use the Zapier addon for Sugar Calendar.
In This Article
Installing the Zapier Addon
Before you get started, make sure Sugar Calendar is installed and activated on your WordPress site and that you’ve verified your license. Then go ahead and install the Zapier addon.
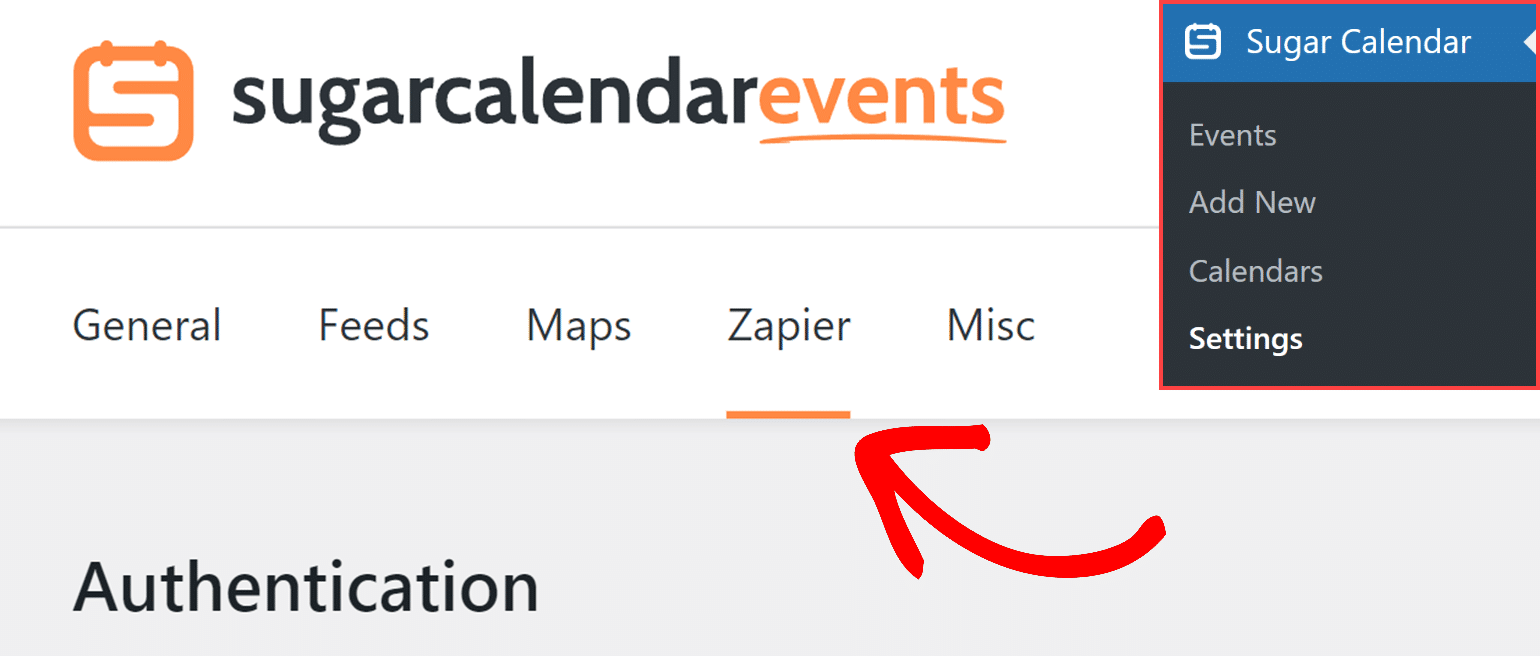
Once the Zapier addon is activated, go to Sugar Calendar » Settings in the left menu of your WordPress site. From there, click on the Zapier tab.
In the Authentication tab, you will find your Public Key and Token for your site. These keys will be used to authenticate your website with Zapier in the next steps.
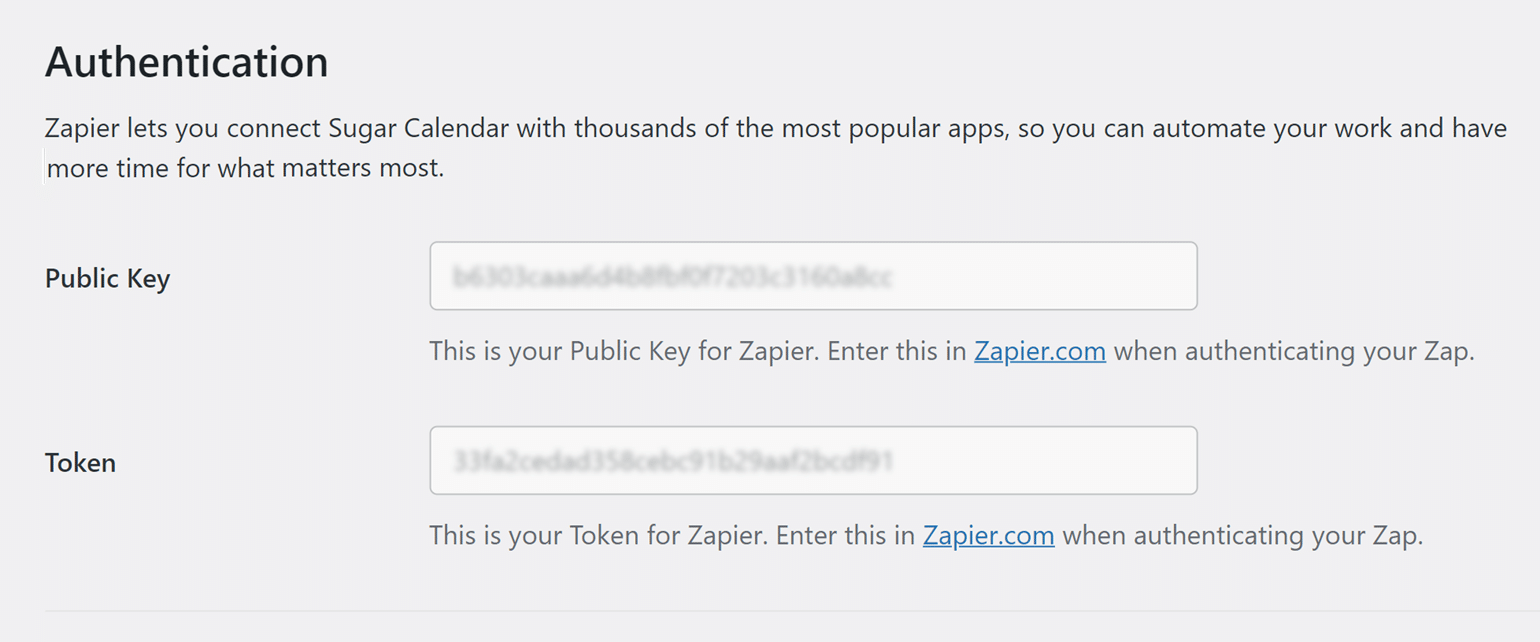
Be sure to keep this browser tab or window open, as you’ll need these API keys in the next step.
Creating a Zap in Zapier
In Zapier, the integrations you create are called “zaps.” The next step is to create a zap that sends information from your event calendars to another service.
First, you’ll need to log in to your Zapier account. If you don’t have one yet, then you can sign up for free.
Note: Some integrations will require a paid account with Zapier. For more details on identifying paid integrations, please see Zapier’s documentation on premium apps.
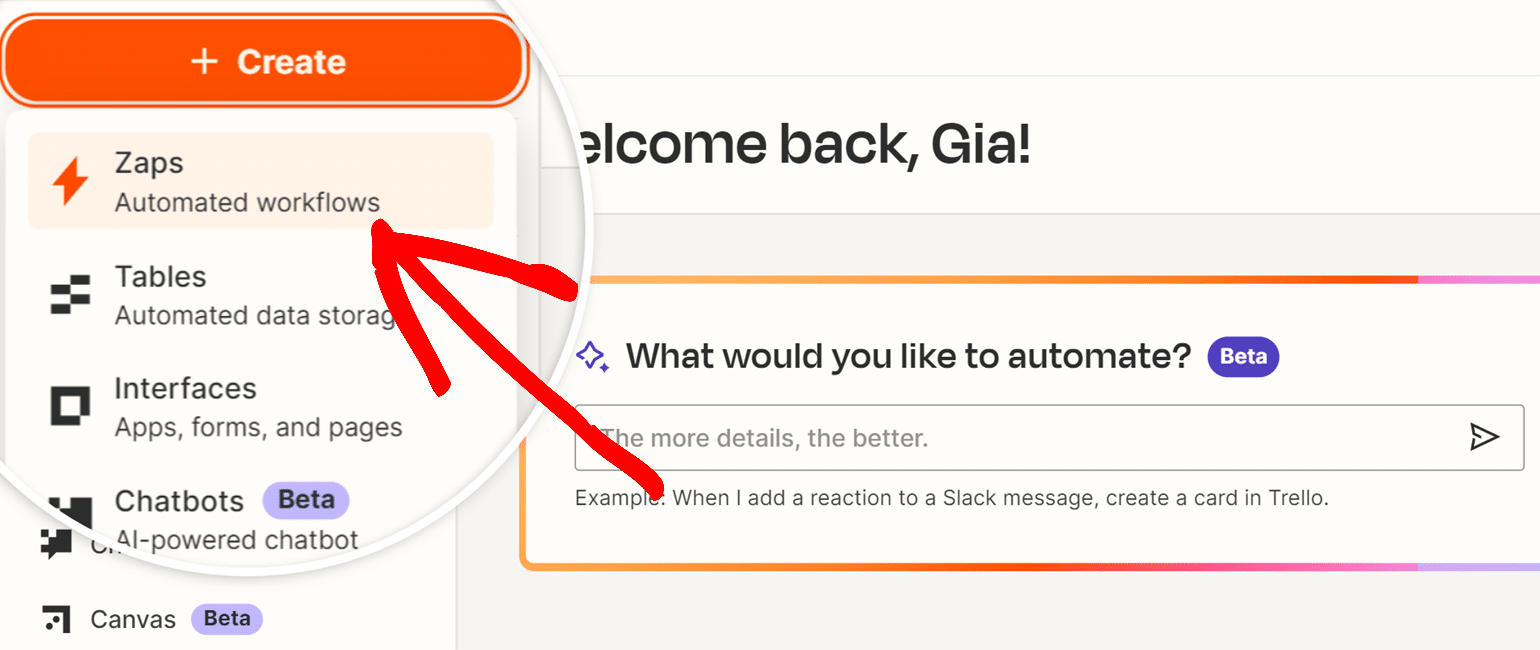
After you’ve logged in to your account, click the Create button in the upper left corner and select Zaps from the dropdown.
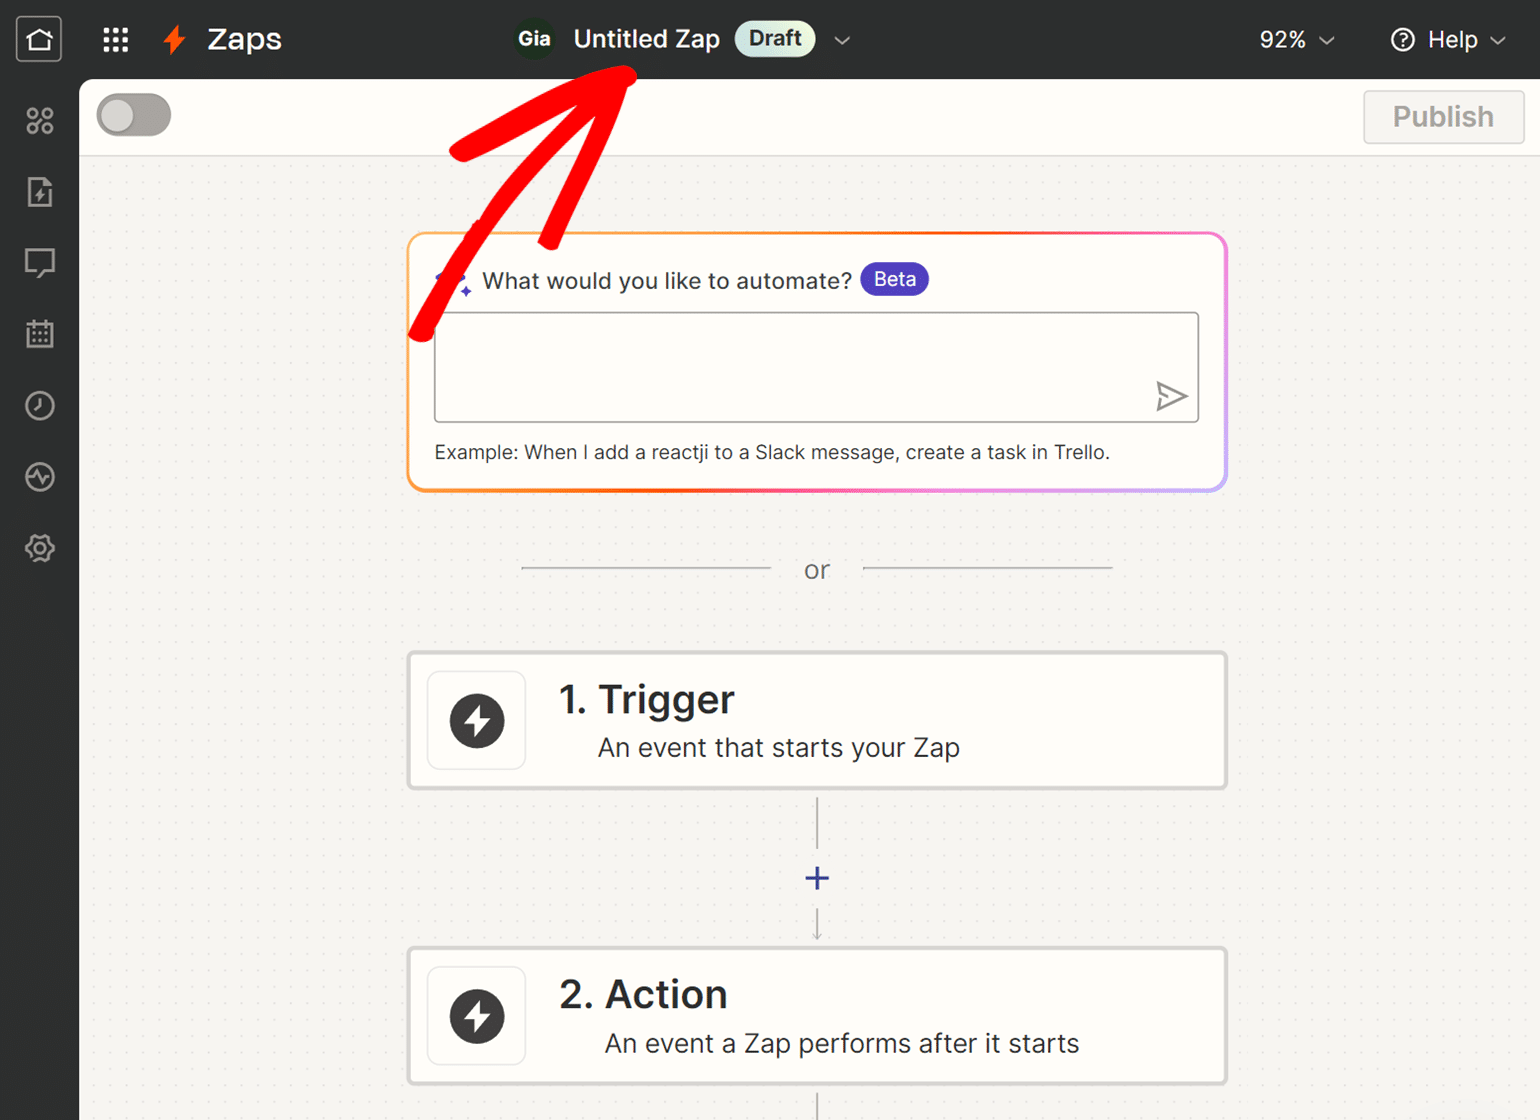
This will open the setup page for your new zap. If you’d like to name your zap, go ahead and add a title by clicking on the top of the page.
Setting Up Your Trigger Event
Next, to set up the trigger, choose Sugar Calendar as your trigger app. In the search box, type “Sugar Calendar”. In the results that appear, click on Sugar Calendar.

Once done, Zapier will display your trigger options. Here are the available trigger event options for Sugar Calendar:
- New Event: triggers when a new event is created in Sugar Calendar
- New Ticket Order: triggers when one or more event tickets are purchased via the Event Ticketing addon
- New Attendee: triggers when a new attendee record is created from an event ticket purchase.
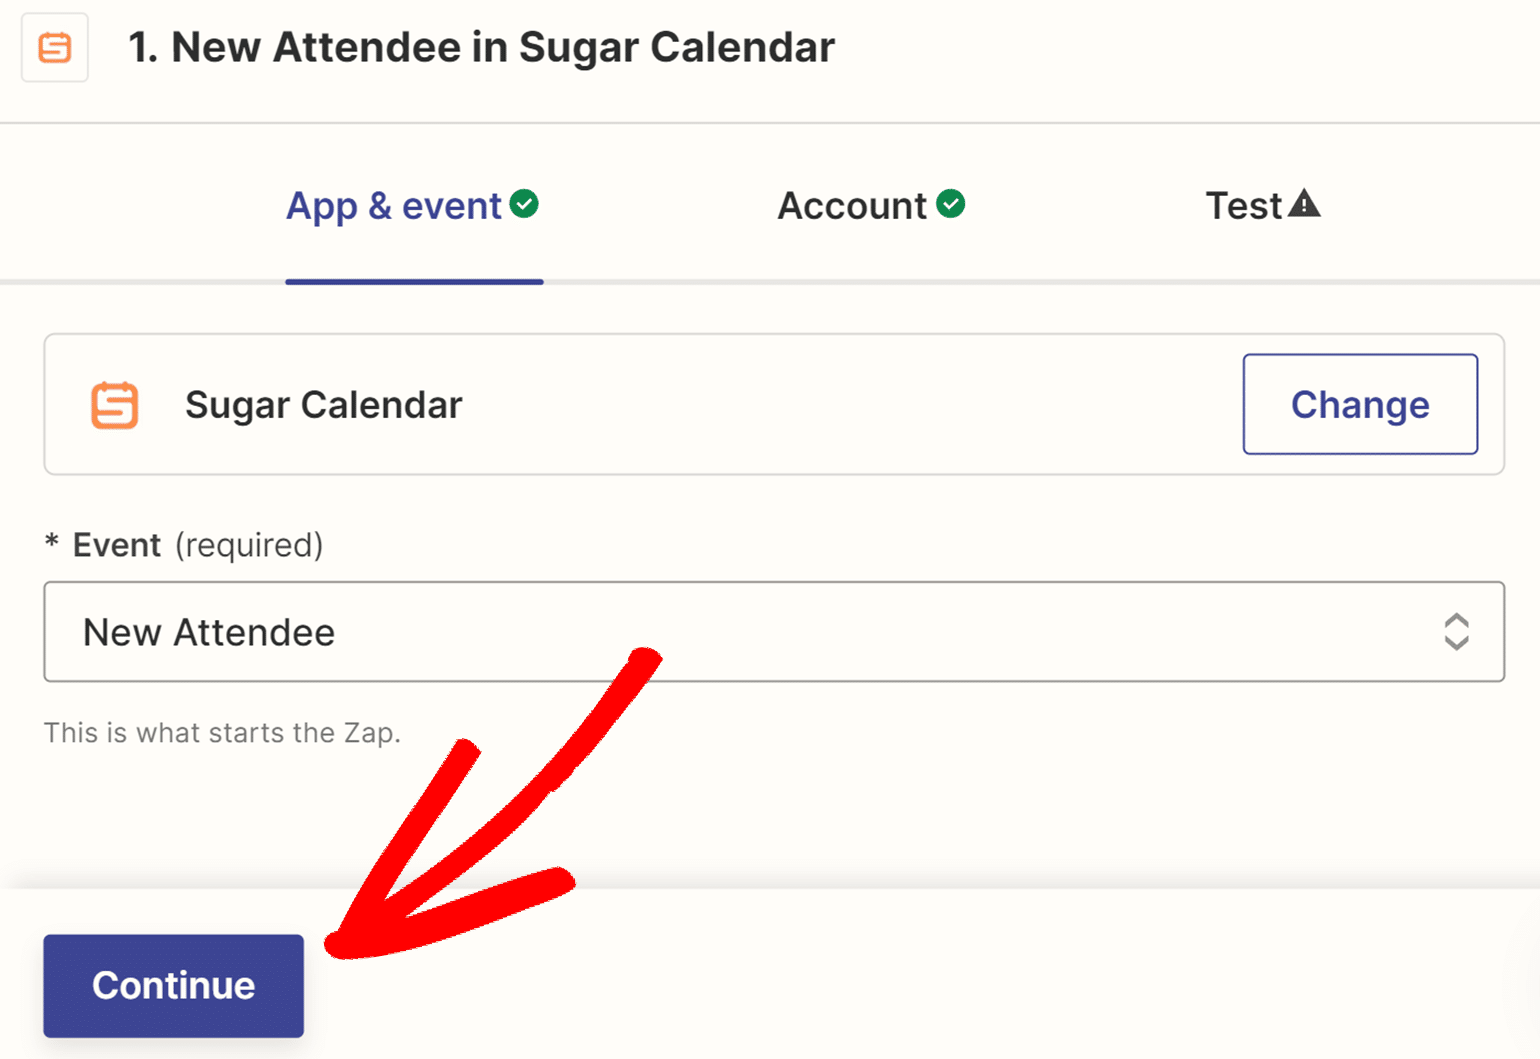
To select a trigger event, click on the Event dropdown and select any option from the options that appears.

Then, click the Continue button to proceed.
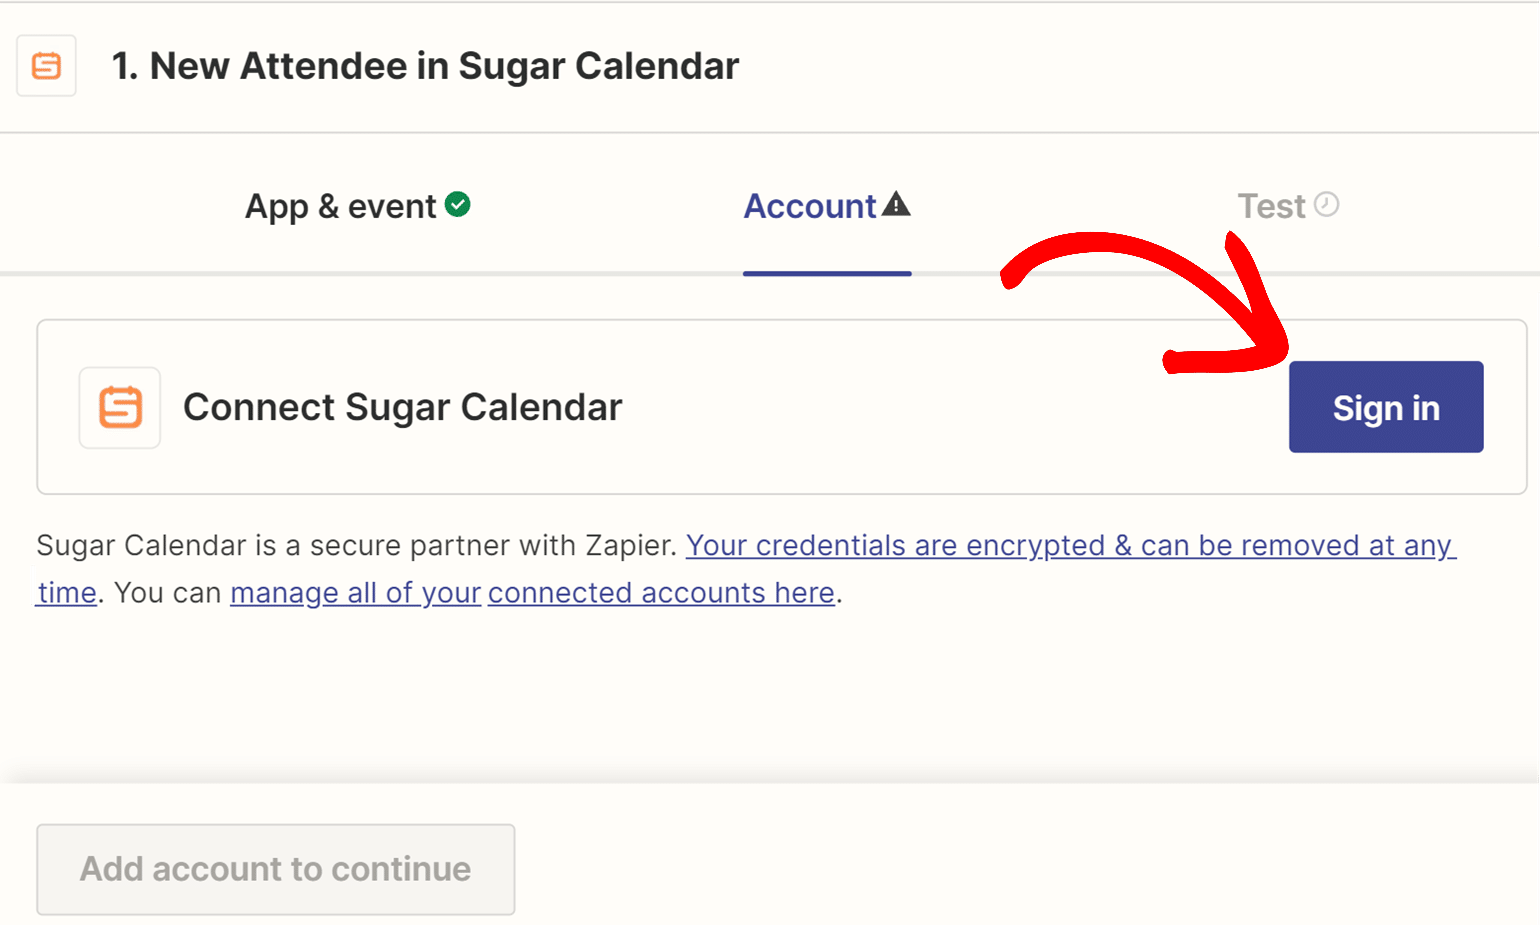
In the next step, you’ll connect Zapier to Sugar Calendar on your website. To do this, click the Sign in button on the right-hand side.
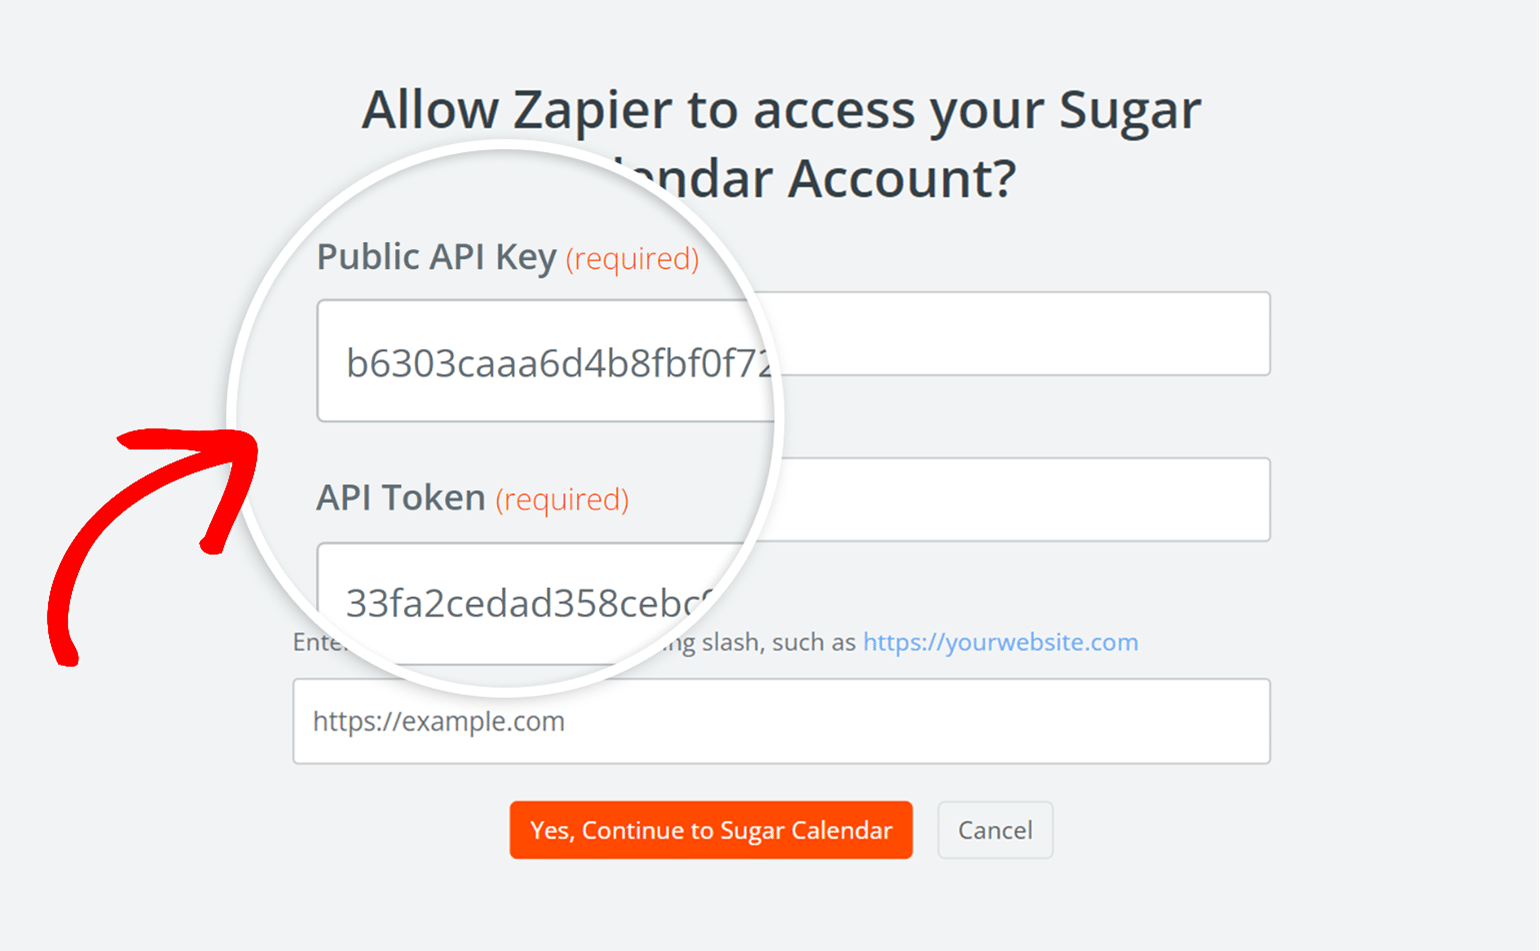
This will cause a new window to appear. Here, you’ll need to add your Public API Key, API Token and Site URL.
To find your keys, go back to the browser tab or window with your Sugar Calendar integrations settings. Then copy and paste the Public API Key and the API Token keys into the zap setup page.
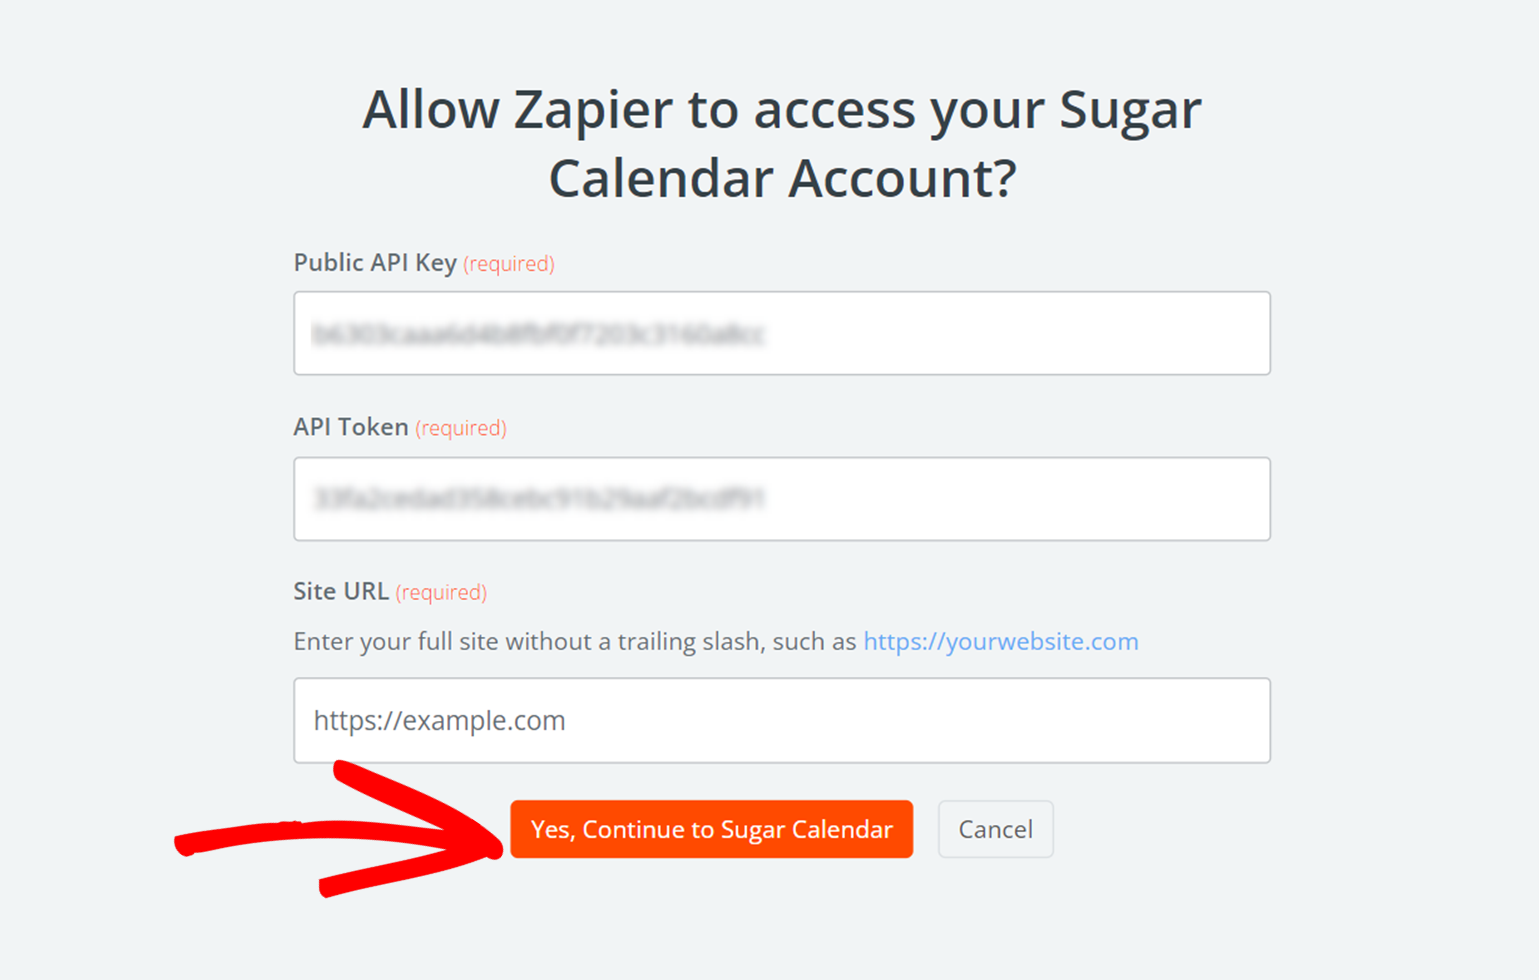
Next, you’ll need to fill out the Site URL field. Be sure to enter the full URL of your website and include the trailing slash (i.e., https://example.com/).
When you’re ready, click the Yes, Continue to Sugar Calendar button.
Once your site is connected, click Continue to proceed.
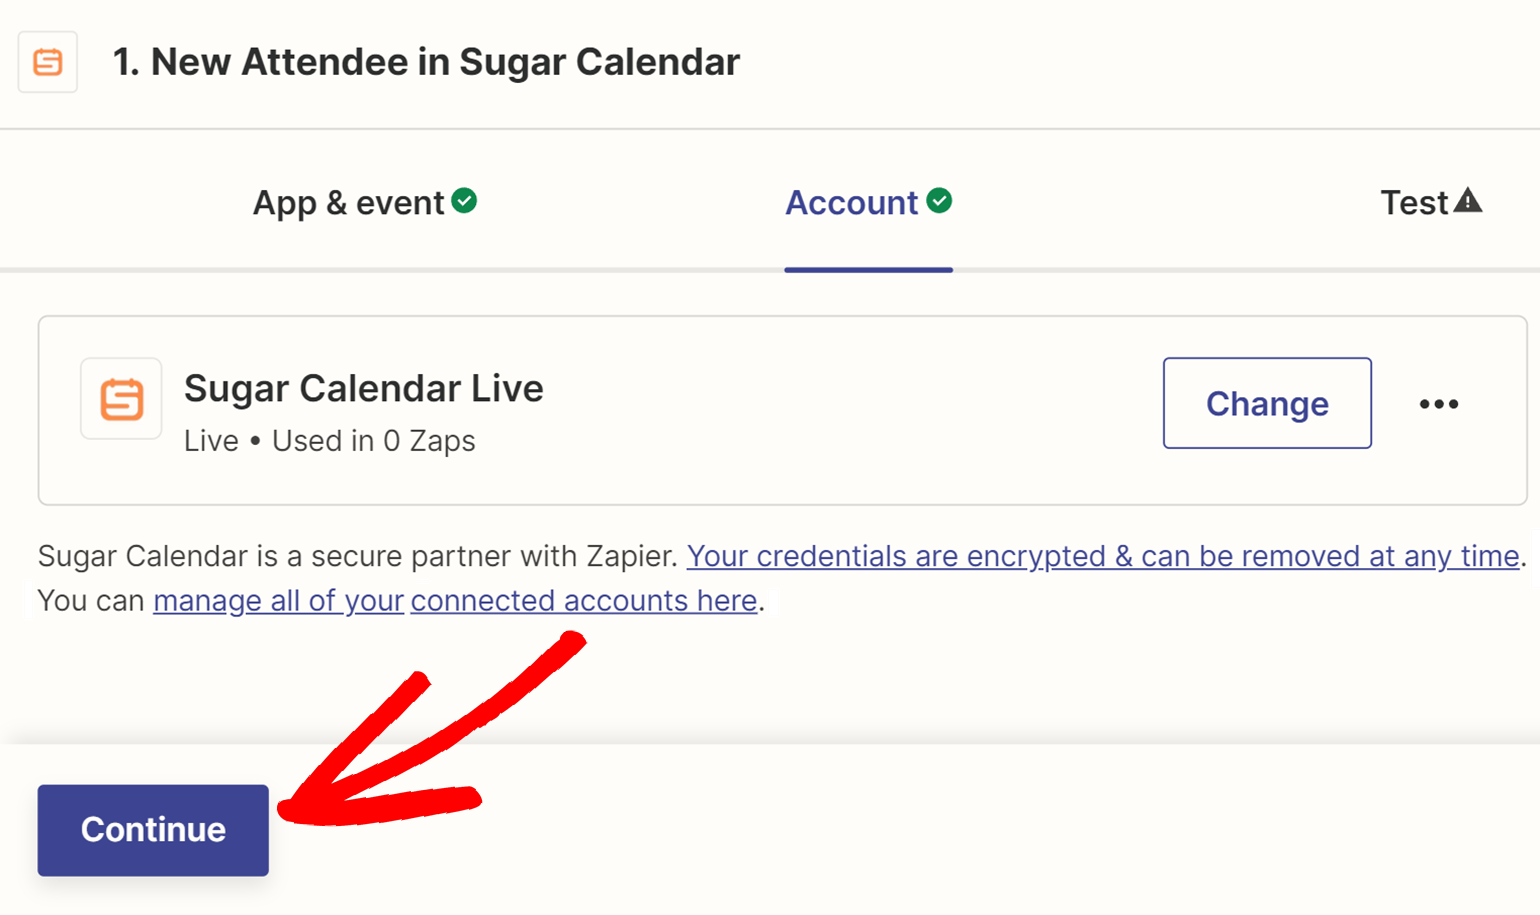
Next, Zapier will then give you a chance to test your trigger. Click the Test trigger button to confirm your trigger is set up correctly.
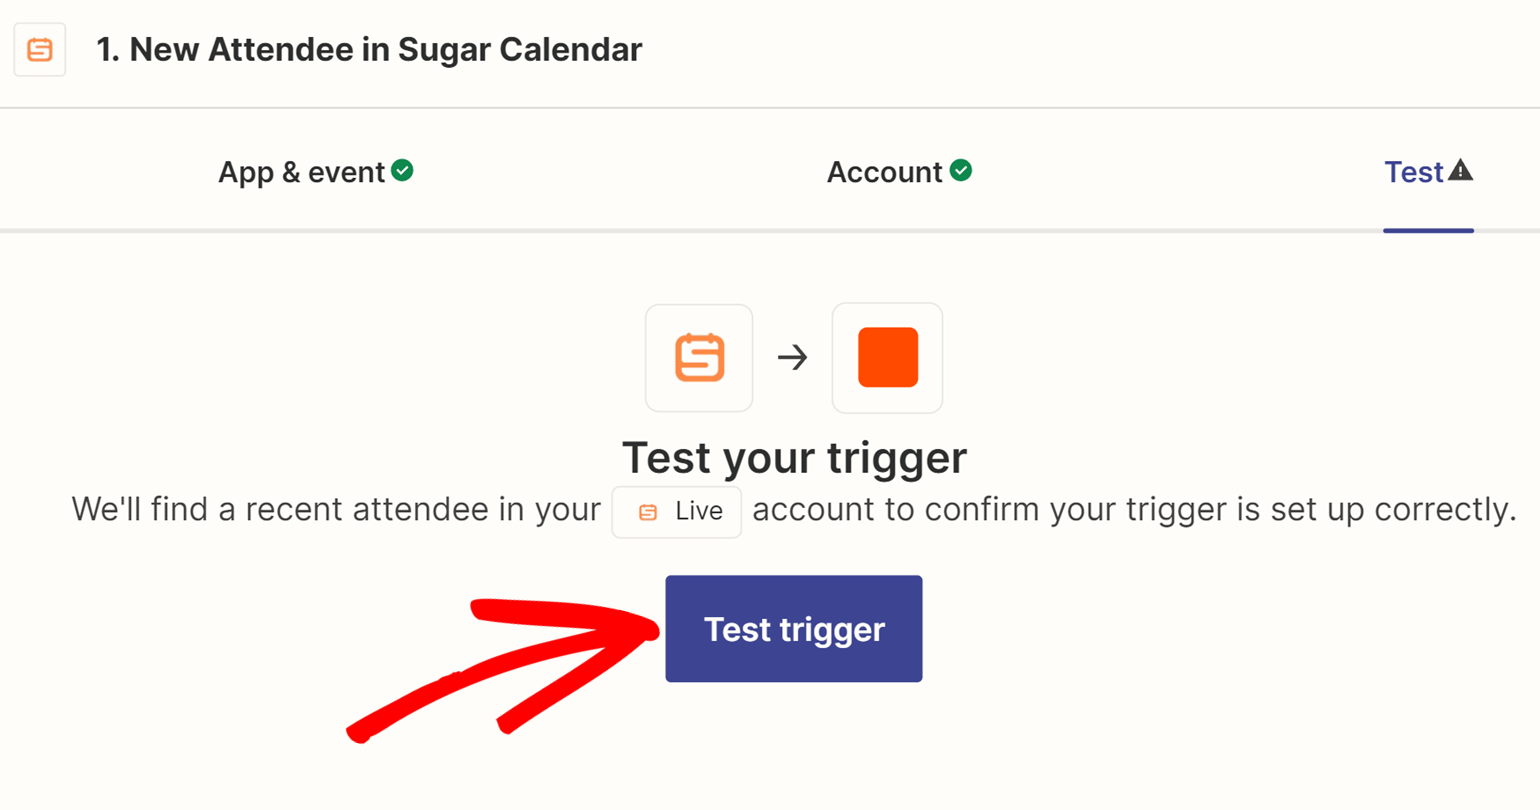
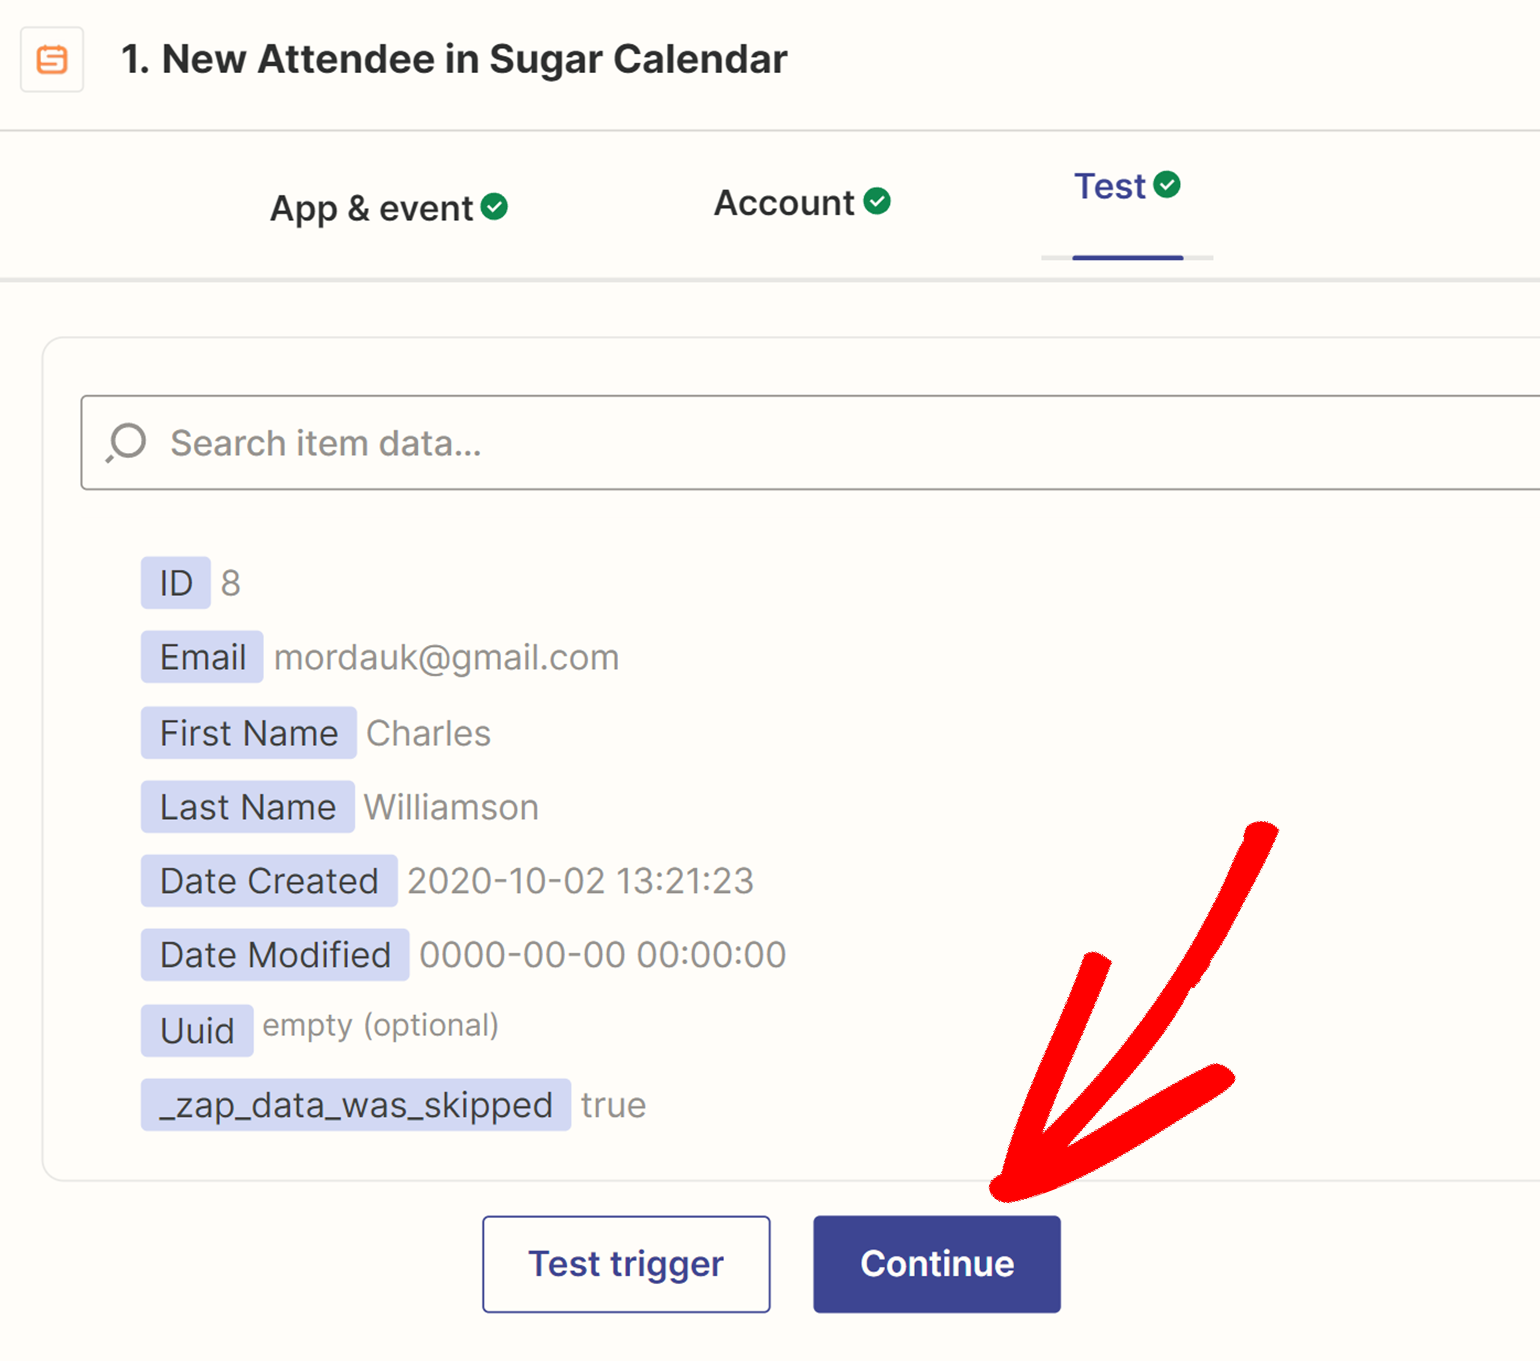
When you’re happy with the trigger test’s results, click the Continue button to proceed.
Setting Up Your Action Event
After setting up your trigger event, Zapier will ask you to select an app for the action you want to take place in response to the trigger. This app is the service where you’d like to send your Sugar Calendar event details.
Note: Zapier has over 5,000 apps and services available. You can find out more about the available integrations on Zapier’s site.
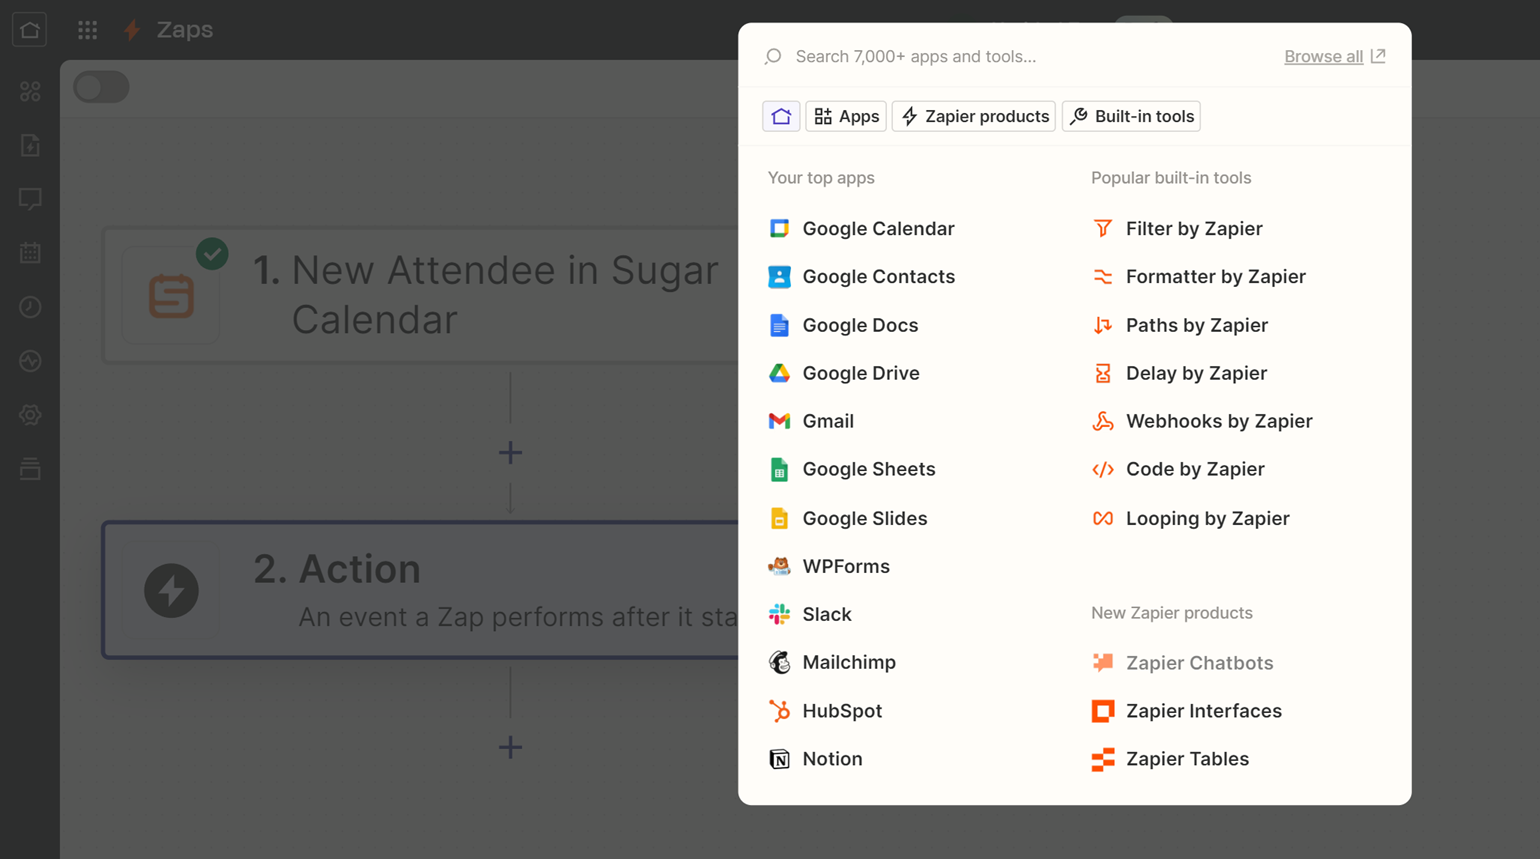
After selecting an app, Zapier will then walk you through the steps to map the data from your Sugar Calendar trigger to the fields required by the action app. This usually involves selecting which data from your event (like event name, date, or attendee details) should be sent to the corresponding fields in the action app.
That’s it! You can now connect your events to hundreds of web services through the Zapier integration in Sugar Calendar.
Next, would you like to easily sell tickets for your events? With the Event Ticketing add-on, you can manage ticket sales for both virtual and in-person events right from your WordPress site. Be sure to check out our guide to event ticketing addon for more details.


