Are you ready to set up the Sugar Calendar plugin and enhance your event management capabilities? After purchasing the plugin, your next action is to install it on your WordPress site.
This tutorial explains how to download and install the Sugar Calendar plugin.
Downloading the Sugar Calendar Plugin
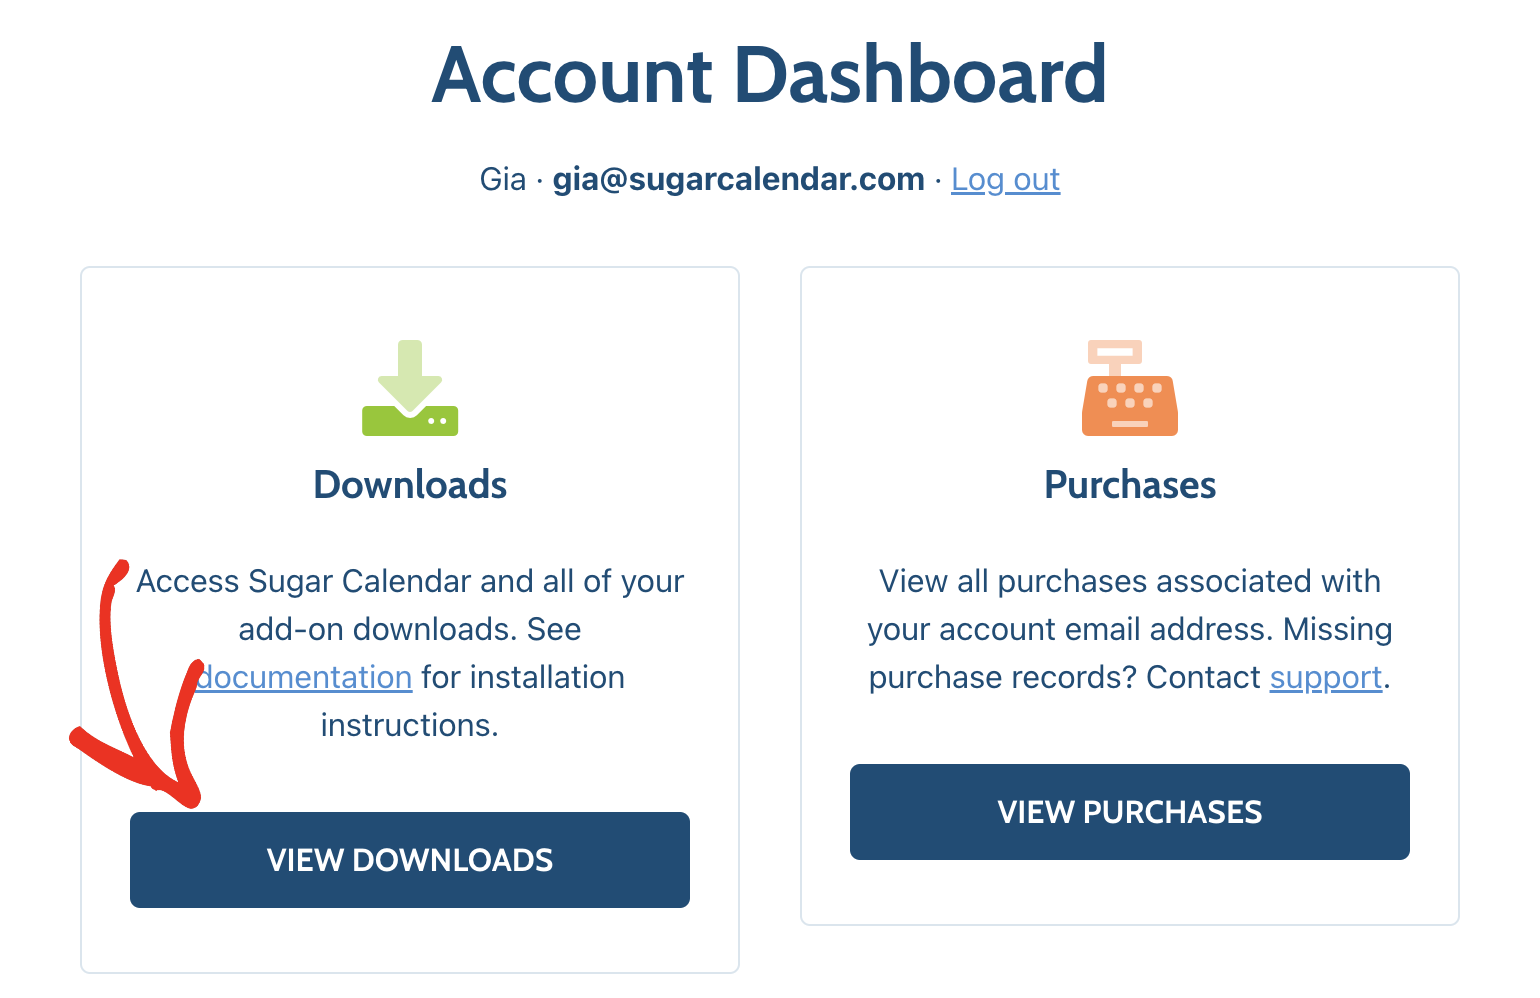
Start by logging into your Sugar Calendar account and clicking the VIEW DOWNLOADS button.
After that, you’ll be directed to a page where you can download the Sugar Calendar plugin and other supported addons. To proceed with the download, click the DOWNLOAD NOW button.
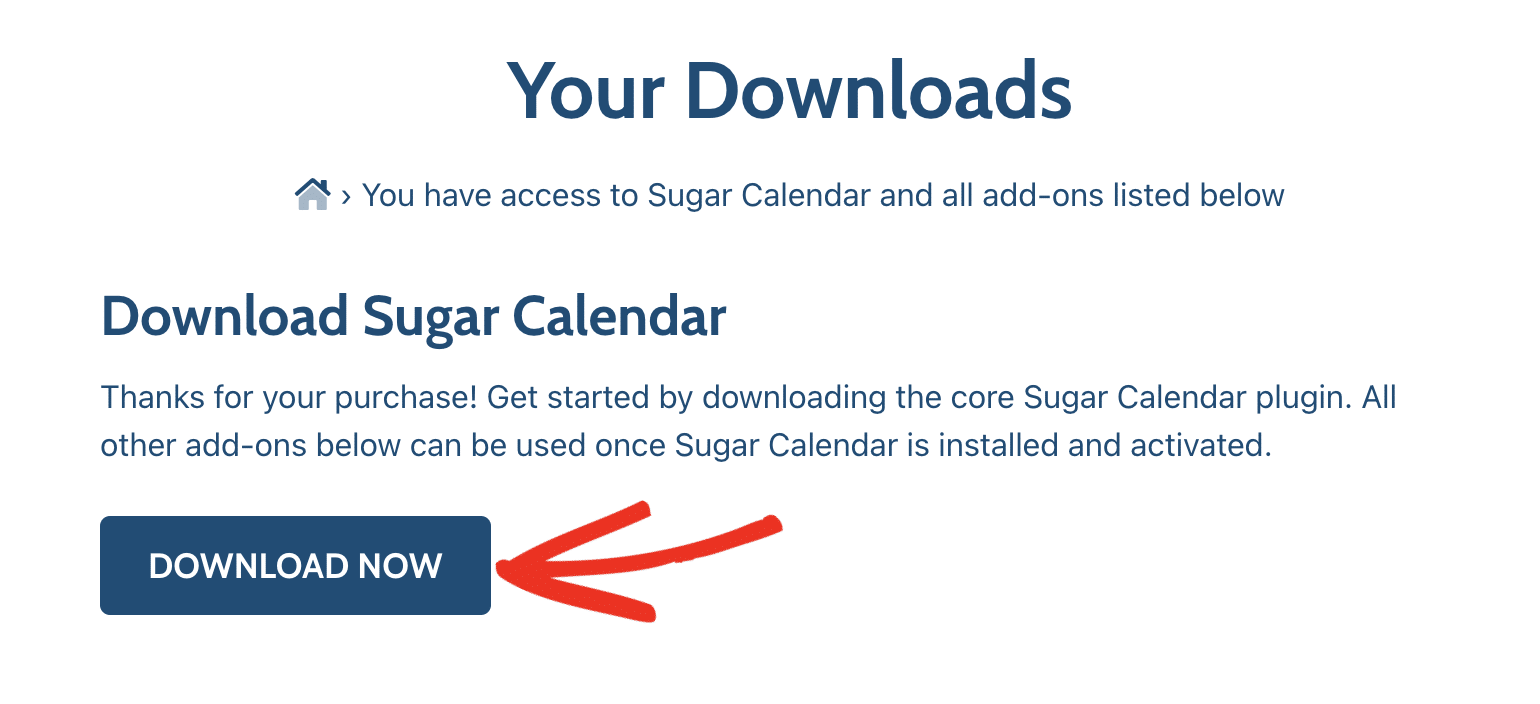
This action will download a zipped file of the Sugar Calendar plugin to your device.
Note: In some cases, the plugin file automatically unzips into a standard folder. However, the folder must remain zipped to be compatible with the WordPress plugin uploader.
For help on compressing a file, please check out these instructions for Windows and Mac operating systems.
Installing Sugar Calendar on Your Website
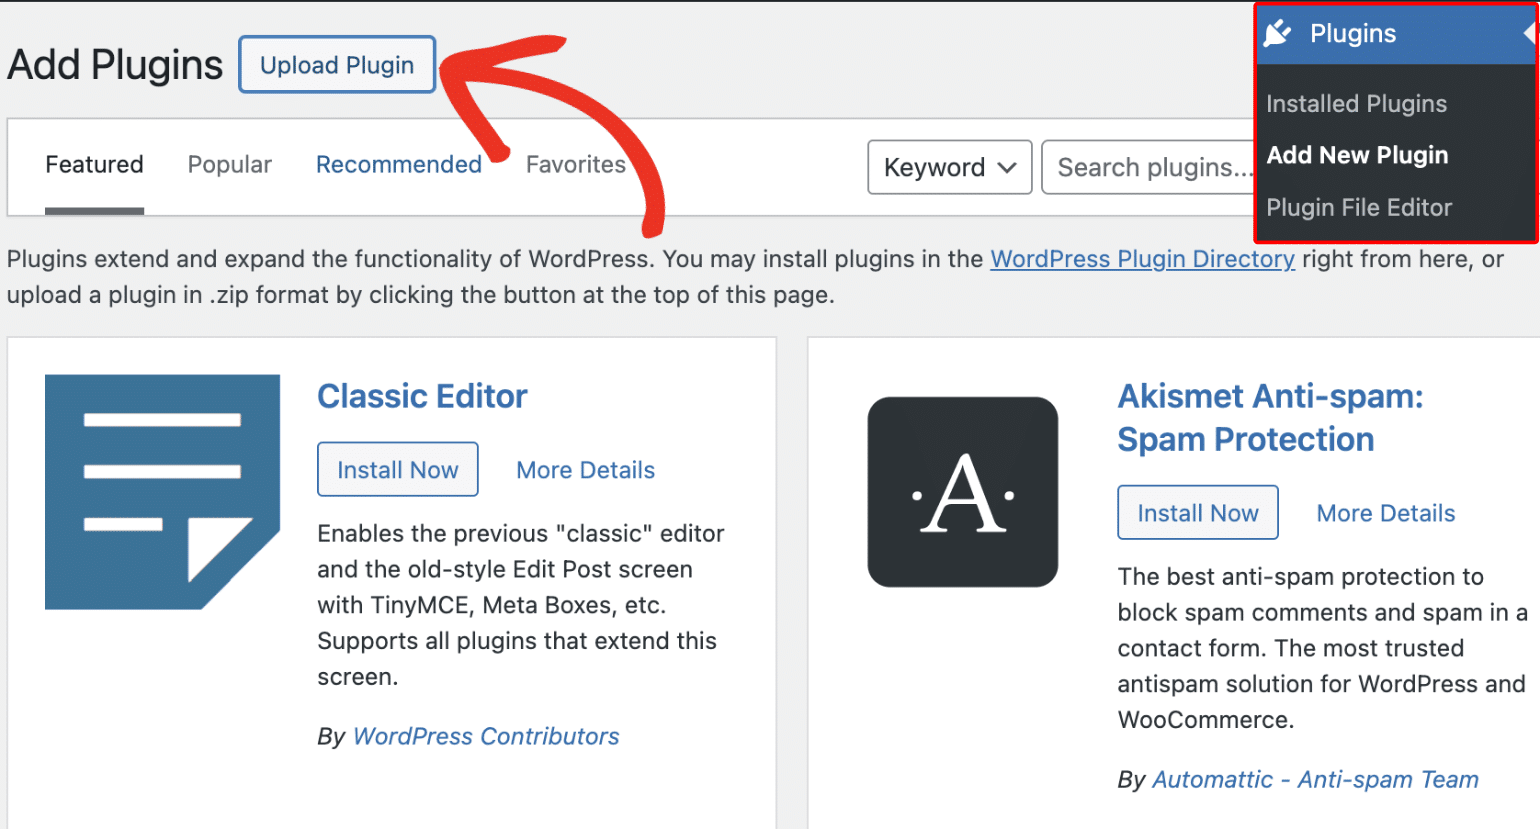
After downloading the plugin, log in to your site’s admin area. Once there, go to Plugins » Add New Plugin, then click on the Upload Plugin button.
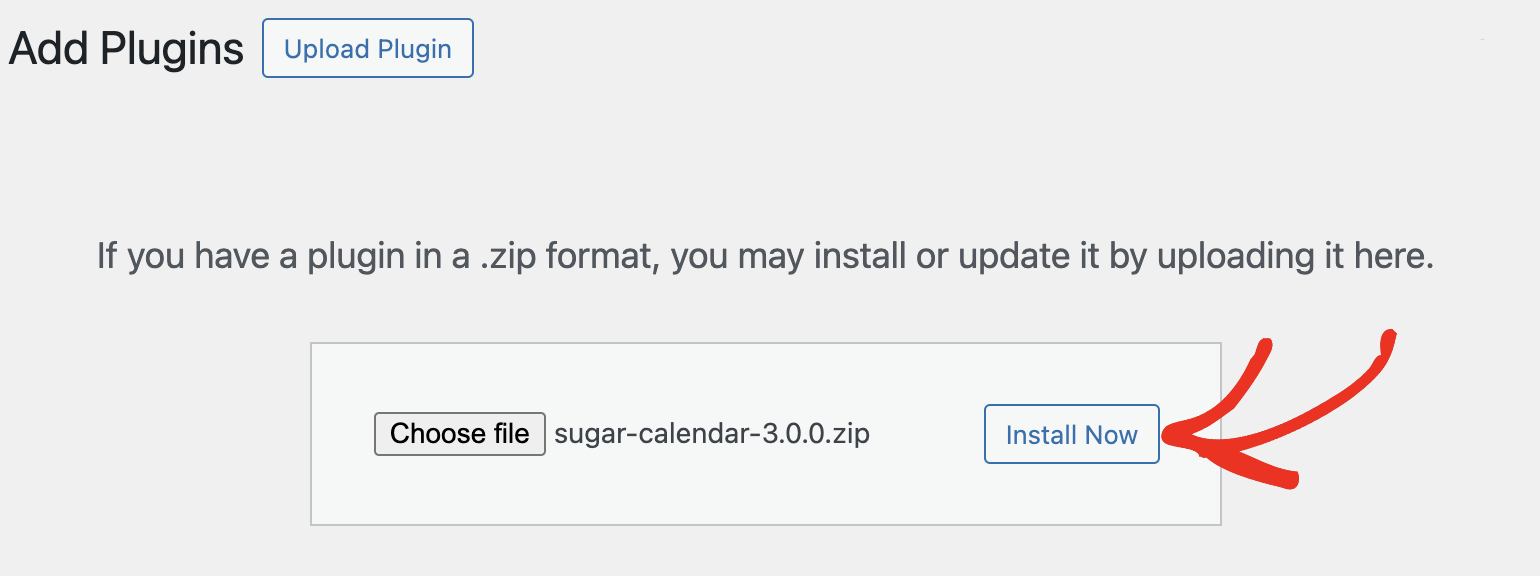
Within the plugin uploader interface, click the Choose file button and locate the Sugar Calendar zipped file you just downloaded.
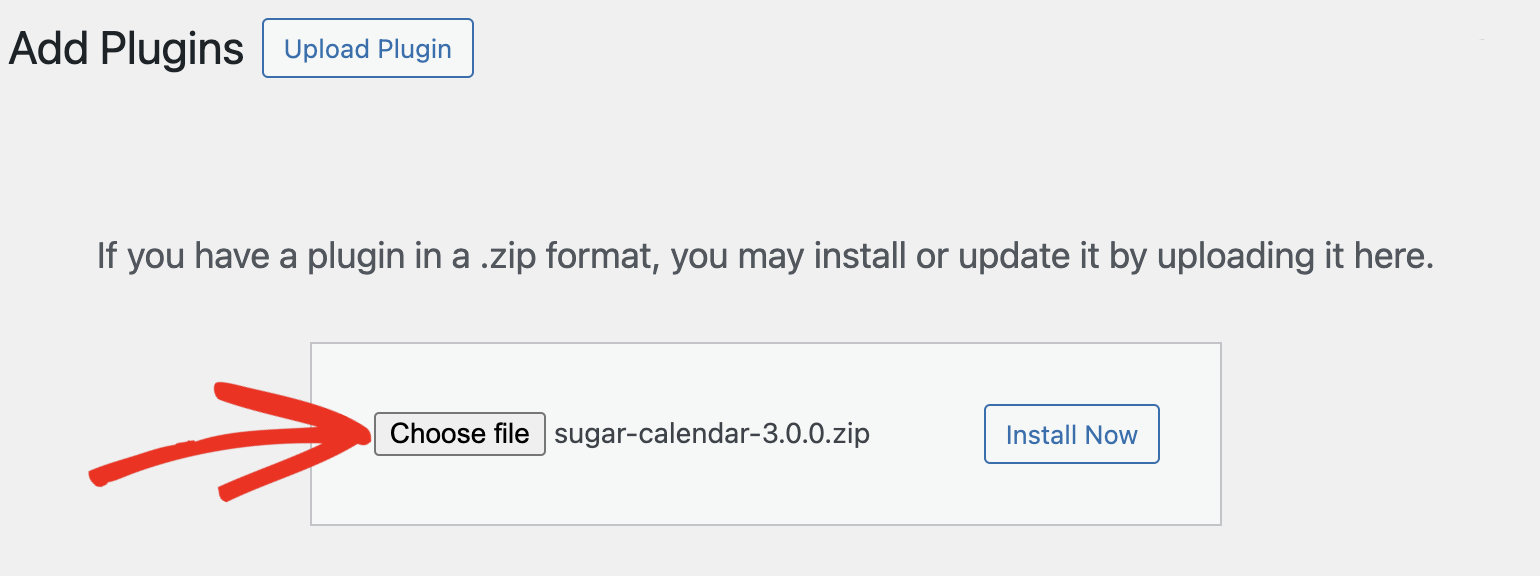
After selecting the file, click on the Install Now button.
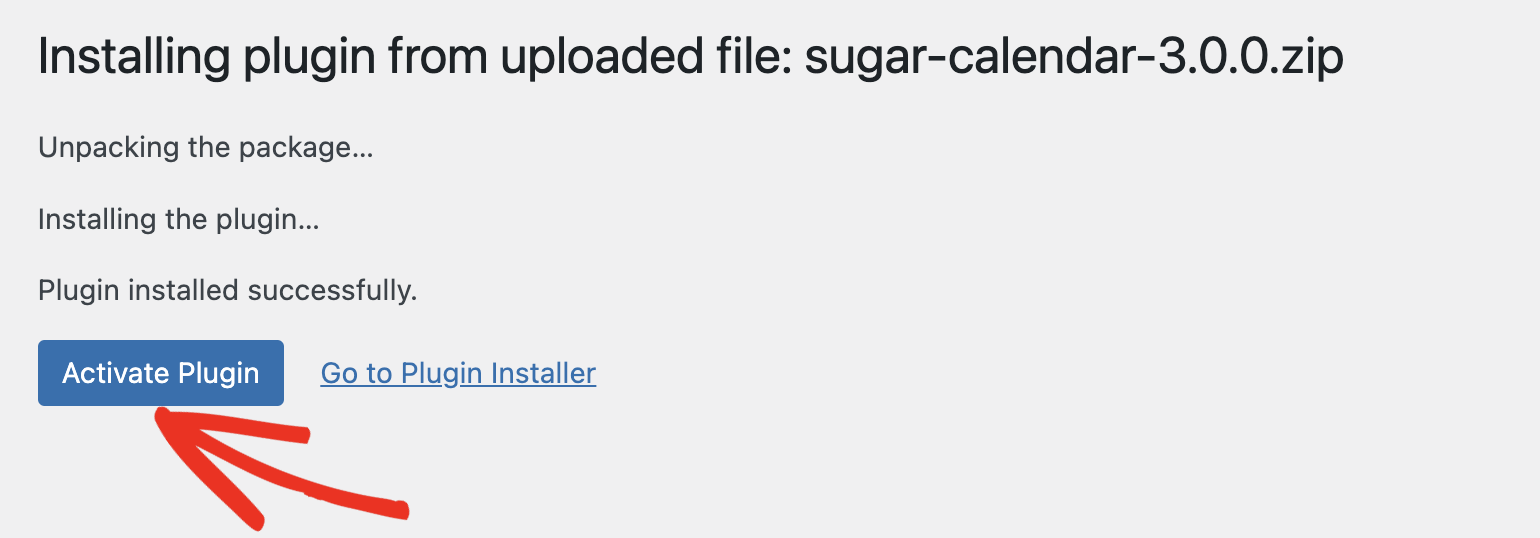
WordPress will take over and install Sugar Calendar for you. Once the installation completes, activate the plugin by clicking on the Activate Plugin button.
That’s it! You’ve successfully installed Sugar Calendar on your WordPress site.
Next, would you like to learn how to create your first event in Sugar Calendar? Be sure to check our guide on creating events in Sugar Calendar for more details.