Would you like to enable spam protection on your RSVP forms in Sugar Calendar? Enabling spam protection for online forms helps to prevent bot submissions and preserves server resources.
This tutorial will show you how to configure Google reCAPTCHA for RSVP forms.
In This Article
Before getting started, make sure Sugar Calendar is installed and activated on your WordPress site and that you’ve verified your license.
Accessing the Google reCAPTCHA Settings
Note: You’ll need to install and activate the RSVP addon on your site to proceed with this guide.
To get started, go to Sugar Calendar » Settings and select the RSVP tab.
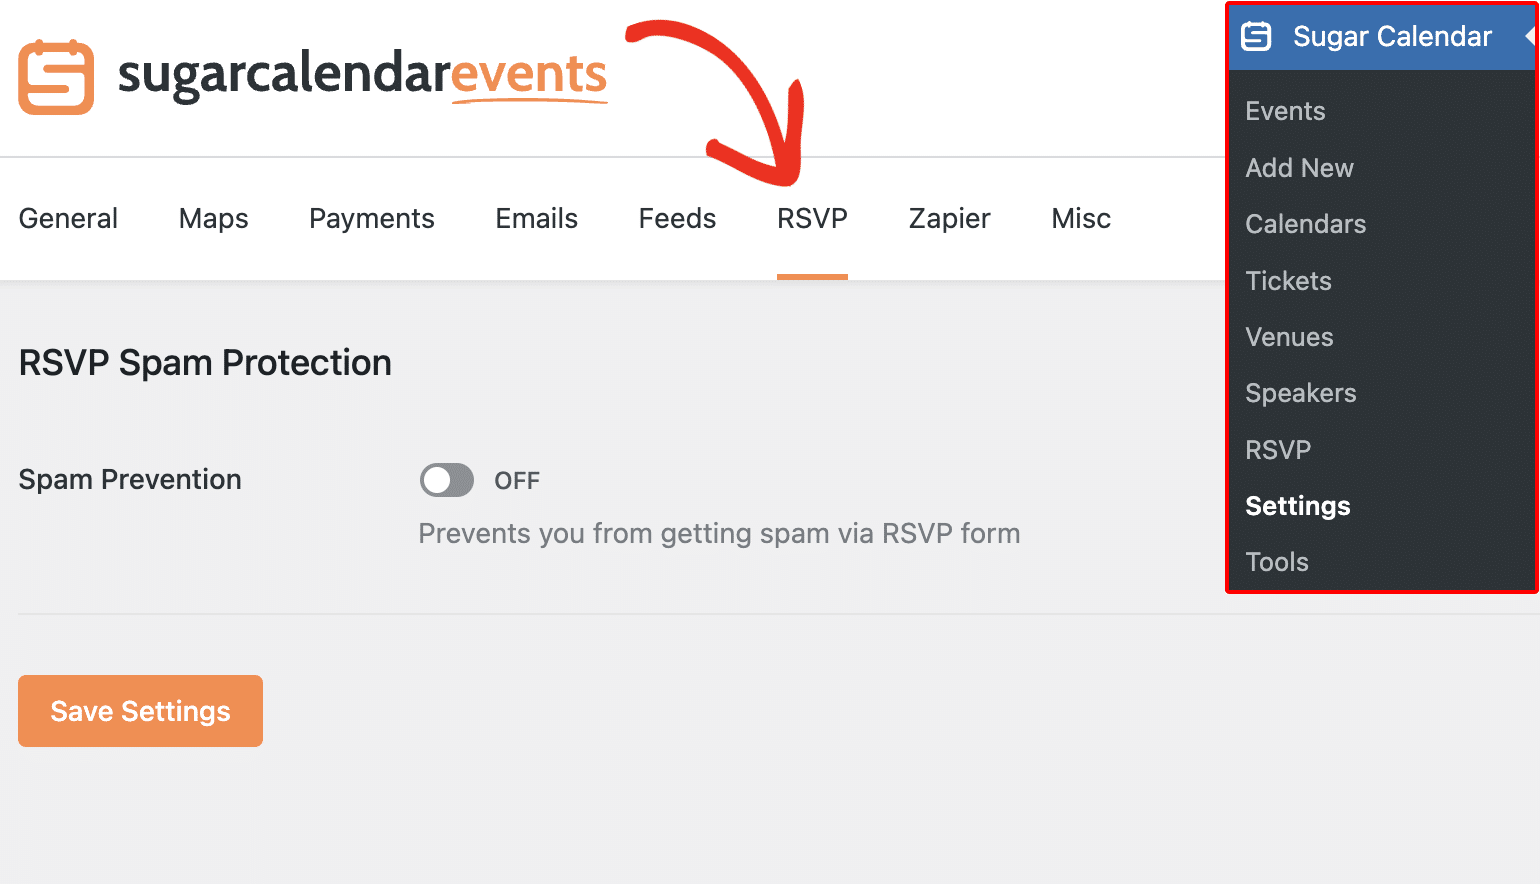
Next, toggle the Spam Prevention option to the ON position.
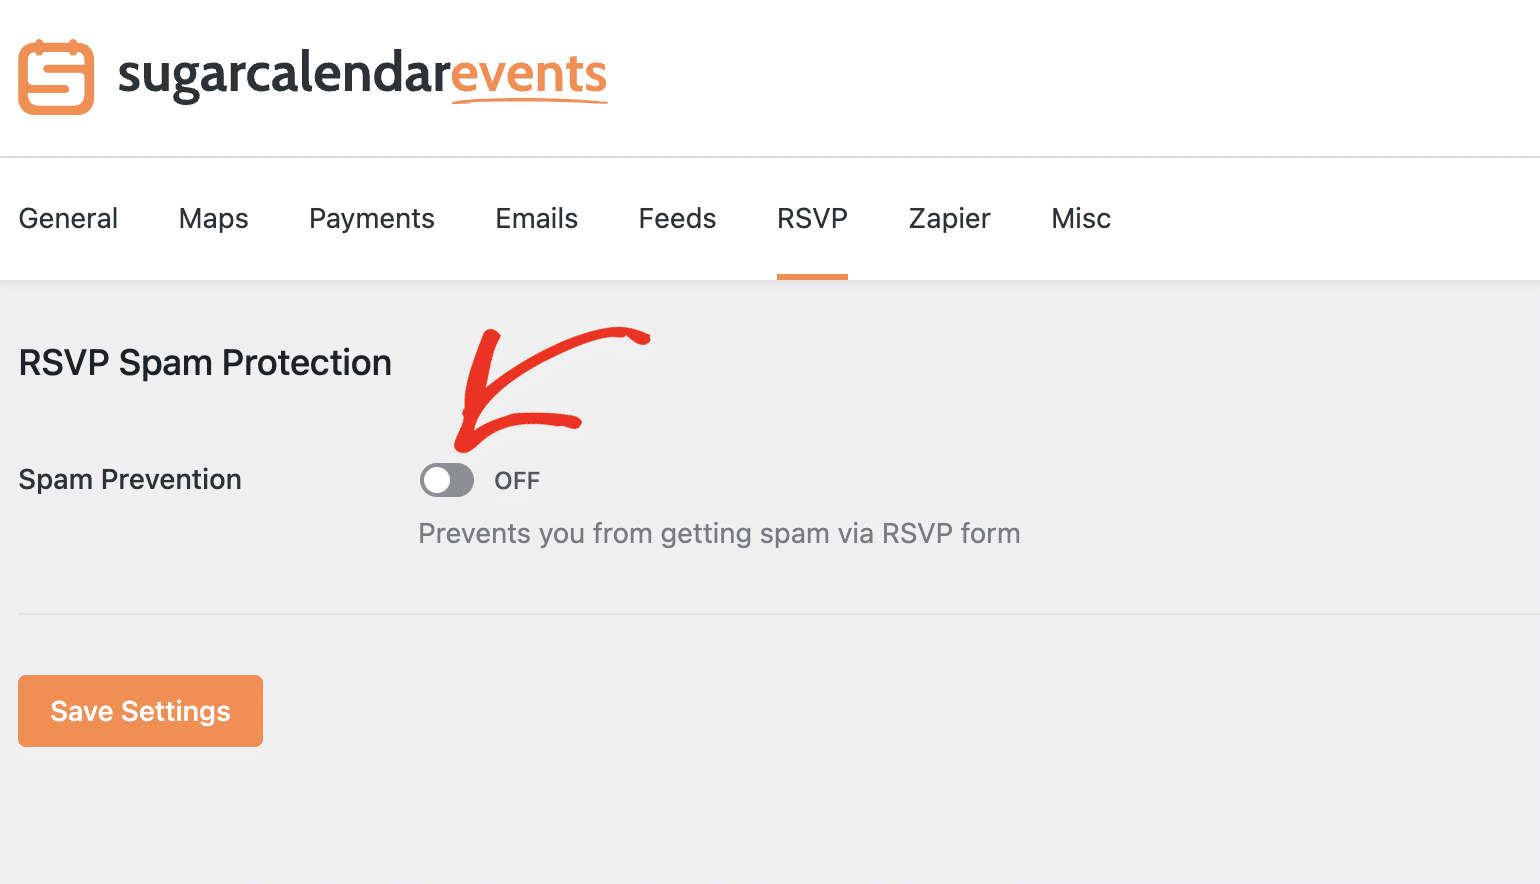
This will display additional fields needed to complete the setup. You’ll need to retrieve your Site key and Secret key from Google Cloud platform.
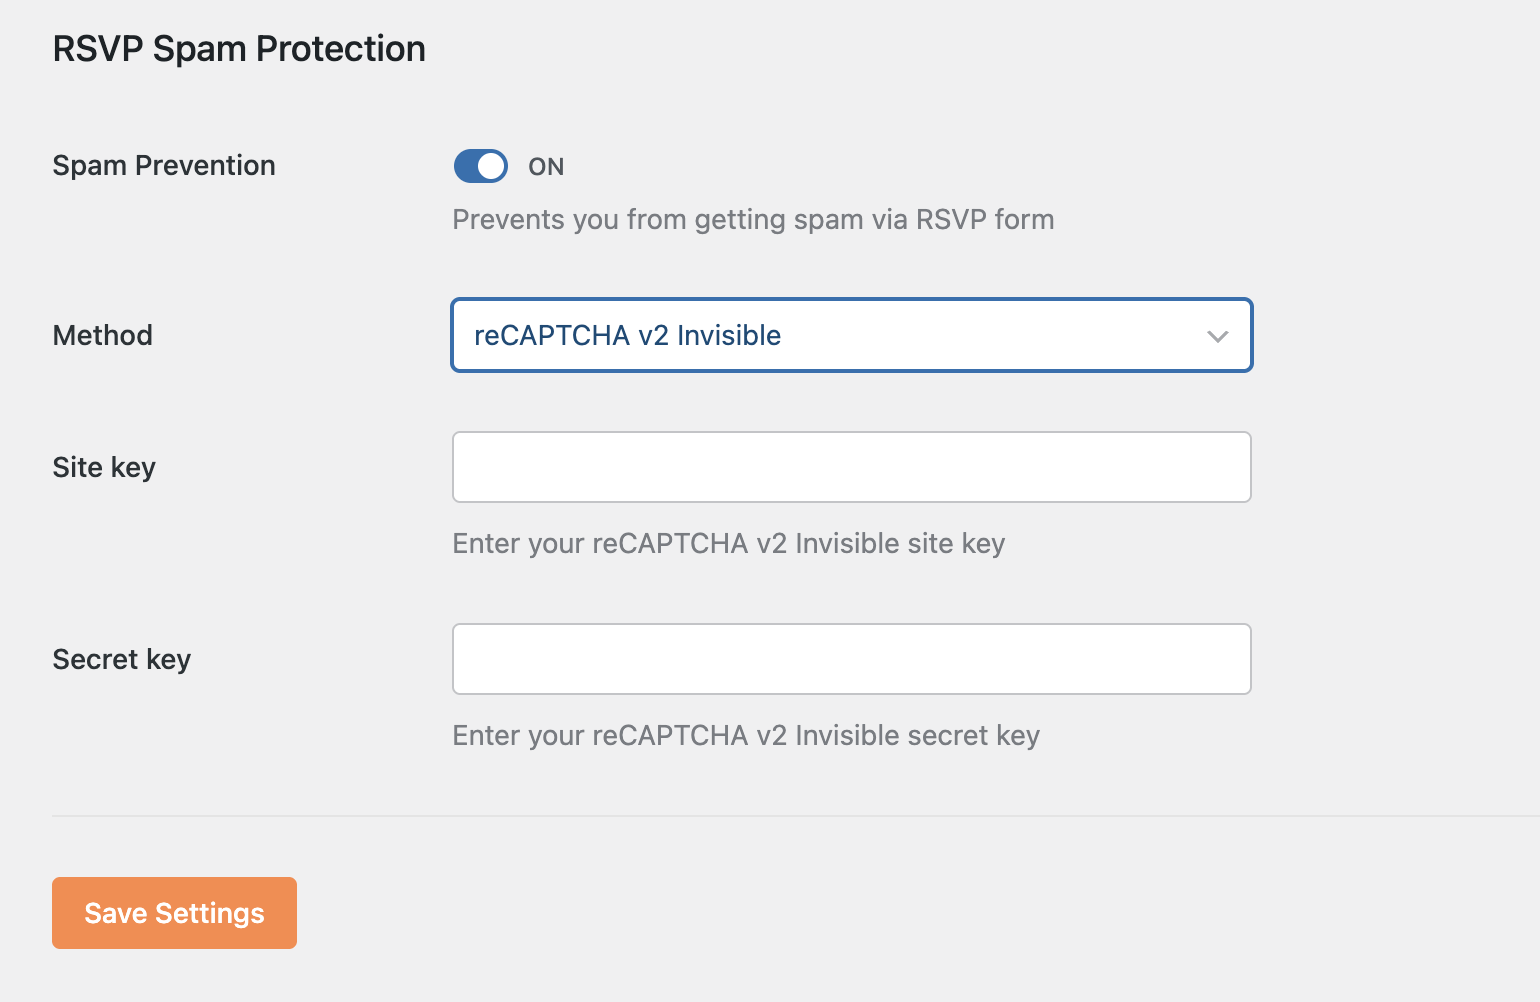
Here’s how to generate the required details. You can leave this browser tab with the Sugar Calendar settings page open, as we’ll return to it in a bit.
Generating reCAPTCHA Keys in Google
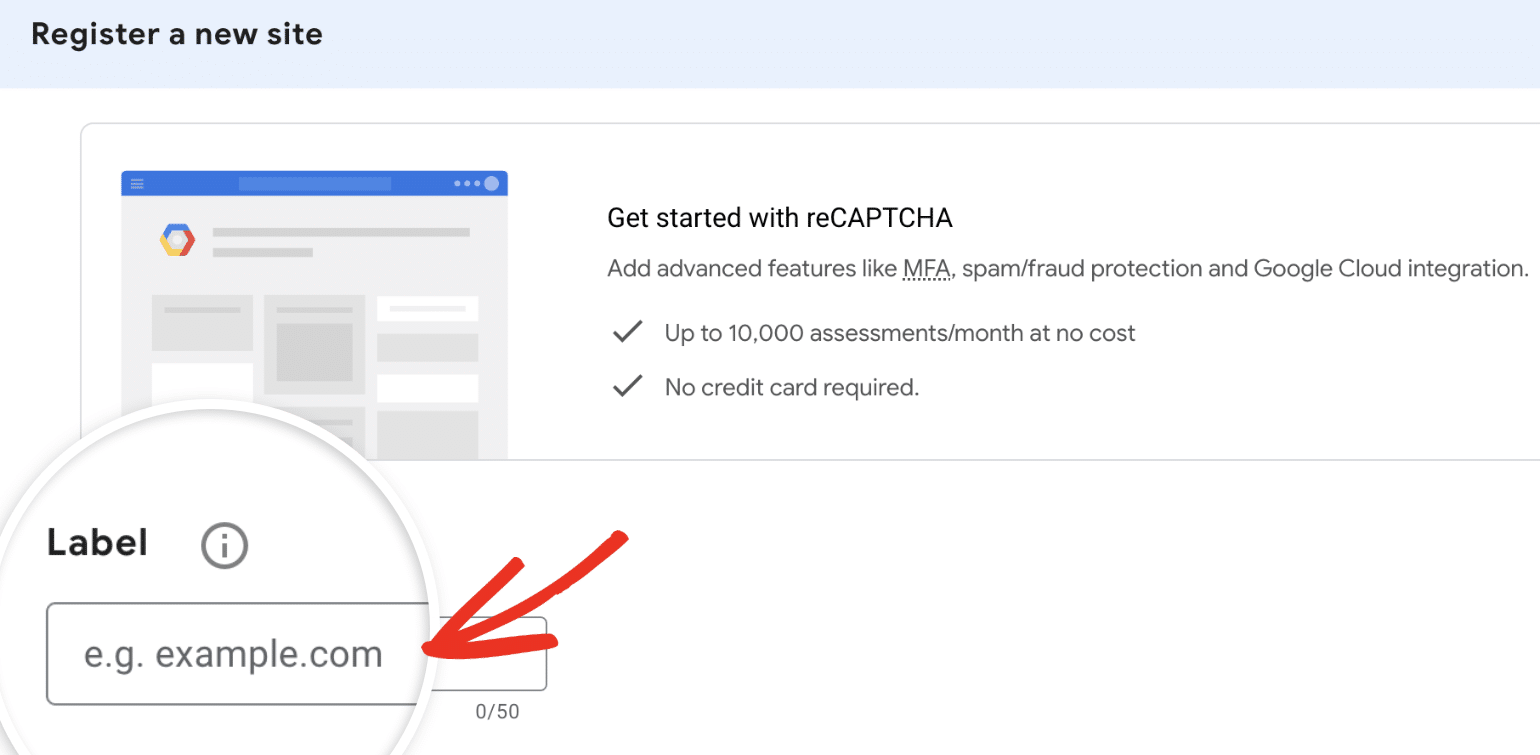
To create your reCAPTCHA keys, you’ll need to set up reCAPTCHA in your Google account. For this, open Google’s reCAPTCHA admin console and sign in with your Google account. You’ll be directed to the reCAPTCHA setup form.
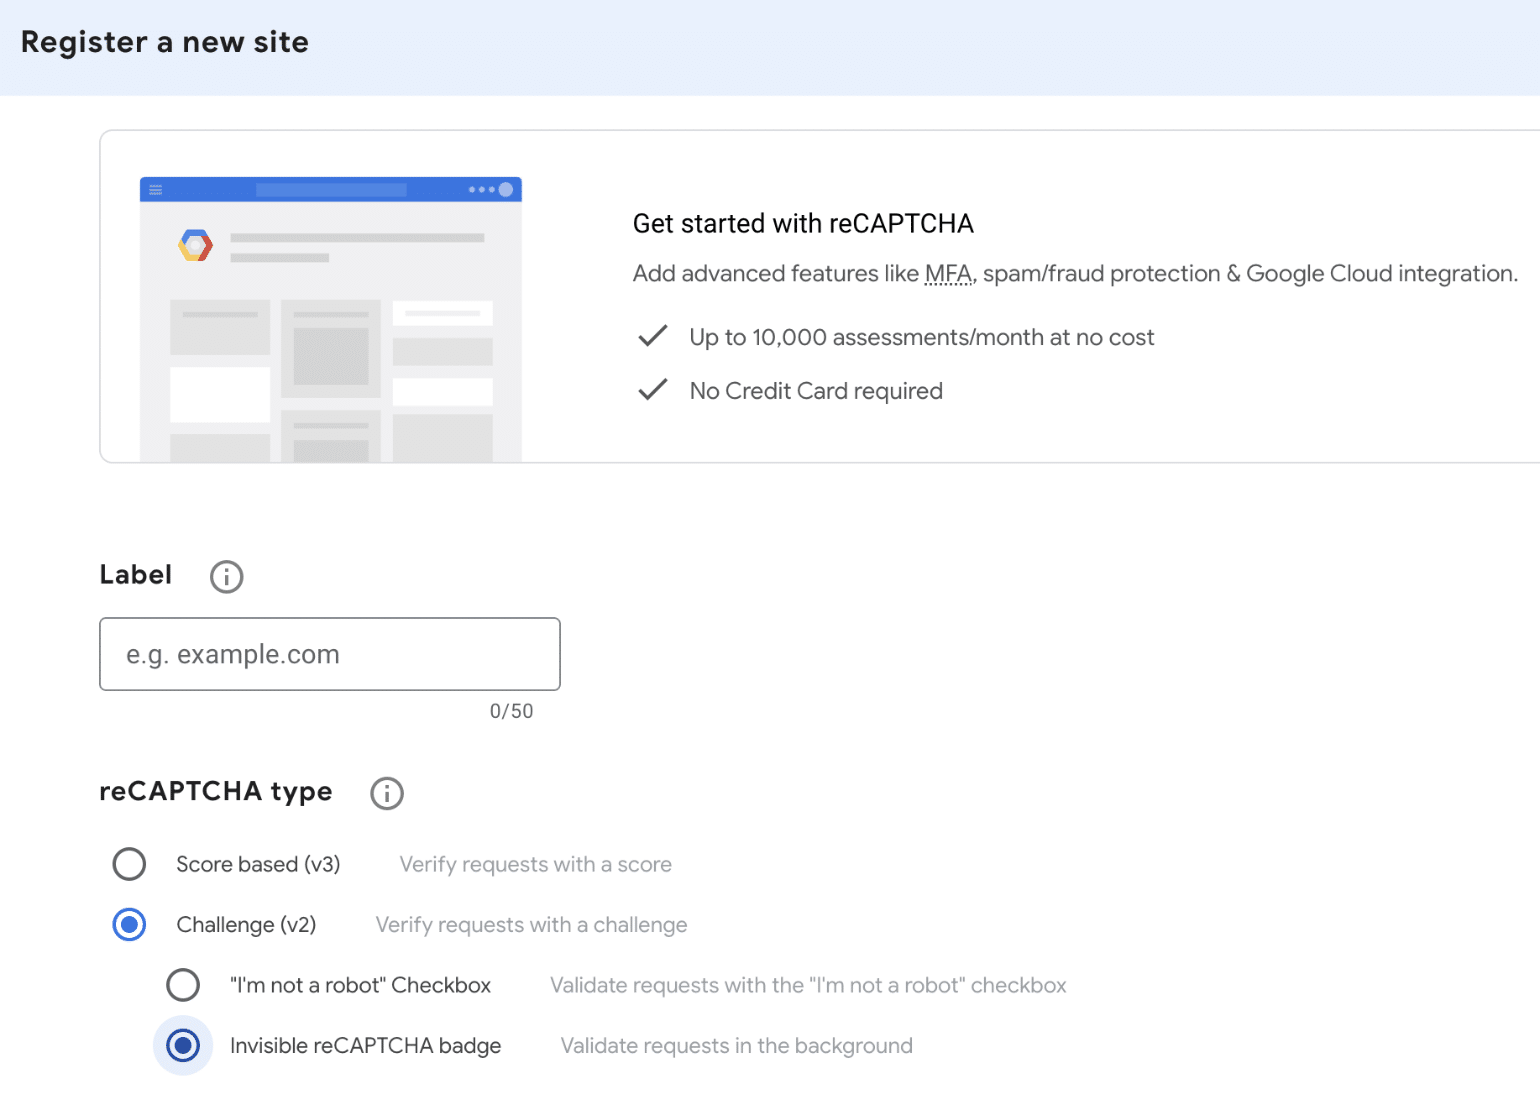
First, you’ll need to enter a label for the key you intend to create in the Label field. This is only visible to you, so enter any name that makes logical sense (most commonly the website name).
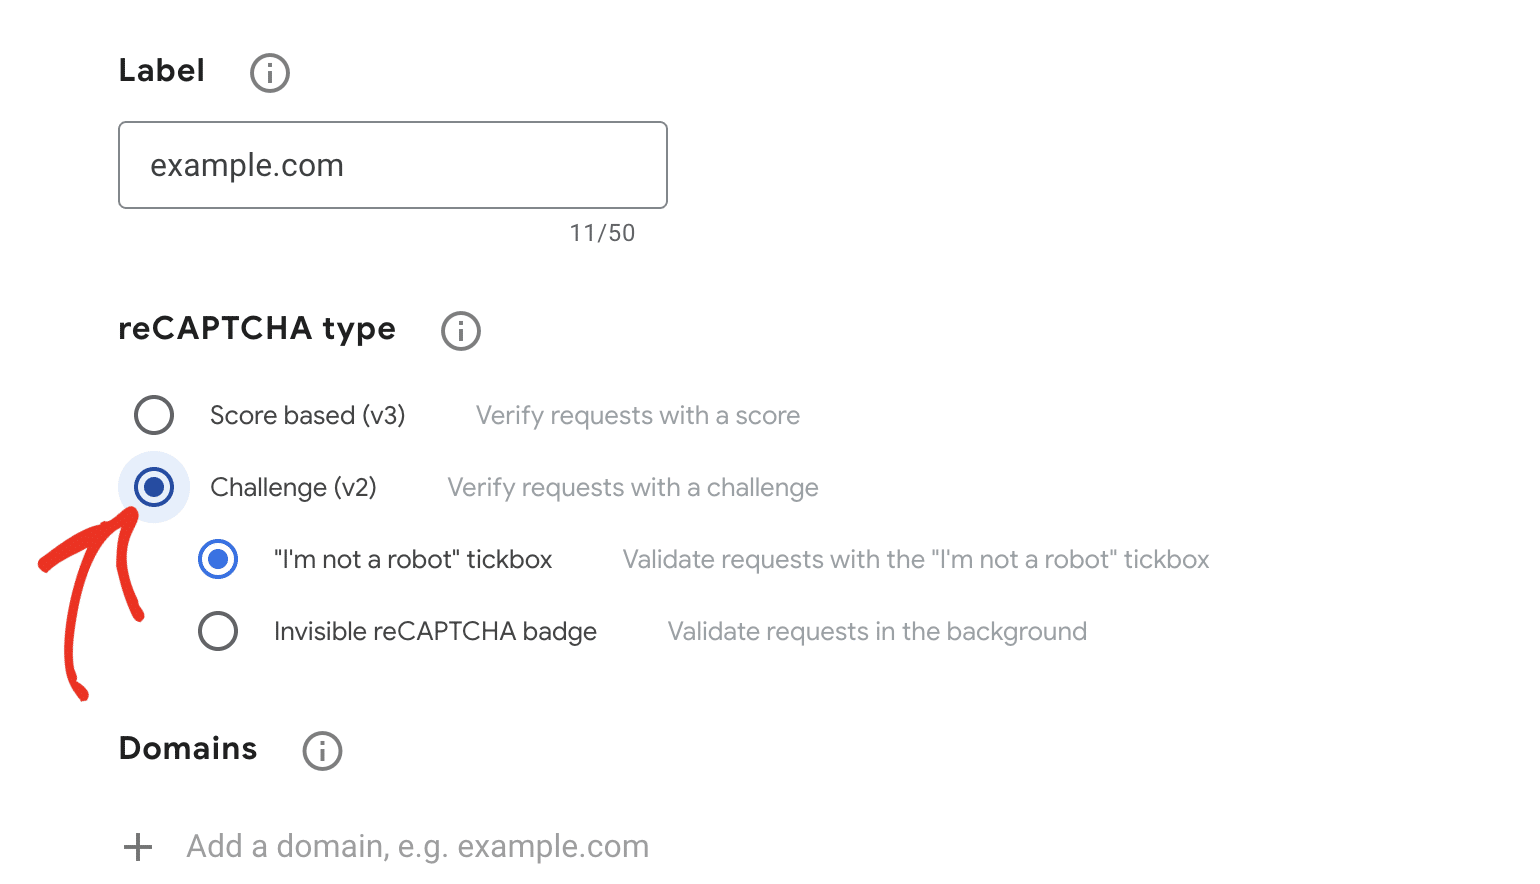
After that, choose the Challenge (v2) option under reCAPTCHA type and choose Invisible reCAPTCHA badge from the available v2 options.
Under Domains, go ahead and add your WordPress site’s address.
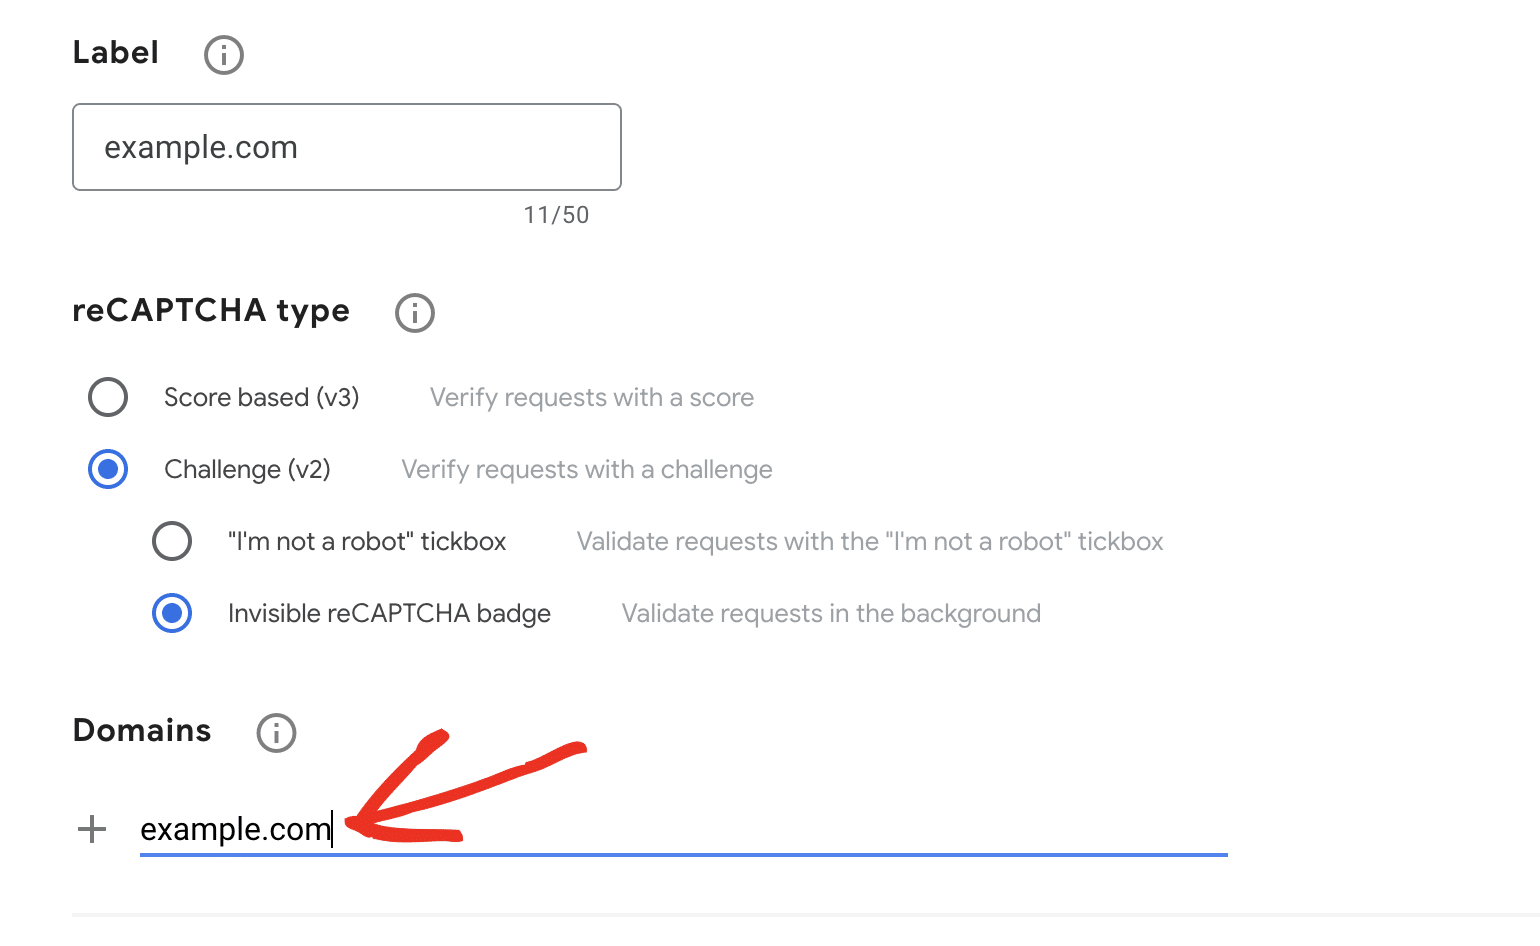
Note: Do not include “https://www” at the start (for instance, example.com would be accepted, but https://example.com or www.example.com would not).
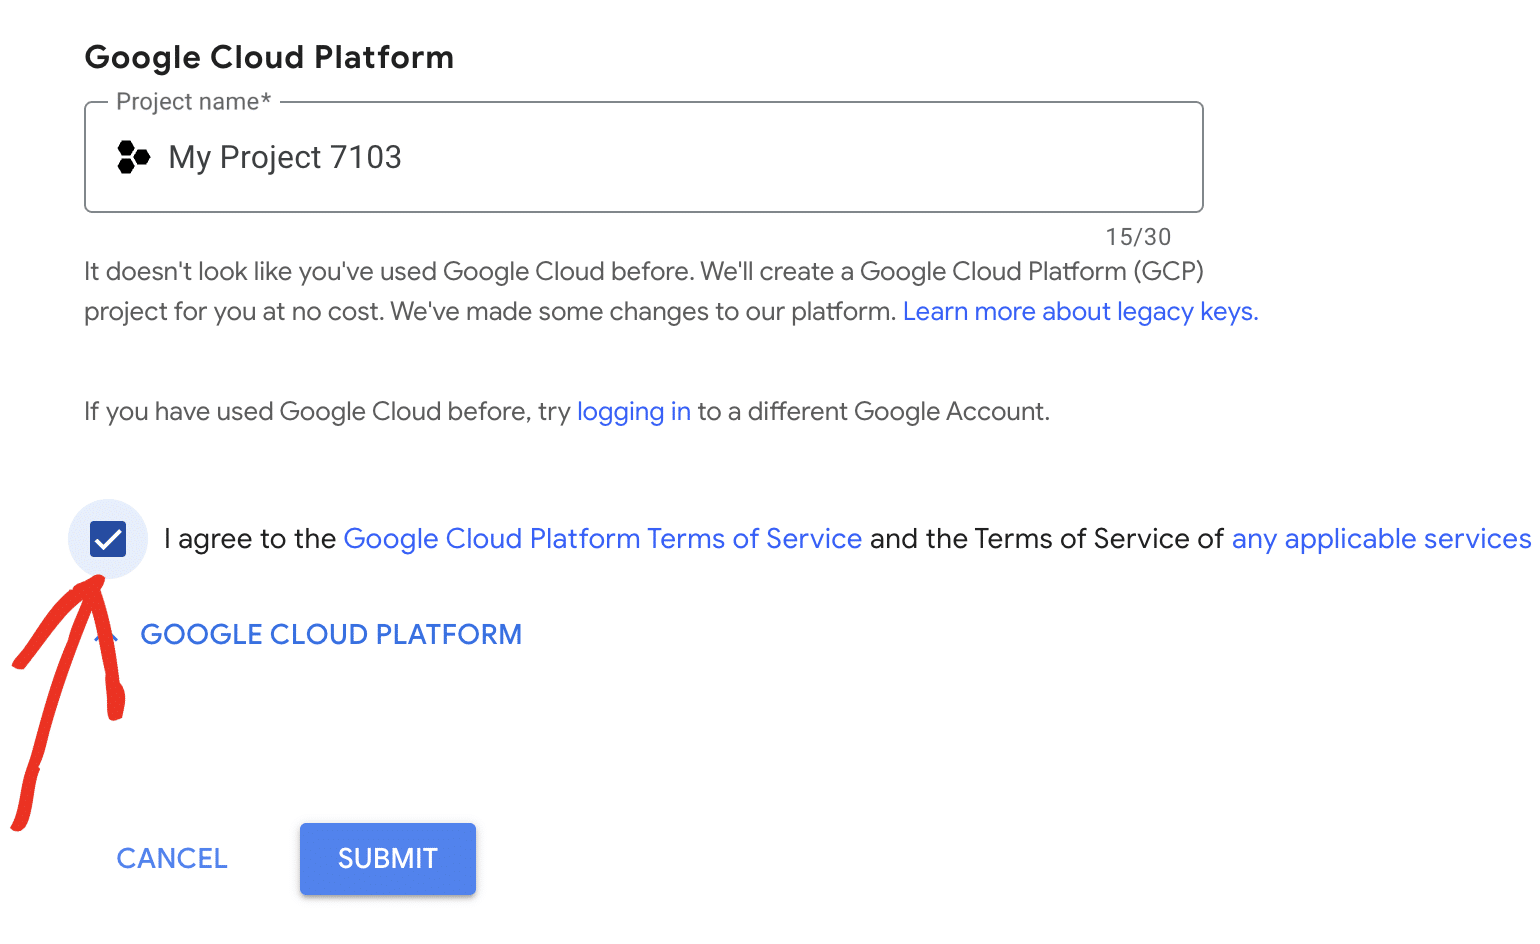
If you haven’t used Google Cloud before, a new Google Cloud Platform (GCP) project will be created for you automatically. If you’ve already set up projects in your account, you’ll be able to select one from the Project name dropdown.
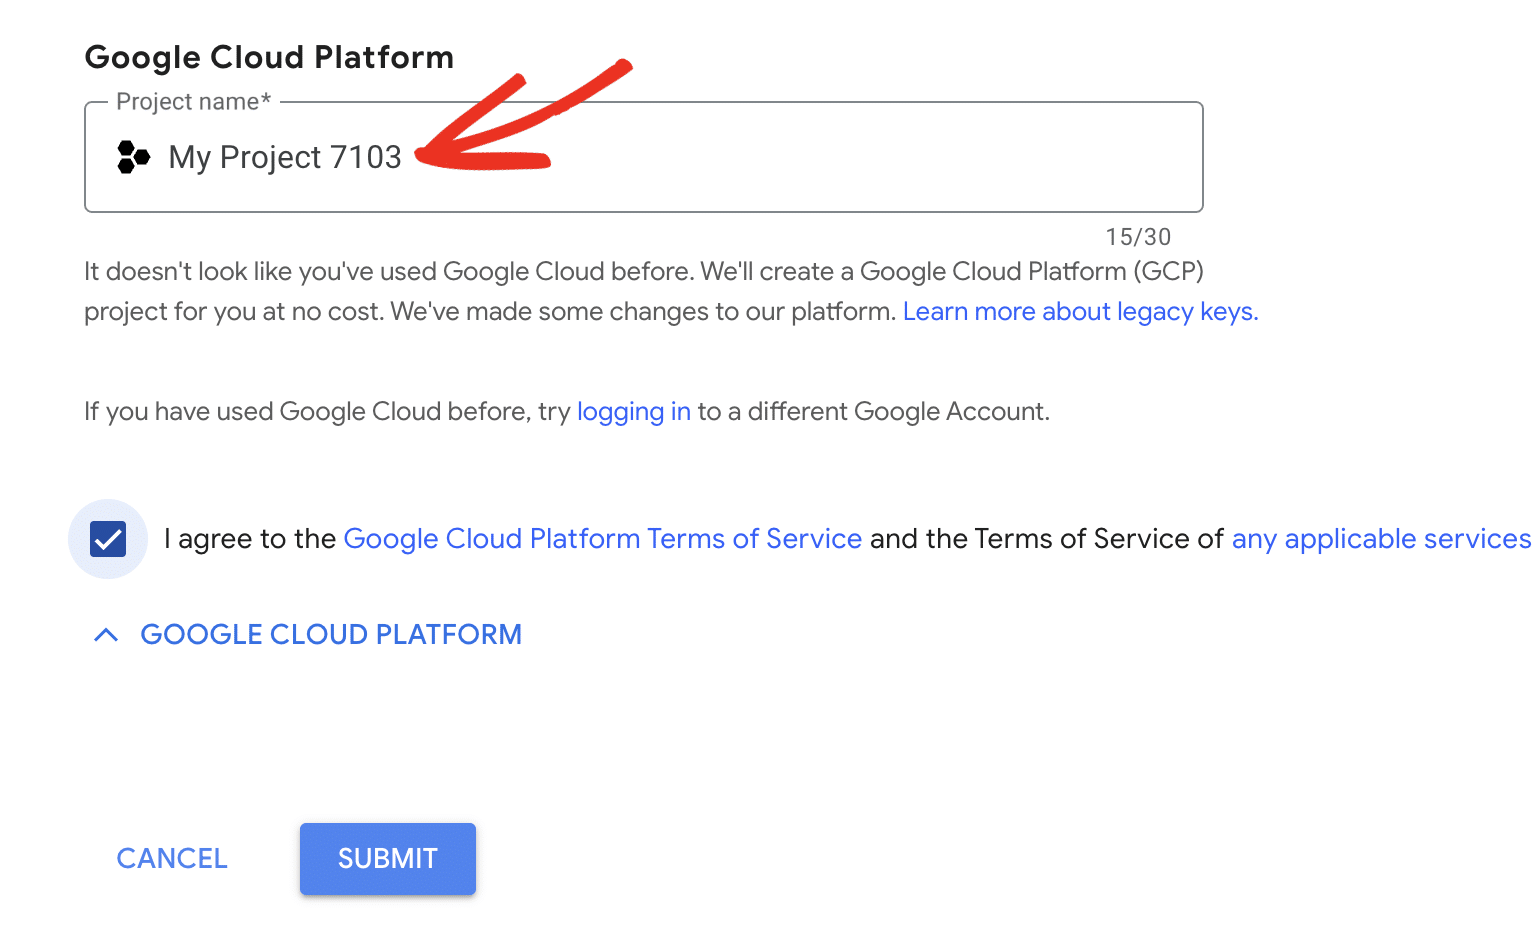
Note: Google Cloud automatically creates a project for reCAPTCHA when needed. A billing account is not required for basic usage, as you’ll get access to 10,000 monthly assessments. However, Google may ask you to set one up if your reCAPTCHA traffic exceeds the free tier. You can review reCAPTCHA pricing details on Google’s site.
Once done, check the box labeled I agree to the Google Cloud Platform Terms of Service, and the terms of service of any applicable services and APIs.
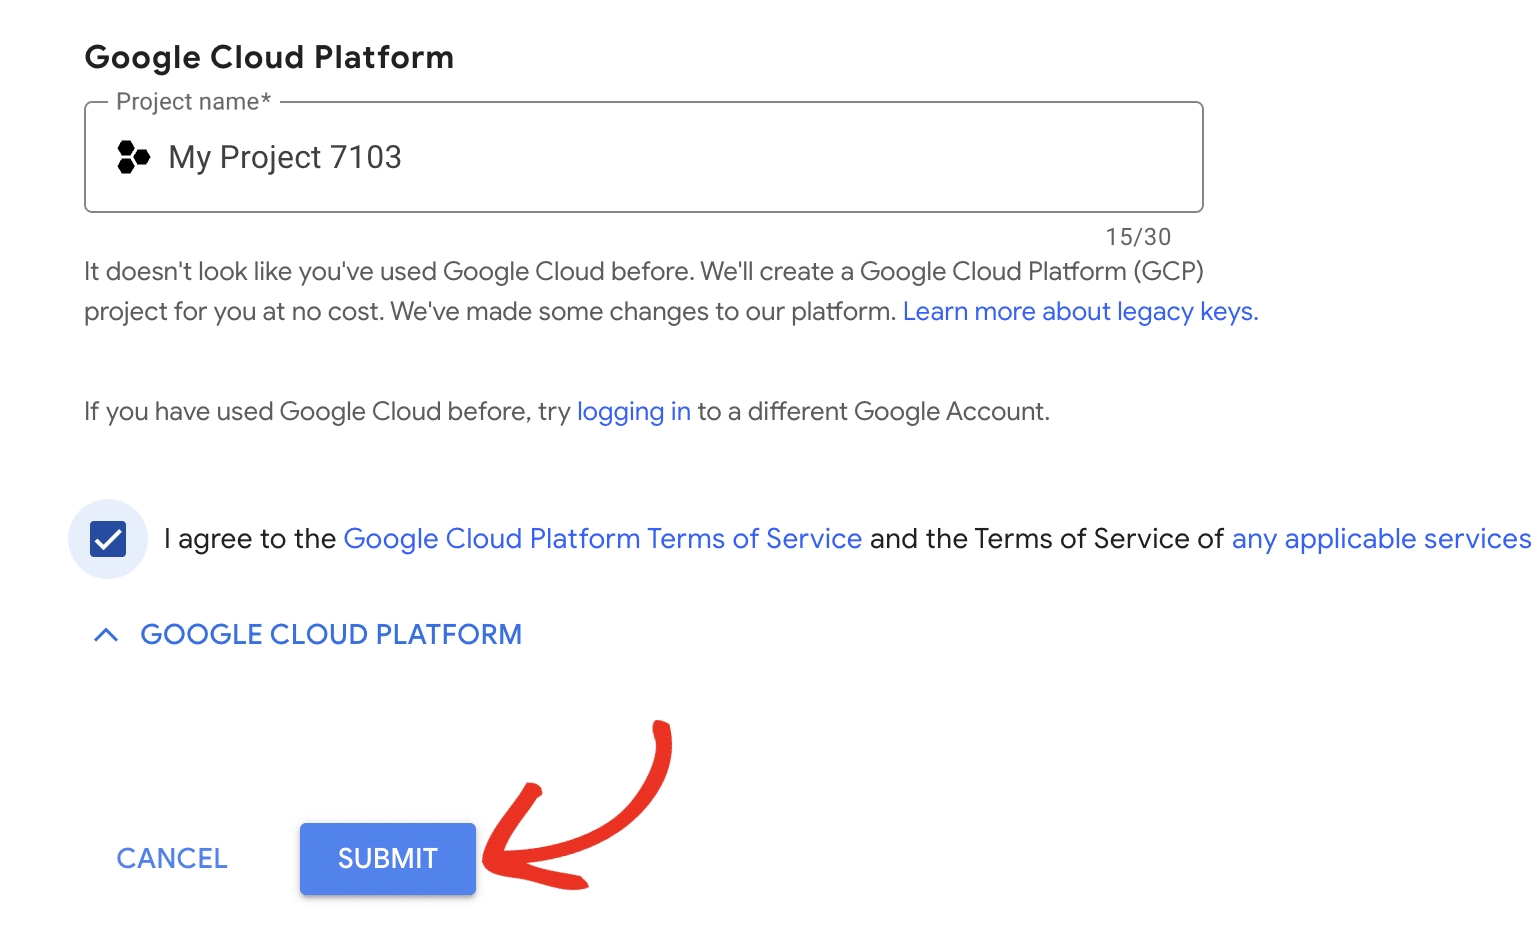
After that, go ahead and click the Submit button to proceed.
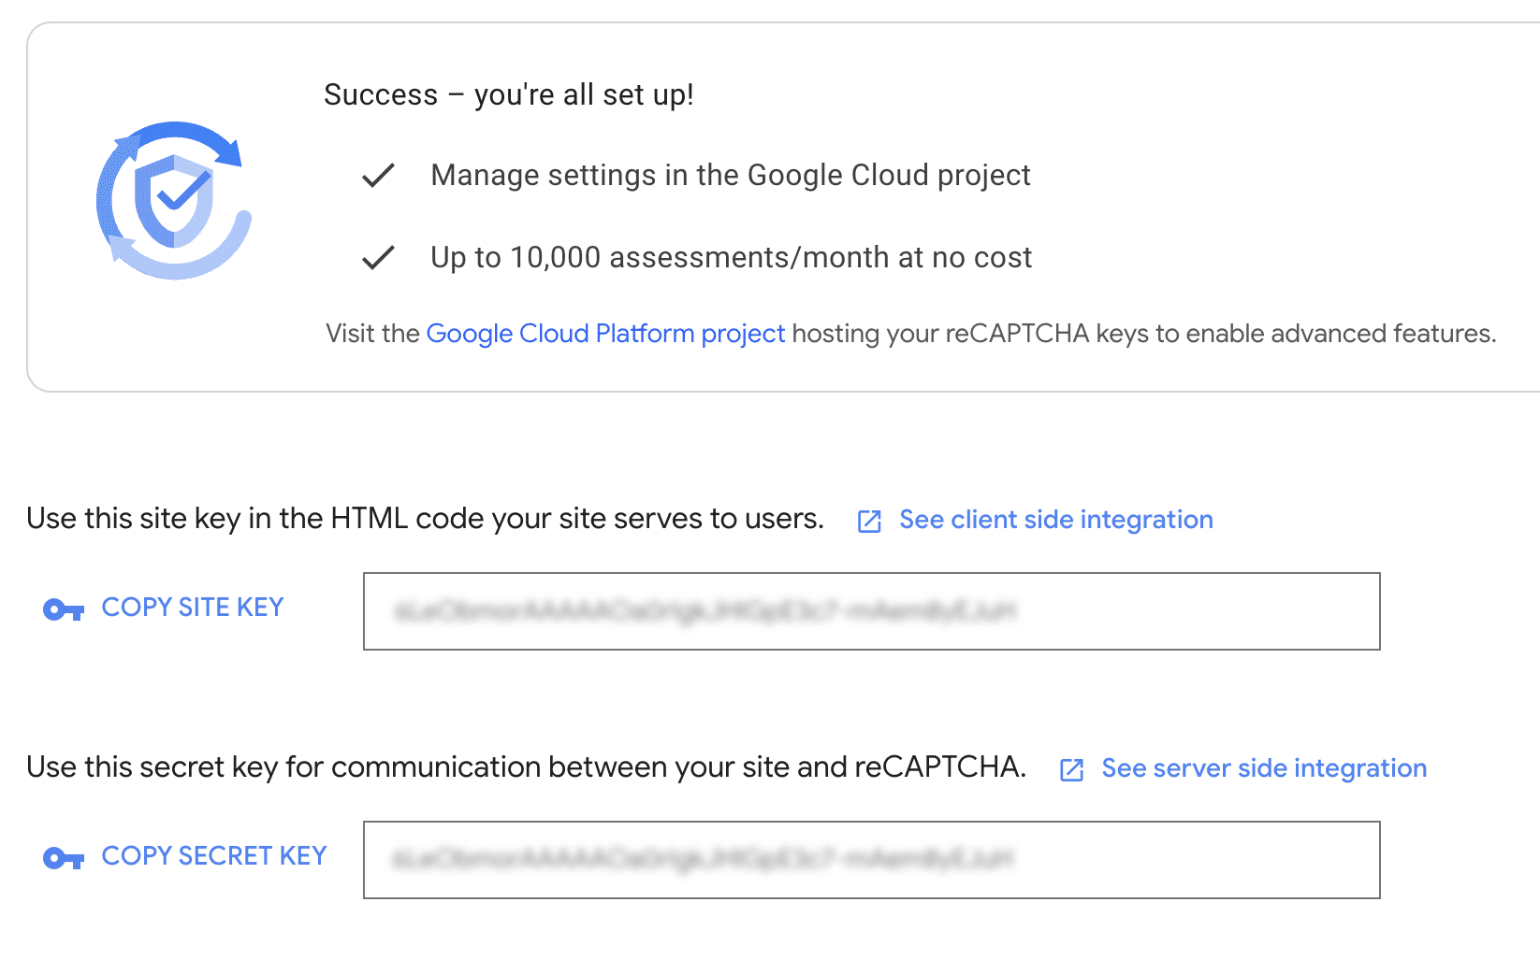
You’ll be directed to a page with the keys for your website. Go ahead and copy the Site Key and Secret Key.
Adding Your reCAPTCHA Keys
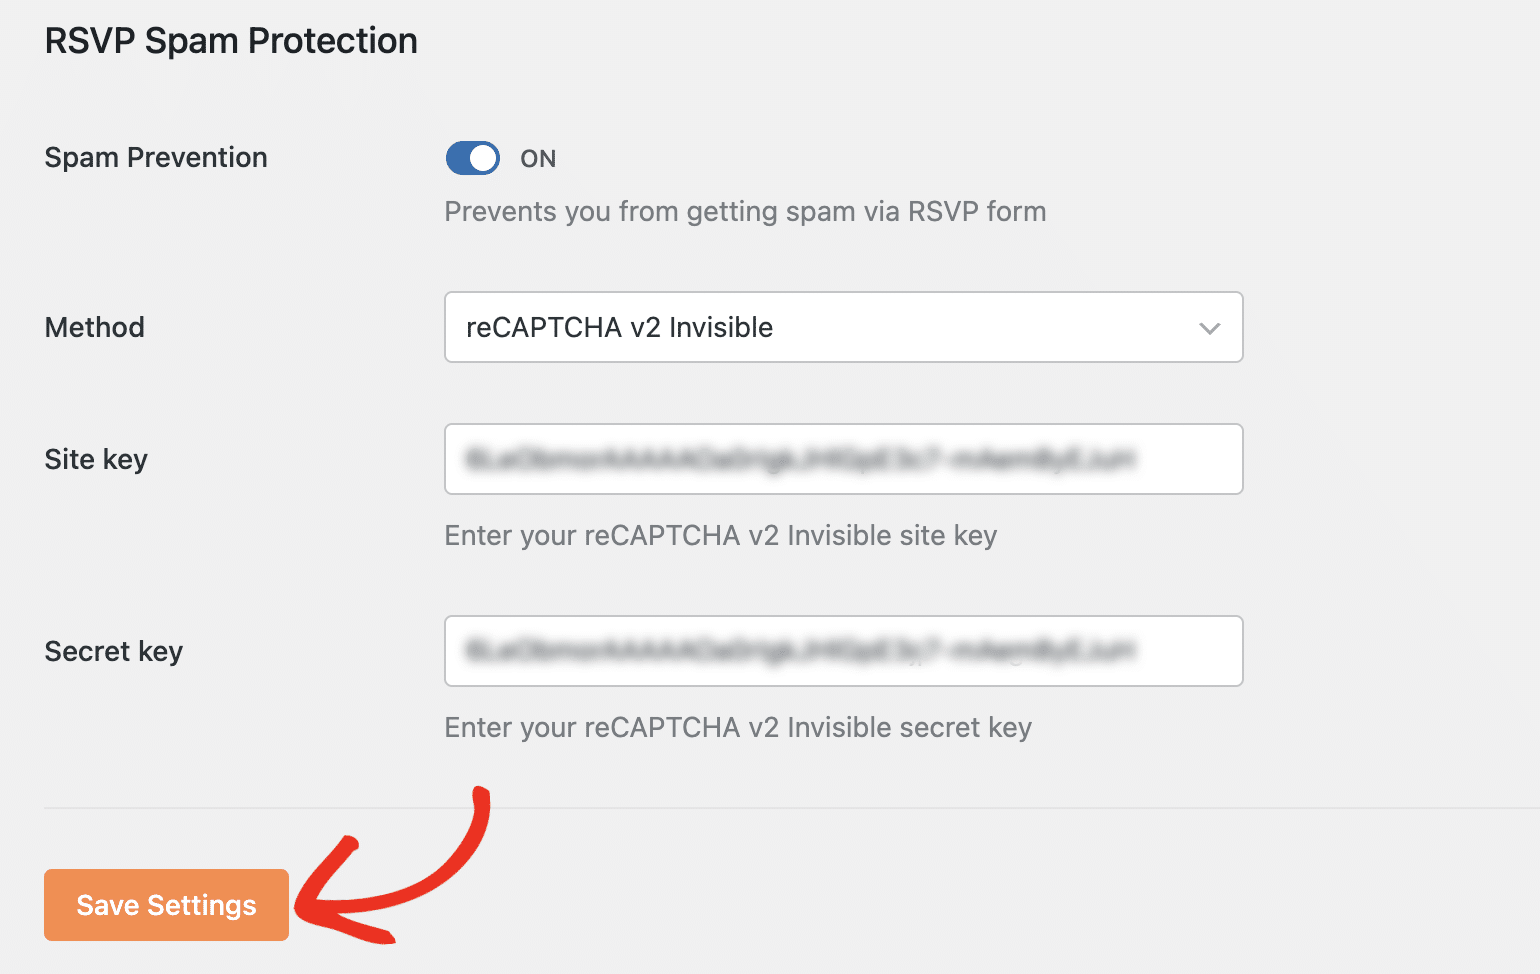
Then, switch back to the browser tab with your Sugar Calendar settings page open. Once there, paste these keys into the corresponding Site key and Secret key fields.

Then, click on the Save Settings button at the bottom of this page to save your changes.
When filling out the RSVP form on your site’s frontend, you’ll see Google reCAPTCHA’s badge at the bottom left side of the page, indicating that the form is protected.
![]()
That’s it! You’ve now learned how to configure Google reCAPTCHA for RSVP forms on your site.
Next, would you like to display an interactive map on your event details page? Our tutorial on adding Google Maps to events covers all the steps in detail.
