Would you like to show an interactive map of events on your site? The Google Maps feature allows you to easily display a map pointing to an event’s location when viewing the event.
This tutorial covers how to set up and use the Google Maps feature in Sugar Calendar Events.
In This Article
Before you get started, make sure Sugar Calendar Events is installed and activated on your WordPress site and that you’ve verified your license.
Accessing Google Maps Settings
To start, log in to your WordPress admin area, then go to Events » Settings and select the Integrations tab.
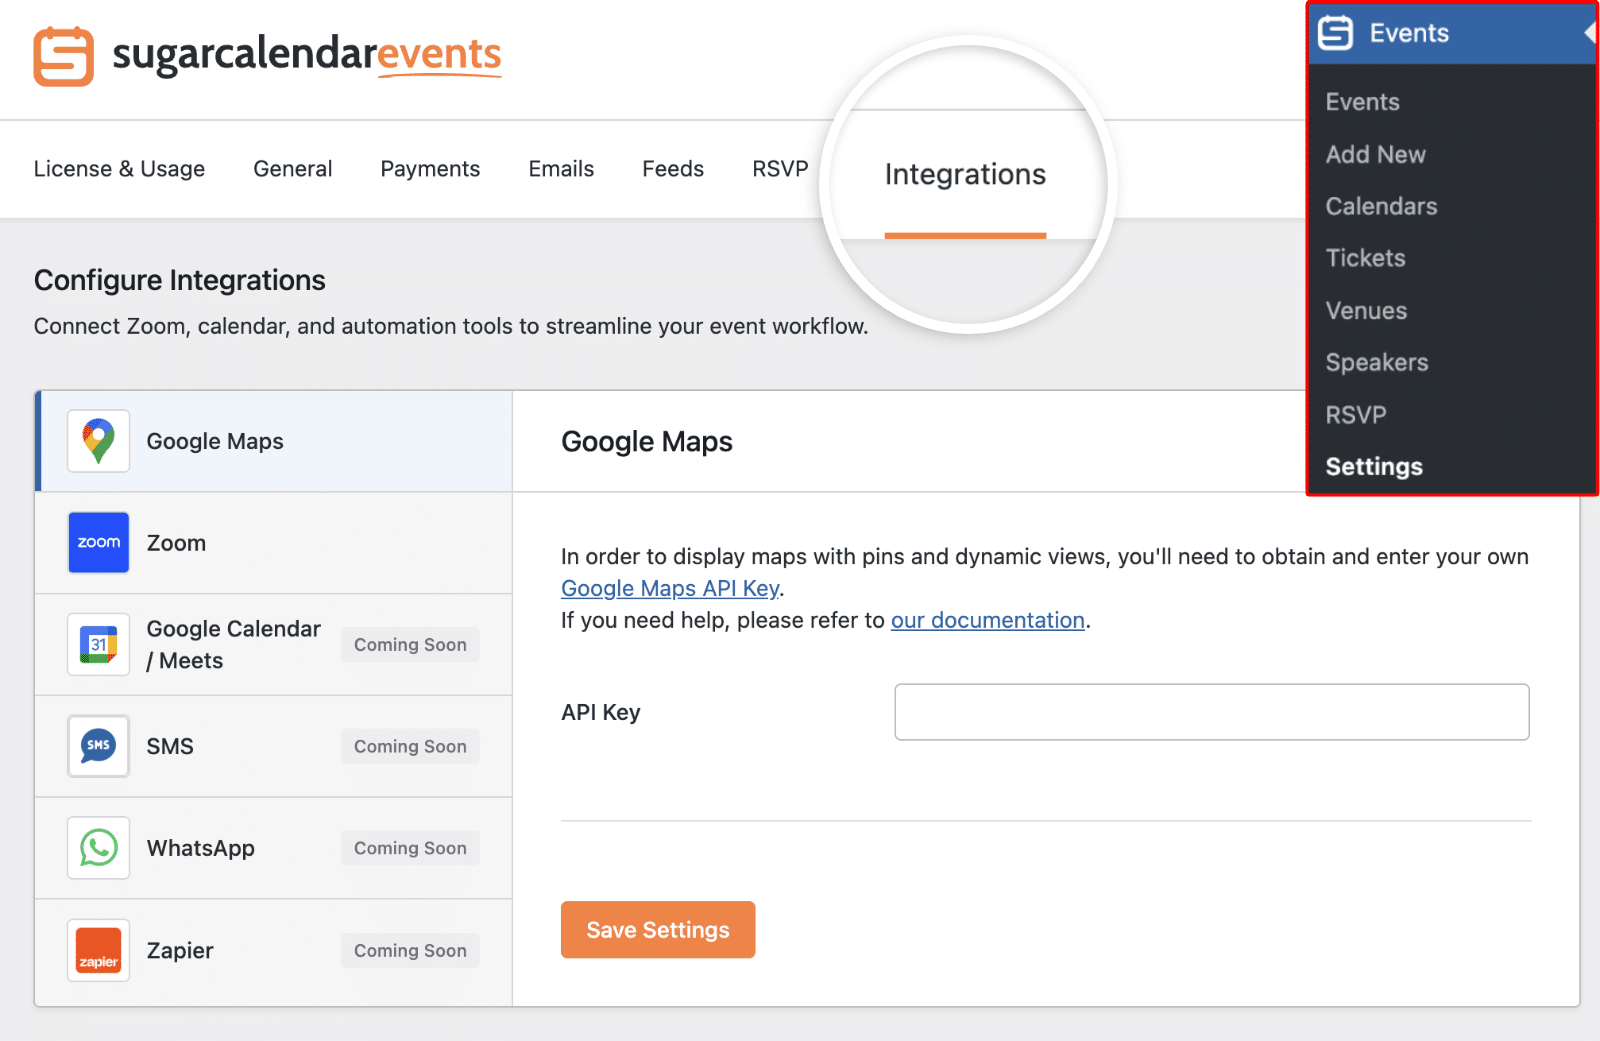
Once there, you’ll see a field where you can paste your Google Maps API key.
In the section below, we’ll show you how to generate an API key from Google Cloud Console.
We recommend leaving this browser tab open as we’ll return to it later.
Generating an API Key
To use Google Maps, you’ll need to generate an API key for your site. For this, log in to Google Cloud Console to access your account dashboard. If you don’t have an account, you’ll be able to create one quickly.
After logging in to your account, create a new project or select an existing one from your account dashboard.
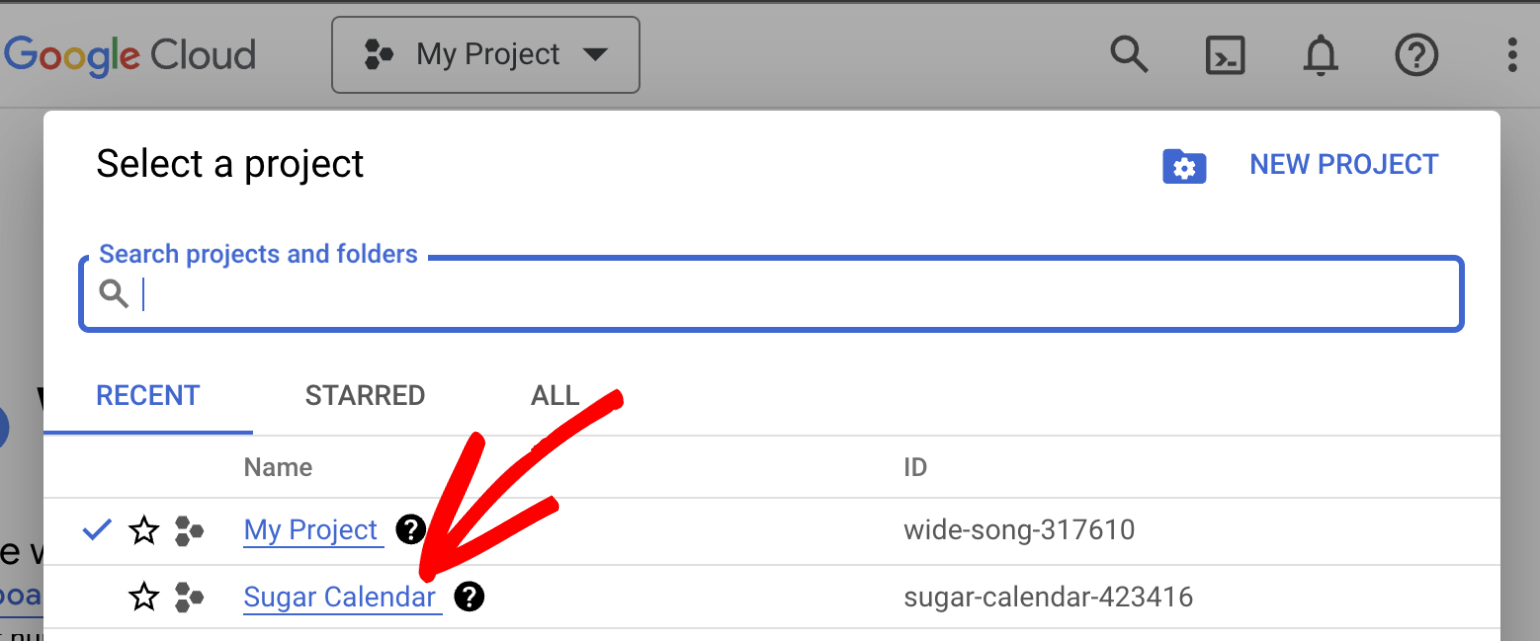
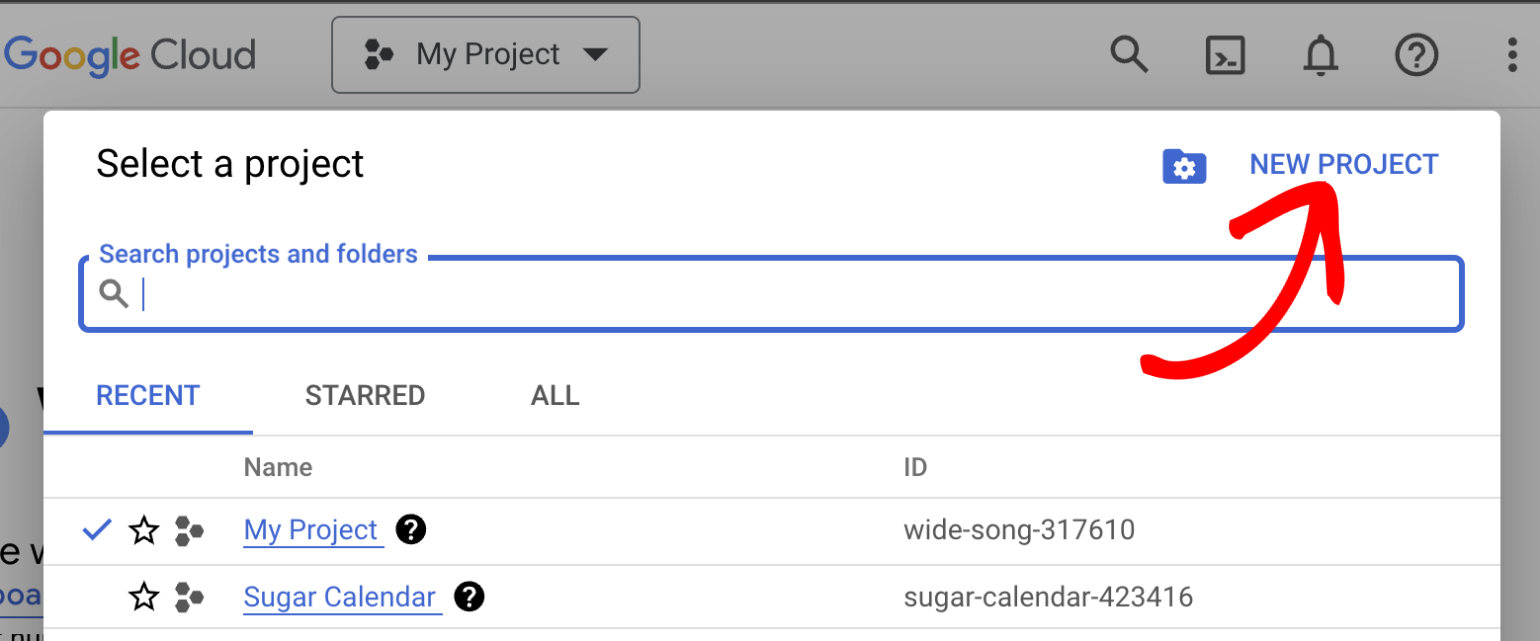
If you’d like to create a new project, click the NEW PROJECT button.
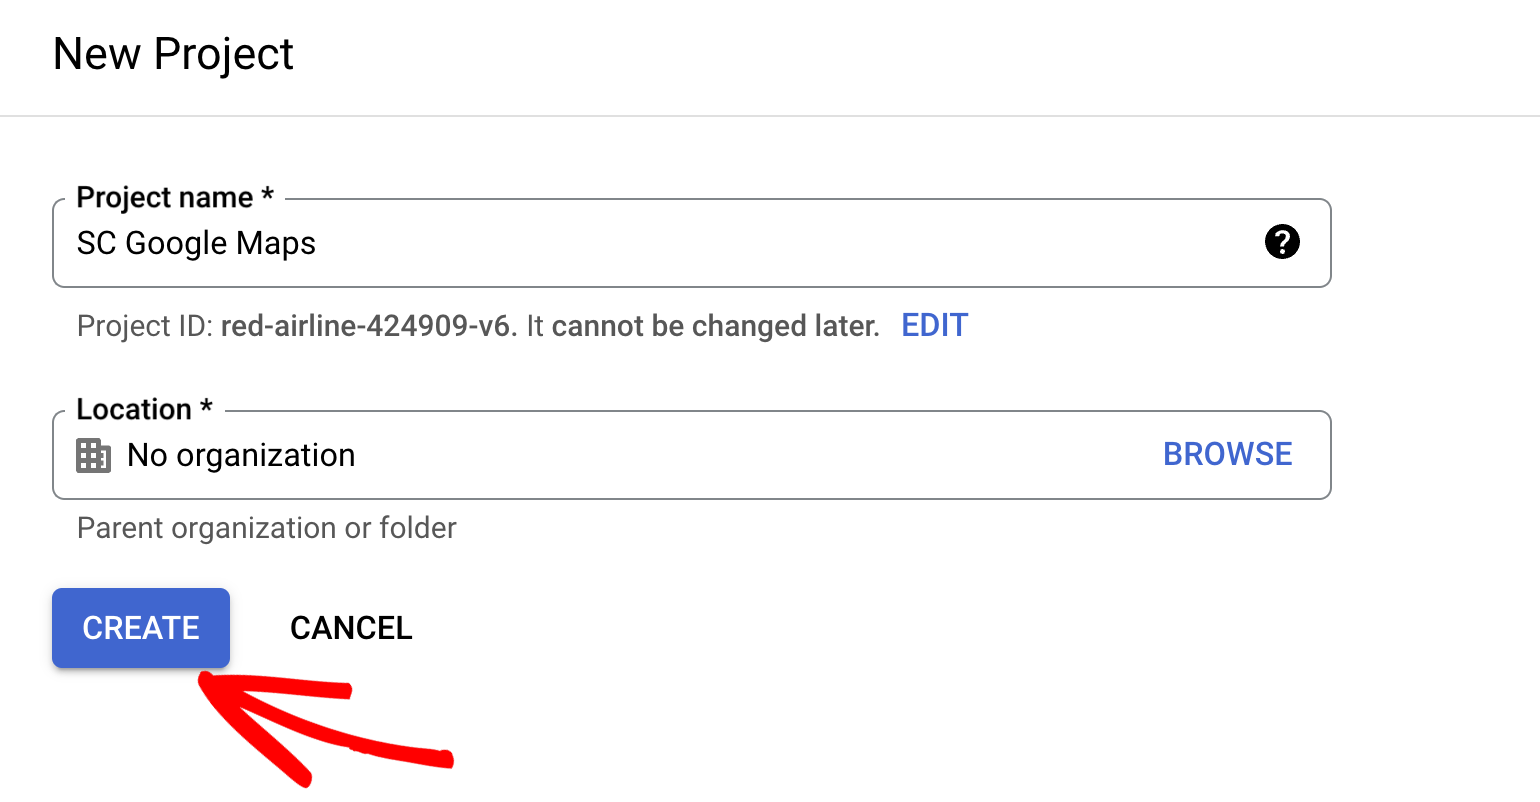
You’ll see a screen to enter a name for the project. Click the CREATE button to continue after naming your project.
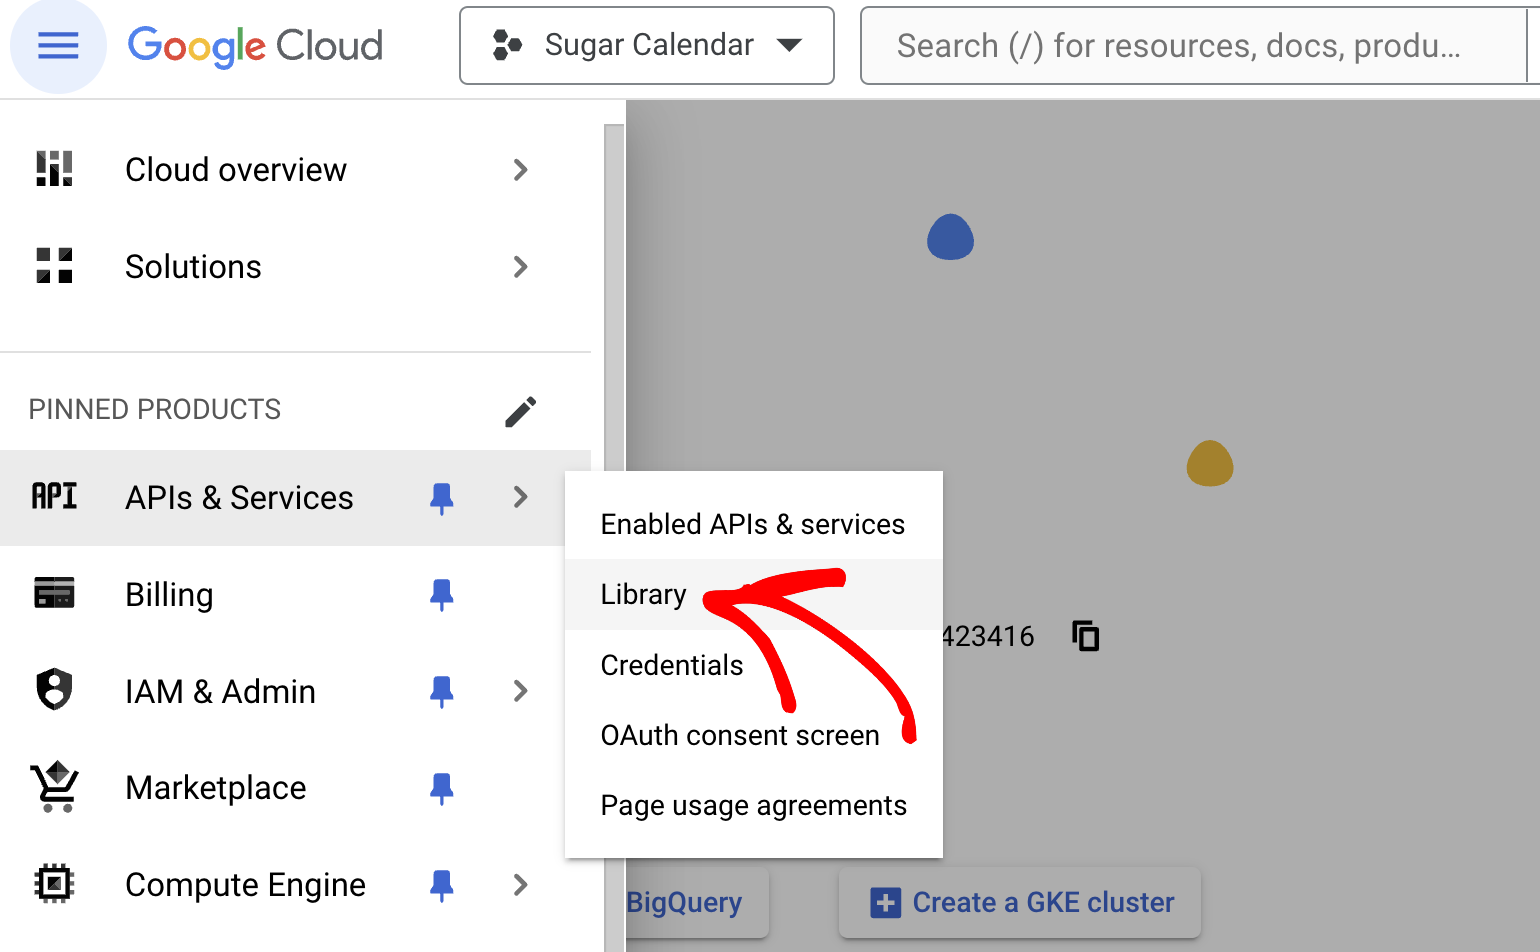
In the new project, you’ll need to enable the Google Maps API services. For this, go to APIs & Services » Library.
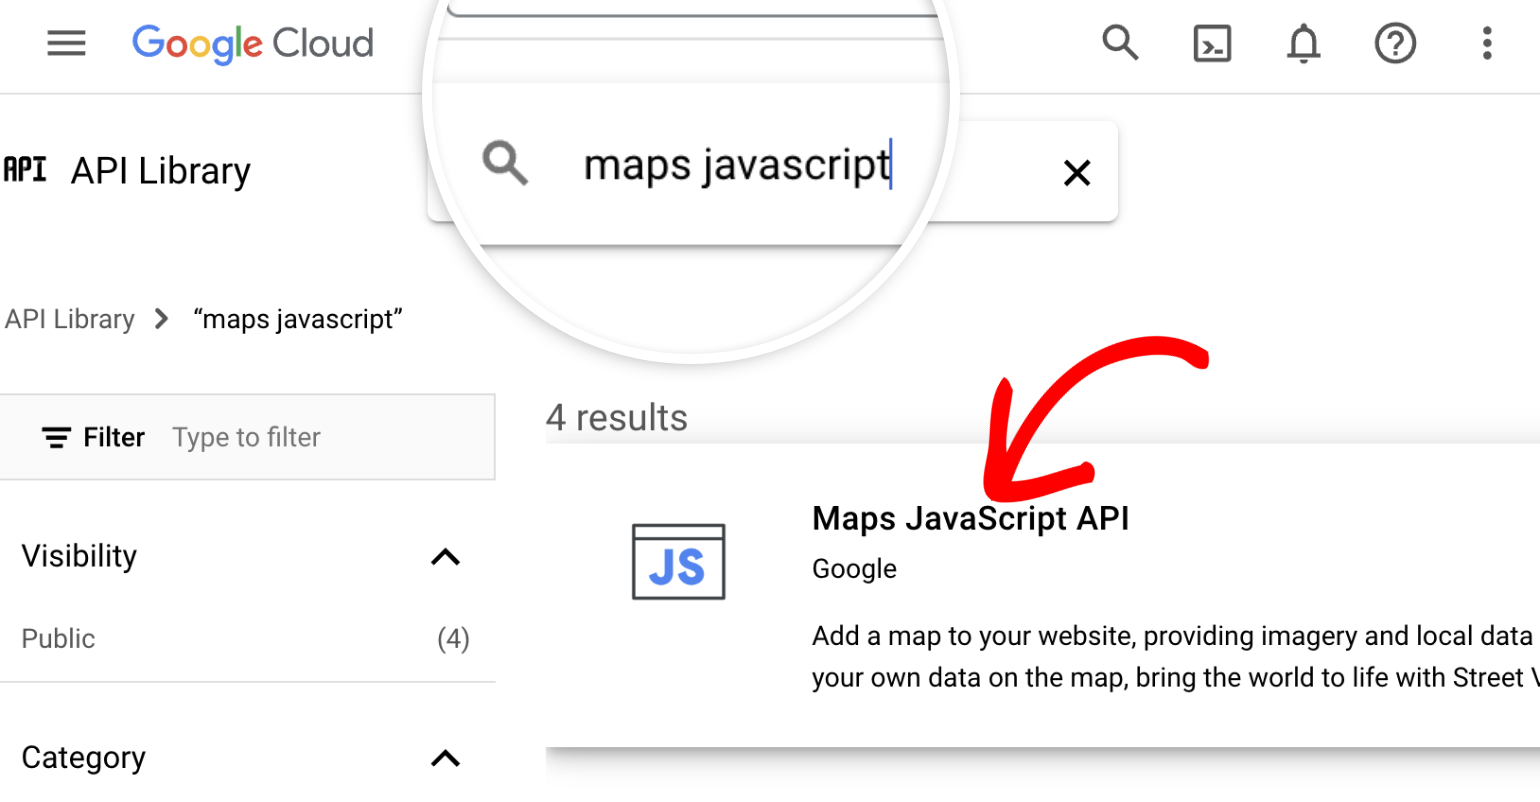
Once there, type ‘maps javascript’ into the search bar and select the Maps JavaScript API option.
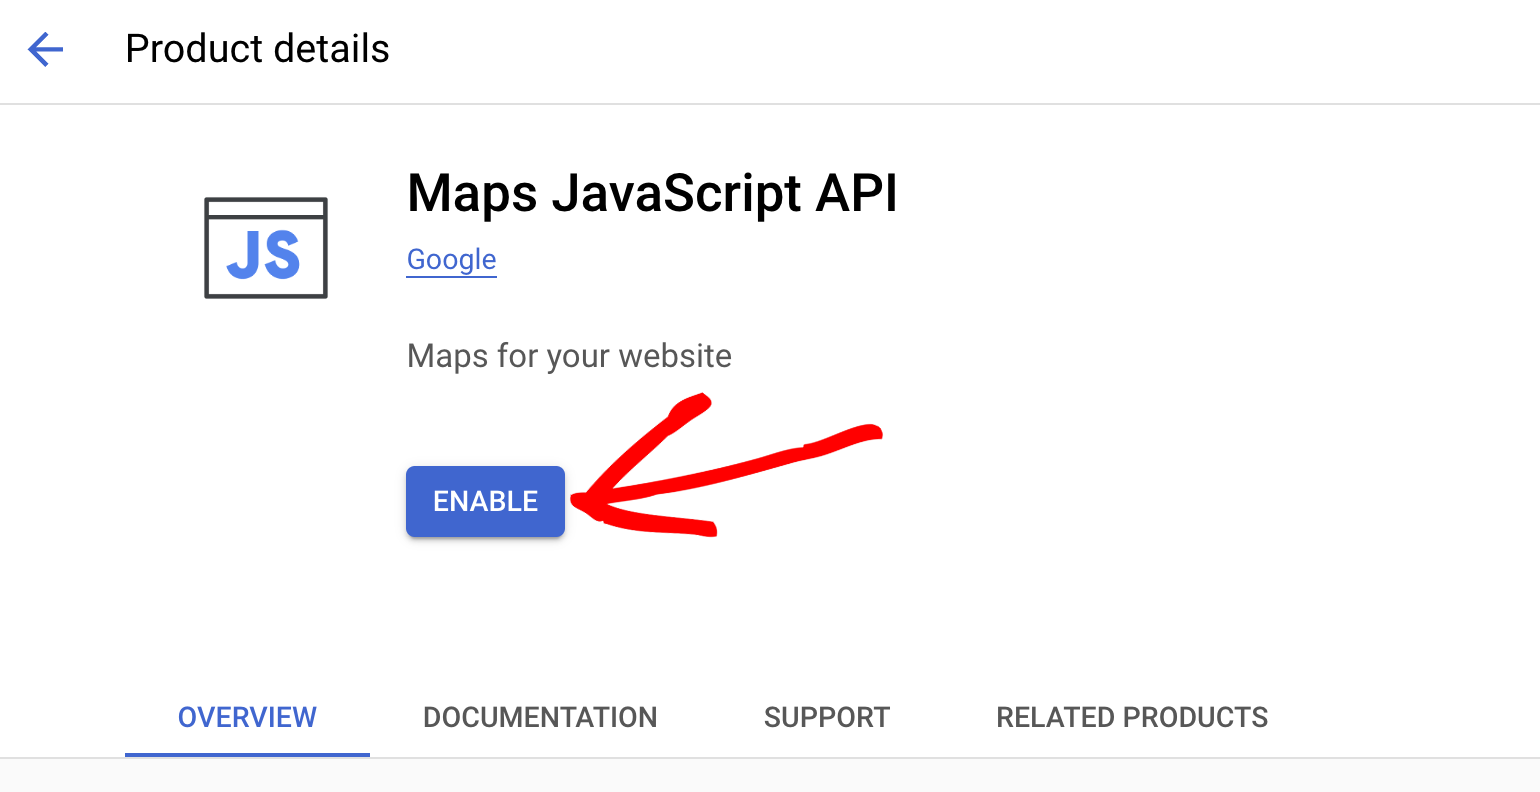
Alternatively, you can use this direct link to access the Maps JavaScript API. After that, click the Enable button to activate this API.
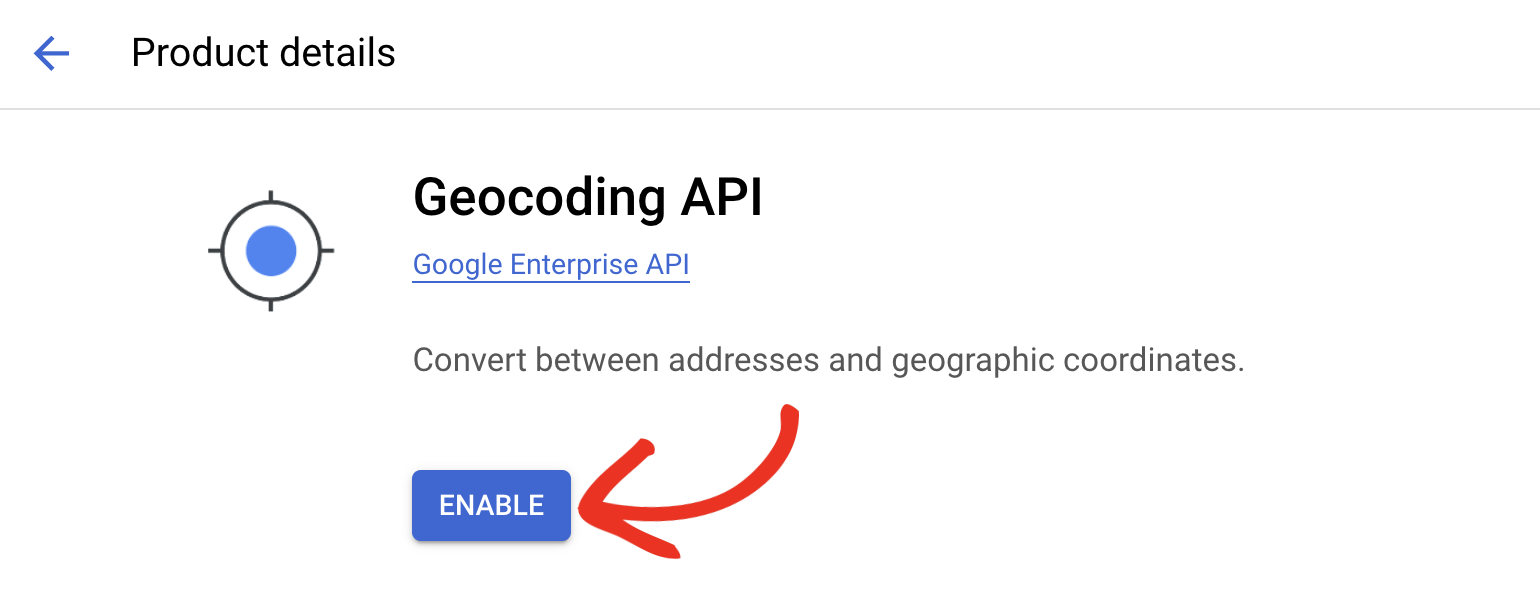
After enabling the Maps JavaScript API library, type ‘Geocoding api’ into the search bar and select the Geocoding API module.
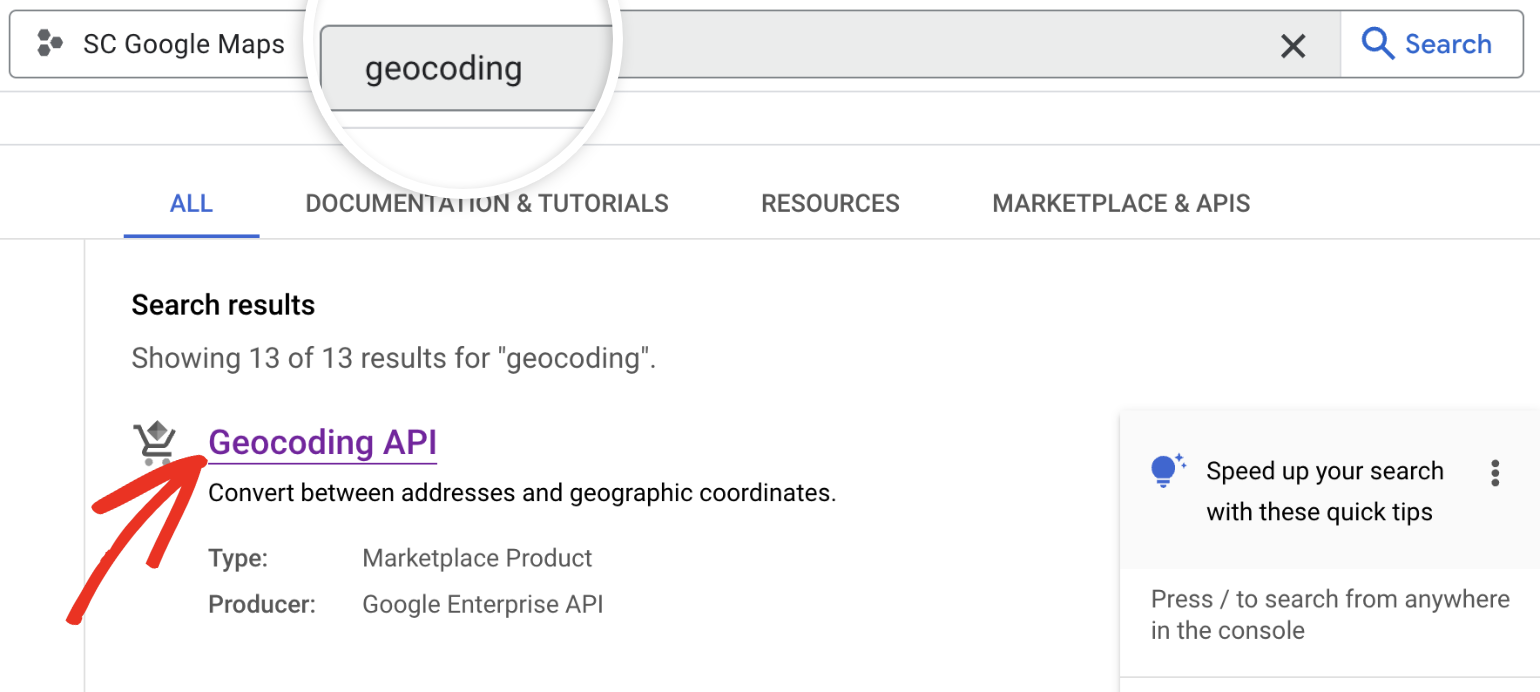
Alternatively, you can use this direct link to access the Geocoding API. Once there, click the Enable button to activate it.
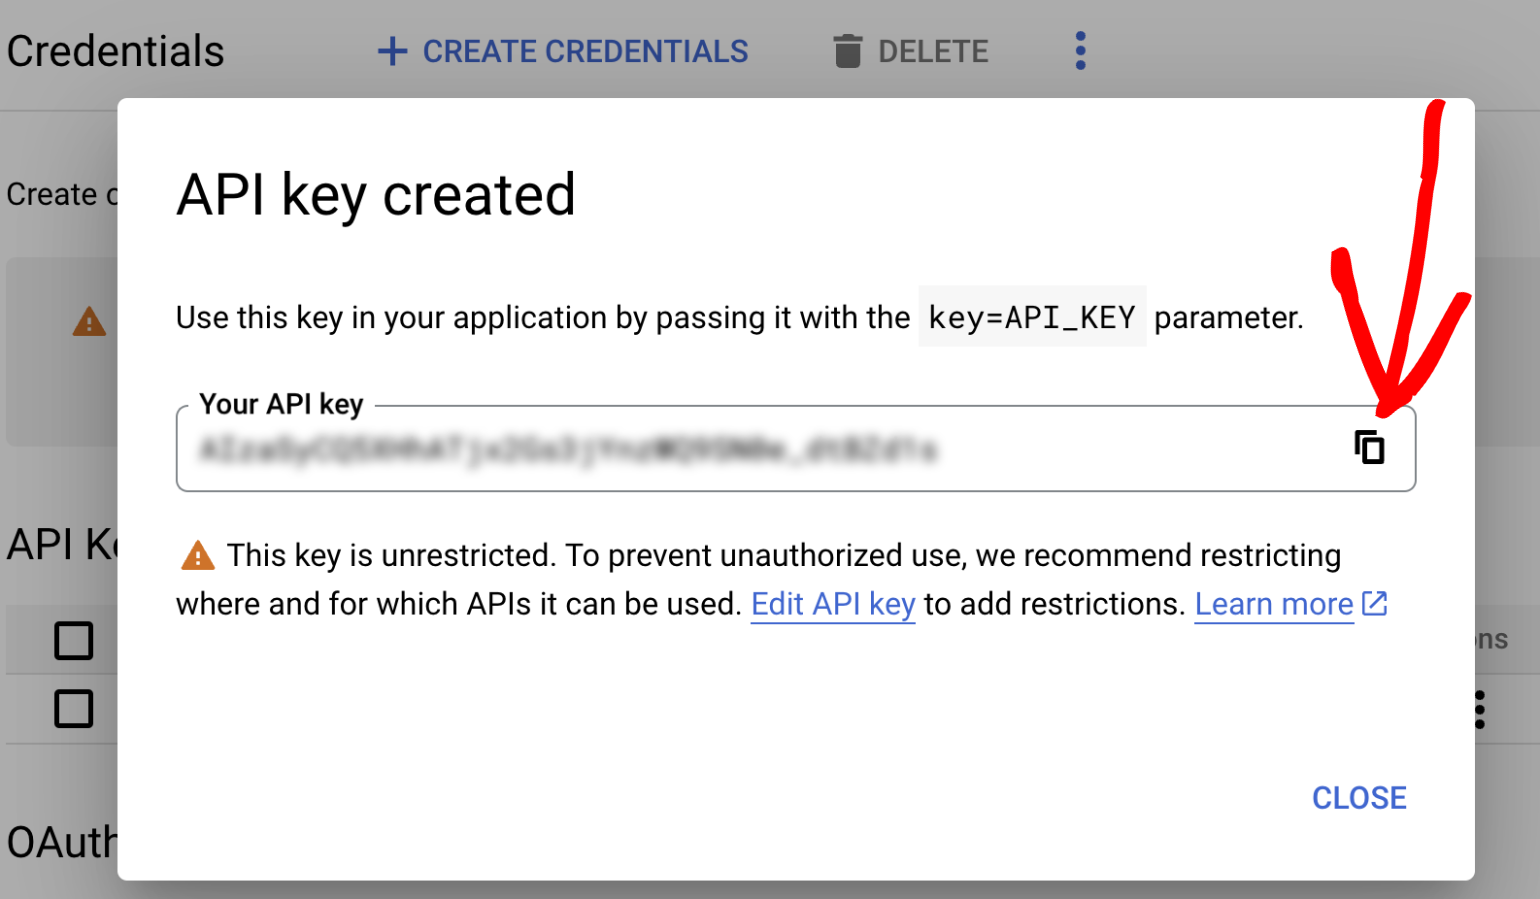
Google will automatically generate an API key for you. Simply click the copy icon next to the API key value to copy it.
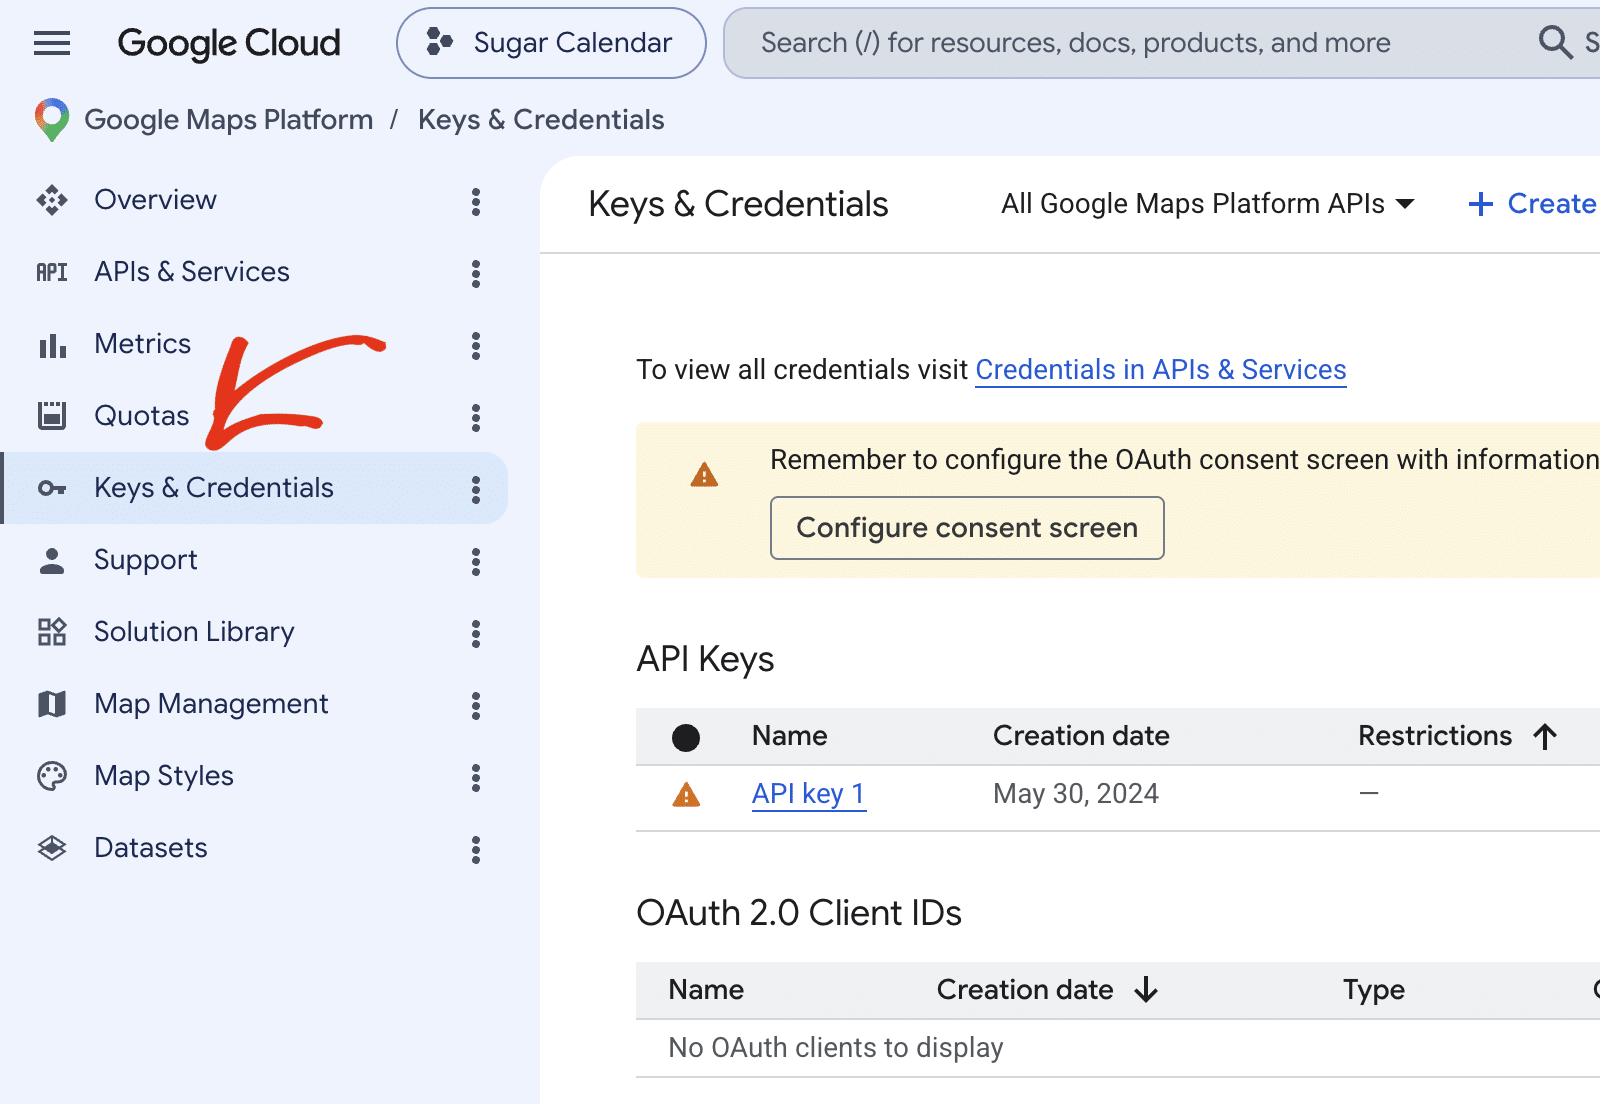
If an API key is not generated automatically, you can create one manually. To do so, go to Keys & Credentials to access the API key page.
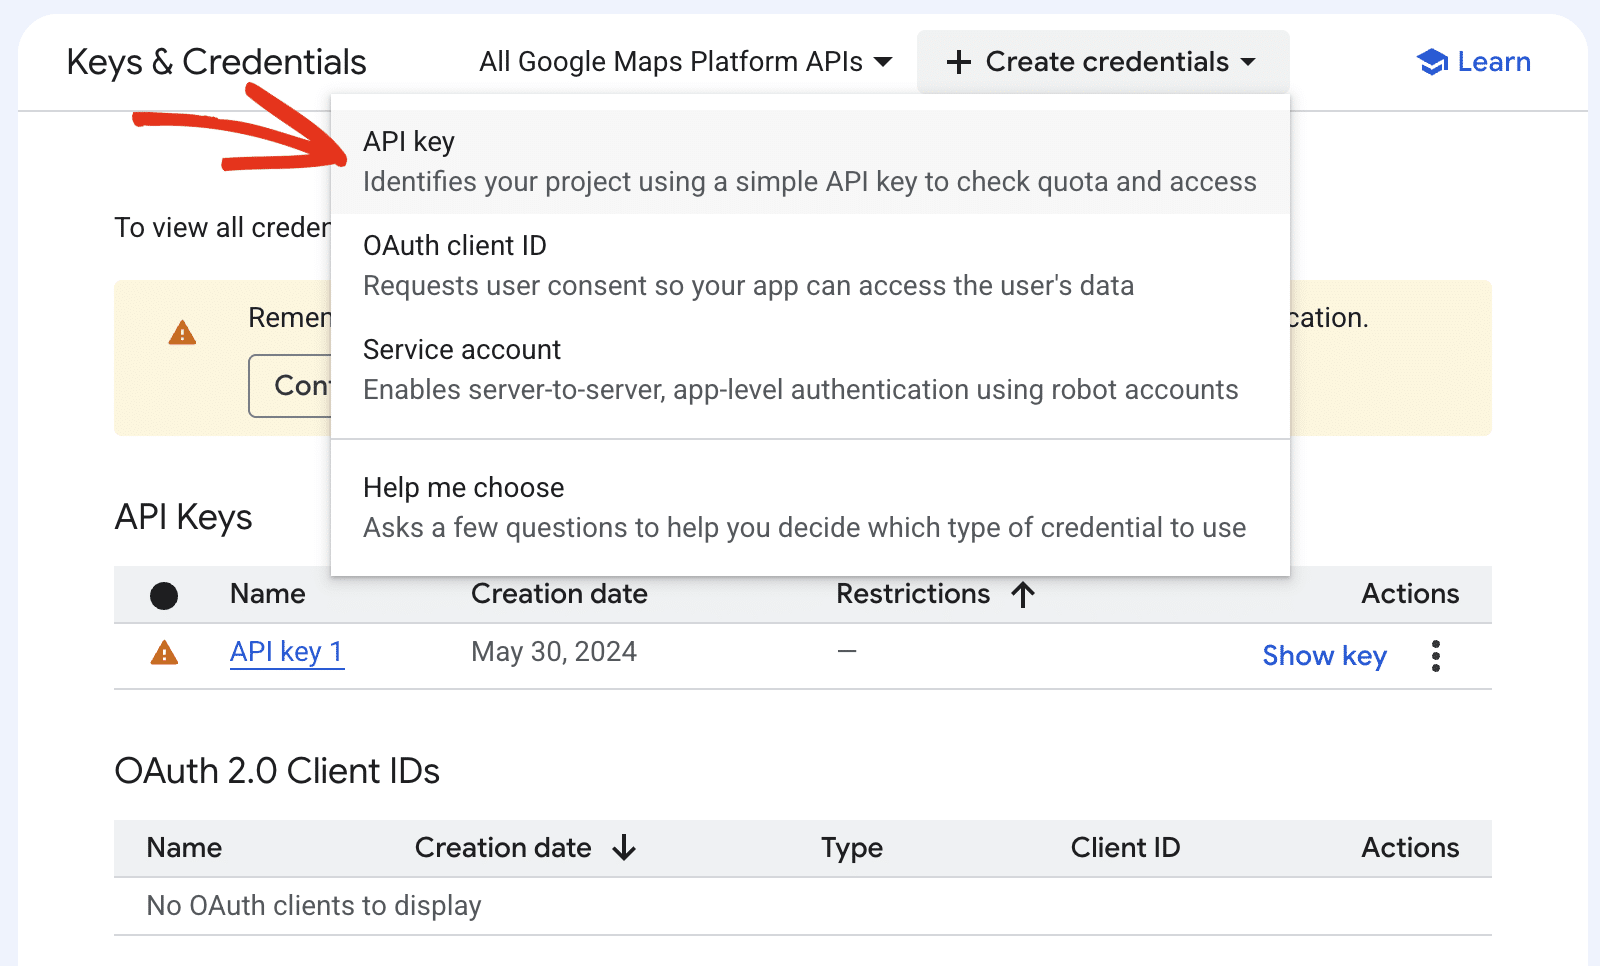
Once here, click the Create credentials button and select the API key option.
In the overlay that appears, enter a name for the API key. This is for internal use only, but we recommend using a descriptive name.
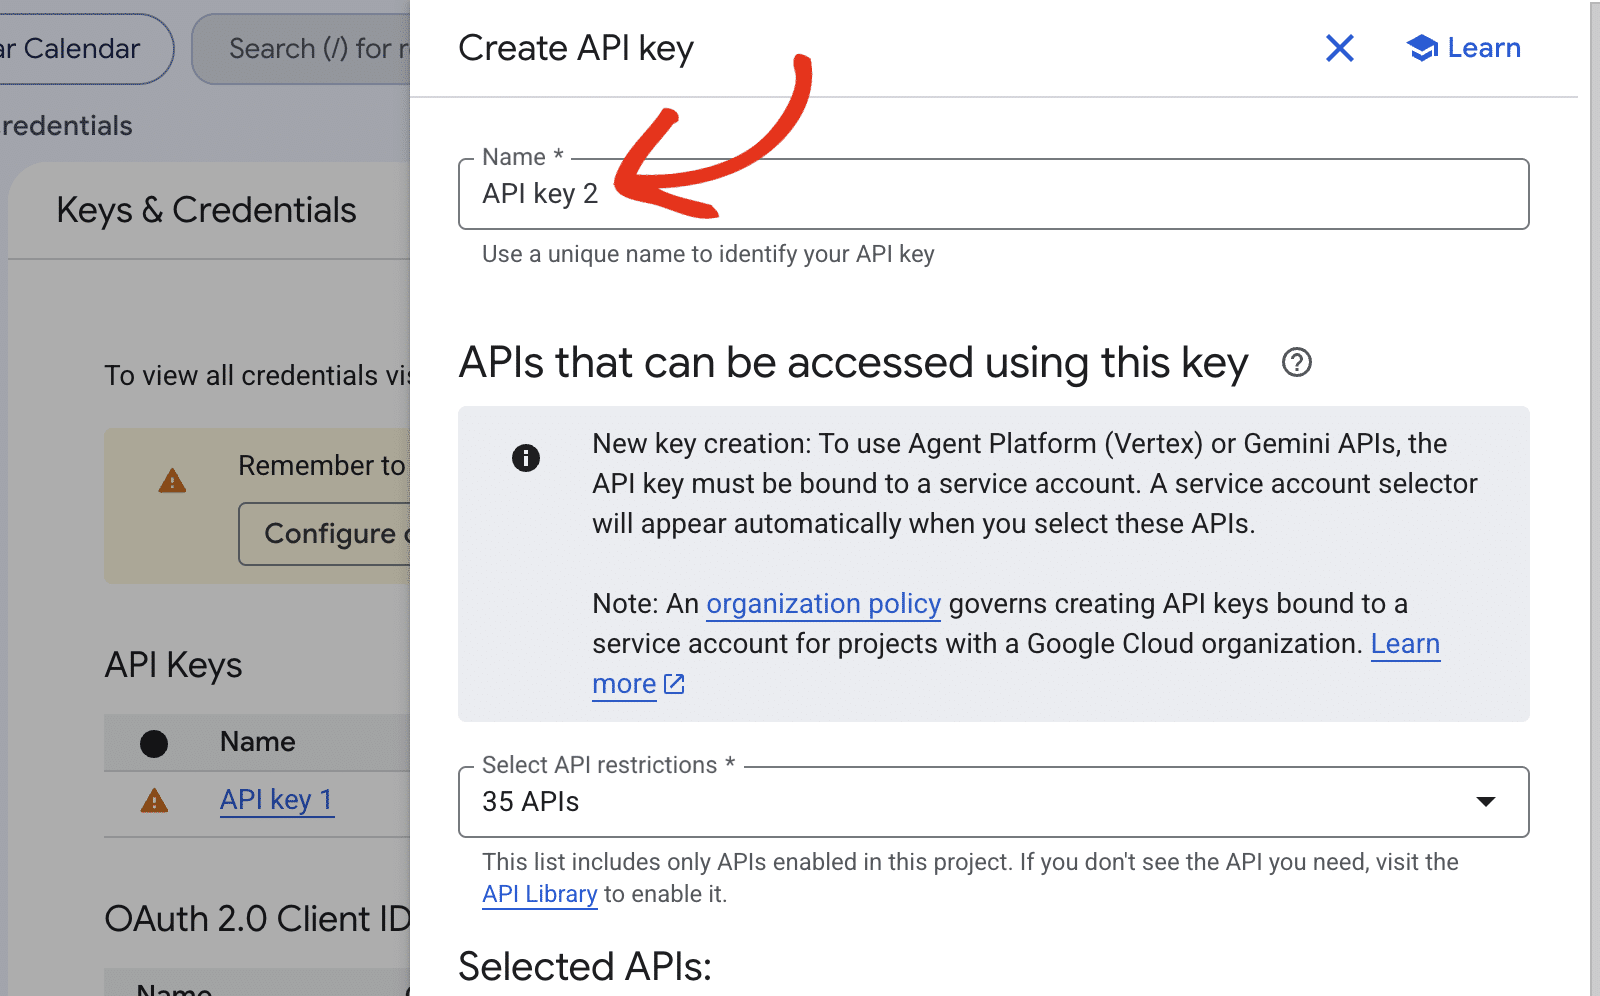
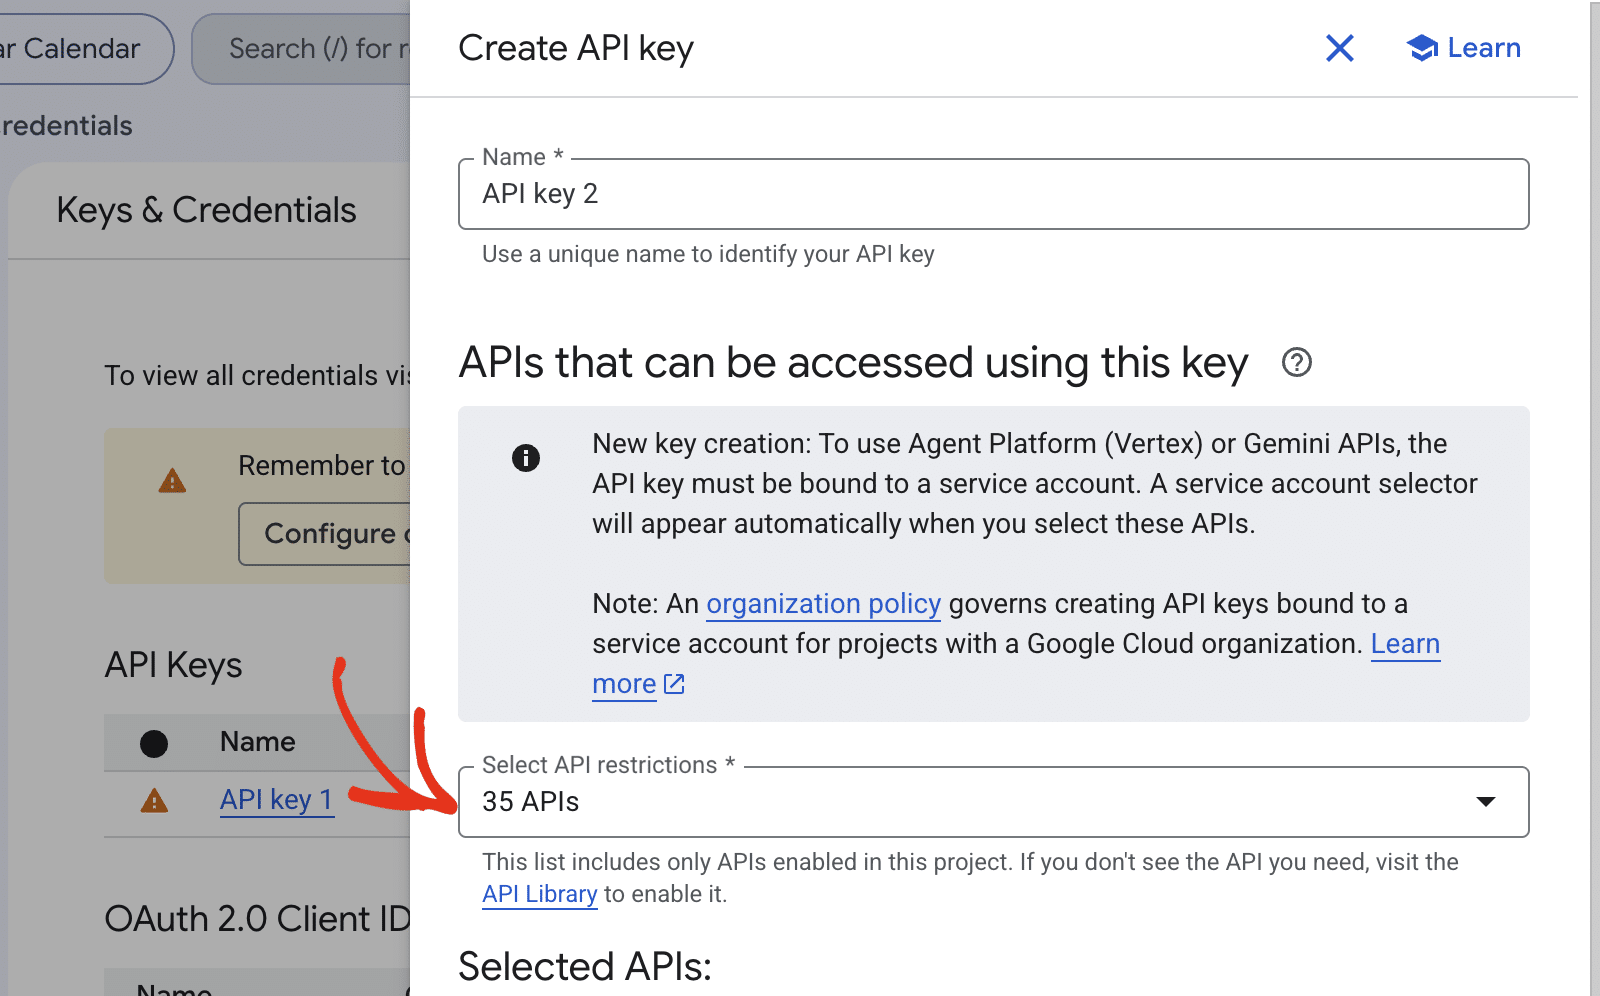
After that, use the Select API restrictions dropdown to limit the key to specific Google services.
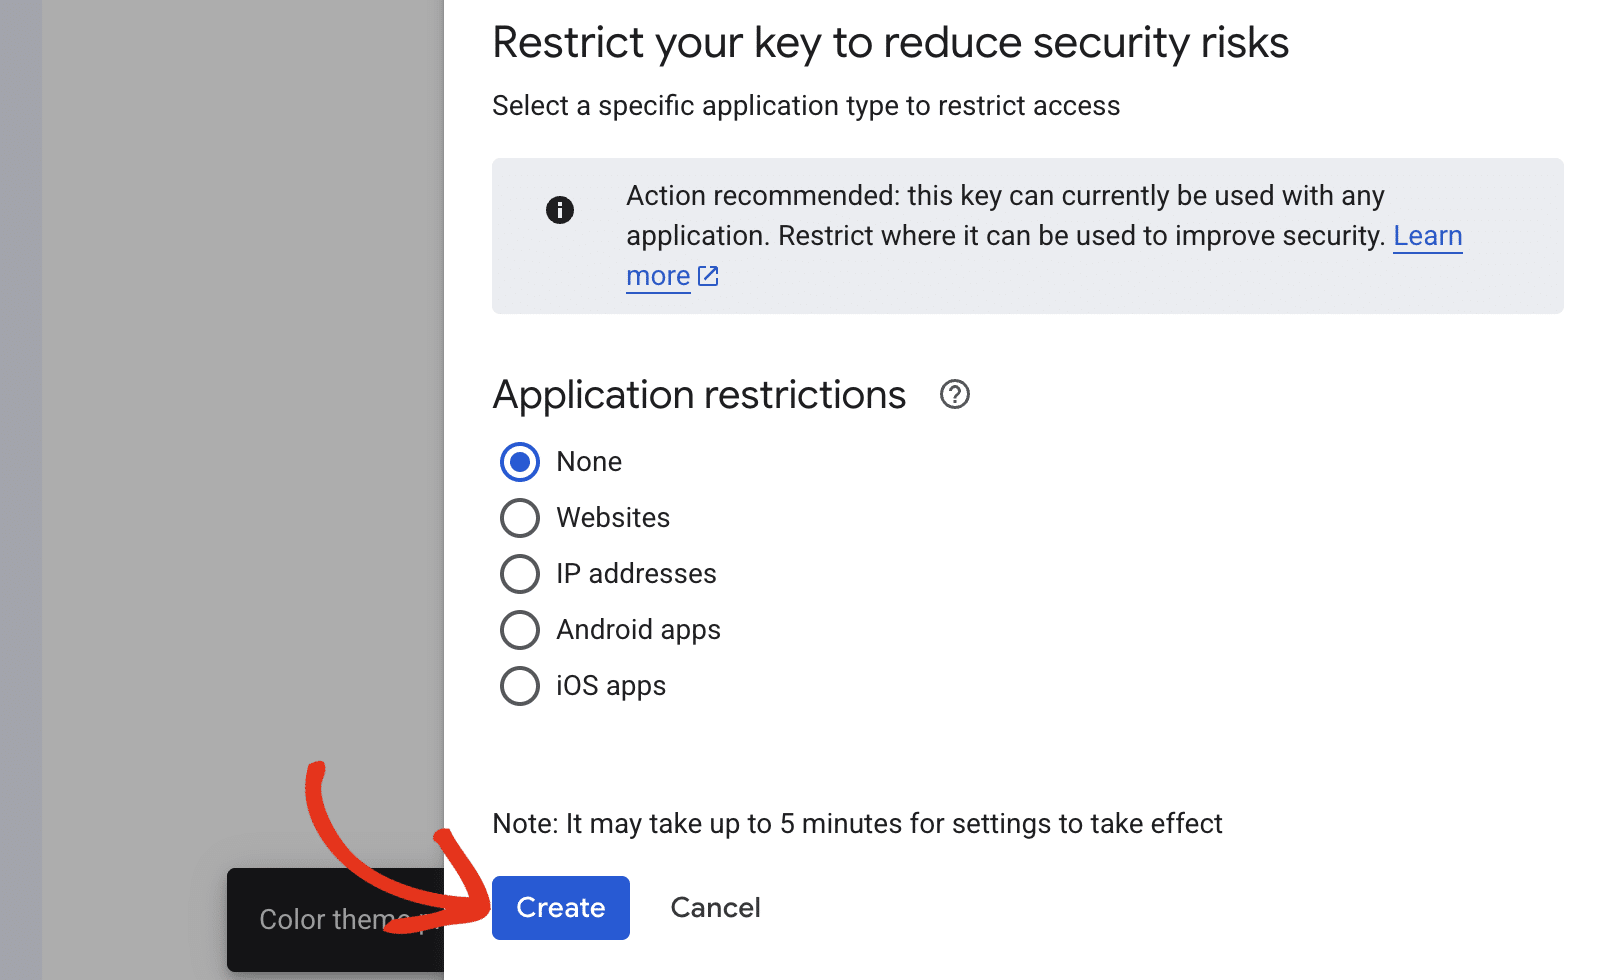
You can optionally restrict the API key to specific applications. Once done, click Create to generate your key.
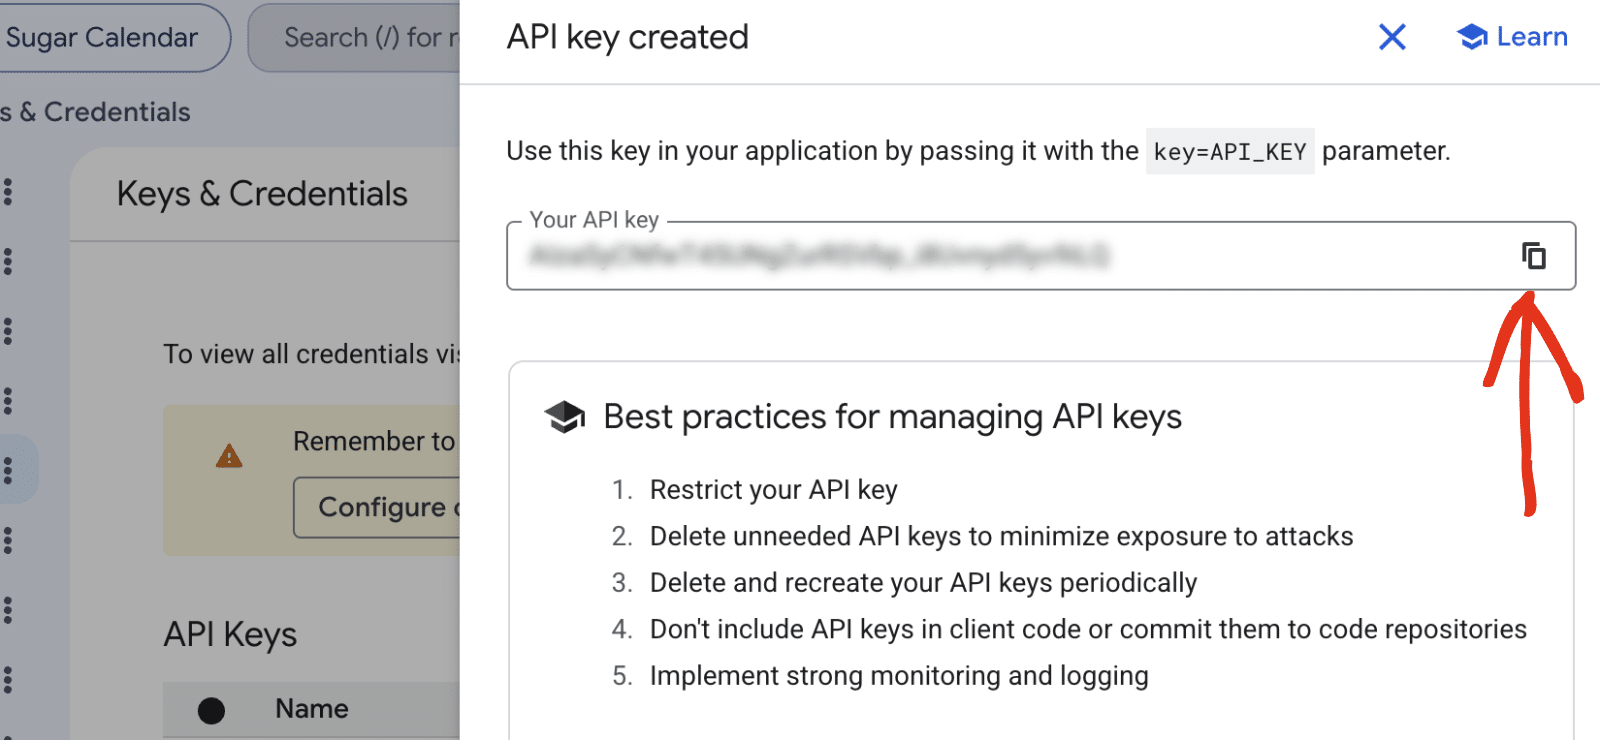
This will generate an API key for your project. Go ahead and copy this key by clicking the copy icon next to it.
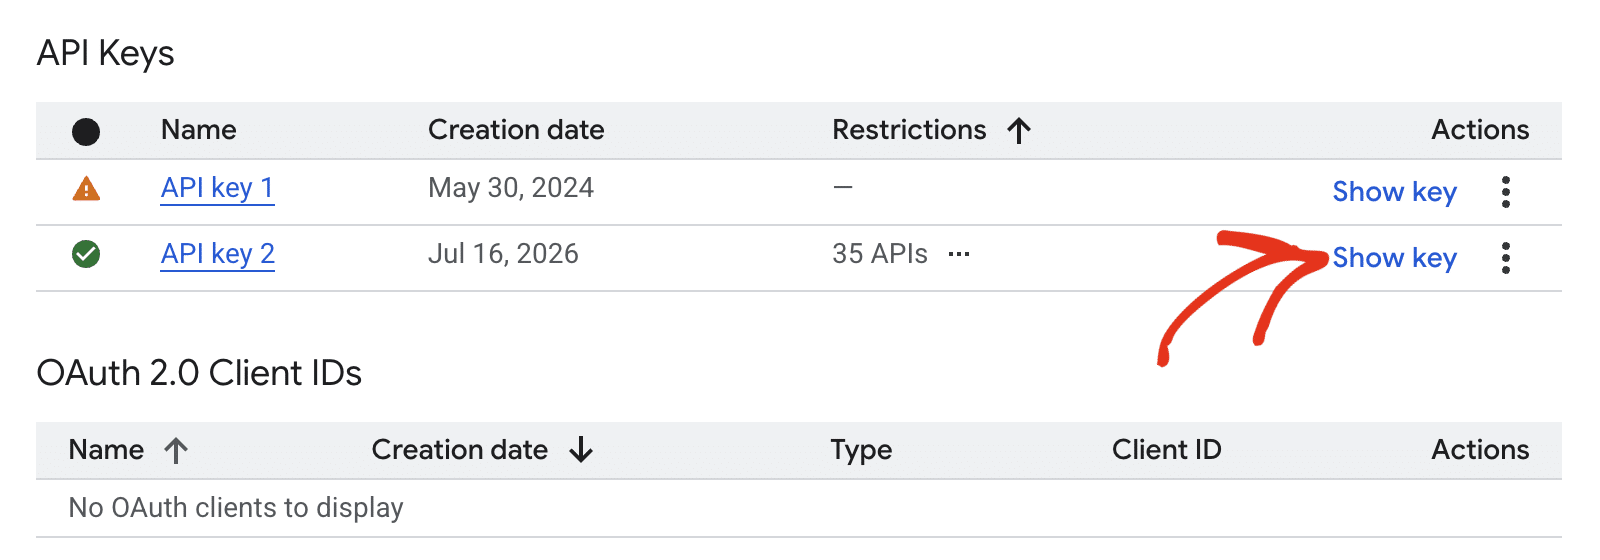
If you’d like to preview the API key at any time, click the Show key link below the API Keys section.
Saving Your Settings
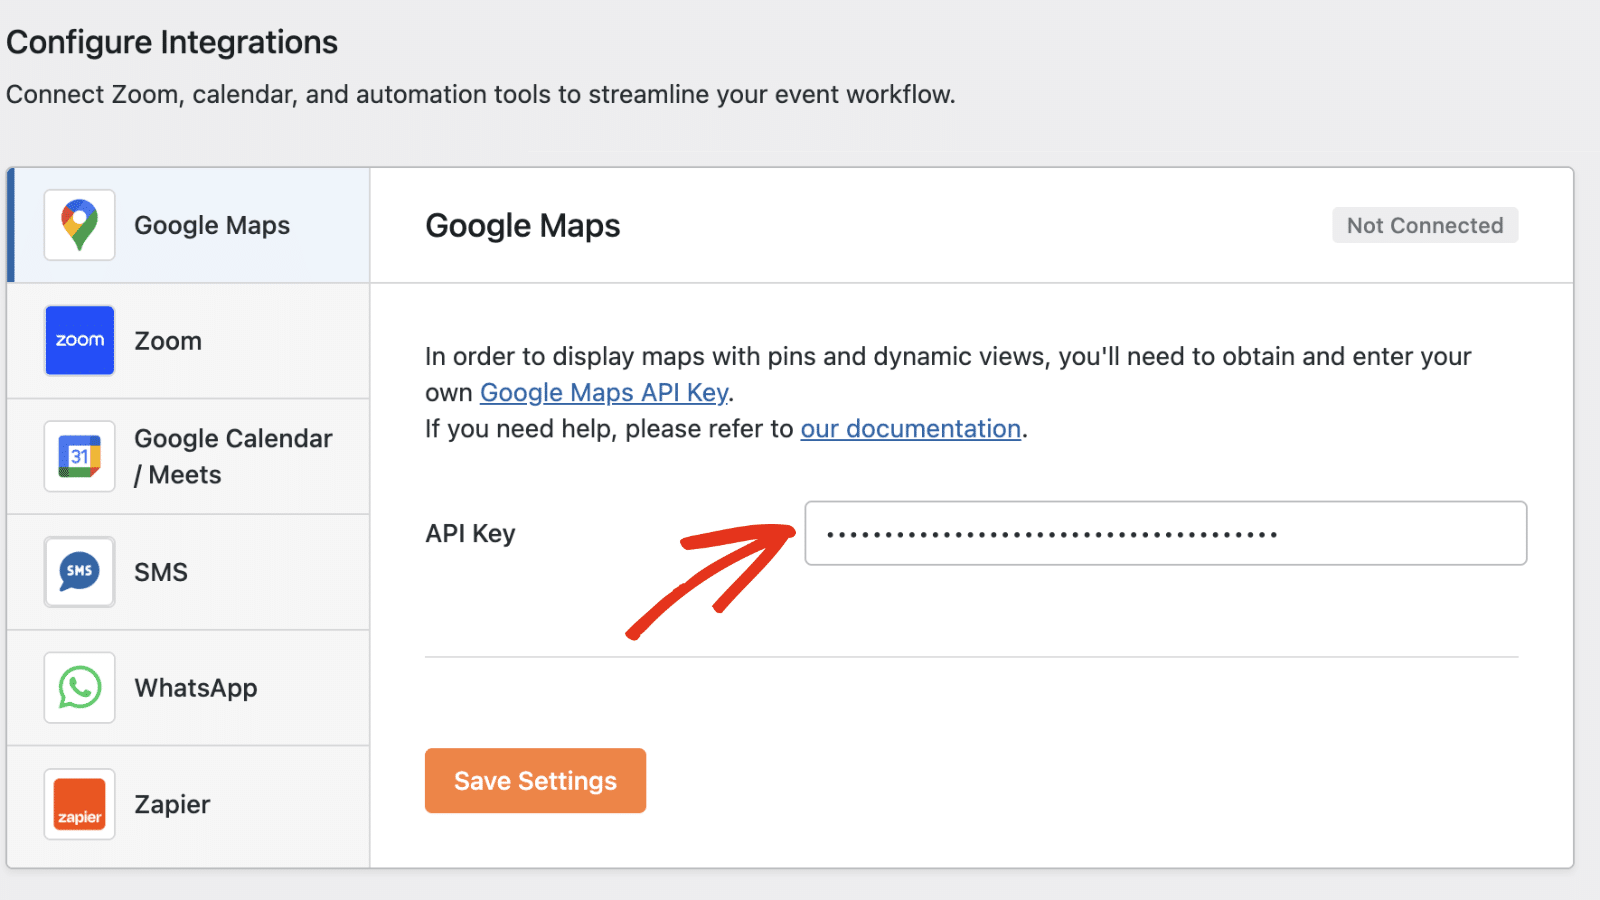
After copying your API key, return to the browser tab with your Sugar Calendar Events plugin settings open. Then paste the API key you copied into the API Key field.
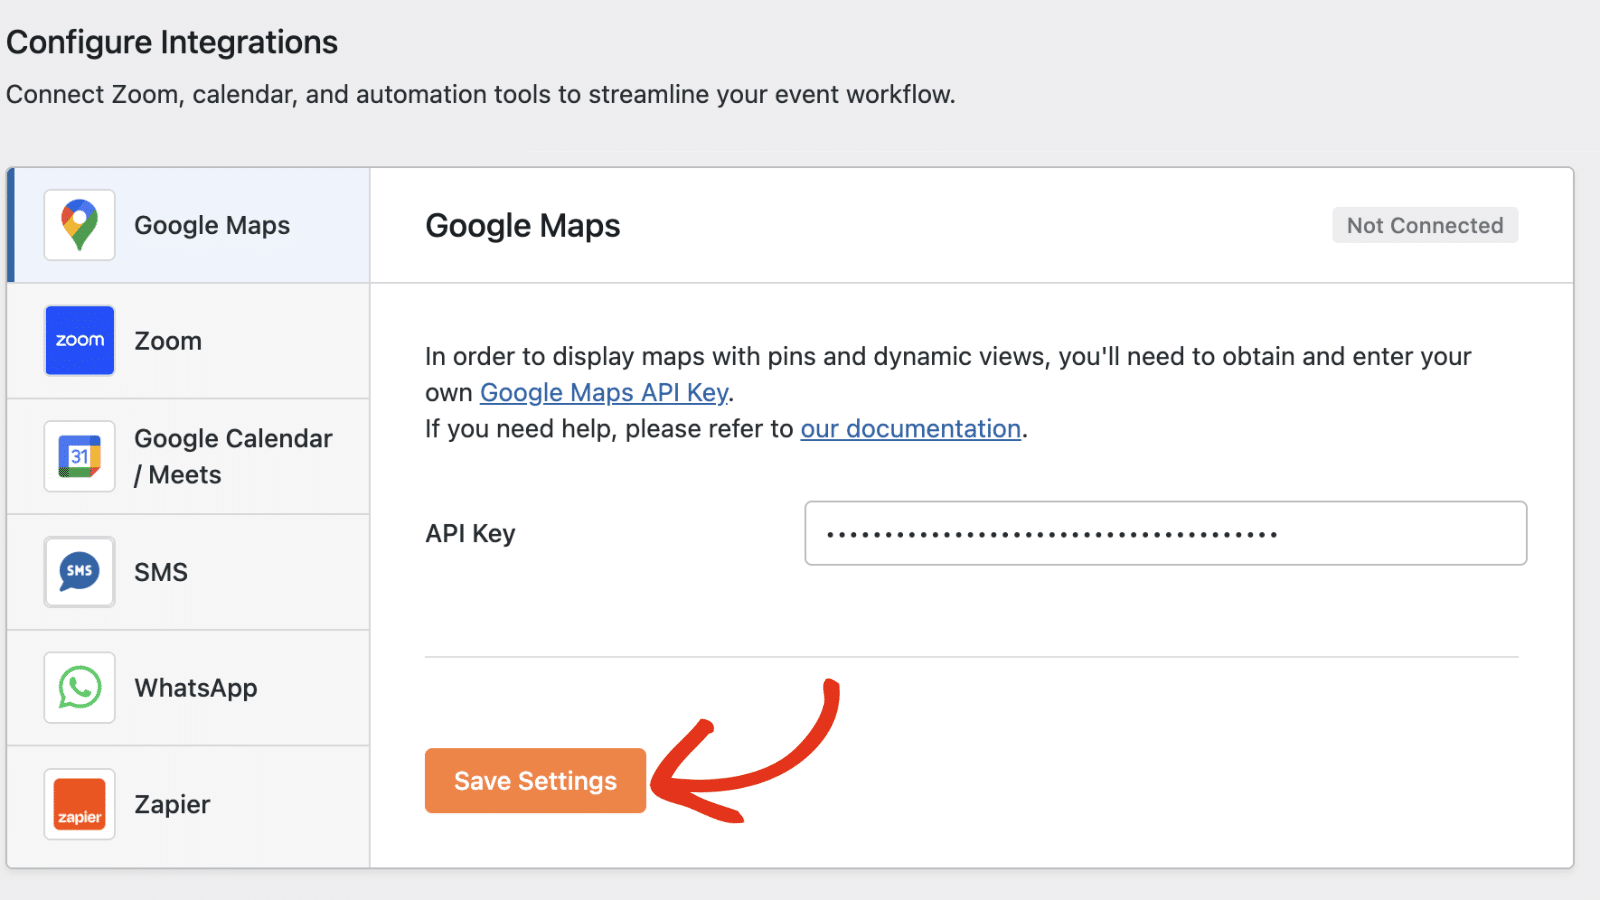
Once done, click the Save Settings button to register your changes.
Viewing Google Maps on Events
For this, you’ll need to create a new event or edit an existing one to access the event editor. Once there, select the Location tab and choose one of the locations you’ve added to your site.
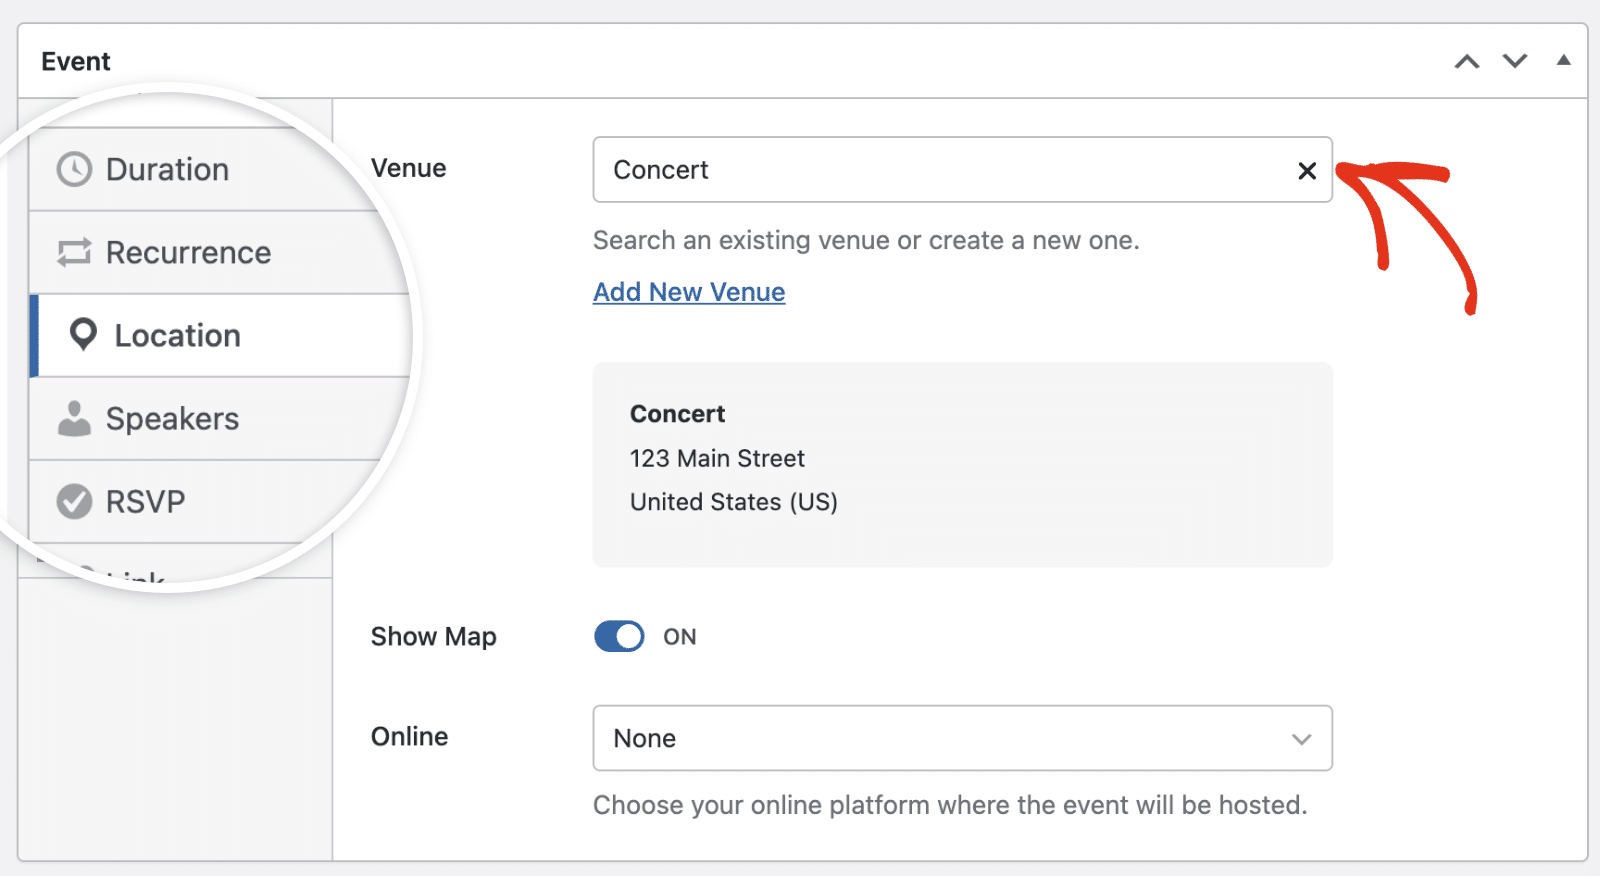
Then toggle the Show Map option to the ON position.
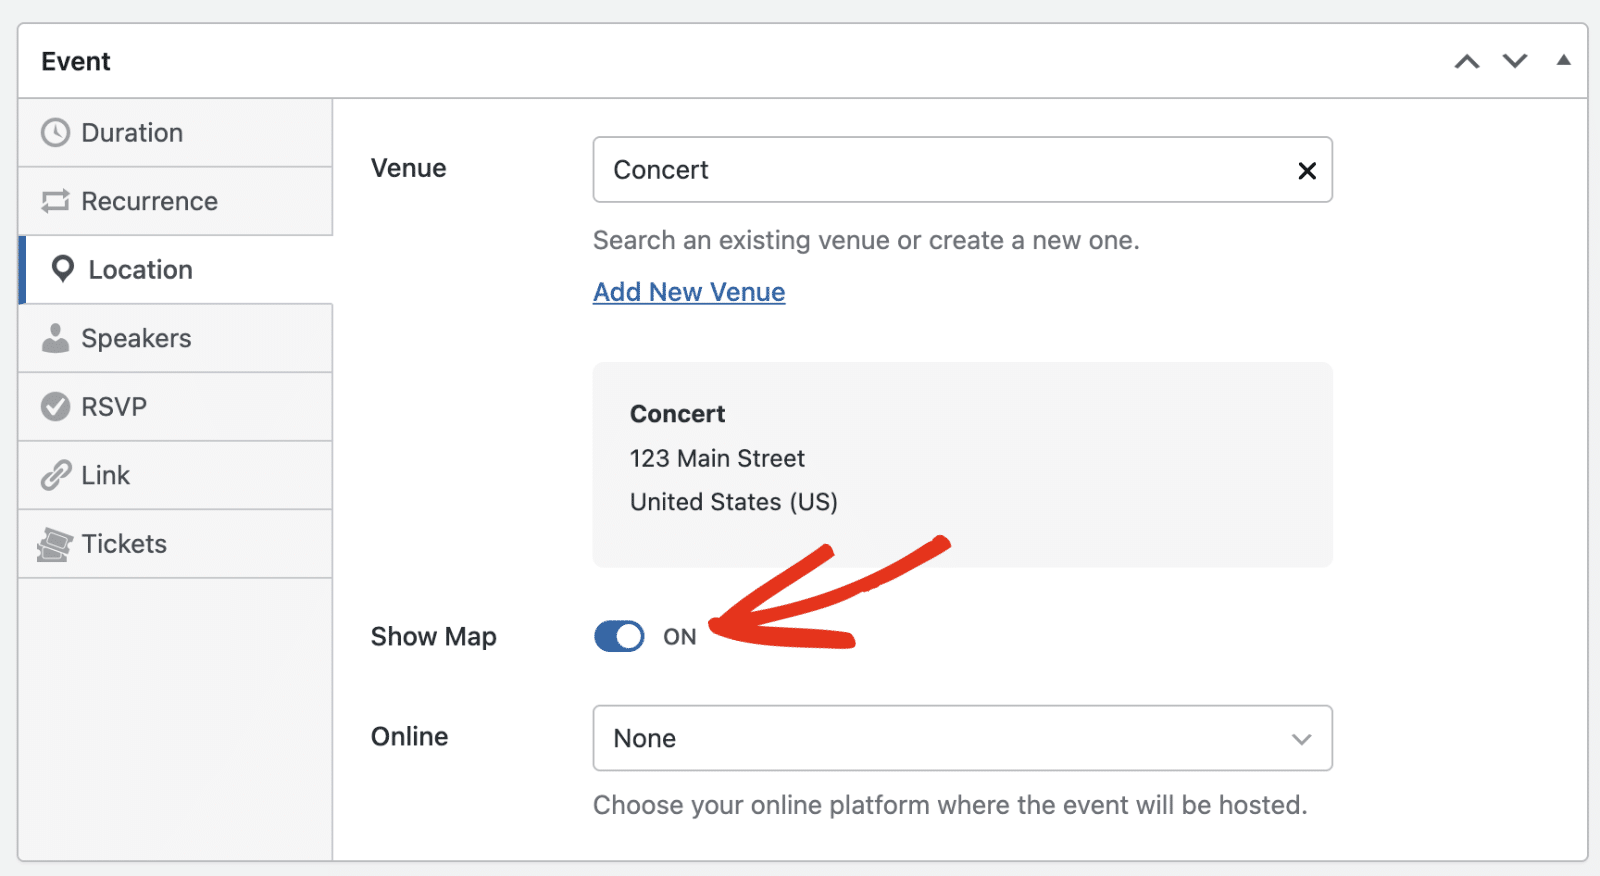
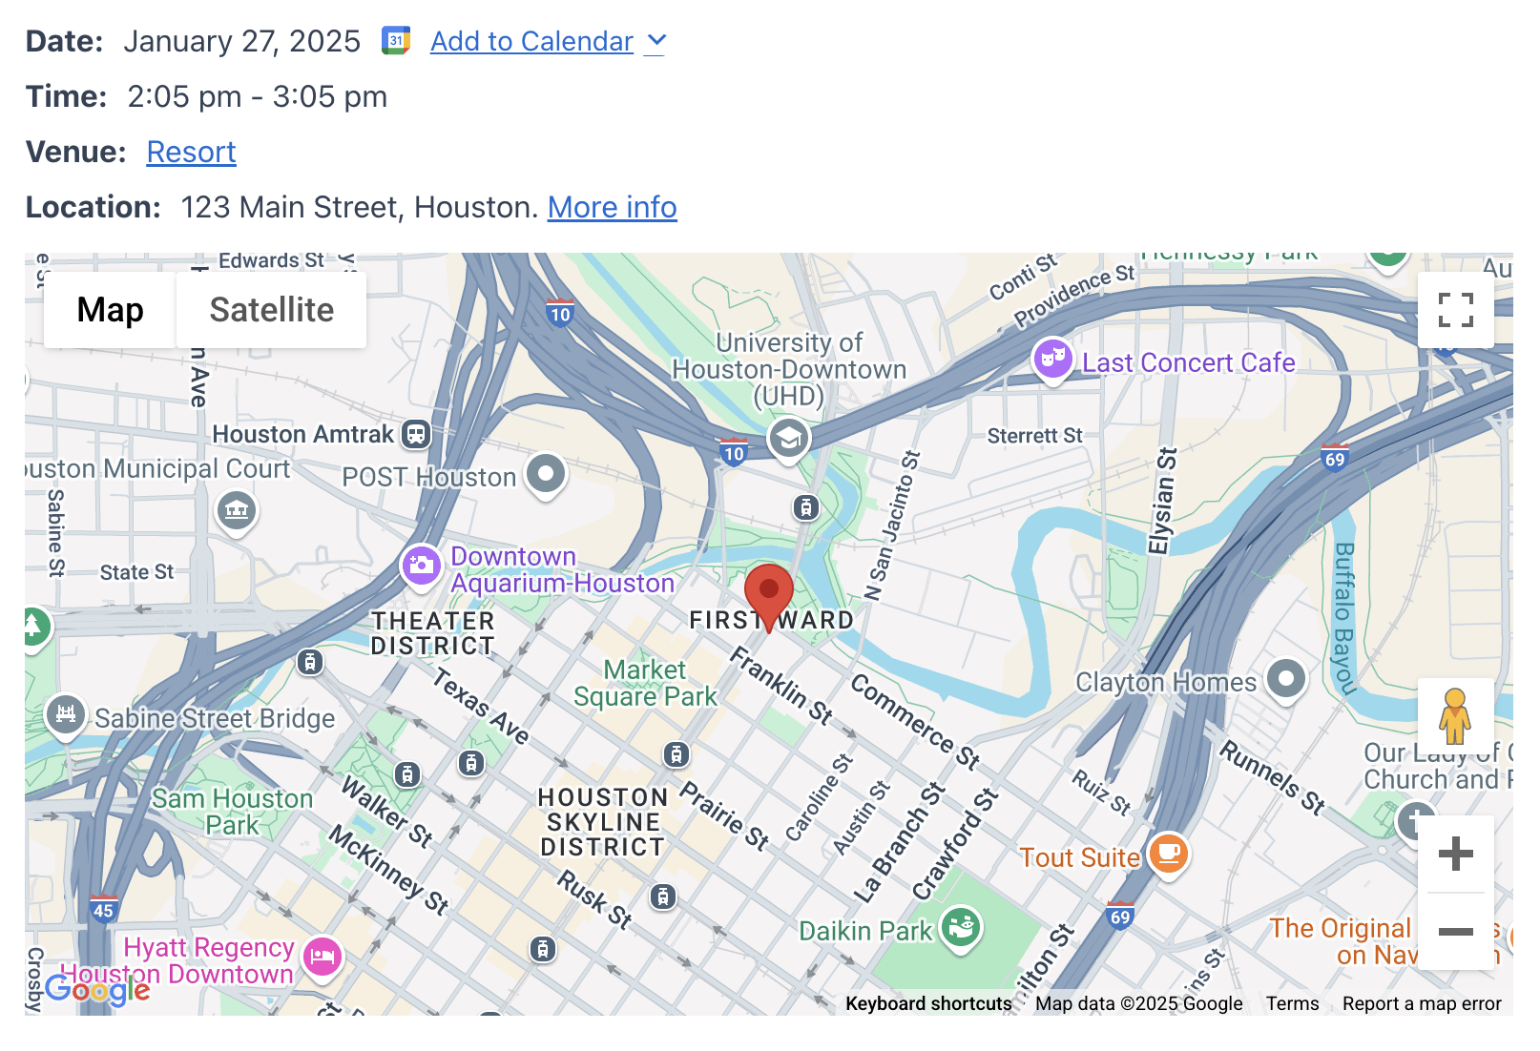
After selecting the event venue, save your changes and preview the event. When viewing the event details page, Google Maps will display a map pointing to the location you specified for the event.
That’s it! You’ve now learned how to connect Sugar Calendar Events with Google Maps.
Next, would you like to display events created on your site’s frontend? Our tutorial on displaying event calendars covers all the steps in detail.