Would you like to create reusable event venues on your site? Sugar Calendar lets you create venues that you can easily add as event locations.
In this tutorial, you’ll learn how to create and use venues in Sugar Calendar Events.
Before getting started, make sure the Sugar Calendar Events plugin is installed and activated on your WordPress site and that you’ve verified your license.
Creating a New Venue
There are 2 ways to create venues in Sugar Calendar. You can either add a new one when creating events or create it from the Venues screen.
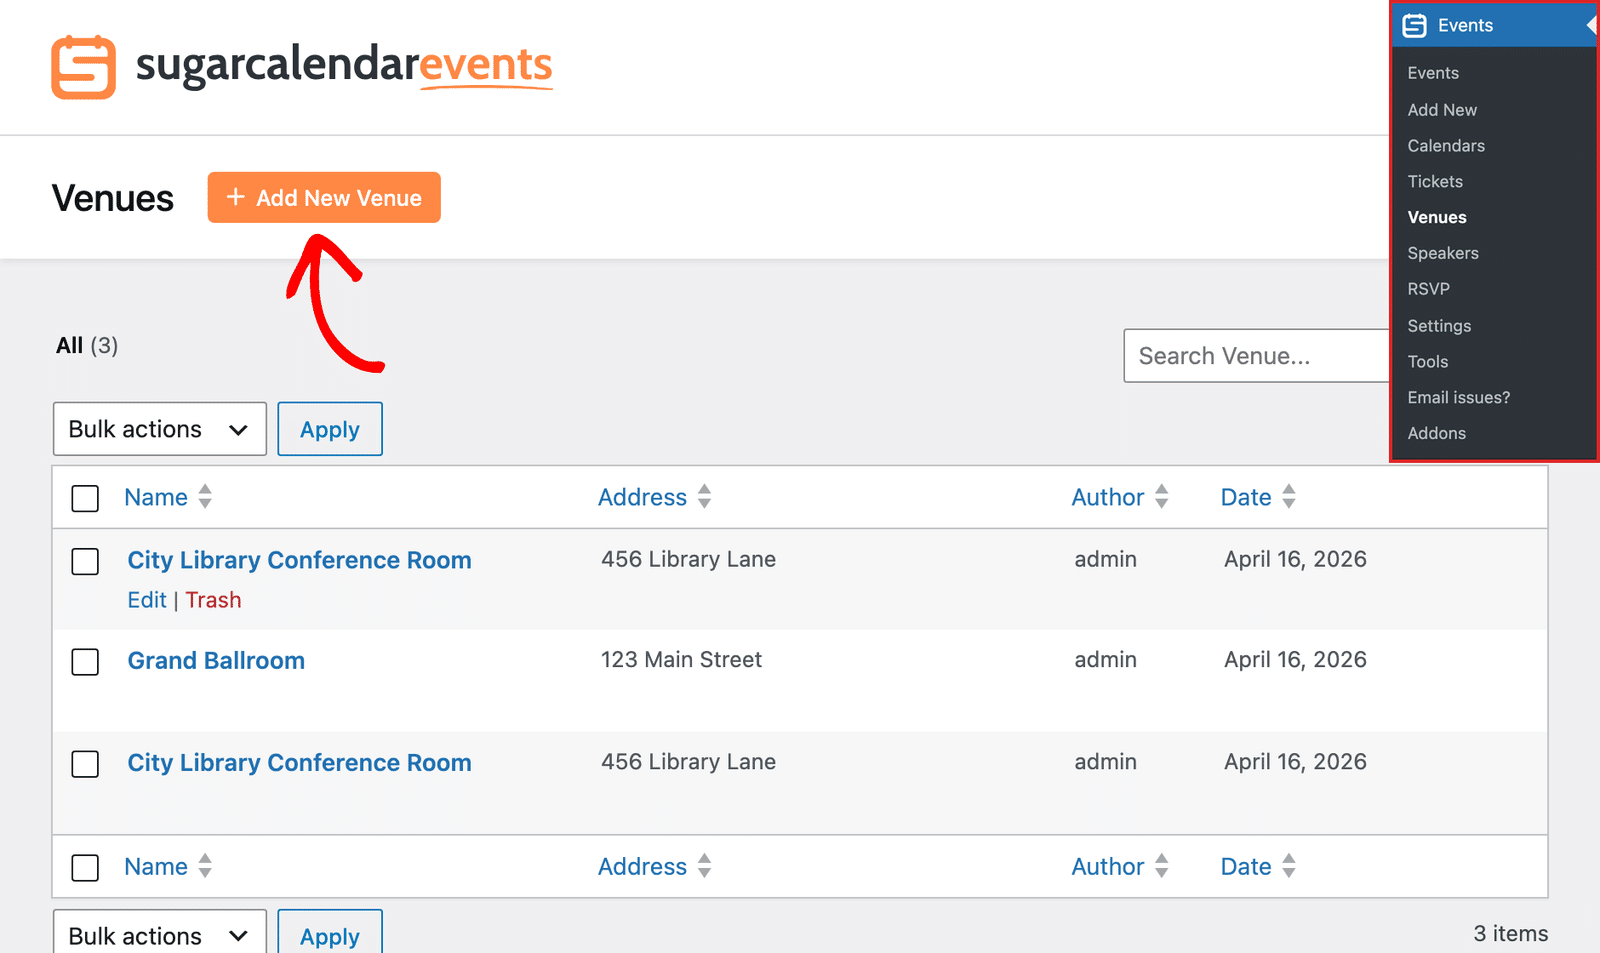
To create a new venue, go to Events » Venues from the WordPress admin dashboard. Then click the Add New Venue button.
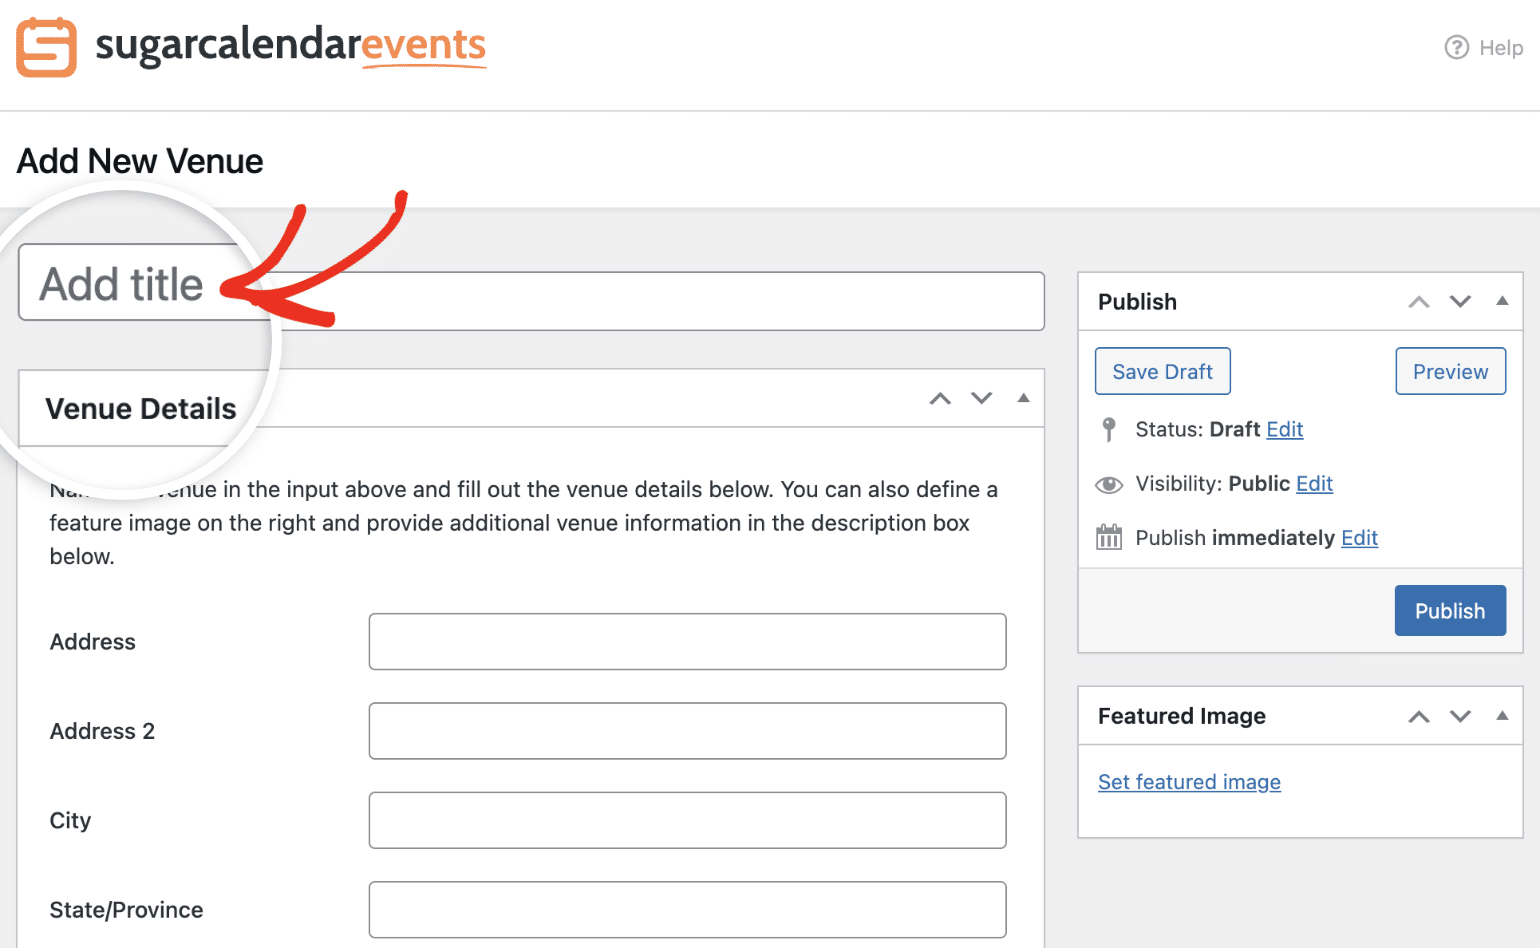
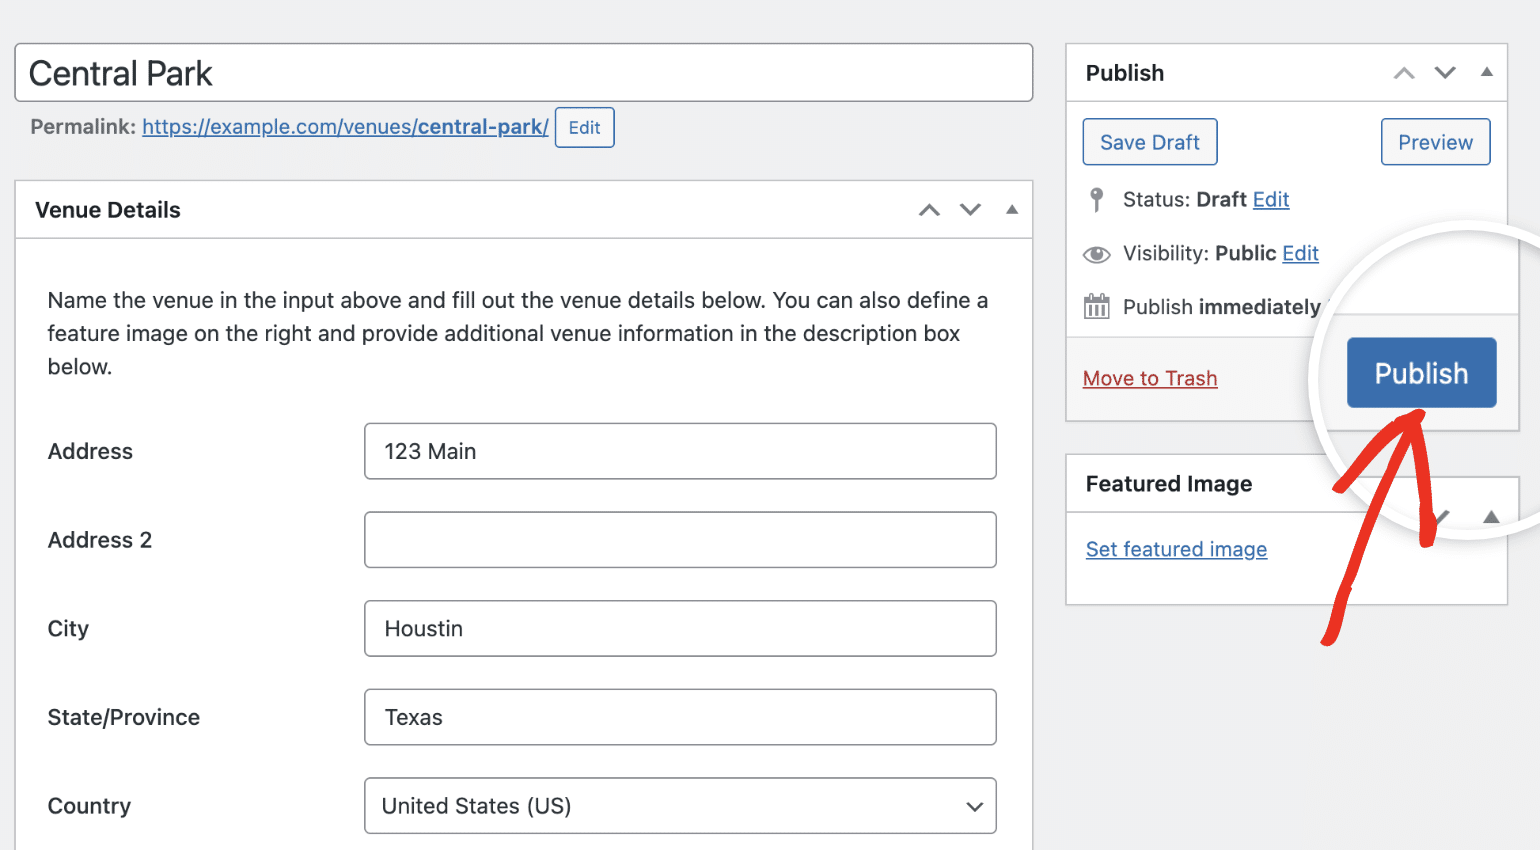
In the Venue editor, you’ll first need to enter a title for the venue you’re creating.
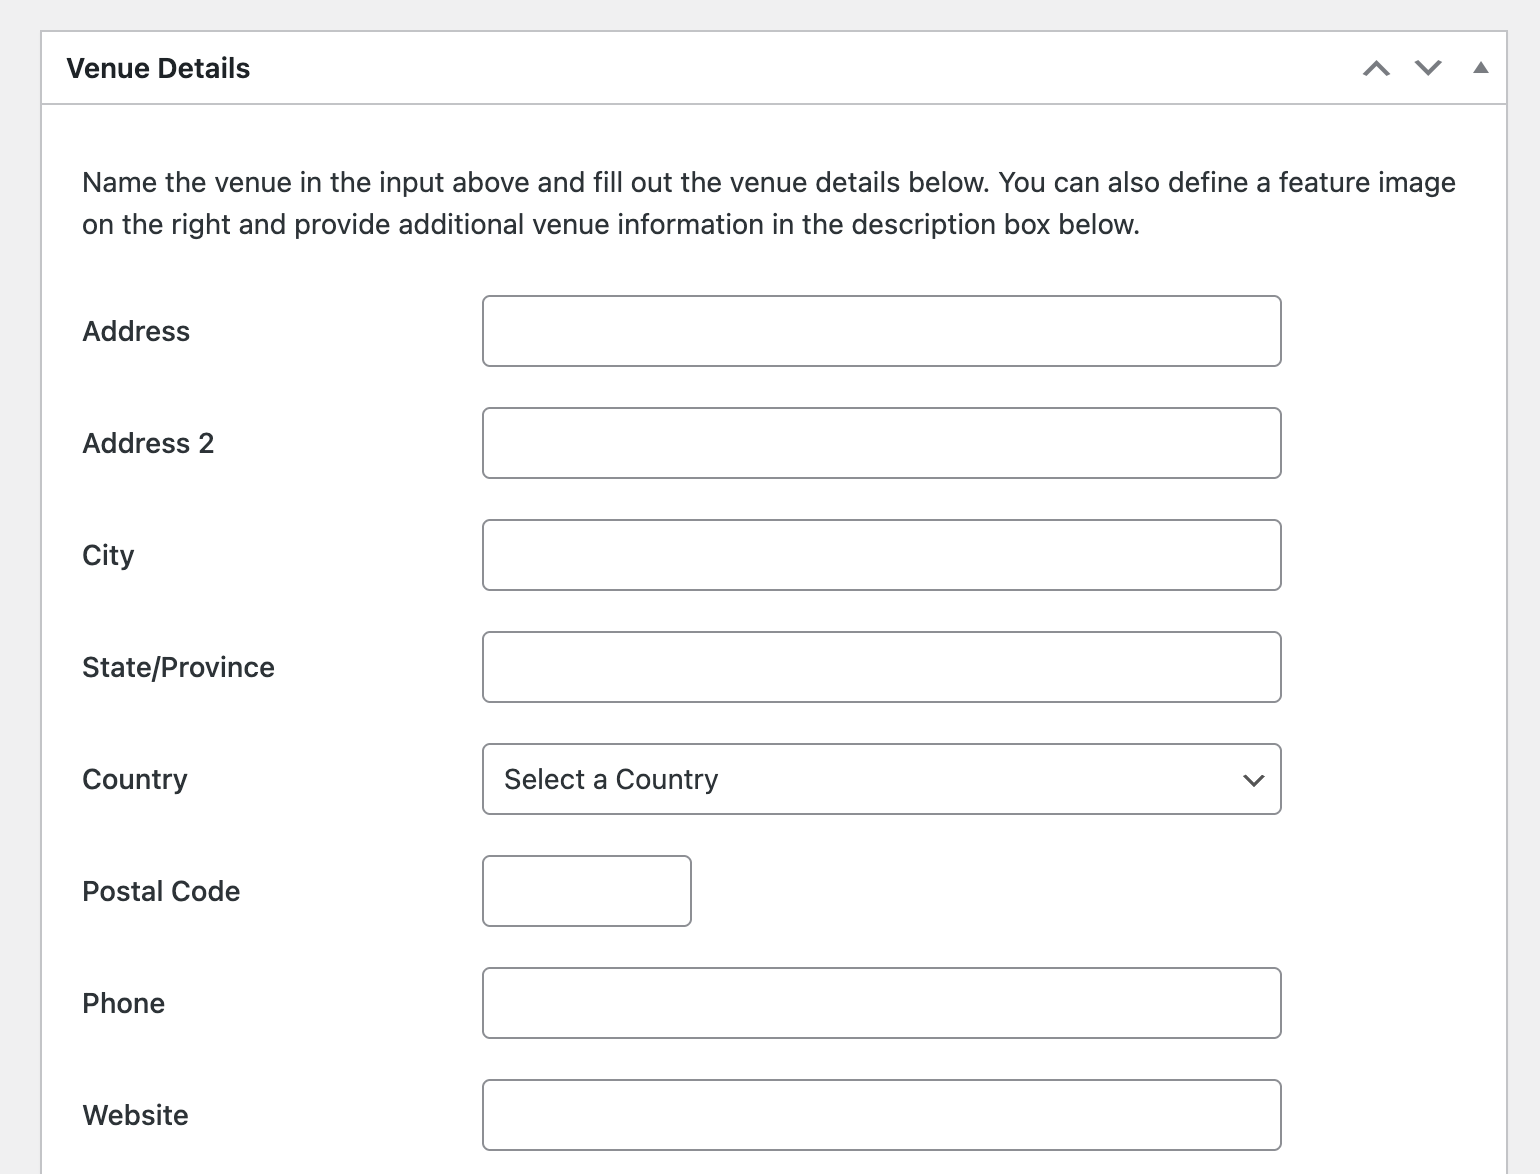
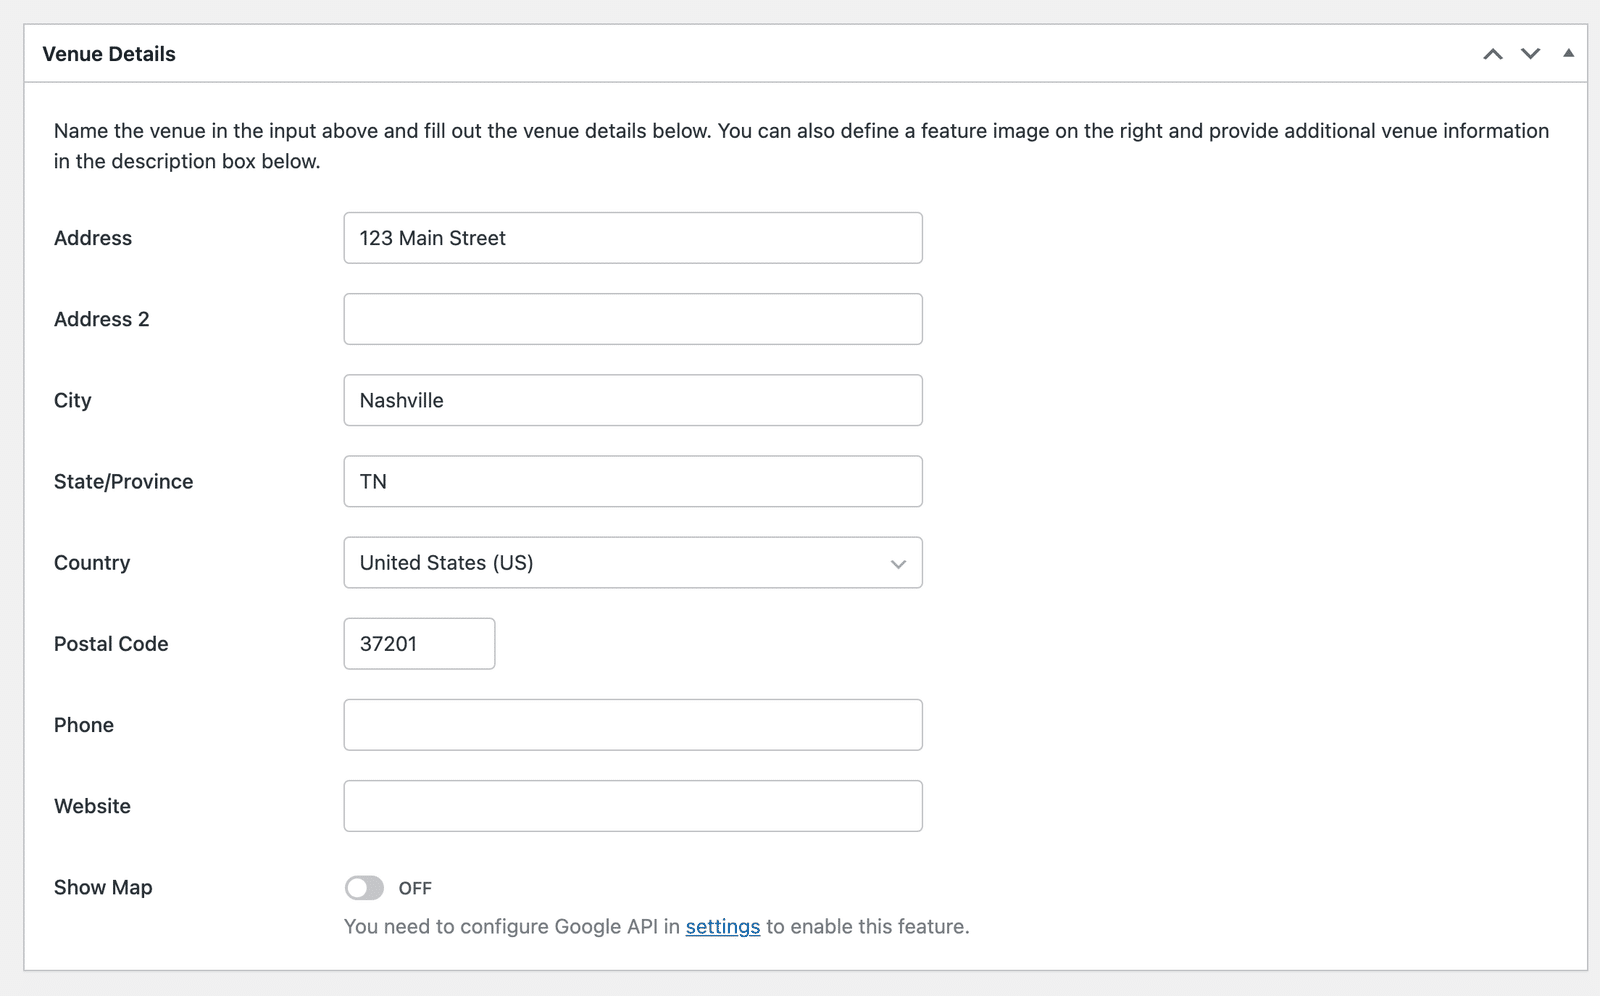
After that, go ahead and fill out the form with the address details for your event location.
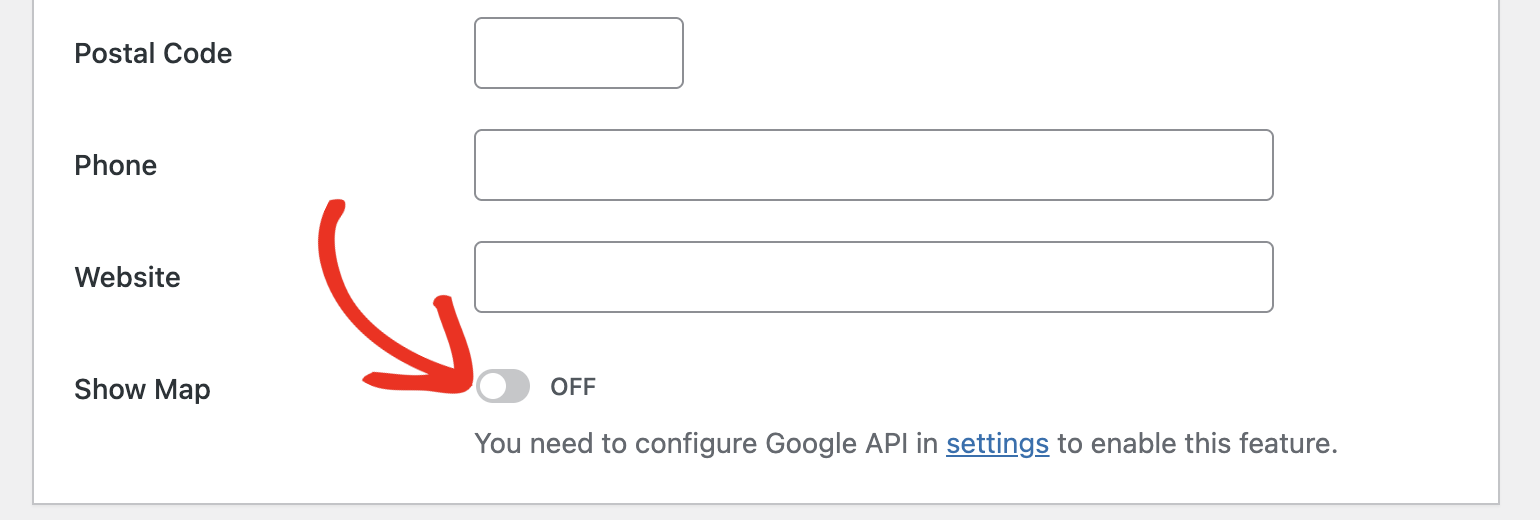
If you’d like to display an interactive map for the venue, go ahead and toggle on the Show Map option.
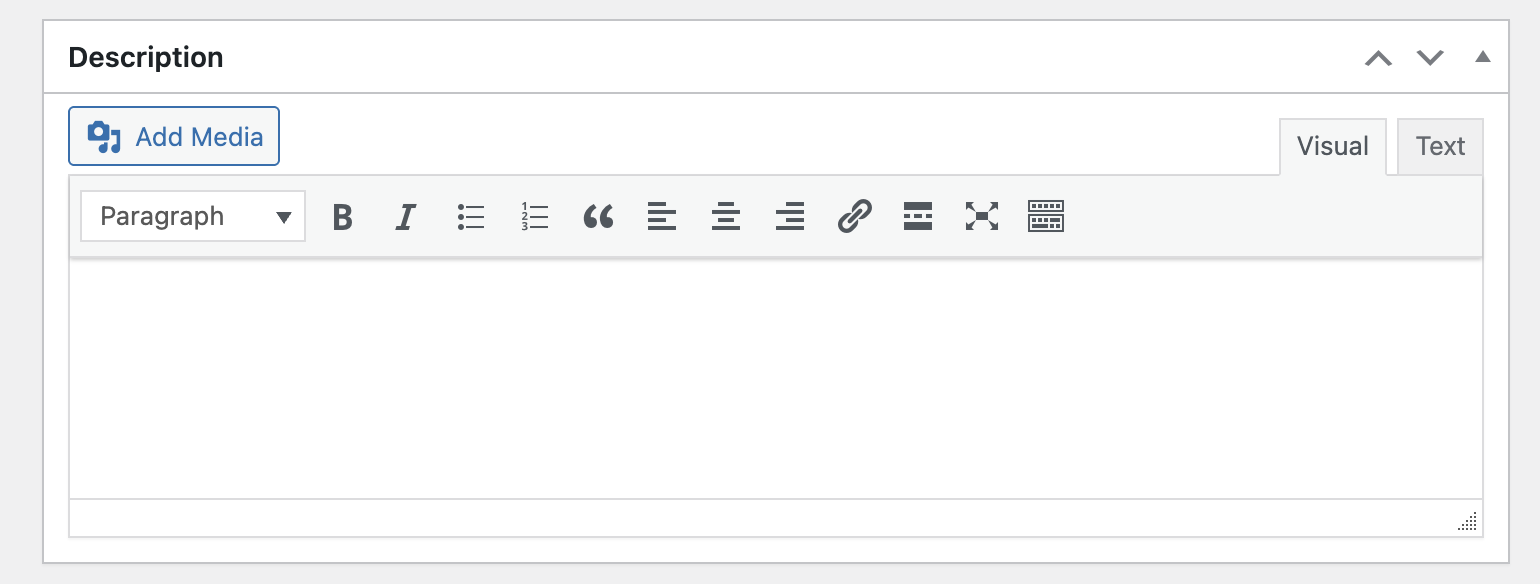
Below the Venue Details section, you’ll find the Description section to add additional details about the venue you’re creating.
You can optionally add a featured image for the venue you’re creating by clicking the Set featured image link. After adding the details, click the Publish button to create the new venue.
Using Venues in Events
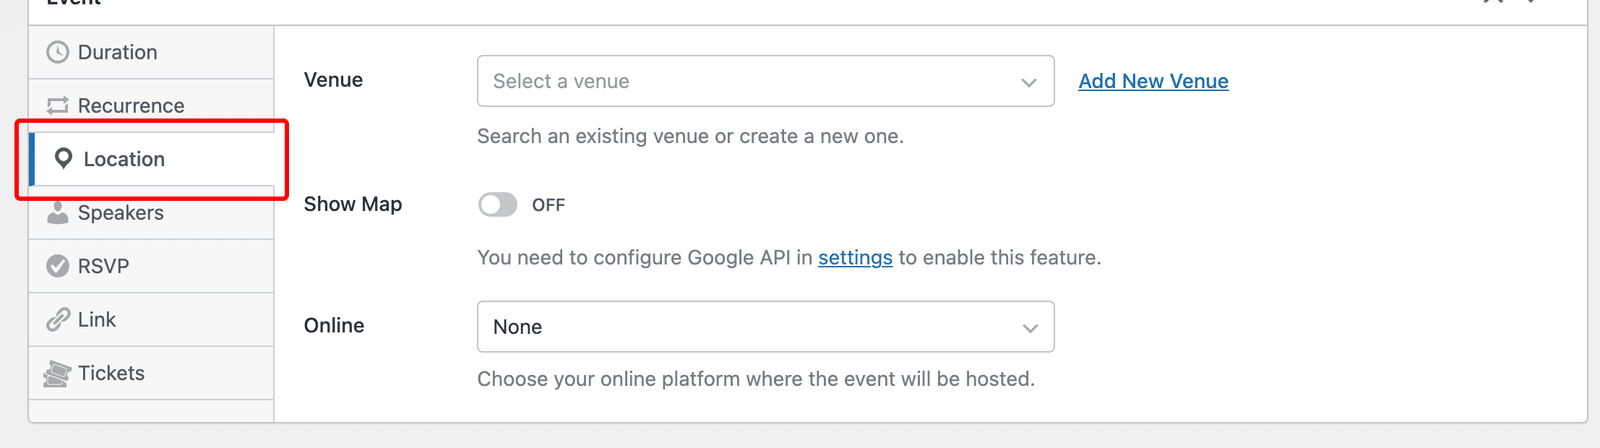
You’ll be able to use the venue you just added when creating an event on your site. To do so, create a new event or edit an existing one to access the event editor. Then click on the Location tab.
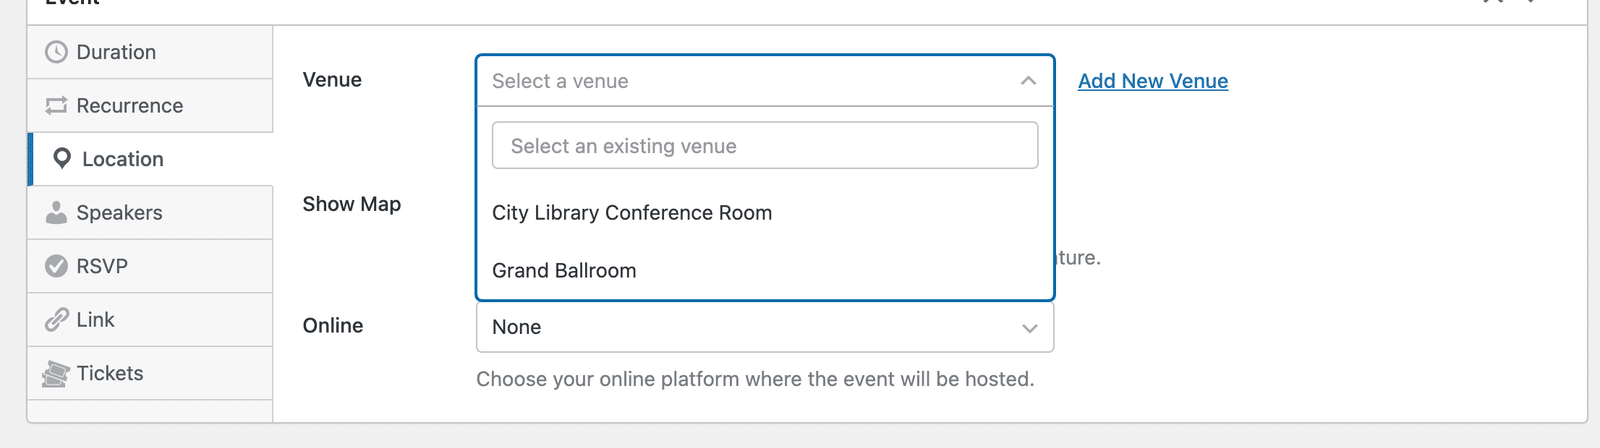
In the Venue dropdown, you’ll see all the event venues you’ve added. Go ahead and select the one you’d like to use for the event.
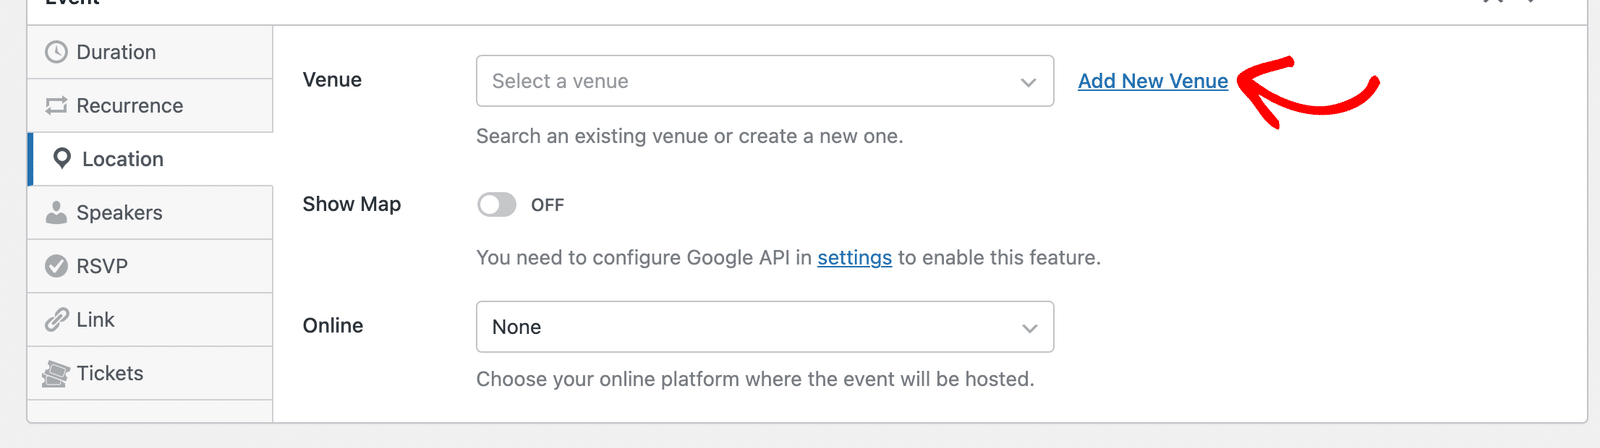
Sugar Calendar also lets you create new venues from the event editor. To do so, click the Add New Venue link.
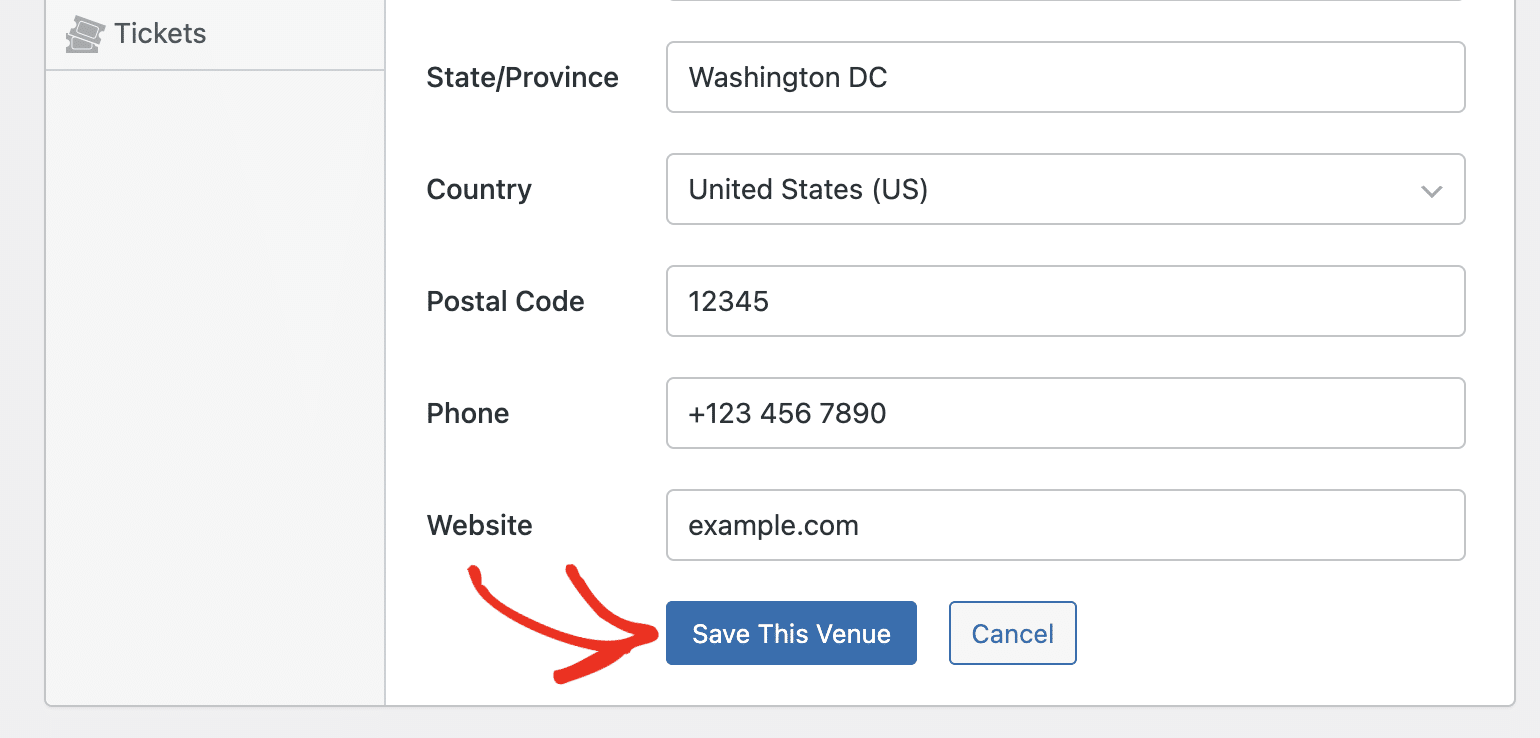
This will display the form where you’ll need to enter details about the venue you’re creating. After filling out the venue details, click the Save This Venue button to add it.
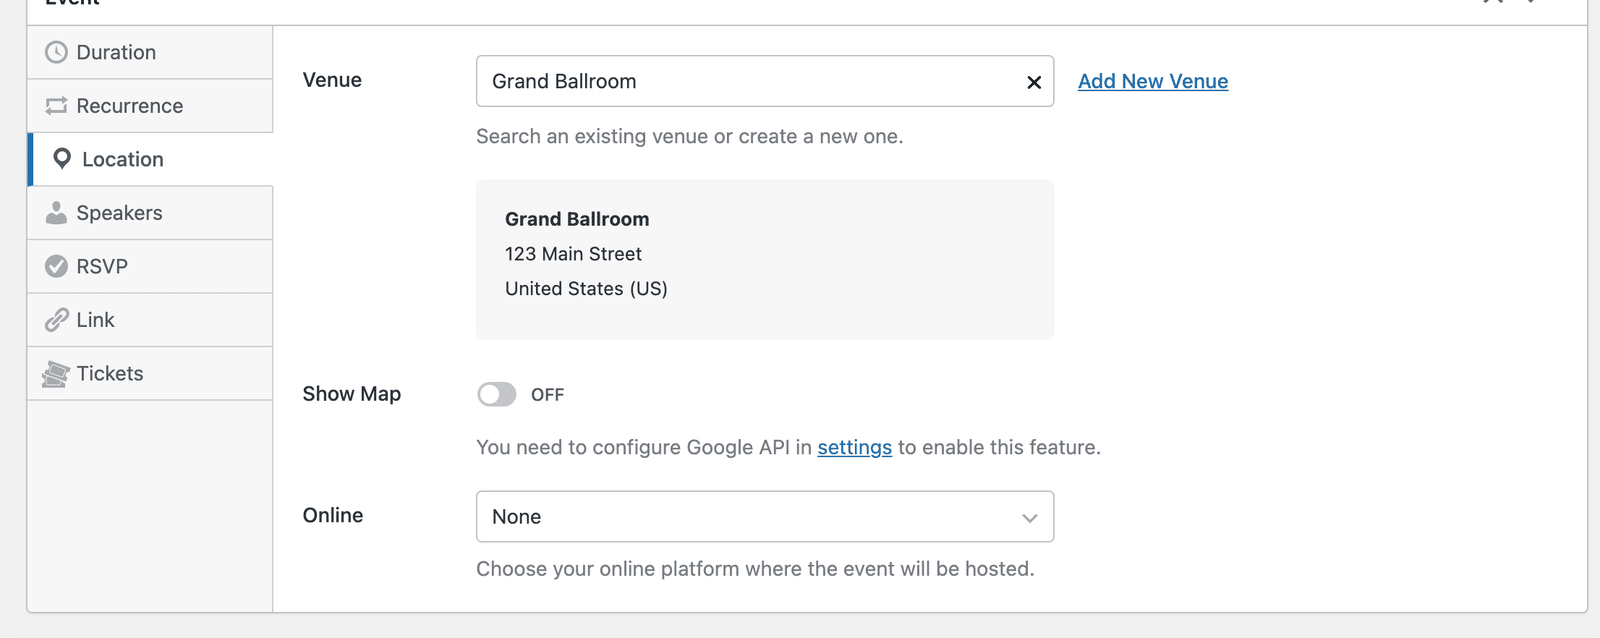
The new venue you just added will be available in the Venue dropdown.
Editing Venues
To edit a venue, go to Events » Venues. Here, you’ll see all the venues you’ve added to your site. Hover over the venue you’d like to edit and click Edit.
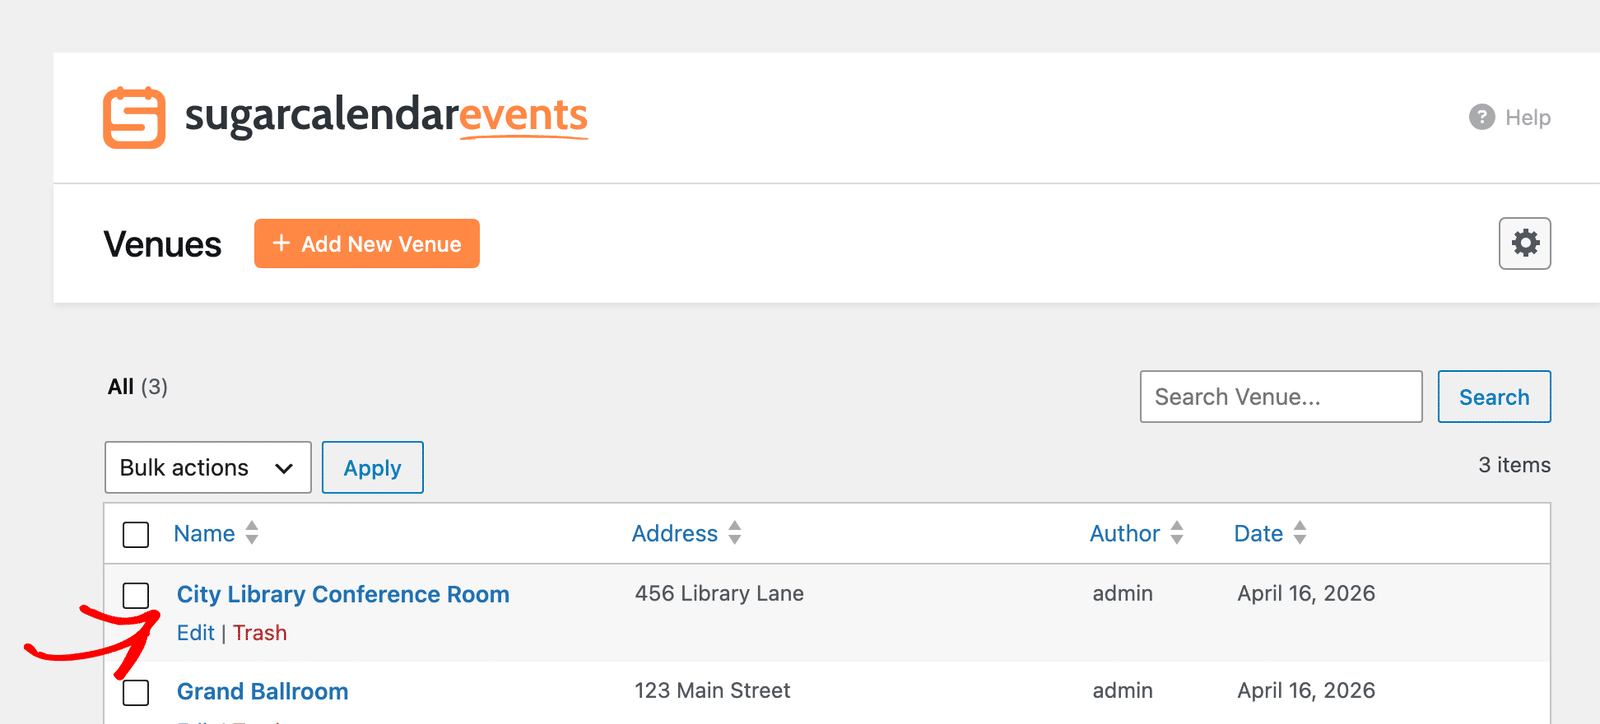
This will direct you to the venue editor where you can edit details about the venue.
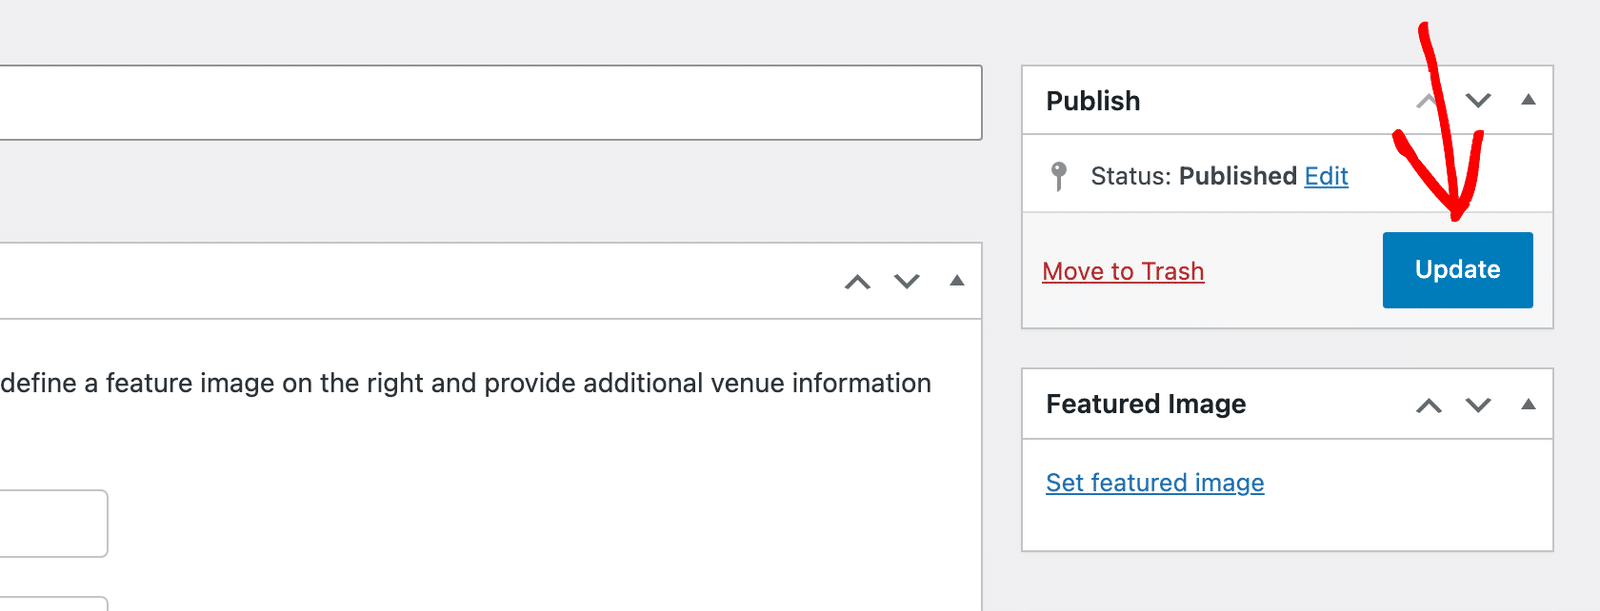
After editing the venue, be sure to click the Update button to save your changes.
Alternatively, if you’re in the event editor, you can edit a venue after selecting it. To do so, click on the pen icon.
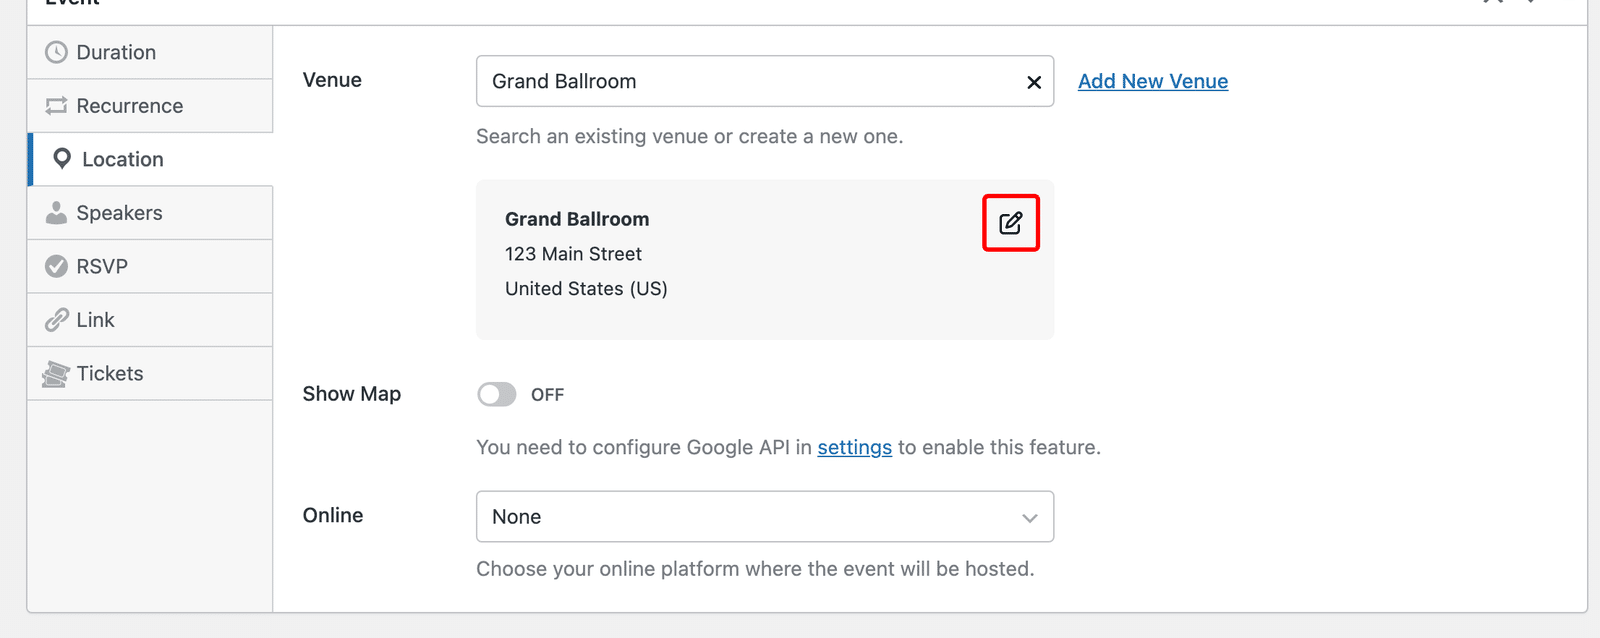
This will open up the venue fields. Go ahead and update the details you’d like to change. When you’re ready, click the Save This Venue button to save your changes.
Deleting Venues
To delete venues on your site, navigate to Events » Venues. Then hover over the venue you’d like to delete and select Trash.
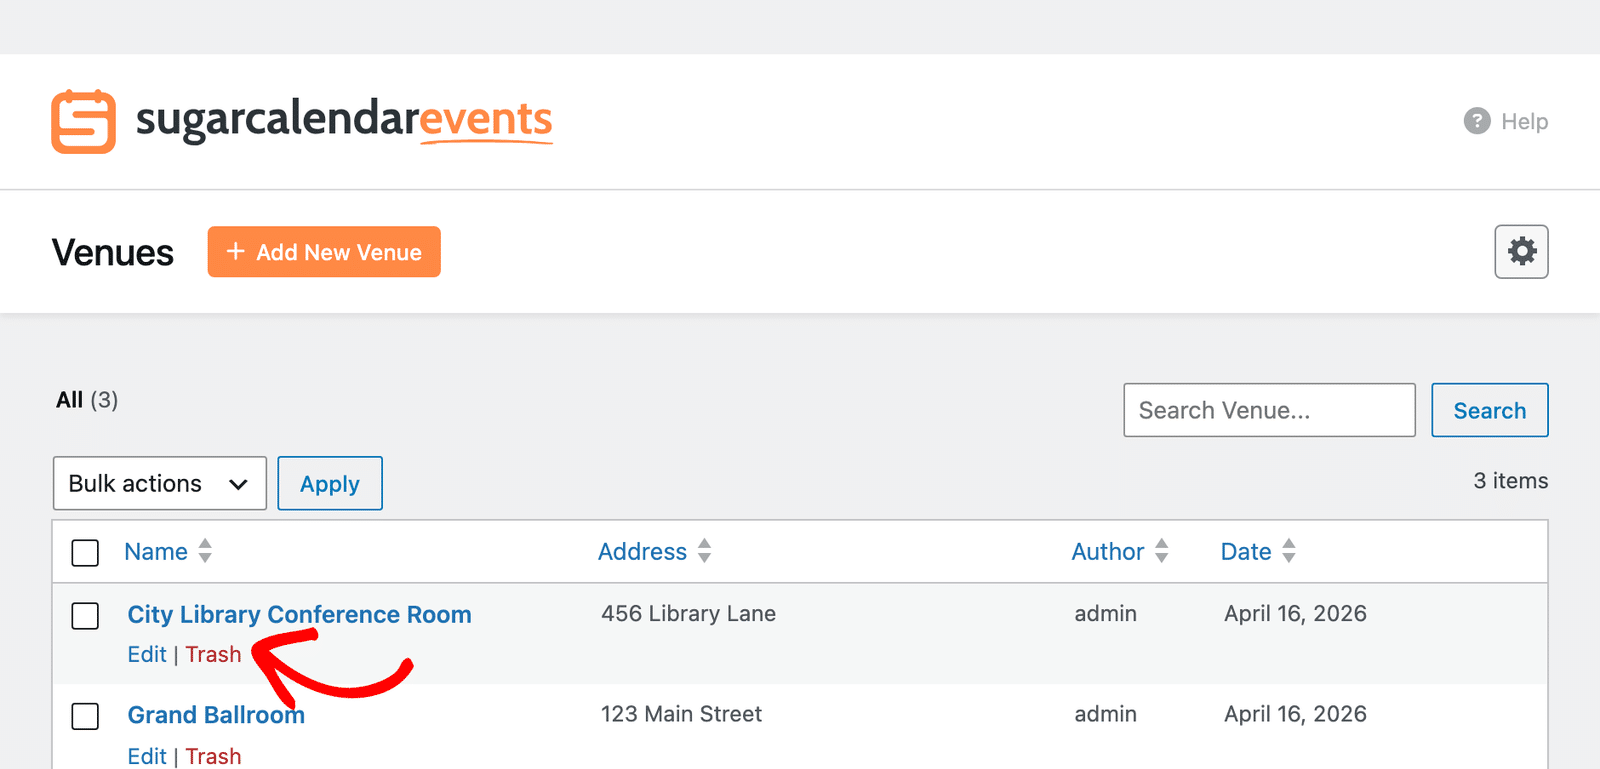
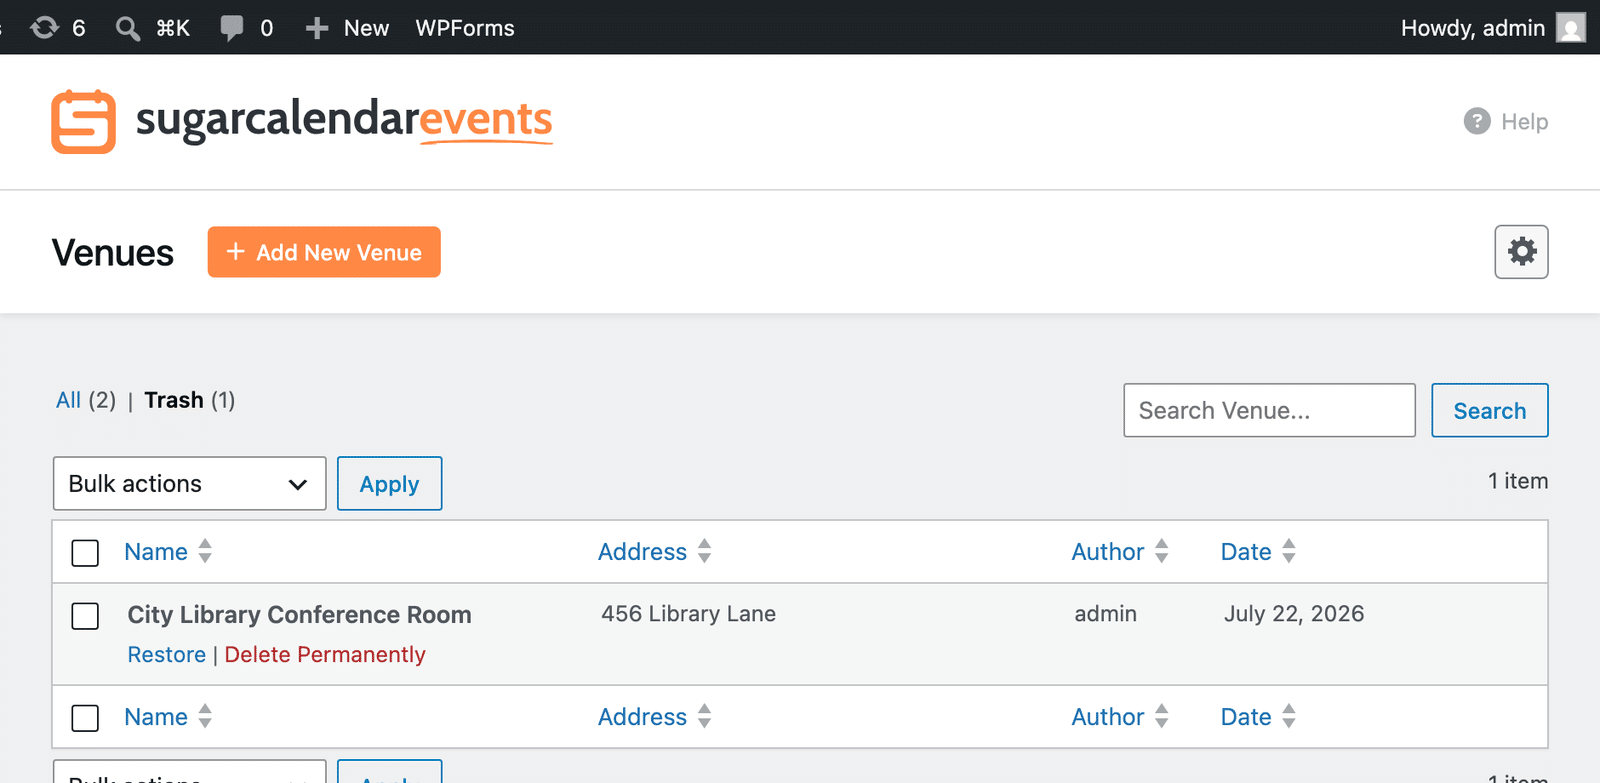
Selecting the Trash option will move the venue to the Trash folder. Here, you can restore the venue if you mistakenly deleted it. There’s also an option to permanently delete the venue from your site.
That’s it! You’ve now learned how to create and use event venues in Sugar Calendar Events.
Next, would you like to learn how to display events on your site? Our tutorial on displaying event calendars covers all the steps in detail.