Would you like a clear path to getting your event calendar ready for visitors? Beyond creating your first event, steps like adding the calendar to a page, setting your time zone, and making sure event emails get delivered are easy to miss.
In this tutorial, we’ll show you how to use the Setup Checklist in Sugar Calendar Events to finish setting up your site.
In This Article
Before getting started, make sure Sugar Calendar Events is installed and activated on your WordPress site.
Accessing the Setup Checklist
To open the checklist, go to Events » Setup Checklist in your WordPress admin area. The menu item shows a progress bar that fills as you complete tasks, so you always see how much is left.
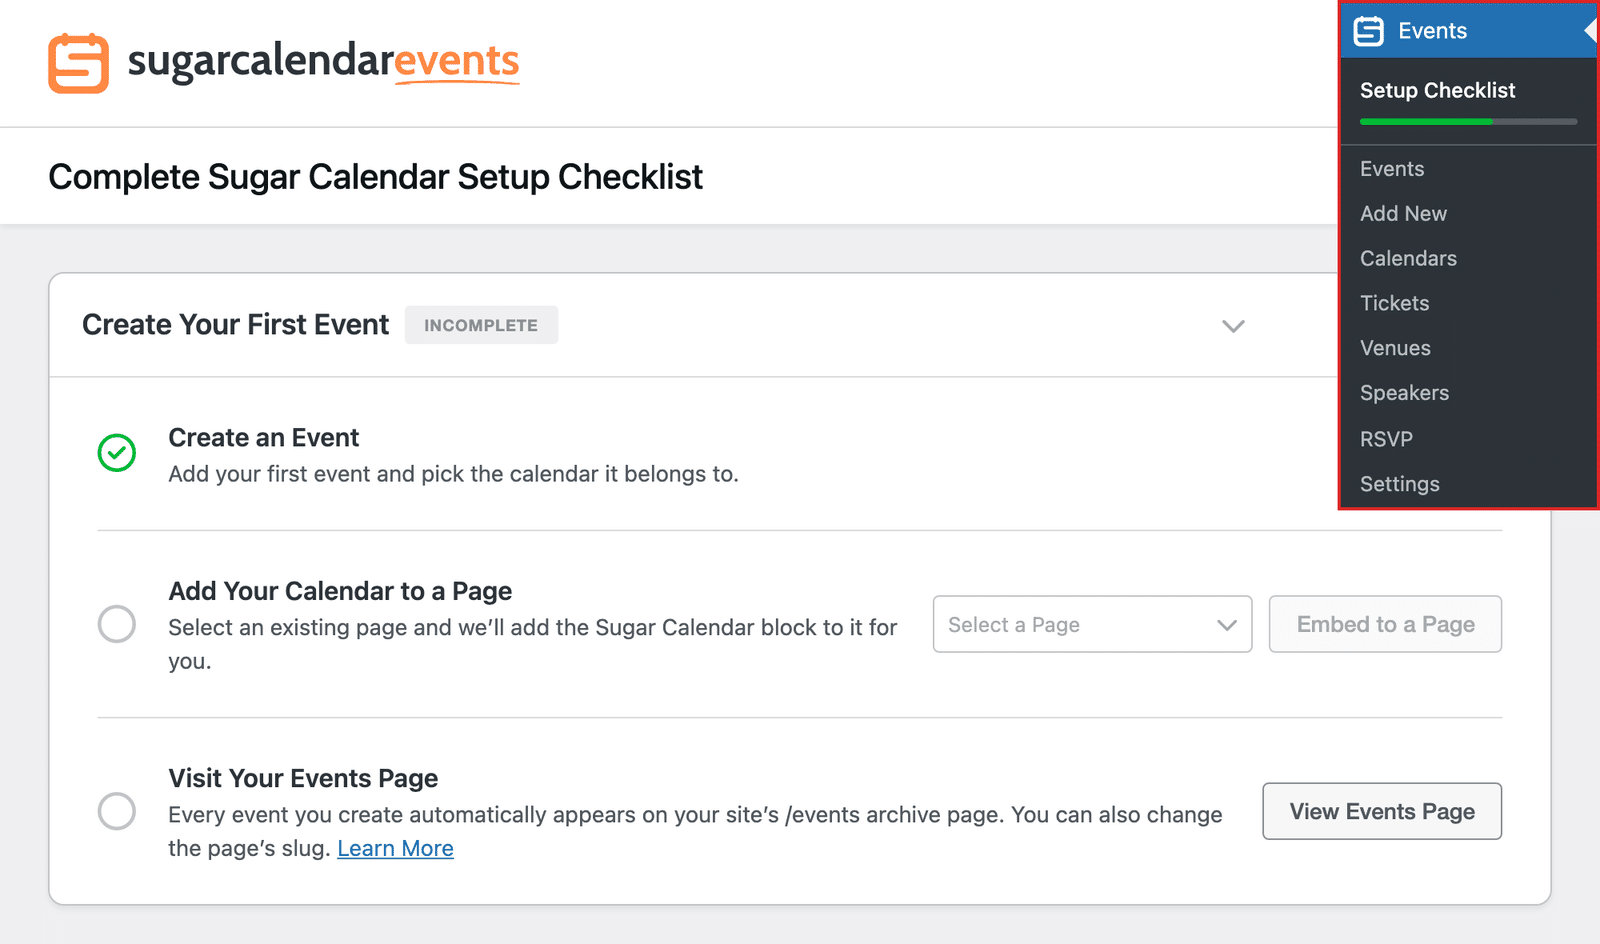
The checklist also works on sites that ran Sugar Calendar before version 3.15. Anything you’ve already set up shows as complete the first time you open it.
How the Setup Checklist Works
The checklist groups your setup tasks into sections. You don’t check items off yourself. Sugar Calendar Events detects when you’ve finished a task and marks it complete automatically.
To start a task, click the button next to it. For example, click Create Event to open the event editor.
When you finish every task in a section, its badge changes from Incomplete to Complete and the section collapses. Click the section heading to expand it again. To collapse a section you’re not working on, click its heading.
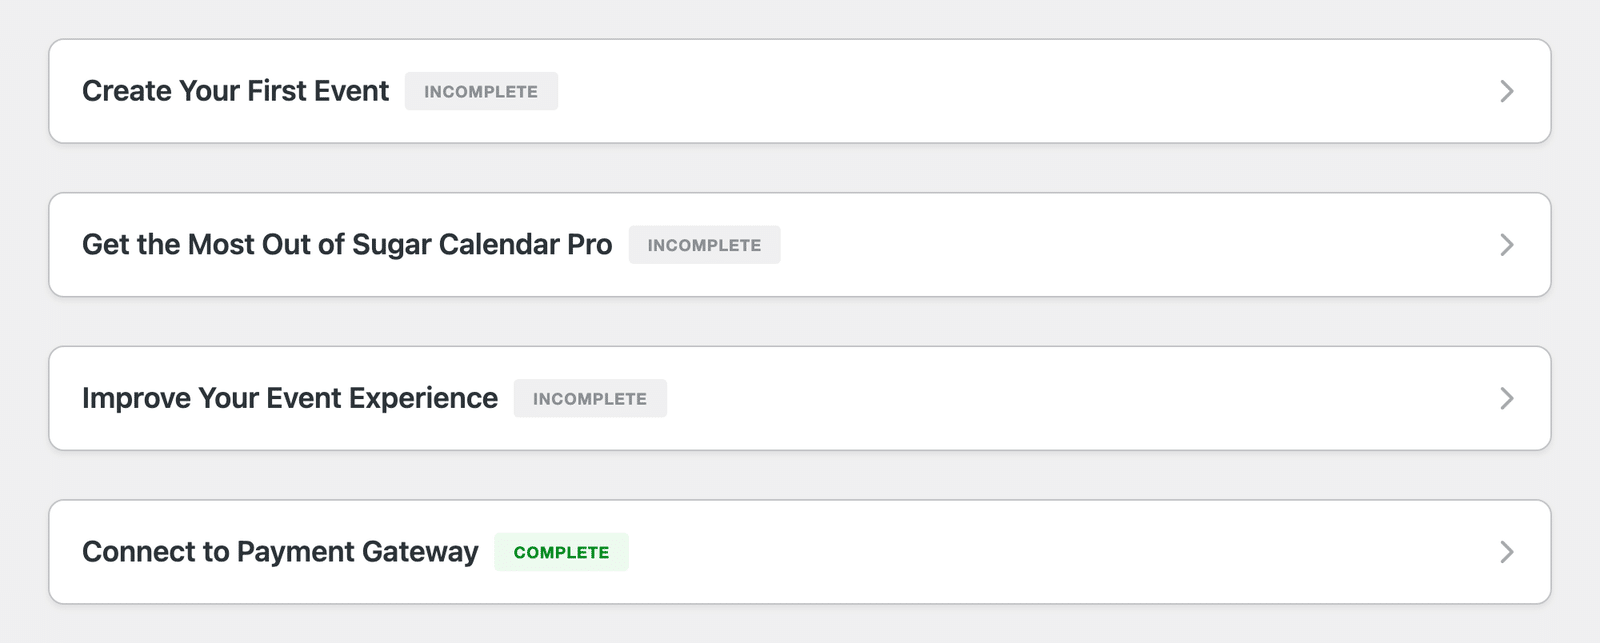
A few tasks stay complete once you’ve done them: adding the calendar to a page, visiting your events page, signing up for recommendations, and exploring Community Events.
Some tasks only appear when they apply to your site. The progress bar only counts the tasks you can see.
Create Your First Event
This section covers the essentials for getting events onto your site.
- Create an Event: Add your first event and choose its calendar. Click Create Event to open the event editor. This task completes once you save an event, including as a draft. For all the steps, see our guide to creating events.
- Import From The Events Calendar: Bring your existing events over from The Events Calendar plugin. Click Import Events to open the import tool. This task only appears when Sugar Calendar finds published events from The Events Calendar on your site. To learn more, see our guide to importing events from The Events Calendar.
- Add Your Calendar to a Page: Display your calendar to visitors. Choose a page from the Select a Page dropdown, then click Embed to a Page.
- Visit Your Events Page: Every event you create appears on your site’s
/eventsarchive page automatically. Click View Events Page to open it. Click Learn More to see how to change the events page slug.
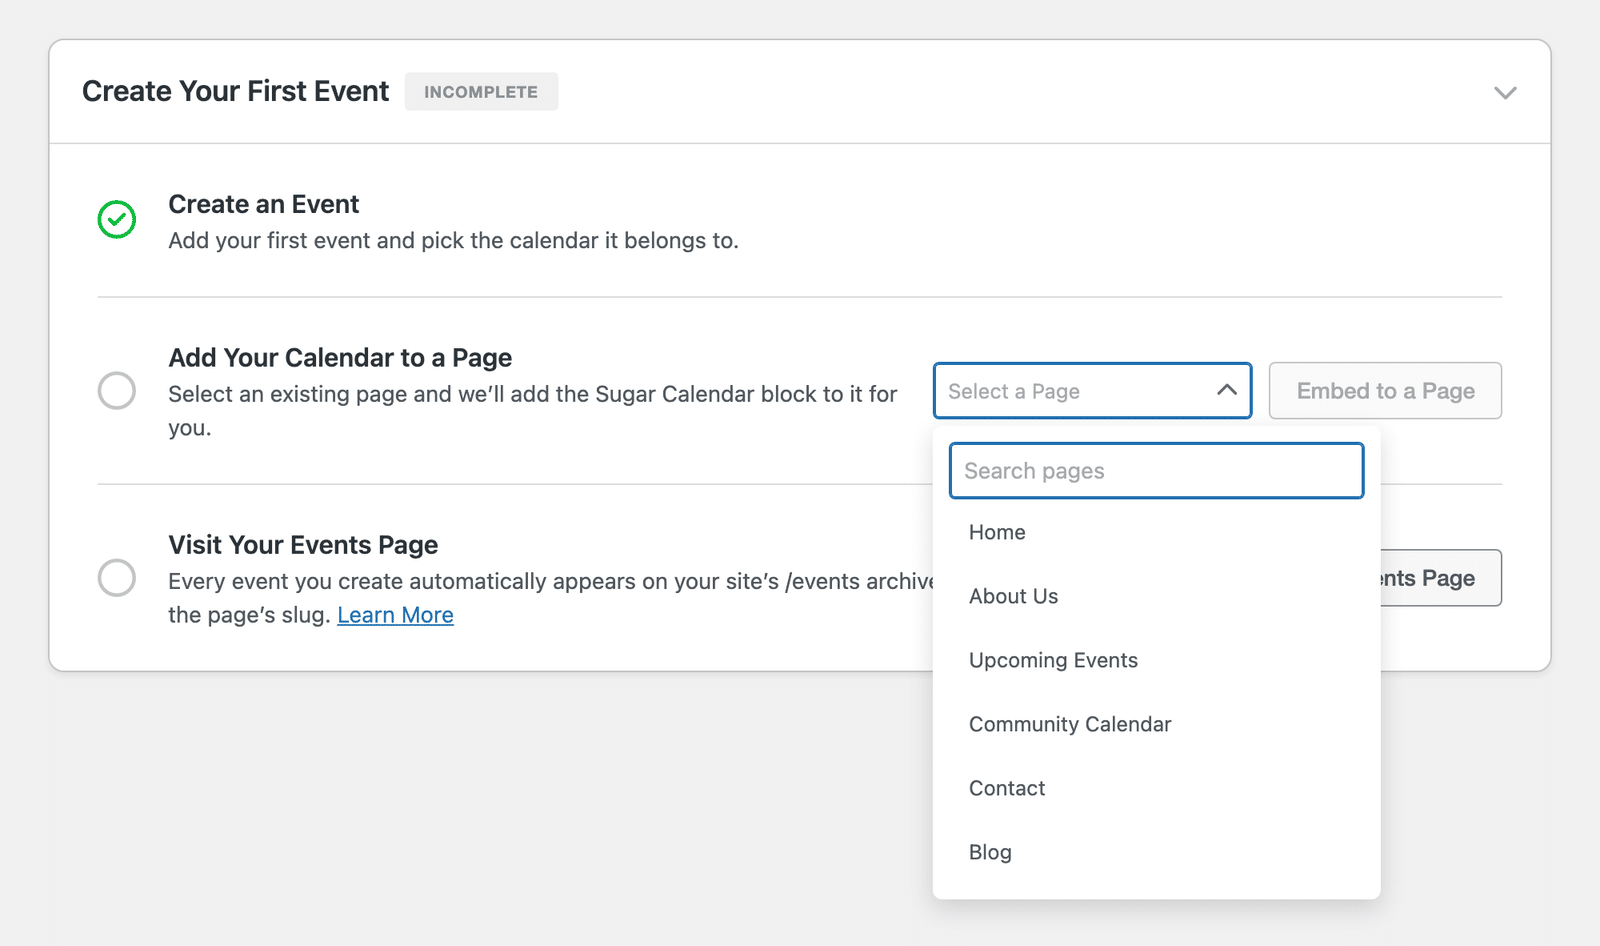
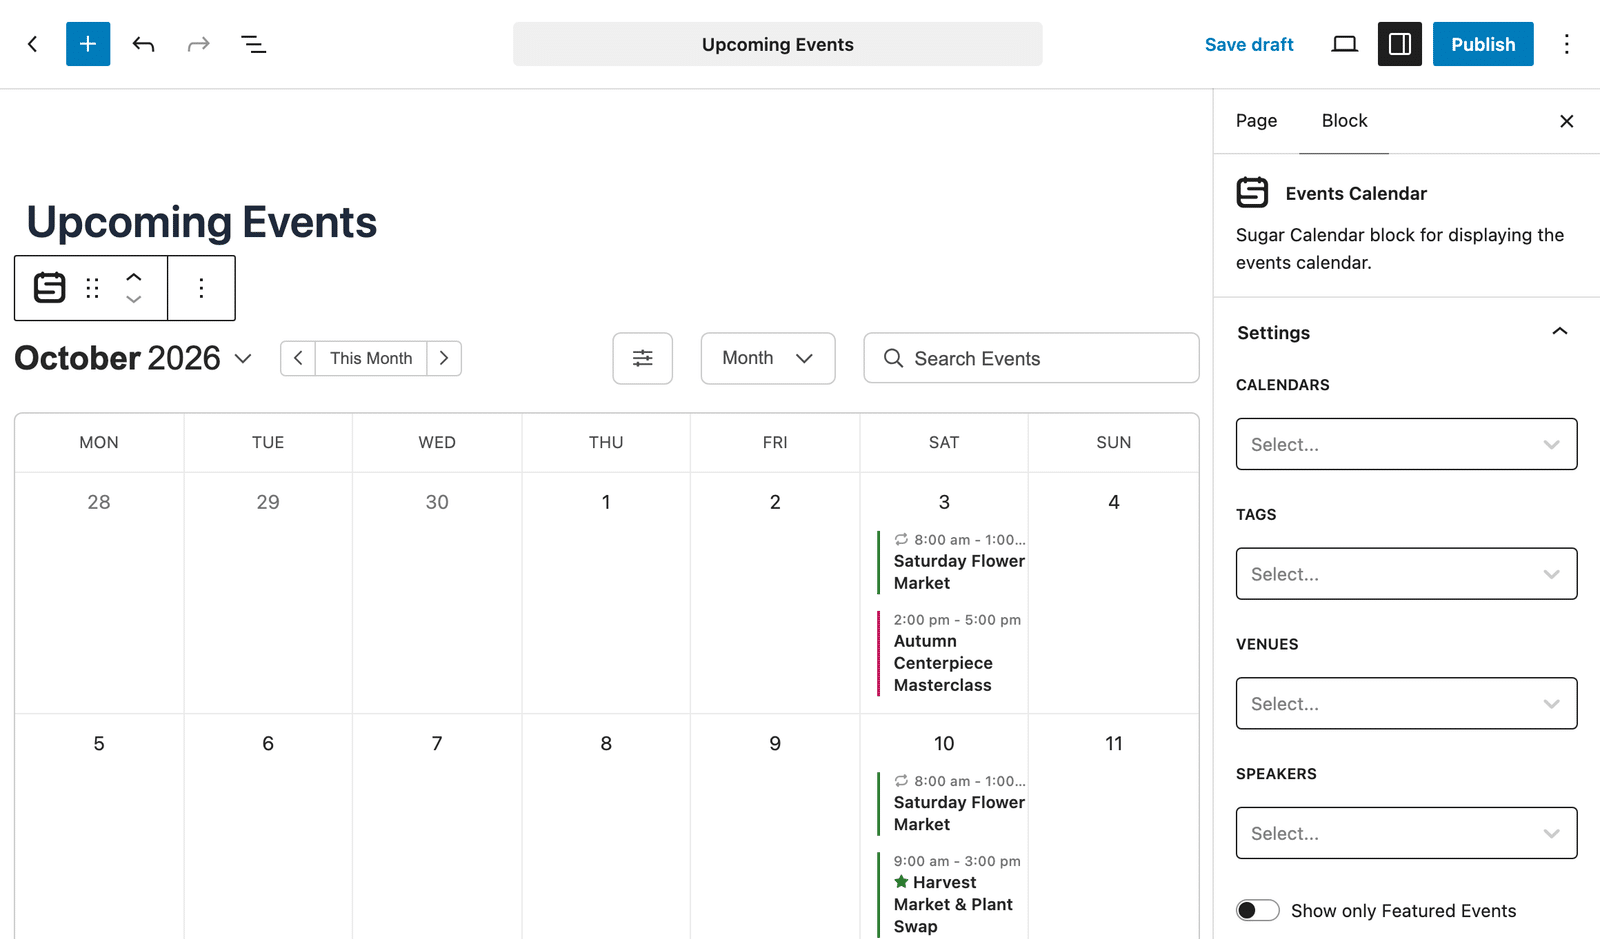
When you click Embed to a Page, Sugar Calendar opens that page in the editor with the Sugar Calendar block already added. Save or publish the page to complete the task.
Get the Most Out of Sugar Calendar Pro
Sugar Calendar Events paid users see a section of Pro features to set up:
- Set Up RSVP: Let attendees RSVP to your events so you can track your headcount. Click Install RSVP Addon or Activate RSVP Addon, depending on whether the addon is already on your site. To learn more, see our guide to the RSVP addon.
- Add Speakers to Your Events: Create speaker profiles to showcase who’s presenting. Click Add Speakers. This task completes once you save a speaker. See our guide to creating and managing event speakers.
- Add Venues to Your Events: Manage venues with maps, details, and dedicated venue pages. Click Add Venues. This task completes once you save a venue. See our guide to creating and managing event venues.
- Sell Multiple Ticket Types: Install the Event Ticketing addon to sell several ticket types per event and remove the 3% platform fee. Event Ticketing is available on Plus and higher plans. To learn more, see our guide to the Event Ticketing addon.
- Explore Community Events: Let visitors submit their own events from the front end of your site. Click View Docs to read our guide to allowing users to submit events. This task completes when you open the guide.
- Set Up Calendar Feeds: Let visitors subscribe to your events in Google Calendar, Apple Calendar, and Microsoft Outlook. Click Enable Feeds to open the feed settings. This task completes once you turn on at least one feed. See our guide to using calendar feeds.
- Connect Zapier: Connect your events to more than 8,000 apps to automate your workflows. Click Install Zapier Addon or Activate Zapier Addon. To learn more, see our guide to the Zapier addon.
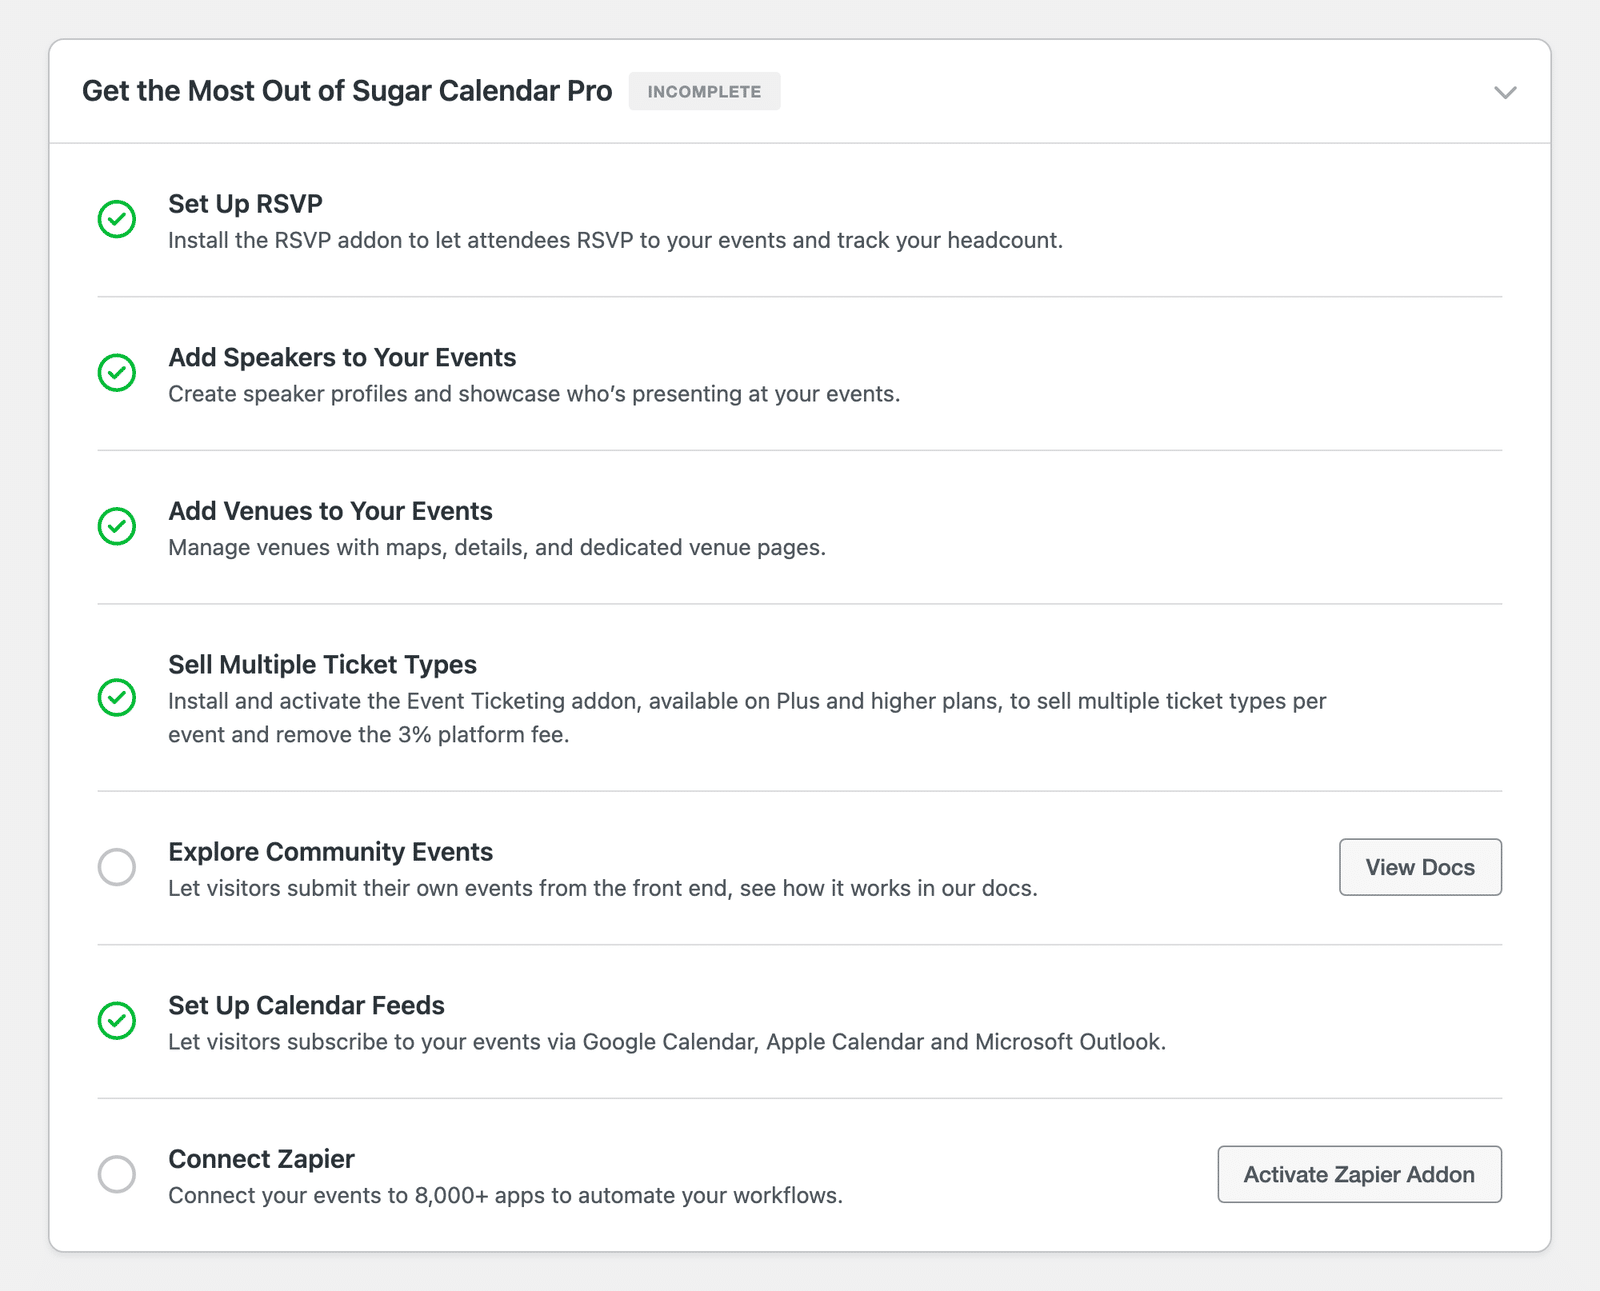
If your license doesn’t include an addon, its task shows an Upgrade Now button instead.
Improve Your Event Experience
This section helps you fine-tune your settings and add helpful tools:
- Fine-Tune Date & Time Settings: Set your date format, time format, and the first day of your week. Click Review Settings, then save your settings. For details on each option, see our complete guide to Sugar Calendar Events settings.
- Set Up Your Time Zone: Choose the time zone your events are scheduled in so they always display at the right time. Click Set Time Zone. To learn more, see our guide to managing time zones.
- Make Sure Event Emails Get Delivered: Keep event notifications out of spam by sending them through the free WP Mail SMTP plugin. Click Install WP Mail SMTP, Activate WP Mail SMTP, or Set Up WP Mail SMTP, depending on whether the plugin is already on your site. This task completes once WP Mail SMTP has a mailer set up.
- Host Online Events: Connect Zoom to create meeting links for your virtual events automatically. Click Connect Zoom. For all the steps, see our guide to using the Events Zoom integration.
- Set Up Privacy Compliance: Add a cookie banner and consent records with the free WPConsent plugin. Click Install WPConsent or Activate WPConsent.
- Connect Your AI Assistant: Manage your events and calendars with Claude, ChatGPT, and more through the free WPVibe plugin. Click Install WPVibe or Activate WPVibe. To learn more, see our guide to using Sugar Calendar Events with AI assistants.
- Smart Recommendations from Sugar Calendar: Enter your email address and click Sign Up for Free to get tips on improving your events and growing your business.
- Help Improve Sugar Calendar: Share non-sensitive usage data to help the Sugar Calendar team fix bugs and build better features. Click Count Me In! to opt in. This task only appears in Sugar Calendar Events Lite, and Sugar Calendar hides it if you already opted in during the Setup Wizard.
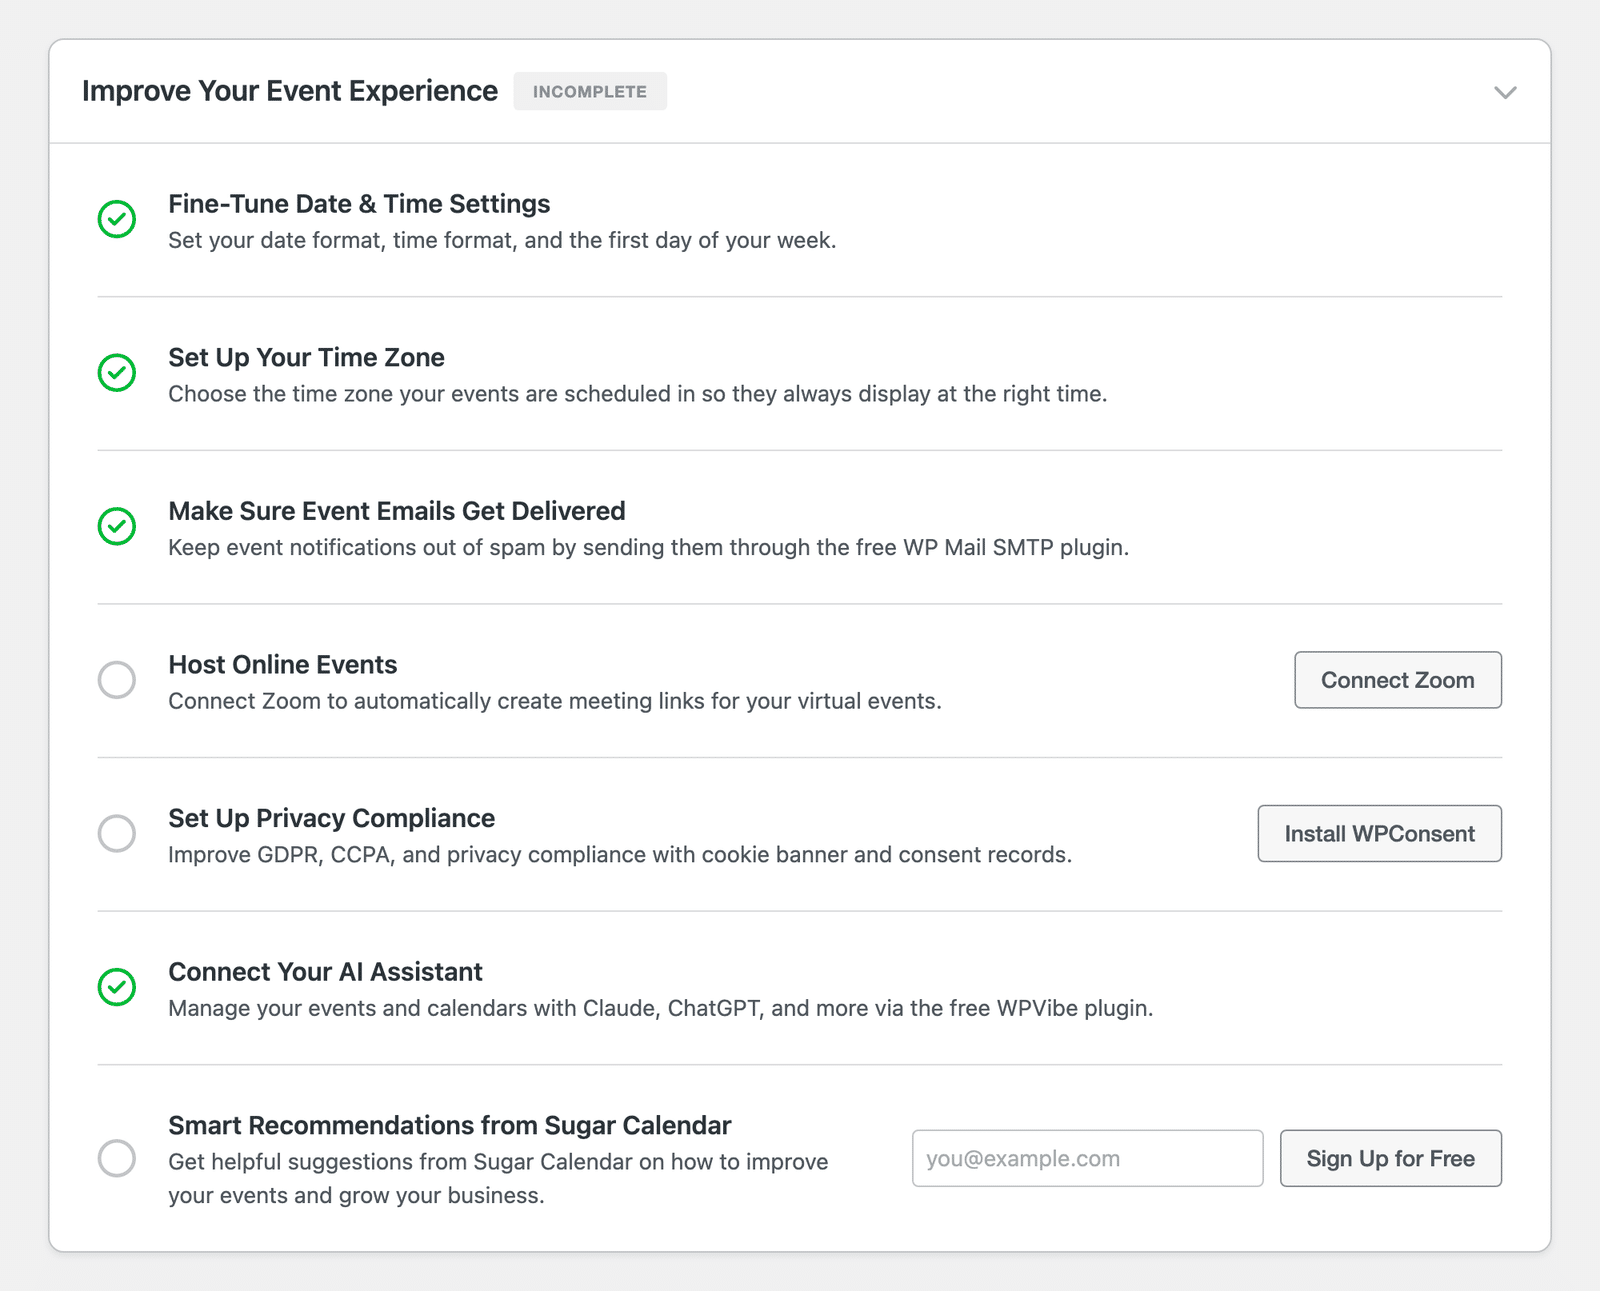
When you click an install or activate button, Sugar Calendar installs or activates the plugin for you and refreshes the checklist.
Connect to Payment Gateway
This section has one task:
- Securely Accept Credit Card Payments: Accept credit cards, Apple Pay, Google Pay, ACH, and more through Stripe. Click Connect with Stripe to link your Stripe account. To learn more, see our guide to setting up event ticketing.
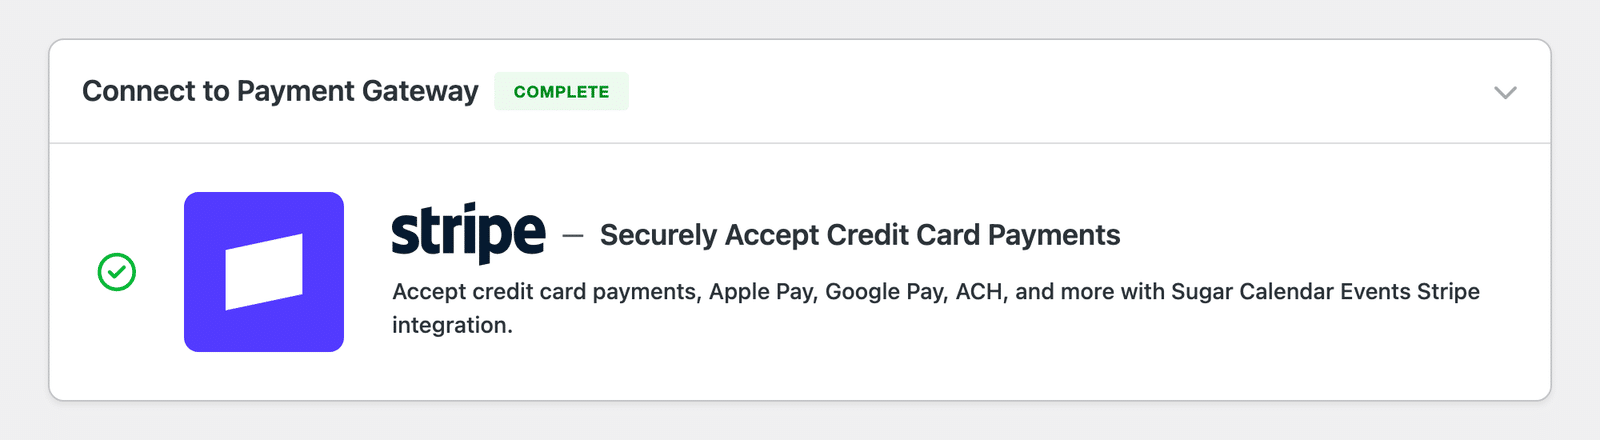
Without the Event Ticketing addon, a 3% platform fee applies to ticket sales. The checklist notes this below the task and links to the Plus and higher plans that include Event Ticketing.
Set Up Recommended Growth Tools
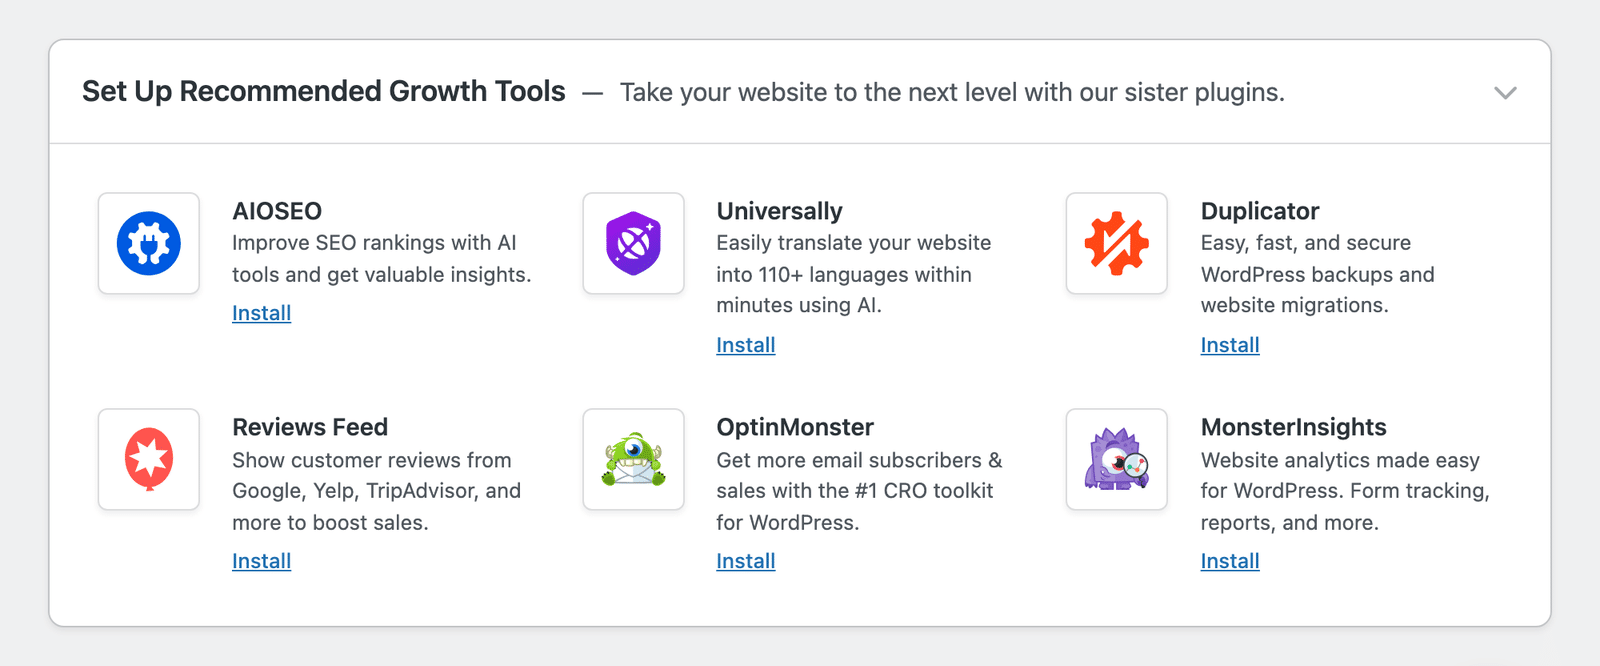
Near the bottom of the checklist, you’ll find other helpful plugins such as AIOSEO, Duplicator, and MonsterInsights. Click Install below any plugin to add it to your site with one click.
Dismissing the Setup Checklist
When you no longer need the checklist, scroll to the bottom of the page and click Complete Setup Checklist.
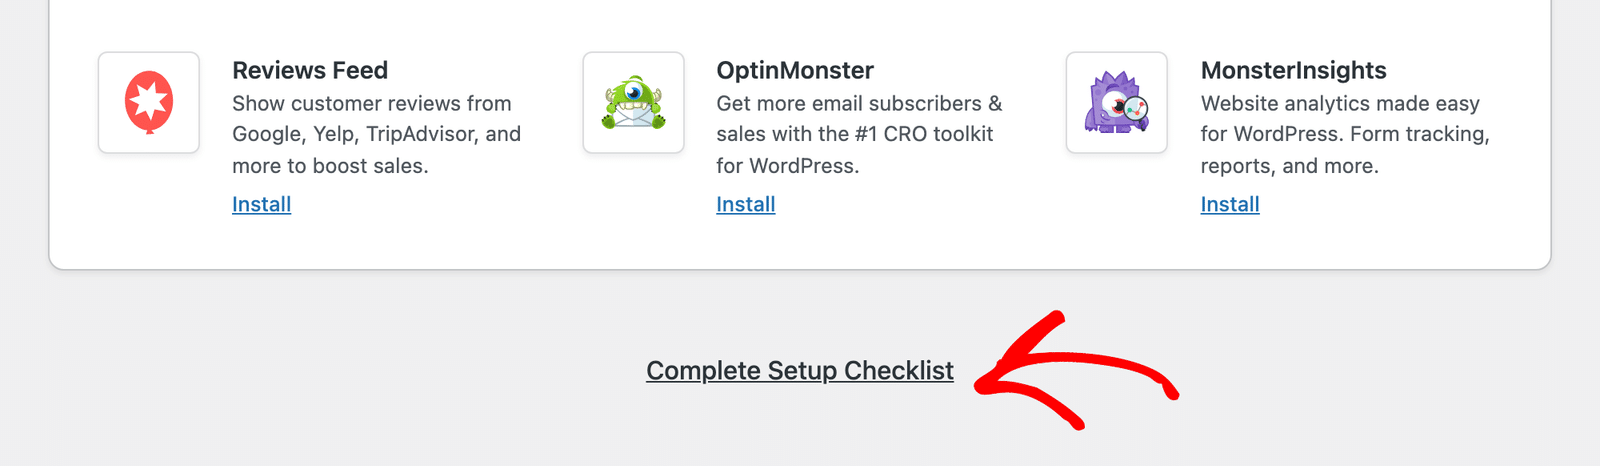
A confirmation popup appears. Click Yes, dismiss to confirm.
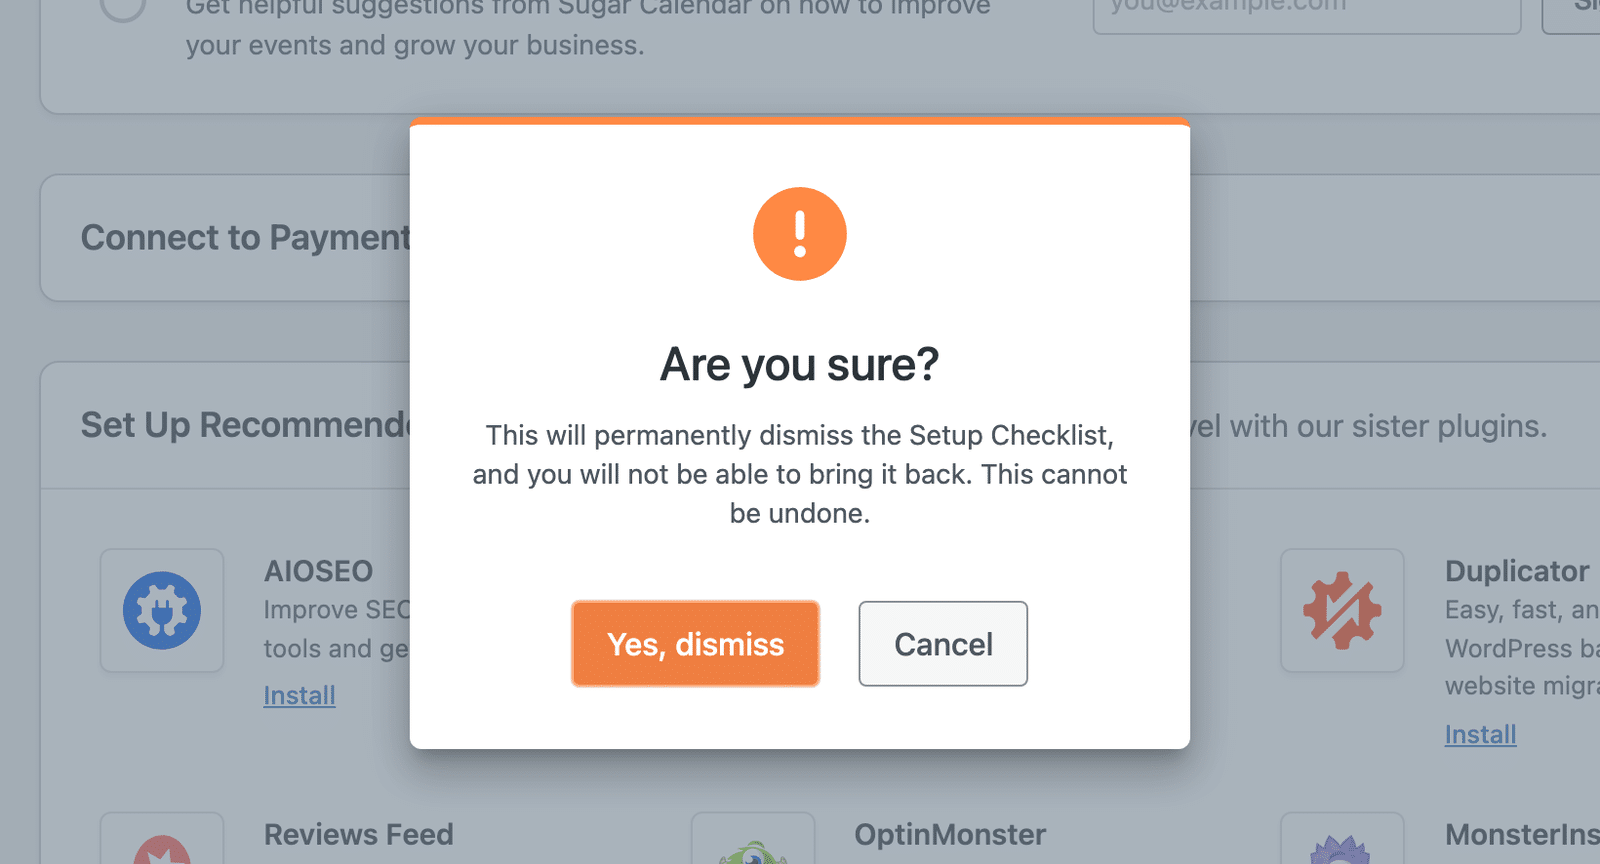
Sugar Calendar doesn’t dismiss the checklist automatically, even when you finish every task. It stays at 100% until you dismiss it.
Frequently Asked Questions
Below are answers to some of the top questions about the Setup Checklist.
Why is a task still incomplete after I finished it?
Some tasks complete only after you save your changes. For example, Add Your Calendar to a Page completes when you save the page with the Sugar Calendar block, and Fine-Tune Date & Time Settings completes when you save your settings. Tasks also become incomplete again if you deactivate a plugin or disconnect an integration they depend on.
Why don’t I see the Import From The Events Calendar task?
This task only appears when Sugar Calendar finds published events from The Events Calendar on your site. If you’ve never used The Events Calendar, you won’t see it.
Can I bring the checklist back after dismissing it?
No. Dismissing the checklist is permanent for your whole site. You can still set up everything the checklist covers from the matching Sugar Calendar settings and tools.
That’s it! You now know how to use the Setup Checklist in Sugar Calendar Events to finish setting up your site.
Next, would you like to show your events on more pages of your site? Check out our guide to displaying the calendar for all the options.