Would you like to feature speakers or performers in your Sugar Calendar events? Our Speakers feature lets you create and manage detailed speaker profiles.
In this tutorial, you’ll learn how to create speaker profiles, assign them to events, and manage speaker information directly from your WordPress dashboard.
Event Speakers Is a Premium Feature
Unlock Event Speakers and other powerful features to enhance your events.
In This Article
Before getting started, make sure the Sugar Calendar Events plugin is installed and activated on your WordPress site and that you’ve verified your license.
Creating a New Speaker
There are two ways to create speakers in Sugar Calendar: directly from the Speakers screen or while editing an event.
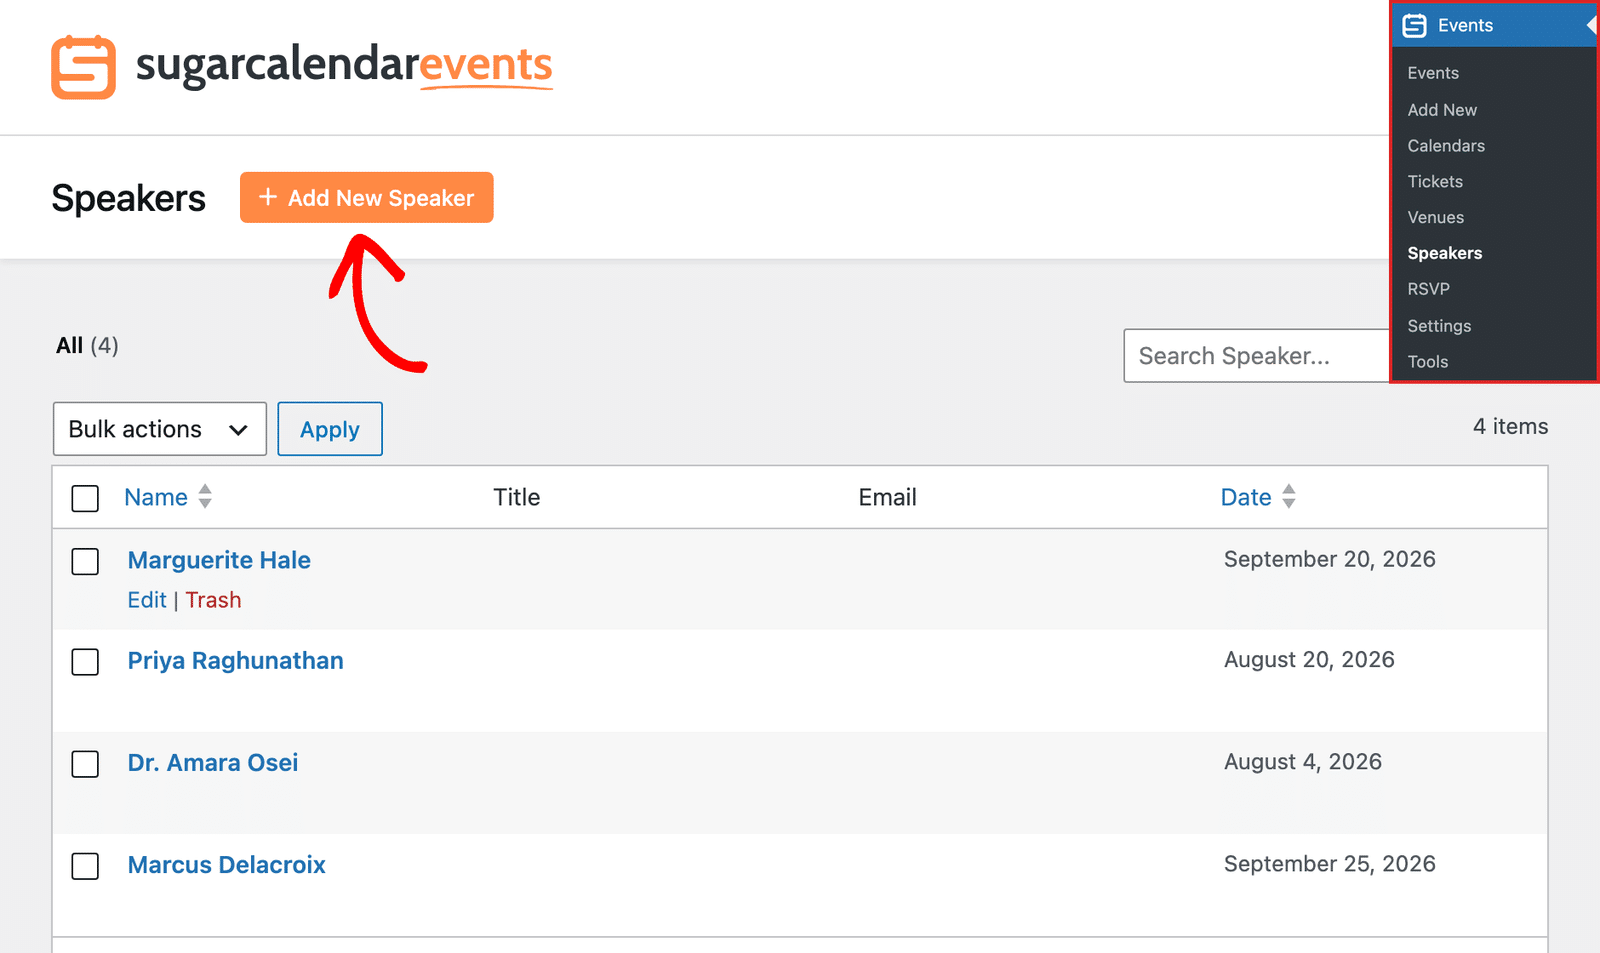
To get started, go to Events » Speakers in your WordPress admin dashboard, then click the Add New Speaker button.
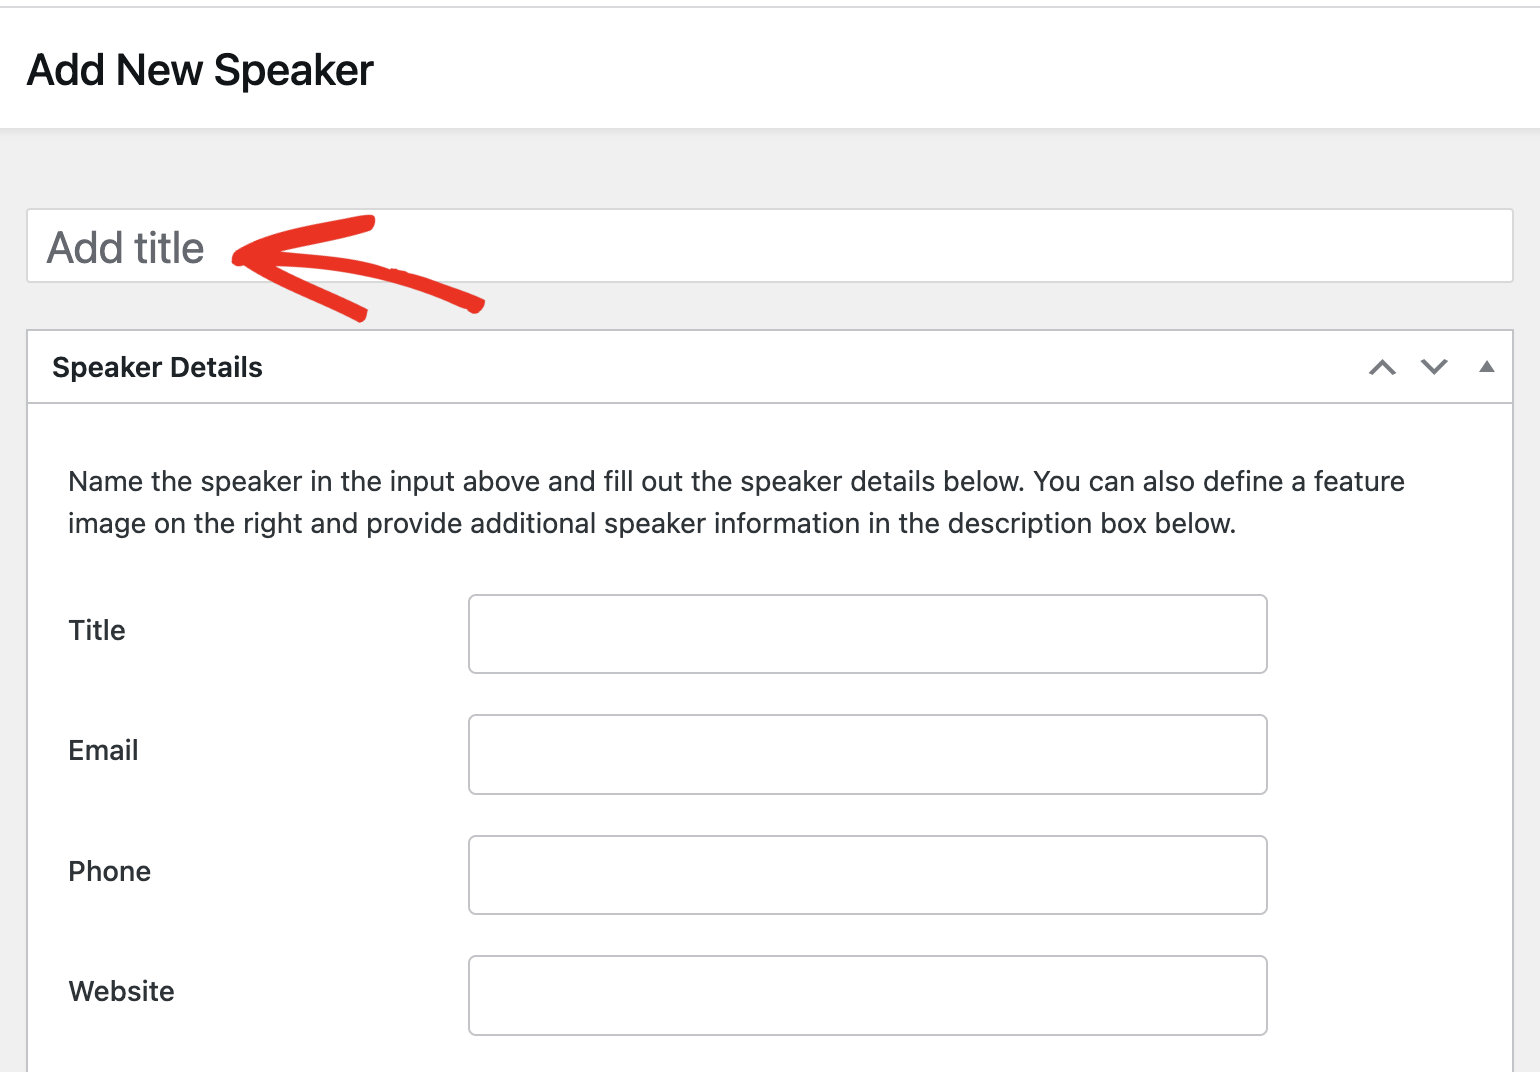
In the speaker editor screen, enter the speaker’s name in the Add title field.
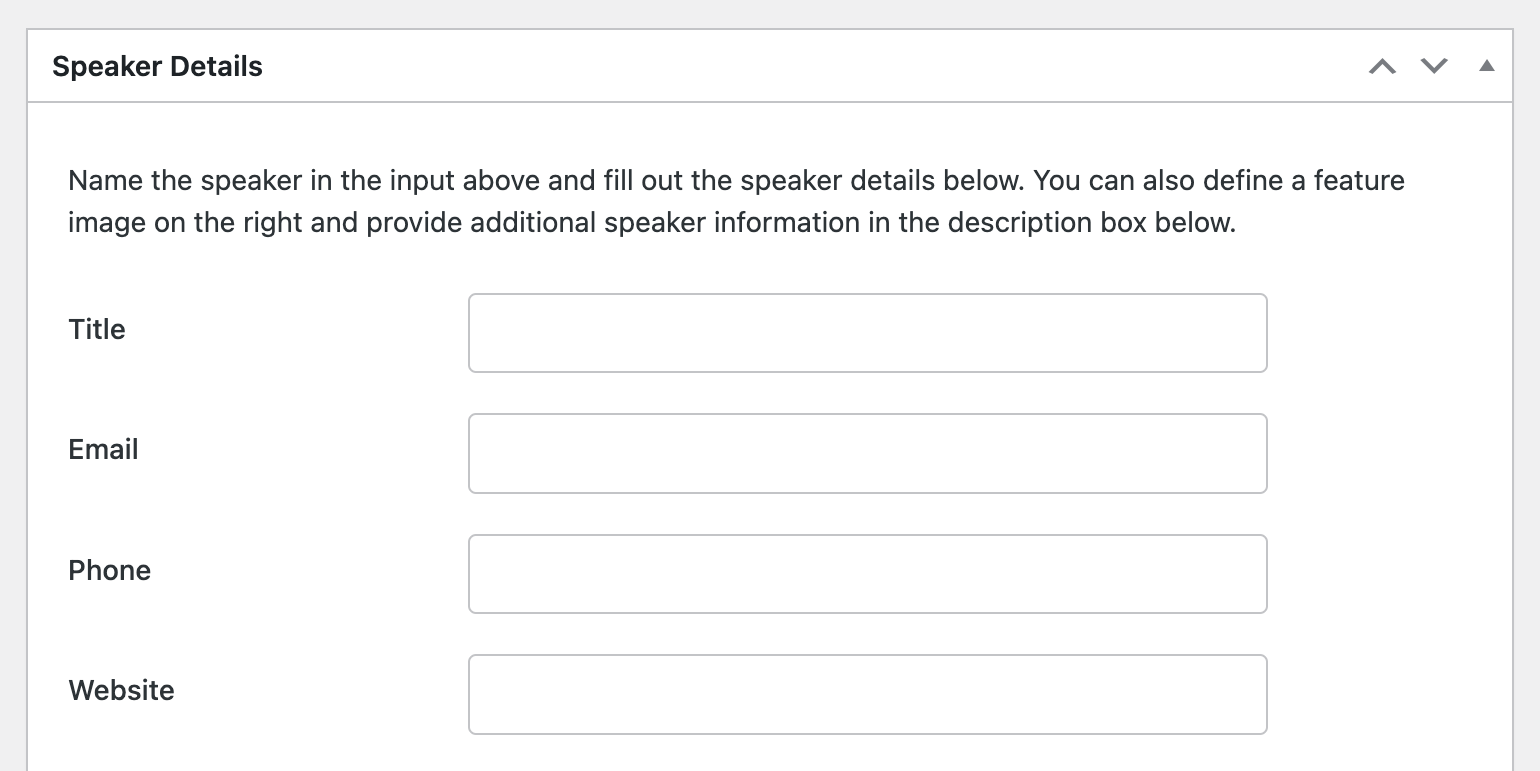
In the Speaker Details section, add the speaker’s details, such as their title, email, phone number, and social media links. The Title field should be their role, such as Senior Developer, Fitness Coach, or Artist.
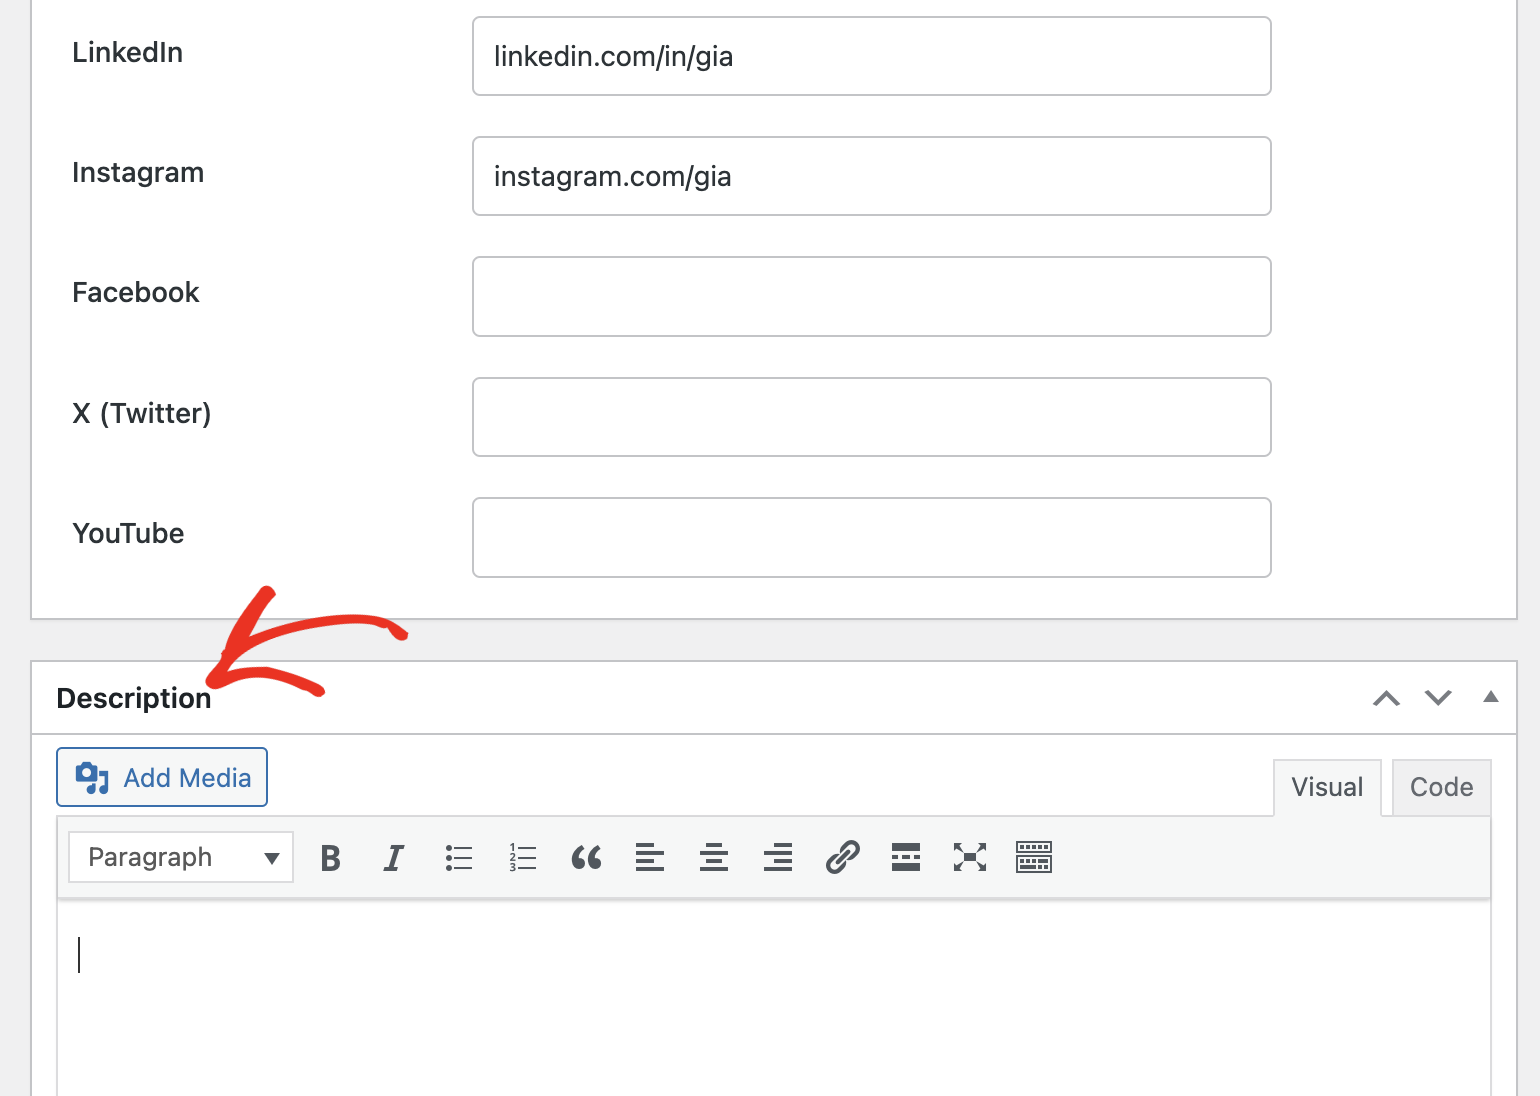
After adding the speaker’s details, scroll to the Description section and enter more information about the speaker. This could be a short biography covering their work history, skills, and interests.
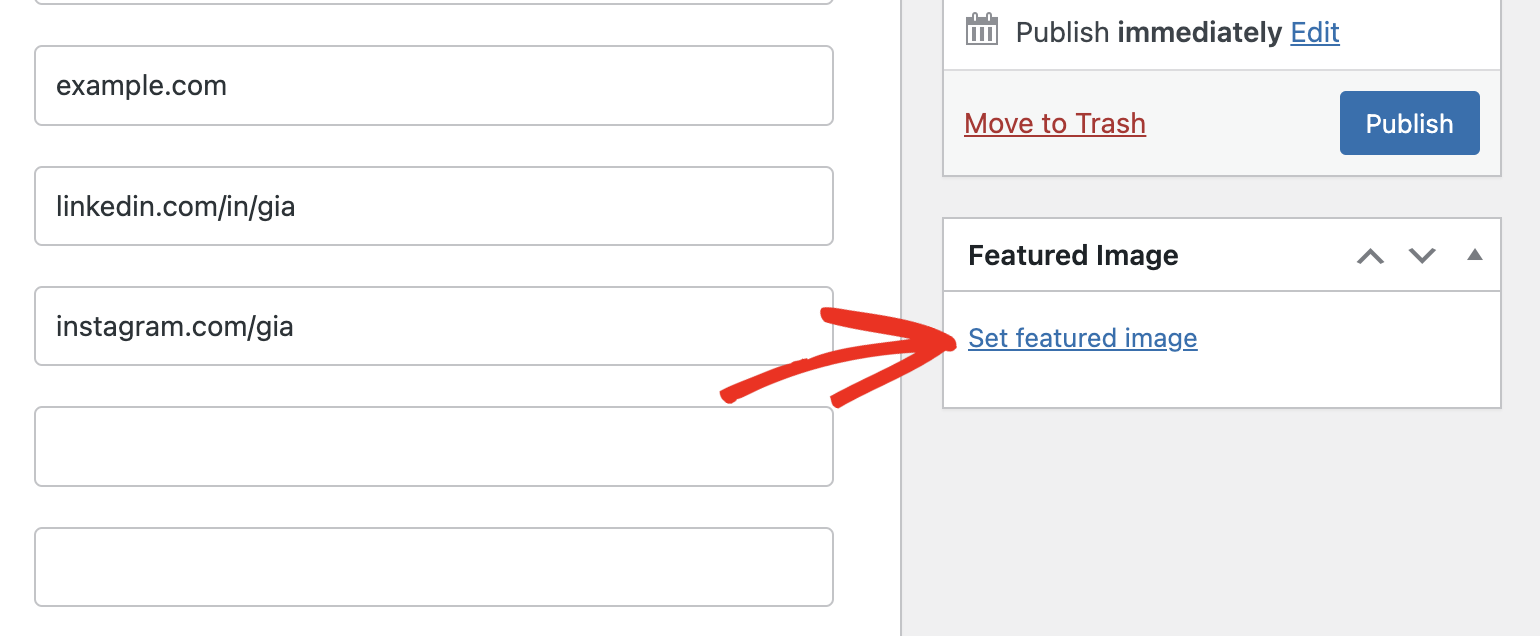
To give the speaker a display image, click the Set featured image link, then upload or select an image from your media library.
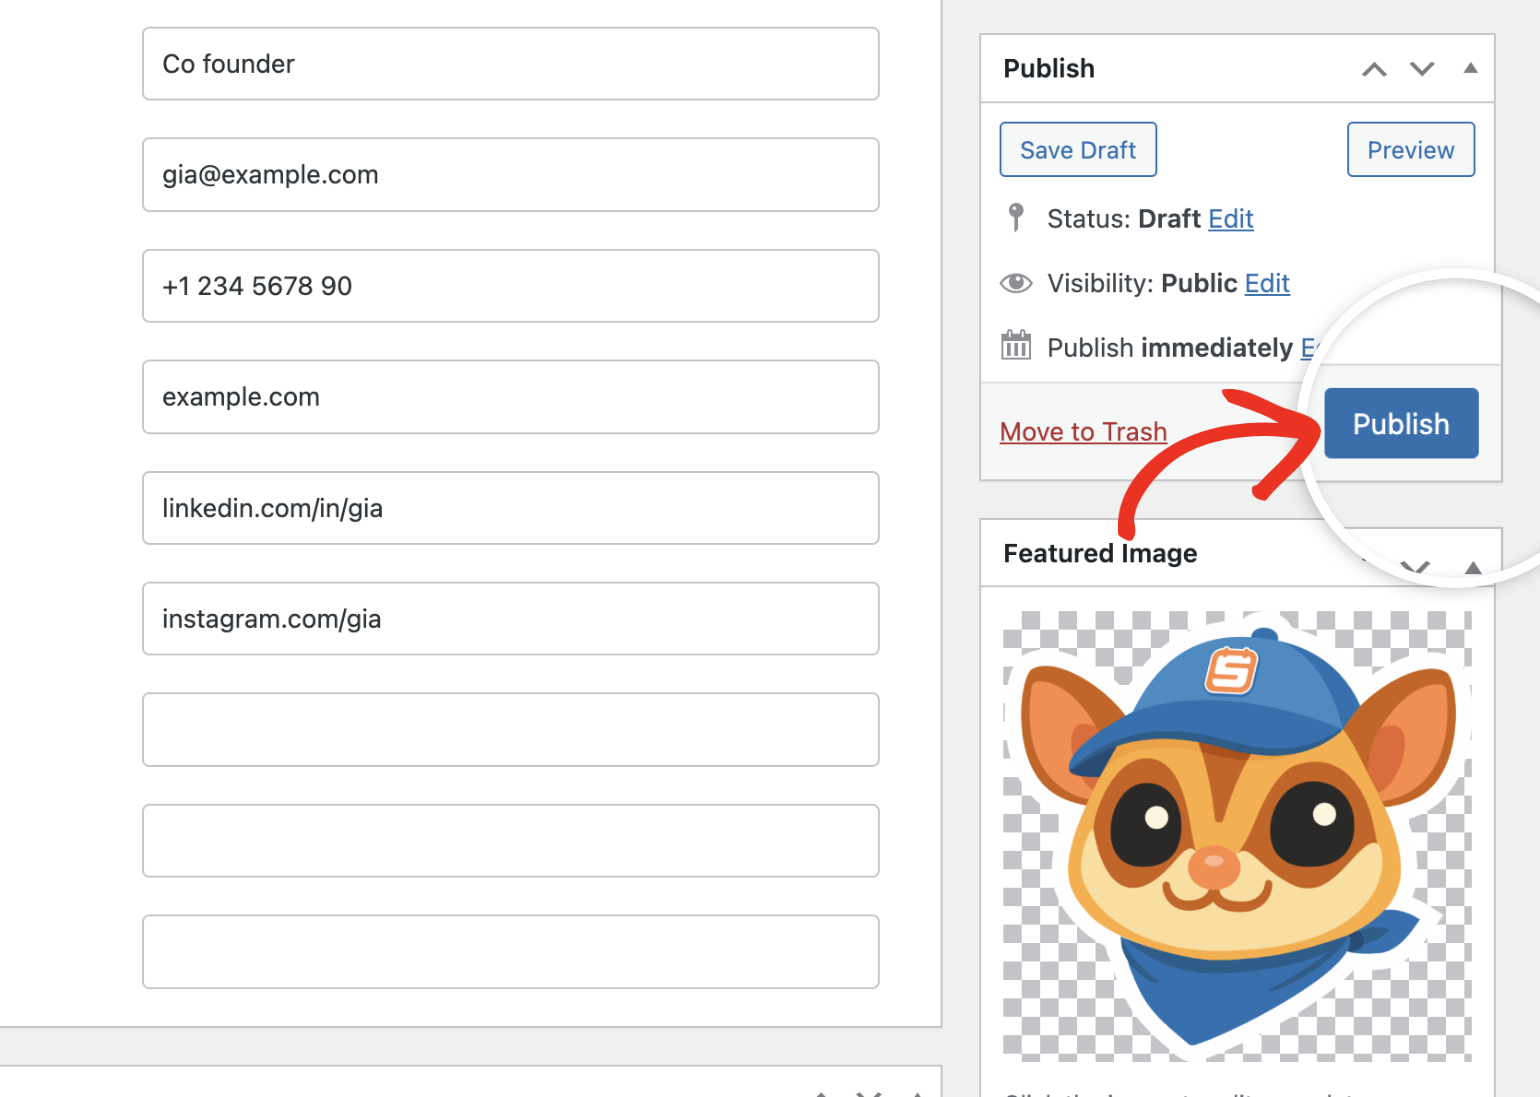
When you’re done, click the Publish button to save the speaker profile.
Assigning Speakers to Events
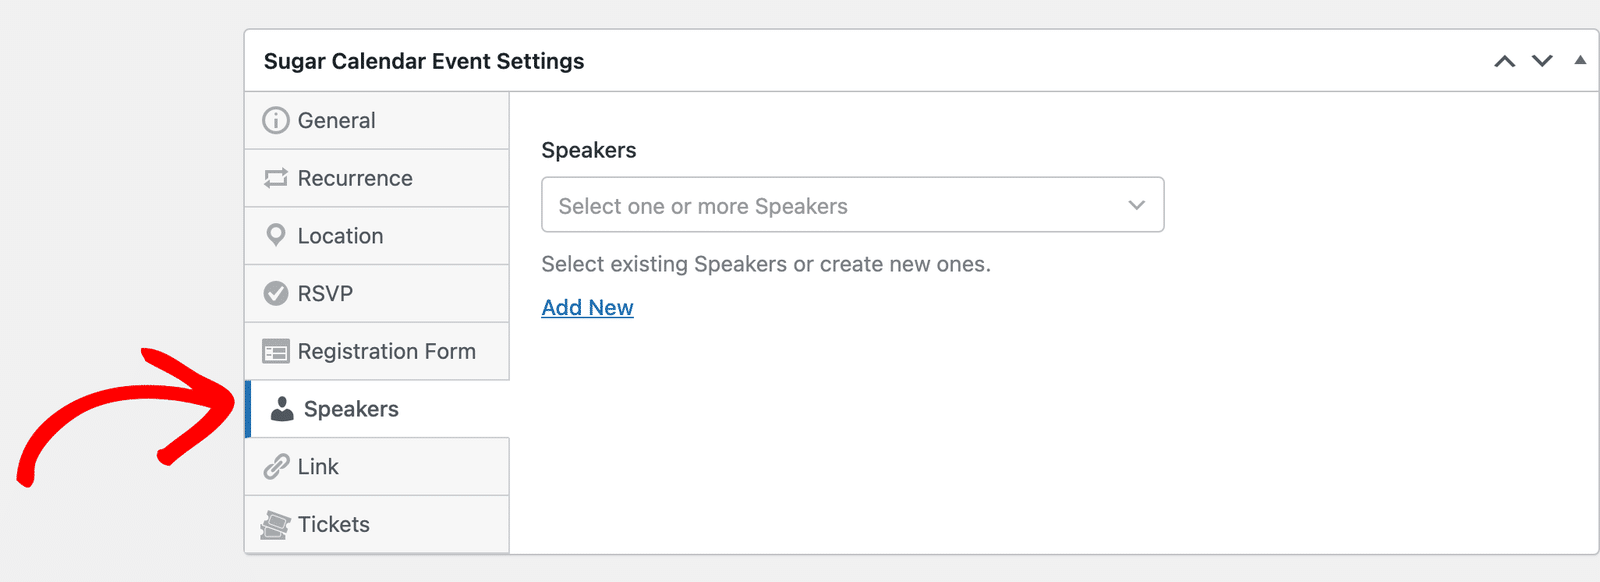
To assign speakers to events, go to Events » Events and either create a new event or edit an existing one. In the Sugar Calendar Event Settings section of the event editor, click the Speakers tab.
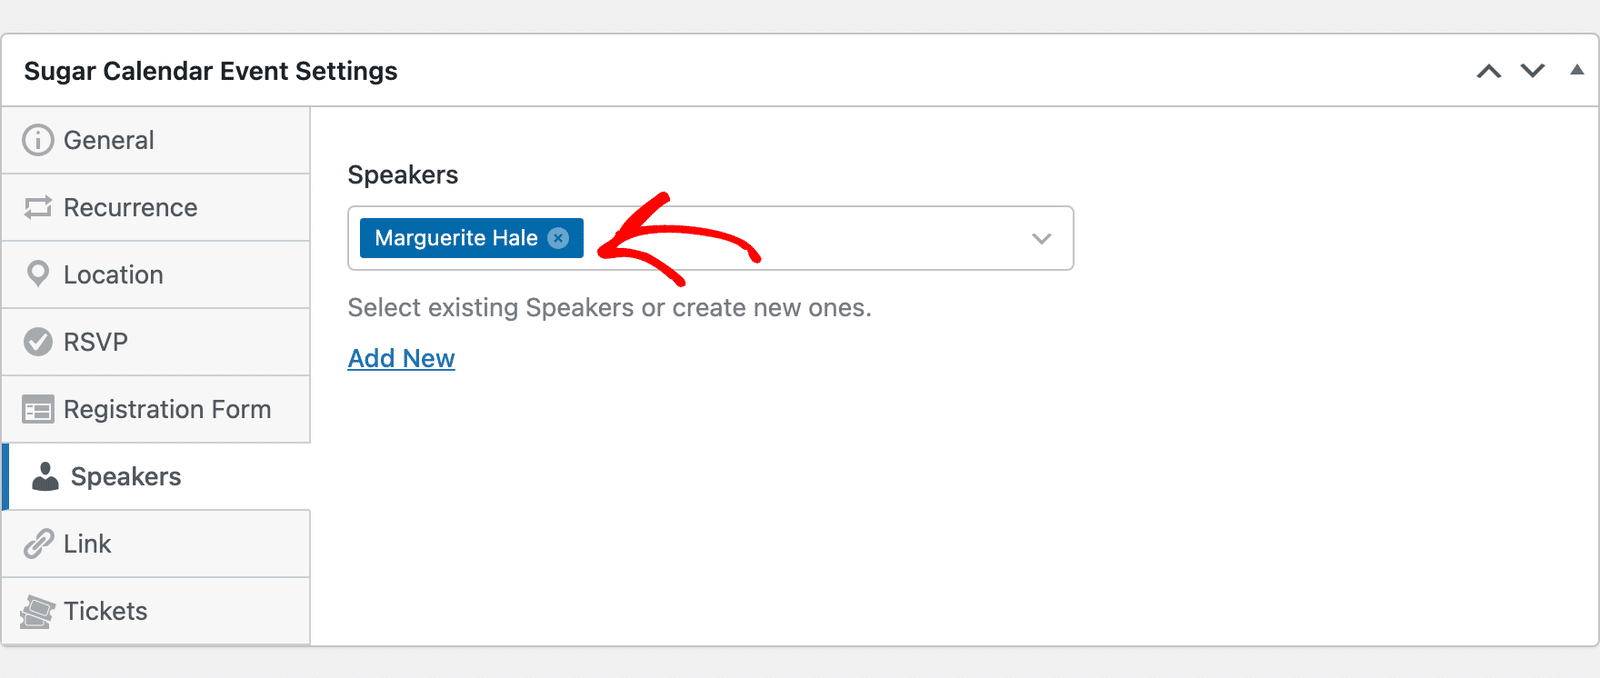
Then, click the dropdown to select one or more existing speakers.
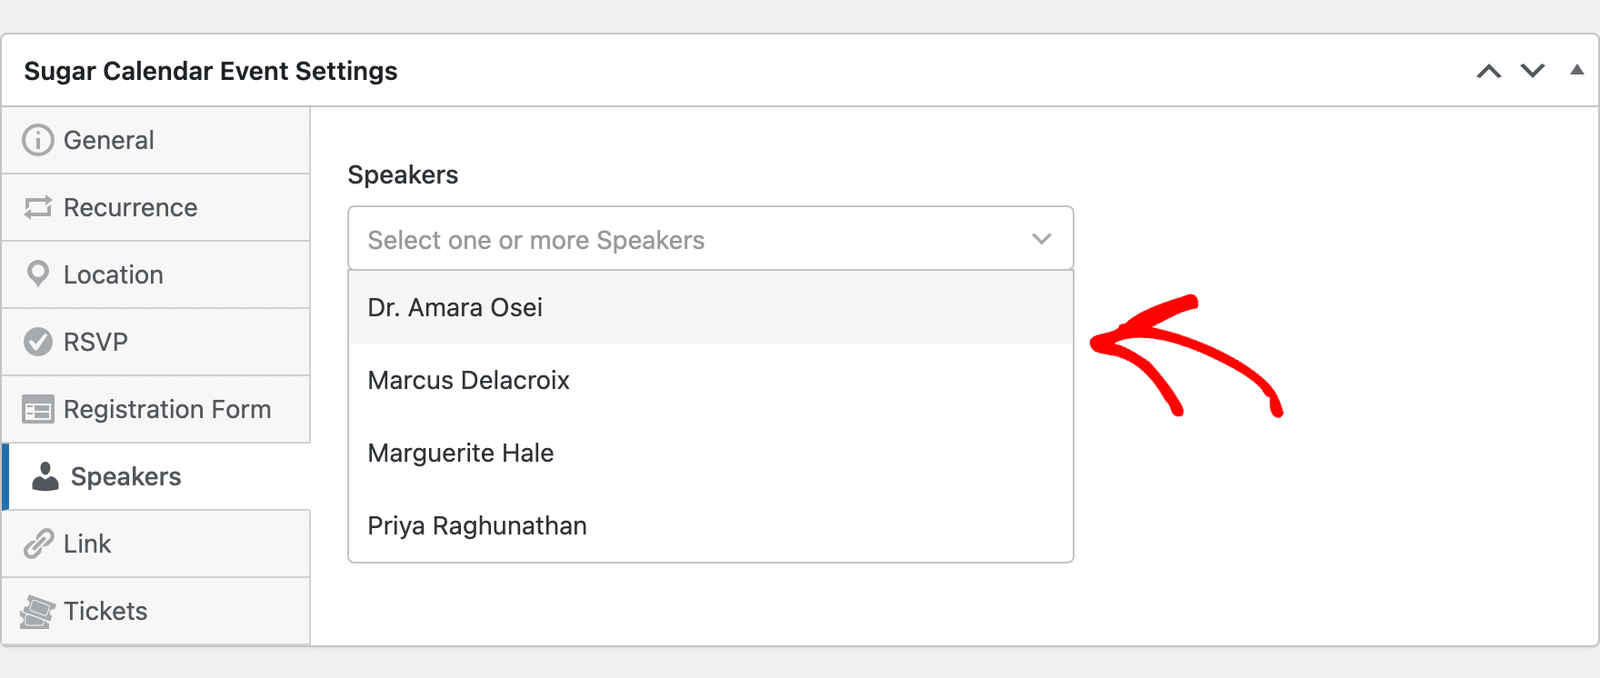
The speaker you pick appears in the field.
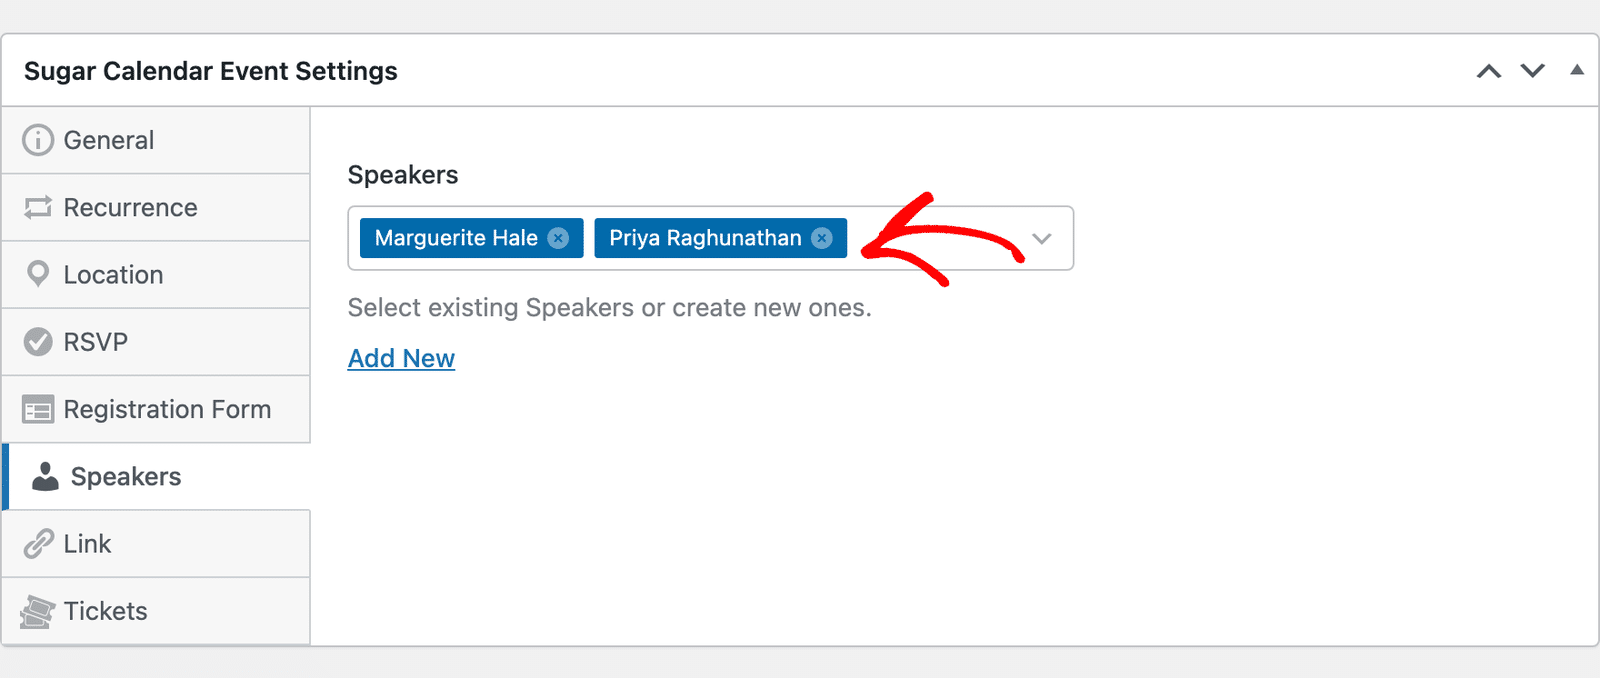
Select more speakers the same way to add several to one event.
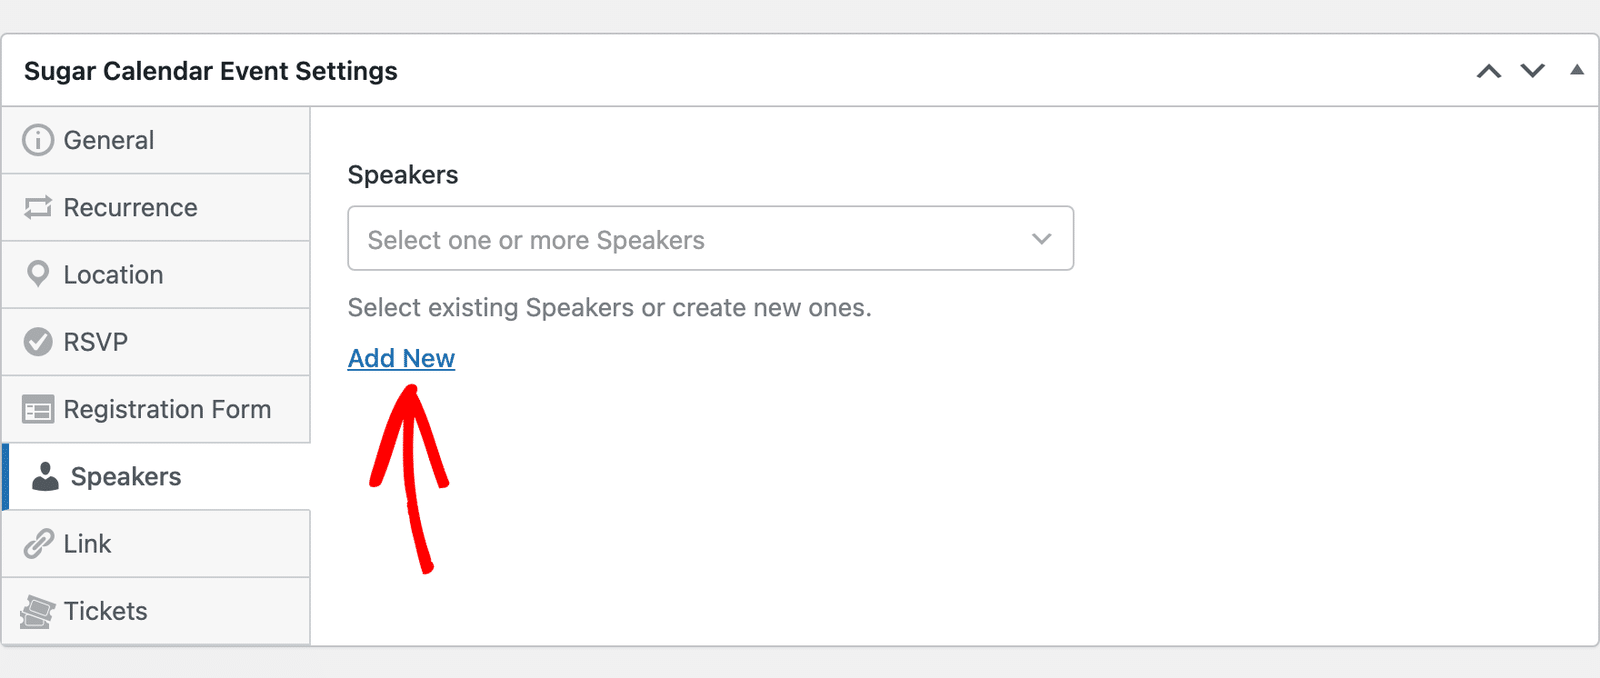
If the speaker doesn’t exist yet, click the Add New link to create one directly from the event editor.
Fill out the speaker’s details in the form that appears. The Name field is required. Once done, click Save to add them to your list.
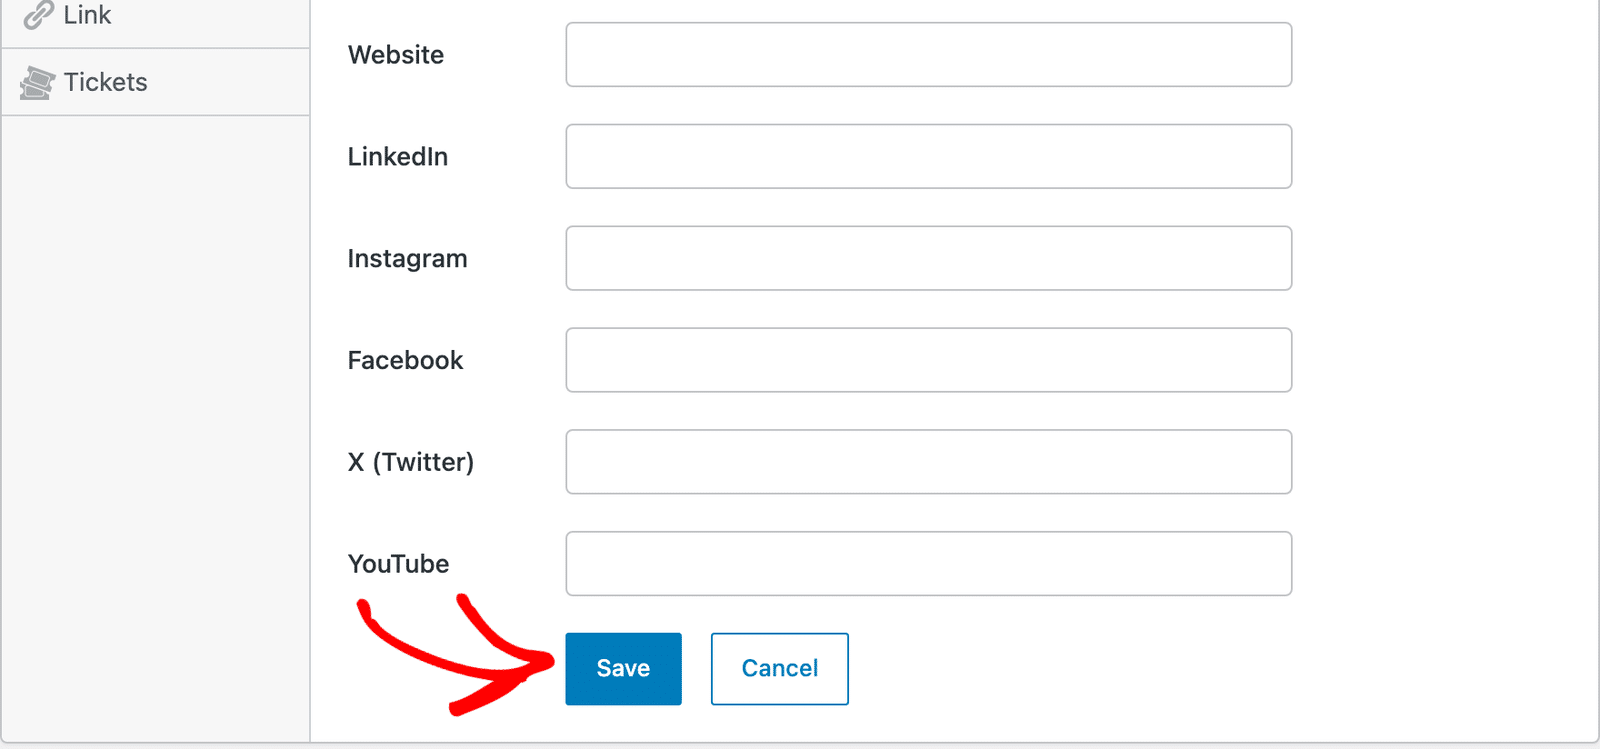
Sugar Calendar creates the speaker right away and selects them for this event. They also become available in the dropdown for your other events.
After adding speakers, be sure to publish or update the event to save your changes.
Viewing Speaker Profiles
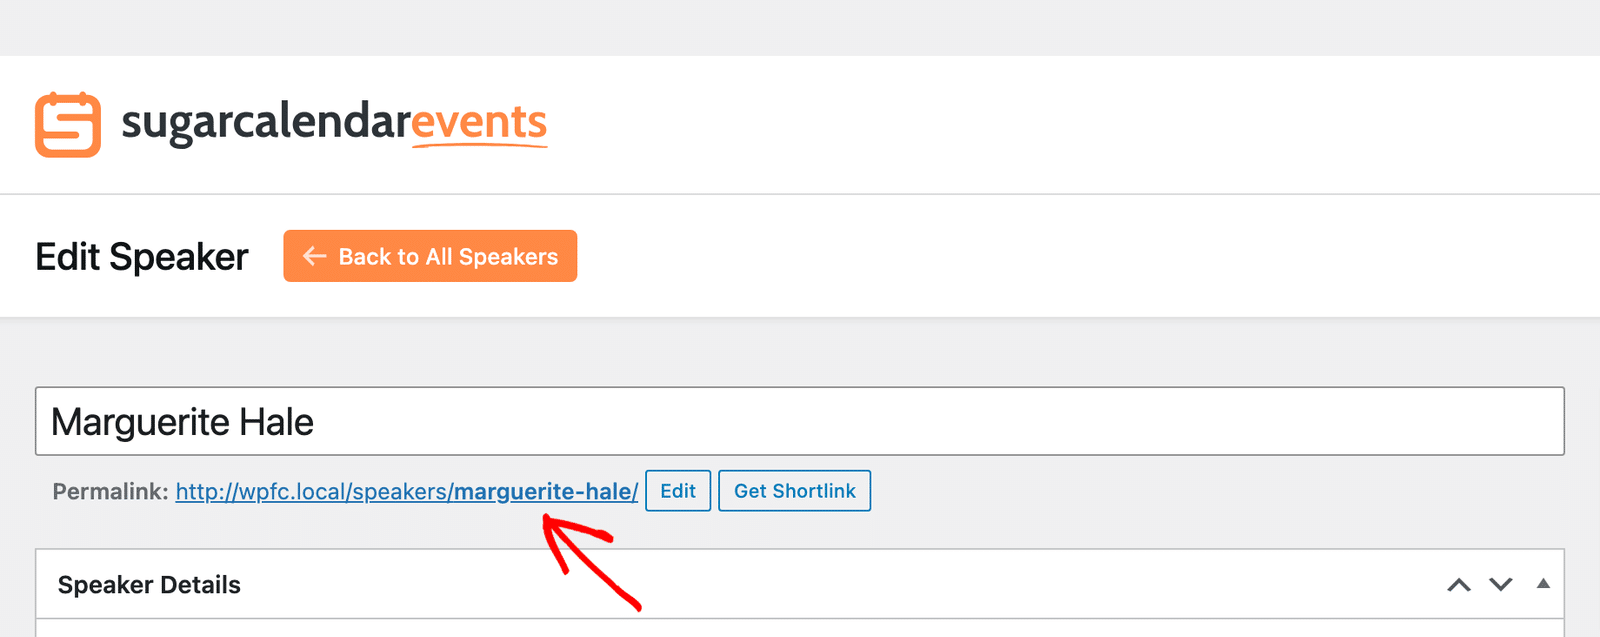
After you publish a speaker, their profile is publicly available on your site. To find the profile’s address, go to Events » Speakers and click the speaker’s name. The Permalink below the name is the profile URL. Click it to open the profile page.
The profile page shows the speaker’s title, contact details, social links, photo, and description.
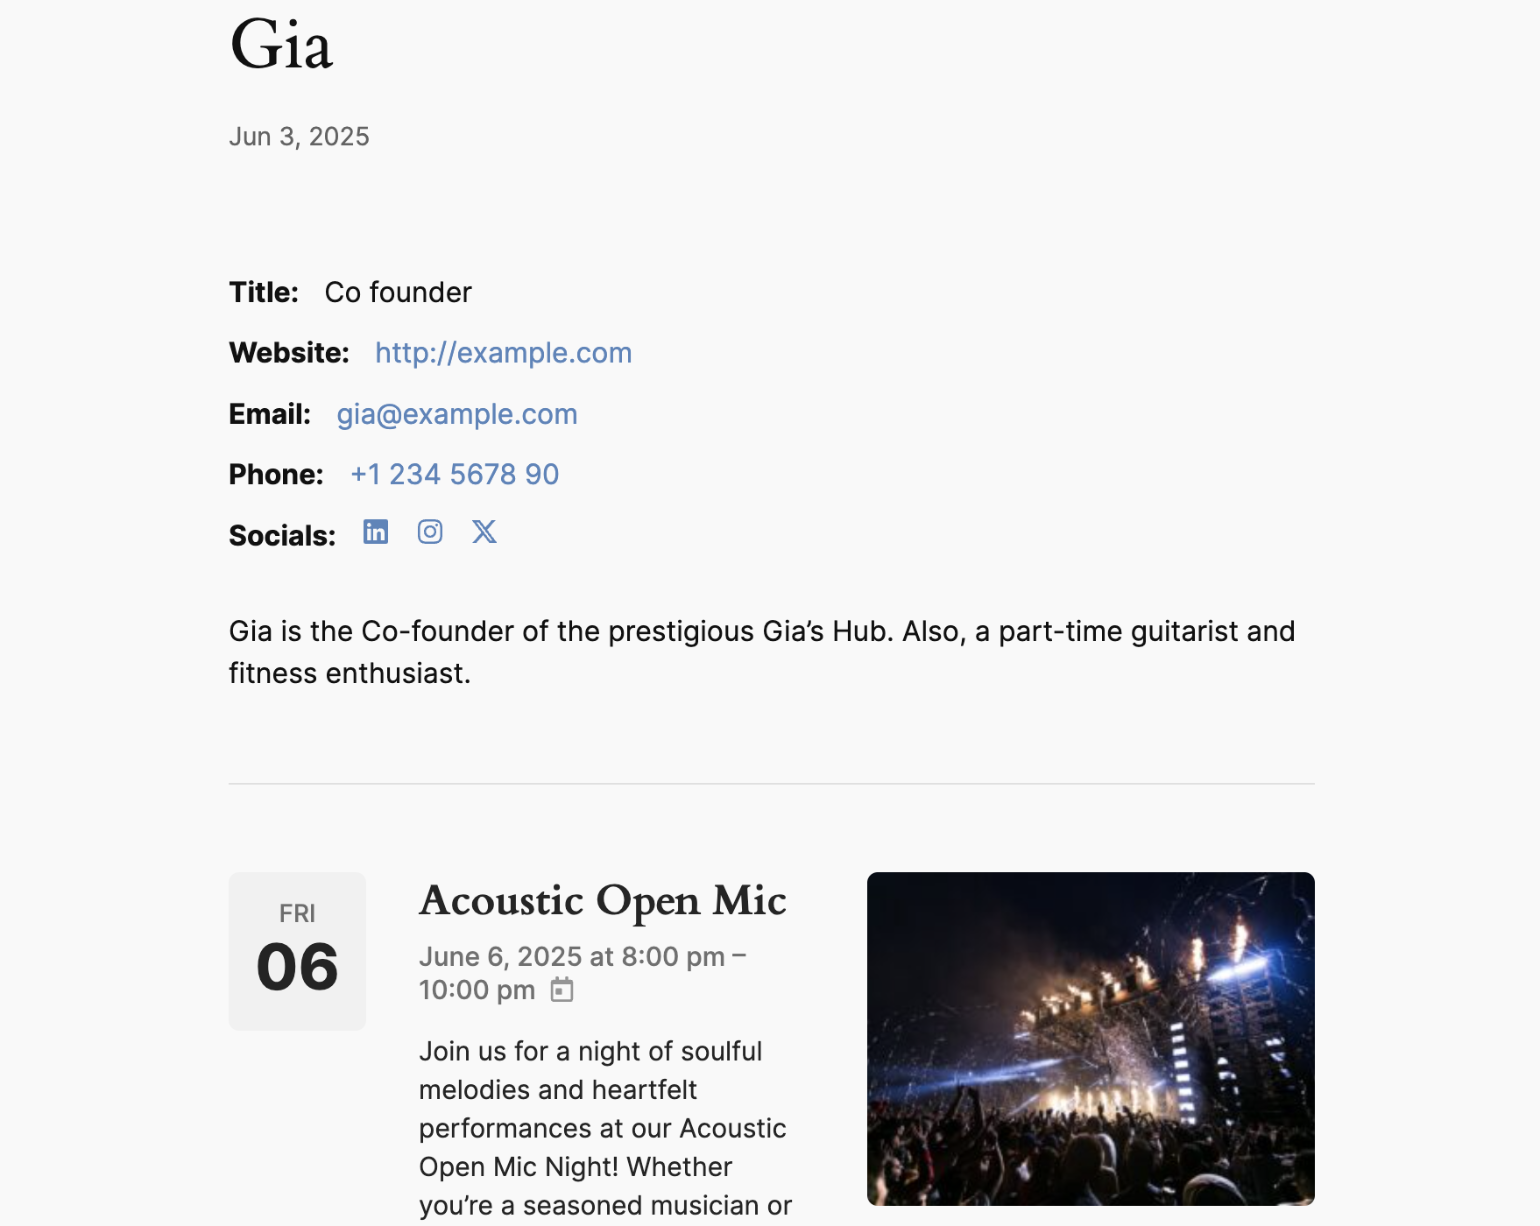
Below the profile, visitors see the speaker’s upcoming events.
Editing Speakers
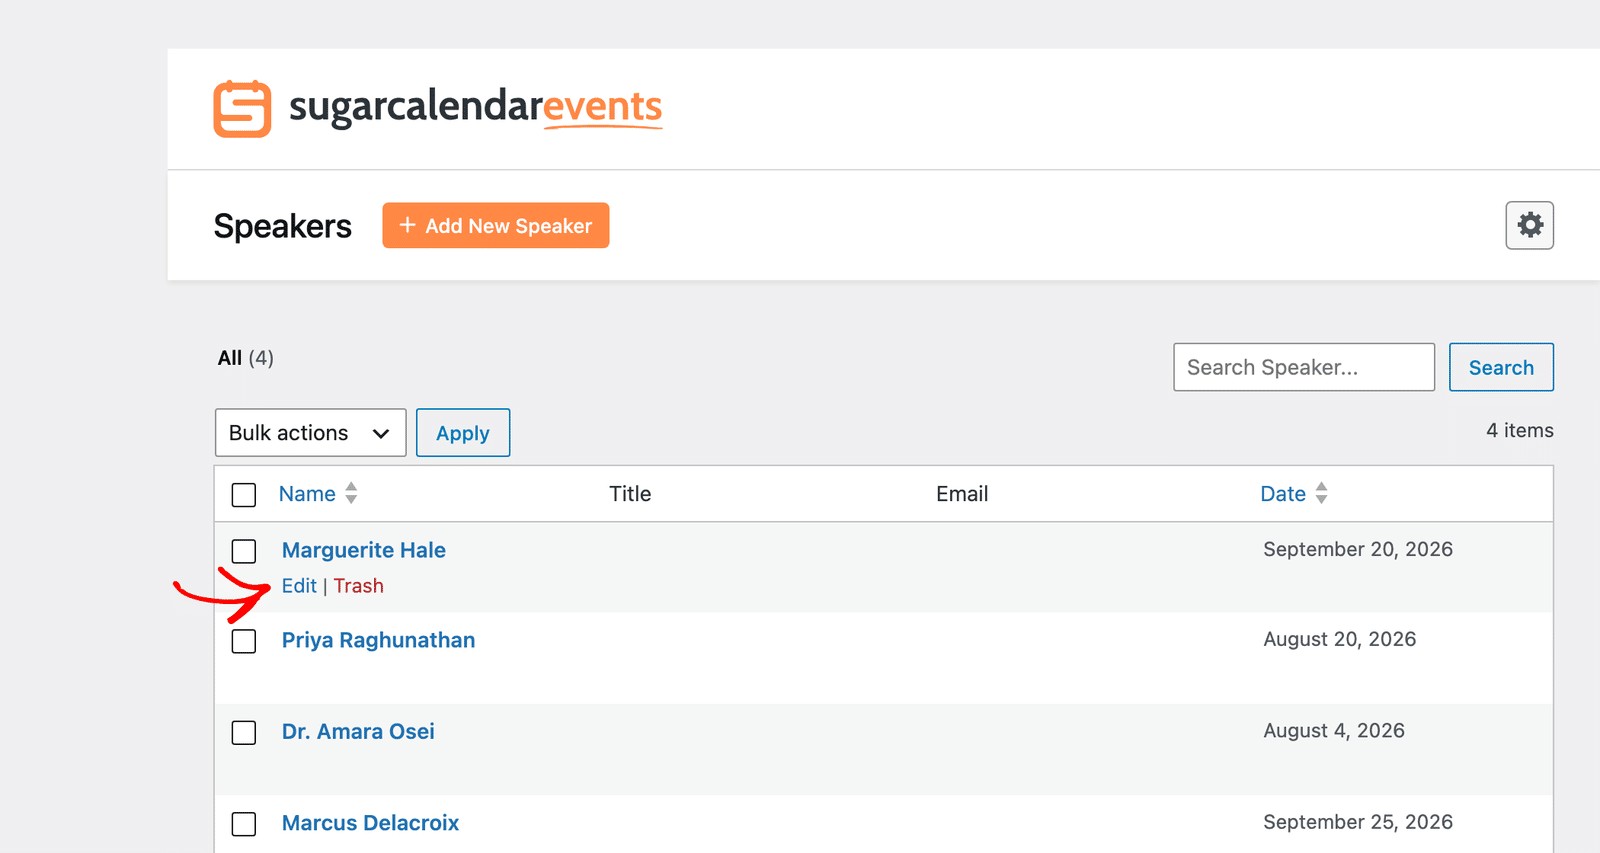
To update a speaker’s details, go to Events » Speakers and hover over the speaker you’d like to update. Then click Edit.
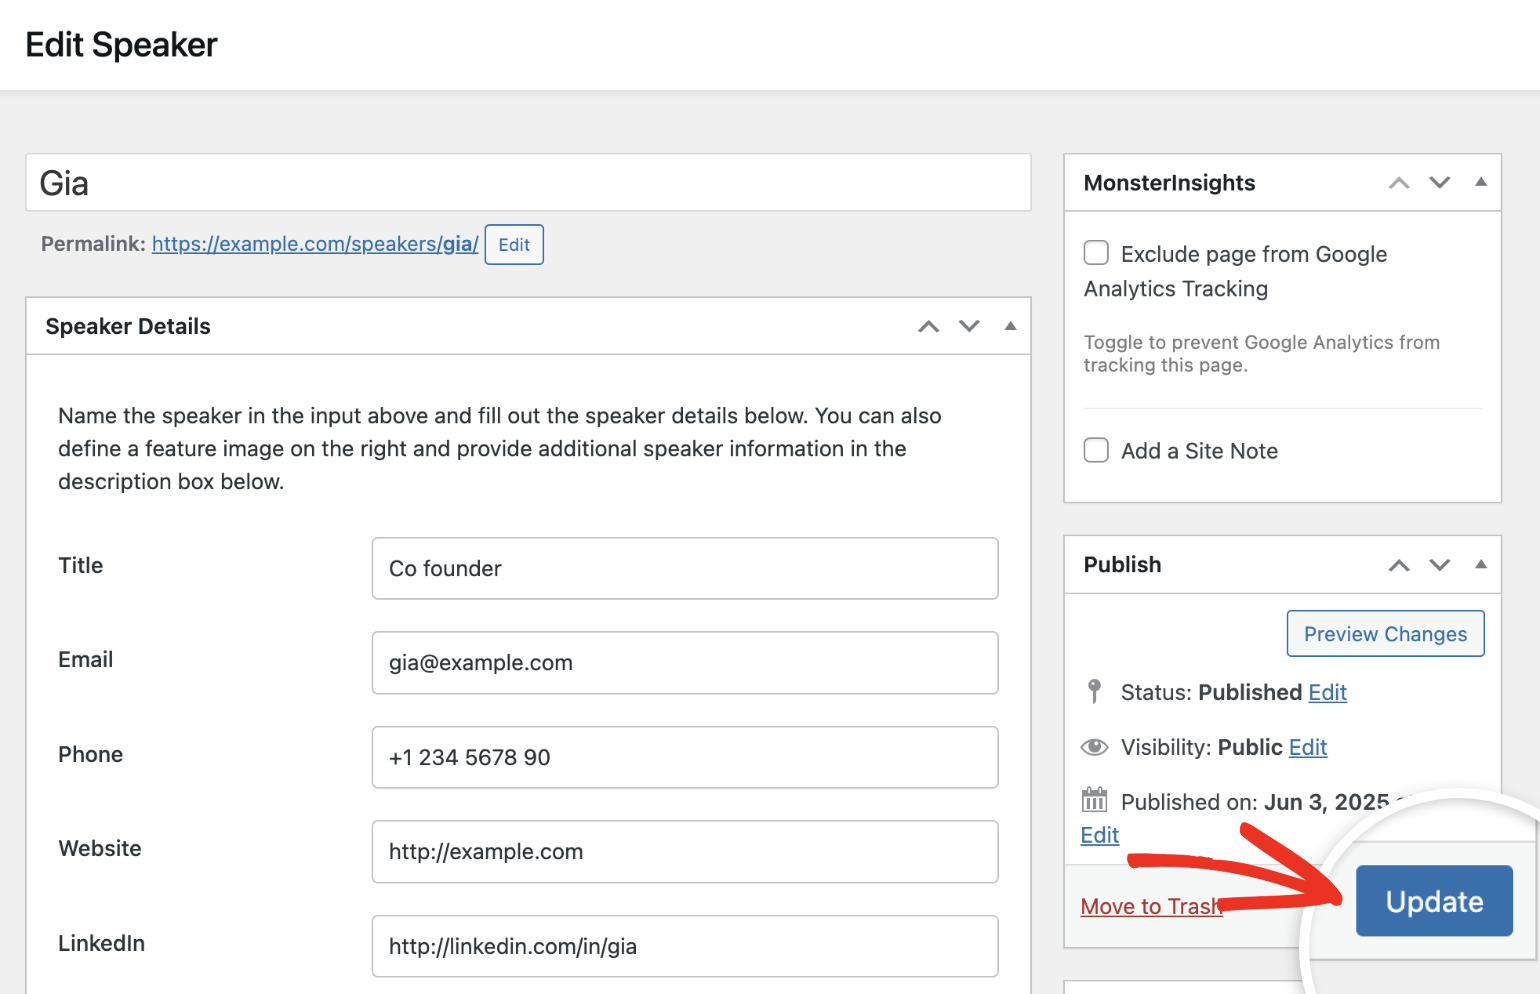
In the speaker editor, make your changes. Once done, click Update to save them.
Deleting Speakers
To remove a speaker, go to Events » Speakers. Then hover over the speaker’s name and click Trash.
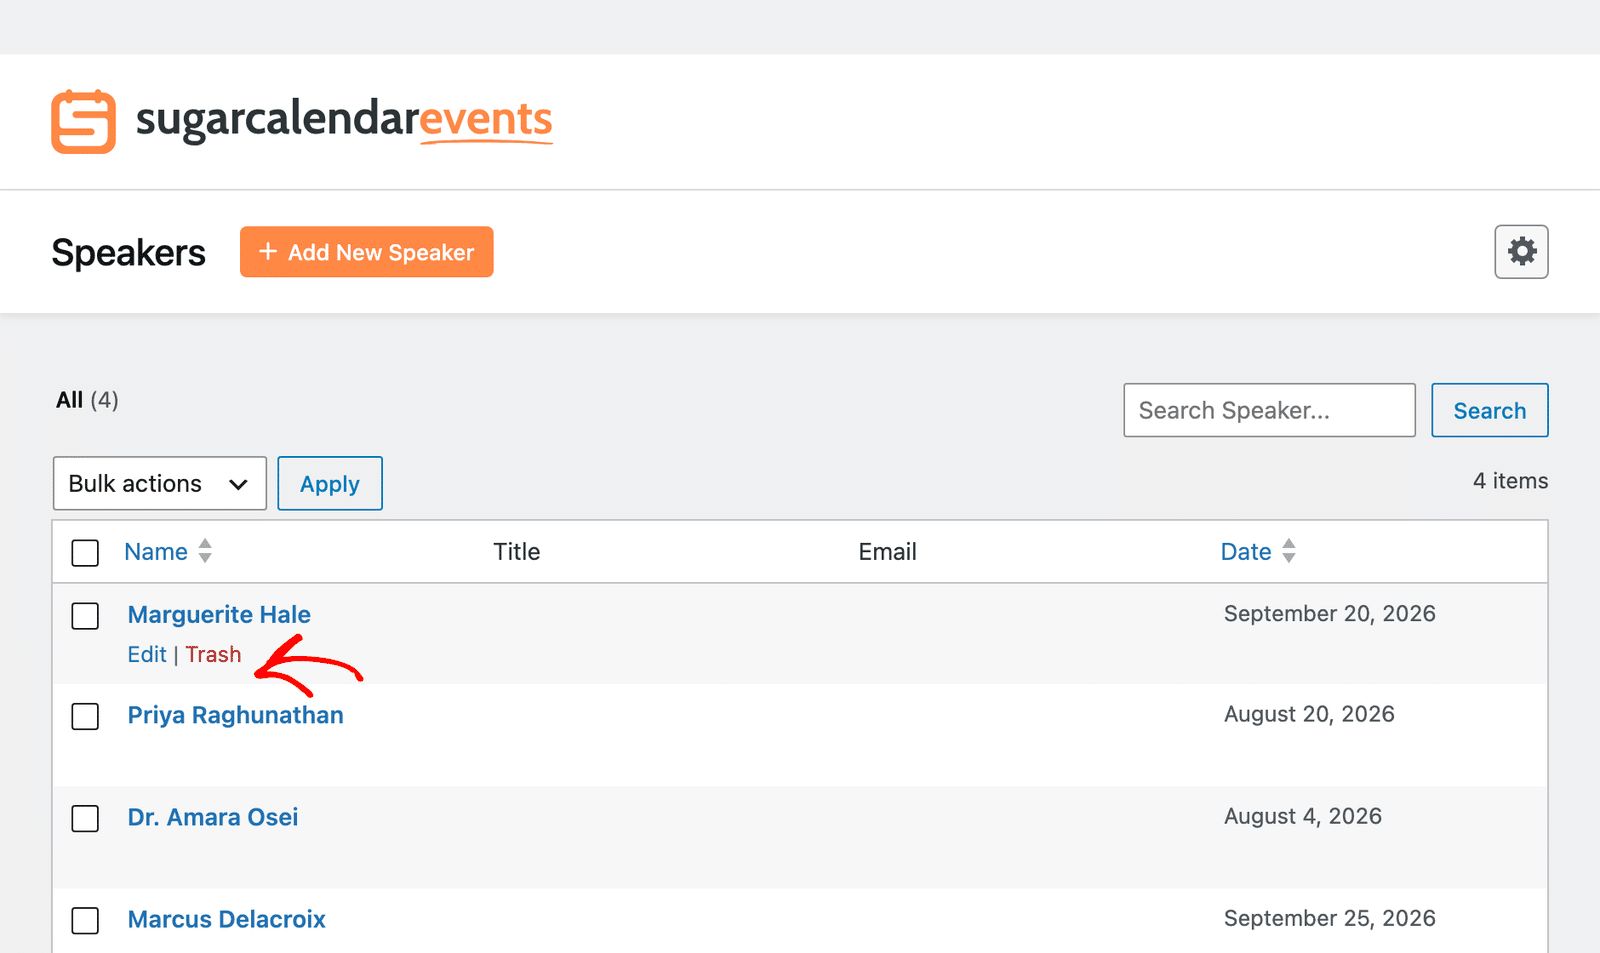
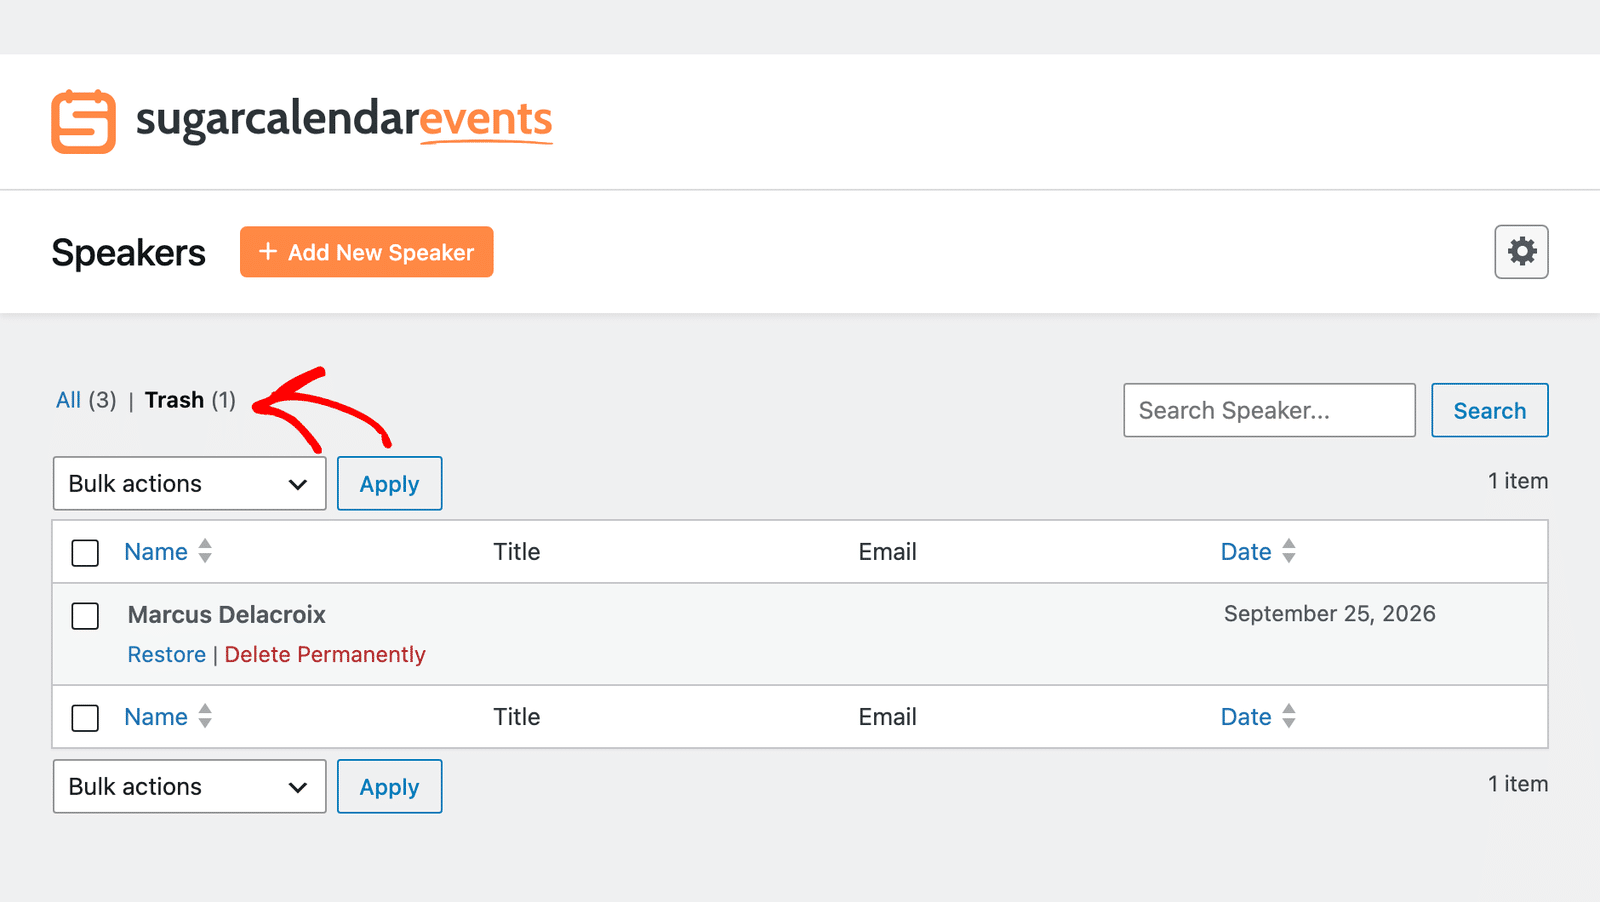
Trashed speakers move to the Trash view, where you can restore them or delete them permanently.
That’s it! You’ve now learned how to create, manage, and assign speakers to events in Sugar Calendar Events.
Next, would you like to accept payments for events on your site? See our Event Ticketing addon tutorial for more details.