Would you like to host online events and automatically share a Zoom meeting link with your attendees? Sugar Calendar Events integrates with Zoom, so an online event generates its own meeting link without any manual setup.
In this tutorial, we’ll show you how to set up and use the Zoom integration in Sugar Calendar Events.
In This Article
Requirements: To use the Zoom integration, you’ll need:
- A Zoom account (free or paid)
- A valid SSL certificate on your WordPress site
- Sugar Calendar Events installed and activated
Connecting Your Zoom Account
Sugar Calendar connects to Zoom at the site level through a single admin account. One Zoom account powers the integration for the whole site, and the site administrator manages the connection from the integration settings.
To connect your Zoom account, go to Events » Settings in your WordPress dashboard and click the Integrations tab.
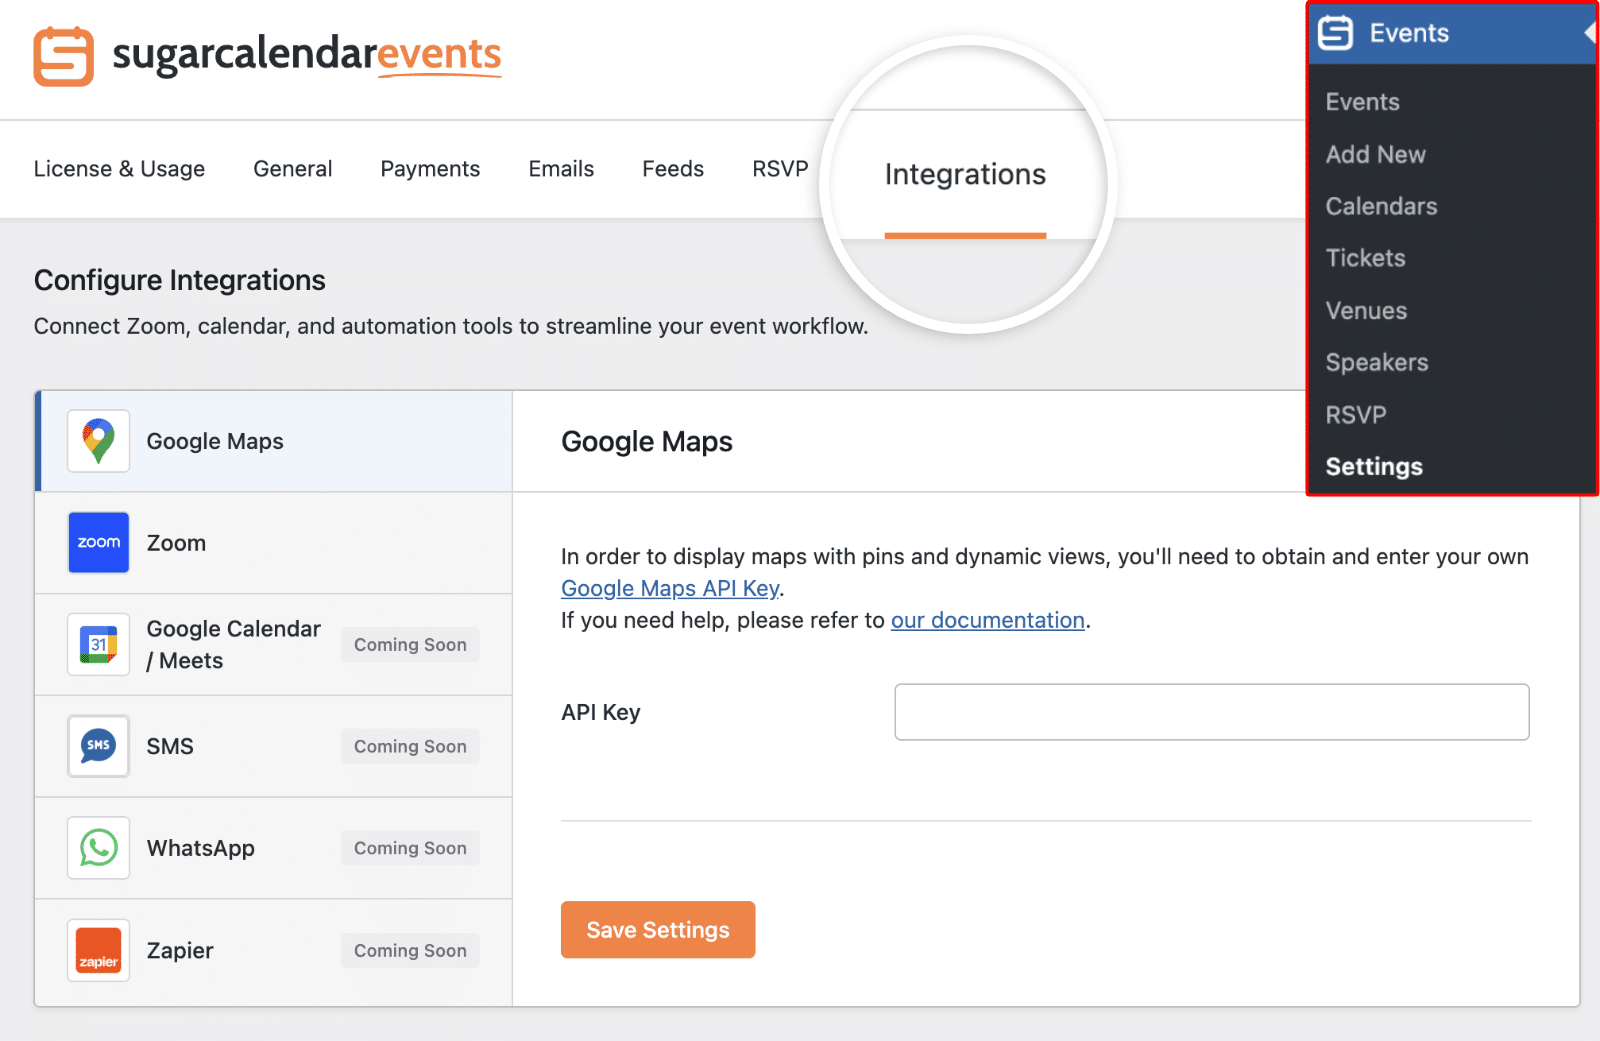
Then select Zoom from the sidebar.
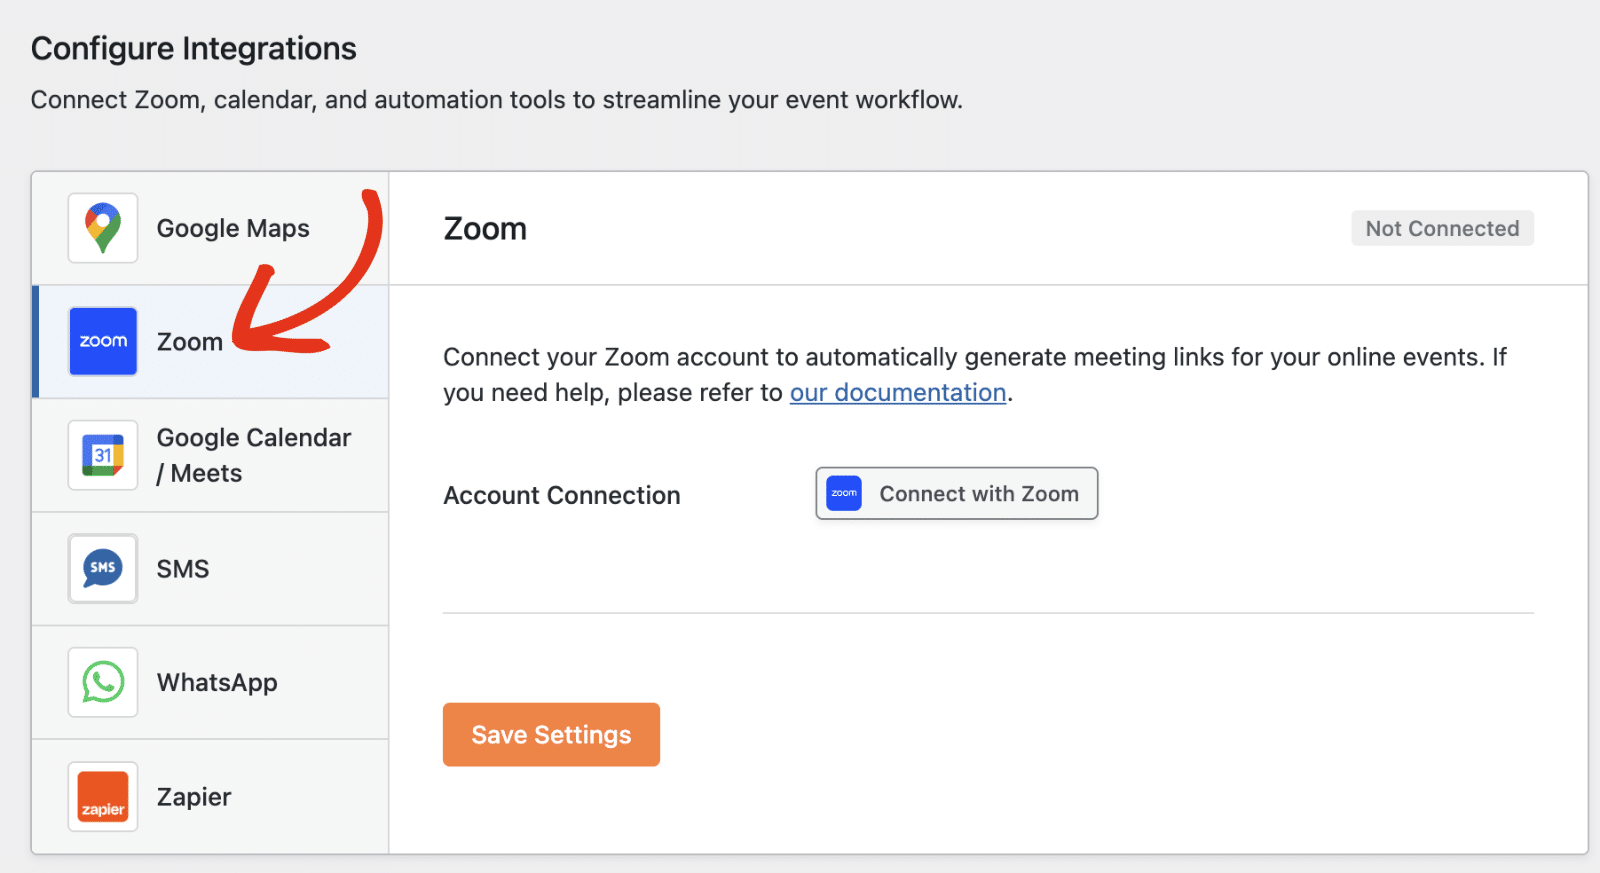
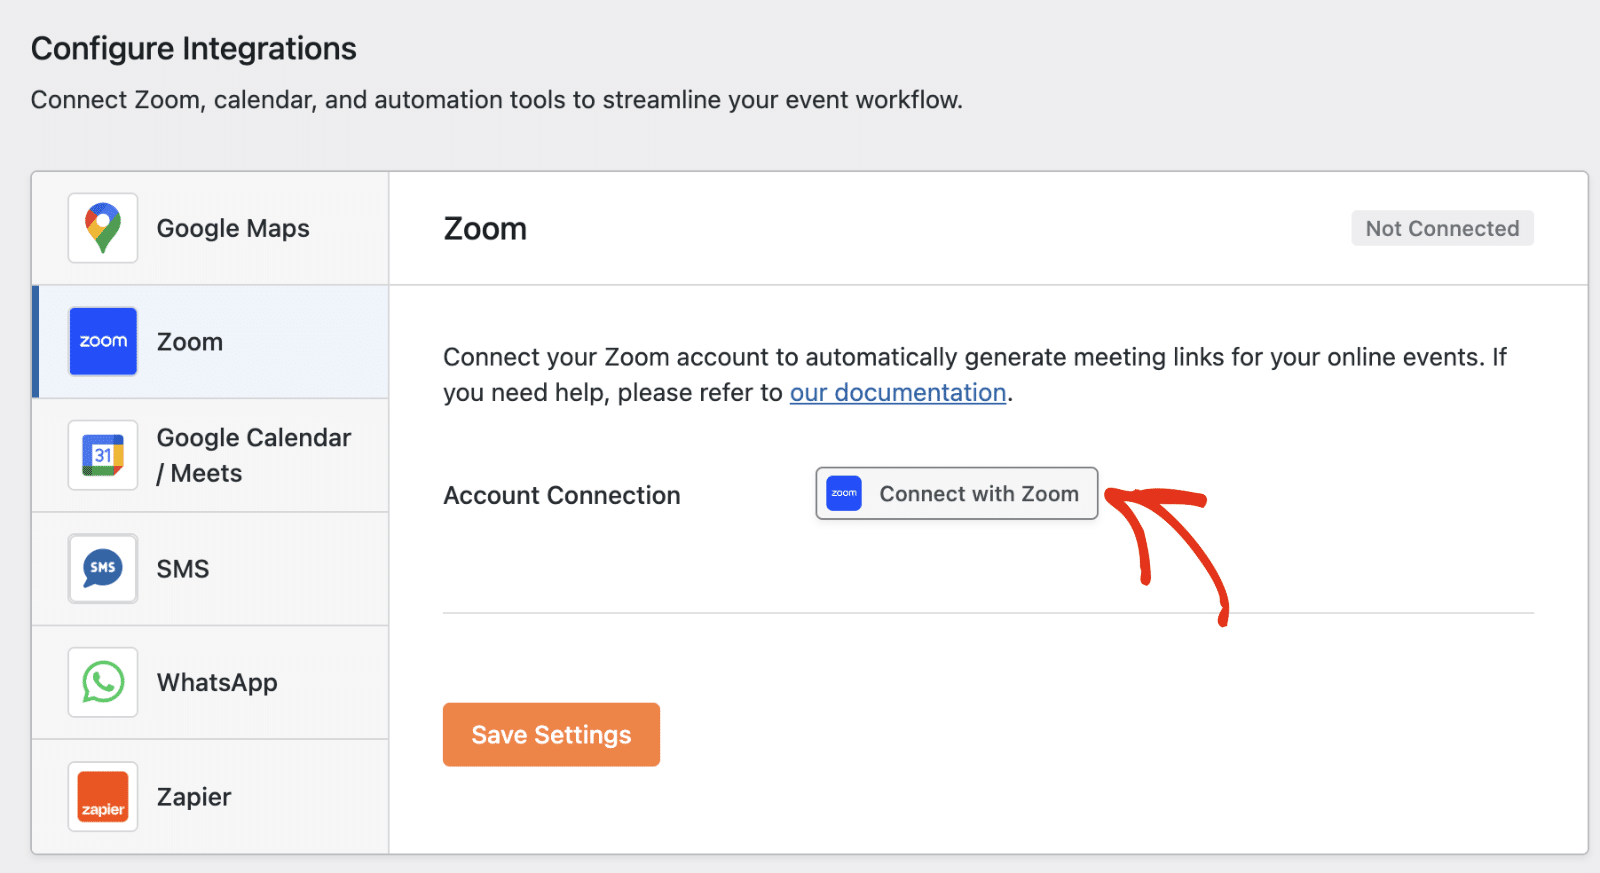
In the not-connected state, the Zoom panel describes the integration and shows a Connect with Zoom button. Click it to begin.
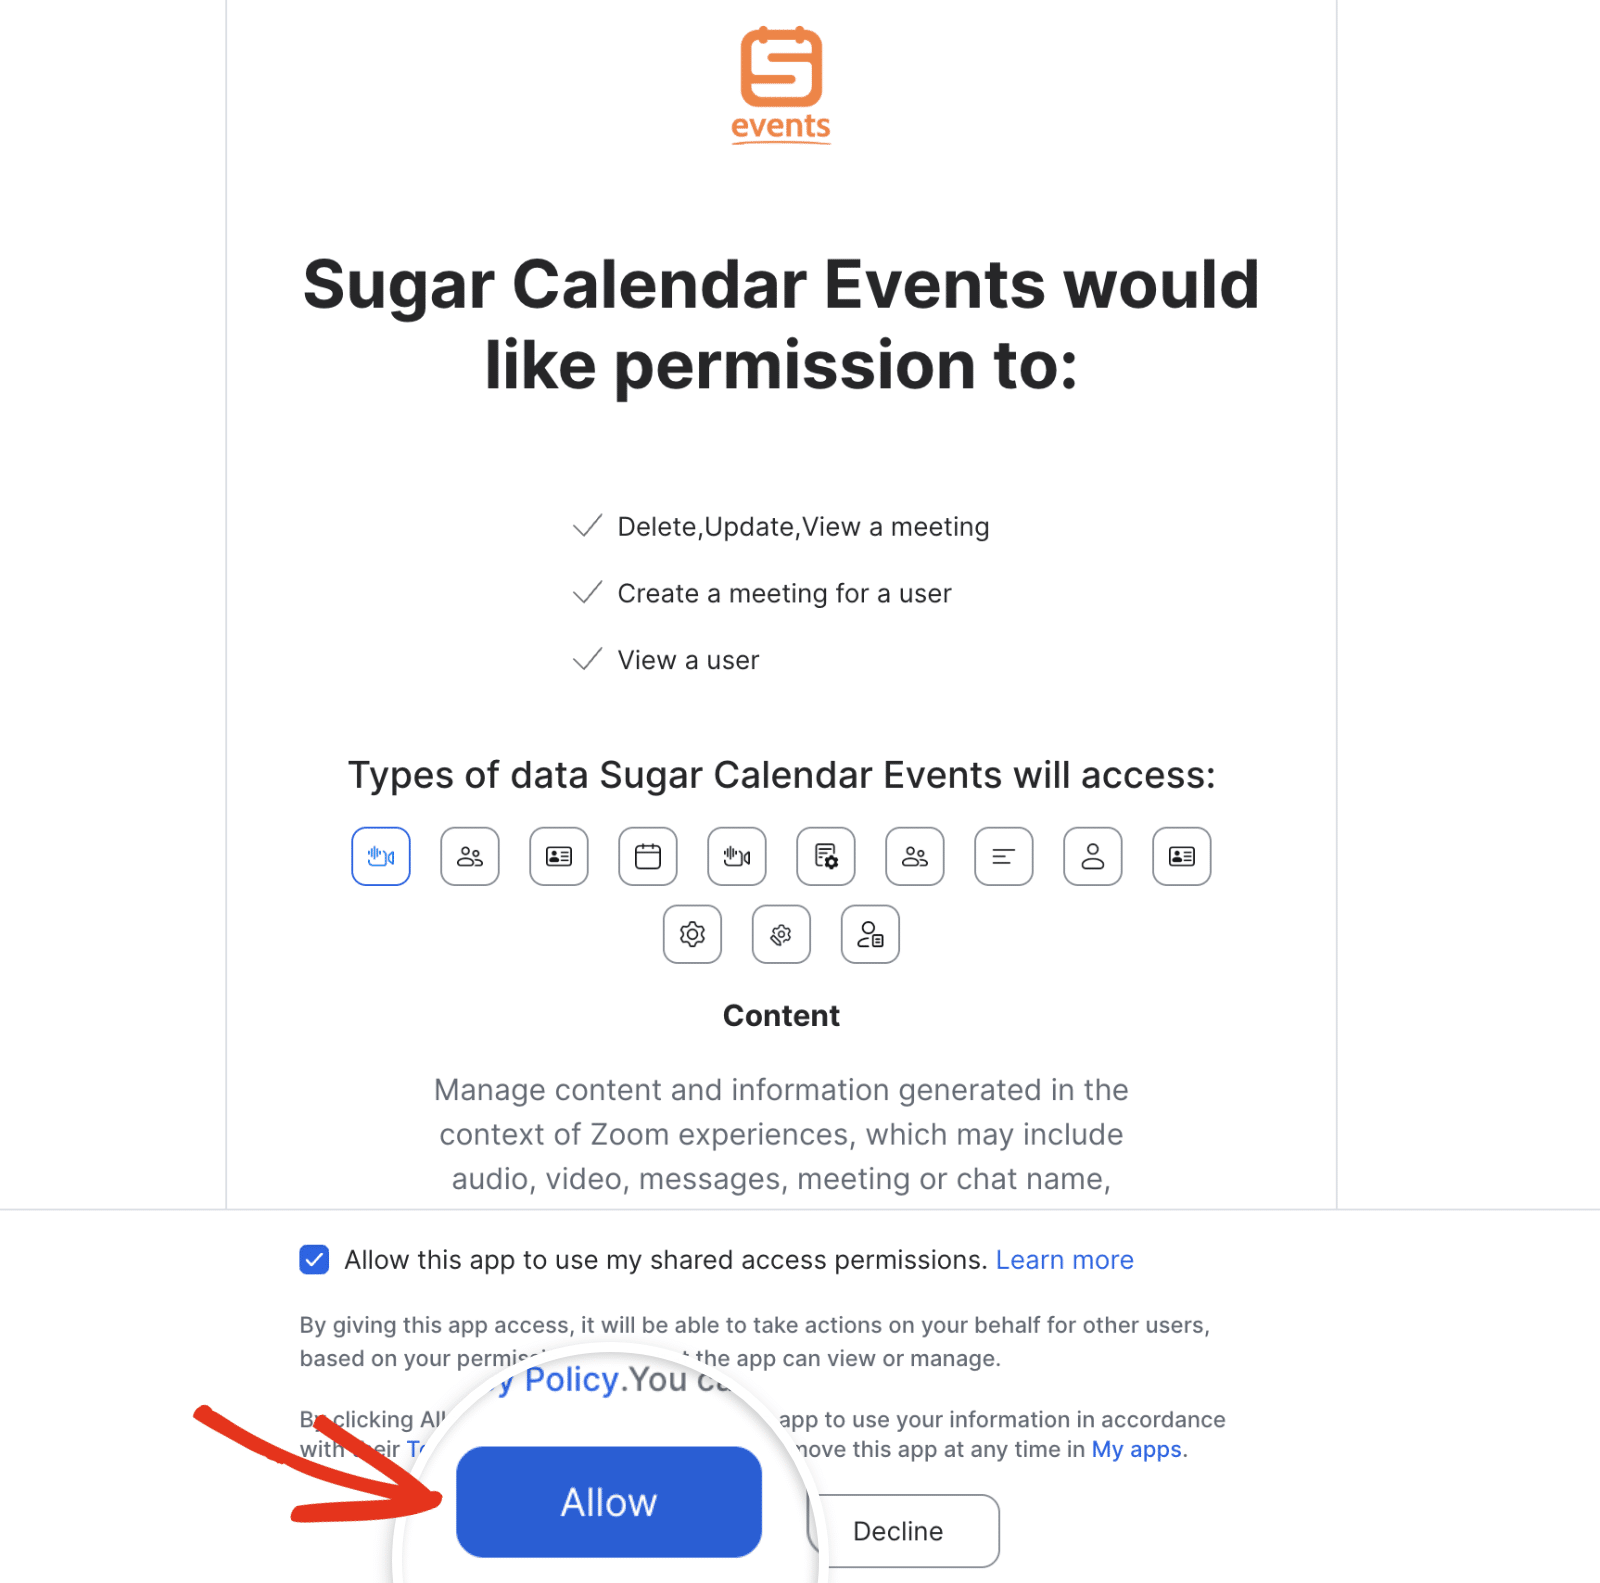
Zoom’s authorization page opens in your browser. If you are not already signed in to Zoom, enter your credentials now.
After that, review the requested permissions and click Allow to grant Sugar Calendar access to your Zoom account.
After you authorize the connection, Zoom redirects you back to the Integrations settings page. The Zoom panel now shows the connected account: its avatar, email address, and connection date, along with a Remove link. A green Connected badge appears on the panel, and a green checkmark appears next to Zoom in the sidebar.
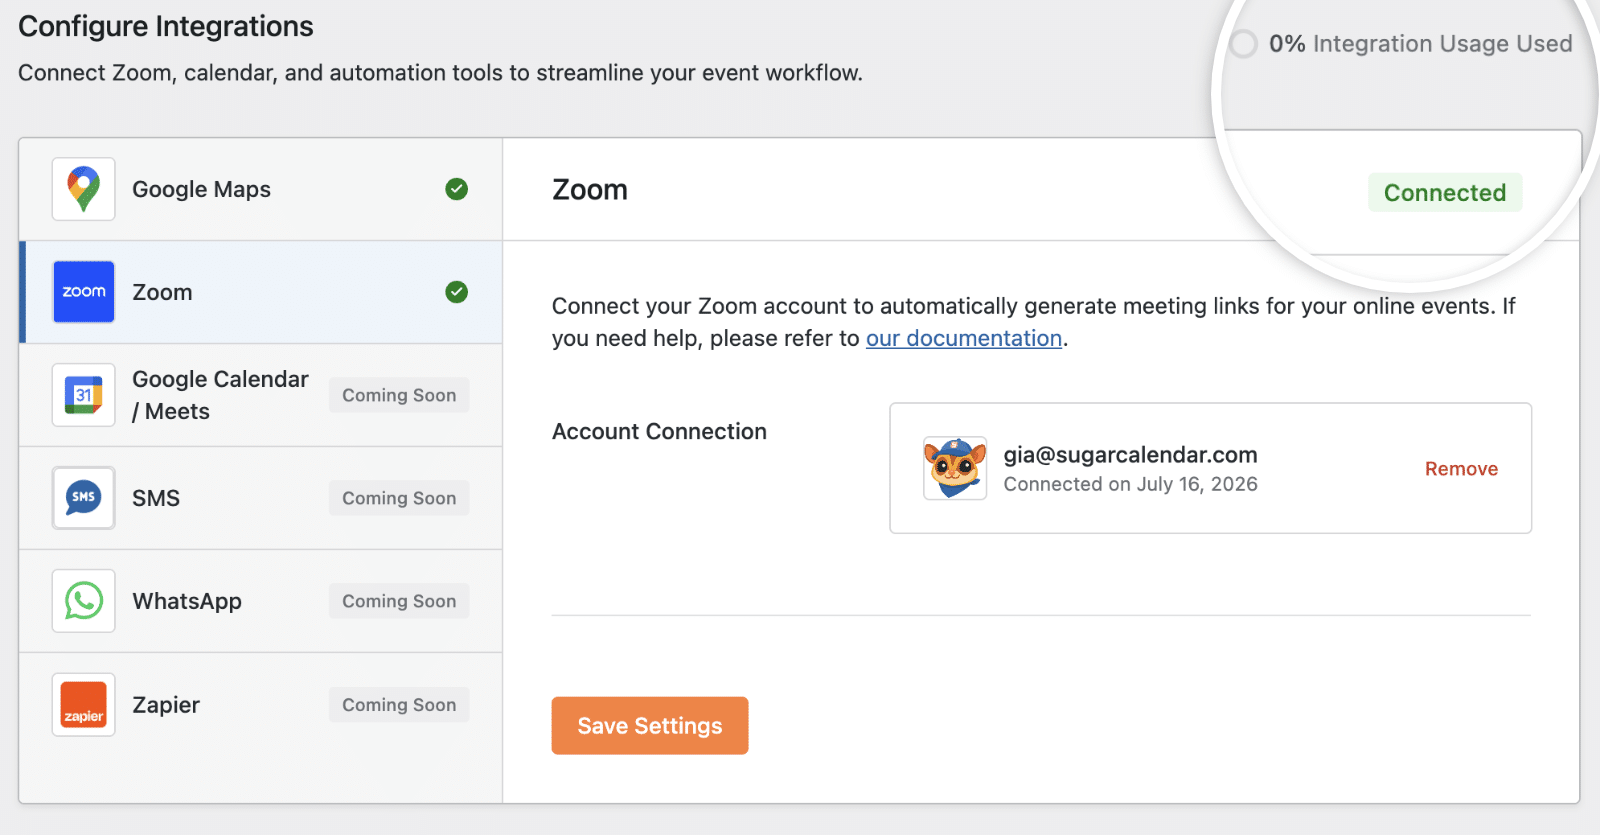
Note: If you do not grant the required permissions during authorization, Sugar Calendar Events shows an admin notice with the error when you return. Click Connect with Zoom again to retry and approve the requested scopes.
Adding Zoom to an Event
Once your Zoom account is connected, Zoom becomes available as an online location when editing events.
To do so, open the event you want to edit, or create a new one to access the event editor. After that, select the Location tab.
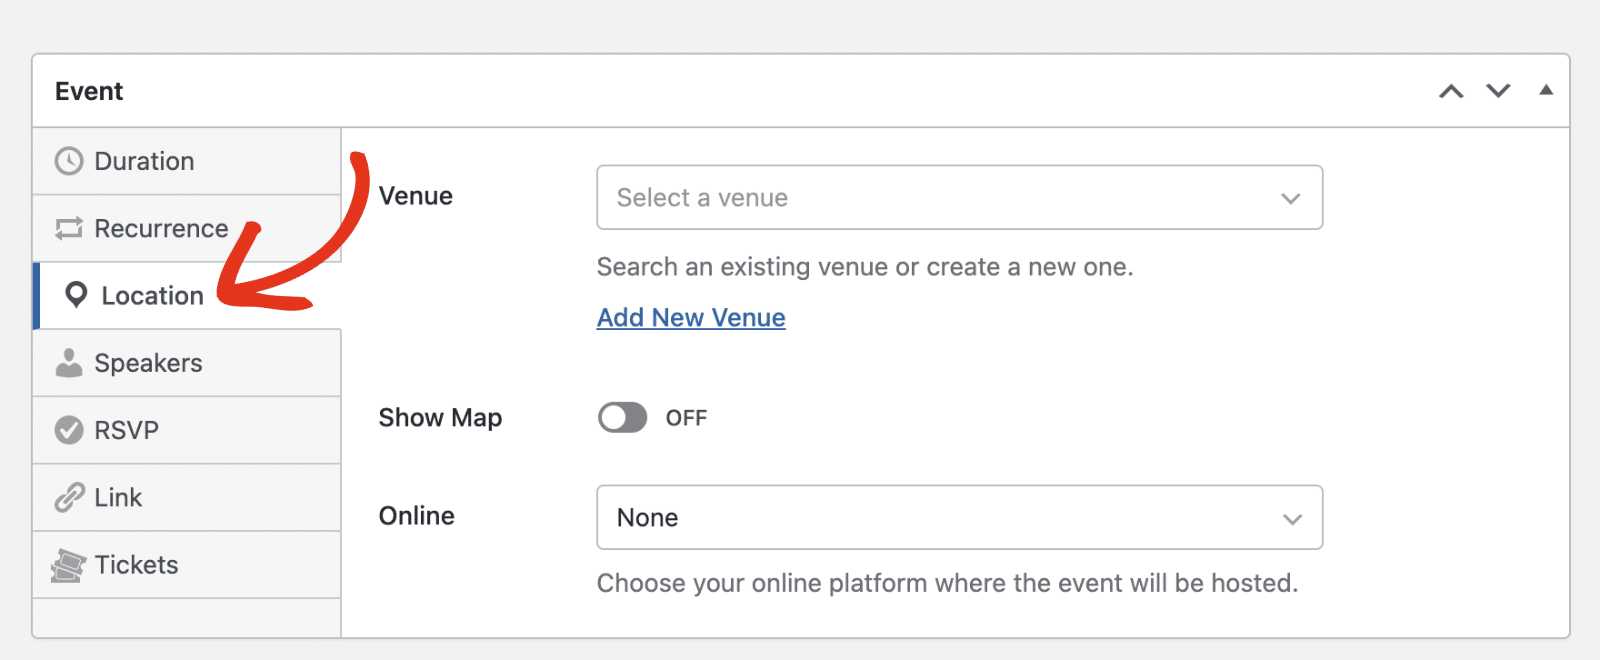
Below the venue and address fields, find the Online dropdown. It defaults to None.
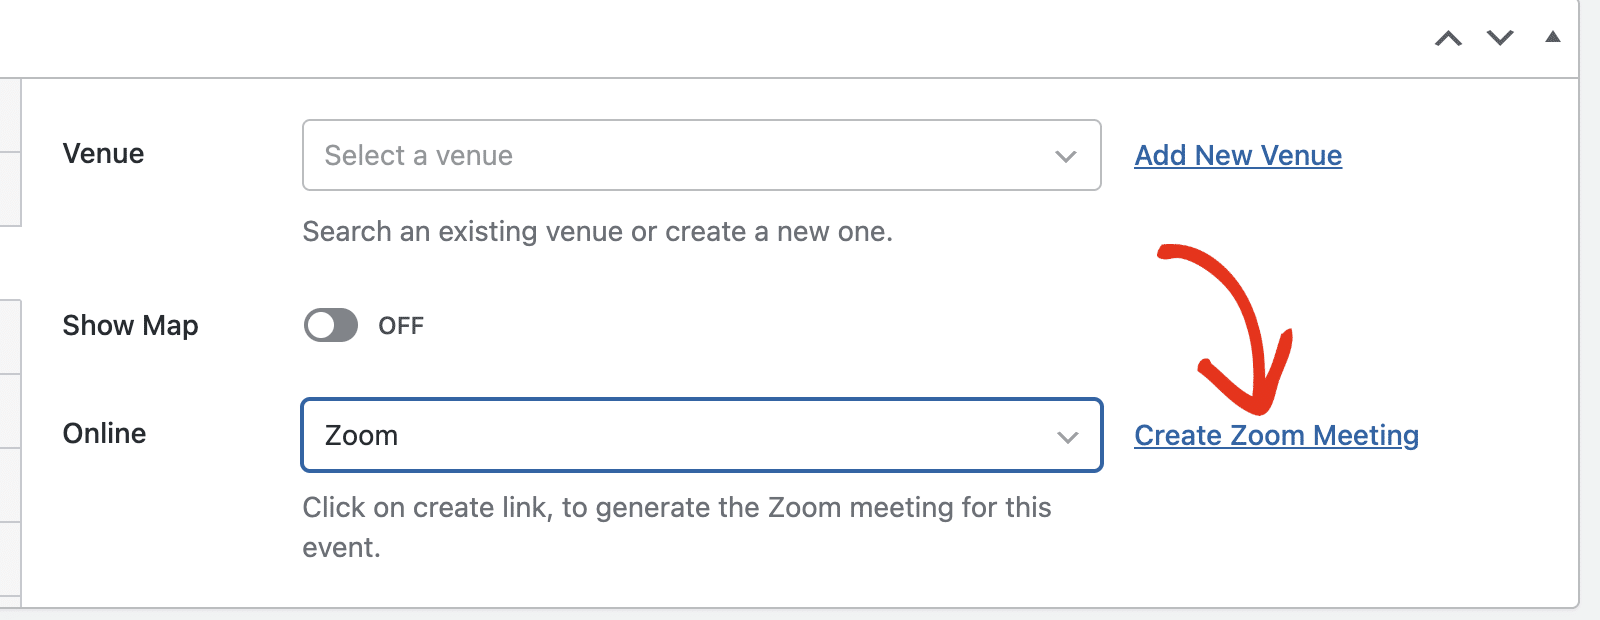
Open the dropdown and select Zoom. Then click the Create Zoom Meeting link.
Sugar Calendar creates a Zoom meeting and displays its details: the Host Link, the Join Link, and the Password. Each field has a Copy button.
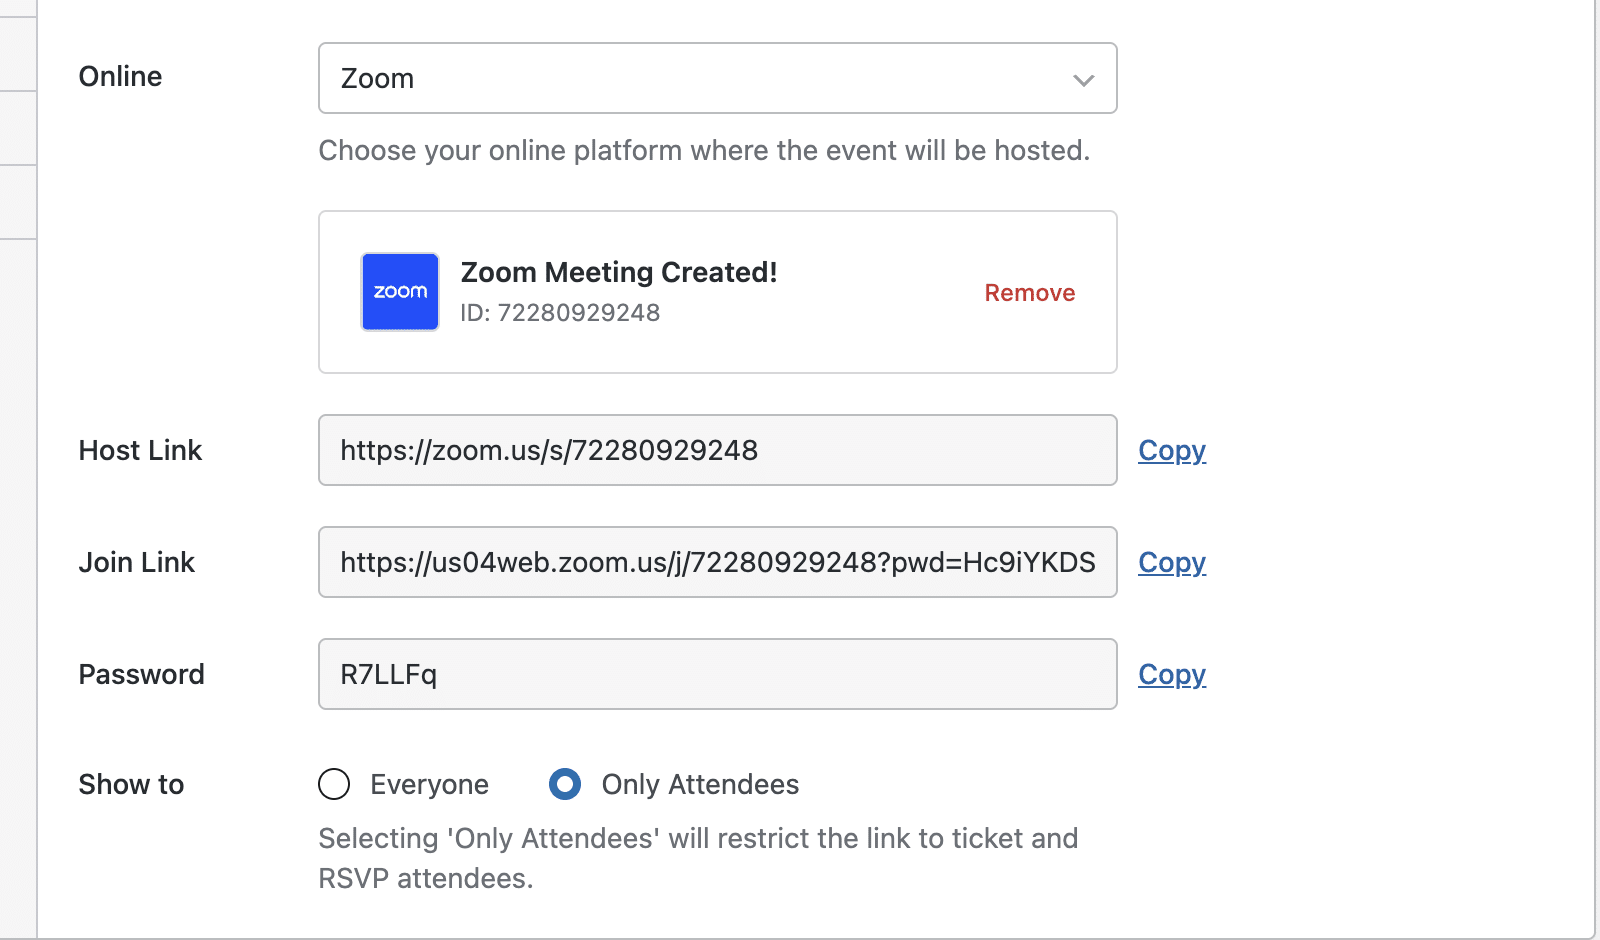
Use the Show to option to choose whether everyone or only attendees see the meeting details.
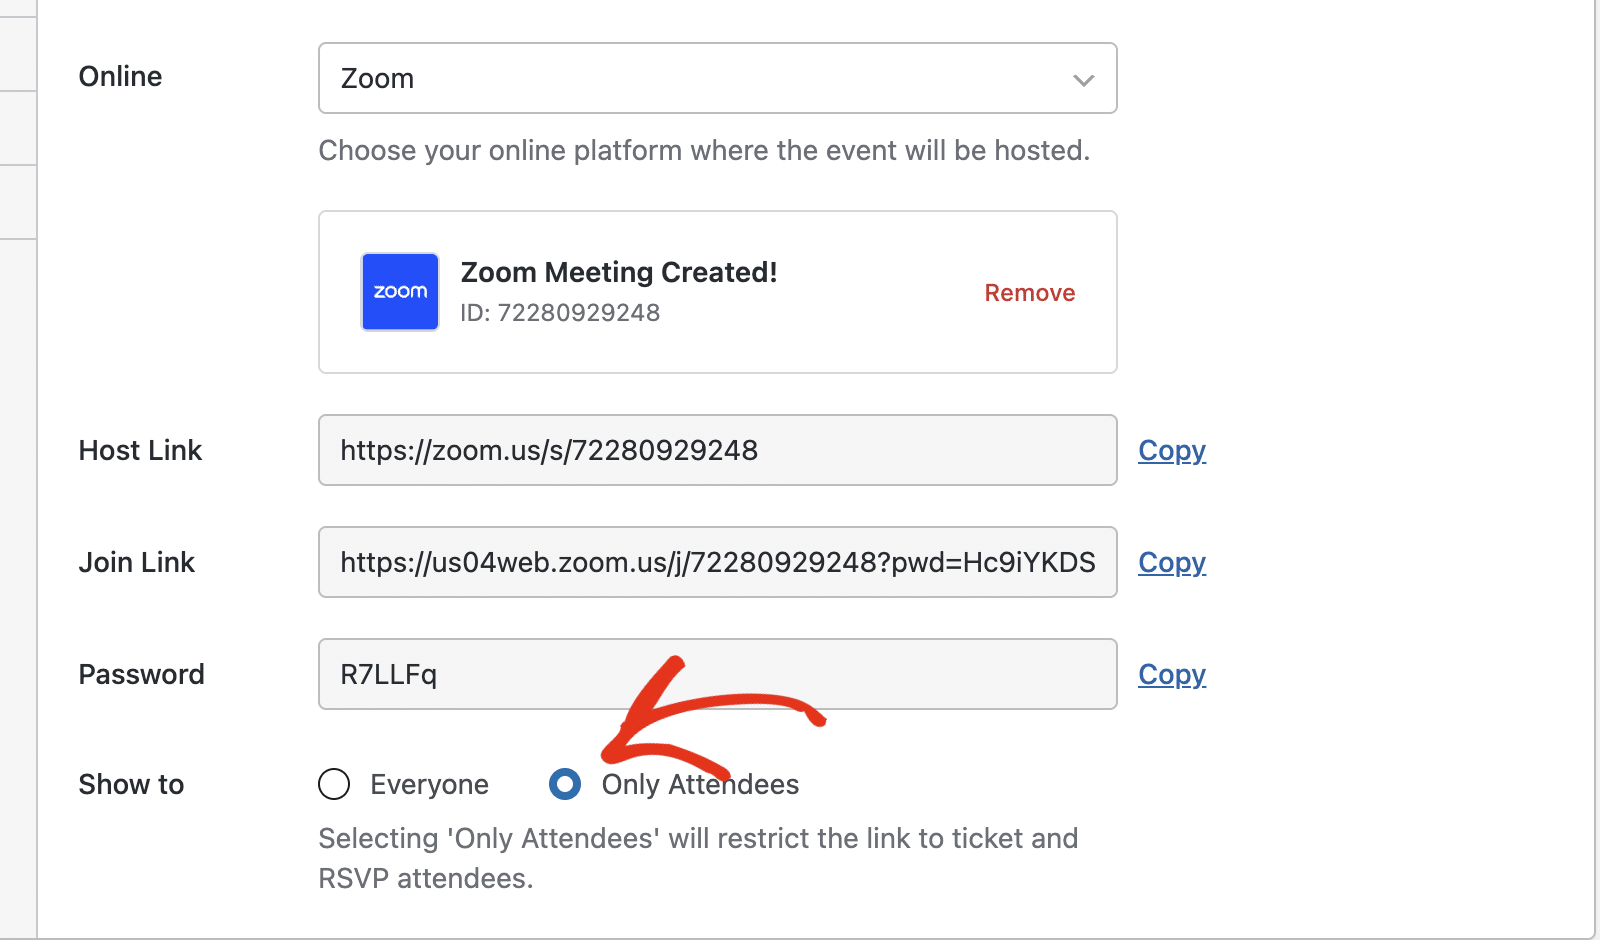
The Only Attendees option is useful for ticketed events or ones that require users to RSVP before attending.
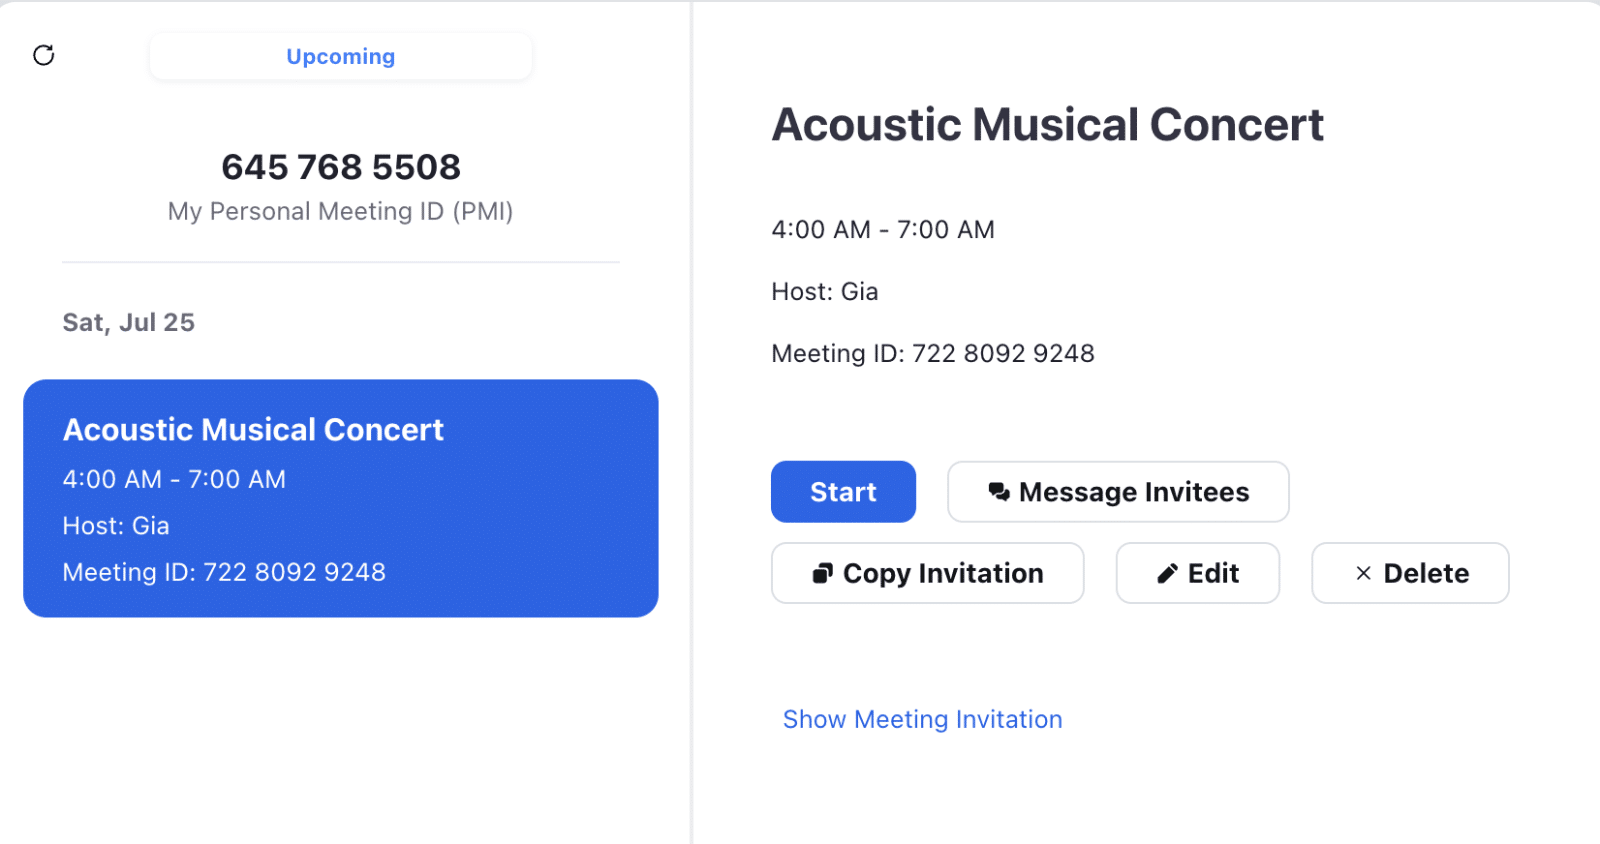
The meeting is also added to the connected Zoom account. When users register to attend the event, they’ll also receive the Zoom meeting link.
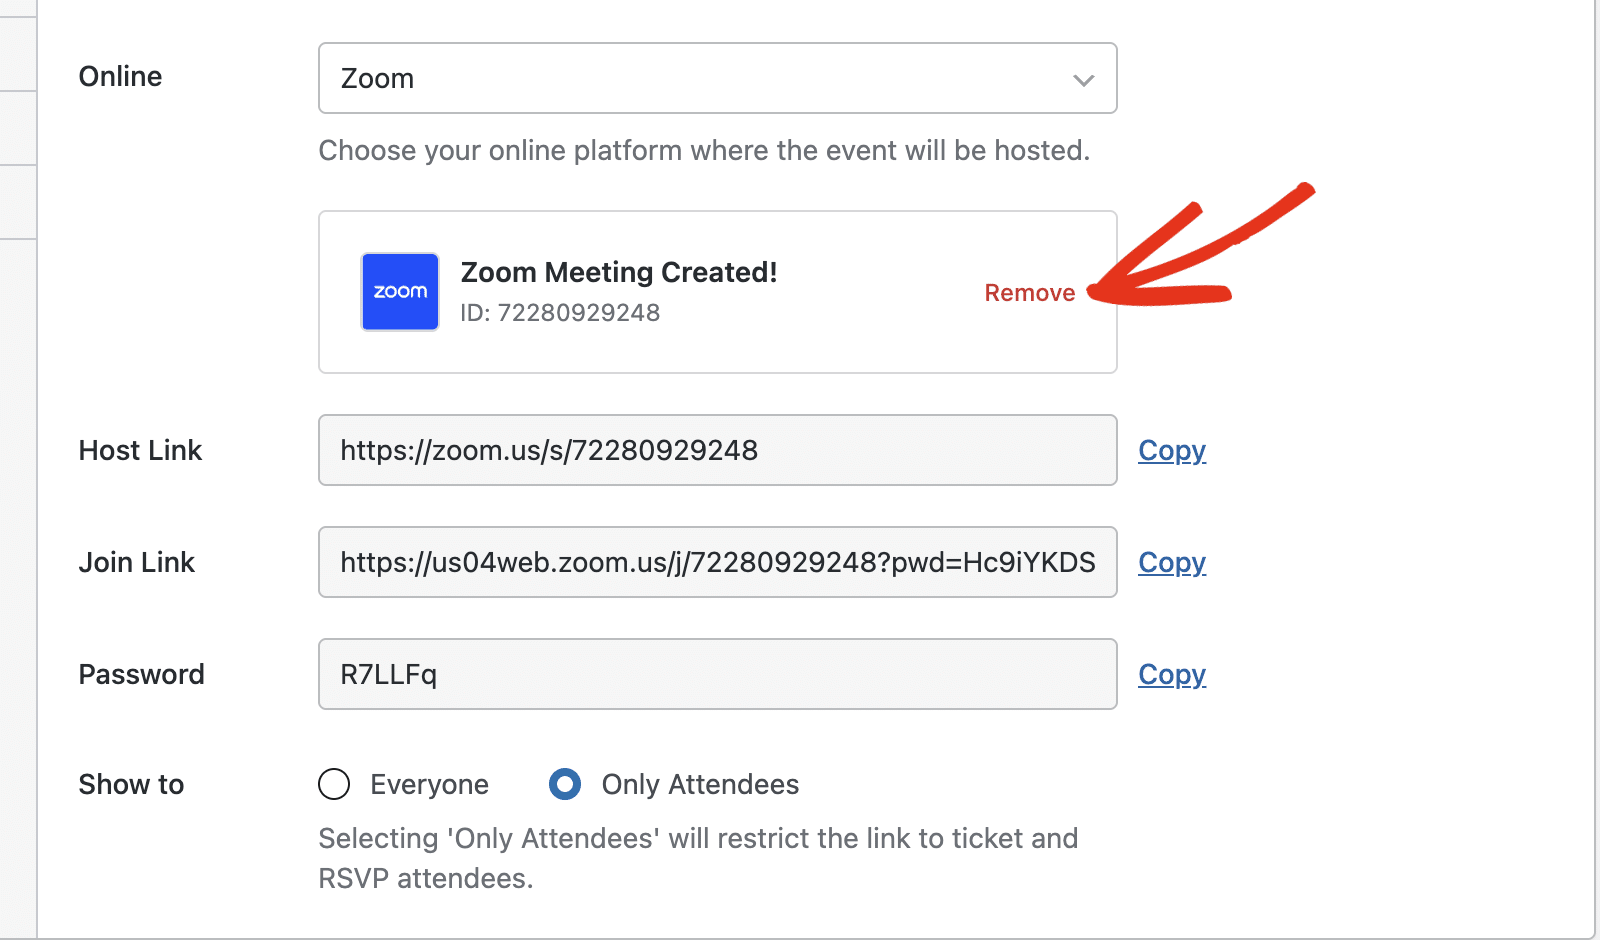
To delete the meeting, click the Remove link next to the created meeting in the event editor.
In the overlay that appears, click Remove to confirm the meeting deletion.
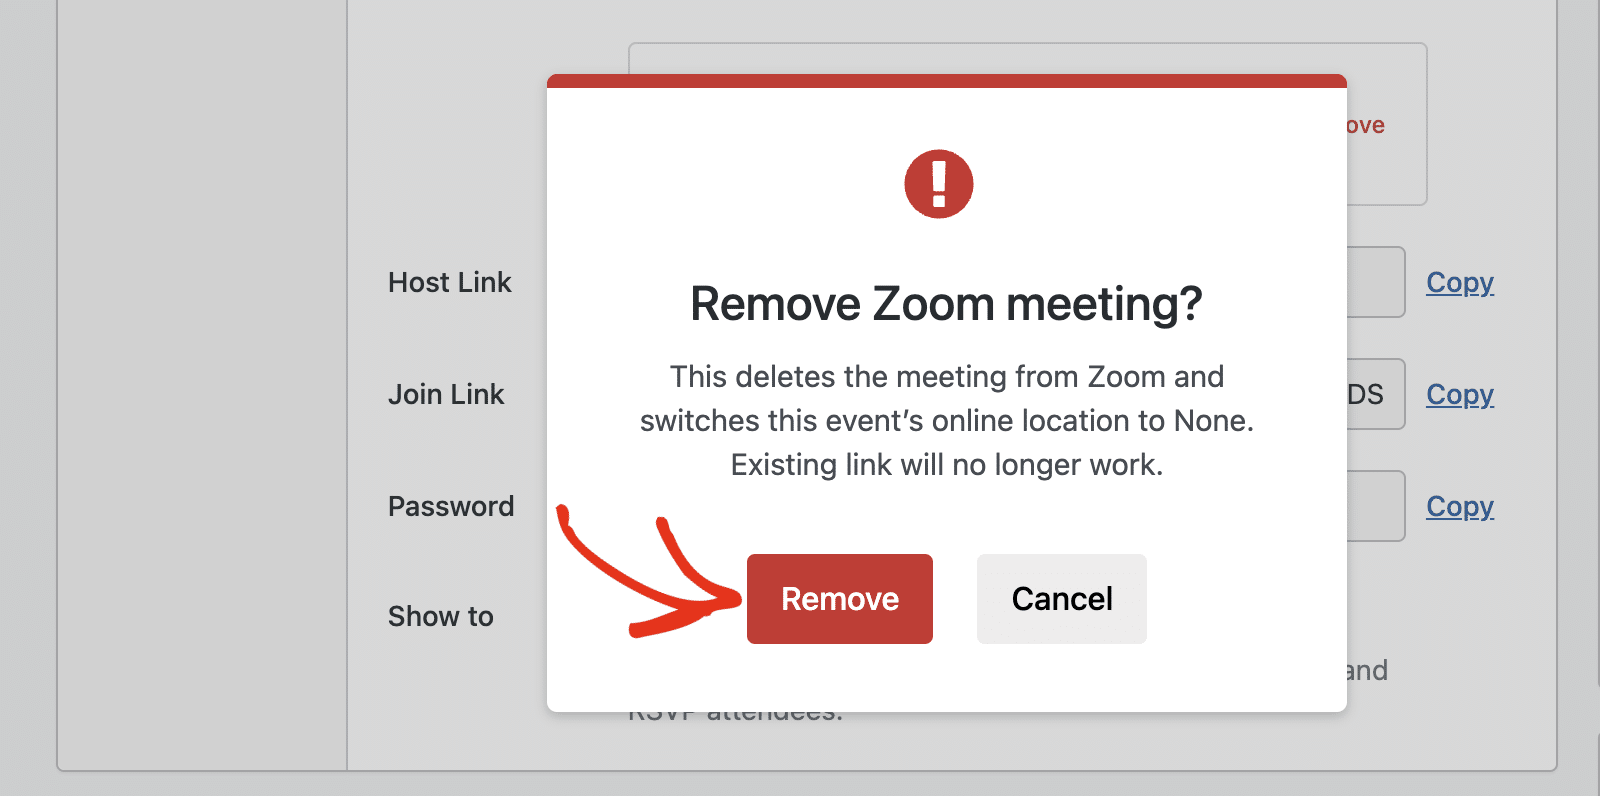
Doing this also removes the meeting from the connected Zoom account.
Once done, publish or update the event to finalize the meeting. If you switch to a different online option before publishing, Sugar Calendar clears the previous Zoom meeting so you don’t leave an unused meeting on your Zoom account.
Note: If your Zoom account is not connected, the event editor shows an error with a link to Events » Settings » Integrations. Reconnect your account there before adding Zoom to an event.
Understanding the Integration Workflow
After you connect Zoom and select it for an event, Sugar Calendar manages the Zoom meeting automatically throughout the event’s lifecycle.
New events: When you publish an online event with Zoom selected, Sugar Calendar creates a Zoom meeting with the event’s date, time, and duration, then stores the join link with the event.
Updated events: When you change the date or time of an event, the associated Zoom meeting updates automatically to match. The join link stays the same.
Deleted events: When you delete an event, Sugar Calendar removes the associated meeting from your Zoom account.
Disconnecting Your Zoom Account
To disconnect your Zoom account, go to Events » Settings, click the Integrations tab, and select Zoom.
After that, click the Remove link next to the connected account.
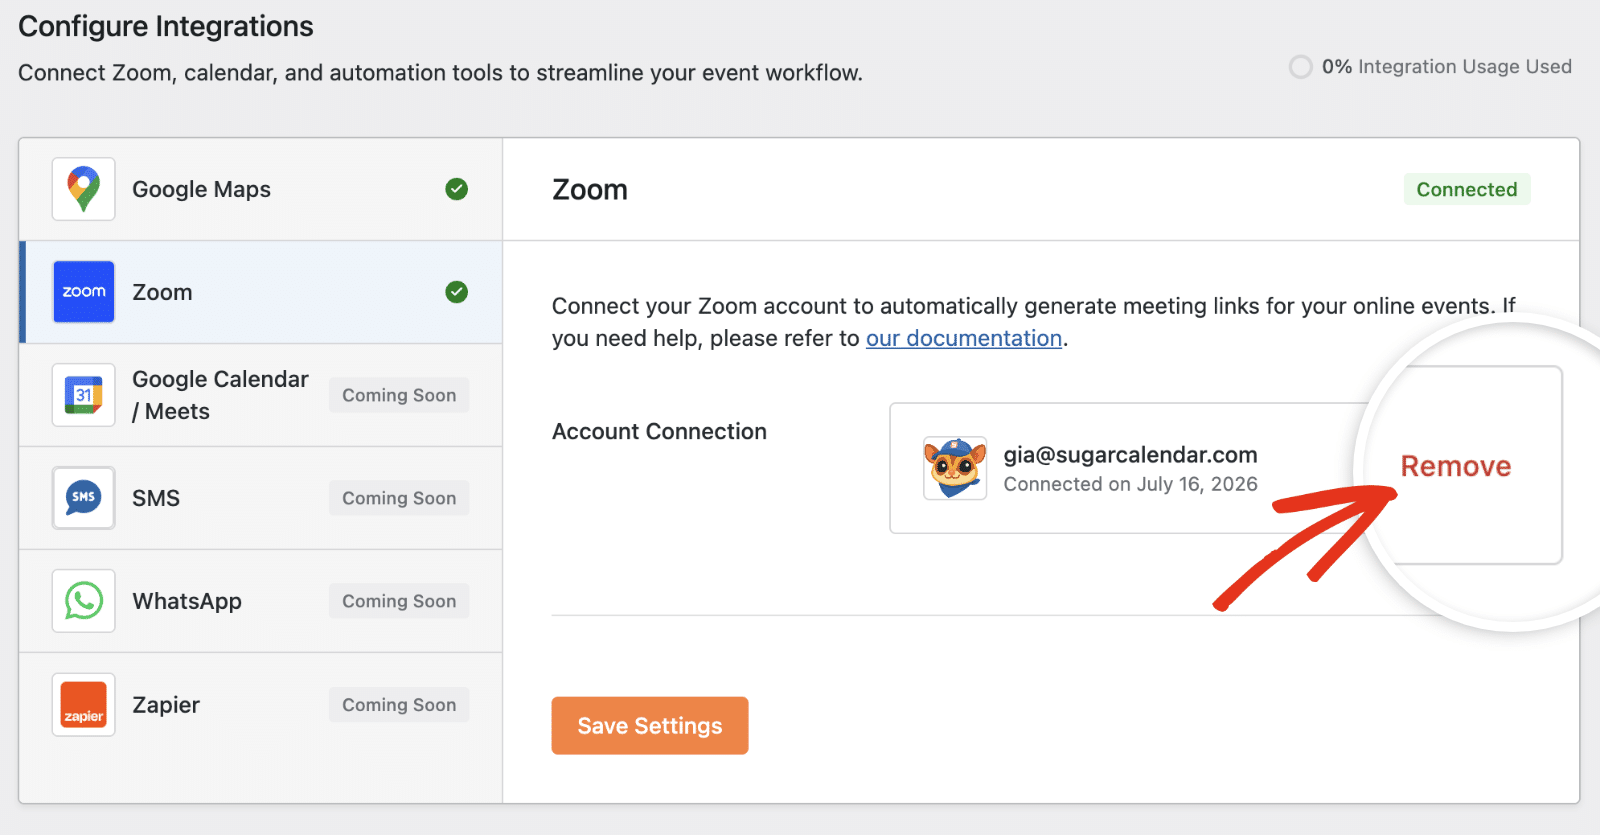
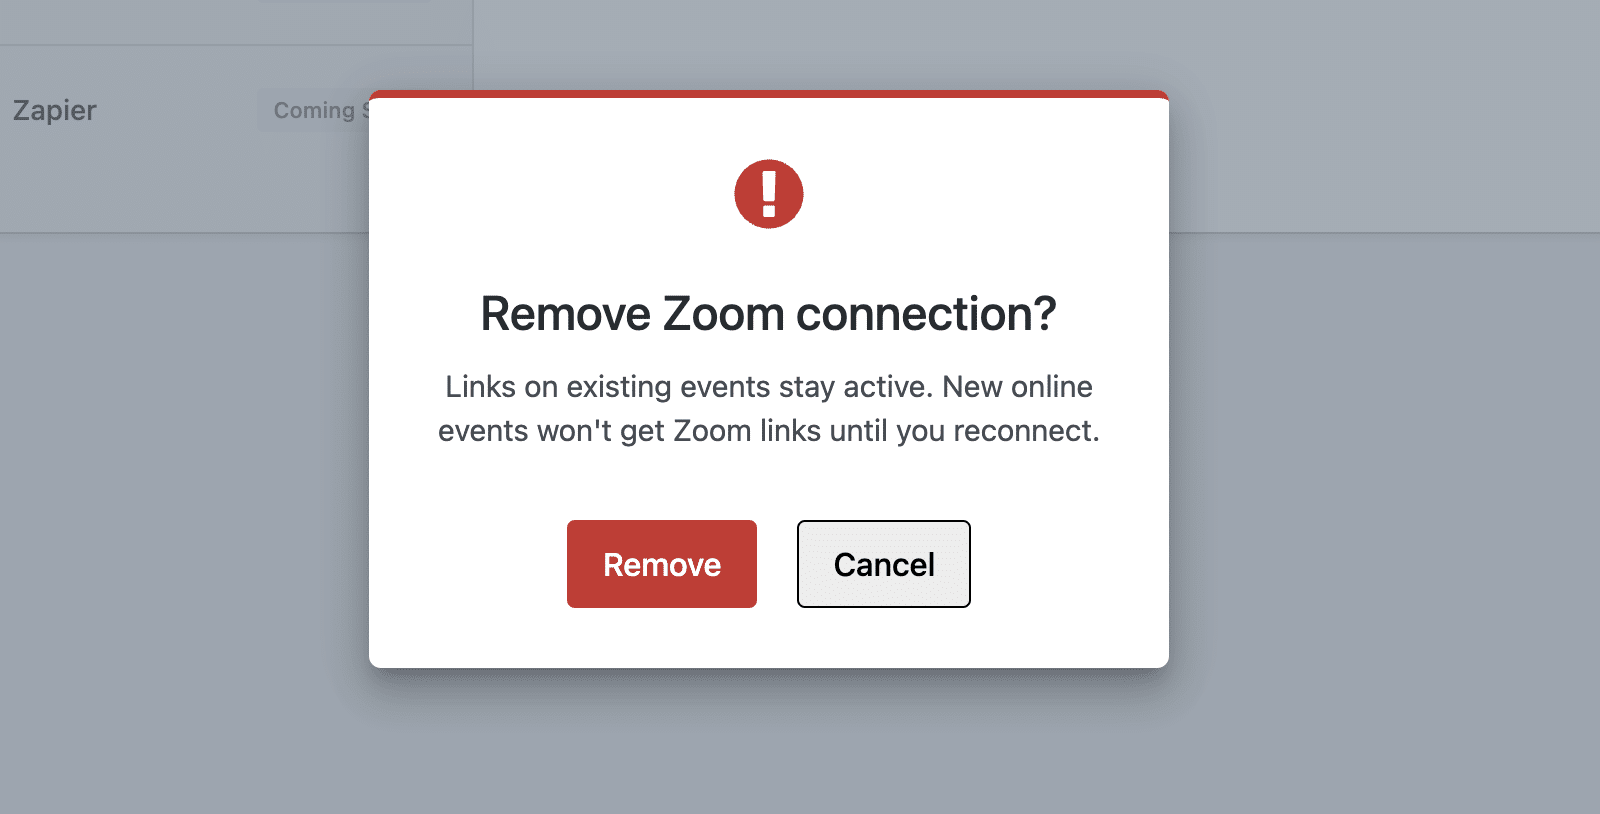
A confirmation modal appears. Confirm the removal to disconnect.
Once disconnected, the Zoom sidebar badge changes to Disabled with a red icon.
Frequently Asked Questions
Below, we’ve answered some of the most common questions about the Zoom integration with Sugar Calendar Events.
The Connect with Zoom button doesn’t work. What should I do?
Confirm your WordPress site has a valid SSL certificate (HTTPS). Zoom requires secure connections for API communication. Also check that your site can make outbound HTTP requests, as some hosting providers or security plugins block external API calls.
Why isn’t Sugar Calendar creating a Zoom meeting for my event?
First, verify that your Zoom account is still connected at Events » Settings » Integrations. If the connection dropped, for example, after a Zoom password change, click Connect with Zoom to reconnect. Then confirm that the event has Zoom selected as its online location.
The Zoom meeting link isn’t appearing in my event notifications. How can I fix this?
Confirm that your email notification template includes the Zoom meeting link. If emails aren’t sending at all, this is a general email configuration issue rather than a Zoom-specific one. For this, we recommend setting up WP Mail SMTP to fix your WordPress email issues
That’s it! You now know how to set up and use the Zoom integration in Sugar Calendar Events.
Next, would you like to allow users to register for your events? See our guide on setting up and using the RSVP addon to learn how.