Would you like to check on your events just by chatting with an AI assistant? Sugar Calendar Events lets you connect tools like Claude, ChatGPT, Gemini, and Cursor to your site.
Once connected, ask them about your events, calendars, and attendance in plain language, and have them draft new events for you to review.
In this tutorial, we’ll show you how to use Sugar Calendar Events with AI assistants, from installing the connector plugin to drafting your first event.
In This Article
Before getting started, make sure Sugar Calendar Events is installed and activated on your WordPress site and that you’ve verified your license.
What AI Assistants Can Do With Sugar Calendar
The AI MCP feature connects Sugar Calendar Events to the WordPress Abilities API, the standard that lets AI tools securely work with data on your site.
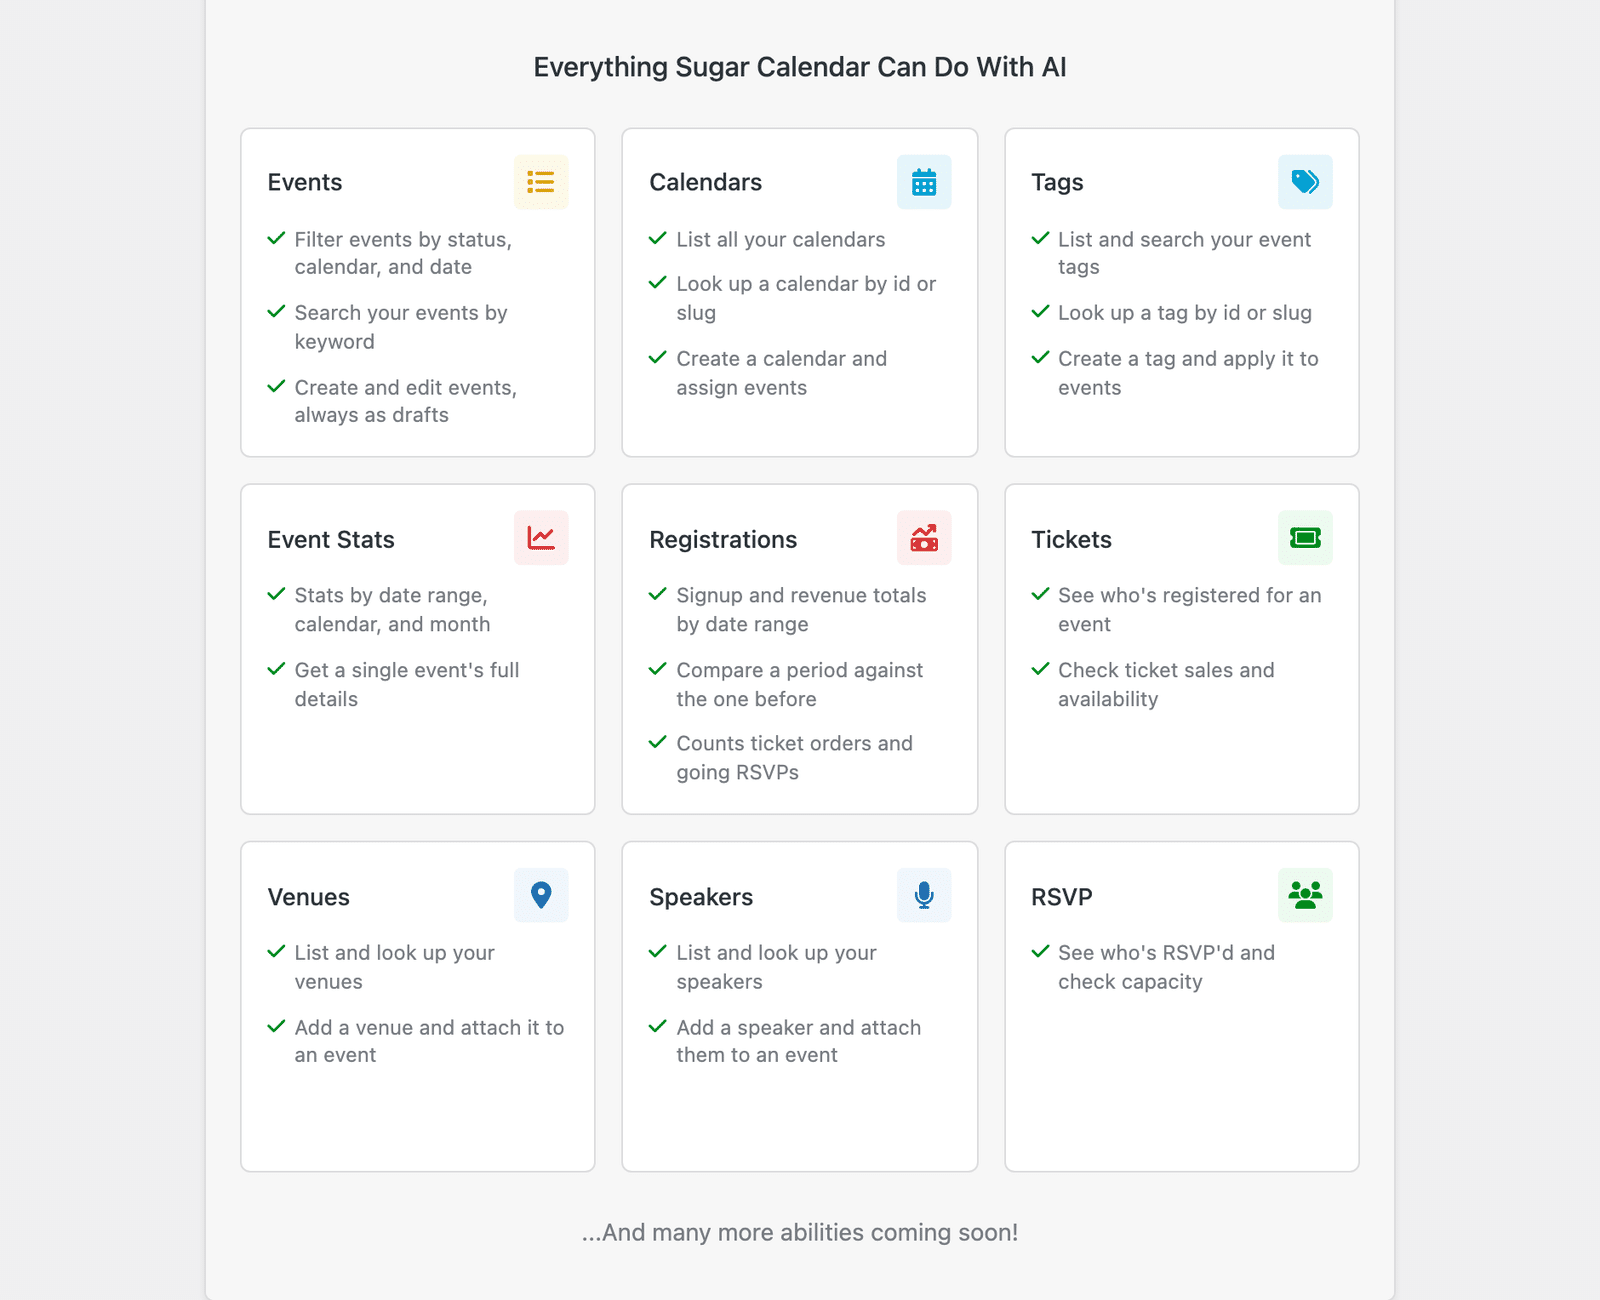
Sugar Calendar groups its abilities into nine areas. Four of them work the same in Lite and Pro, and five depend on your license or on a separate addon.
- Events: Filter events by status, calendar, and date. Search your events by keyword. Create and edit events, always as drafts.
- Calendars: List all your calendars, look up a calendar by ID or slug, and create a calendar and assign events to it.
- Tags: List and search your event tags, look up a tag by ID or slug, and create a tag and apply it to events.
- Event Stats: Report stats by date range, calendar, and month, and get a single event’s full details.
- Registrations: Report signup and revenue totals by date range, compare a period against the one before, and count ticket orders and going RSVPs. This requires the Event Ticketing addon.
- Tickets: Check who registered for an event and confirm ticket sales and availability. This requires the Event Ticketing addon.
- Venues: List your venues and look up a single venue. This requires a Pro license.
- Speakers: List your speakers and look up a single speaker. This requires a Pro license.
- RSVP: Report who responded to an event and check attendee capacity. This requires the RSVP addon.
What the AI Can and Cannot Change
Sugar Calendar 3.14 and higher adds abilities that create and update content, with deliberate limits on what they can reach.
What an assistant creates or edits:
- Events. An assistant creates events and updates existing ones.
- Calendars and tags. An assistant creates one or both and assigns them to events. Asking for a calendar or tag that already exists returns the existing one rather than creating a duplicate.
- Venues and speakers. An assistant creates either one on a Pro site.
The limits that stay in place:
- New events are always drafts. There is no way for an assistant to publish an event. Reviewing and publishing stays your decision.
- The AI deletes nothing. No ability removes an event, calendar, tag, venue, or speaker.
- Settings stay off-limits. No ability changes Sugar Calendar’s settings.
- Your own permissions apply. An assistant acts as the WordPress user who authorized the connection and can do no more than that user can. For example, an Author edits their own events but not another author’s published event.
- Sugar Calendar caps writes. It allows 60 write calls per user per hour, which stops a runaway assistant without blocking normal use.
Accessing the AI MCP Page
To get started, log in to your WordPress admin dashboard and go to Events » Tools. Then click on the AI MCP tab.
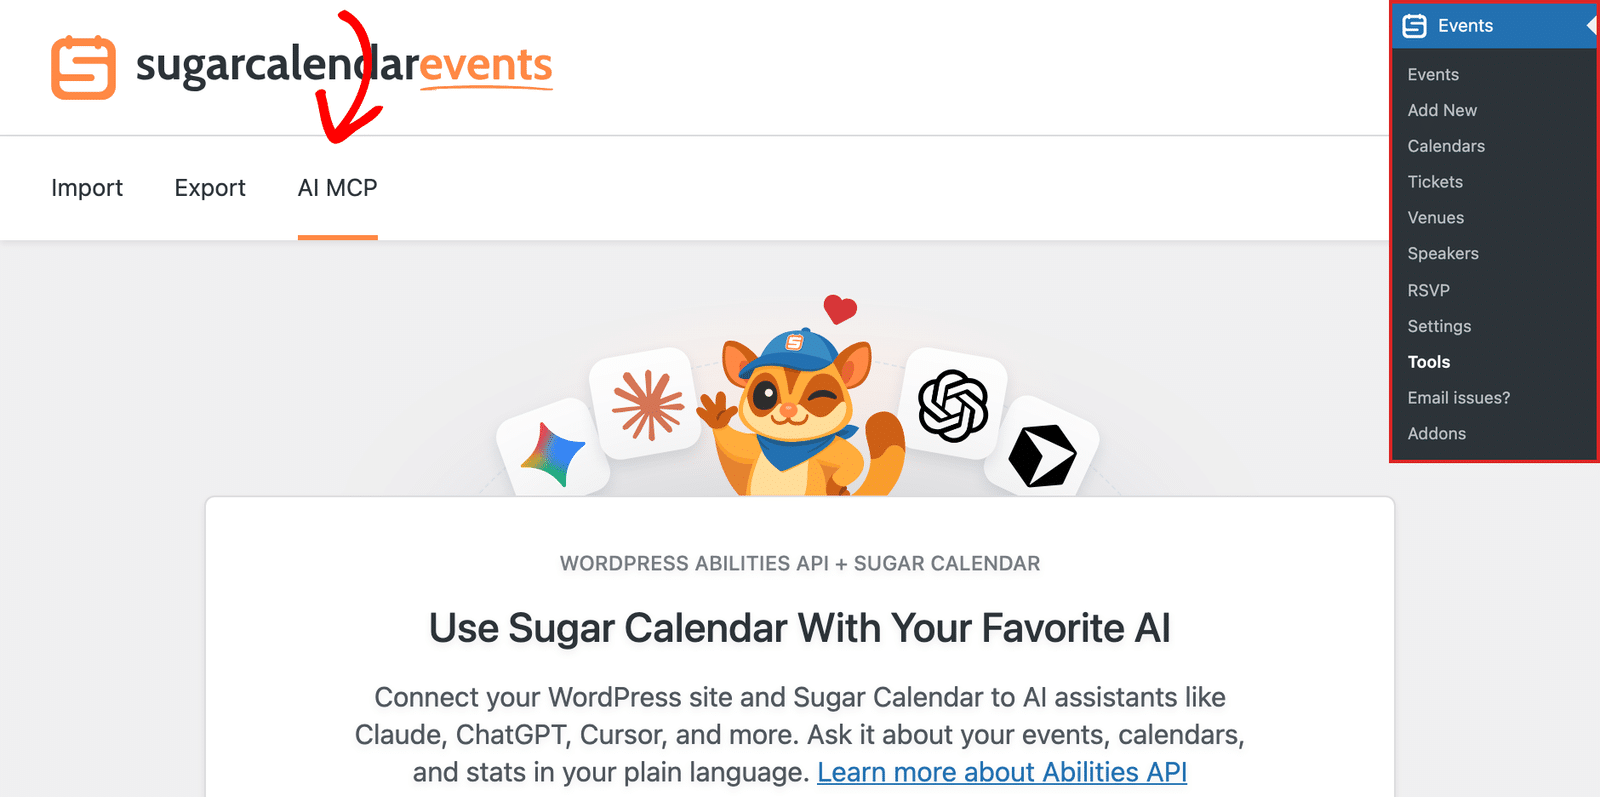
This page summarizes everything Sugar Calendar does with AI.
Scroll down to the Everything Sugar Calendar Can Do With AI section to see the nine ability cards and what each one covers.
Installing the WPVibe Plugin
AI assistants reach your site through WPVibe, a free connector plugin that handles the secure connection.
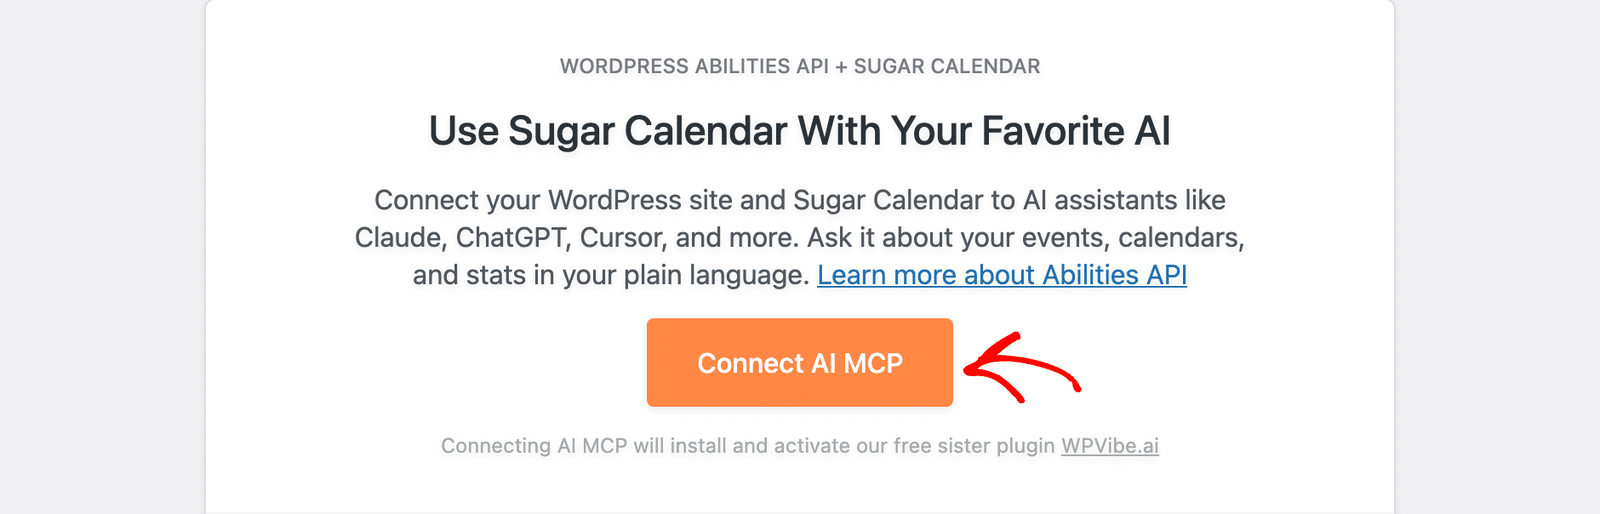
On the AI MCP page, click the Connect AI MCP button. This installs and activates WPVibe for you.
You can also install WPVibe from the Setup Checklist. Go to Events » Setup Checklist and click Install WPVibe (or Activate WPVibe) next to Connect Your AI Assistant.
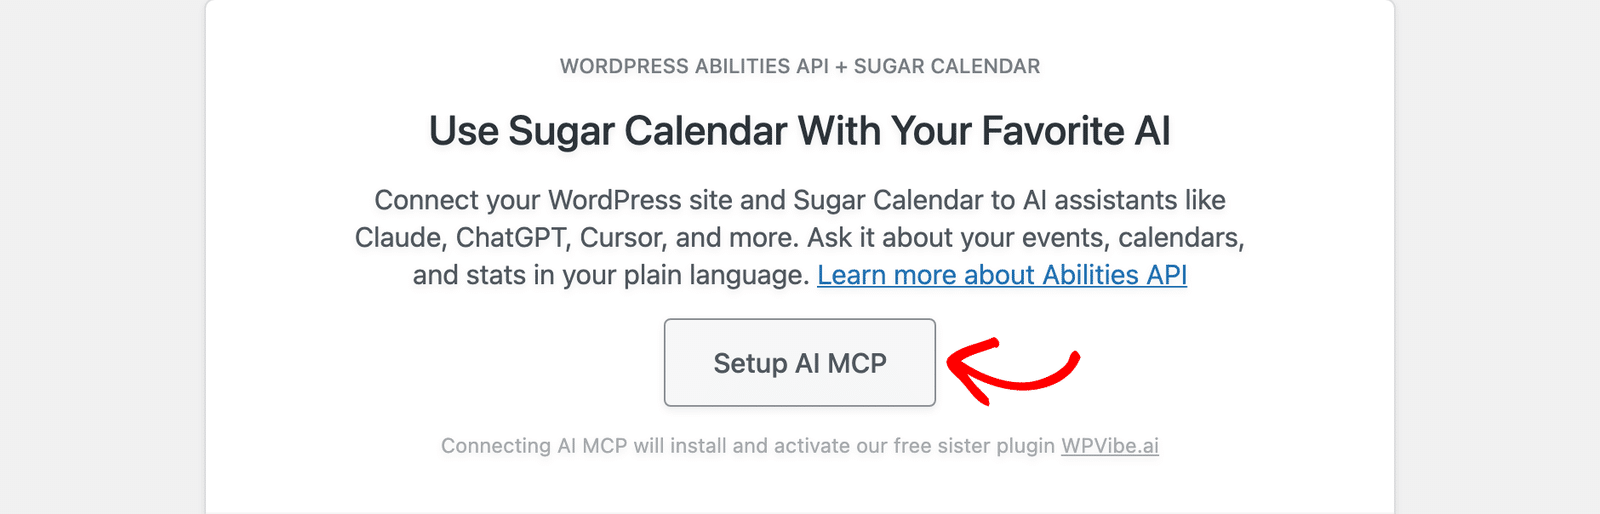
If WPVibe is already installed but switched off, the button reads Activate AI MCP instead. Once WPVibe is active, the button changes to Setup AI MCP, and a new WPVibe item appears in your admin menu.
Note: Some sites block plugin installation from the dashboard. When that happens, the page shows an Install from WordPress.org button and a note explaining the restriction. Install WPVibe manually, then return to this tab.
Connecting Your AI Assistant
To connect your assistant, click Setup AI MCP on the AI MCP page, or open WPVibe from your admin menu. This opens the WPVibe checklist, which shows your connection status and the steps to connect.
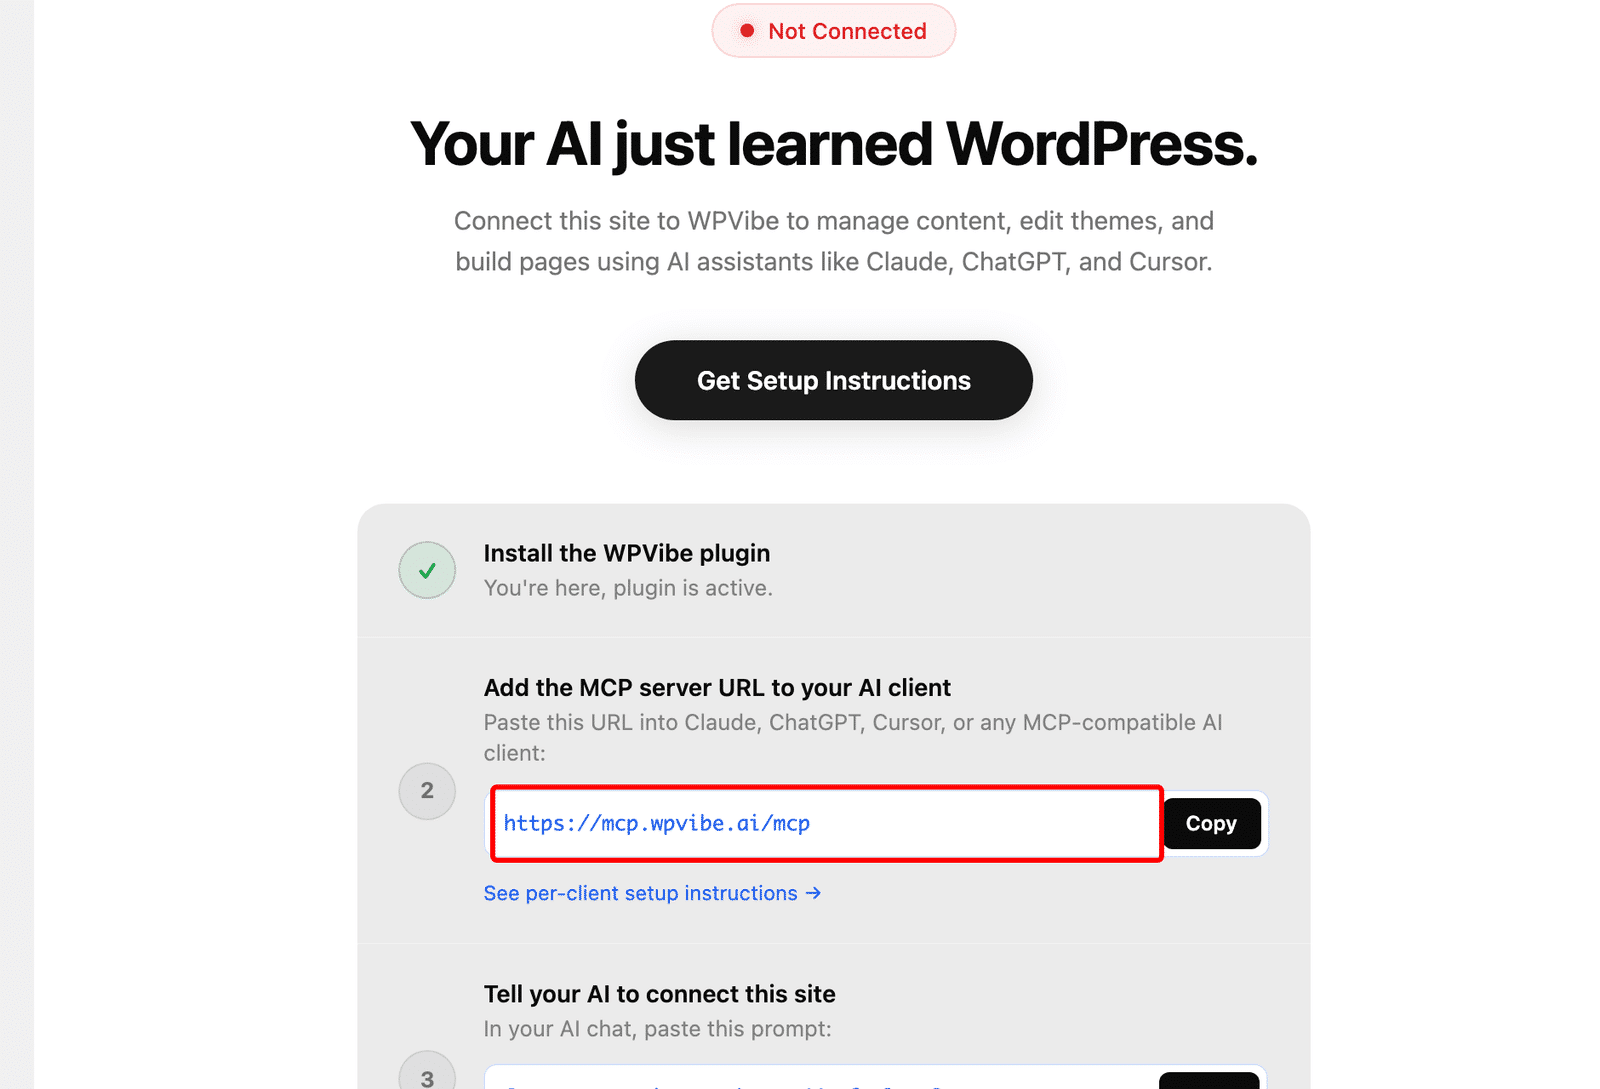
Copy the server URL shown in the checklist (https://mcp.wpvibe.ai/mcp), then add it to your AI tool of choice. The exact steps depend on which assistant you use, so we’ve collected the official setup guide for each one:
- Claude: In Claude on the web, go to Customize » Connectors, click the plus (+) icon, and choose Add custom connector. Give the connector a name such as WPVibe, paste the server URL, then click Add. Then click Connect next to the new connector. Connectors added this way are also available in Claude Desktop. For full details, see Anthropic’s custom connectors guide.
- ChatGPT: Connectors with full MCP support are available on ChatGPT Business, Enterprise, and Edu plans, where a workspace admin enables developer mode and adds the connector. See OpenAI’s developer mode and MCP guide for the current steps and plan availability.
- Cursor: Open Cursor’s settings, go to the MCP section, and add a new server using the URL above. See Cursor’s MCP documentation for full details.
WPVibe Connection
When you add the connector, WPVibe asks you to sign in with your email address.
Check your inbox for a message from WPVibe and click the Sign In button inside it. The link expires after 15 minutes, so it’s best to do this right away.
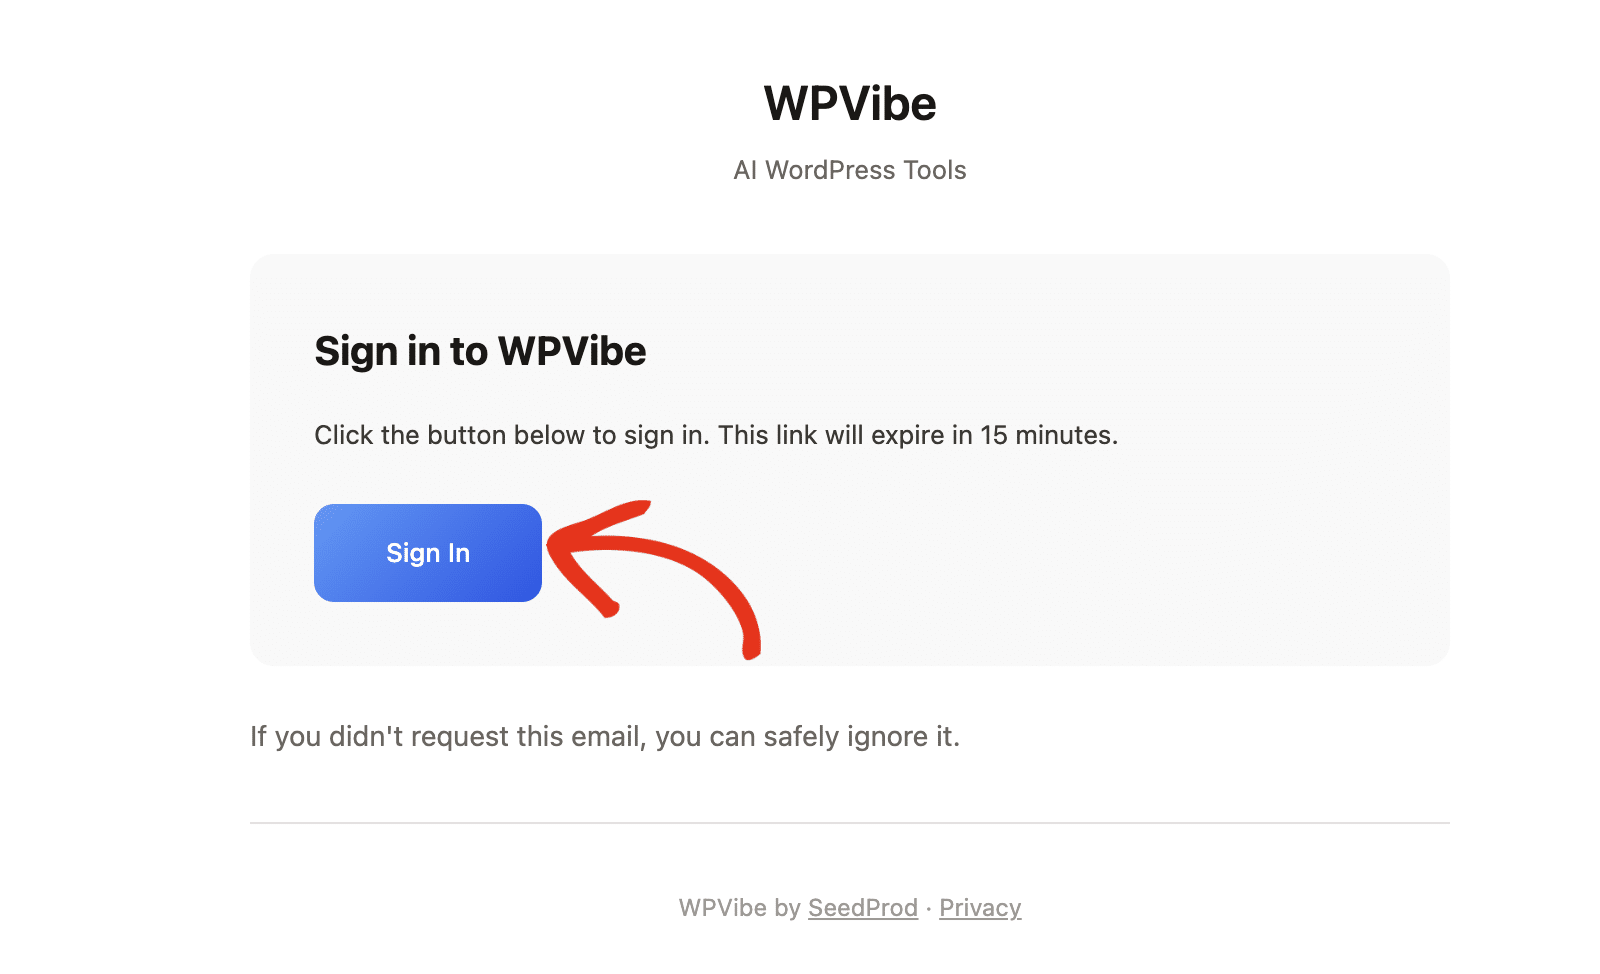
You won’t need to create a password, and you won’t need to share any site credentials with your AI assistant.
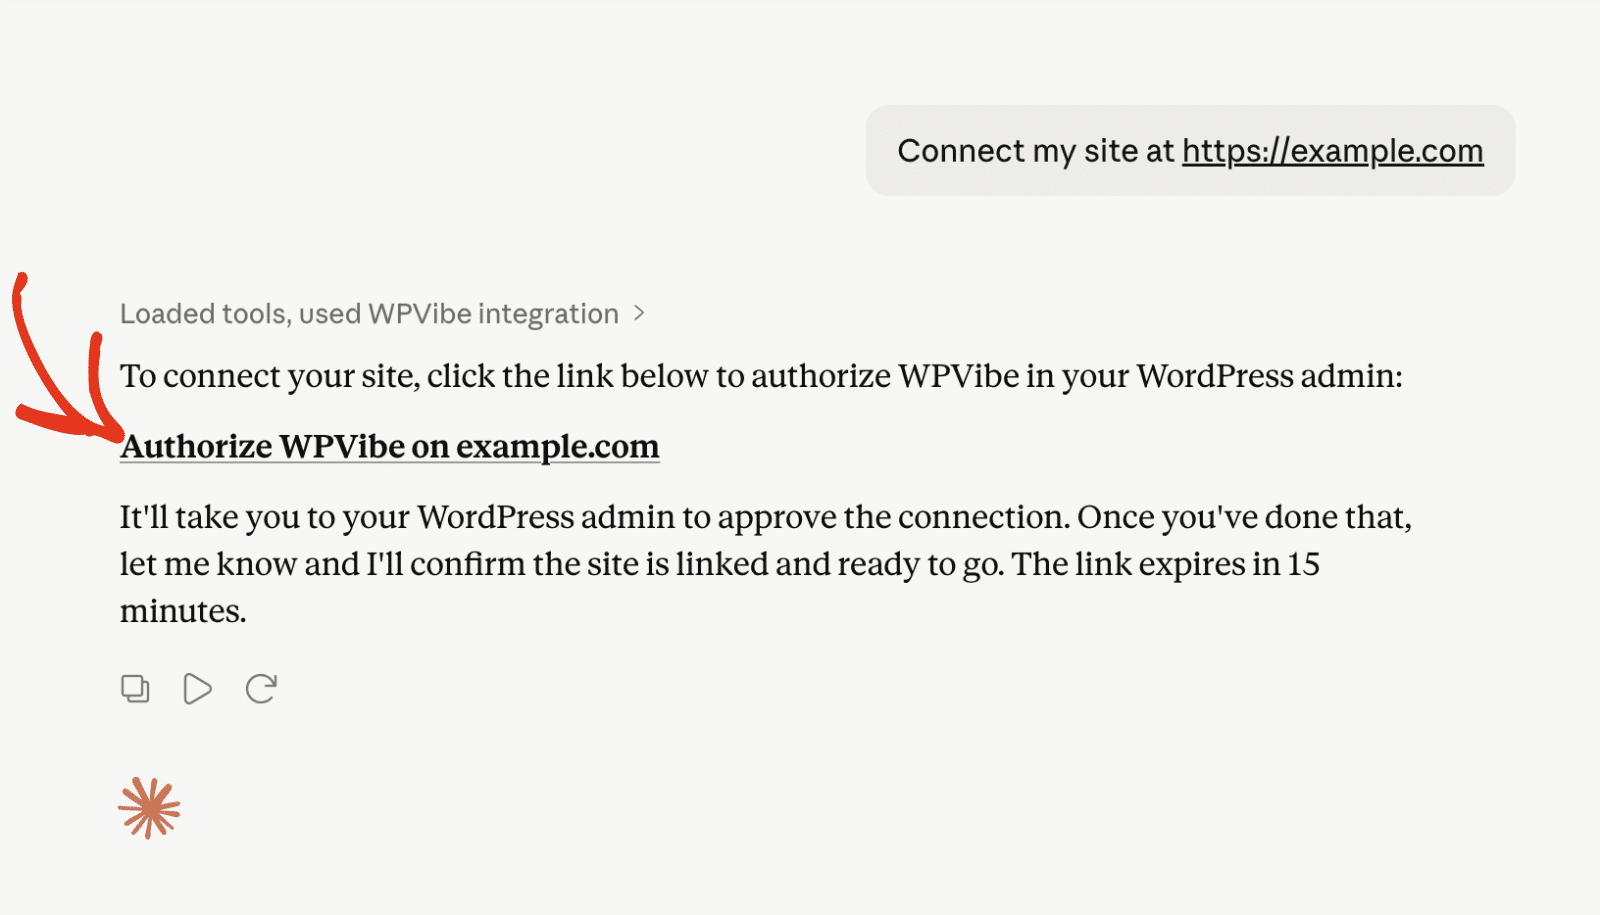
Next, tell your AI to connect. In your AI chat, paste a prompt like “Connect my site at https://example.com” using your own site address.
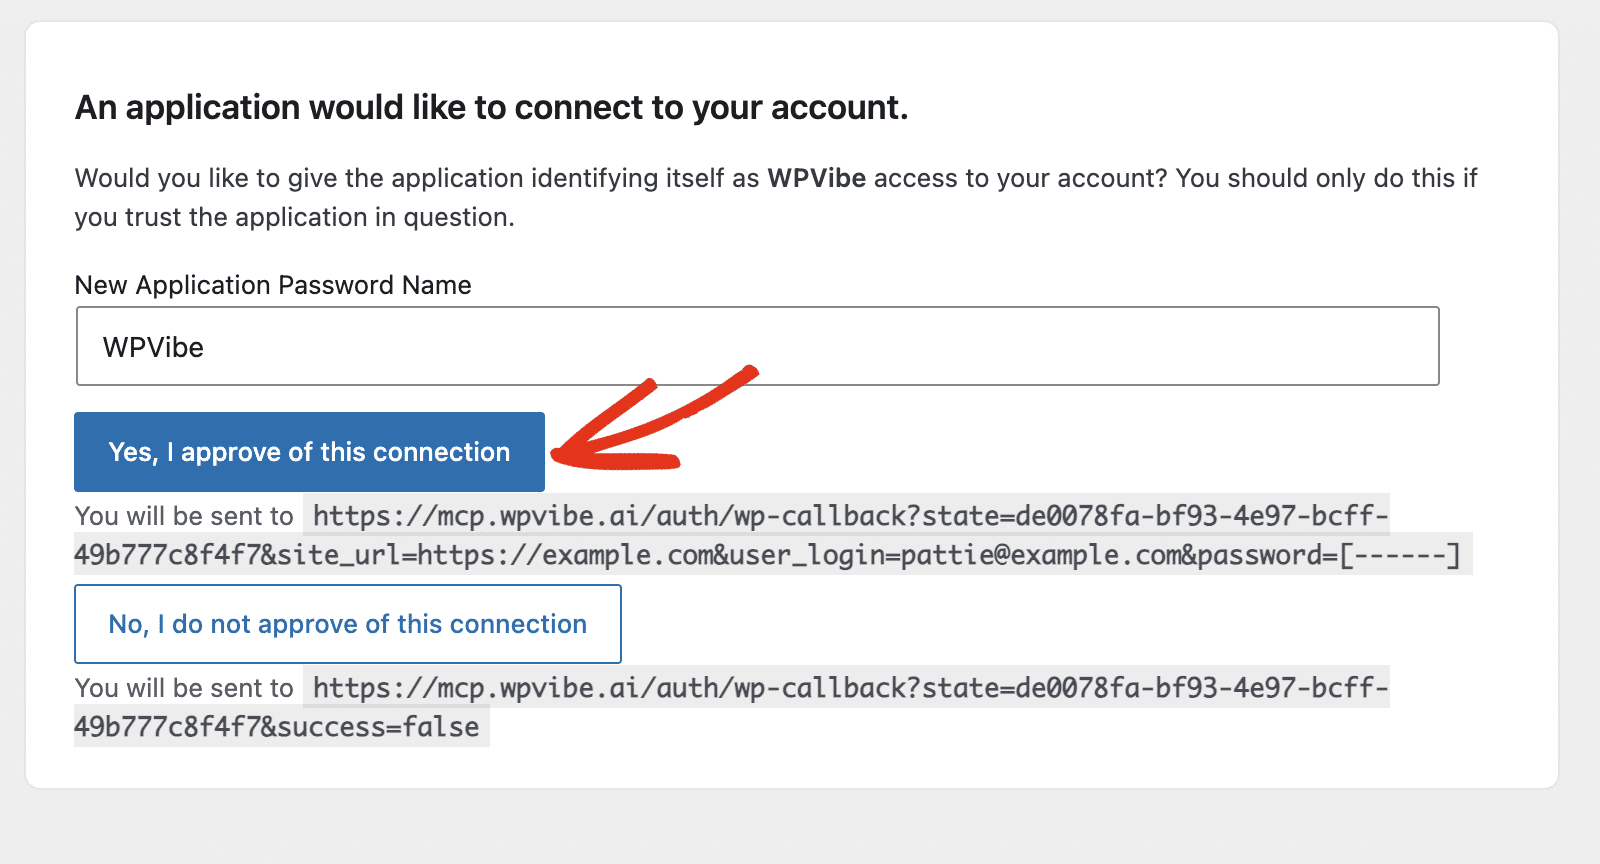
Your assistant returns a one-click authorization link. This link redirects you to your WordPress admin area, where you’ll authorize the connection.
Click Yes, I approve of this connection. WPVibe then connects your site to your assistant.
Once WPVibe connects, its settings page shows the Connected label.
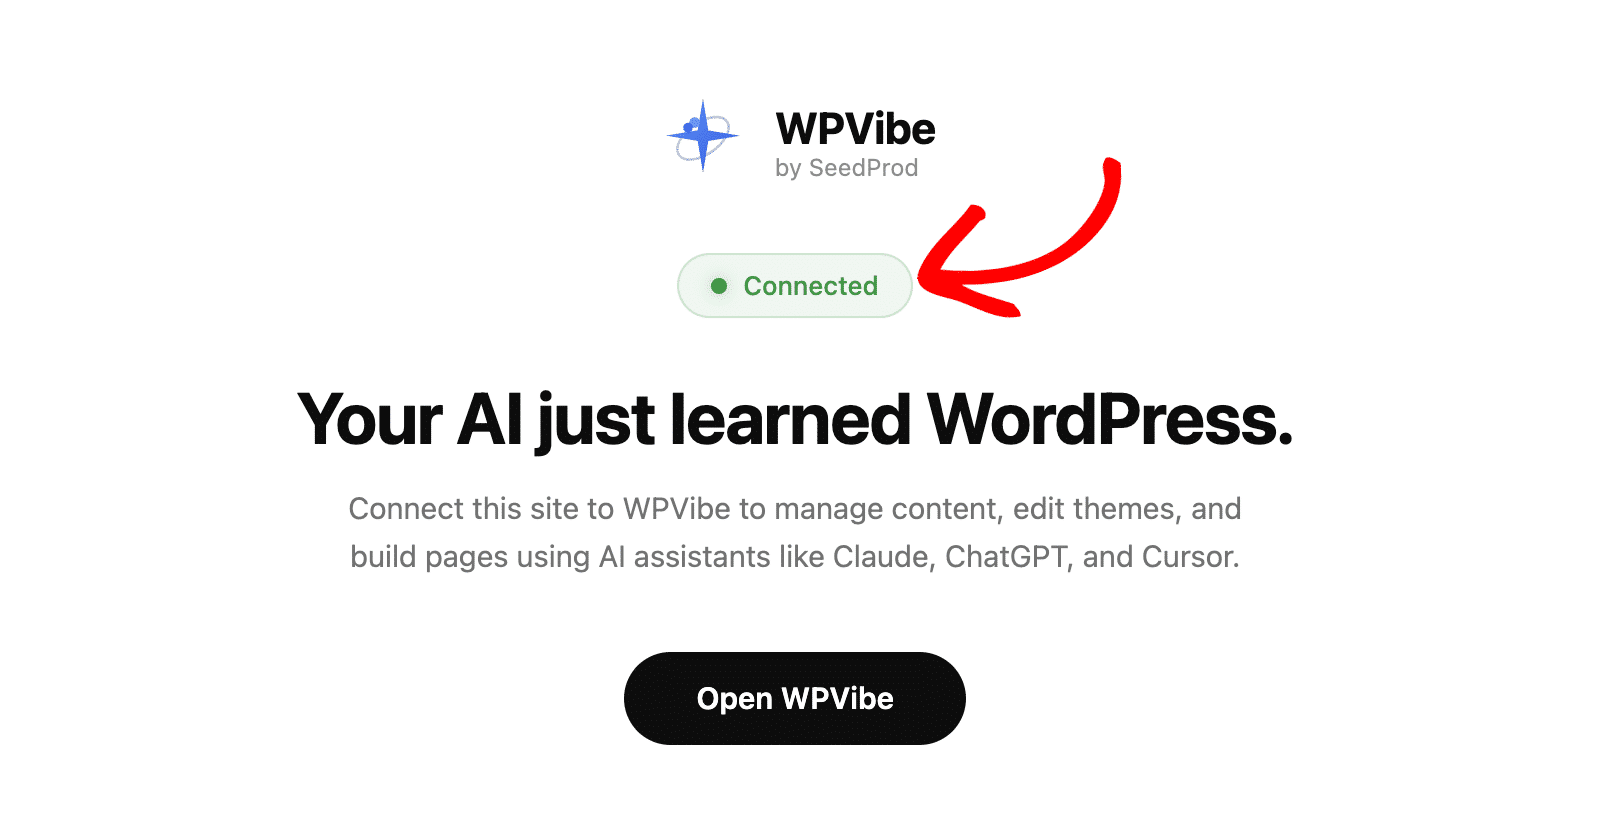
Note: The connection acts as the WordPress user who authorized it, so authorize from the account whose permissions you want your assistant to have.
To confirm the connection works, ask your assistant a question like “What events do I have coming up?” If it responds with your own event details, the connection is ready.
Trying Your First Prompts
With the connection in place, put the assistant to work.
Start with questions about your calendar:
- “What events do I have coming up next month?”
- “Show me every event in my Workshops calendar.”
- “How many events did I publish last quarter, grouped by calendar?”
- “Give me the full details for the Summer Fundraising Gala.”
- “Which of my events still have tickets available?”
- “Who has RSVP’d to my next event, and how much capacity is left?”
- “How did ticket signups last month compare to the month before?”
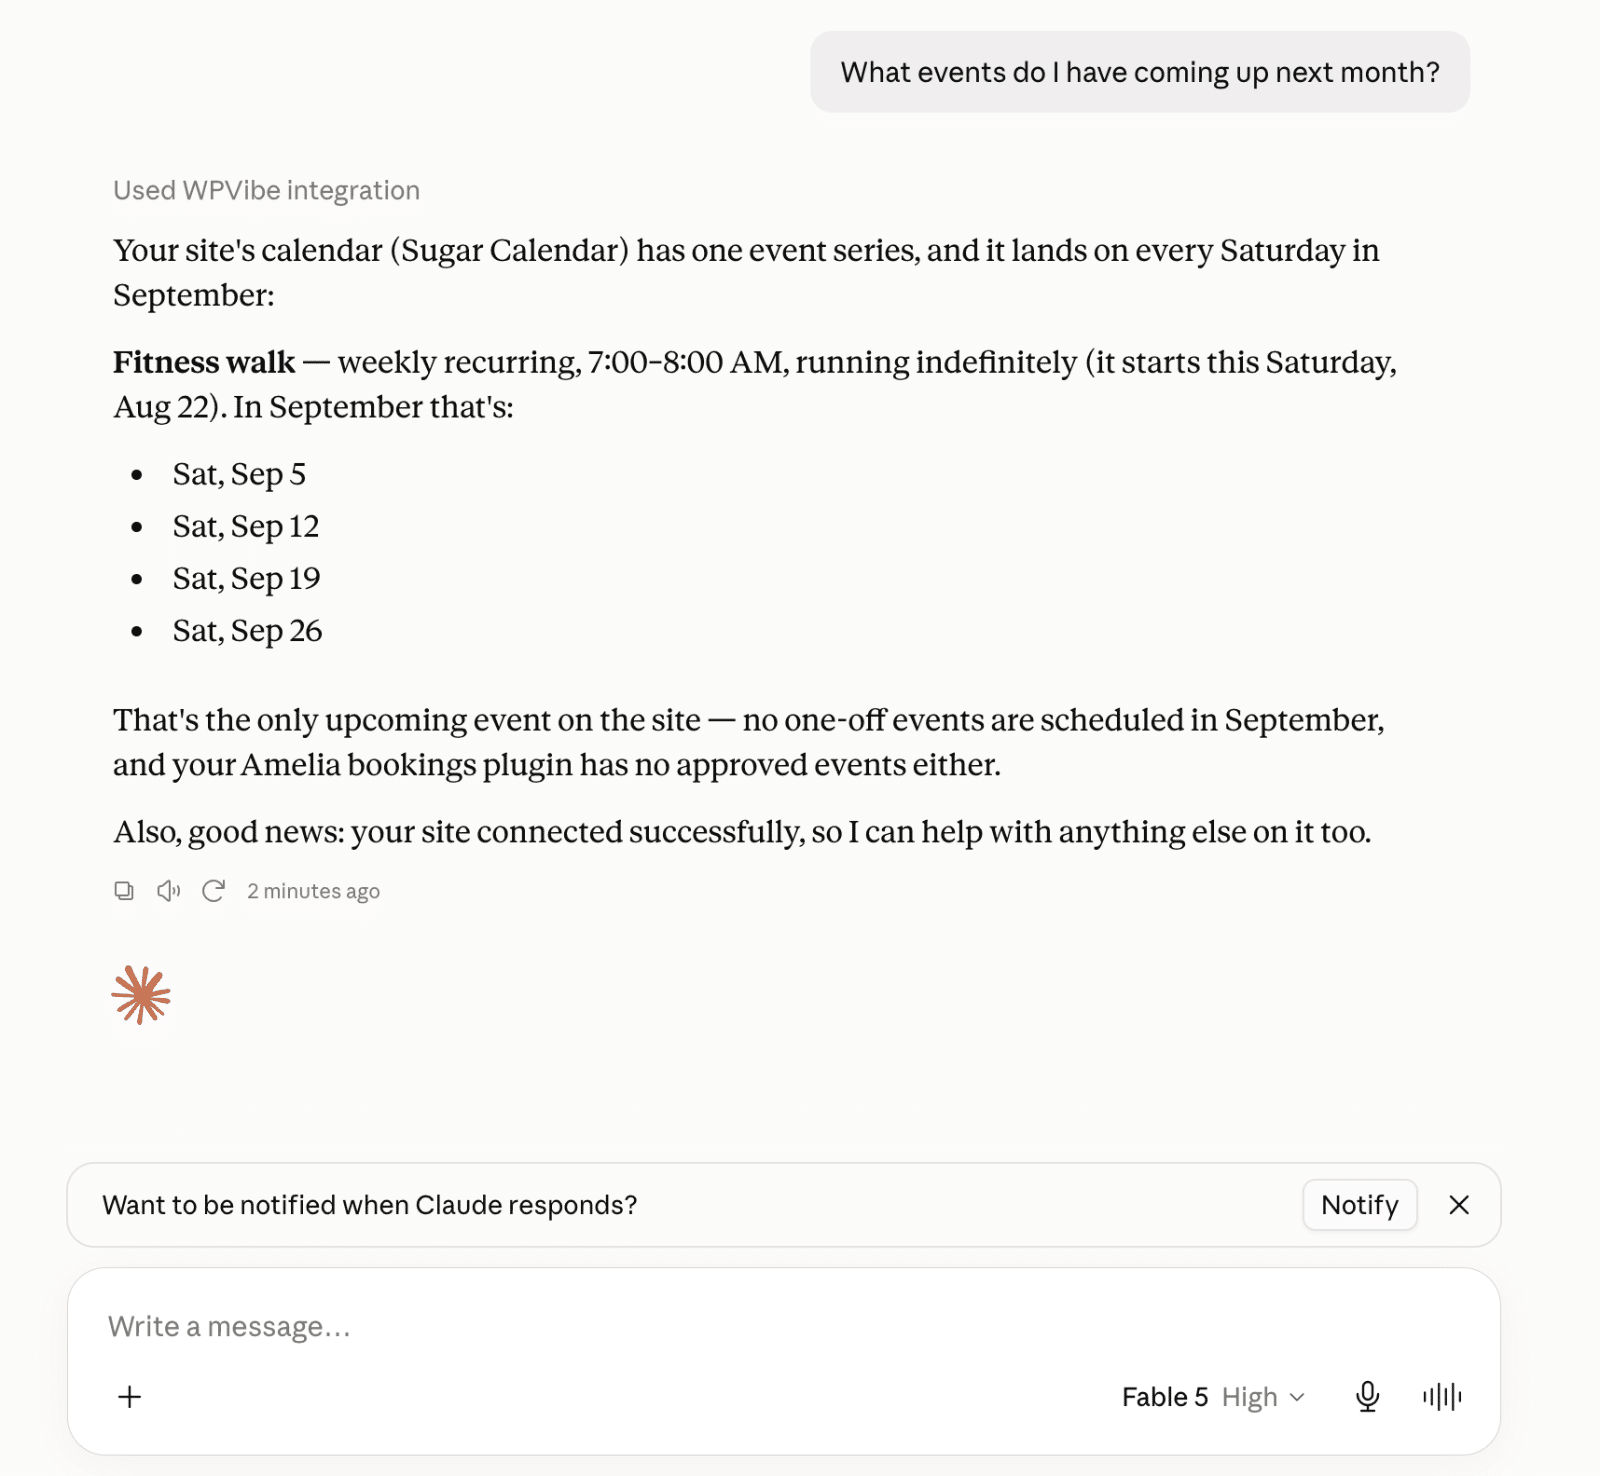
Then try asking it to draft something for you:
- “Draft an event called Autumn Open House for October 14th at 6pm.”
- “Create a calendar called Community Workshops and add my three workshop events to it.”
- “Tag every event in my Workshops calendar with beginner-friendly.”
- “Change the start time of the Autumn Open House to 7pm.”
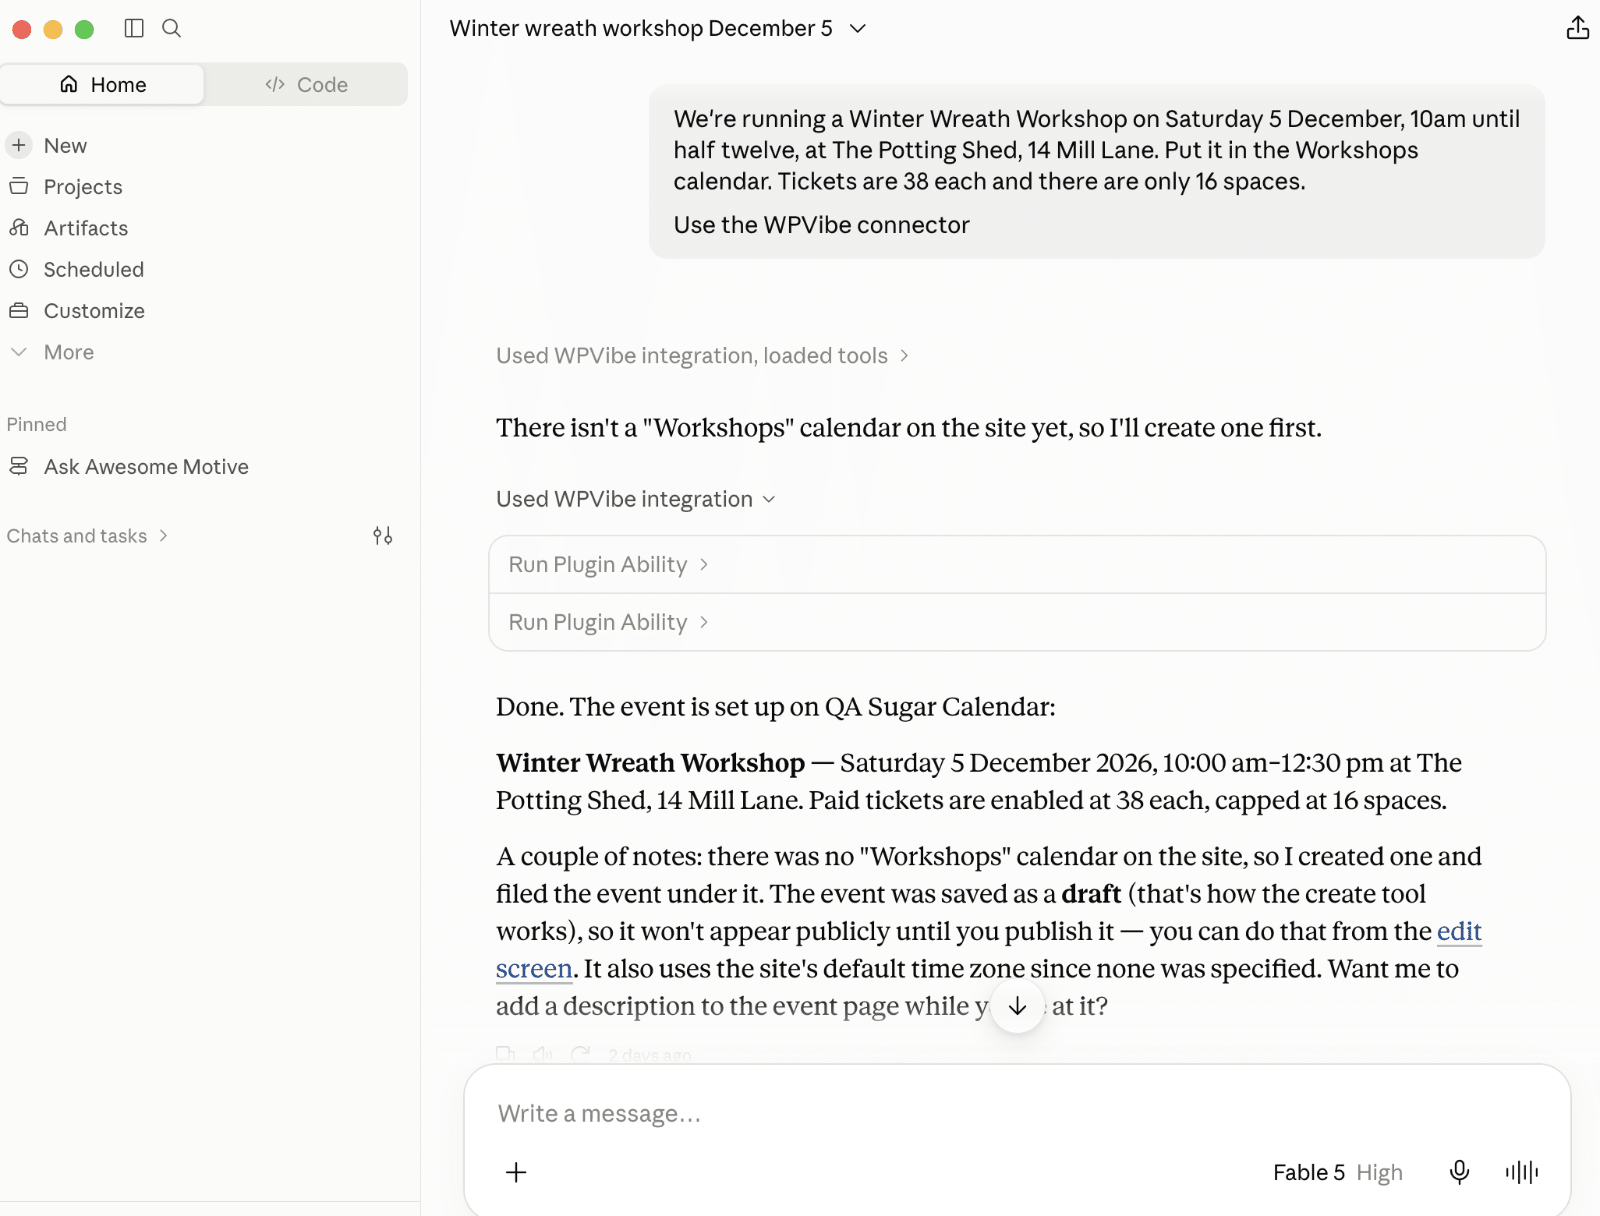
Each new event lands in your Events list as a draft, so review it at Events » All Events and publish it yourself when it reads right.
Frequently Asked Questions
Below are answers to some of the top questions about using Sugar Calendar Events with AI assistants.
Can the AI create or edit my events?
Yes, as of Sugar Calendar Events 3.14. An assistant creates events and updates existing ones, and creates calendars and tags to organize them.
Sugar Calendar always creates new events as drafts. Nothing an assistant creates goes live on your site until you review and publish it yourself.
Can the AI delete my events or change my settings?
No. No Sugar Calendar ability deletes an event, calendar, tag, venue, or speaker, and none of them changes your Sugar Calendar settings.
Why don’t I see the AI MCP tab?
The AI MCP tab requires WordPress 6.9 or later, which is the version that introduced the Abilities API, and Sugar Calendar 3.13 or later. On older WordPress versions, the tab doesn’t appear at all. Update WordPress and Sugar Calendar to the latest versions, then check Events » Tools again.
Do I need Sugar Calendar Pro?
The Events, Calendars, Tags, and Event Stats abilities work the same in Lite and Pro. The Venues and Speakers abilities require a Pro license, and the Registrations, Tickets, and RSVP abilities require the Event Ticketing and RSVP addons.
Why did my assistant stop creating events partway through a batch?
Sugar Calendar allows 60 write calls per user per hour. A long batch of changes reaches that ceiling, and further writes wait until the hour rolls over. The cap doesn’t affect reading your calendar.
Can I use this on a local or staging site?
The connection relies on your assistant accessing your site via WPVibe, so a publicly accessible site works best. Some local and staging environments may not connect.
Which AI assistants are supported?
Any assistant that supports custom MCP servers can connect, including Claude, ChatGPT, Gemini, and Cursor.
What’s the difference between Gia AI and an external AI assistant?
Gia comes with Sugar Calendar Events and works inside your dashboard. It guides you through specific tasks, such as creating an event, and uses your plan’s AI usage. Connecting an assistant through WPVibe lets you use your own AI tool, such as Claude or ChatGPT, to work with your events. To learn more, see our guide to using Gia AI.
That’s it! You now know how to connect Sugar Calendar Events to your favorite AI assistant and put it to work answering questions about your events and drafting new ones for you to review.
Next, take a look at our guide on event management in Sugar Calendar to see the data your assistant draws on.