Would you like to learn more about all of the settings available in Sugar Calendar Events? In addition to tons of customization options for individual events, our plugin has an extensive list of plugin-wide options available.
In this tutorial, we’ll show you how to configure all of the plugin-wide settings available in Sugar Calendar Events.
In This Article
Before you get started, make sure Sugar Calendar Events is installed and activated on your WordPress site.
Accessing Sugar Calendar Settings
To access plugin-wide settings in Sugar Calendar, go to Events » Settings from your WordPress admin area.
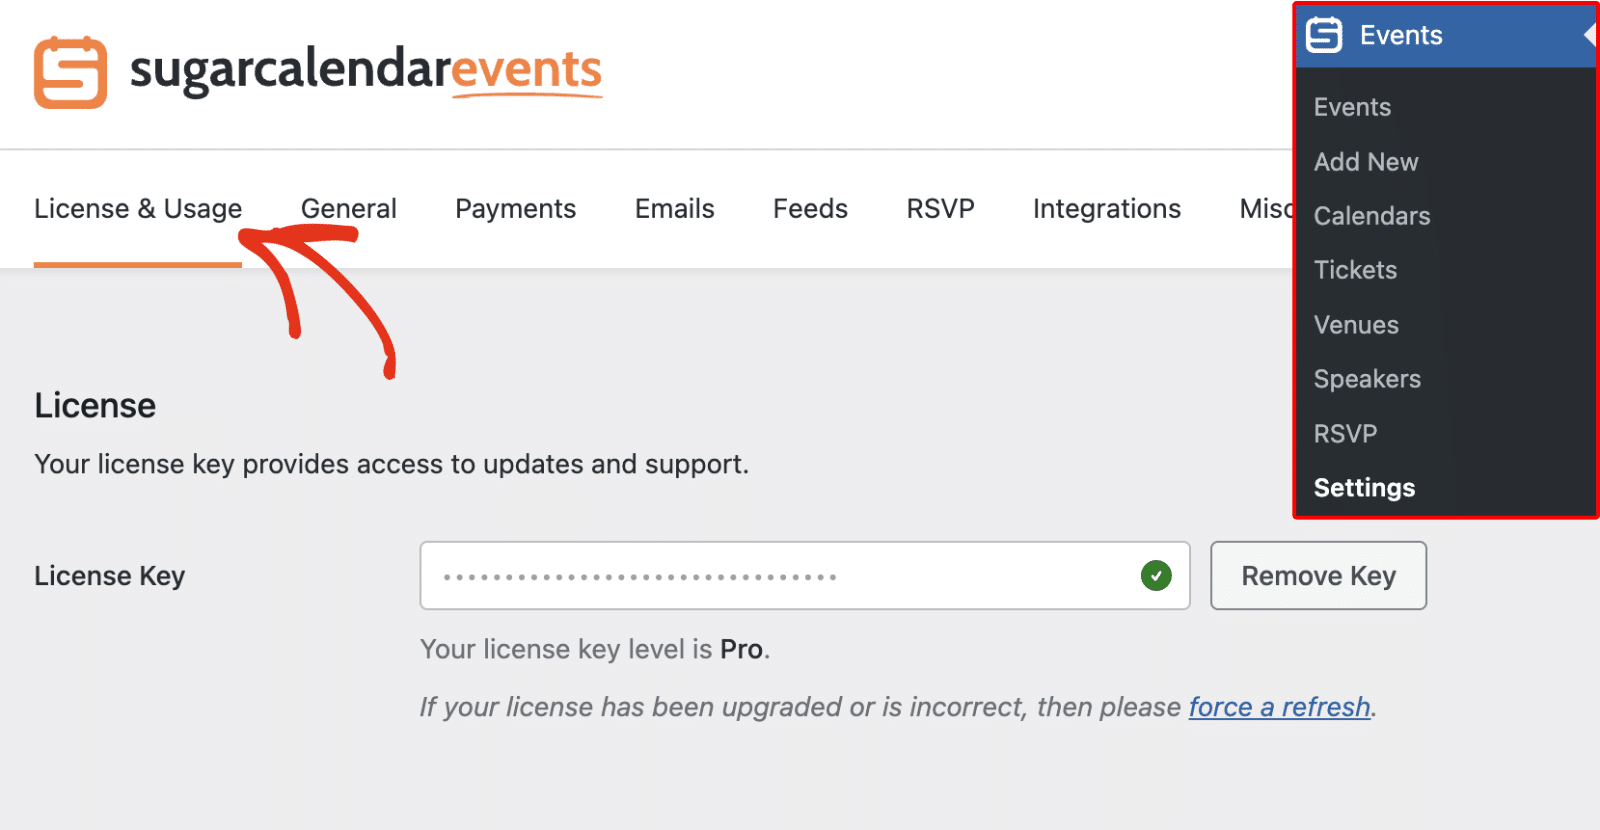
This will automatically open to the License & Usage settings tab. Click any tab along the top of the page to access additional settings.
License & Usage
The License & Usage tab consolidates your license management and integration usage data in one place.
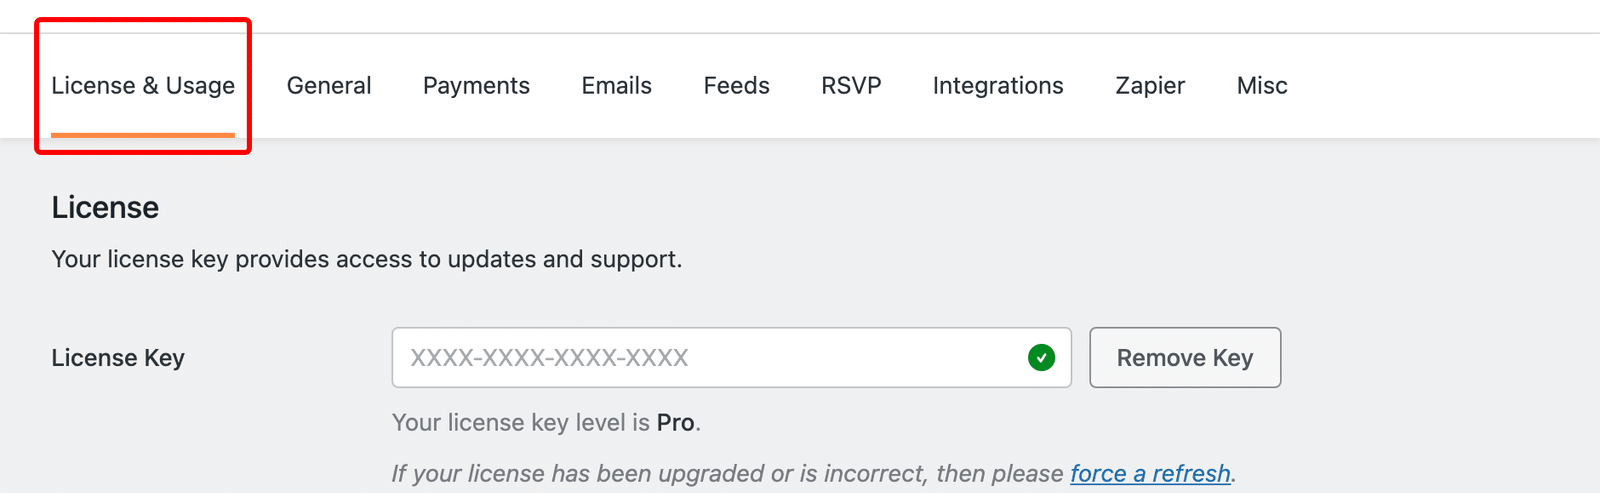
License
Enter your license key in the License Key field to activate the plugin and access premium features and automatic updates. Your license details display below the field, showing whether your key is active and which plan is attached to it.
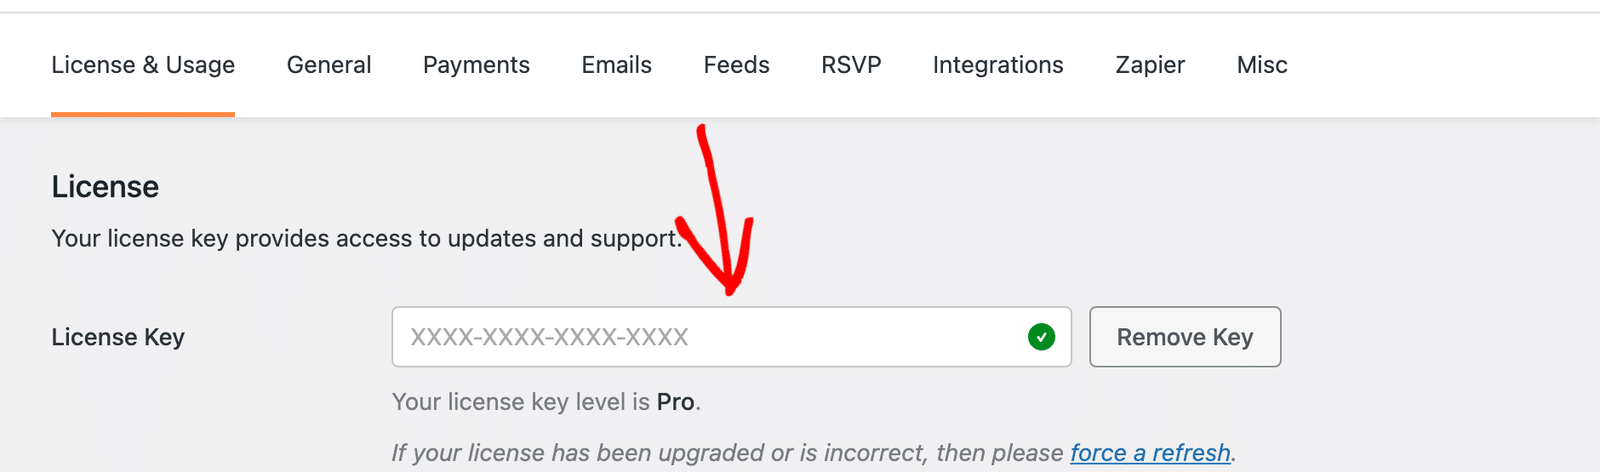
Lite users see a friendly message noting that no license is needed, along with an upgrade option for unlocking premium features.
Please refer to our license verification tutorial for detailed instructions on locating and verifying your license key.
Integration Usage
Below the license section, the Integration Usage card shows how your account is consuming integration credits. Integrations like Zoom draw from this shared pool of credits each time they run.
The card includes a segmented usage bar, a per-integration breakdown that lists each integration with its credit count and percentage, your total used, your limit, and the overall percentage used. Counts display as full numbers, such as 12.
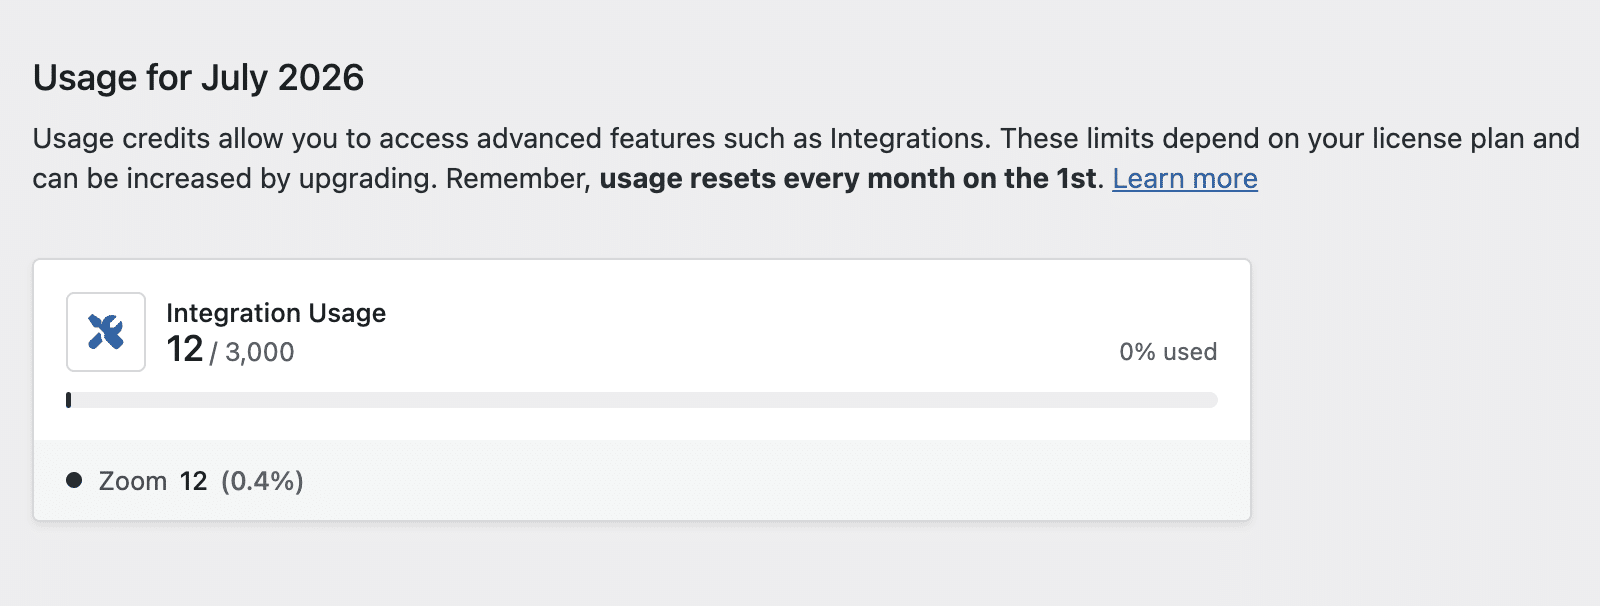
How your limit works depends on your plan:
- Lite: A flat credit limit with no monthly reset. The card does not show any “for this month” wording.
- Pro: A monthly allocation labeled Usage for [Month] [Year] that resets on the first of each month.
When your account runs out of credits, the card shows an Out of Usage badge, a full usage bar, a warning, and an Upgrade For More button. The upgrade button is hidden on the highest plan.
Note: When your account is out of credits, Sugar Calendar disables credit-using integrations and shows a dismissible notice across your WordPress admin pages. You manage and monitor your usage from this tab and from the usage indicator on the Integrations tab.
For a full breakdown of how credits work and what each plan includes, see our guide on understanding integration credits and usage limits.
General Settings
Settings in the General tab are relevant to all users, regardless of which features or addons you use.
Note: License key management has moved to the License & Usage tab. See the License & Usage section above for details.
Display
Under Display, you can customize how events appear throughout your site:
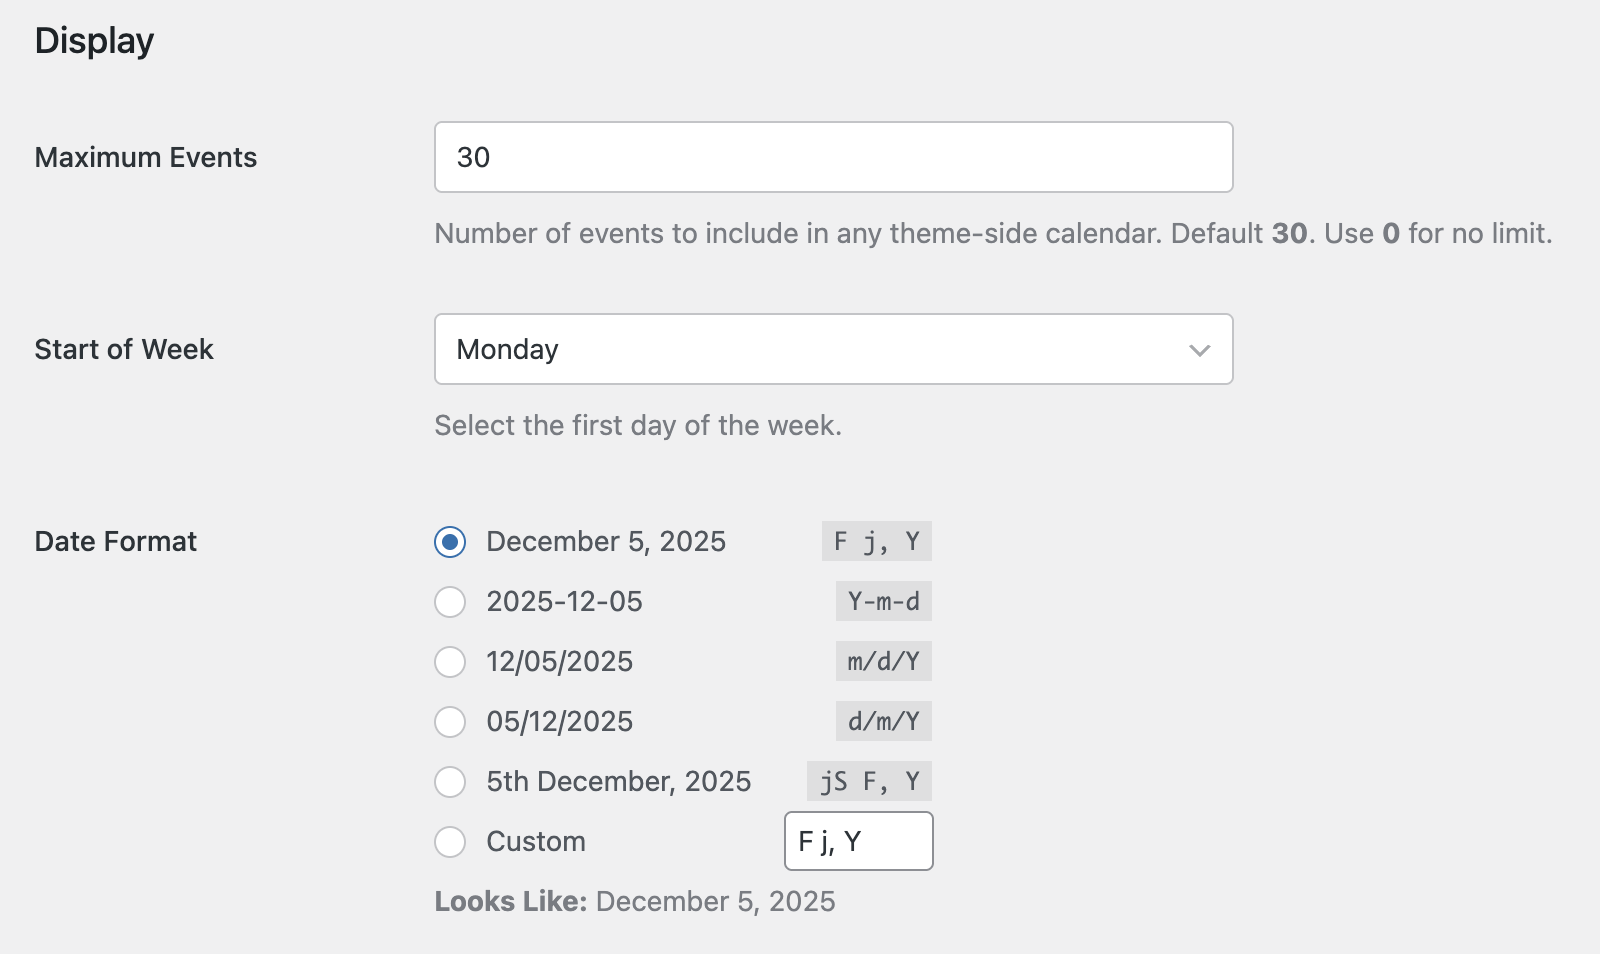
- Maximum Events: Number of events to include in any theme-side calendar. By default, it is set to 30. However, you can specify any value you want. Using 0 will remove the limit and display all events on your site.
- Start of Week: Use this option to select a default for the first day of the week for your calendars.
- Date Format: This option controls how event dates appear on your site’s frontend.
The Time Format setting lets you customize how event time appears when creating events and on your site’s frontend. You can choose between 12-hour and 24-hour time formats.
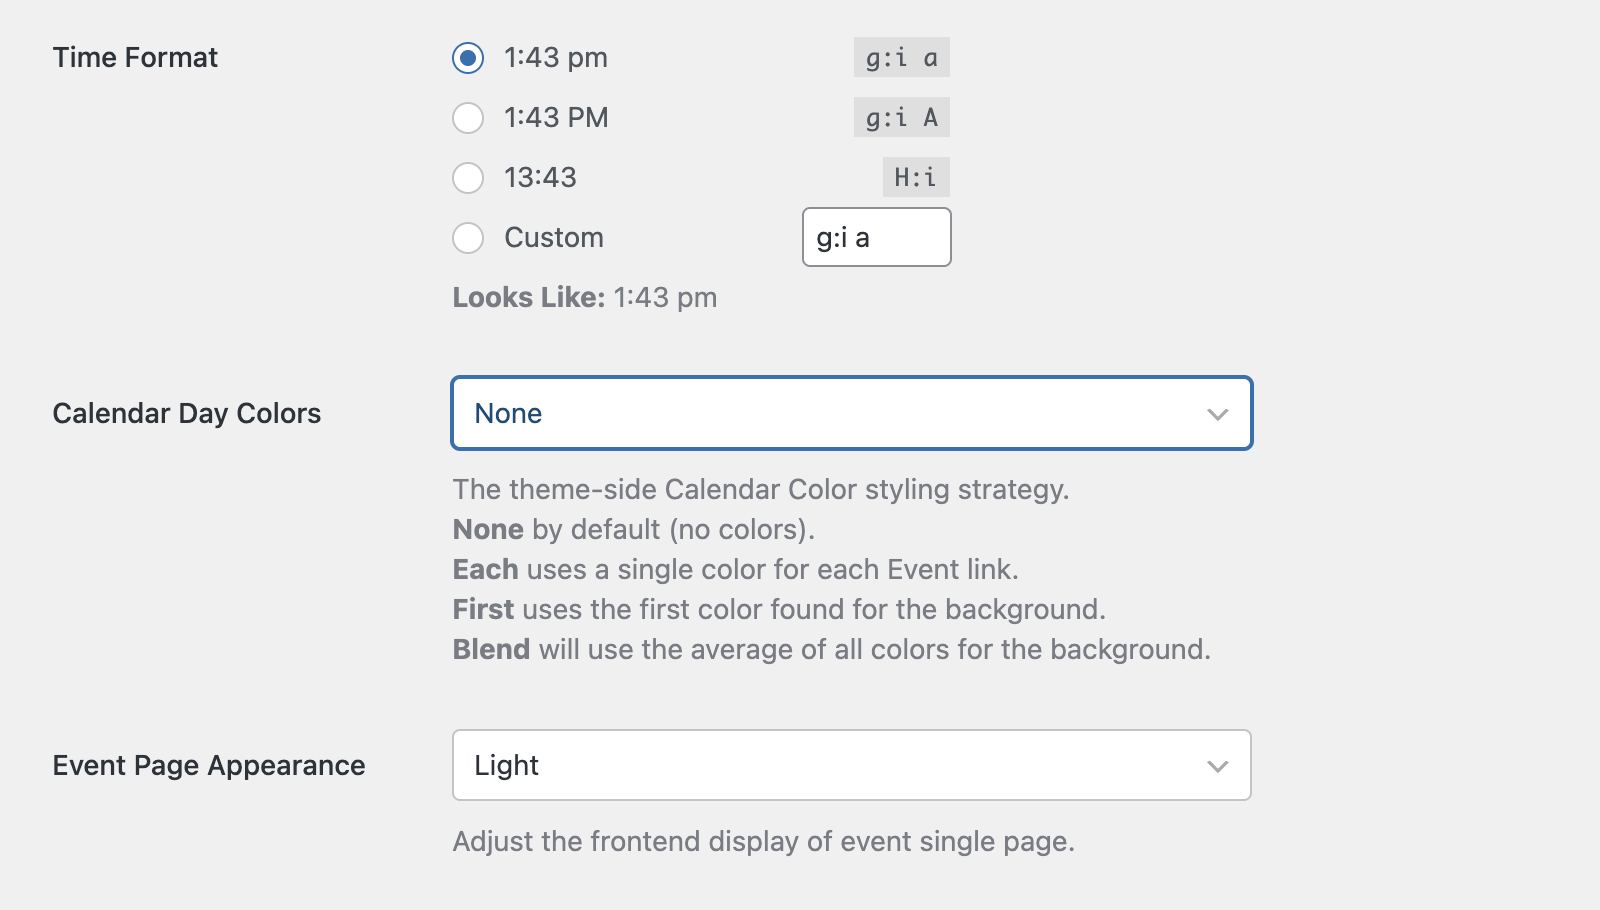
Calendar Day Colors: This option controls the theme-side calendar color styling. Below, we’ve highlighted the available options:
- None: This is the default option, and doesn’t include any colors.
- Each: Uses a single color for each event link.
- First: Automatically applies the first color found for the background.
- Blend: This option uses an average of all colors for the background.
Event Page Appearance: This option lets you choose the frontend display format for your events. Available options include Light and Dark modes.
Editing
The Editor Type dropdown lets you choose which interface to use when adding or editing events. You can select between Classic Editor and Block Editor based on your preference.
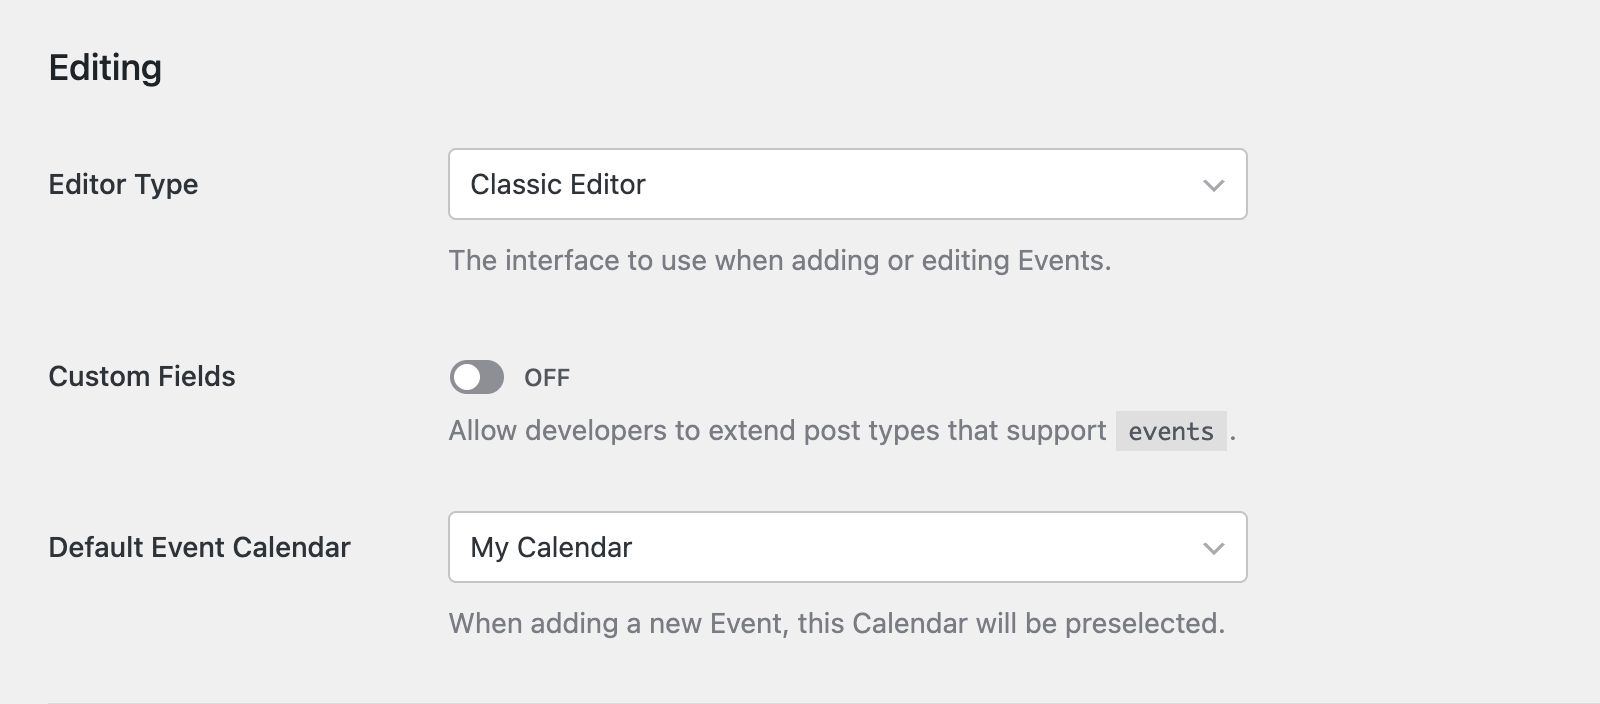
The Custom Fields option allows developers to extend post types that support events. This is an advanced option that most users will not need to enable.
The Default Event Calendar setting determines which calendar will be preselected when adding a new event.
Time Zone
The Time Zones dropdown lets you control how time zones work for your events. You can choose from these options:
- Off: Time zones are disabled (existing time zone data still appears).
- Single: Events can have one time zone.
- Multi: Events can have different start and end time zones.
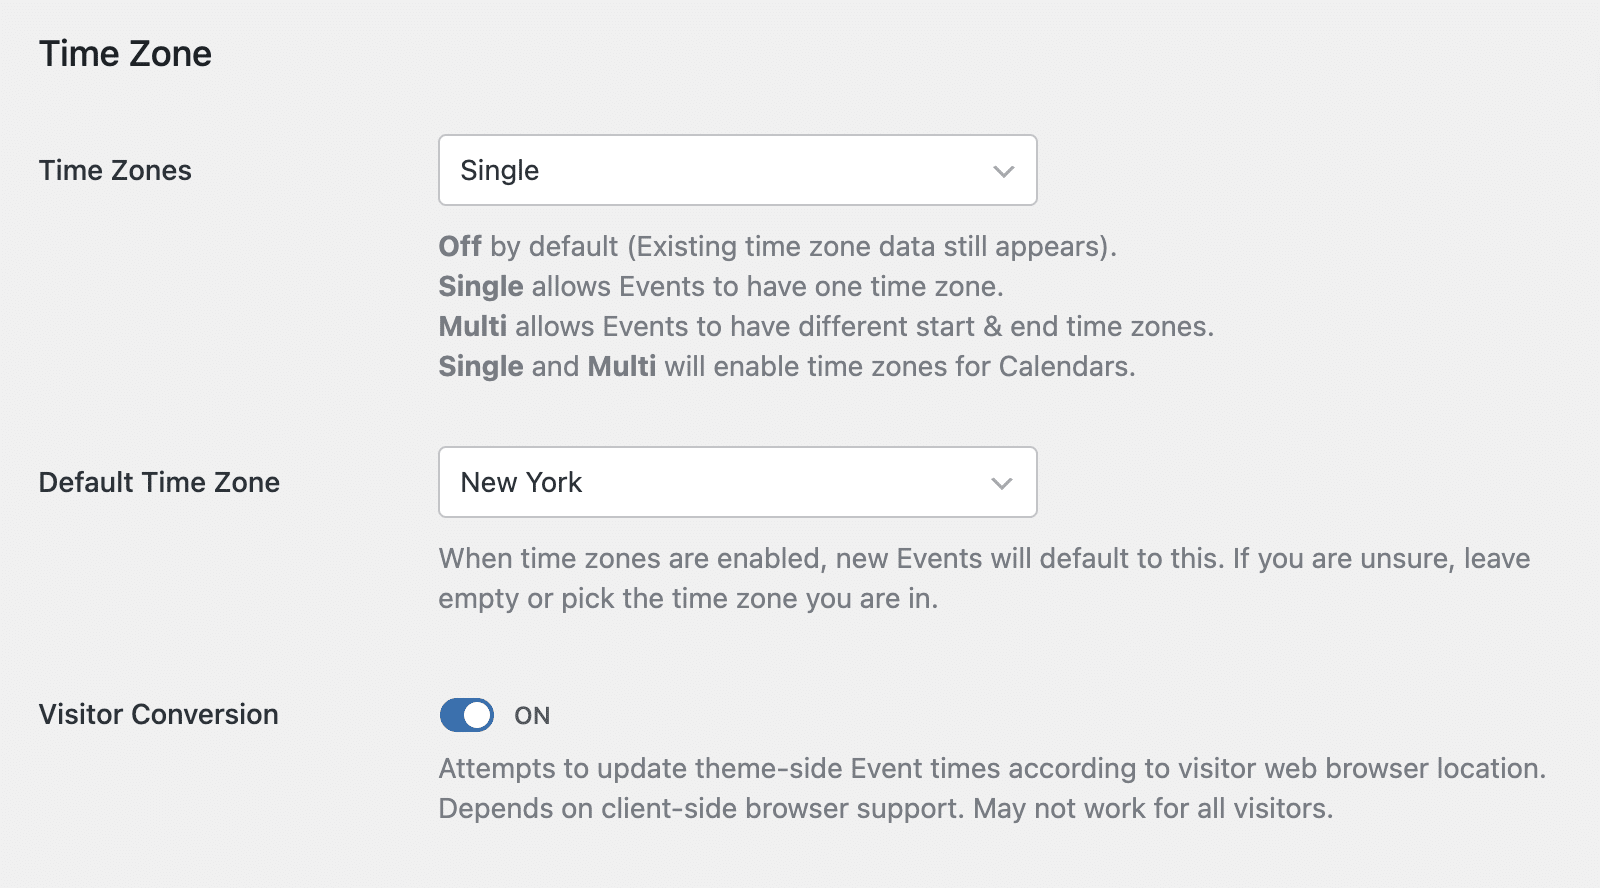
The Default Time Zone setting determines which time zone new events will default to when you enable the option. If you’re unsure, leave it empty or pick the time zone you’re in.
Visitor Conversion

The Visitor Conversion option attempts to update theme-side event times according to the visitor’s web browser location. This depends on client-side browser support and may not work for all visitors.
Payments Settings
Payment settings are important if you plan to sell tickets for your events. On the Payments tab, you’ll be able to configure your payment currency and gateway.
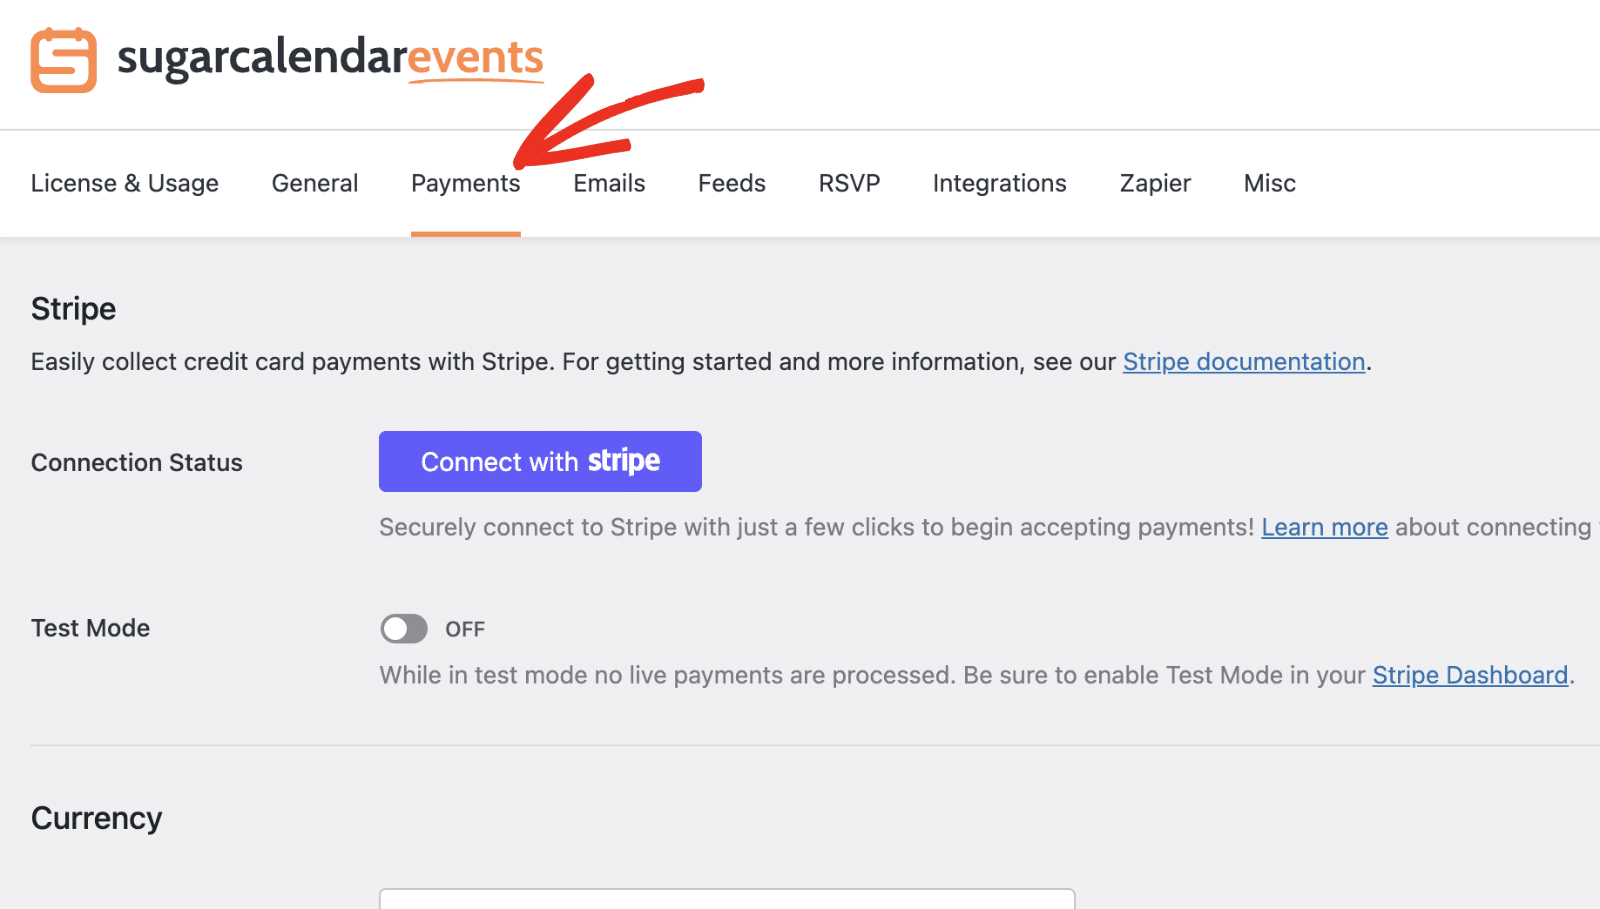
Stripe
Sugar Calendar uses Stripe as its payment processor for event ticketing. To connect your account, click the Connect with Stripe button and follow the authentication process.
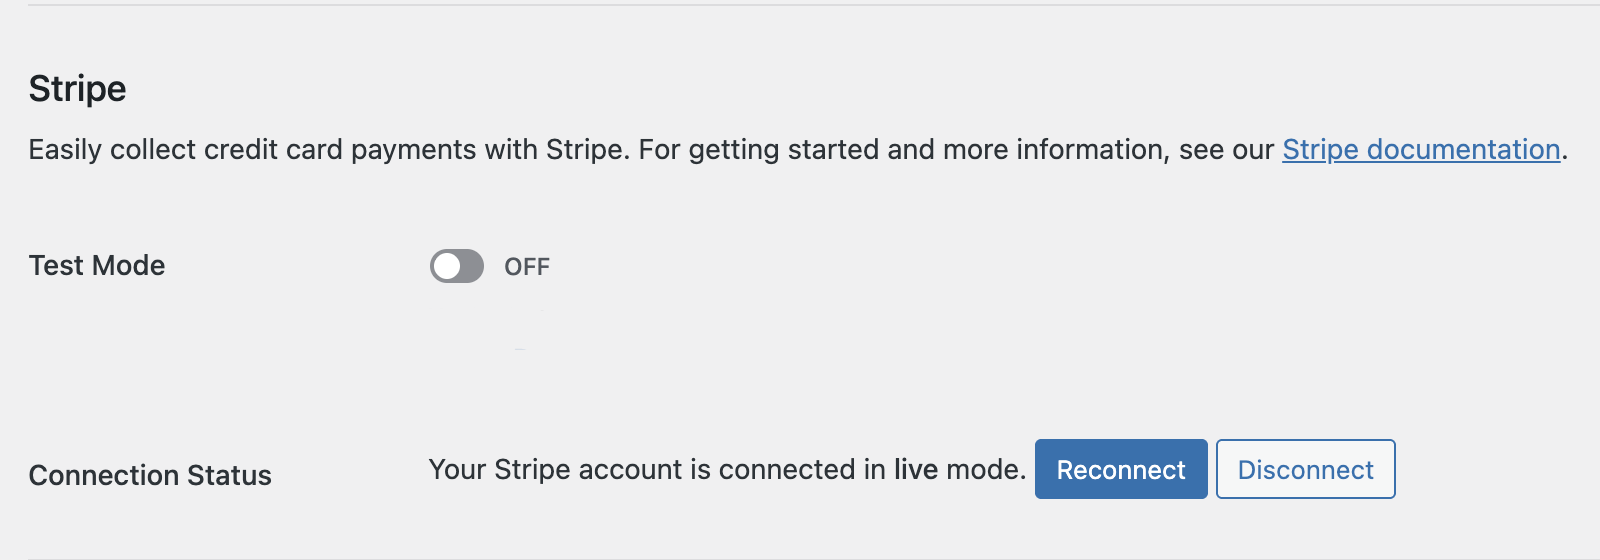
Once connected, you’ll see your connection status and have options to toggle Test Mode (for testing payments without processing real transactions), Reconnect, or Disconnect your account.
For full details on configuring payment options, check out our tutorial on the Event Ticketing addon.
Currency
Under the Currency section, configure how you want to display prices on your site’s frontend:
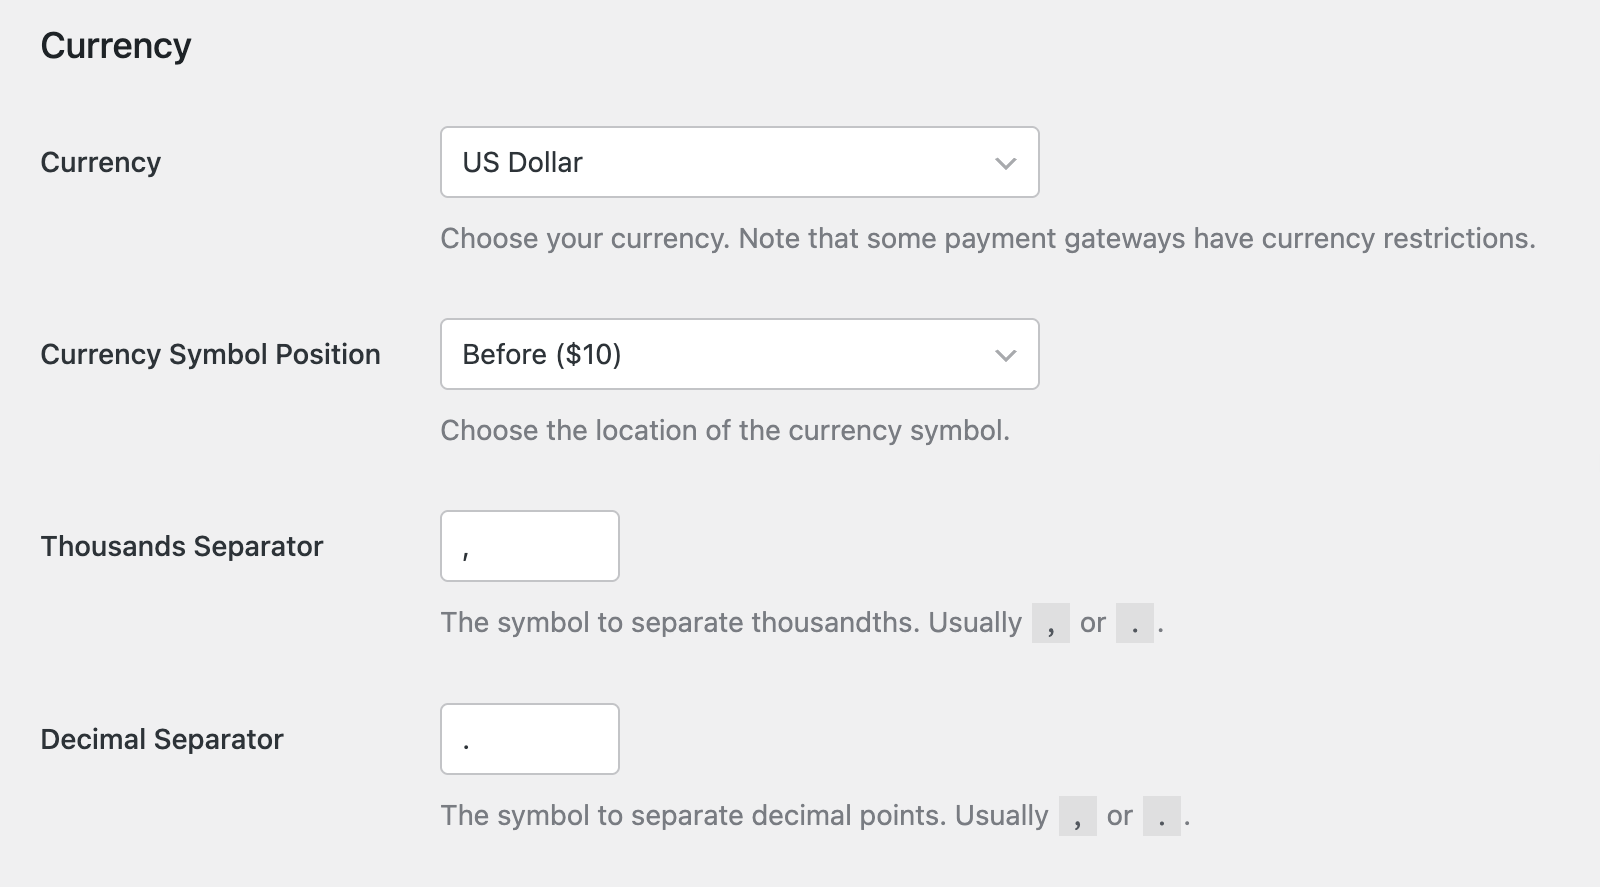
- Currency: Choose your currency. Note that some payment gateways have currency restrictions.
- Currency Symbol Position: This option controls the location of the currency symbol (before or after the amount).
- Thousands Separator: The symbol to separate thousandths.
- Decimal Separator: The symbol to separate decimal points.
Tickets Page Configuration
The Tickets Page Configuration section controls the two pages your ticket buyers land on, and how those pages look.
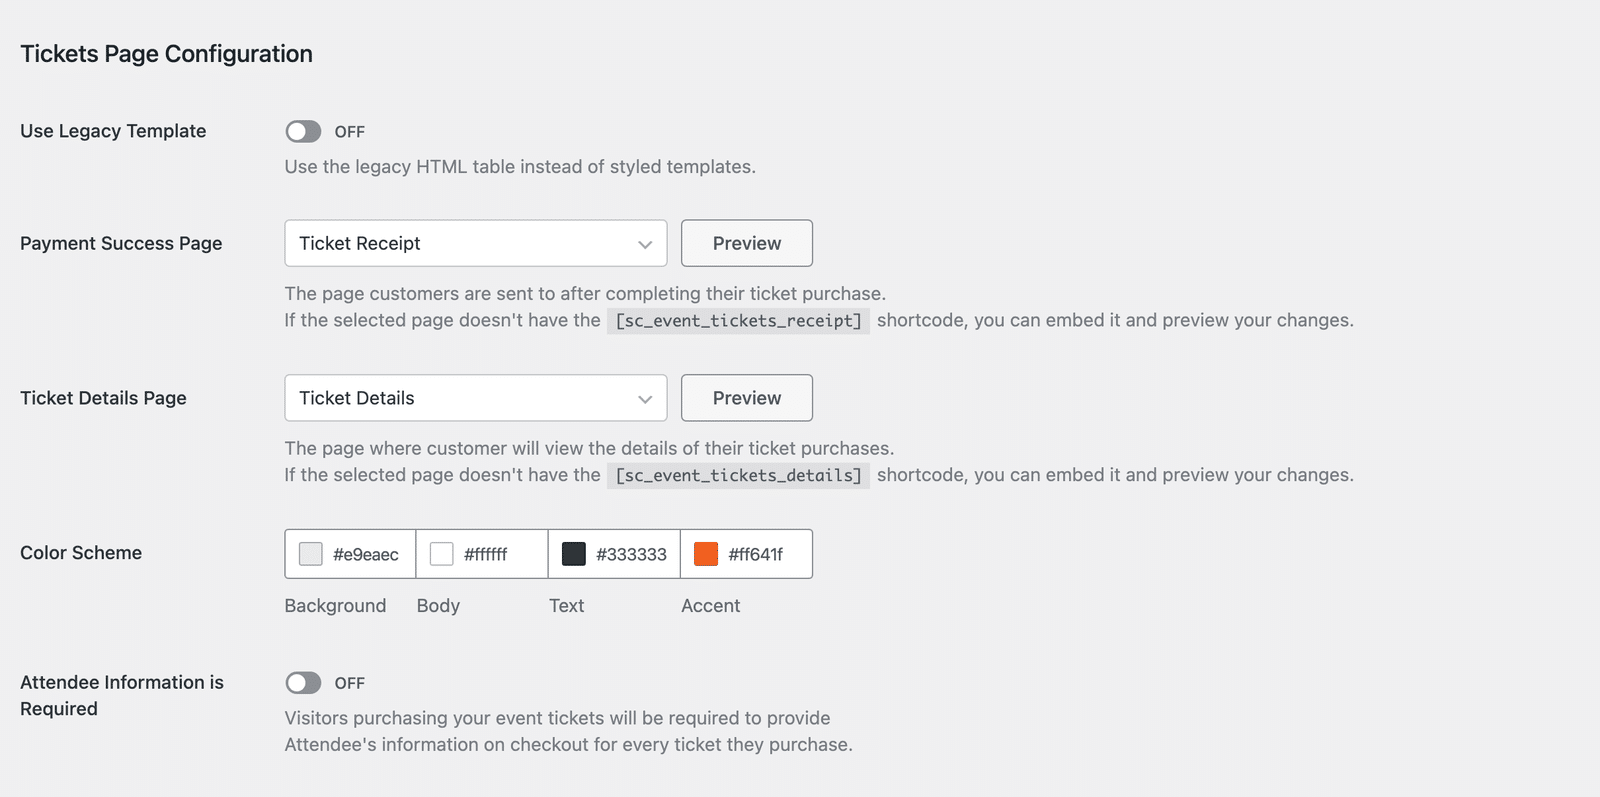
The Payment Success Page is where you’ll direct customers after completing their ticket purchase. This page must contain the [sc_event_tickets_receipt] shortcode.
The Ticket Details Page is where customers will view the details of their ticket purchases. This page must contain the [sc_event_tickets_details] shortcode.
Next to each page selector sits an action button. It reads Preview when the page already has the right shortcode and opens the page in a new tab filled with sample data, so you can see the layout without making a test purchase. It reads Embed when the shortcode is missing, and adds the shortcode to the page for you.
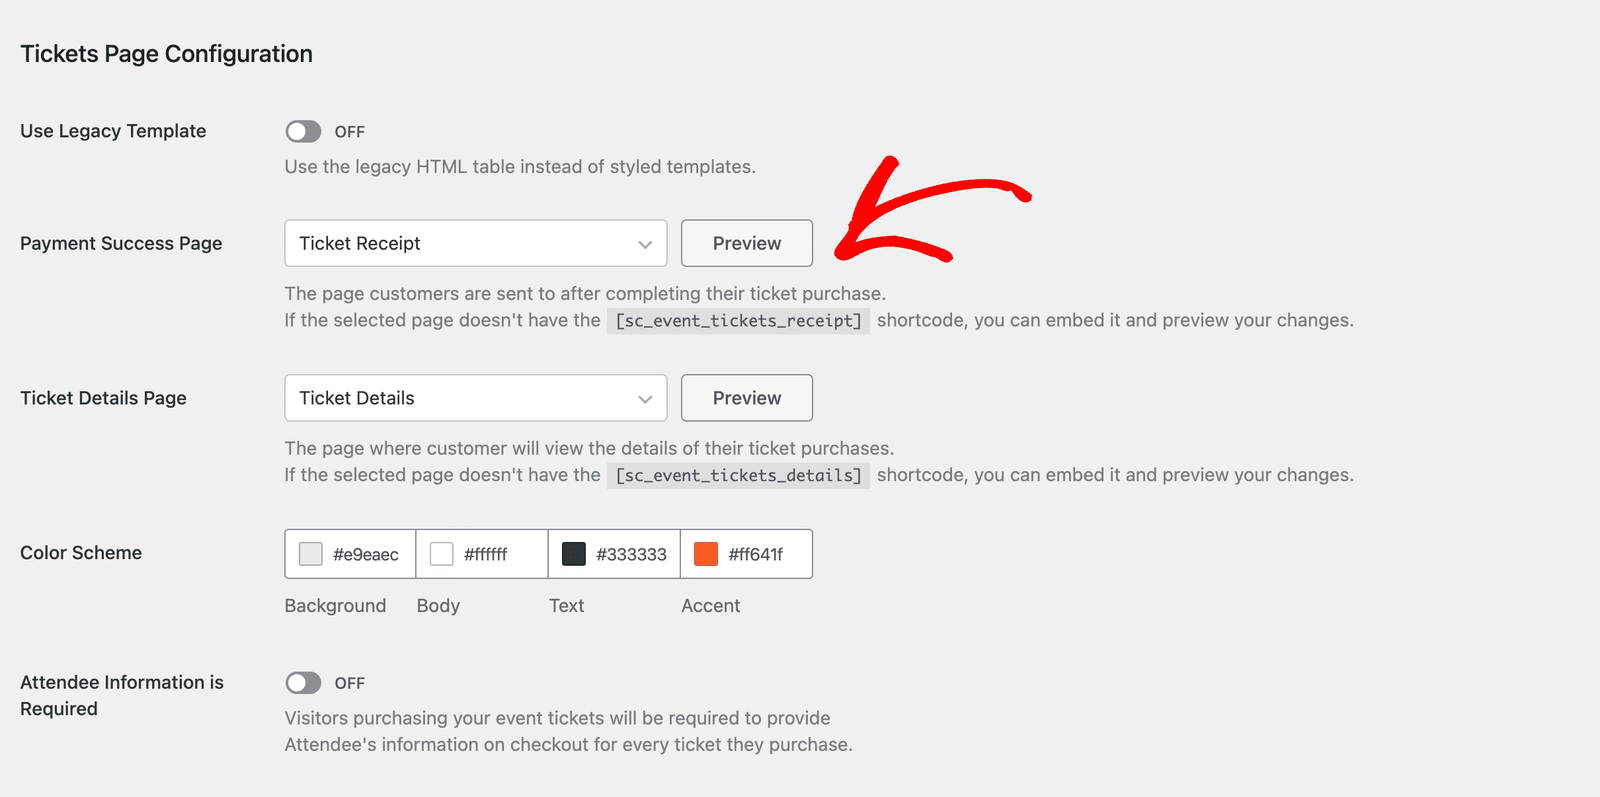
Use Legacy Template switches both pages back to the plain HTML table layout Sugar Calendar used before 3.14. It stays off by default, so both pages use the styled layout. Turn it on only if you’ve written custom CSS against the old markup and the new layout breaks it.
Color Scheme sets four colors for the styled receipt and details pages: Background, Body, Text, and Accent. Turning Use Legacy Template on disables these colors, since the legacy layout doesn’t use them.
Note: These colors apply to the ticket pages only. Your emails have their own Color Scheme in the Emails tab. Setting one doesn’t change the other.
The Attendee Information is Required toggle determines whether visitors purchasing event tickets will be required to provide attendee information on checkout for every ticket they purchase.
Note: Leaving Attendee Information is Required off means Sugar Calendar collects no attendee email addresses, so it can’t send attendees their tickets automatically. Turn it on if you want each attendee to receive their own ticket email.
Emails Settings
Settings under the Emails tab control notification emails for event ticketing and RSVP.
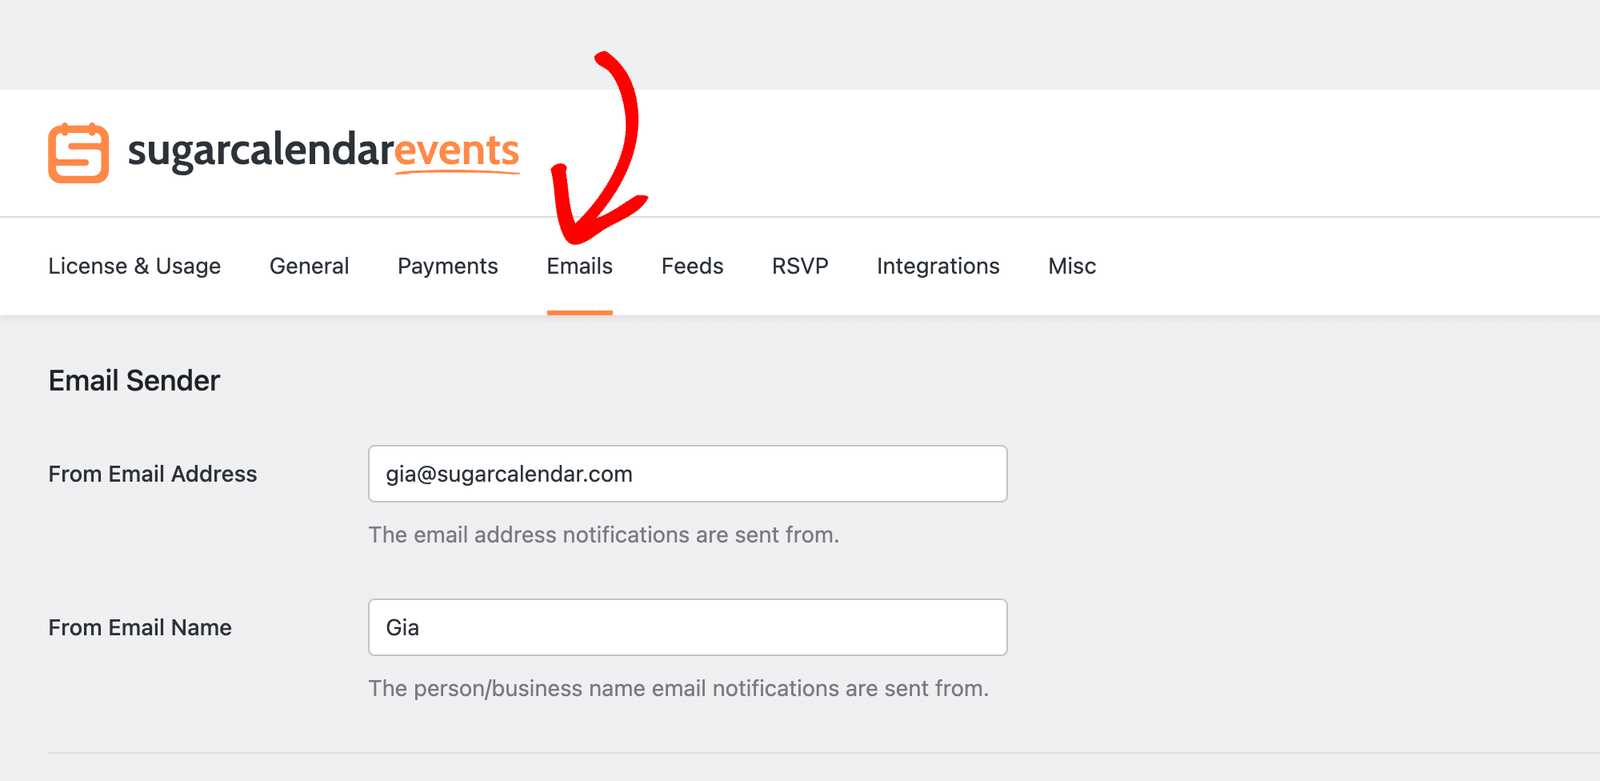
Email Sender
Under Email Sender, configure the email address and name that notifications are sent from:
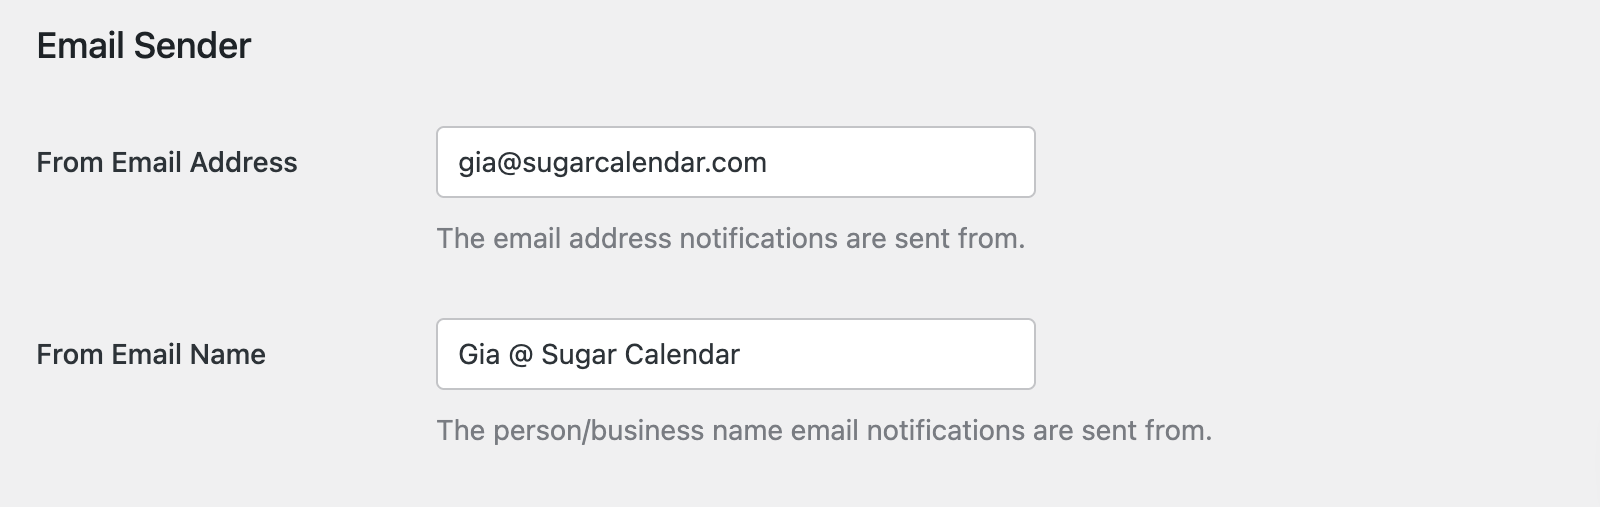
- From Email Address: The email address notifications are sent from.
- From Email Name: The person or business name email notifications are sent from.
To ensure emails are delivered and don’t end up in the spam folder, we recommend using an SMTP plugin on your WordPress site. WP Mail SMTP supports many email providers you can choose from when configuring your SMTP plugin.
Configure Emails
Under the Configure Emails section, customize the templates for your automated messages. Sugar Calendar splits them into two groups: Configure Emails to Admin first, then Configure Emails to Attendees. Click Edit next to any email to customize its content, and use the toggle on each row to control whether that email sends.
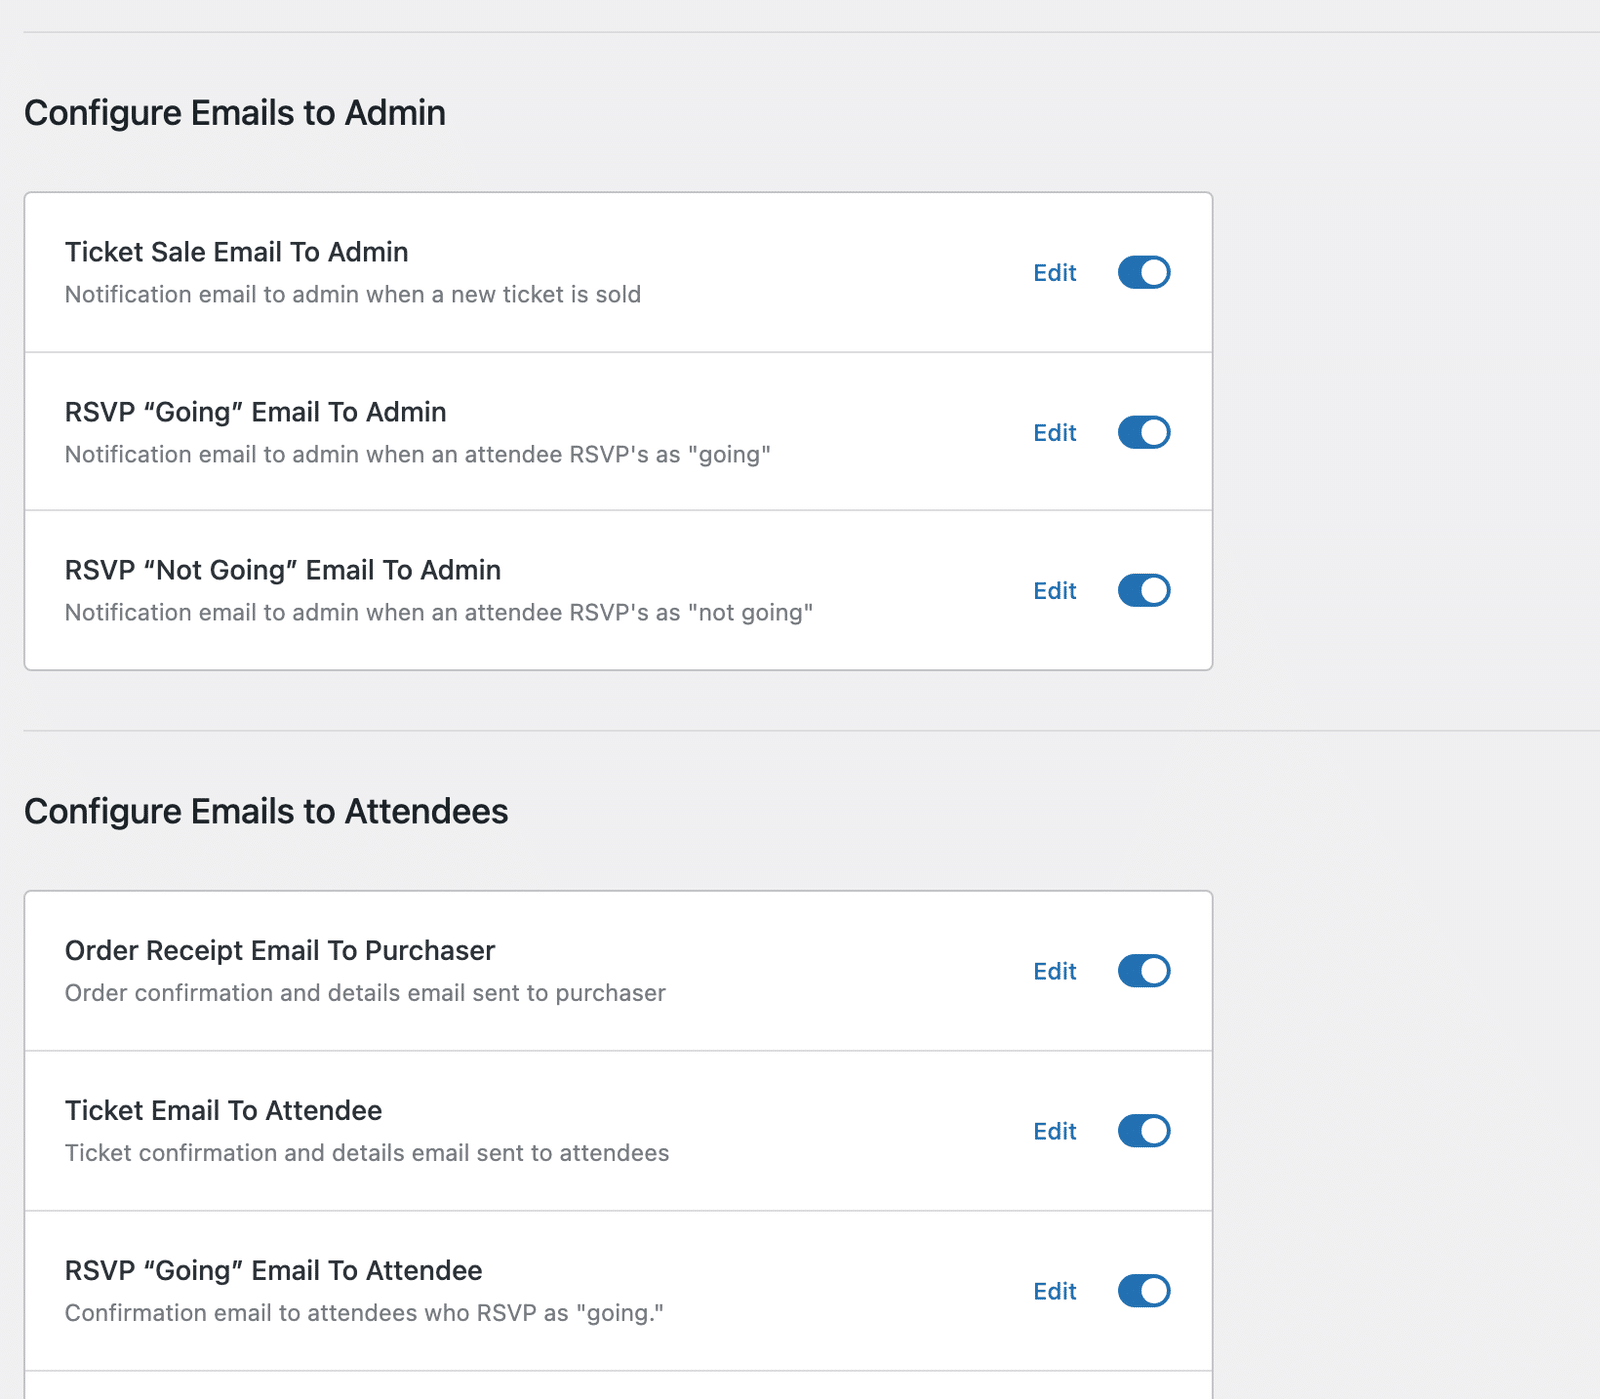
Emails sent to your site administrator:
- Ticket Sale Email To Admin
- RSVP “Going” Email To Admin
- RSVP “Not Going” Email To Admin
Emails sent to attendees:
- Order Receipt Email To Purchaser
- Ticket Email To Attendee
- RSVP “Going” Email To Attendee
- RSVP “Not Going” Email To Attendee
- Incomplete Registration Reminder
- Registration Confirmation
For more details, be sure to check our guide on customizing Sugar Calendar Events emails.
Attendee Email Styling
At the bottom of the Emails tab, below both email groups, the Attendee Email Styling section controls how your notification emails look. These settings apply to every event email at once.
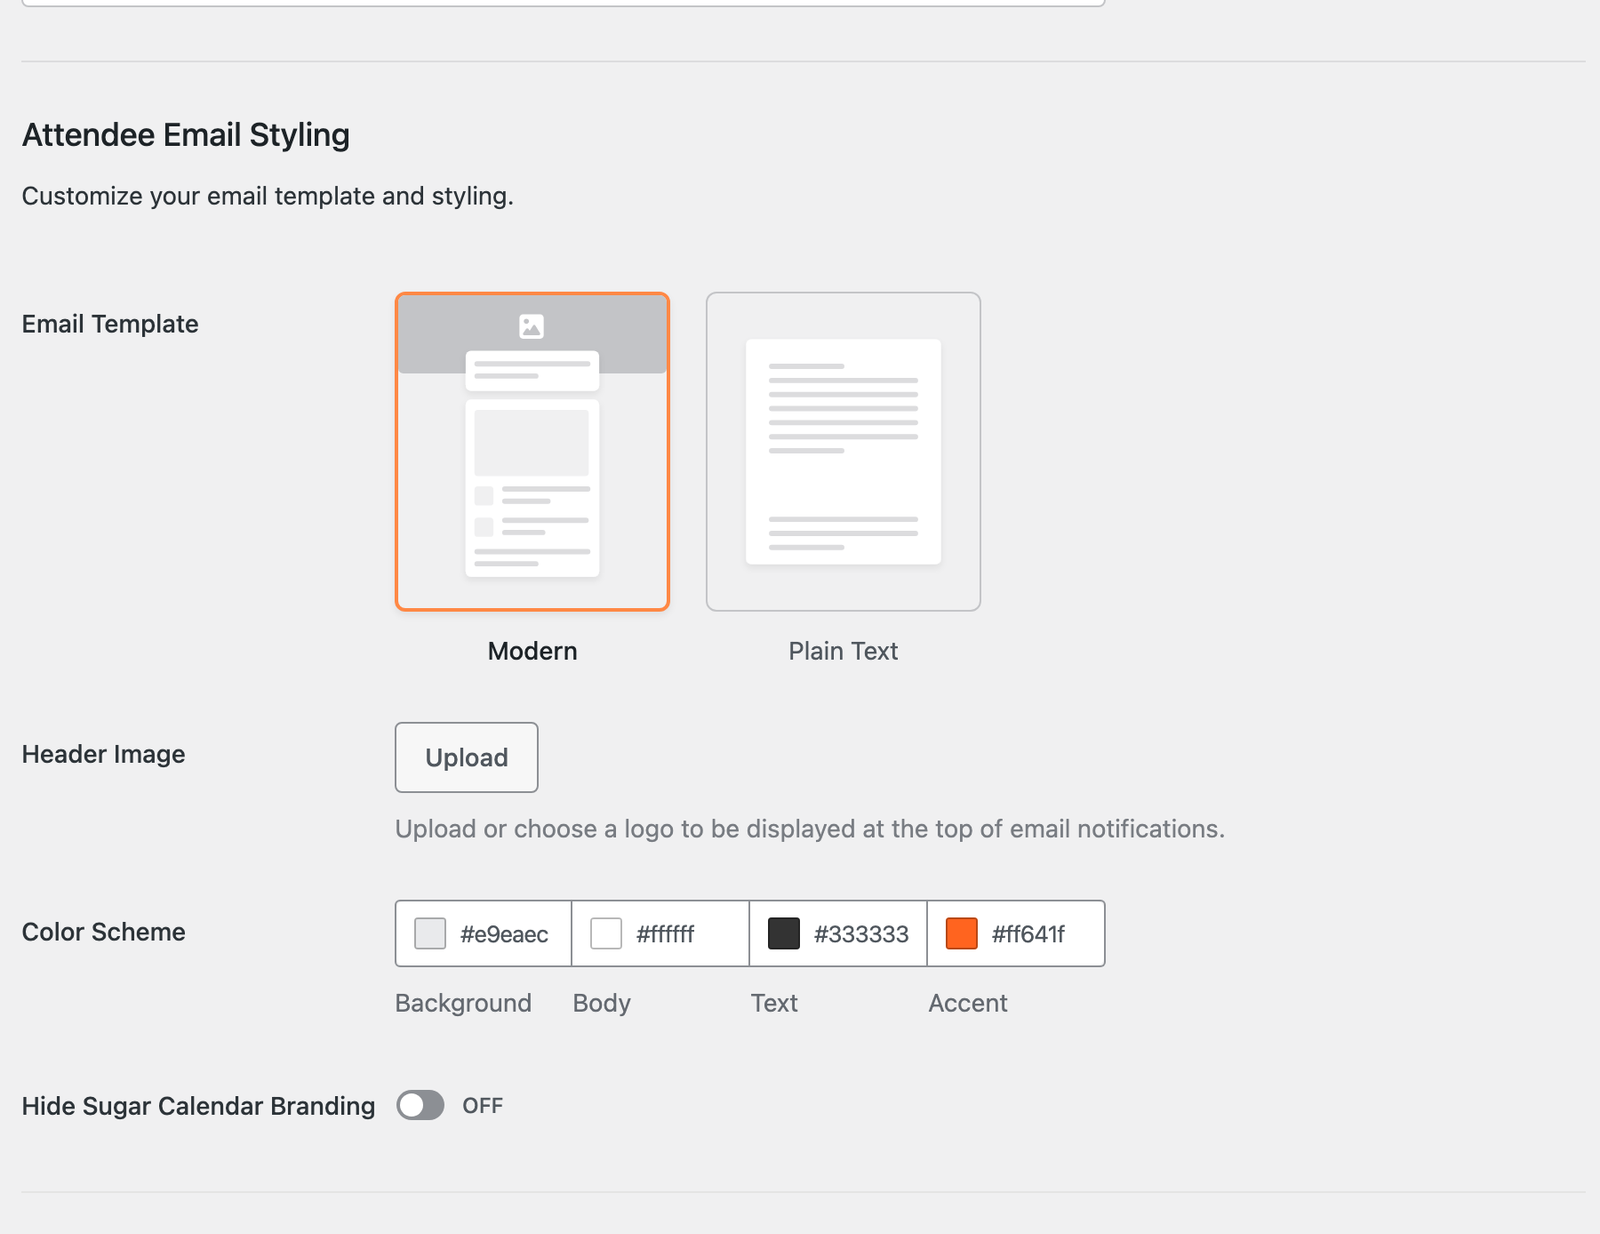
- Email Template: Choose Modern for a styled, responsive layout that presents event and ticket details as a card, or Plain Text to send your message without the styled wrapper.
- Header Image: Upload or choose a logo to display at the top of your emails, then set Header image size to Small, Medium, or Large.
- Color Scheme: Set the Background, Body, Text, and Accent colors for the Modern template.
- Hide Sugar Calendar Branding: Removes the “Powered by” line from the email footer. This requires Sugar Calendar Pro.
Selecting Plain Text hides the header image, colors, and branding controls, since those only apply to the Modern template.
Note: New Sugar Calendar installations start on Modern. Sites upgrading from an earlier version start on Plain Text and keep every email subject and message exactly as you saved it.
For full details, see our guide on Sugar Calendar event emails.
Feeds Settings
The Feeds tab lets you control which calendar feeds are available for your events.
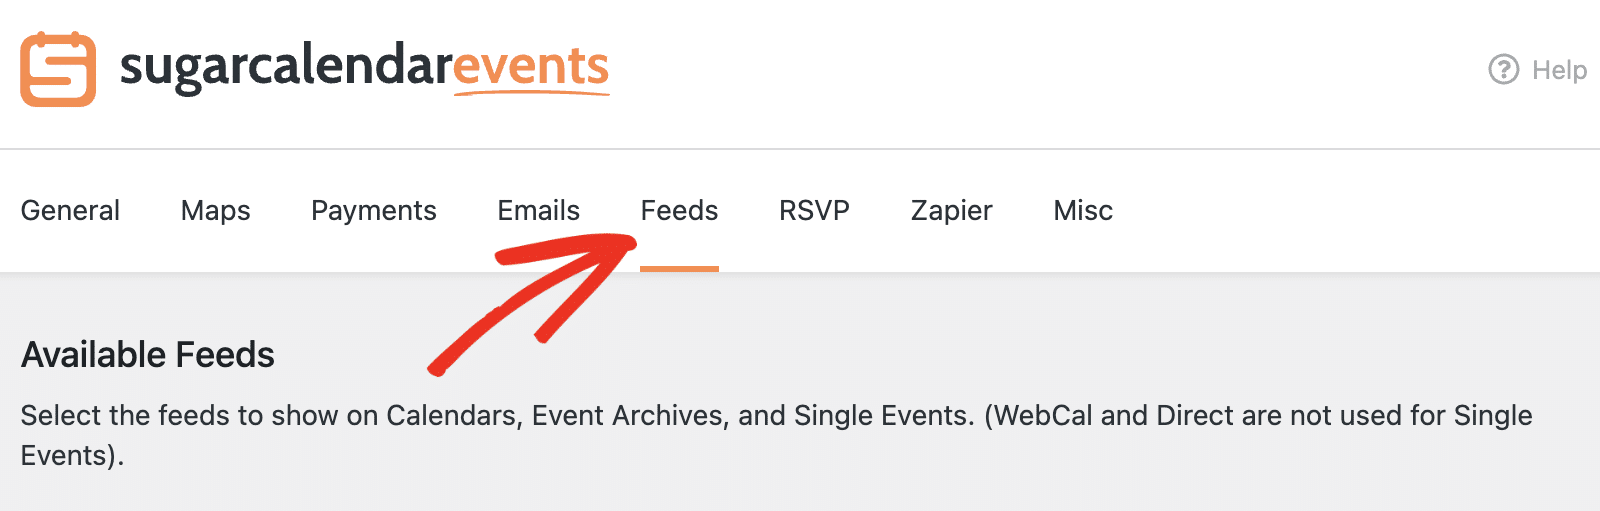
Under Available Feeds, select which feeds to show on calendars, event archives, and single events. Note that WebCal and Direct are not used for single events.
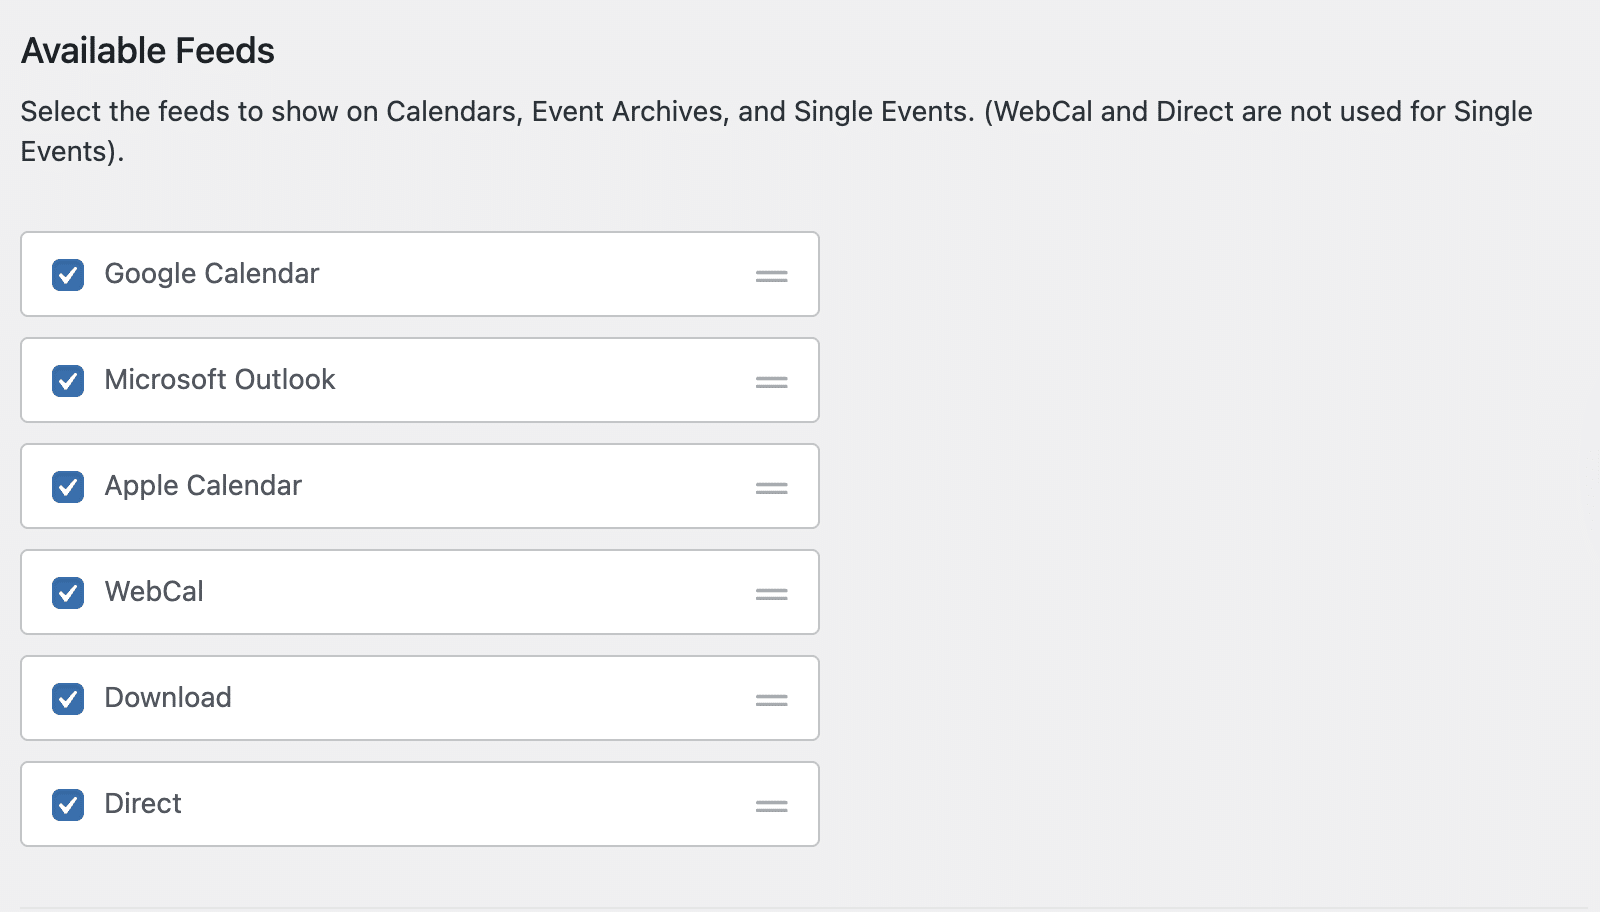
Available feed options include:
- Google Calendar
- Microsoft Outlook
- Apple Calendar
- WebCal
- Download
- Direct
Check the boxes next to the feeds you want to enable for your events. For more details, see our tutorial on using calendar feeds.
RSVP Settings
Note: You’ll need the RSVP addon installed and activated to access these settings.
The RSVP tab allows you to configure spam protection for your RSVP forms.
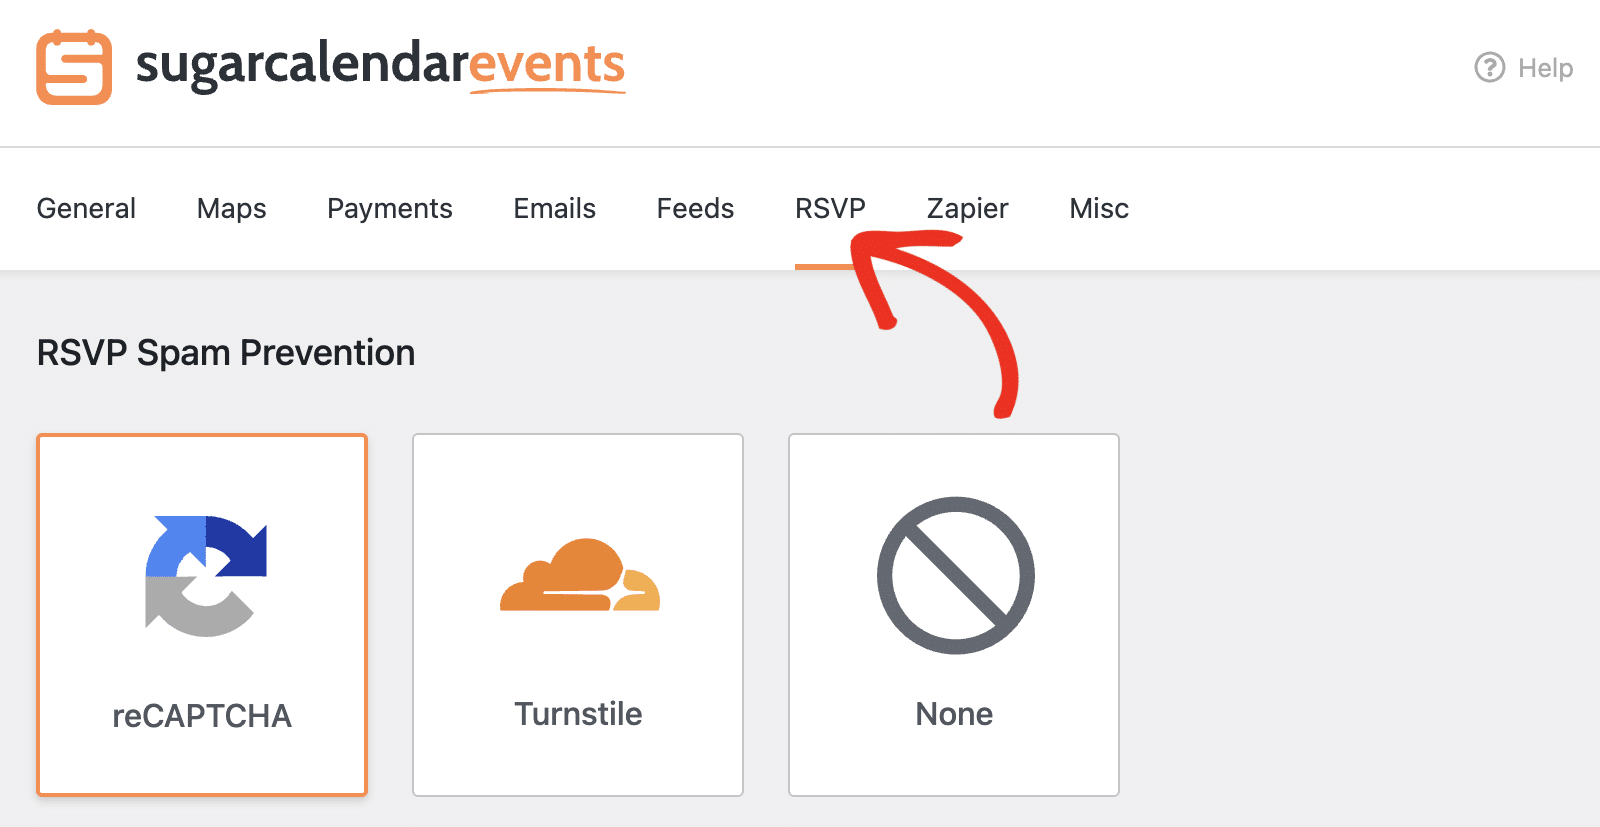
Under RSVP Spam Prevention, you can choose from three options:
- reCAPTCHA: A free anti-spam service from Google that helps protect your website from spam and abuse while letting real people pass through with ease.
- Turnstile: Cloudflare’s CAPTCHA-like alternative that offers a user-friendly experience.
- None: No spam prevention enabled.
If you select reCAPTCHA or Turnstile, you’ll need to enter your Site Key and Secret Key in the fields provided.
See our guide to learn more about enabling spam protection for RSVP forms.
Zapier Settings
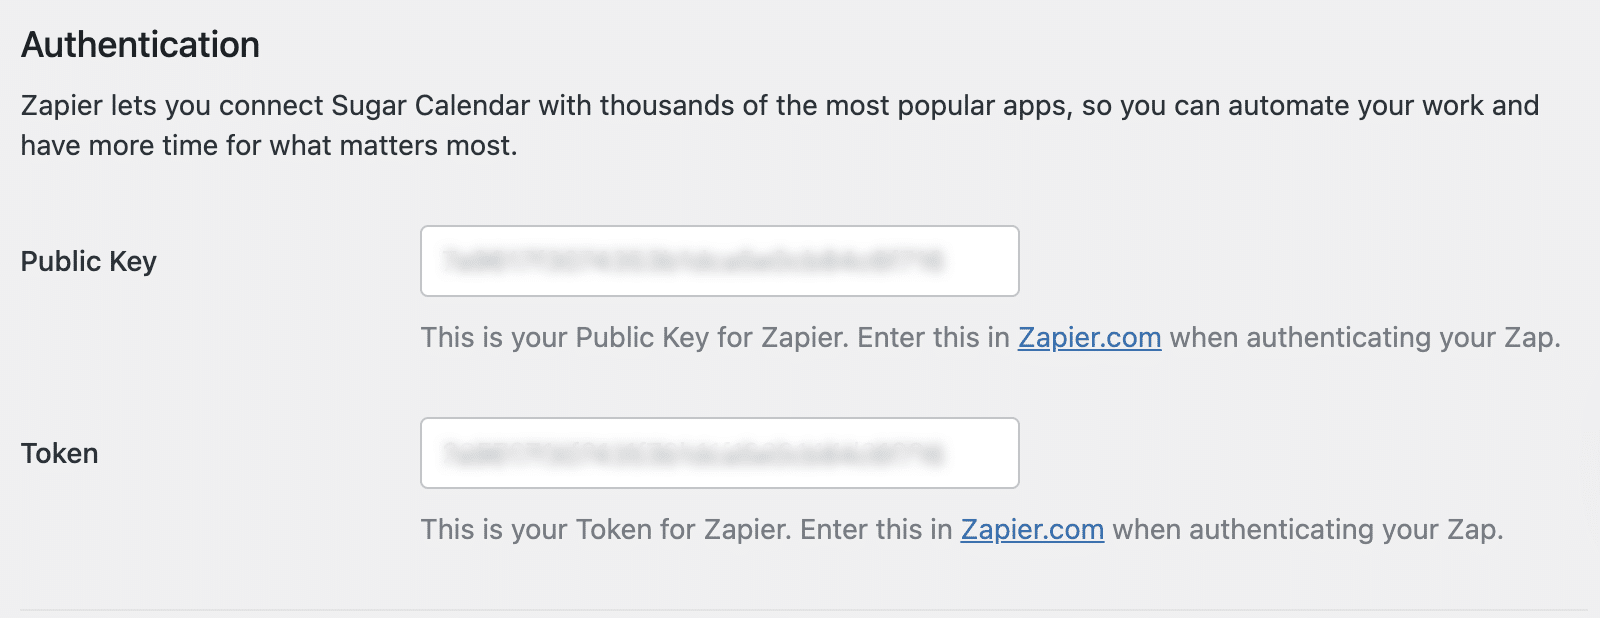
The Zapier tab provides authentication credentials for connecting Sugar Calendar with Zapier.
Note: You’ll need the Zapier addon installed and activated to access these settings.
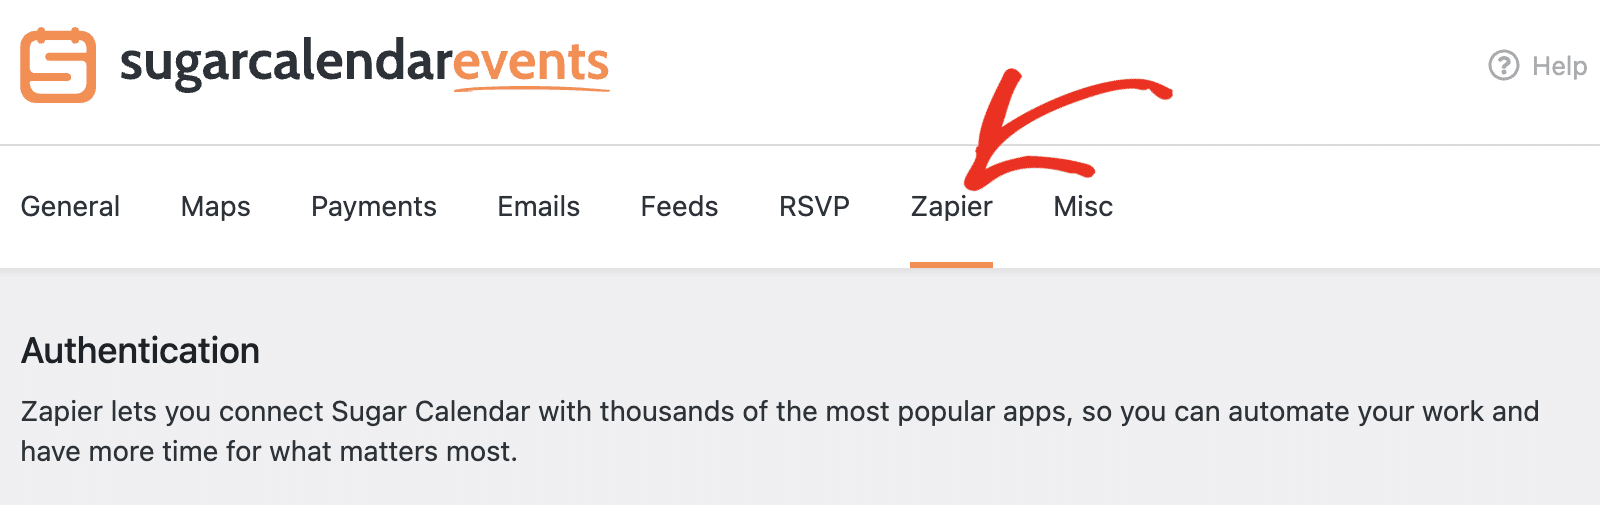
Zapier lets you connect Sugar Calendar with thousands of the most popular apps. Once connected, you can automate your work and have more time for what matters most.
Under Authentication, you’ll find your unique credentials: Public Key and Token.
For full details on setting up Zapier with Sugar Calendar Events, check out our Zapier addon tutorial.
Integrations
The Integrations tab is where you connect and manage external services for your events, including Google Maps and Zoom.
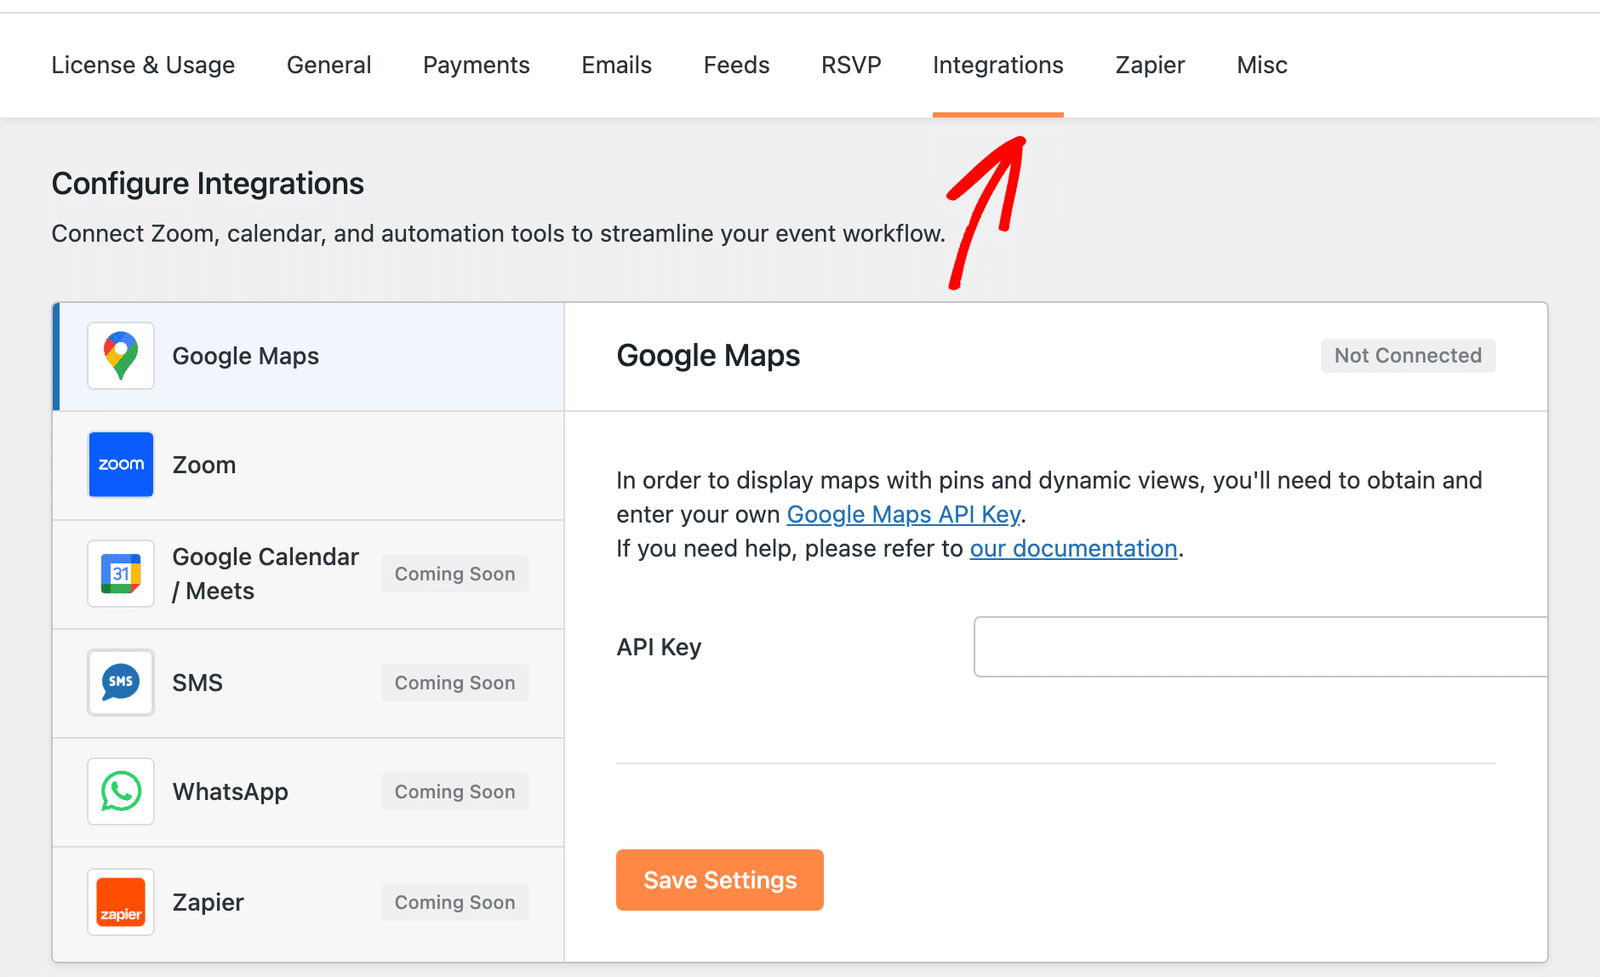
The page uses a two-column layout. The left sidebar lists the available integrations, and clicking one loads its connection settings and status in the content panel on the right.
Google Maps
Google Maps now lives under Settings » Integrations » Google Maps, where it appears as a clickable integration in the sidebar.
Select Google Maps to open its settings in the content panel, then enter your own Google Maps API Key to display maps with pins and dynamic views.
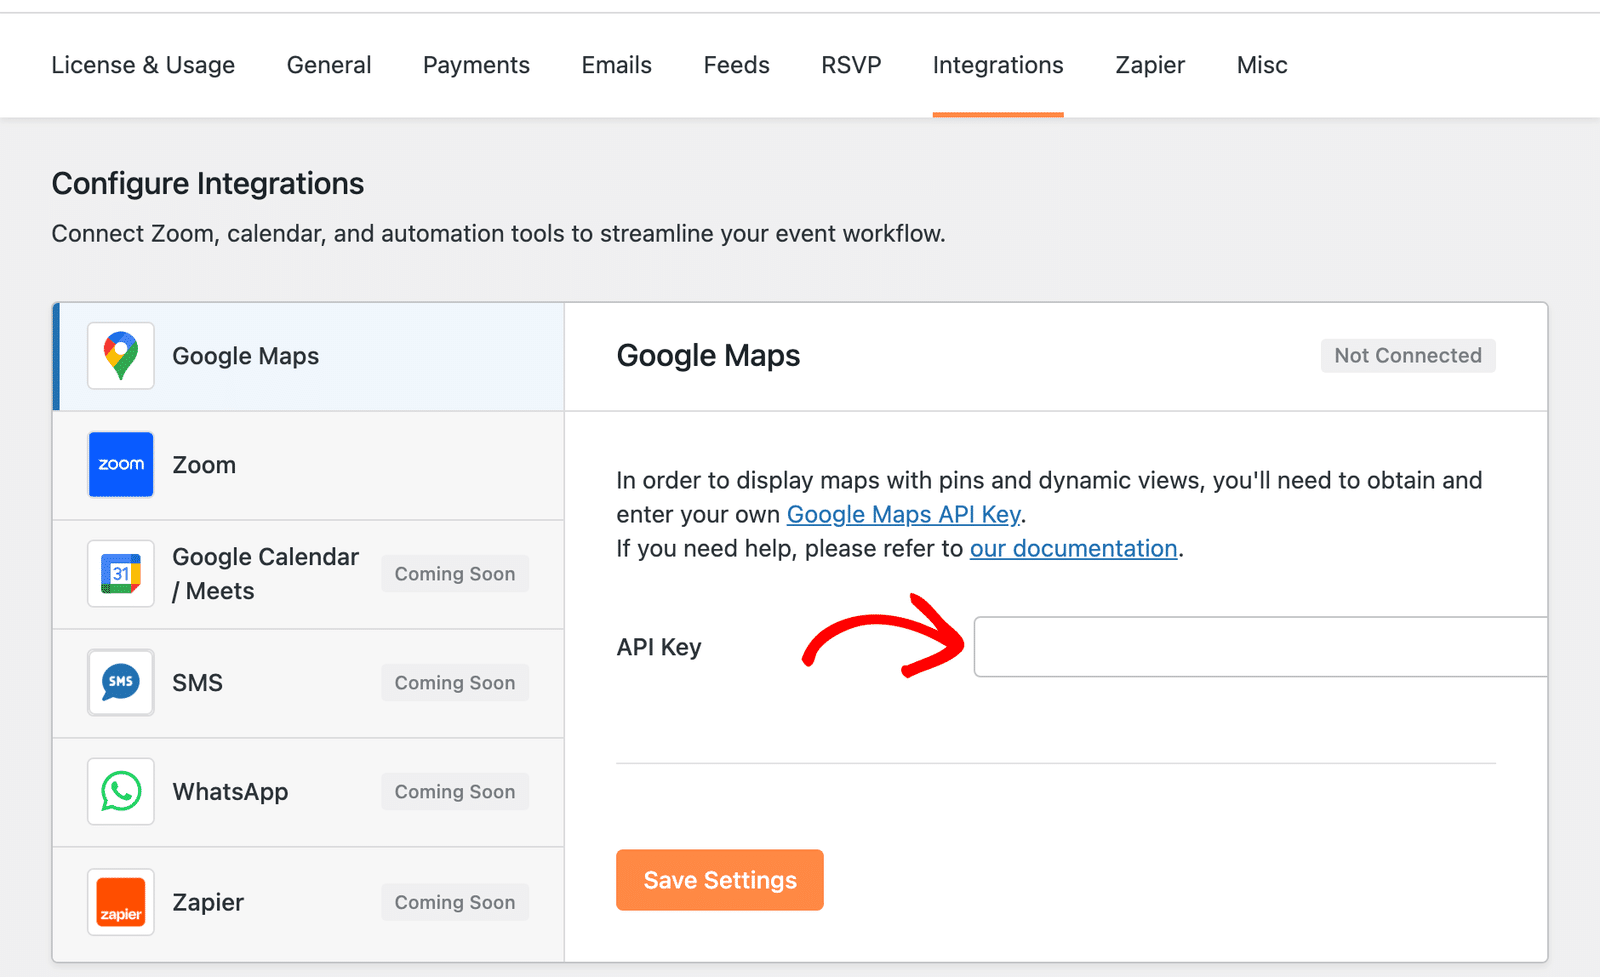
When a key is saved, the Google Maps content panel shows a Connected badge. With no key saved, it shows Not Connected.
Note: The standalone Maps tab has been removed; Google Maps now lives under the Integrations tab. Google Maps does not consume integration credits.
For more details, refer to our documentation on setting up Google Maps.
Integration Usage Indicator
The top-right corner of the Integrations header shows a usage indicator reading X% Integration Usage Used.
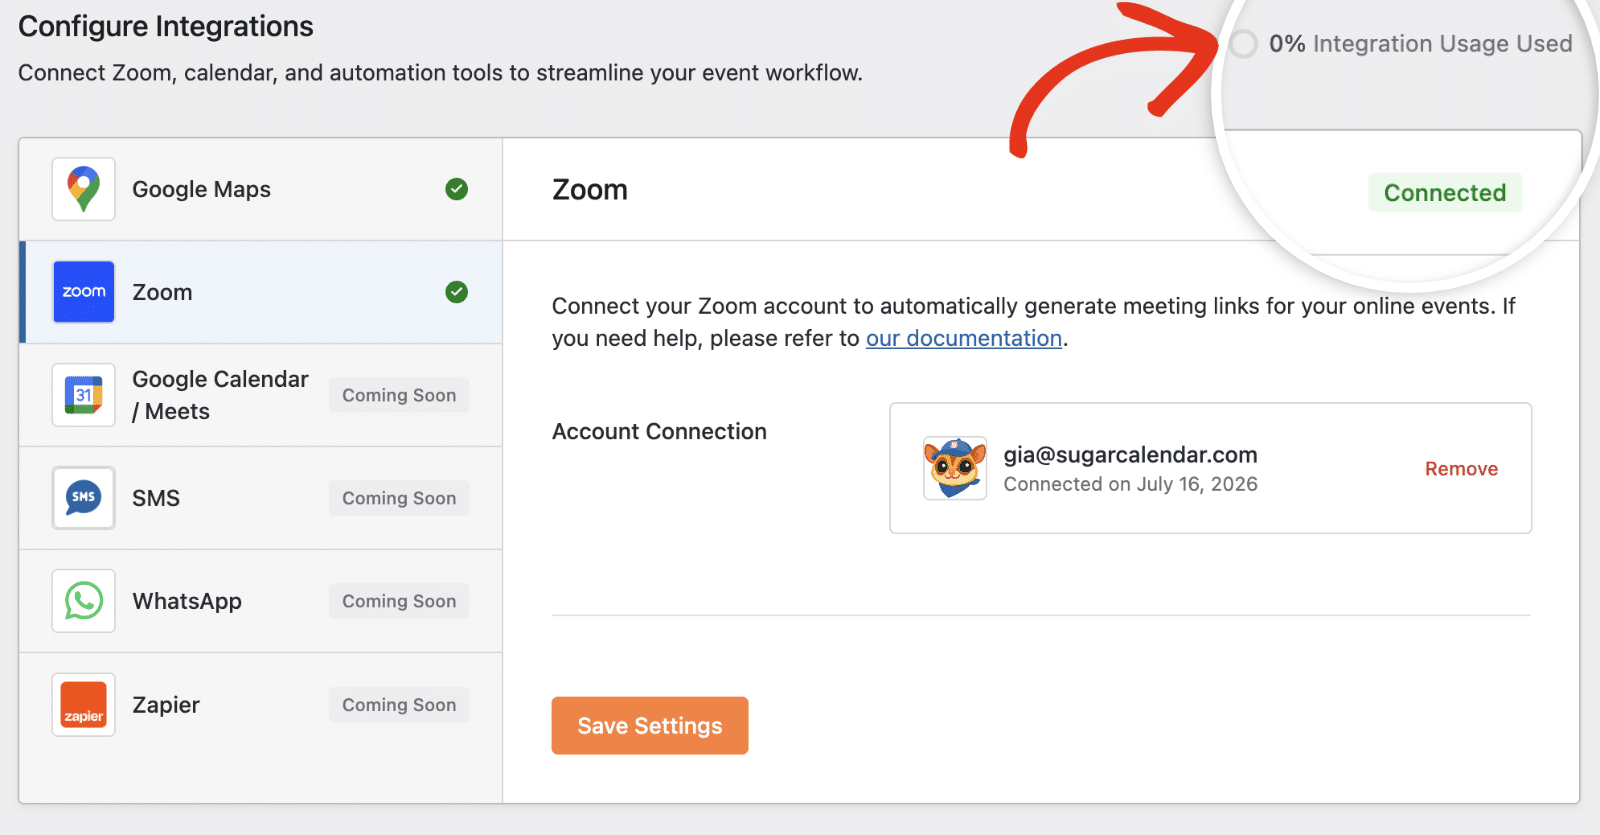
Click it to open a popover showing your credits used and your limit, plus an upgrade link. On Pro, the popover also shows how many days remain until your credits reset.
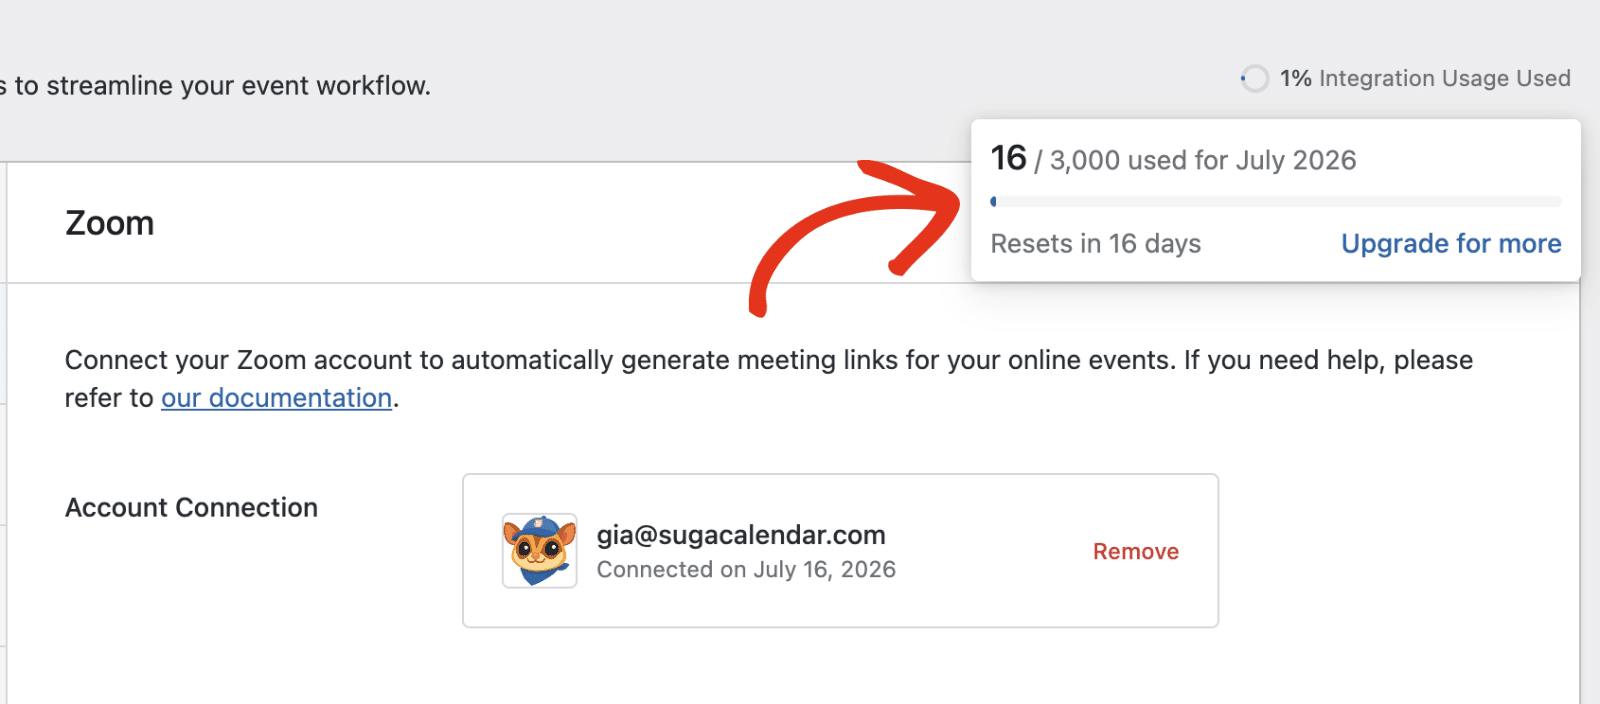
When your account runs out of credits, the indicator turns red, each affected integration page shows an Out of Tokens badge, and Sugar Calendar disables credit-using integrations.
To learn how integration credits work and what each plan includes, see our guide on understanding integration credits and usage limits.
Misc Settings
Settings shown under the Misc tab don’t fit into another category and are unlikely to be needed by most users.
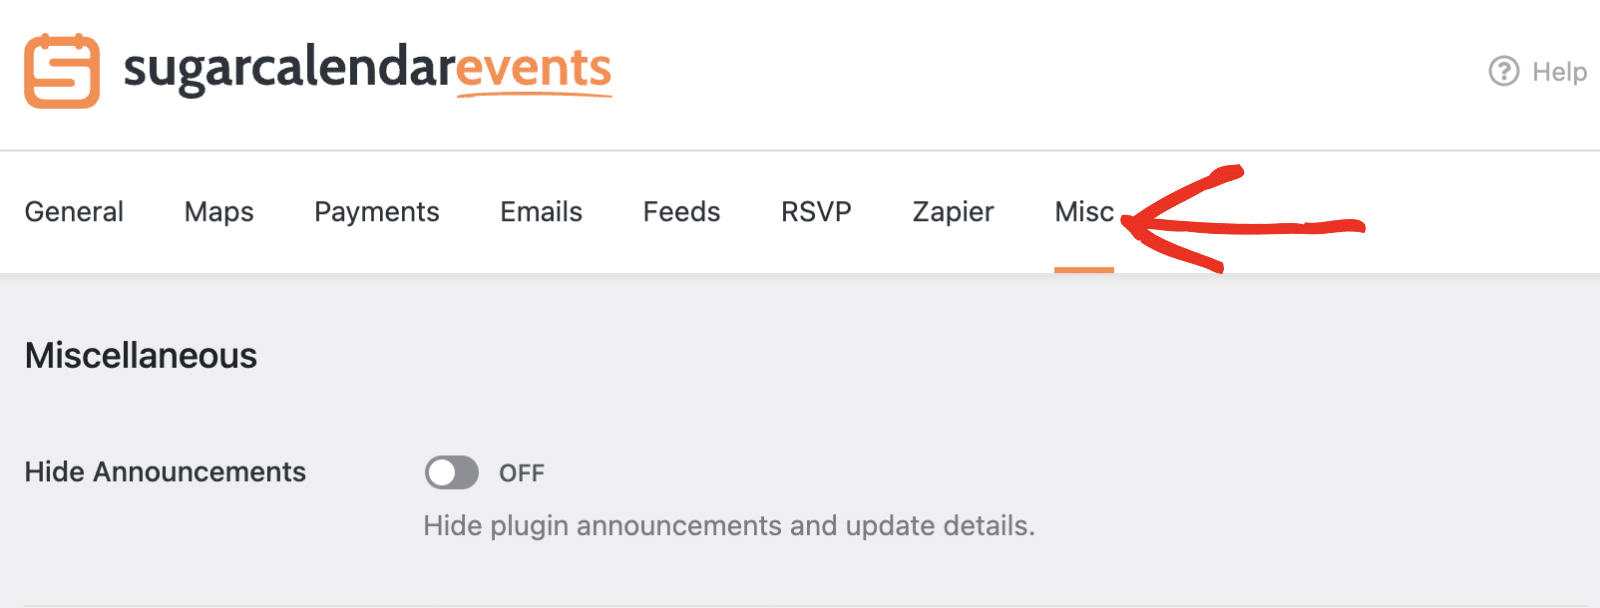
Hide Announcements
You may occasionally see notices from the Sugar Calendar team in your WordPress dashboard, ranging from important announcements to helpful tips about new features.

If you’d prefer not to see any announcements from Sugar Calendar, toggle the Hide Announcements option to the ON position.
Disable Integrations
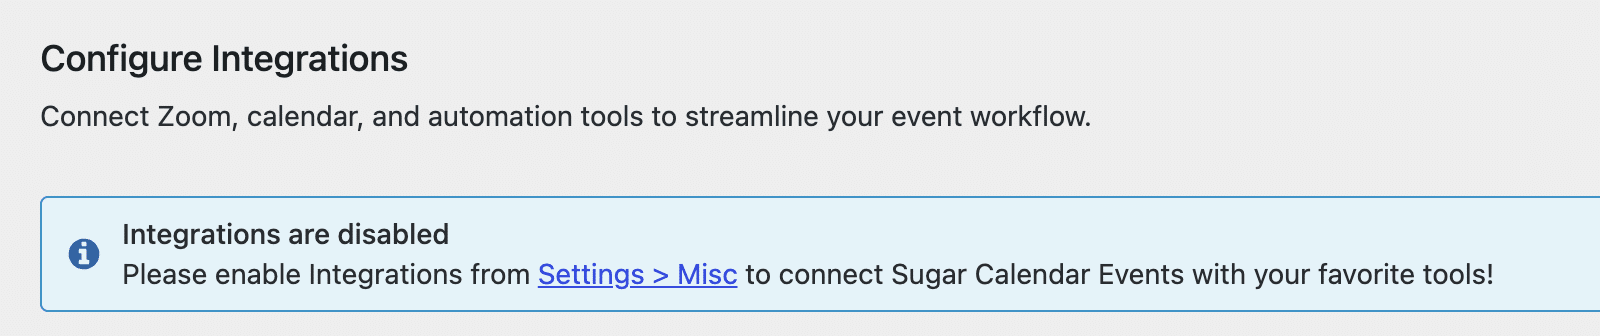
Lite users see a Disable Integrations toggle in the Misc tab. Turning it on disconnects all connected integrations, disables usage tracking, and displays a blue info banner on the Integrations tab.
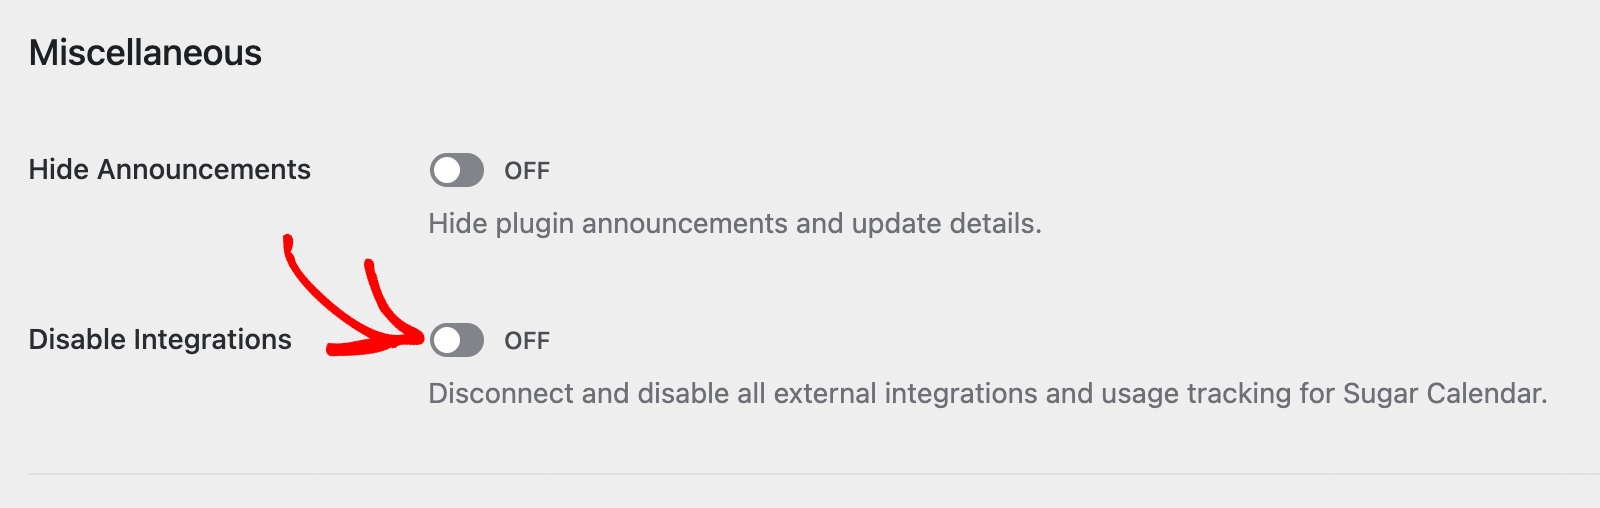
Once enabled, the Integrations tab displays a blue info banner explaining that integrations are disabled:
Note: The Disable Integrations toggle is available only to Lite users. Pro users never see this option.
That’s it! You’ve now familiarized yourself with all of the plugin-wide settings available in Sugar Calendar Events.
Next, would you like to create your first event? Be sure to check out our tutorial on creating events in Sugar Calendar to get started.