Would you like to customize event emails for ticket sales and RSVP responses? Sugar Calendar offers customizable email notifications for various attendee actions, including ticket purchases and RSVP responses.
In this tutorial, we’ll show you how to configure, style, and customize Sugar Calendar Events emails.
In This Article
Before getting started, install and activate the Sugar Calendar Events plugin on your site and verify your license to enable advanced features.
Accessing Email Settings
To configure email notifications, navigate to Events » Settings and select the Emails tab.
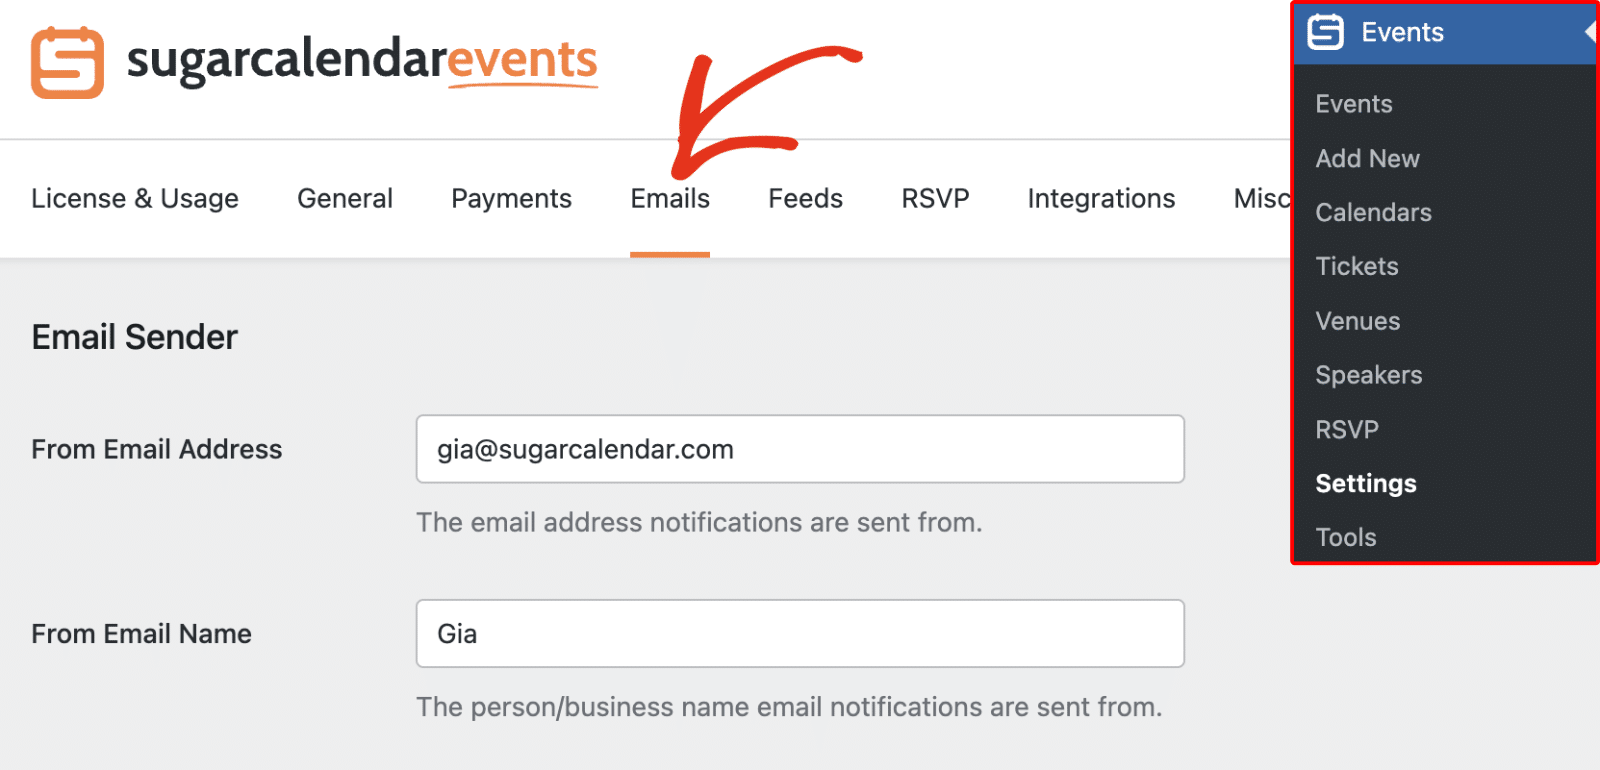
Use these fields to set the default email sender and name for all event-related emails.
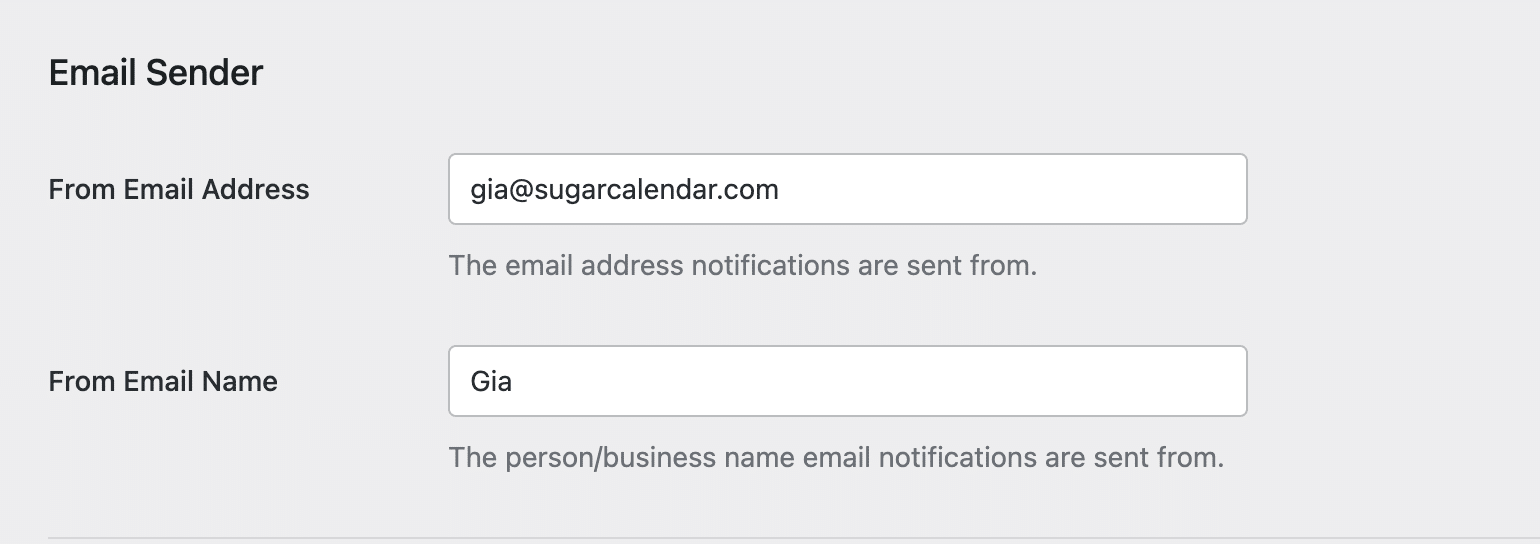
- From Email Address: This is the sender email address for event-related emails.
- From Email Name: The name users will see as the sender.
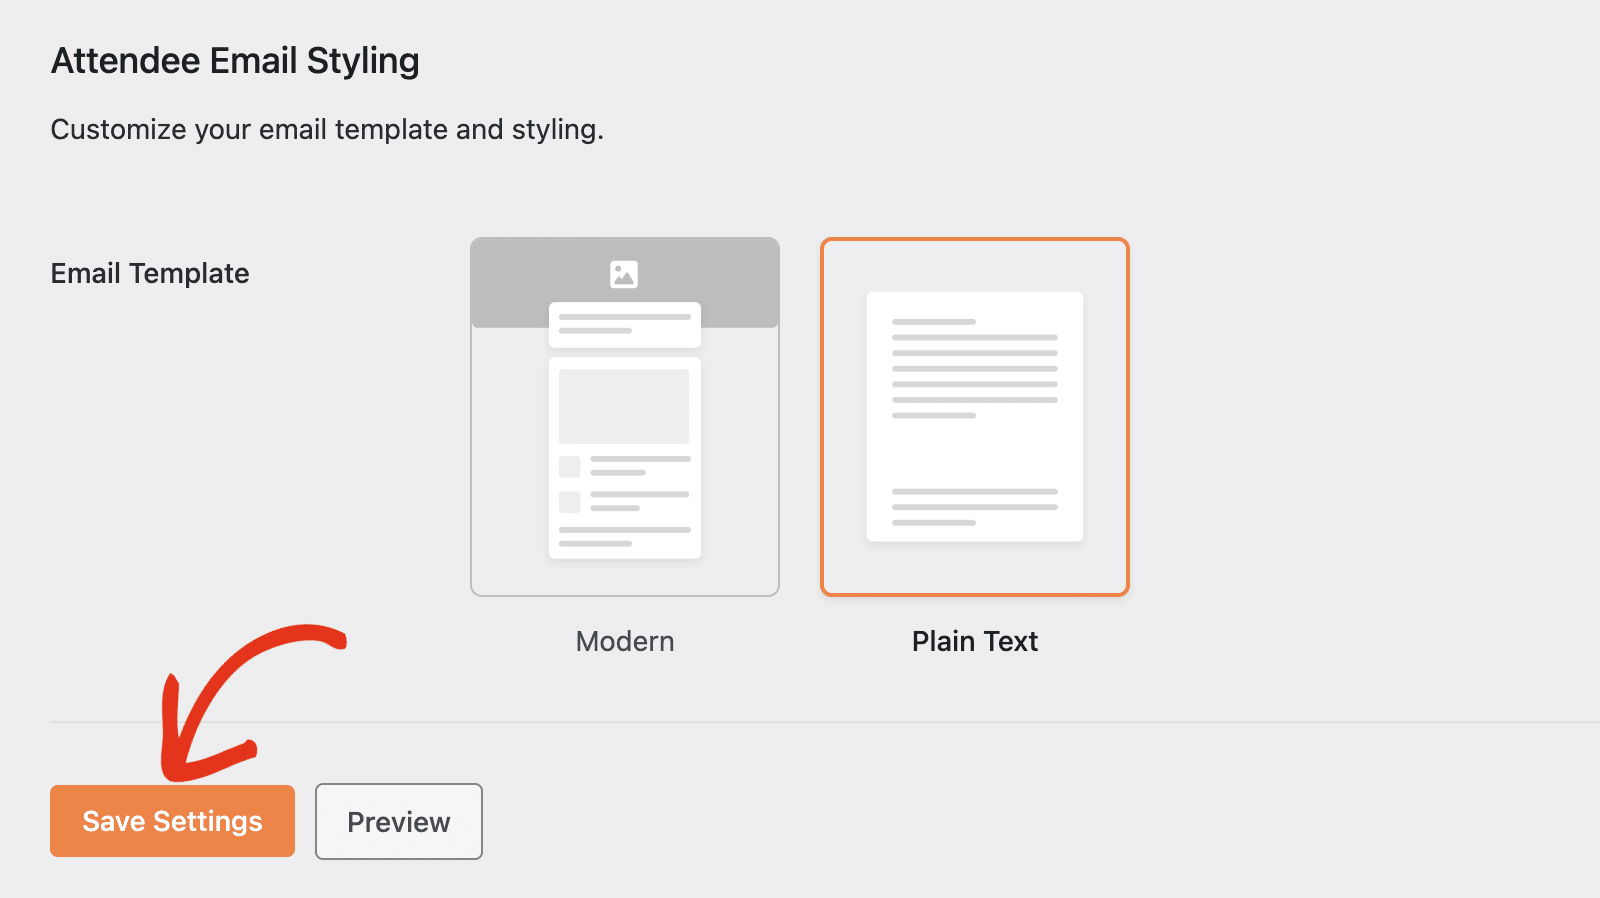
After updating the sender email details, scroll down and click the Save Settings button to save your changes.
Types of Emails to Configure
Below the sender settings, Sugar Calendar lists every email it sends, split into two groups: Configure Emails to Admin and Configure Emails to Attendees.
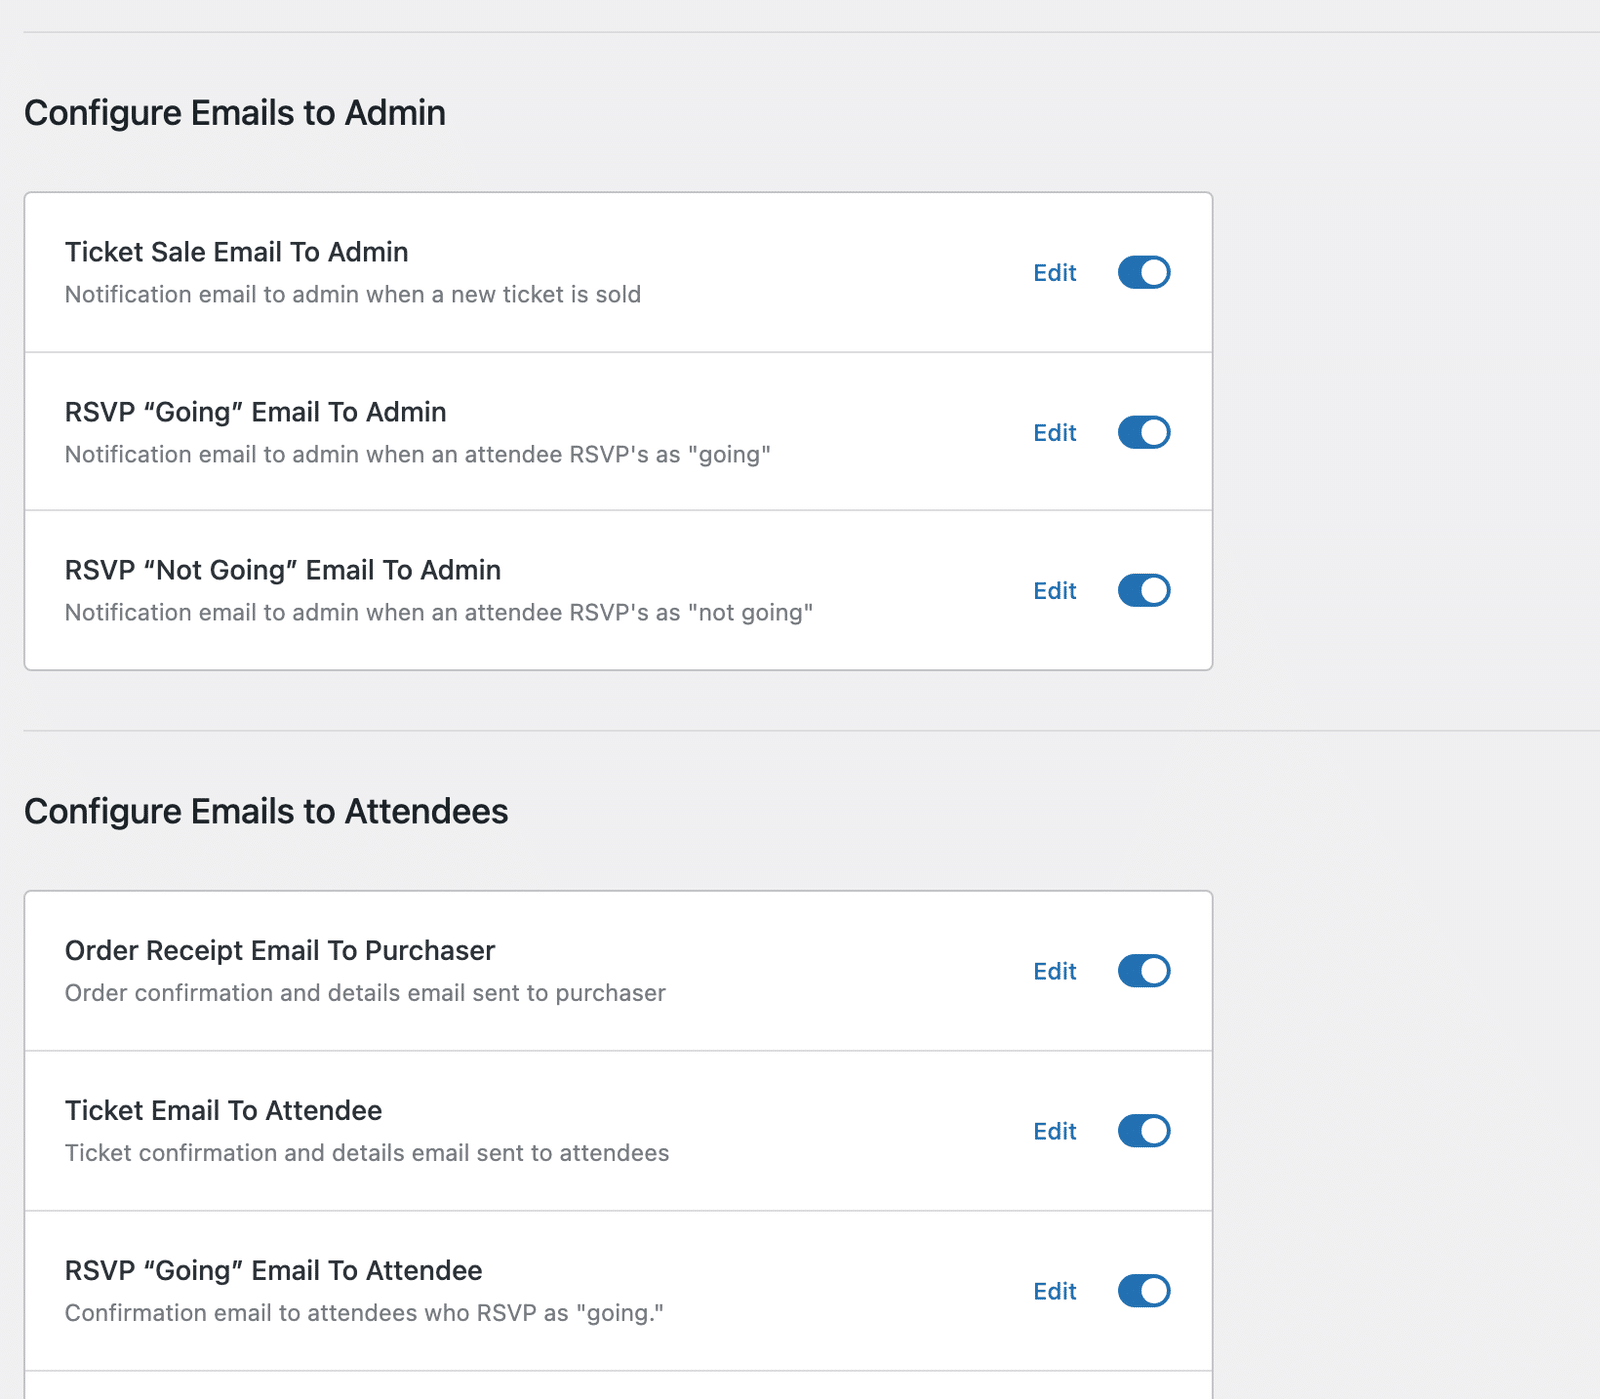
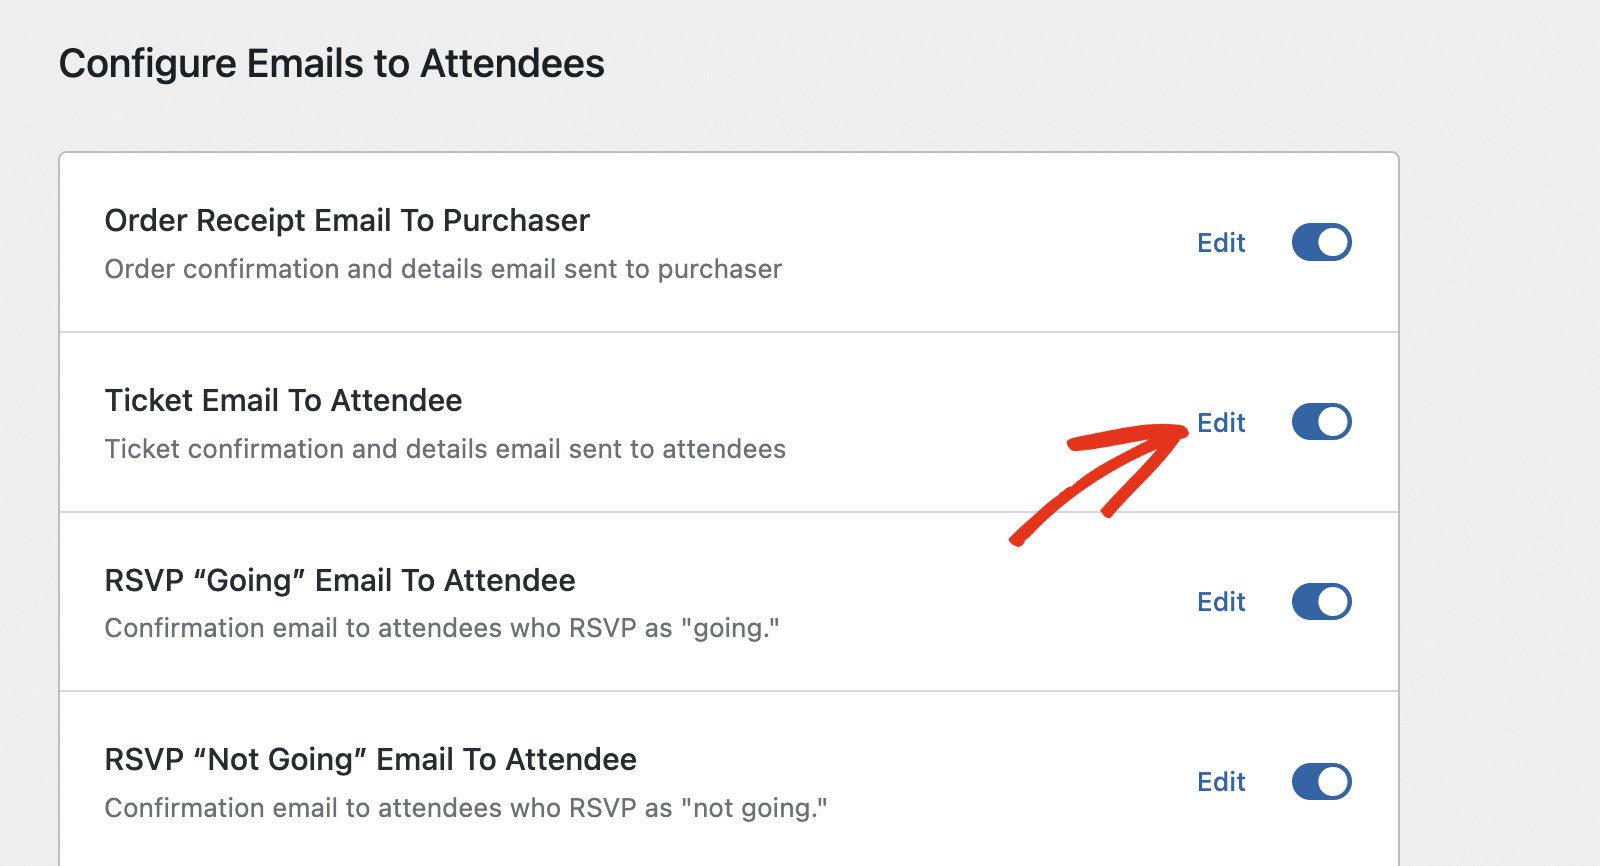
Each row carries an Edit link that opens the email for customizing, and a toggle that controls whether Sugar Calendar sends it.

Switching a row off stops that email from sending automatically. Manual resend actions, such as the Send Email row action on the Tickets screen, keep working either way.
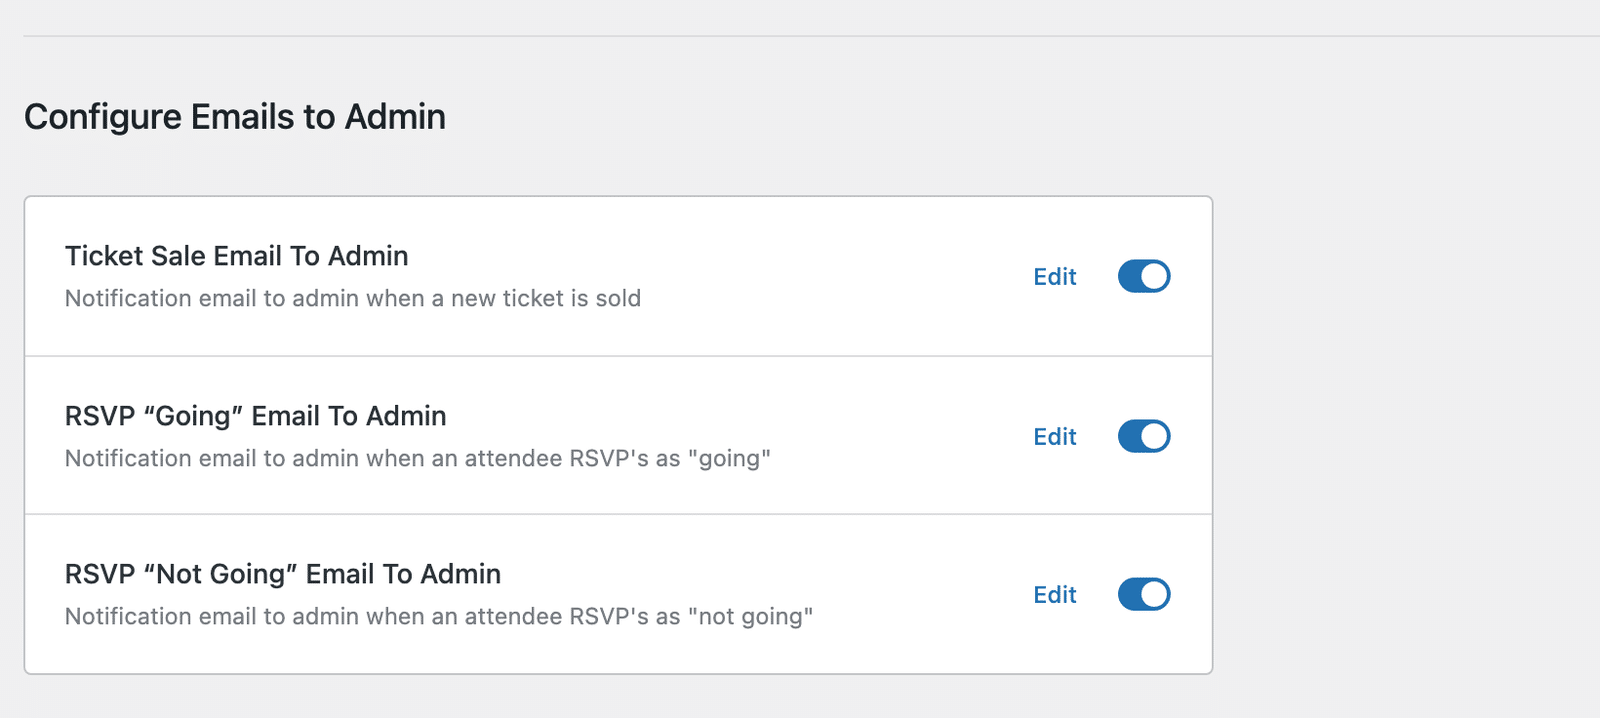
Configure Emails to Admin
This group holds notifications sent to your site’s administration email address, which WordPress stores under Settings » General:
- Ticket Sale Email To Admin: Notification email to admin when a new ticket is sold. Sugar Calendar sends one per completed order rather than one per ticket.
- RSVP “Going” Email To Admin: Notification email to admin when an attendee RSVPs as “going.”
- RSVP “Not Going” Email To Admin: Notification email to admin when an attendee RSVPs as “not going.”
Configure Emails to Attendees
This group holds the emails your attendees receive:
- Order Receipt Email To Purchaser: Order confirmation and details email sent to purchaser.
- Ticket Email To Attendee: Ticket confirmation and details email sent to attendees.
- RSVP “Going” Email To Attendee
- RSVP “Not Going” Email To Attendee
- Incomplete Registration Reminder
- Registration Confirmation
Styling Your Emails
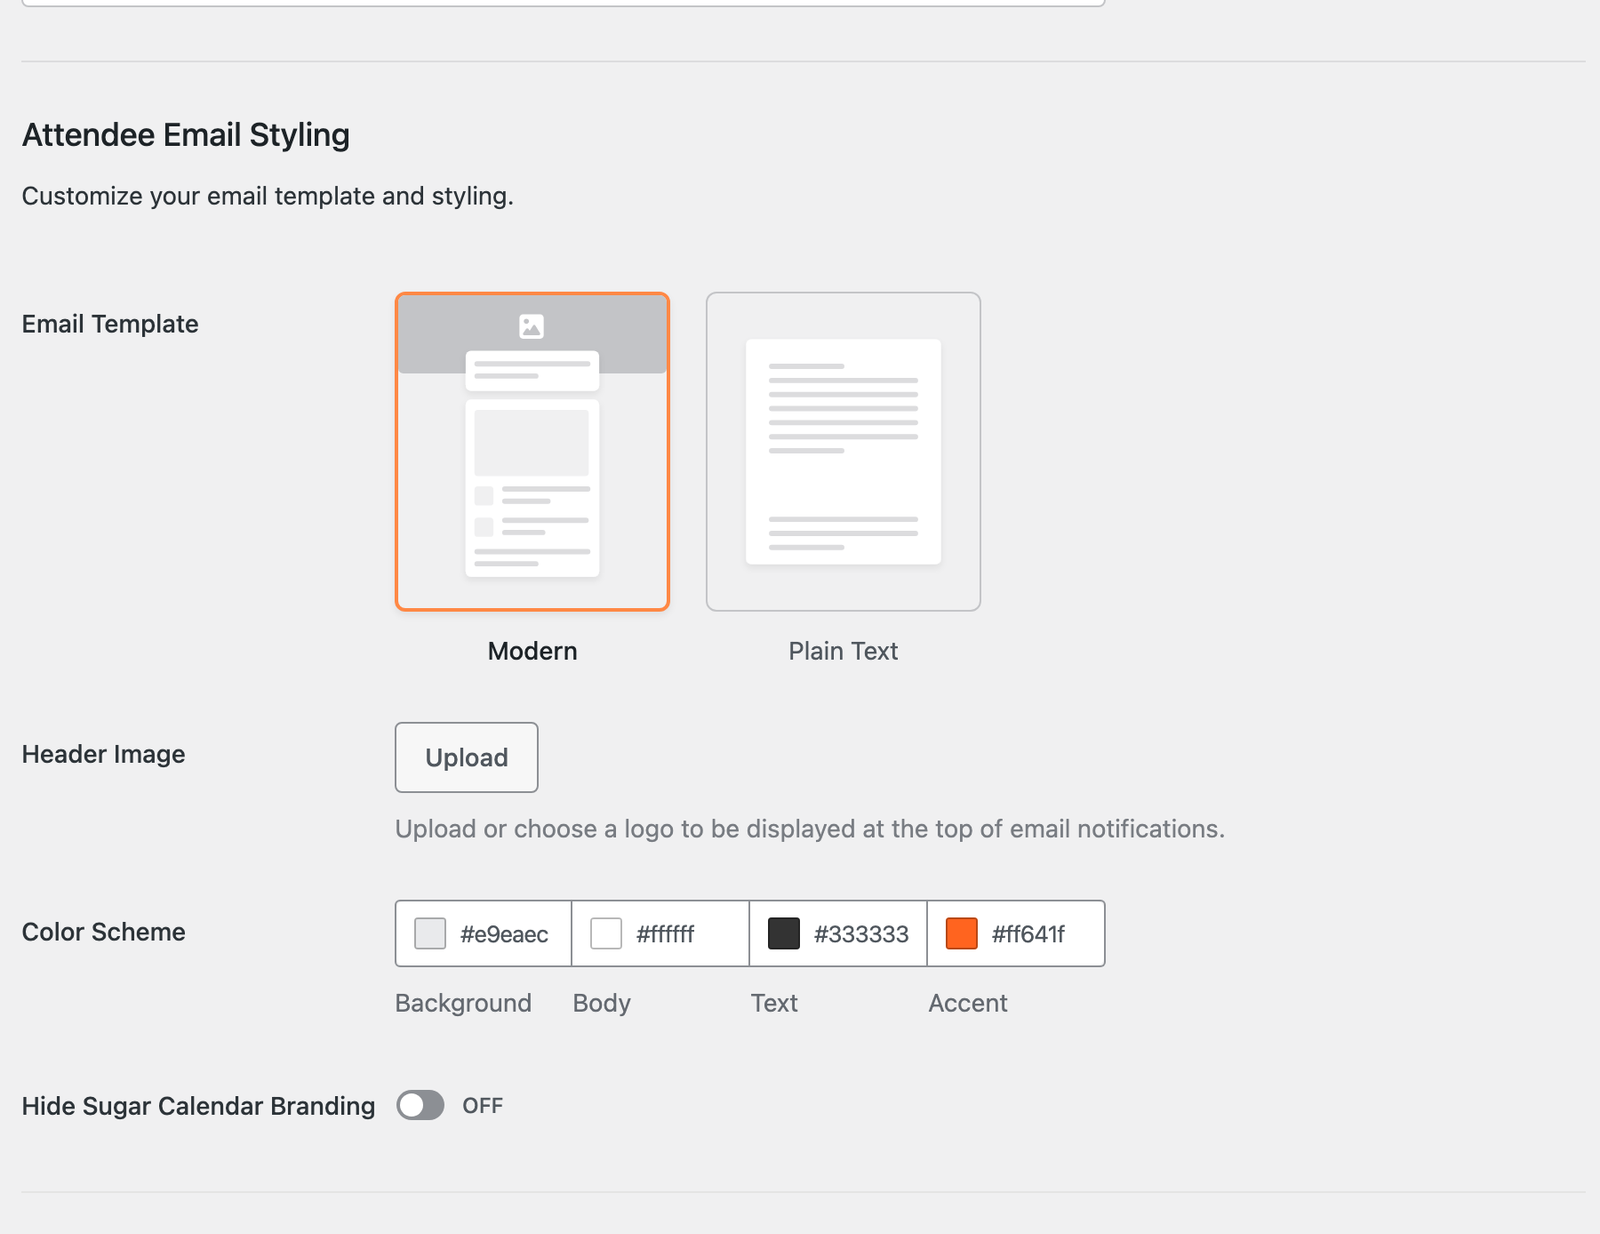
Underneath both email groups, the Attendee Email Styling section controls how your emails look. These settings apply to every attendee and admin notification at once, so you set your branding here one time rather than per email.
Choosing an Email Template
Pick a template under Email Template:
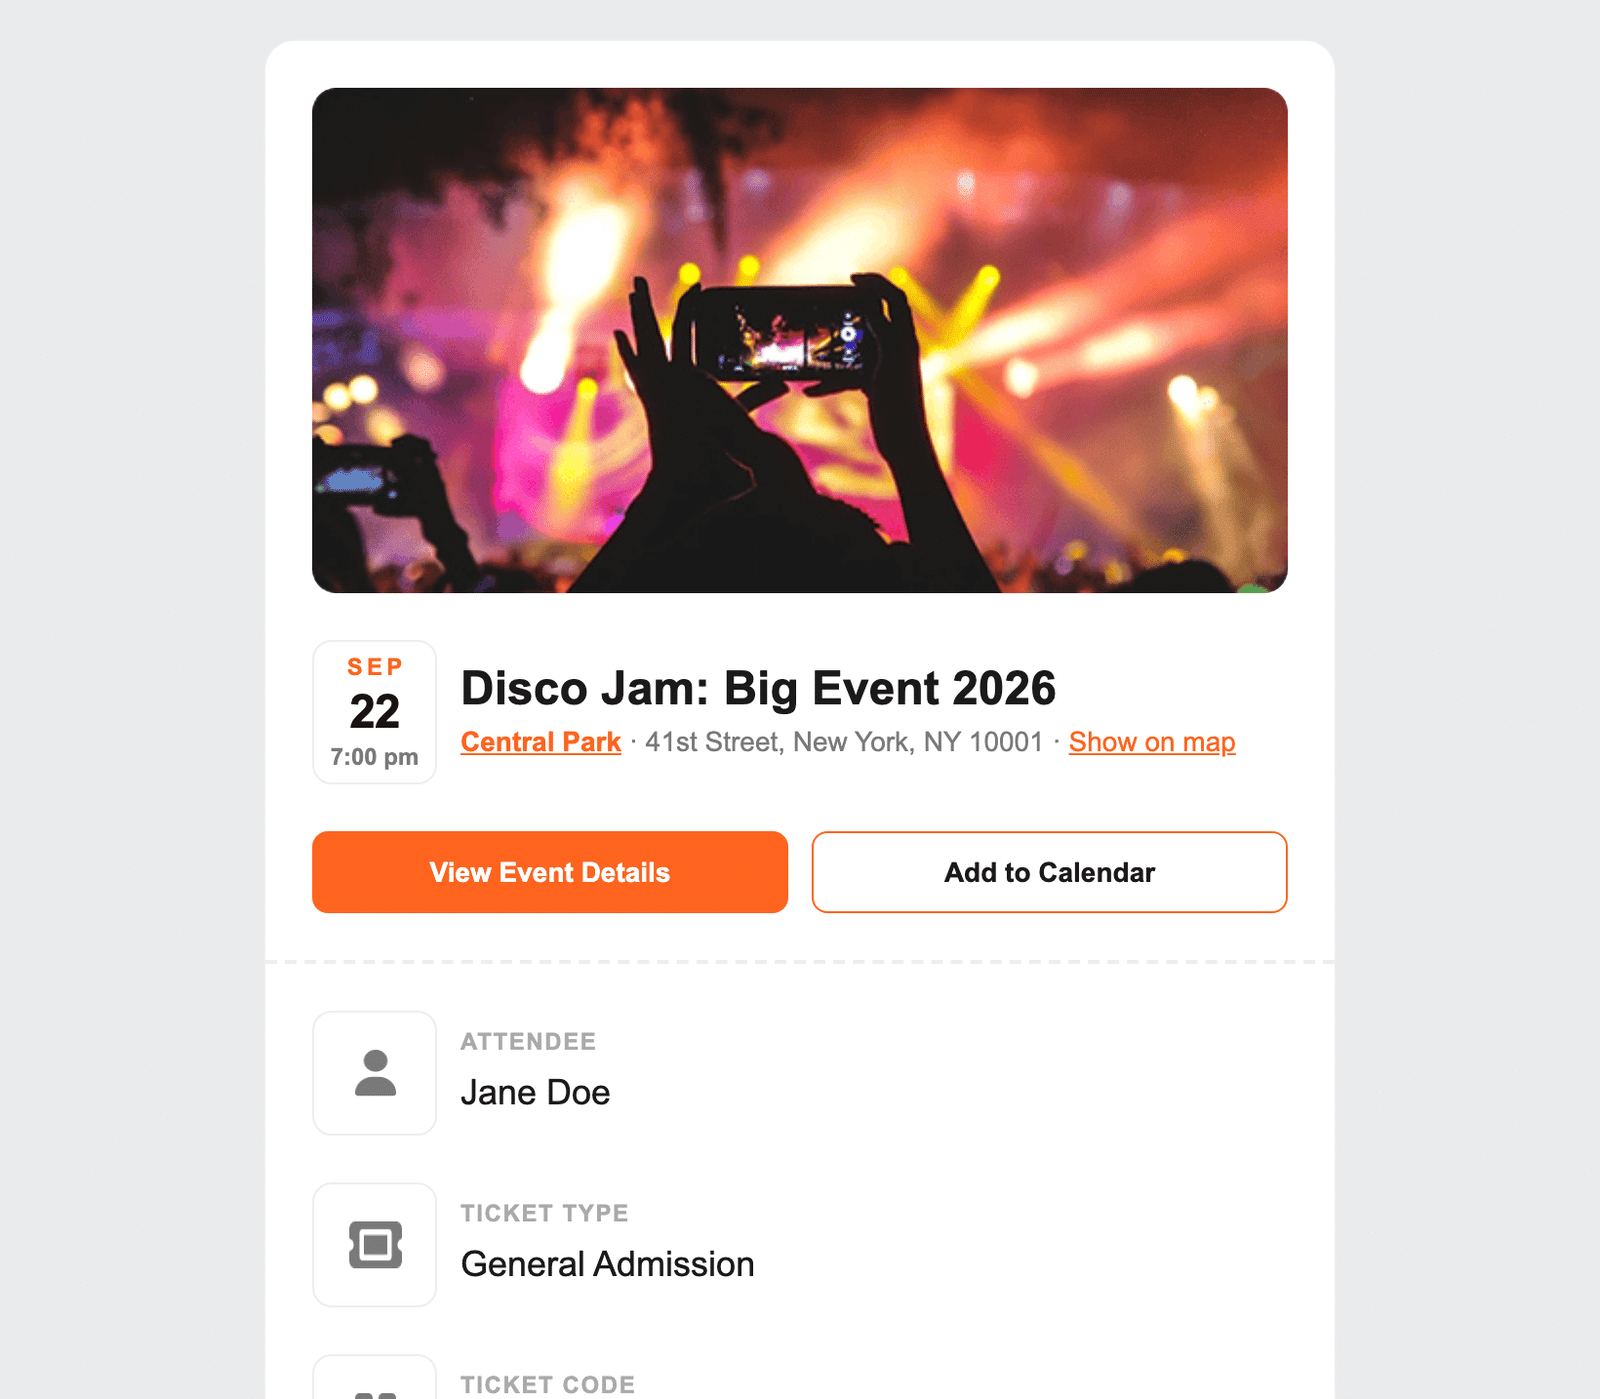
- Modern: A styled, responsive layout that presents the event and ticket details as a card, with your logo and colors applied.
- Plain Text: The original format, which sends your message without the styled wrapper.
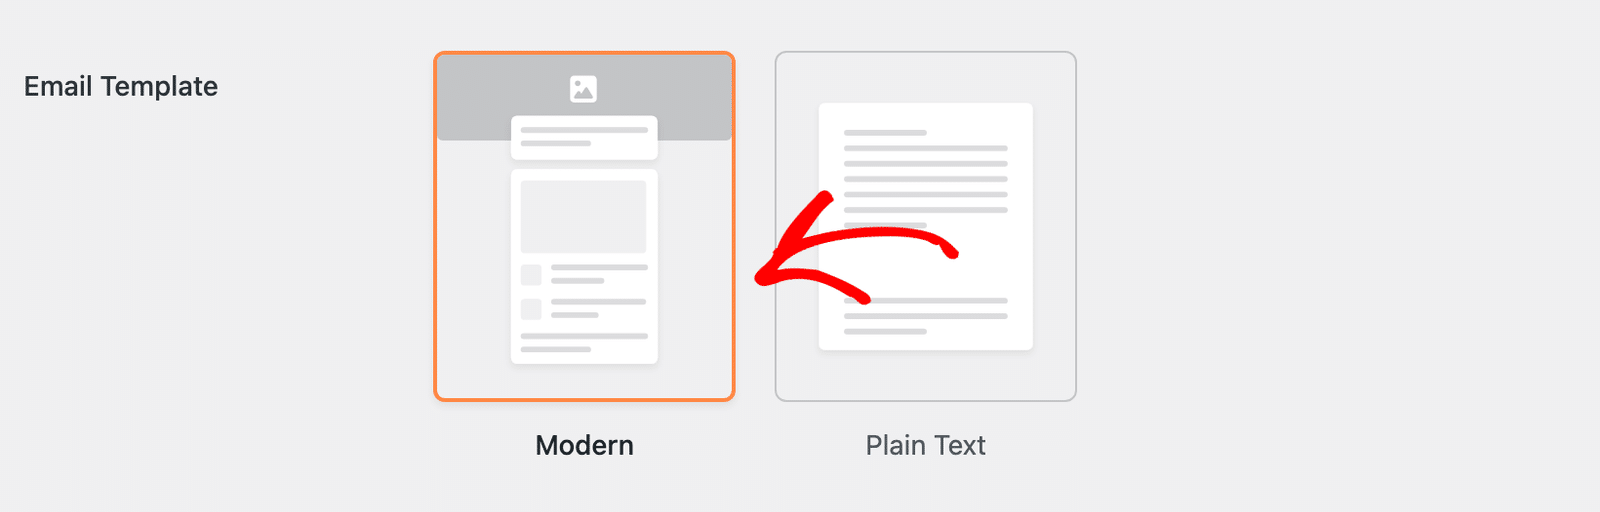
Selecting Plain Text hides the styling controls below, since they only apply to the Modern template.
Adding a Header Image
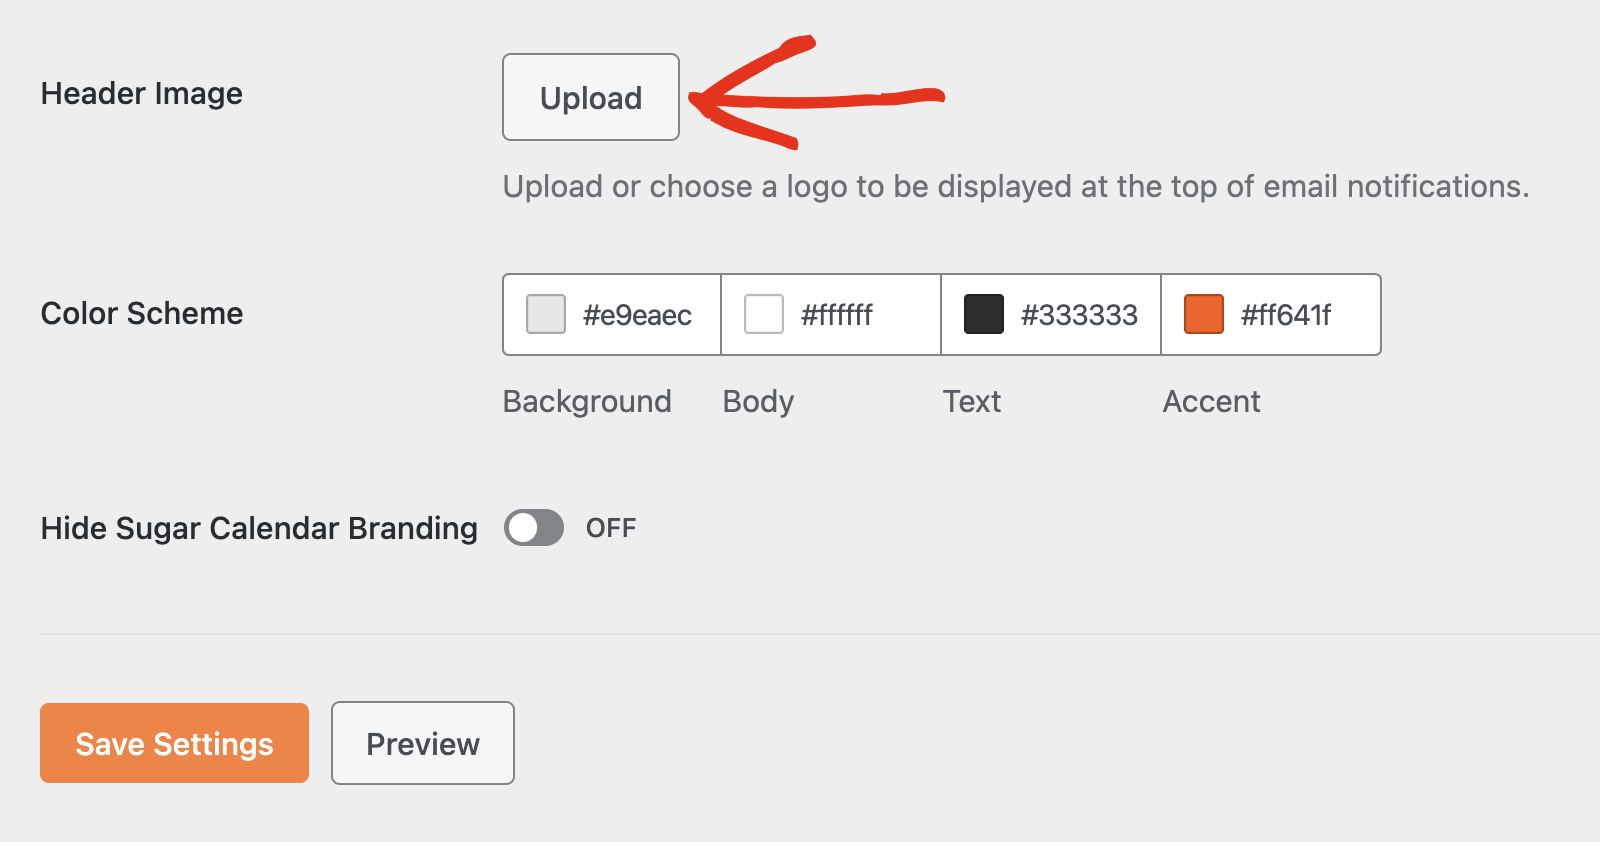
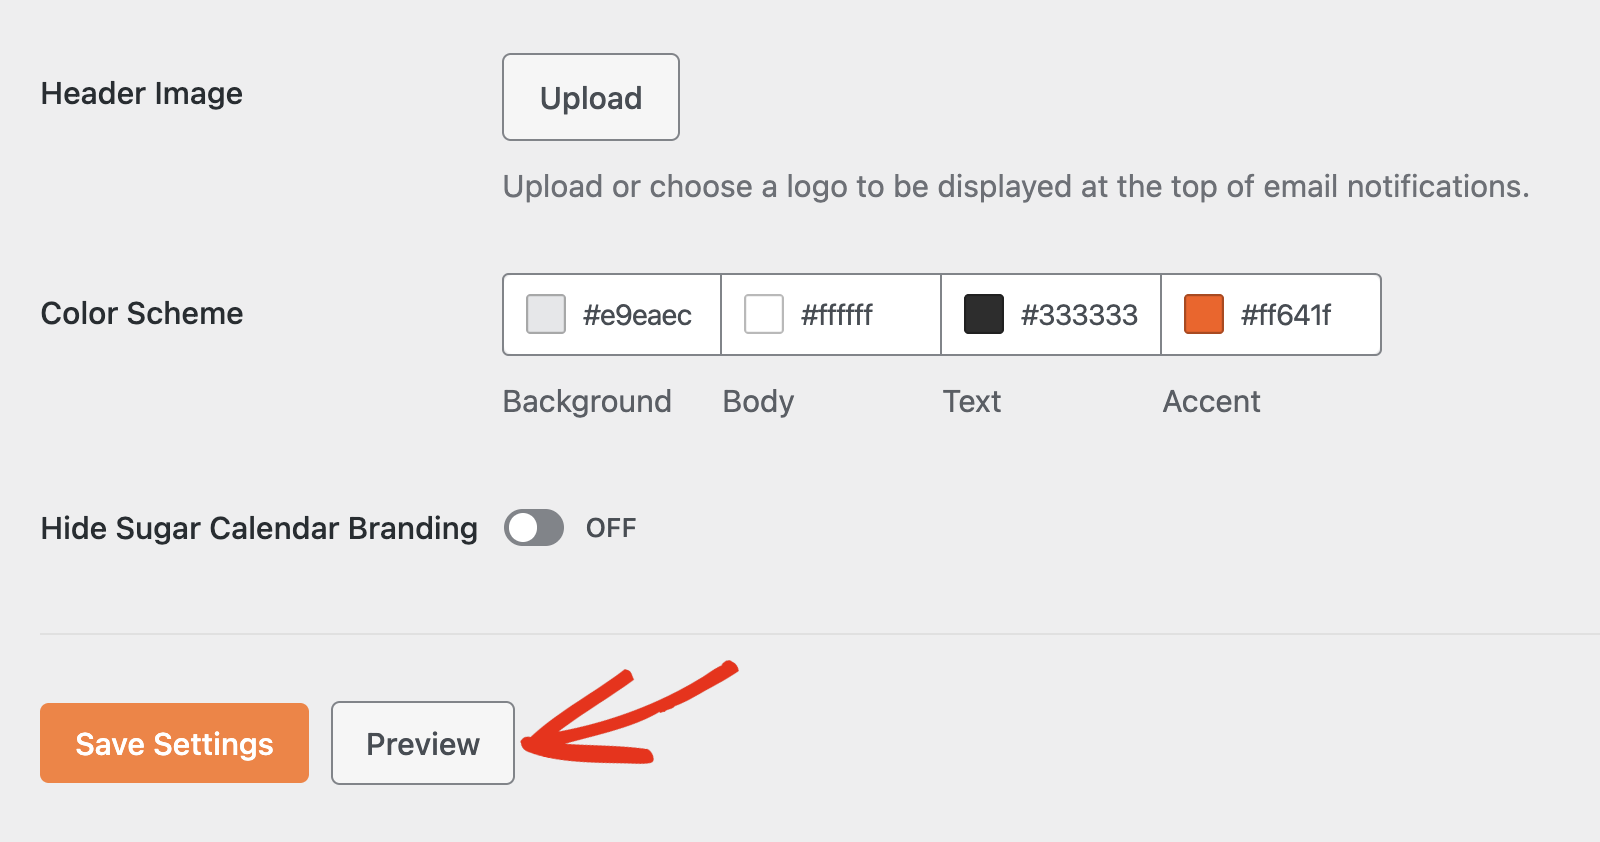
Use Header Image to upload or choose a logo that appears at the top of your email notifications. Then set Header image size to Small, Medium, or Large. Medium is the default.
Setting Your Colors
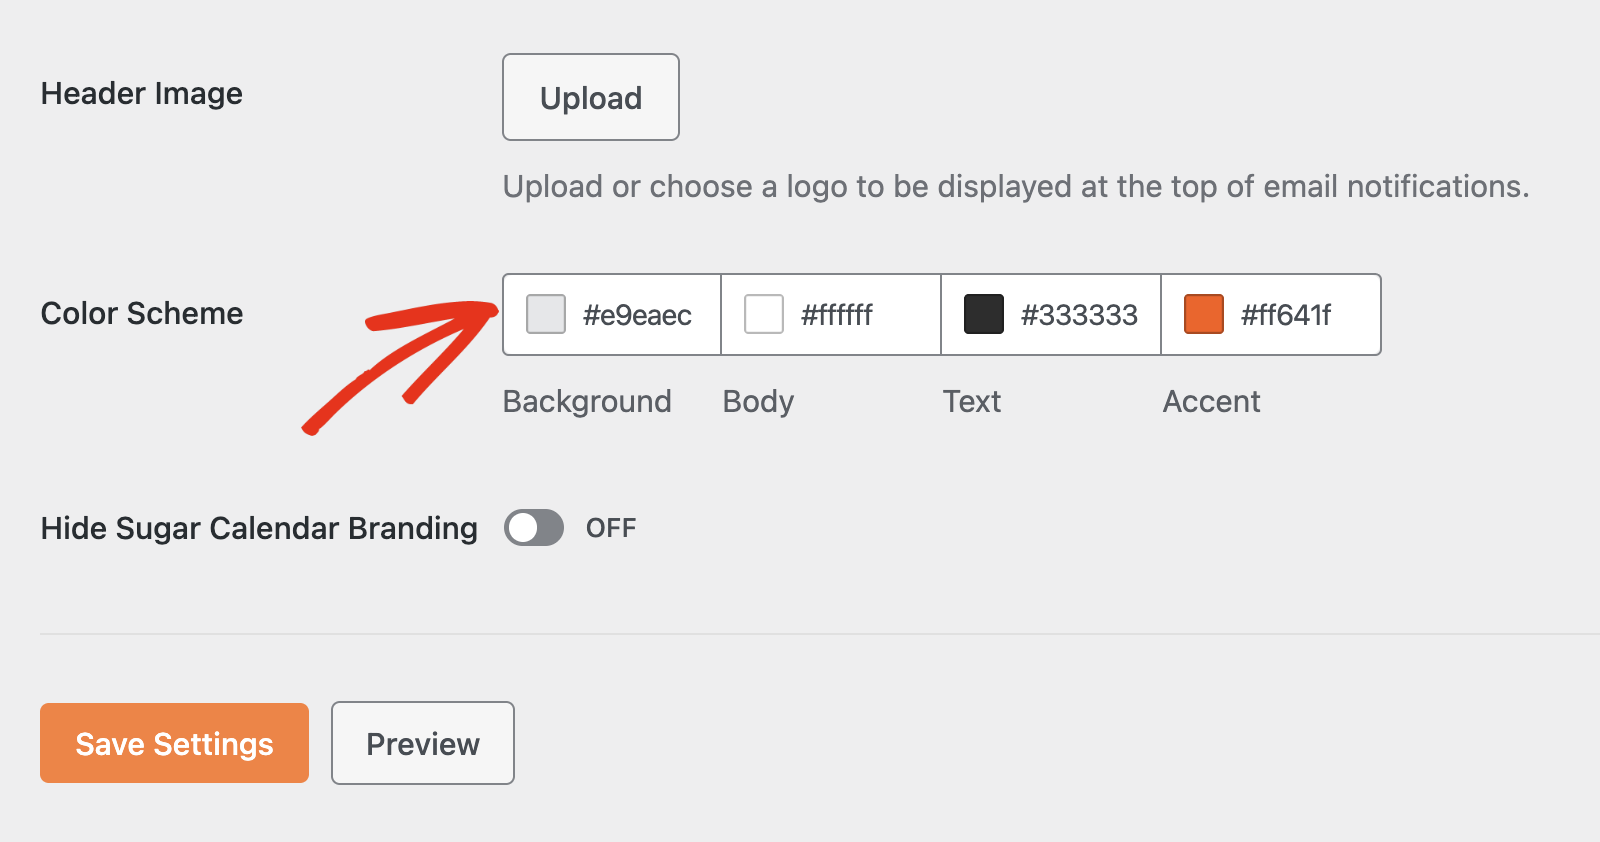
Color Scheme holds four colors that control the Modern template:
- Background: The area surrounding the email card. Defaults to
#e9eaec. - Body: The card itself. Defaults to
#ffffff. - Text: The message text. Defaults to
#333333. - Accent: Buttons and links. Defaults to
#ff641f.
Removing Sugar Calendar Branding
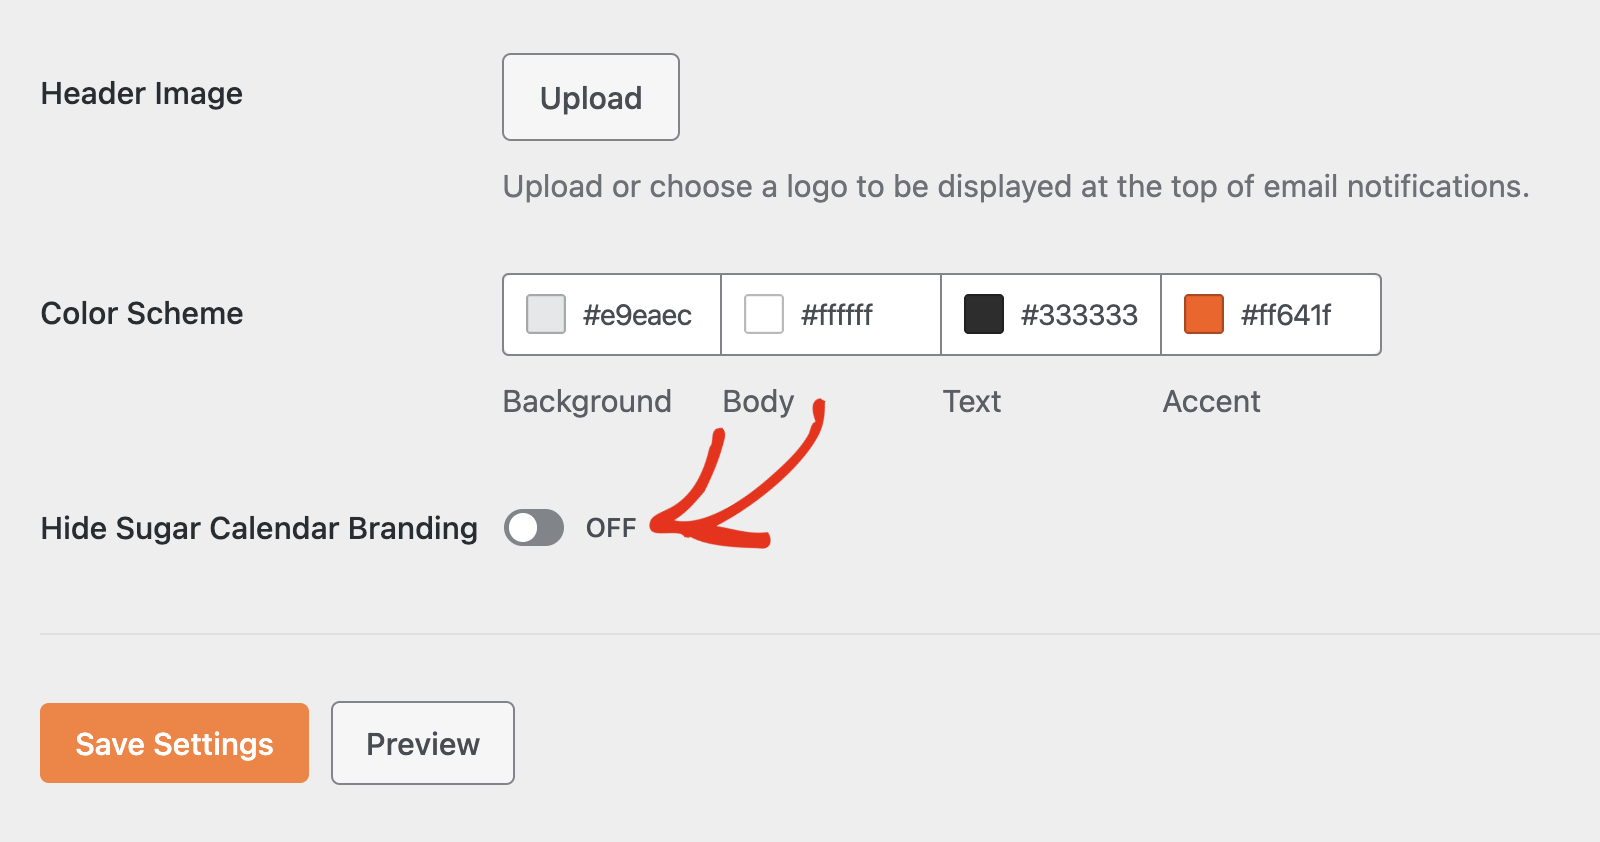
Switch Hide Sugar Calendar Branding on to remove the “Powered by” line from the email footer.
Customizing an Email
Click Edit on any row to open that email.
Every editor gives you the same three controls.
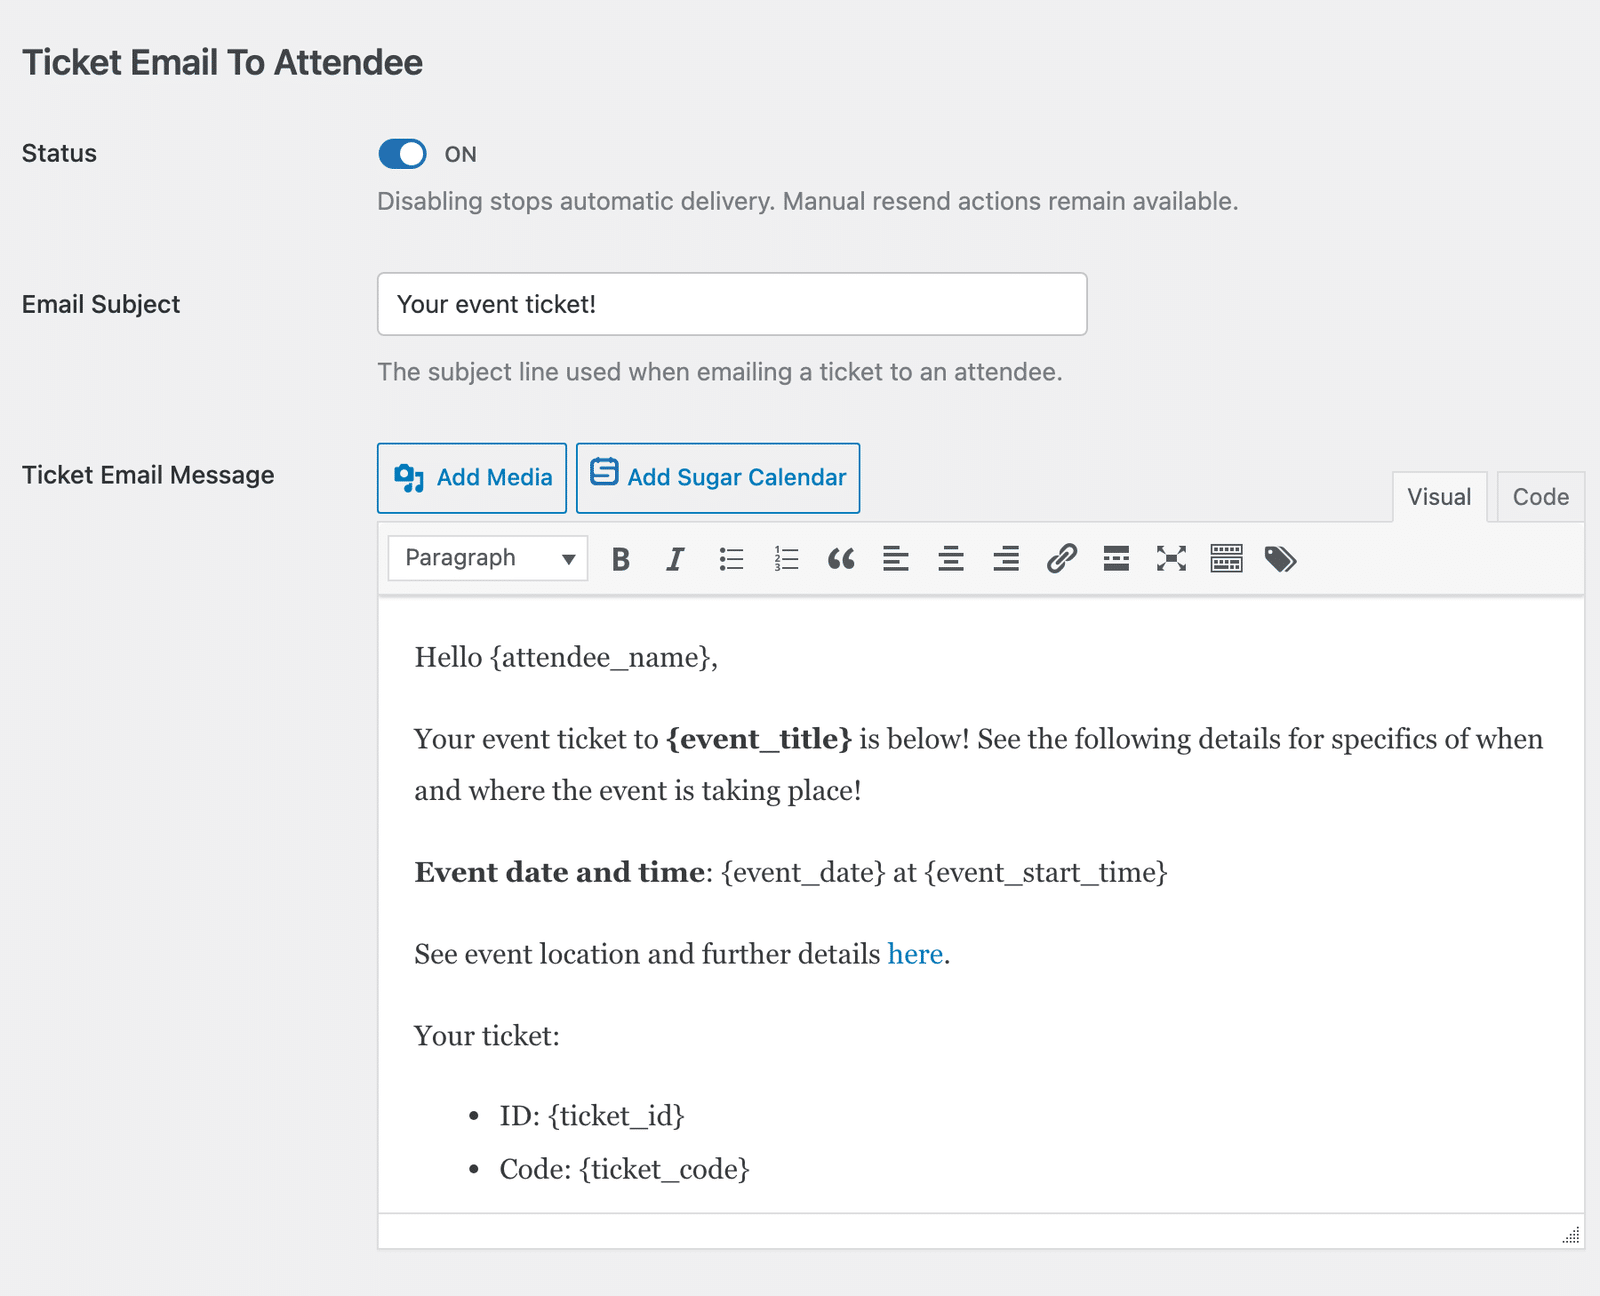
- Status: Switches the email on or off, the same toggle as the one on its row in the list.
- Email Subject: The line recipients see in their inbox.
- The message editor, labeled for the email you’re editing, such as Order Receipt Message. It handles content, formatting, links, and media the same way the WordPress post editor does.
Inserting Smart Tags
Smart tags pull live values into your email, such as the event title, the order total, or the attendee’s name.
To add one, place your cursor where you want the value, then click the Smart Tags icon at the right end of the editor toolbar.
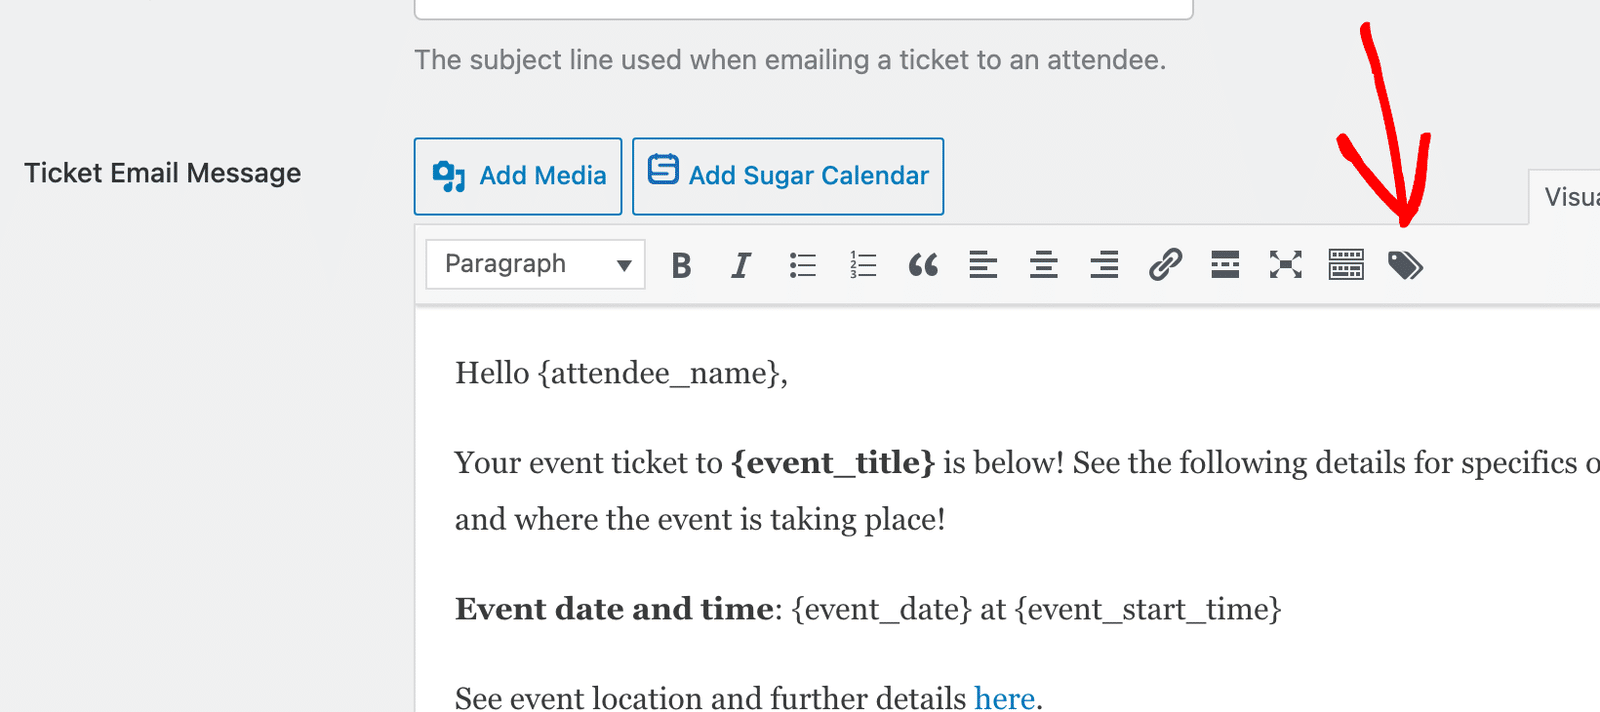
A dropdown opens with the tags grouped by type and a Search box at the top. Select a tag and Sugar Calendar inserts it at your cursor.
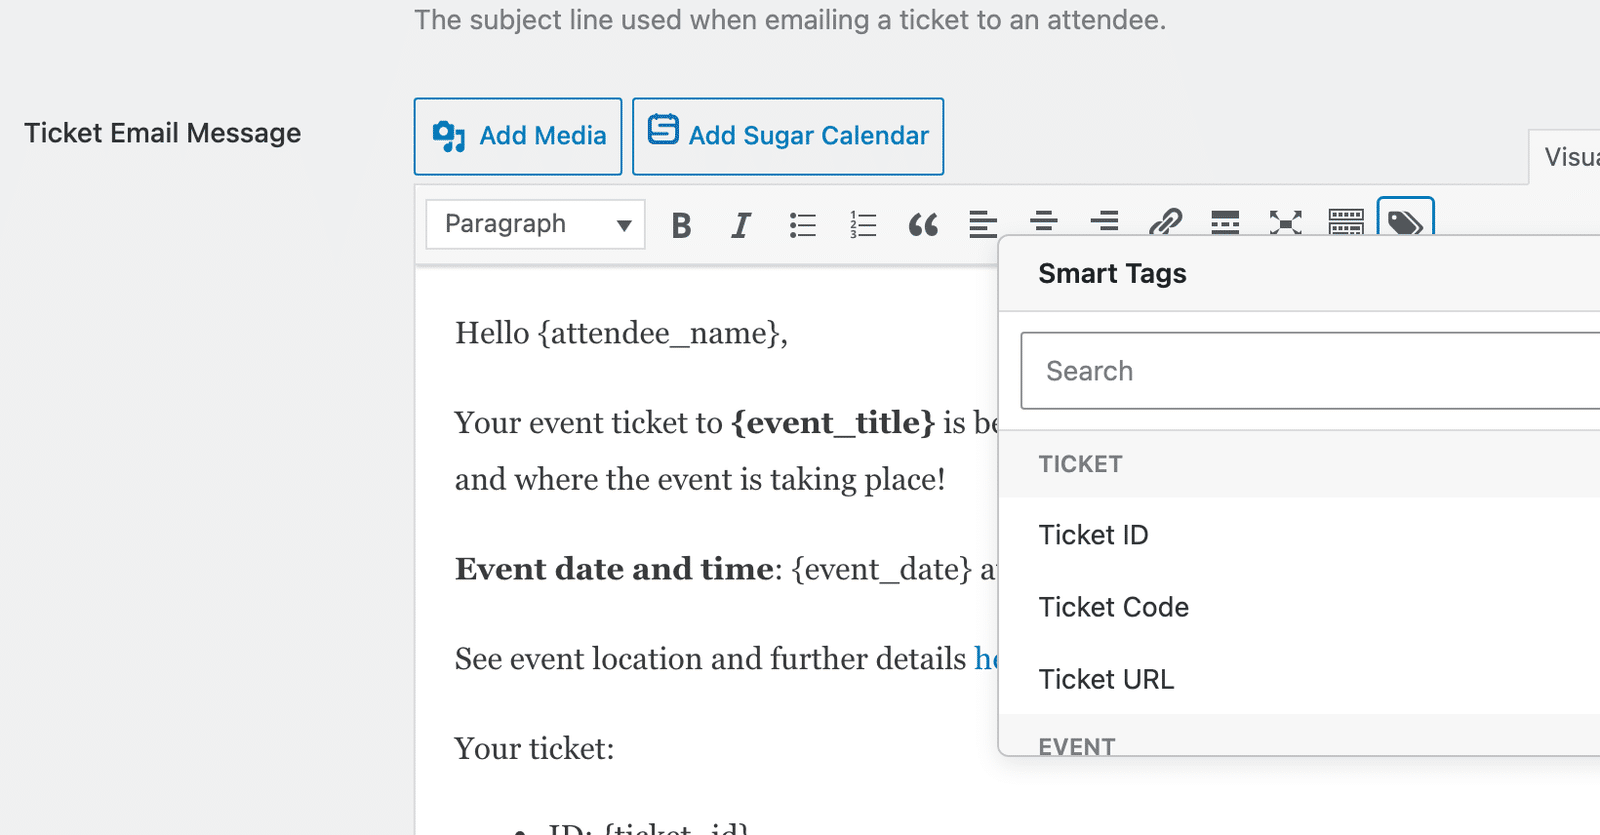
Each email offers the tags that make sense for it, so an order receipt exposes order tags while a ticket email exposes ticket and attendee tags.
Previewing an Email
Click Preview to open the email in a new tab with your current template, logo, and colors applied.
The preview reflects unsaved changes, so check your edits before you save. It fills the email with sample data and sends nothing to anyone.
Configuring Each Email
The sections below cover each email in turn, starting with the emails your attendees receive.
In This Article
Order Receipt Email To Purchaser
Sugar Calendar Events sends the Order Receipt Email to the purchaser immediately after they complete a ticket purchase.
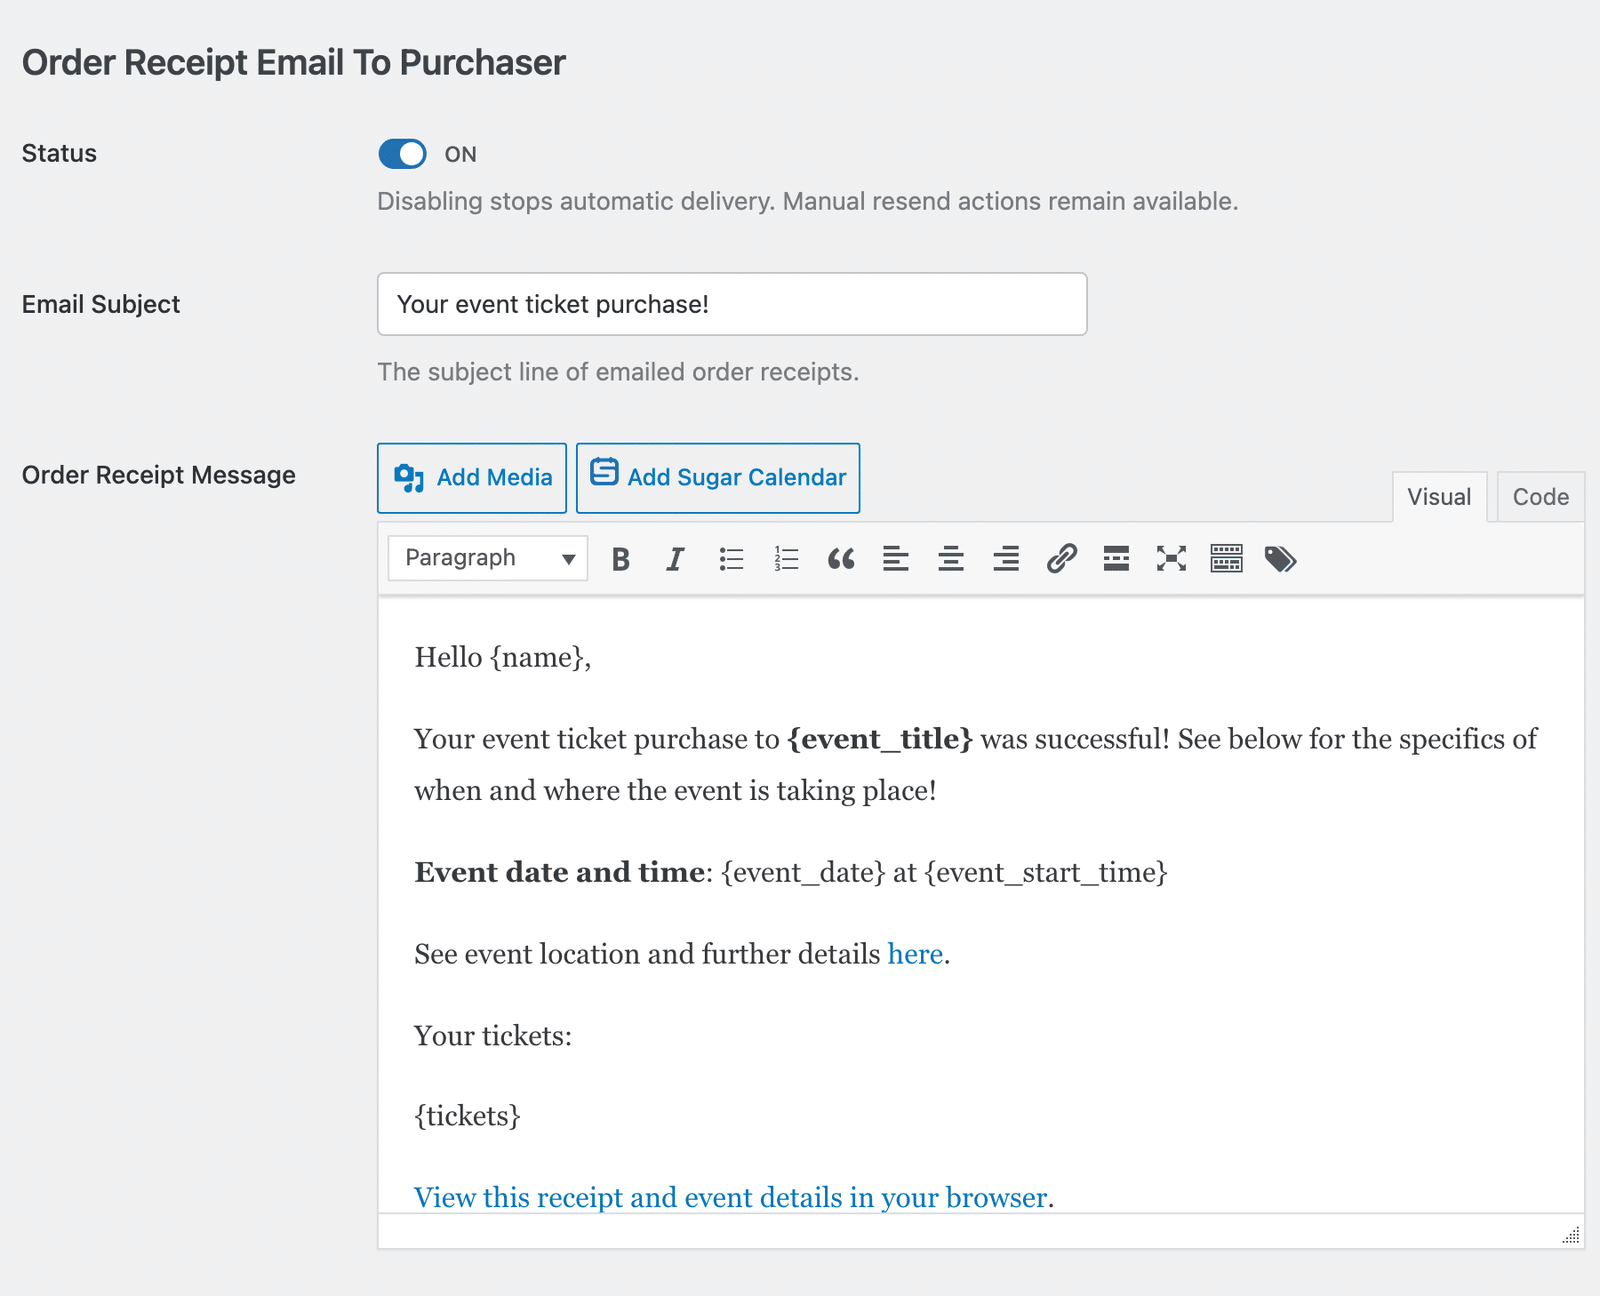
These smart tags are available in the message:
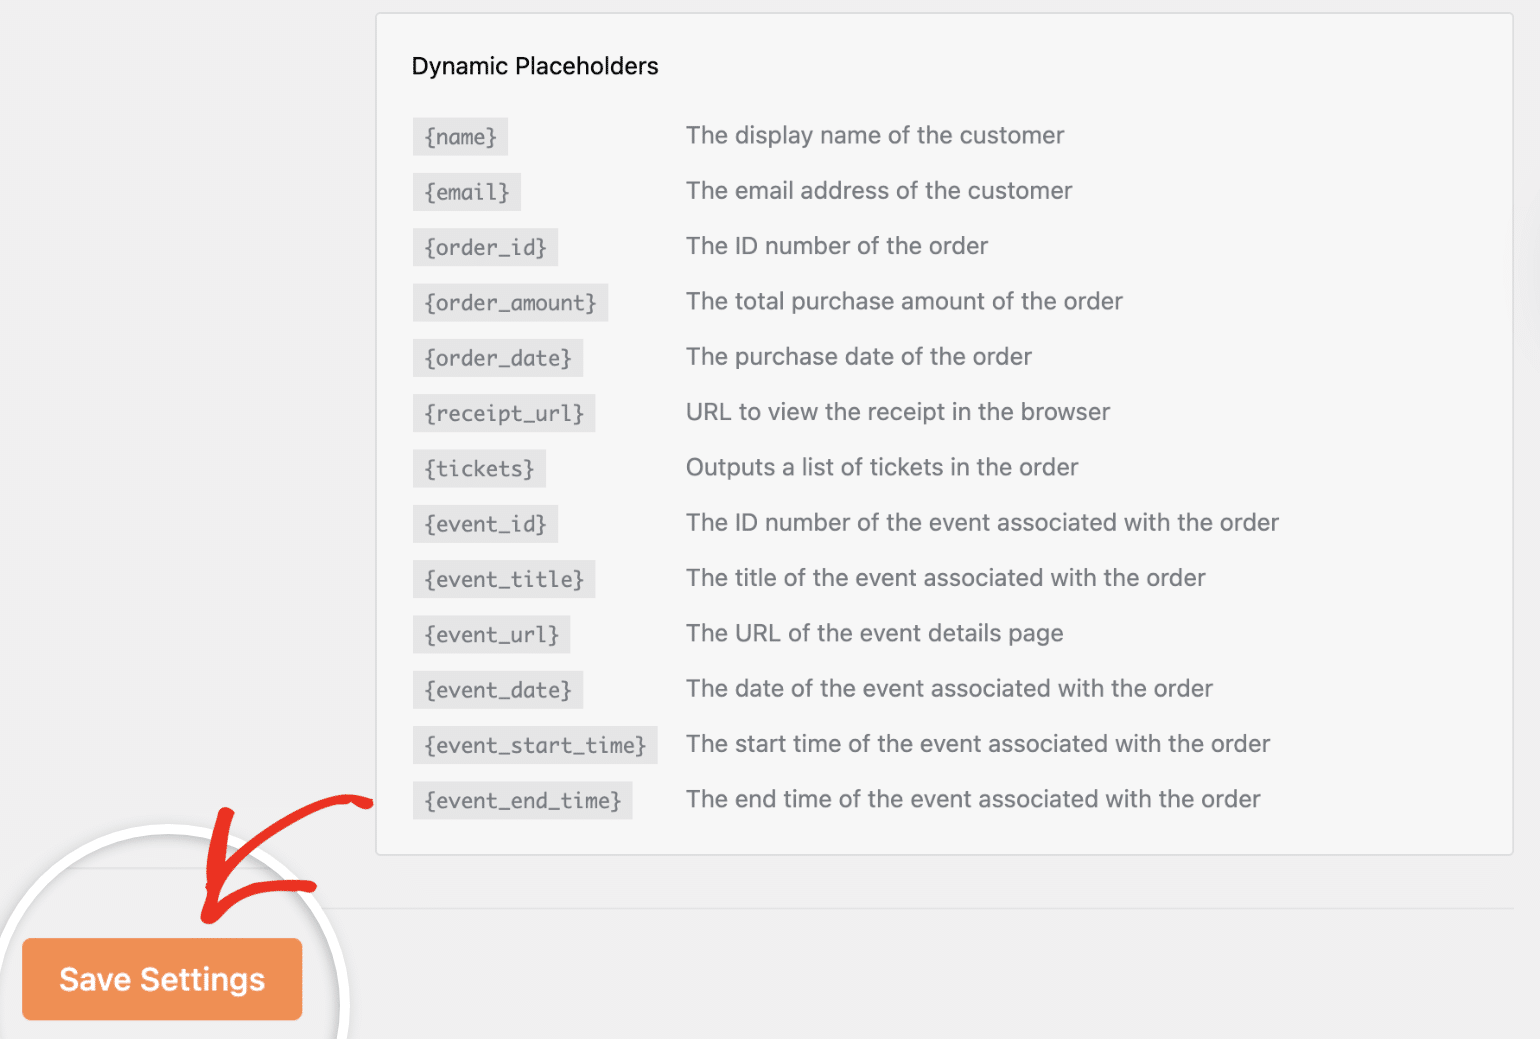
{name}: The display name of the customer{email}: The email address of the customer{order_id}: The ID number of the order{order_amount}: The total purchase amount of the order{order_date}: The purchase date of the order{receipt_url}: URL to view the receipt in the browser{tickets}: Outputs a list of tickets in the order{event_id}: The ID number of the event associated with the order{event_title}: The title of the event related to the order{event_url}: The URL of the event details page{event_date}: The date of the event related to the order{event_start_time}: The start time of the event related to the order{event_end_time}: The end time of the event related to the order
After updating the email template, scroll down and save your changes before proceeding.
Ticket Email To Attendee
Sugar Calendar sends the Ticket Email to each attendee with their individual ticket information.
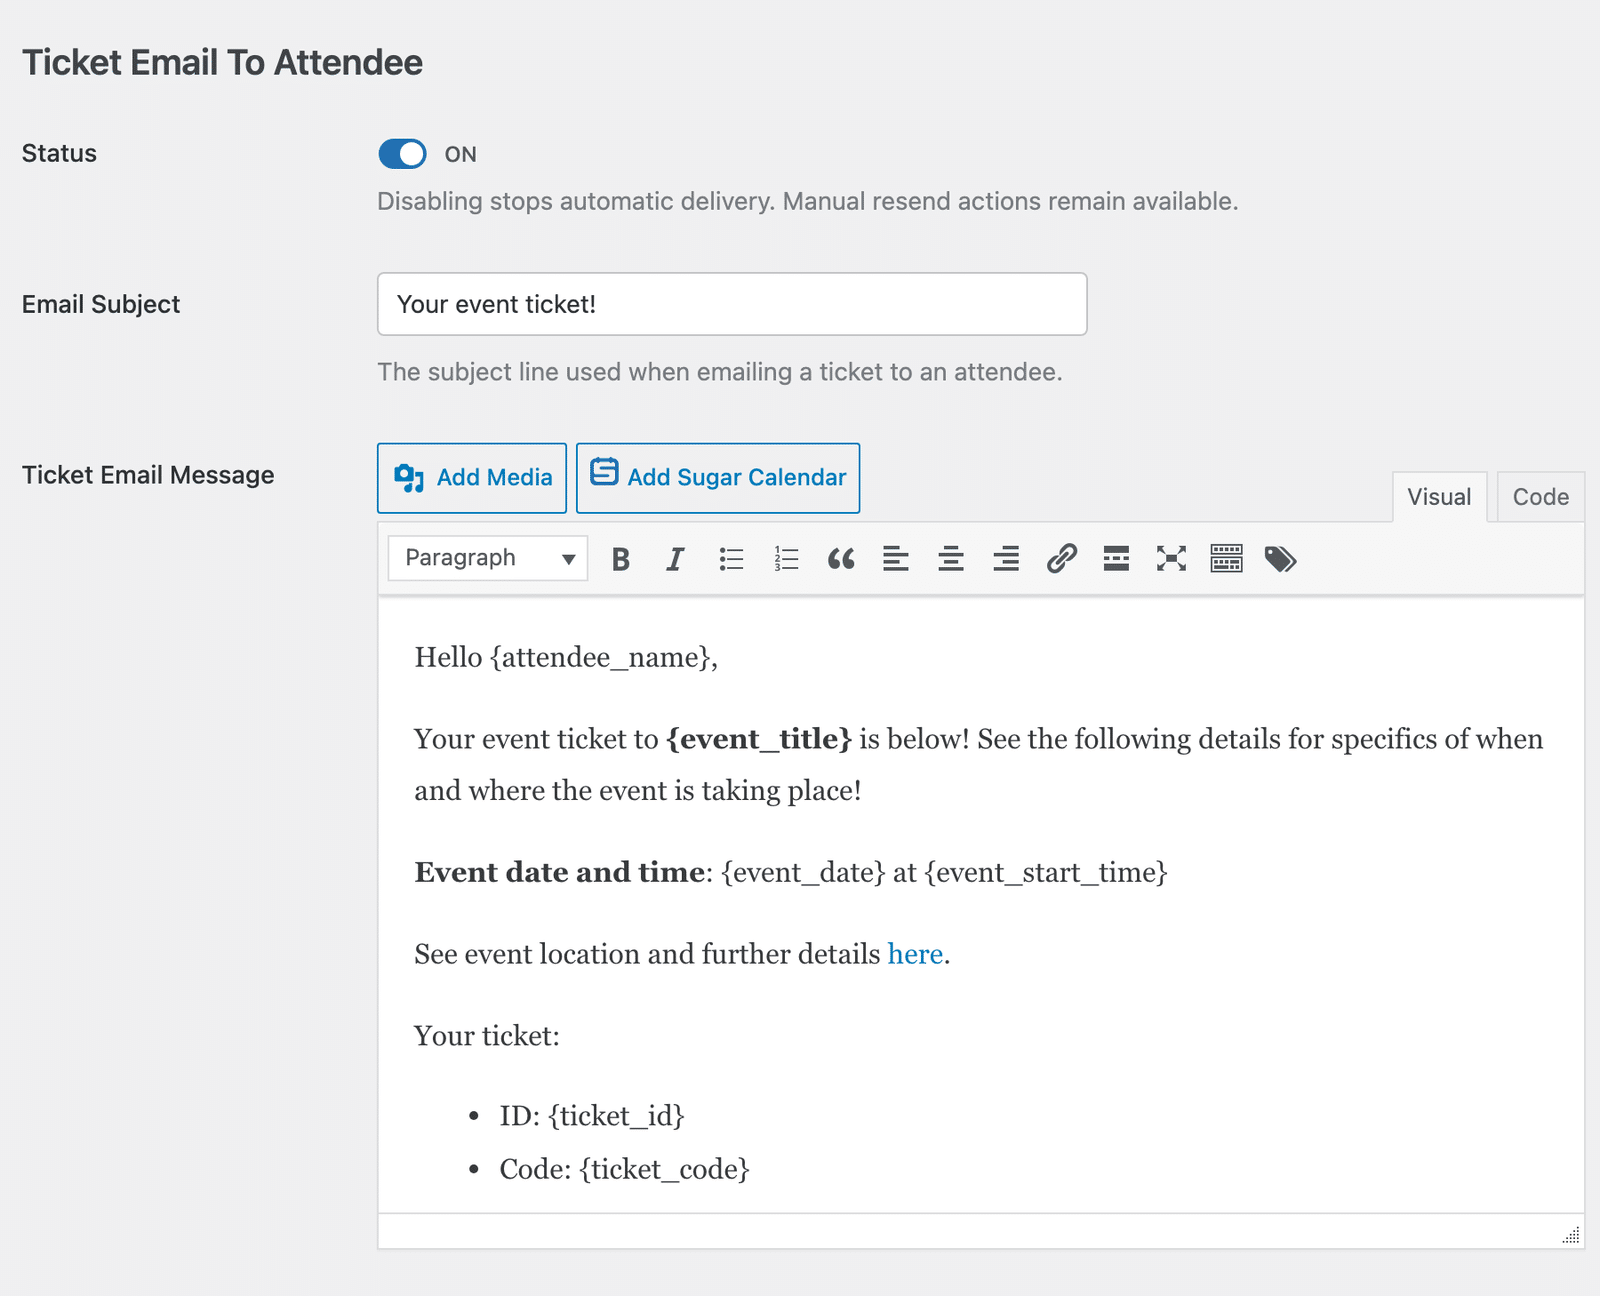
Attendee email addresses only reach Sugar Calendar when you switch on Attendee Information is Required under Events » Settings » Payments.
Without it, tickets have no attendee to send to, so the automatic delivery skips them, and you send tickets manually from the Tickets screen.
By default the message includes the {ticket_id}, {ticket_code}, and {ticket_url} tags. These are the tags available:
{ticket_id}: The ticket ID number{ticket_code}: The ticket code{ticket_url}: The URL to the ticket details{event_id}: The ID number of the event associated with the order{event_title}: The title of the event associated with the order{event_url}: The URL of the event details page{event_date}: The date of the event associated with the order{event_start_time}: The start time of the event associated with the order{event_end_time}: The end time of the event associated with the order{attendee_name}: The name of the attendee assigned to a ticket, if provided{attendee_email}: The email of the attendee assigned to a ticket, if provided
After updating the email template, scroll down and save your changes before proceeding.
RSVP “Going” Email To Attendee
If a user RSVPs as “Going” to an event, they’ll receive a confirmation email with all the event details.
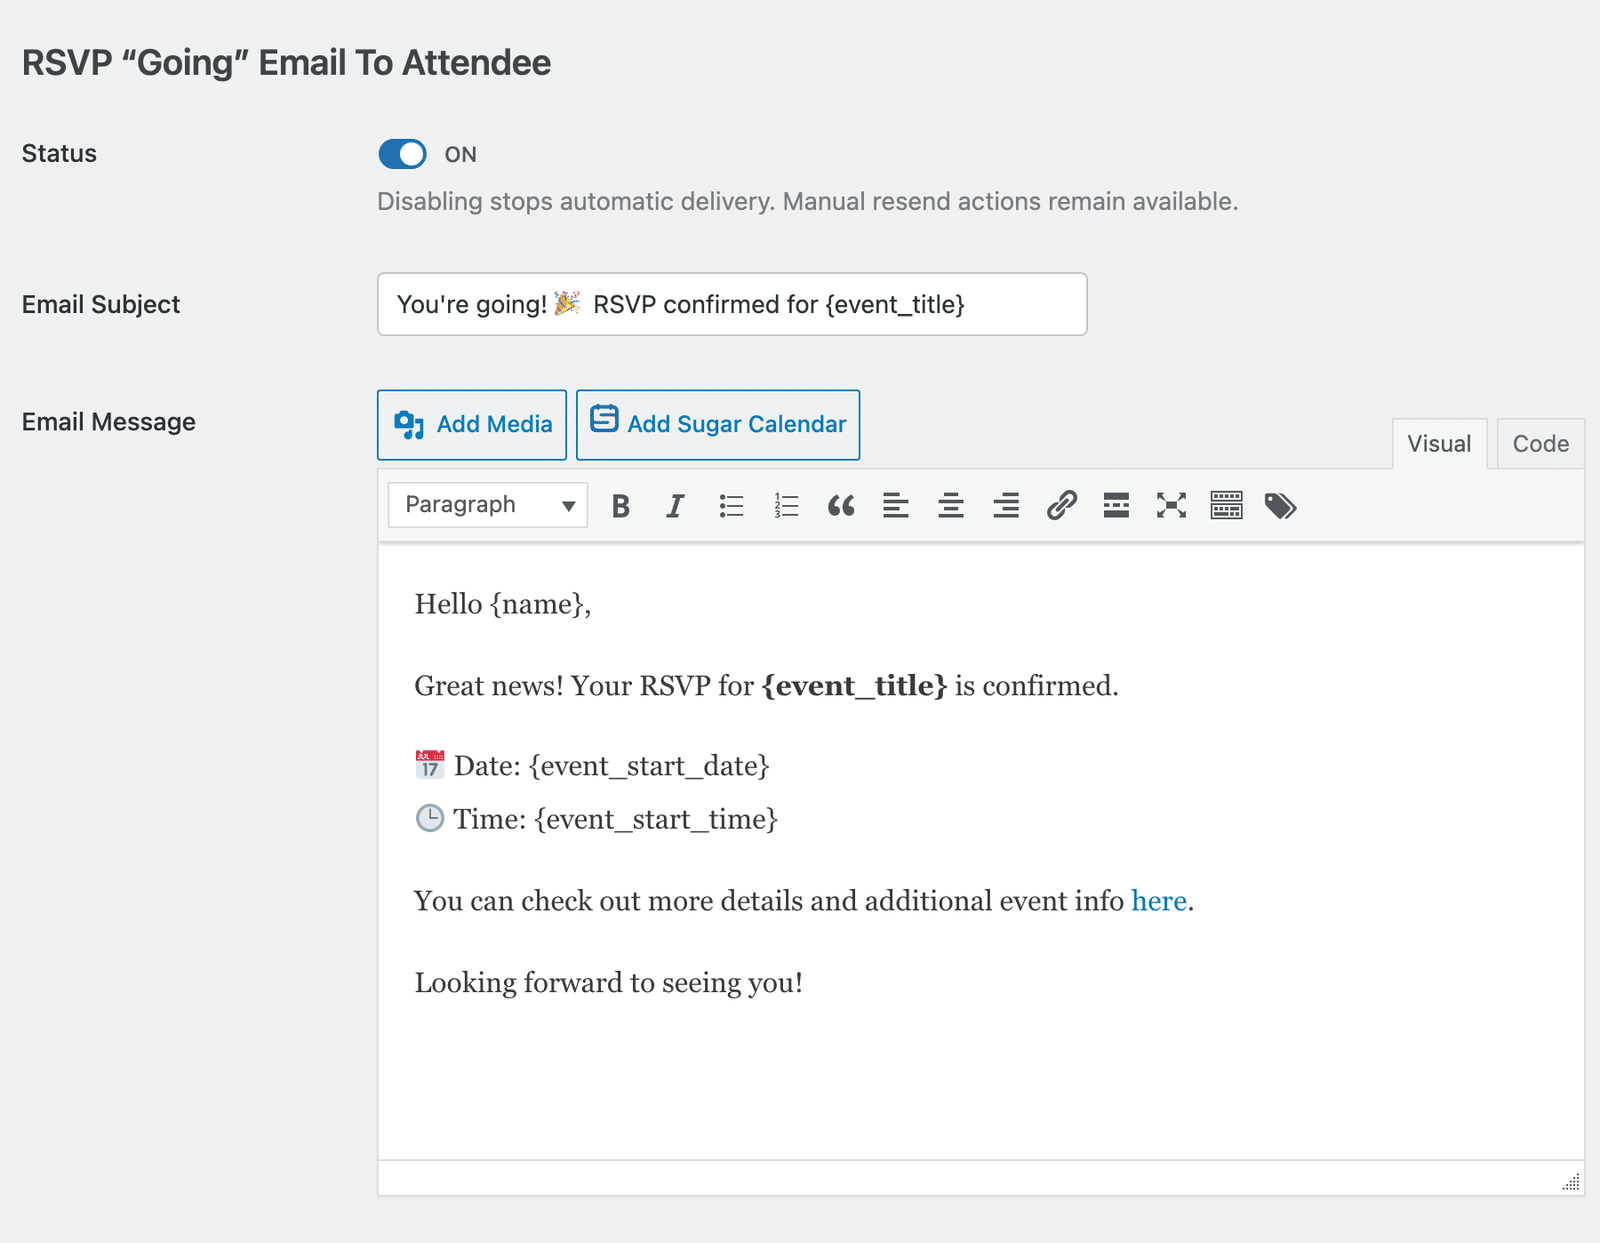
In the Message field, customize the email content for the RSVP confirmation email. It also uses smart tags to render details about the event to which users RSVP.
These tags are available in the email content:
{name}: The Registree Name{email}: The Registree Email{event_id}: The Event ID{event_title}: The Event Title{event_url}: The Event URL{event_start_date}: The Event Start Date{event_end_date}: The Event End Date{event_start_time}: The Event Start Time{event_end_time}: The Event End Time{additional_attendees_list}: The Additional Attendees List (if applicable)
After updating the email template, scroll down and save your changes before proceeding.
RSVP “Not Going” Email To Attendee
Attendees who mark themselves as “Not Going” receive a farewell message that invites them to change their RSVP later.
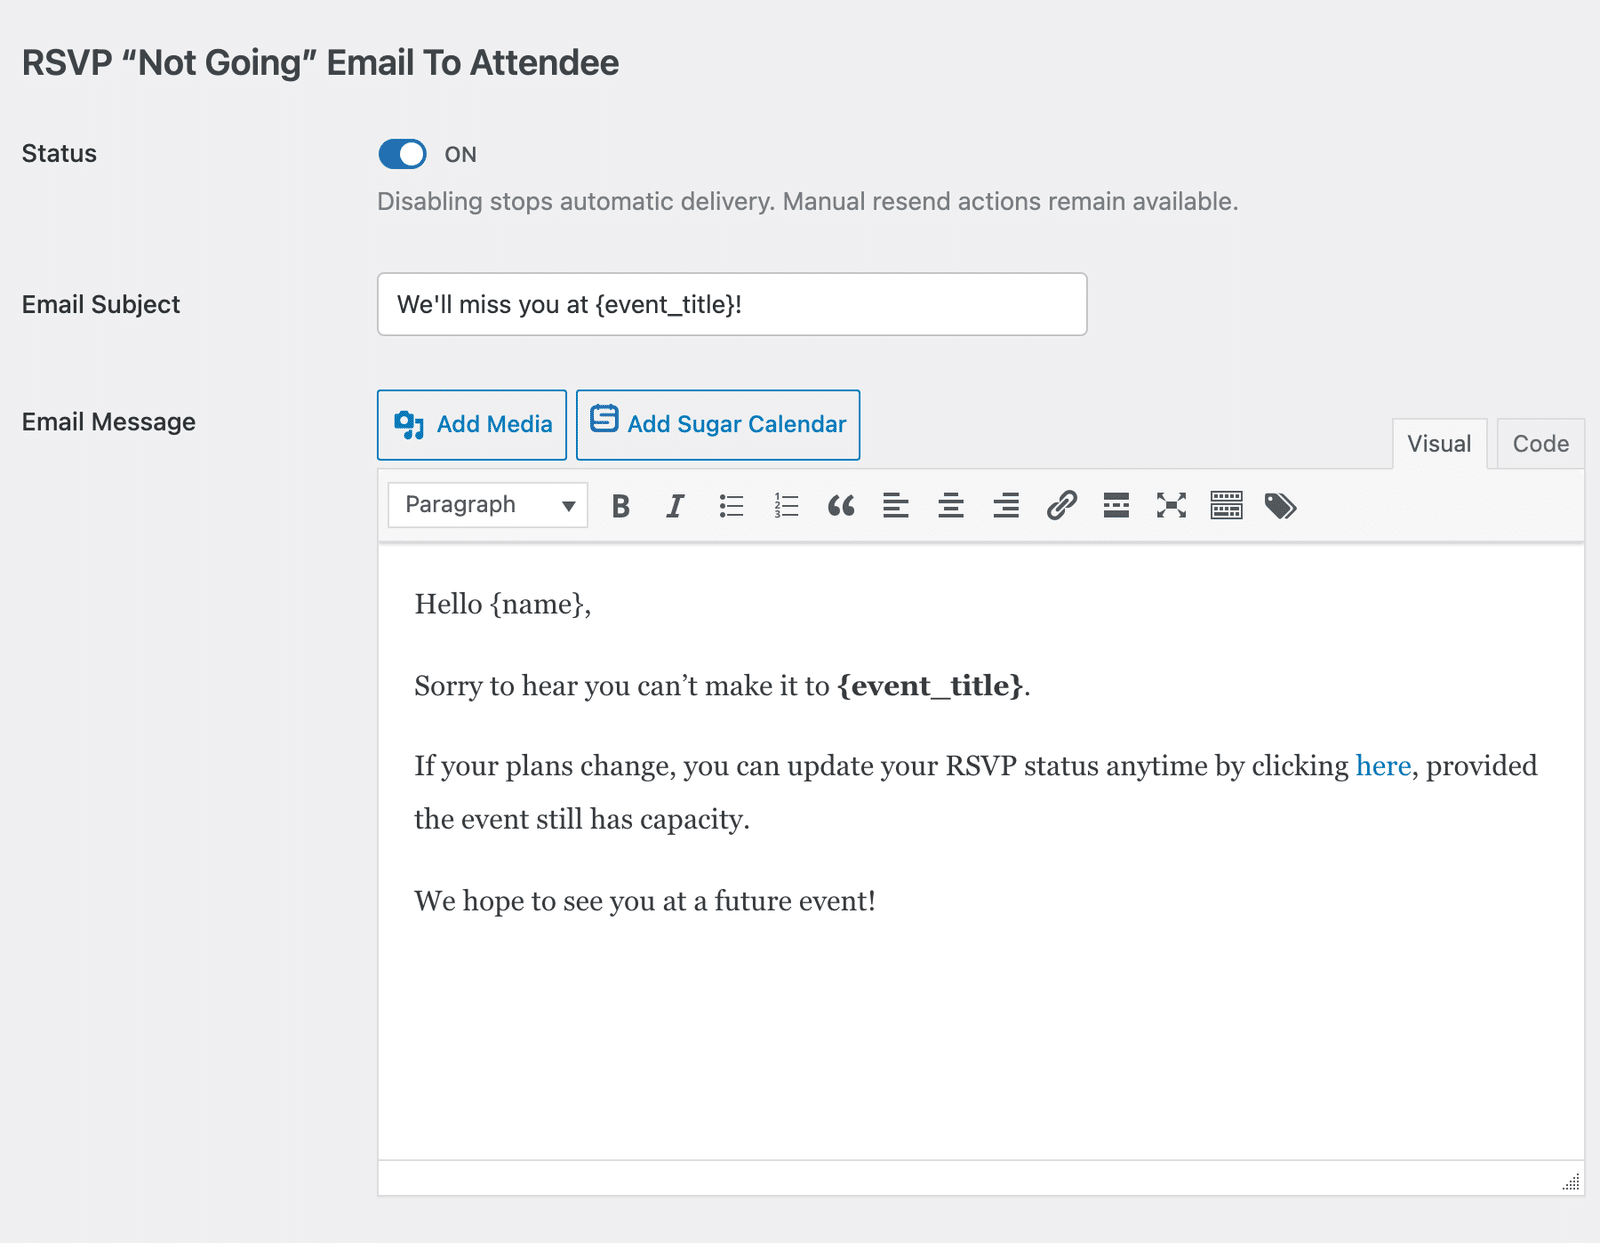
Customize the farewell message as you see fit. It supports the same smart tags as the RSVP “Going” email, excluding the {additional_attendees_list} tag.
Incomplete Registration Reminder
Sugar Calendar sends this reminder when an attendee opens a registration form after checkout and leaves it unfinished.
A form counts as abandoned one hour after checkout, and each registration receives the reminder once. The message carries a link that reopens the form where the attendee stopped.
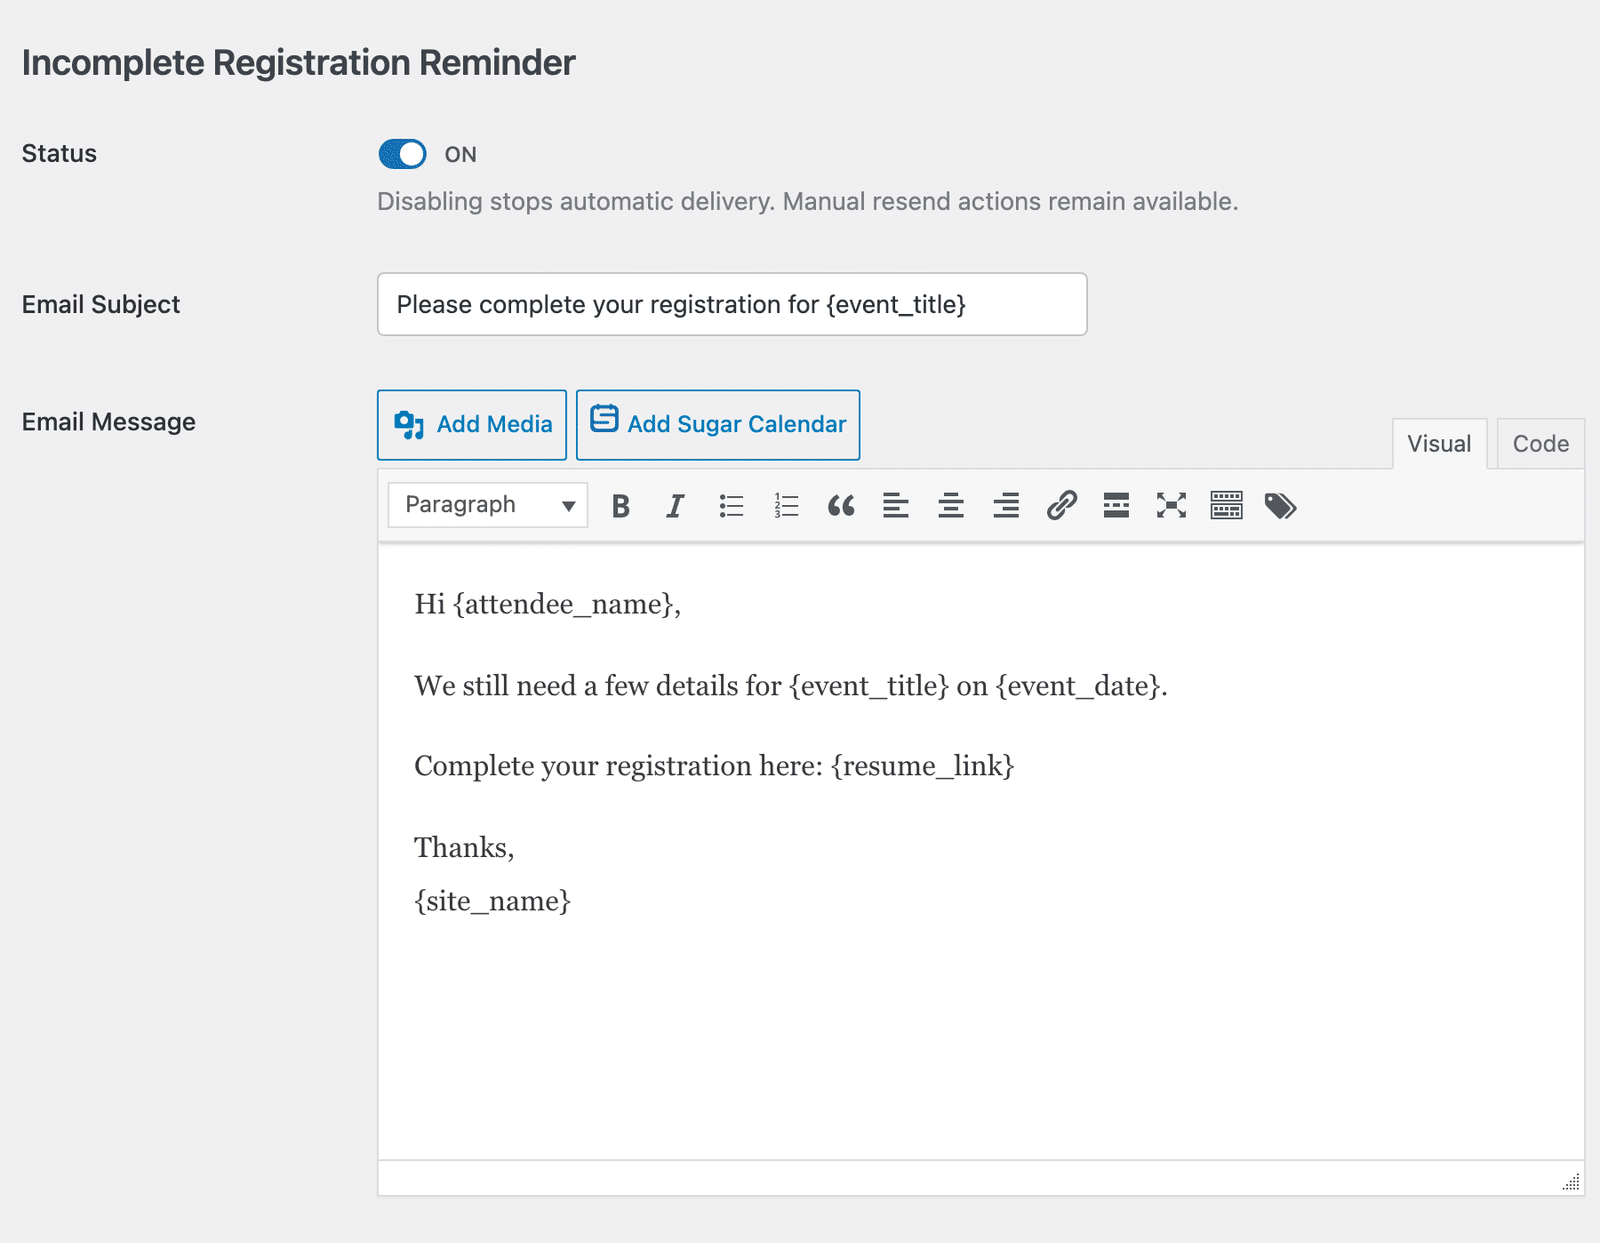
The Subject field sets the line attendees see in their inbox. It defaults to Please complete your registration for {event_title}.
Write the body of the reminder in the Message field.
These tags are available in the email content:
{attendee_name}: The Attendee Name{event_title}: The Event Title{event_date}: The Event Date{resume_link}: The link to finish the registration form{site_name}: The Site Name
Keep the {resume_link} tag in the message. Without it, the reminder gives the attendee no way back to the form.
After updating the email template, scroll down and save your changes before proceeding.
Registration Confirmation
Once an attendee completes a registration form, Sugar Calendar confirms the submission by email. Sugar Calendar sends the same email again each time the attendee edits their answers.
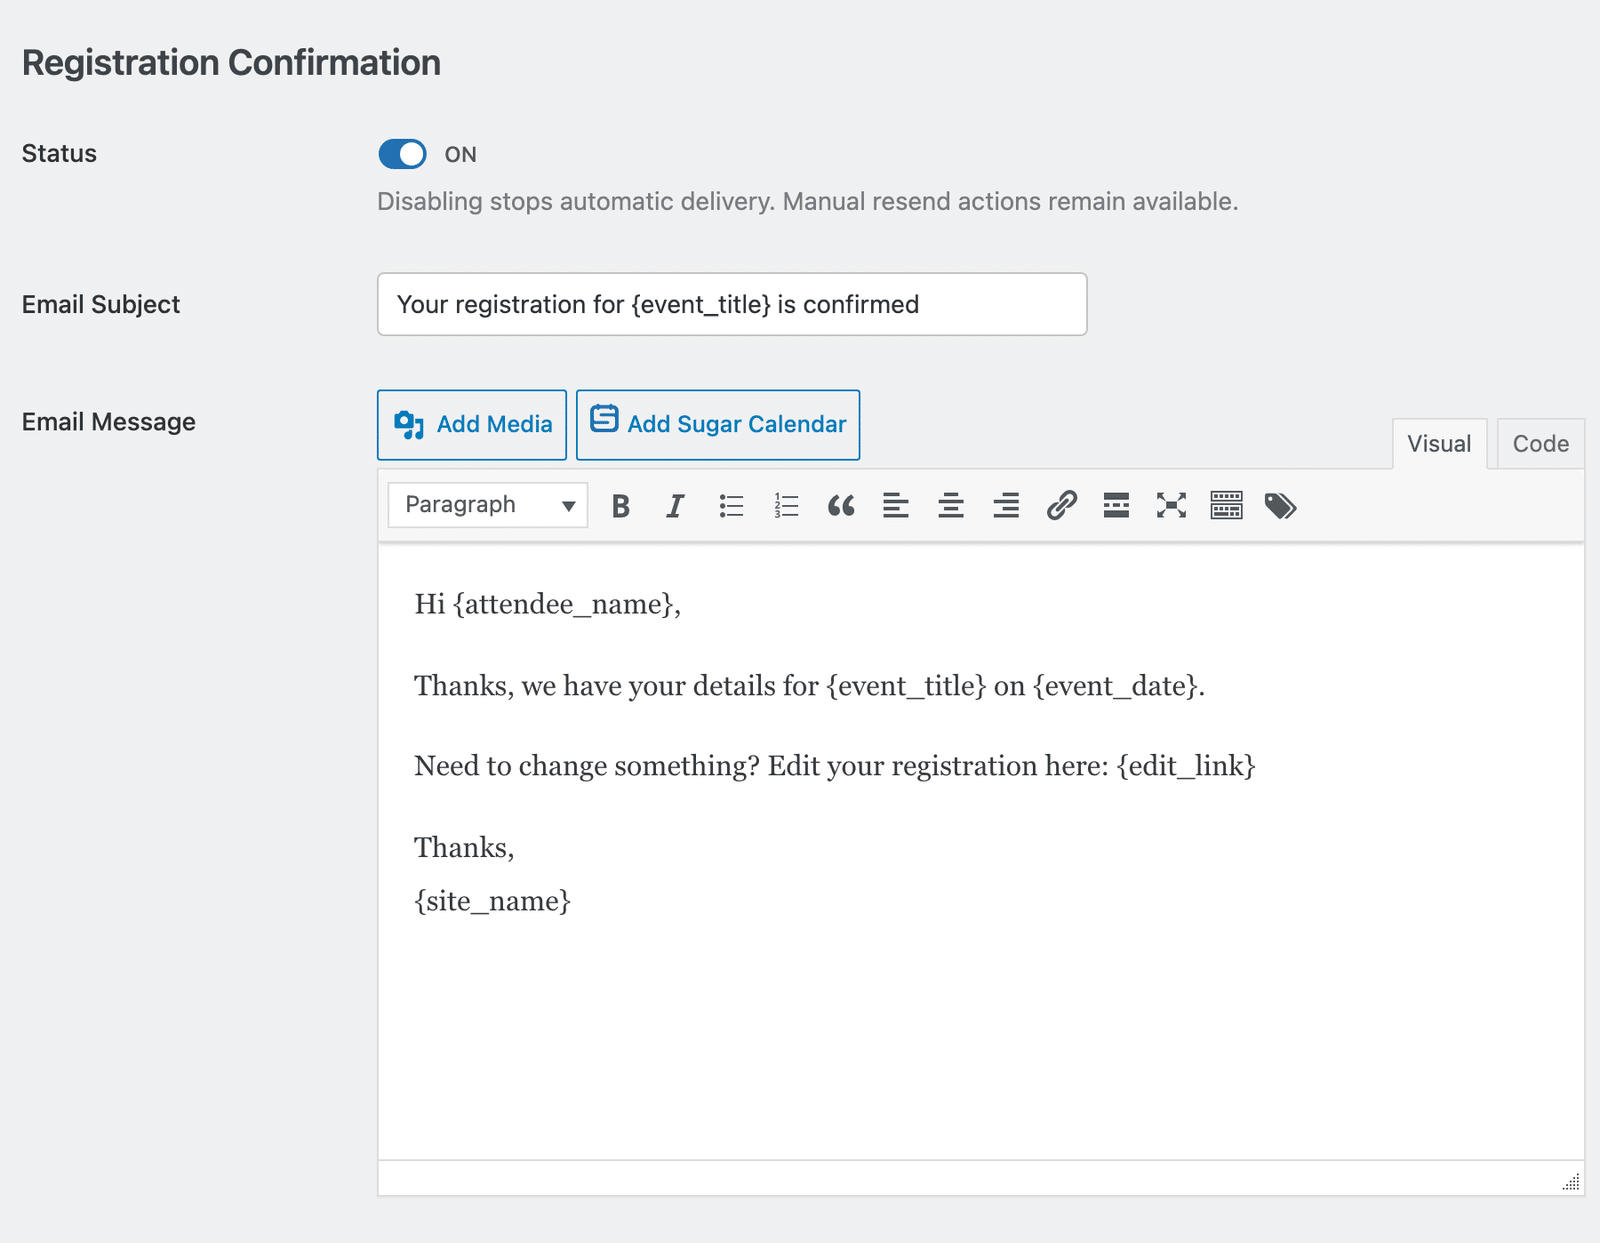
The Subject field defaults to Your registration for {event_title} is confirmed. Edit it and the Message body to match the tone of your event.
These tags are available in the email content:
{attendee_name}: The Attendee Name.{event_title}: The Event Title.{event_date}: The Event Date.{edit_link}: The link to edit the submitted form. It is empty by default unless the event allows editing.{site_name}: The Site Name.
The {edit_link} tag renders nothing when the event does not allow attendees to edit their registration. Rephrase the sentence so the message still reads well without the link.
After updating the email template, scroll down and save your changes before proceeding.
Ticket Sale Email To Admin
Sugar Calendar sends this notification to your site’s administration email address once per completed order, so you learn about a sale without opening your dashboard.
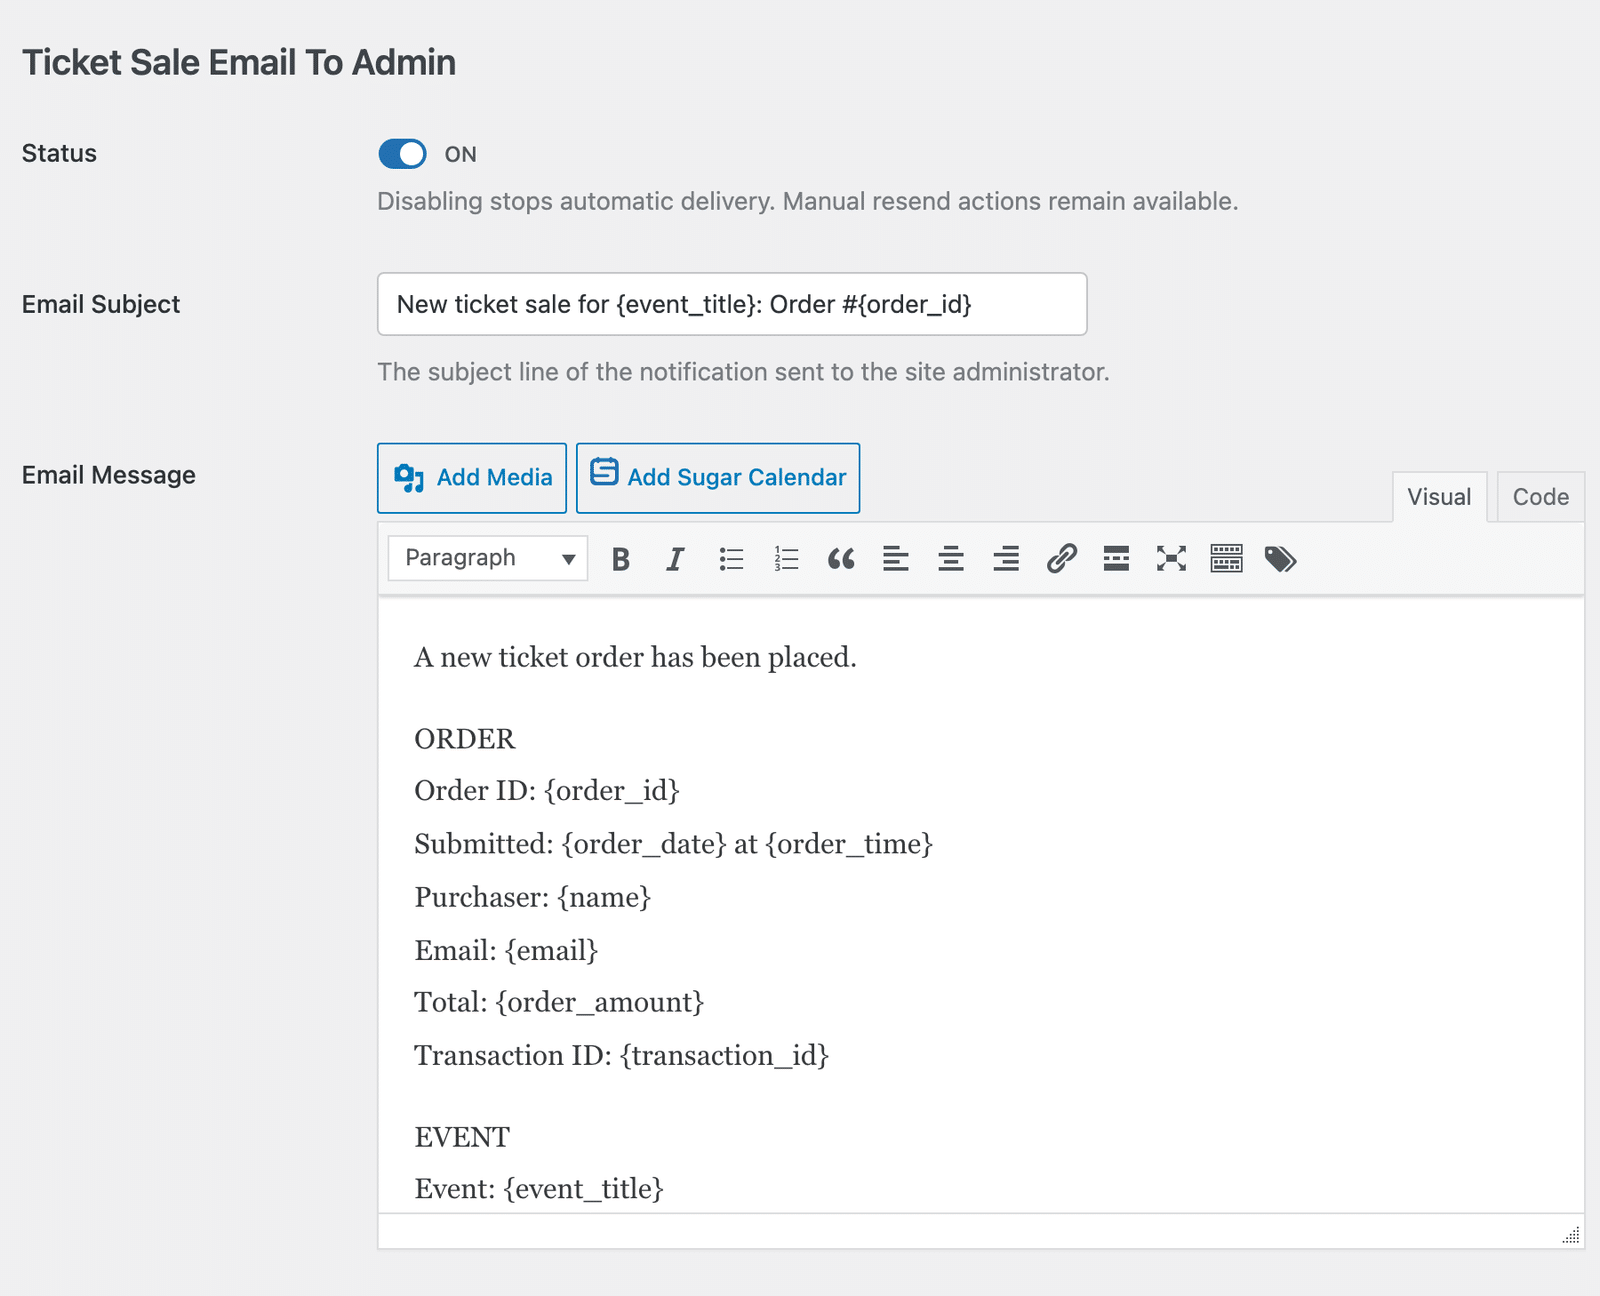
The message supports the order and event tags listed under Order Receipt Email To Purchaser, along with the {tickets} tag that outputs the tickets in the order.
RSVP “Going” Email To Admin
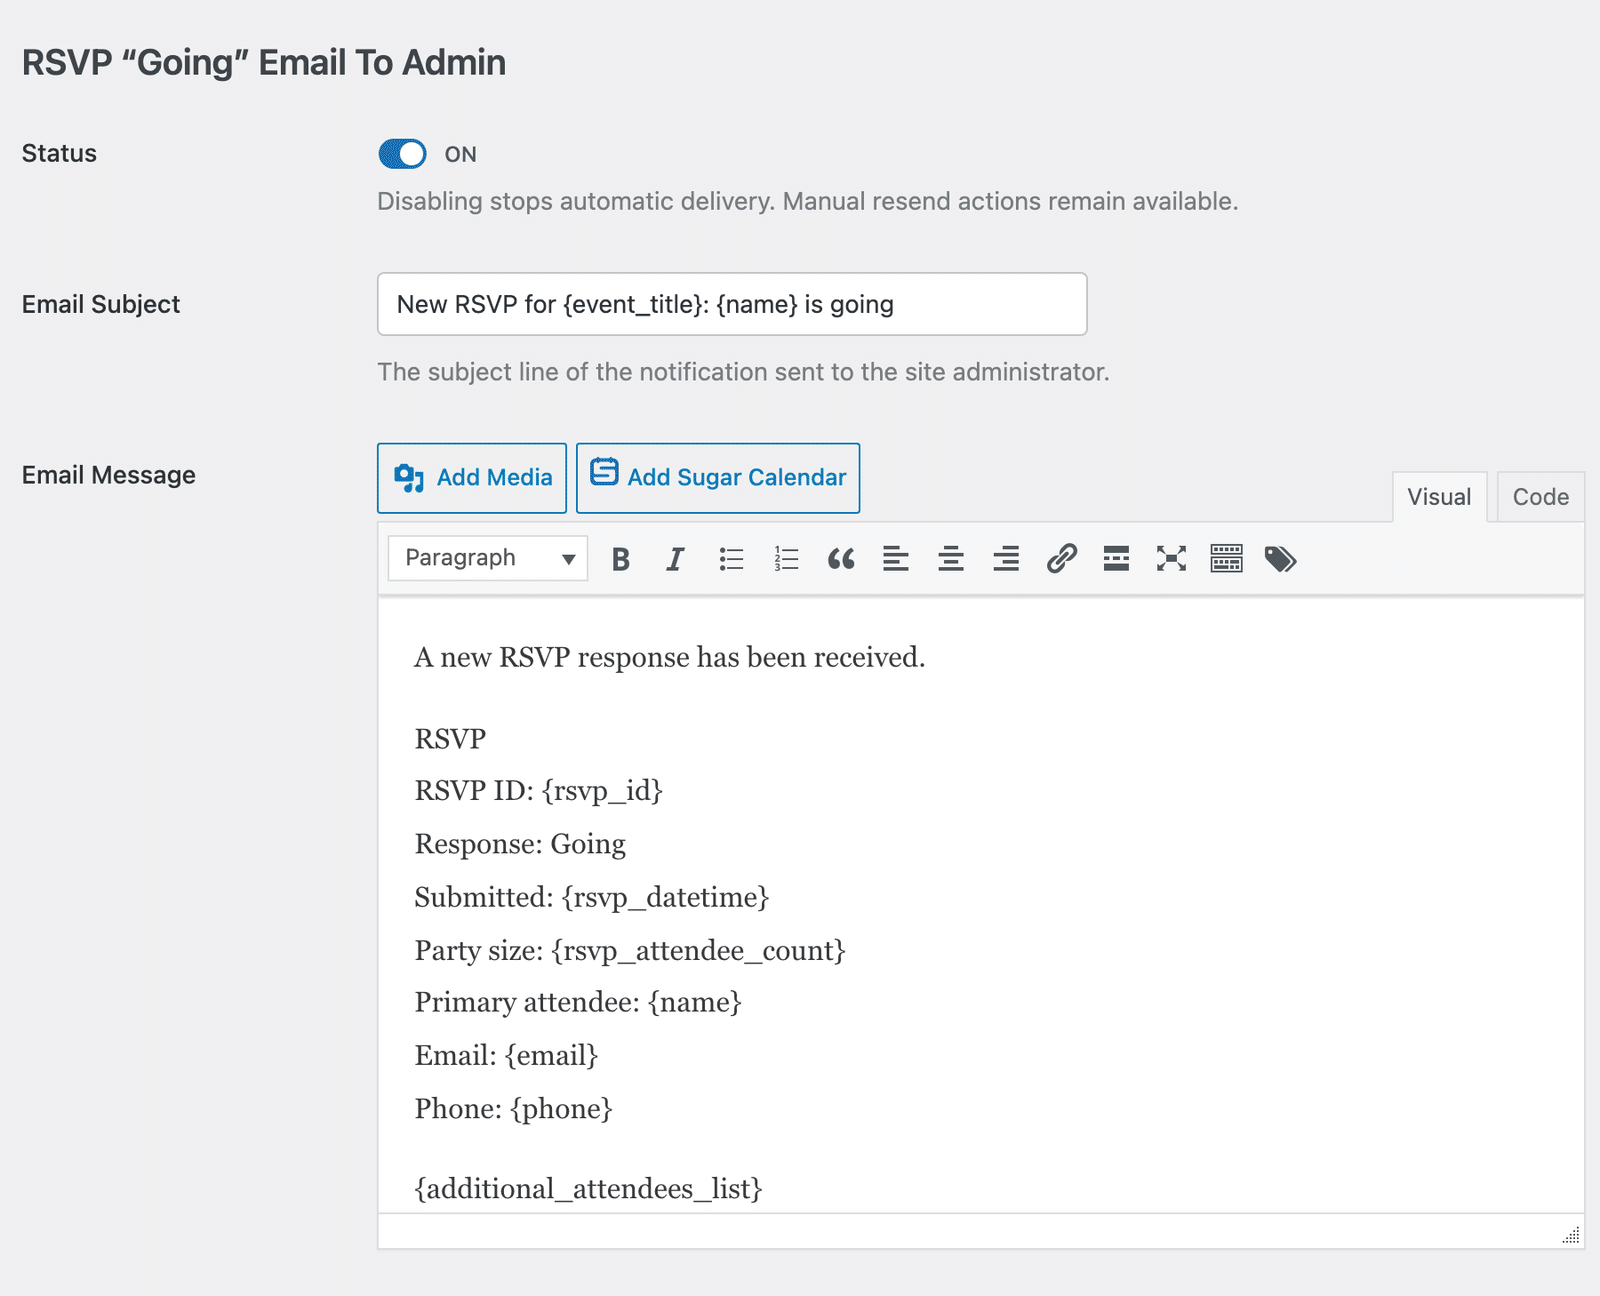
This notification reaches your site’s admin email address whenever an attendee RSVPs as going. It supports the same smart tags as the attendee version, so you can reference the attendee’s name and the event details the same way.
RSVP “Not Going” Email To Admin
This notification reaches the same address whenever an attendee RSVPs as not going, and it supports the same smart tags.
Saving Your Changes
After customizing any email, click the orange Save Settings button to apply your changes.
That’s it! You now know how to set up, style, and customize email templates in Sugar Calendar Events.
Next, would you like to display events on your site’s frontend? See our guide on displaying event lists to learn how.