Would you like to create an event that spans multiple days in Sugar Calendar? This can be helpful when creating holiday, vacation, or conference events.
In this tutorial, you’ll learn how to create multiple-day events with the Sugar Calendar plugin.
In This Article
Before you get started, make sure Sugar Calendar is installed and activated on your WordPress site.
Setting Event Duration
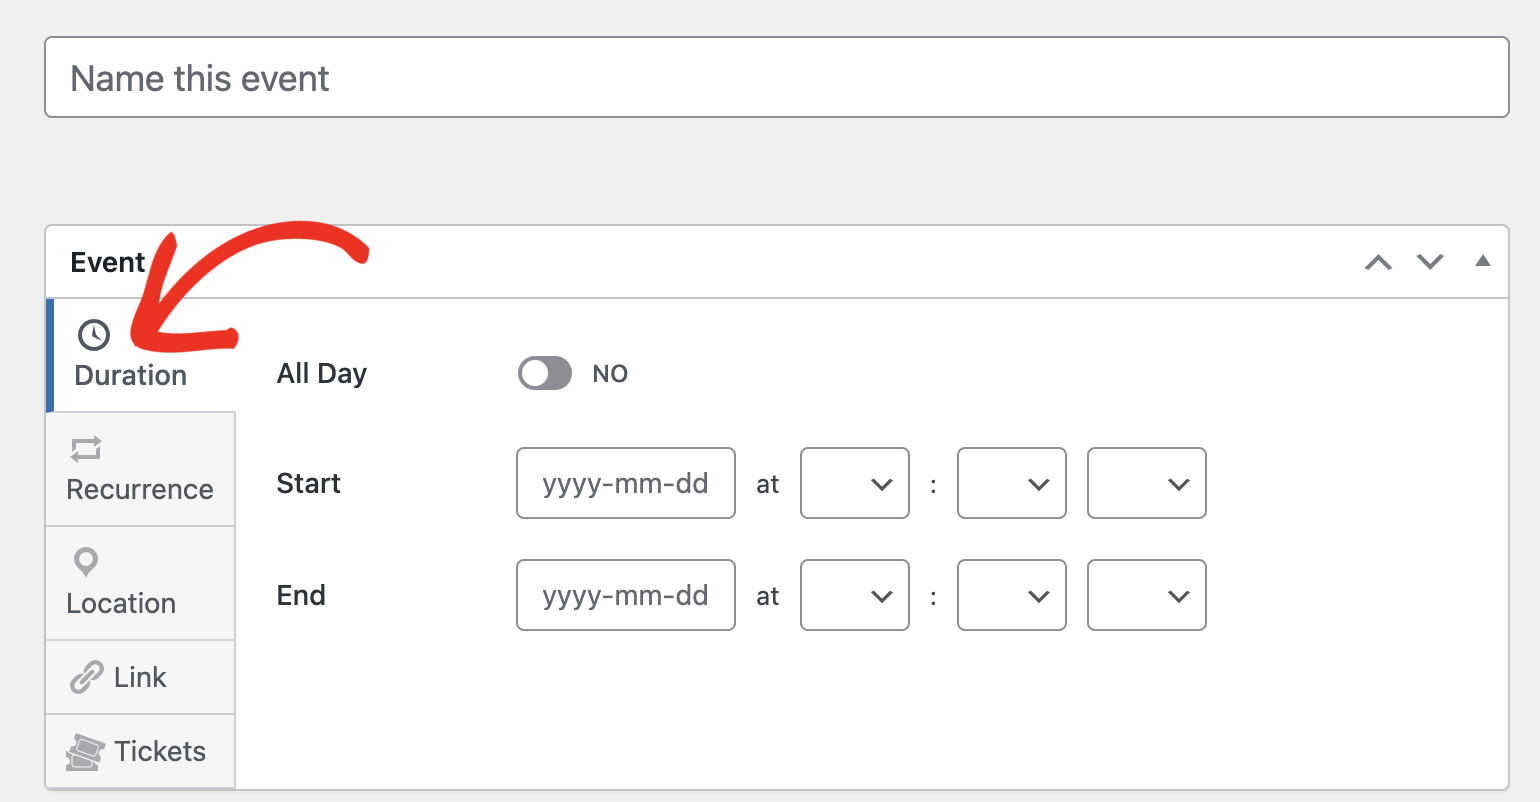
After activating the plugin, create a new event or edit an existing one to access the event editor. In the event editor, select the Duration tab to configure your event’s duration. Here, you’ll need to set a Start and End date for the event.
To set a start date, click the date field next to the Start option to open the date picker. Go ahead and choose the date for the event.
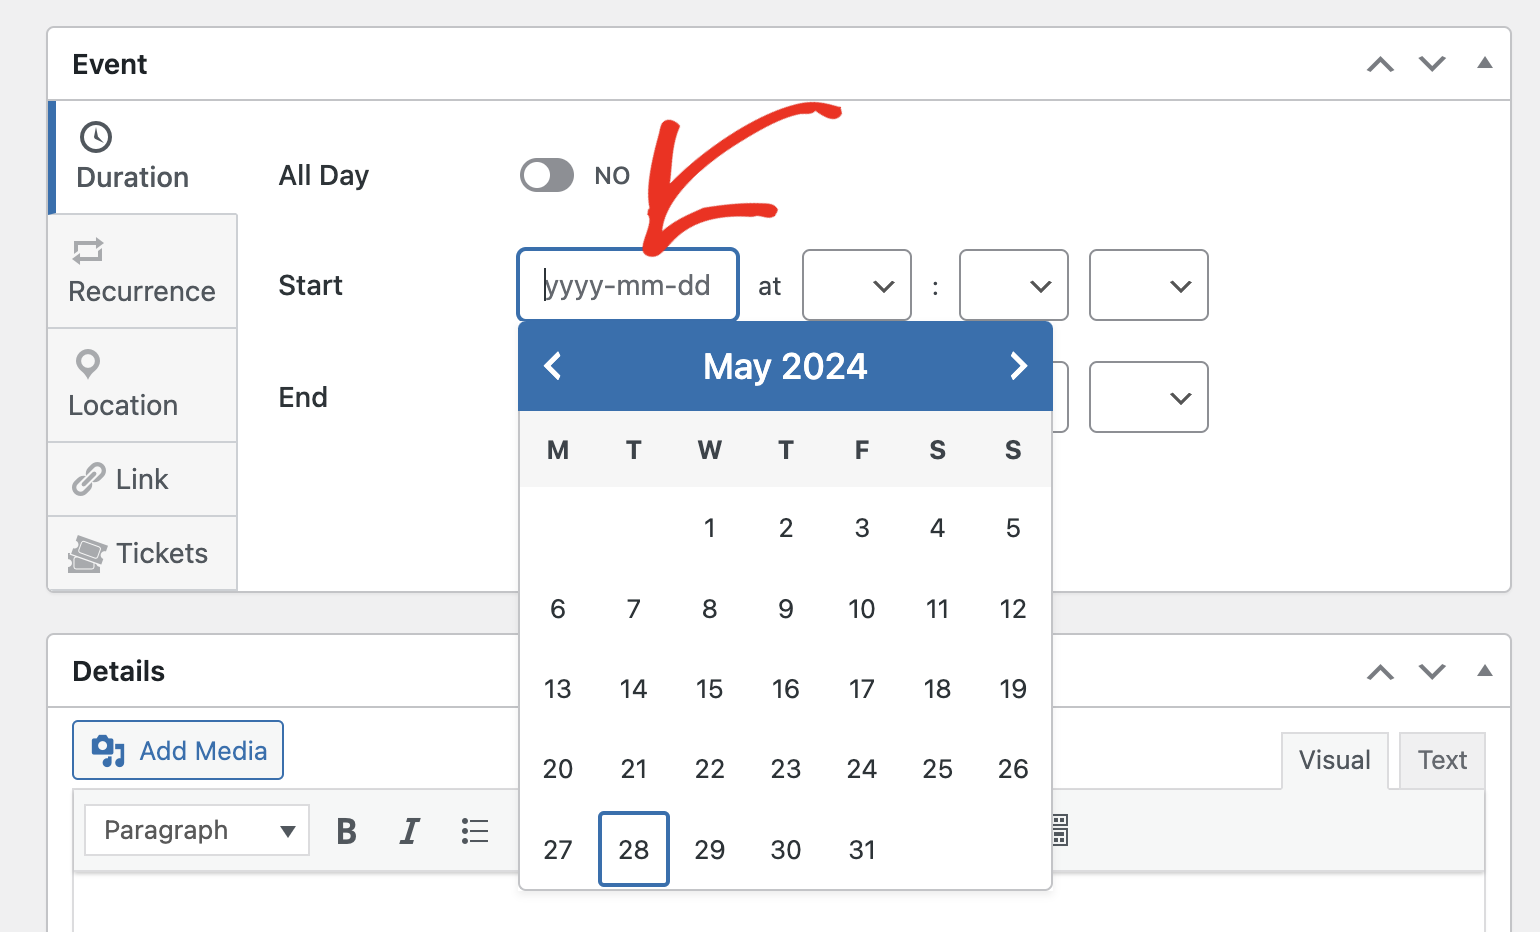
After that, you’ll need to select the time for the event. The three dropdowns next to the date field are used to set the Hour, Minute, and Meridiem (AM/PM) respectively.
Note: You can set the event to run through the day by toggling the All Day option to the YES position.
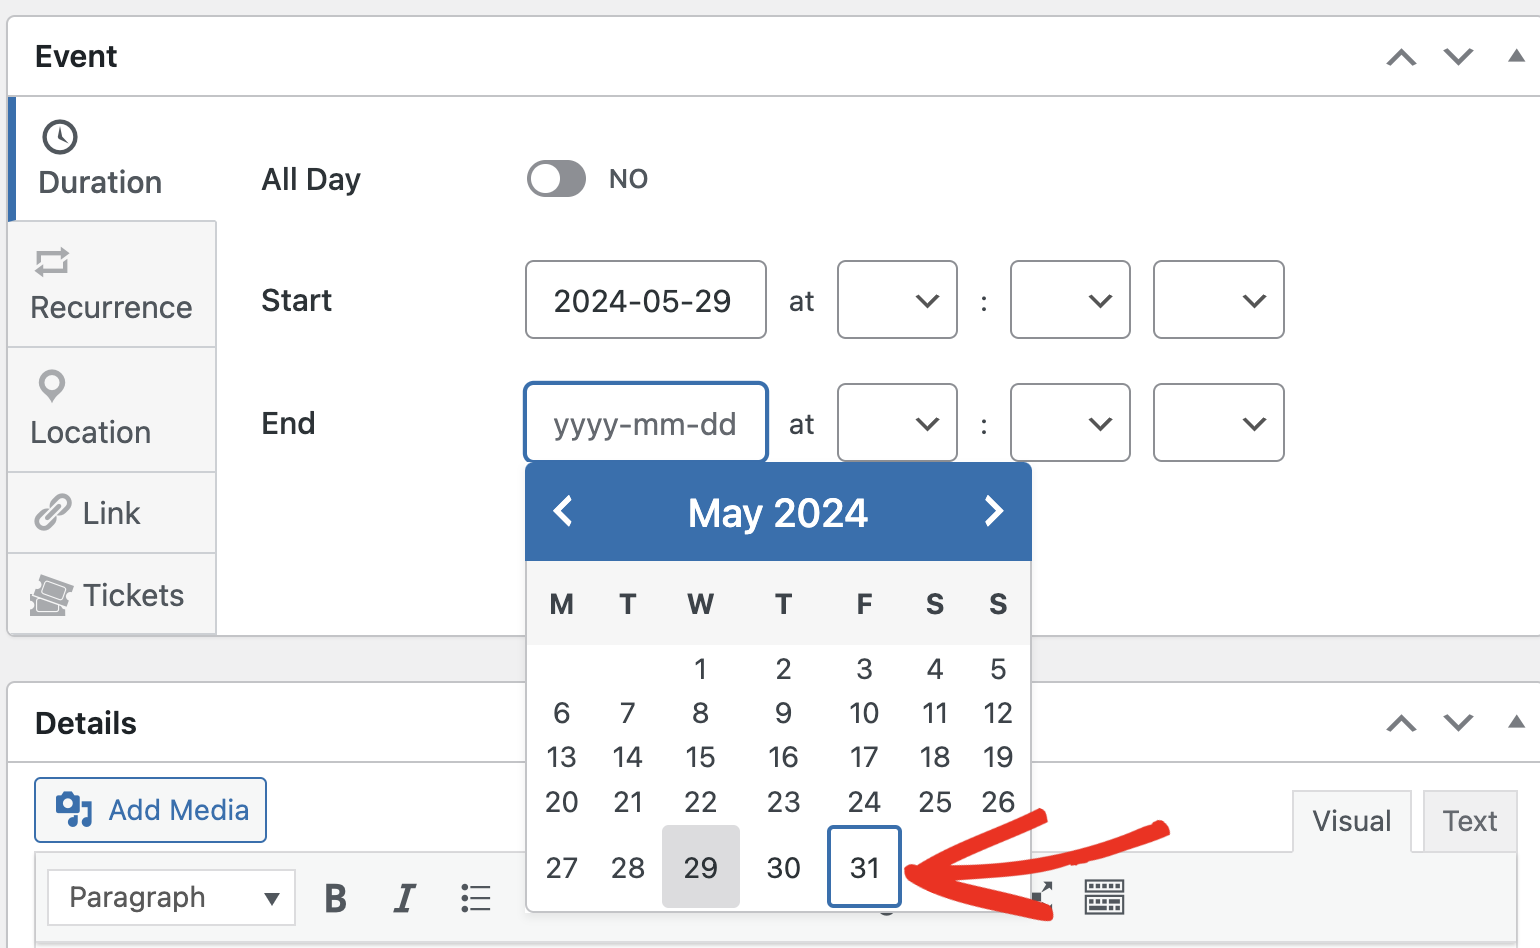
After setting the start date and time, repeat the same process described above to set an end date for your event. For our example, we’ll set the End date so the event runs for 3 days.
After setting the event duration, you can configure additional options like adding a location, custom URL, recurrence, etc. For more details, see our tutorial on creating events.
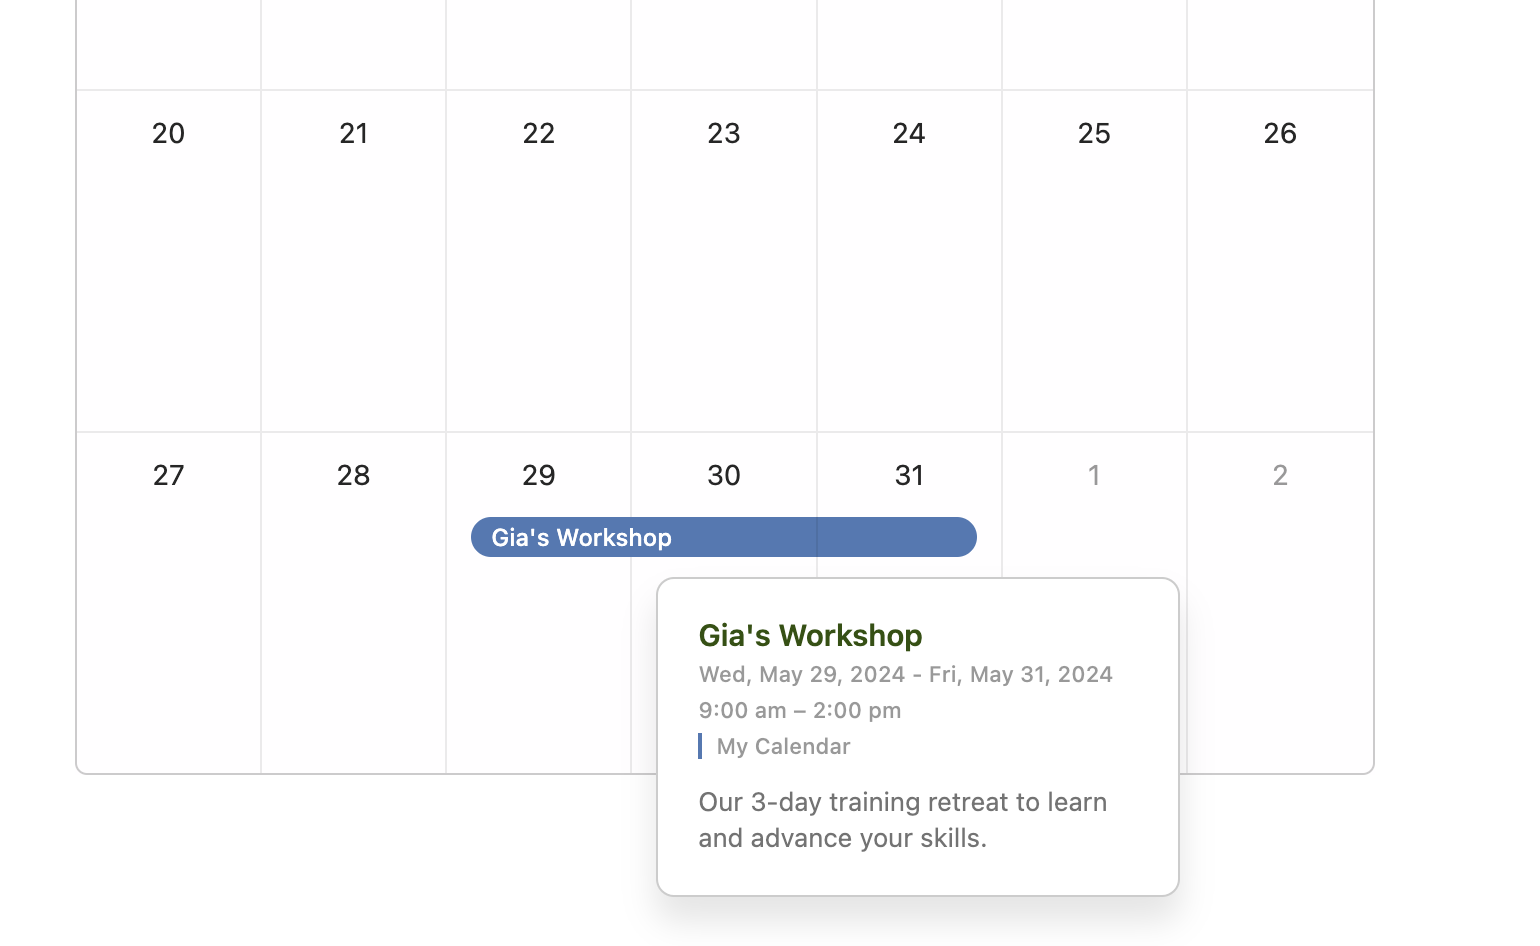
Previewing Your Event Calendar
When you preview the event on your site’s frontend, you’ll see the multiple-day event you created in the calendar.
That’s it! You’ve now learned how to create events that run for multiple days in Sugar Calendar.
Next, would you like to integrate Sugar Calendar with other third-party calendar apps like Google Calendar? Be sure to check our tutorial on using Calendar feeds for more details.