Do you want to organize the events you’ve created on your site? Calendars let you group similar events so they’re easily accessible to you and your users.
This tutorial explains how to organize Sugar Calendar events with calendars.
Before getting started, make sure Sugar Calendar is installed and activated on your WordPress site.
Understanding How Calendars Work
Calendars help you to organize and classify events on your website. They work very similarly to WordPress’ default Categories taxonomy.
With Calendars, you can have parent and child relationships or associate an event with multiple calendars, similar to WordPress categories.
Creating a Calendar
There are 2 ways to create a Calendar. You can either create it while creating a new event or from the Calendar screen.
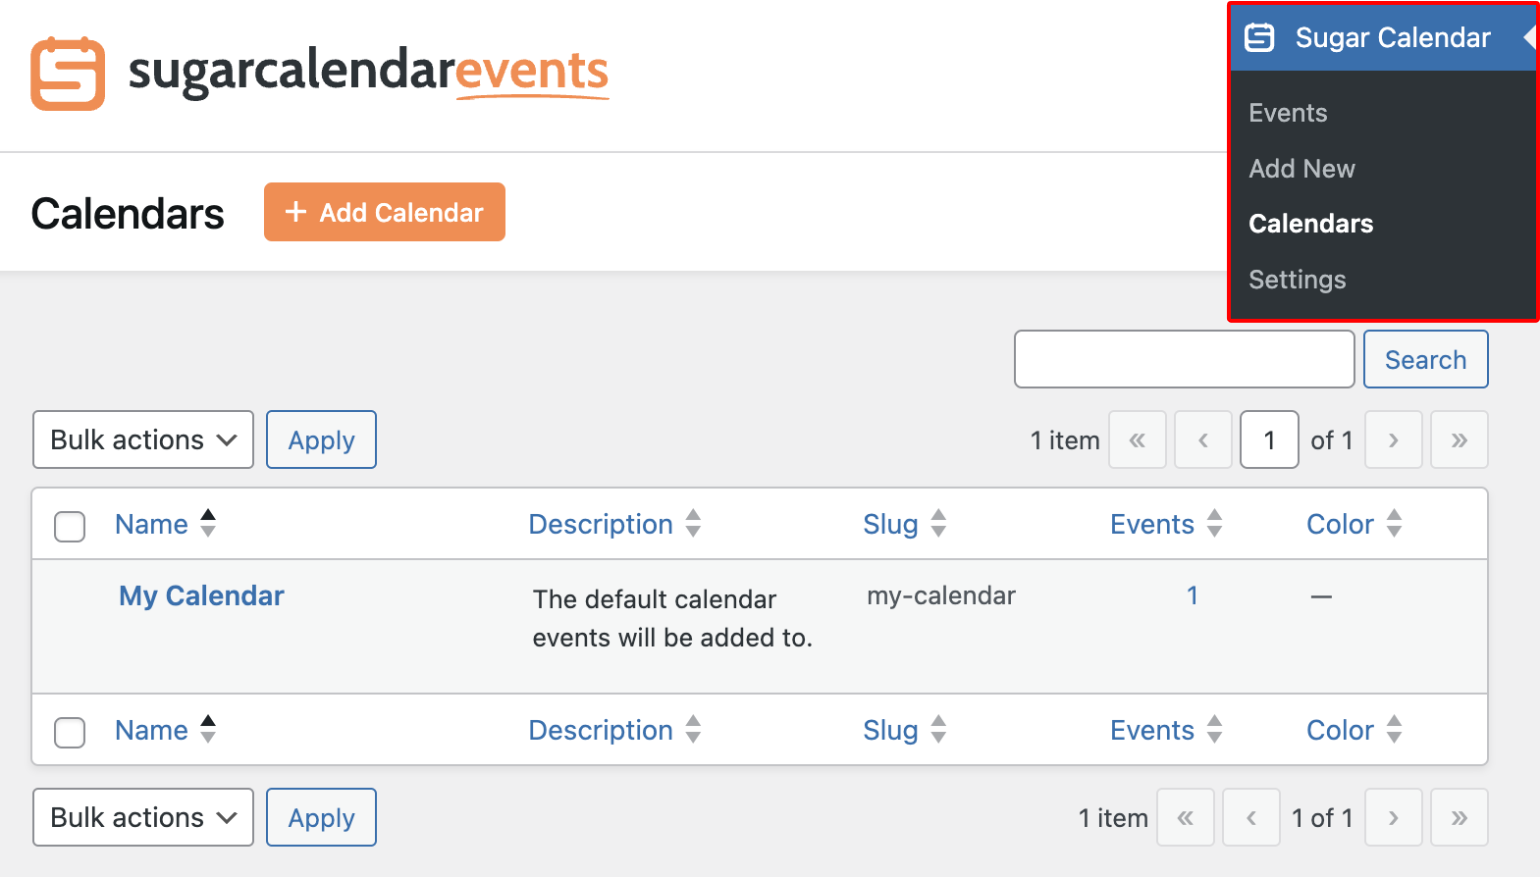
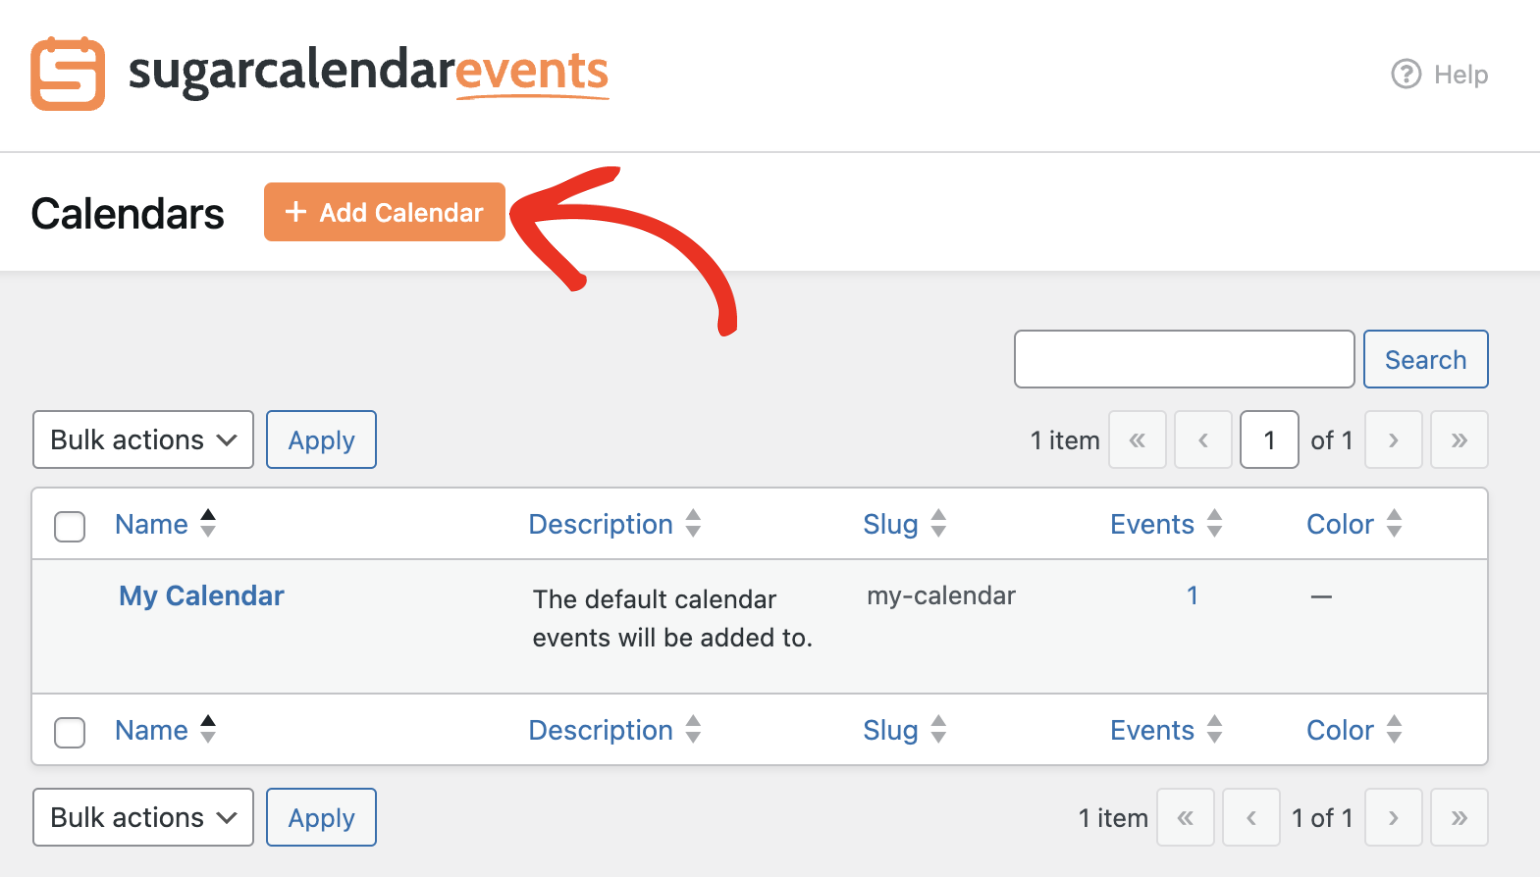
To create a calendar, go to Sugar Calendar » Calendars. Here you’ll see a list containing all the calendars you’ve created.
Next, click the Add Calendar button to get started.
In the Add New Calendar page, enter a name for the calendar you’re creating in the Name this Calendar field.
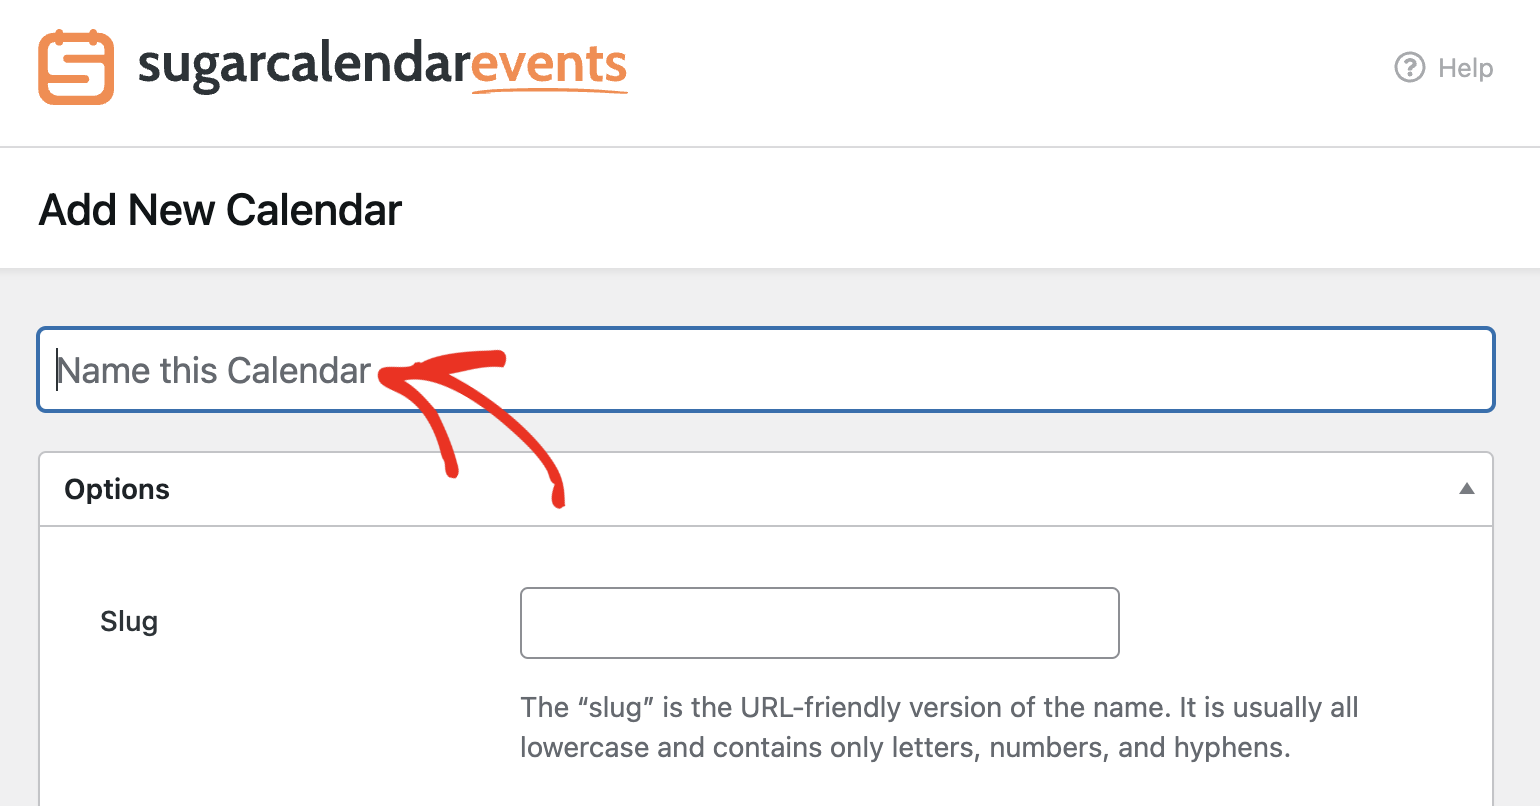
After naming the calendar, you’ll find the Options section where you can configure additional options for the calendar.
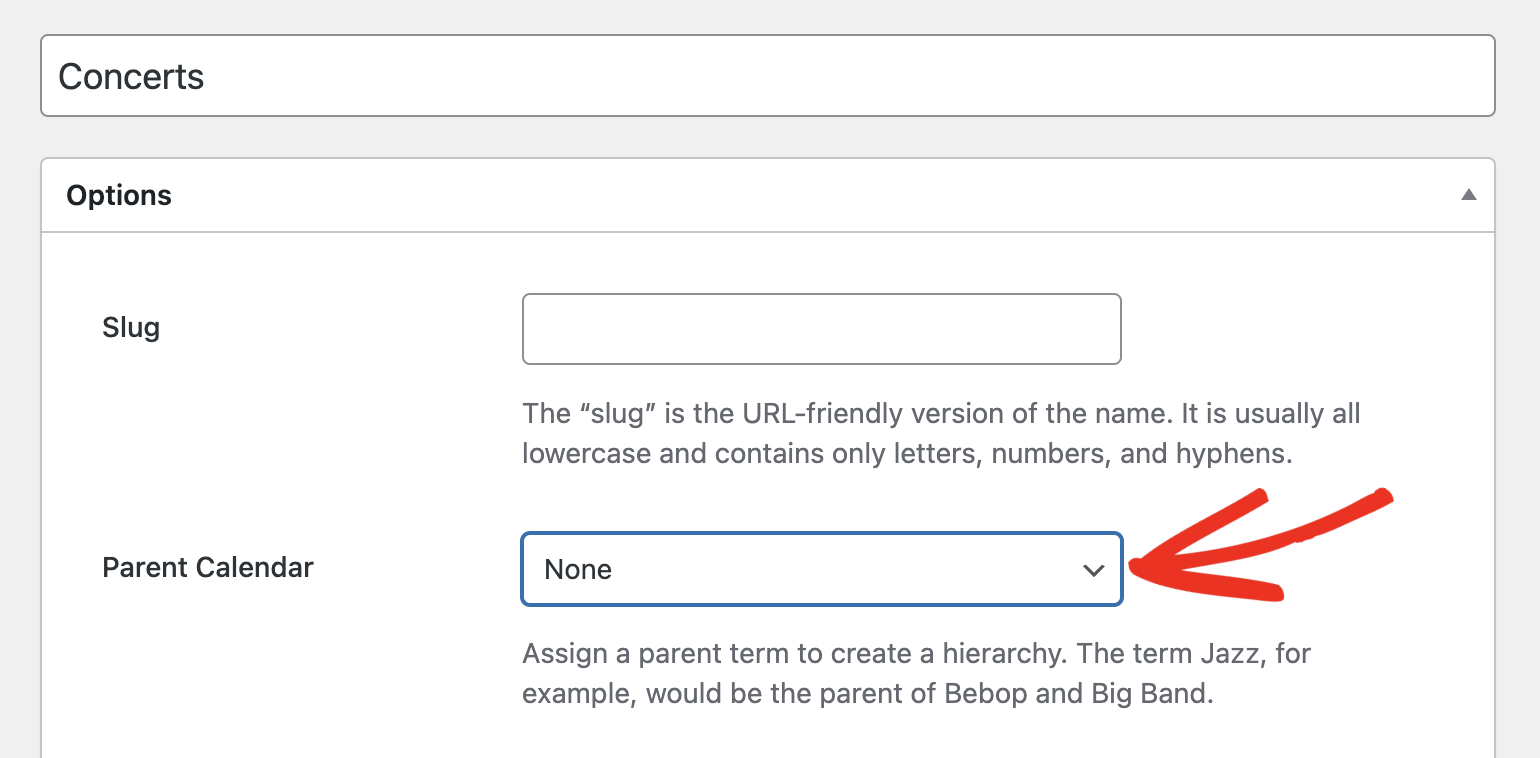
First, you’ll see the Slug field. This field is auto-generated from the Calendar’s title. So you don’t need to enter any value here.
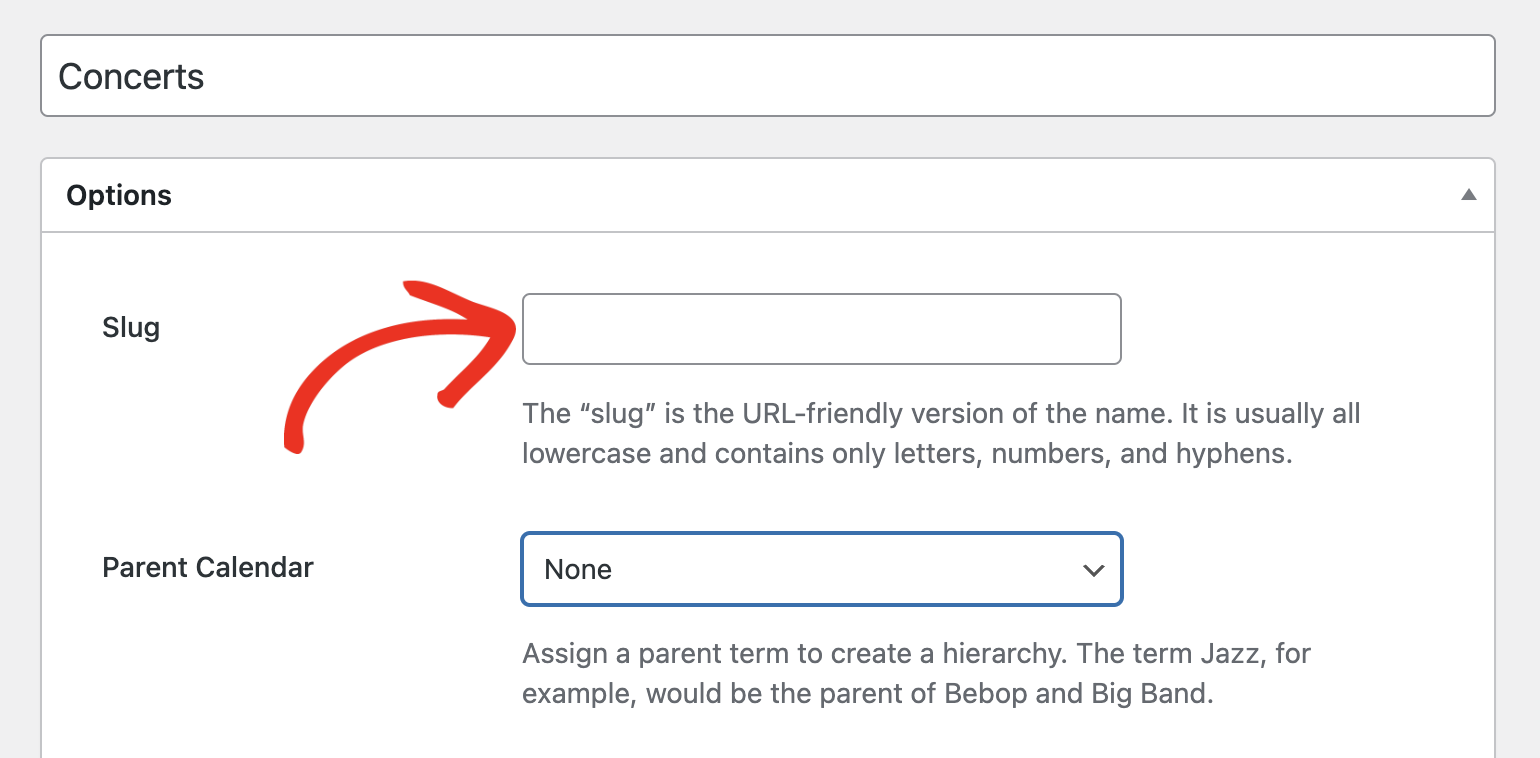
If you’d like to add a parent calendar for the one you’re creating, you can do so by selecting the calendar from the Parent Calendar dropdown.
In the Description section, describe the calendar’s purpose for easy identification.
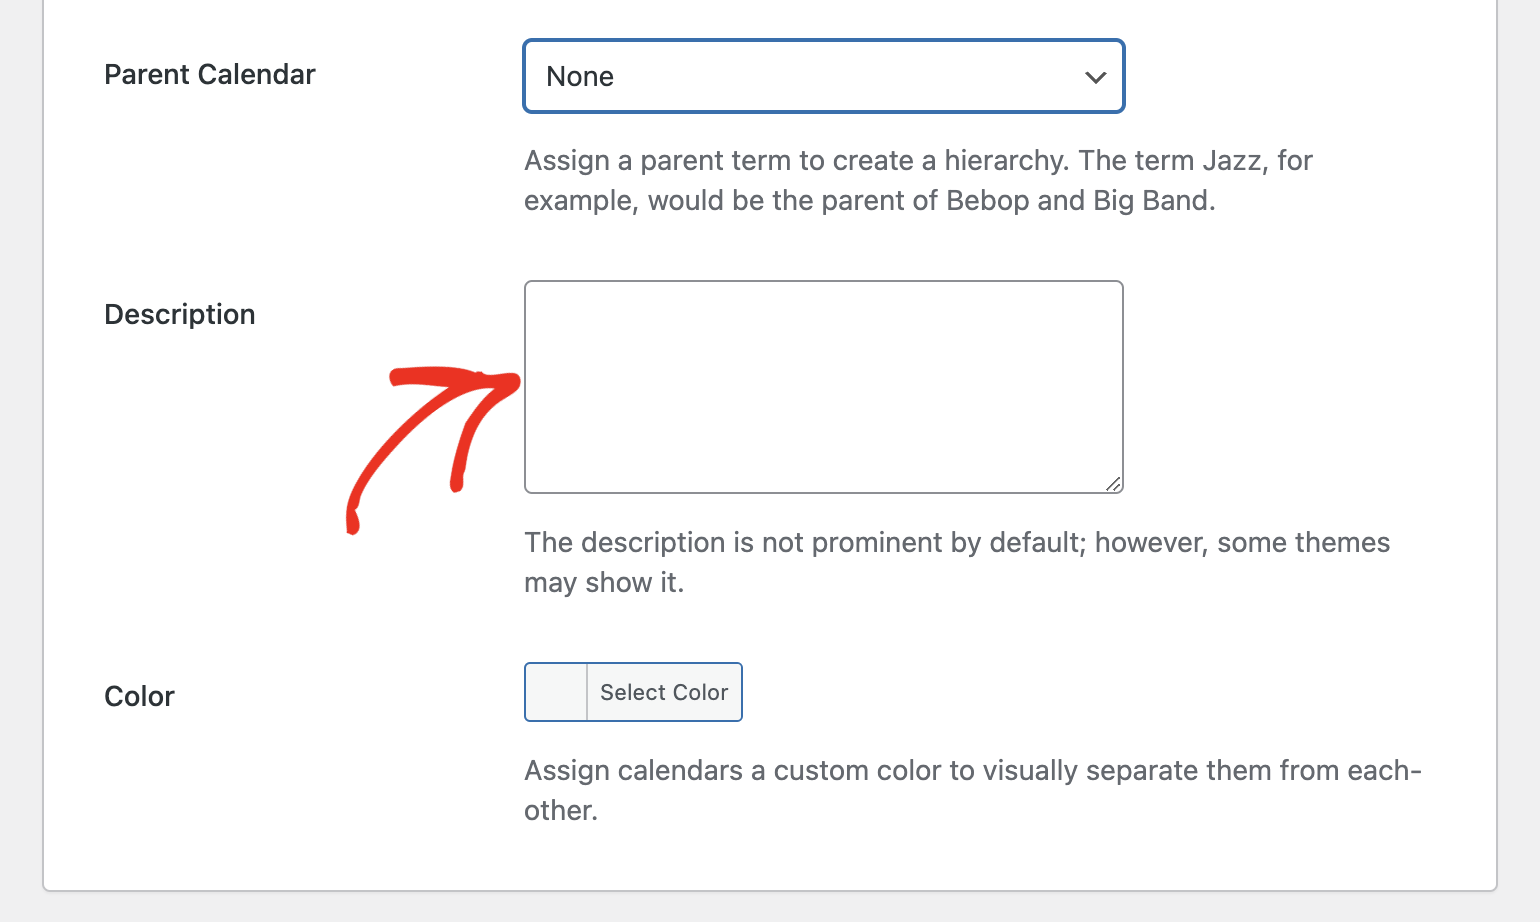
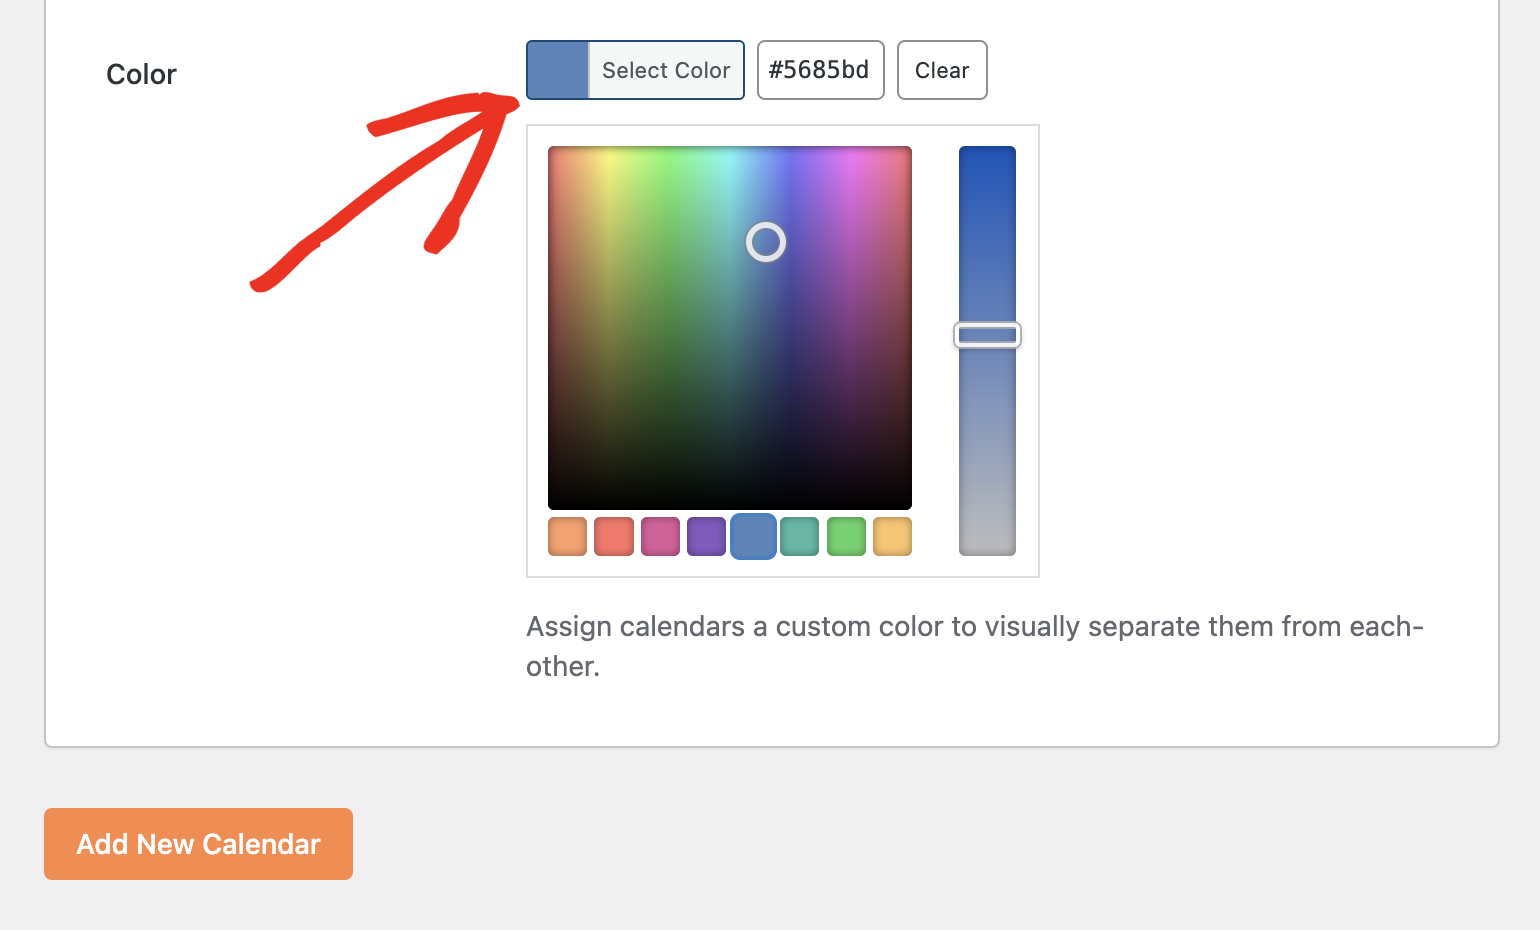
The Color option lets you color code your calendar. To choose a color, click the Select Color button and choose the color you want from the color picker.
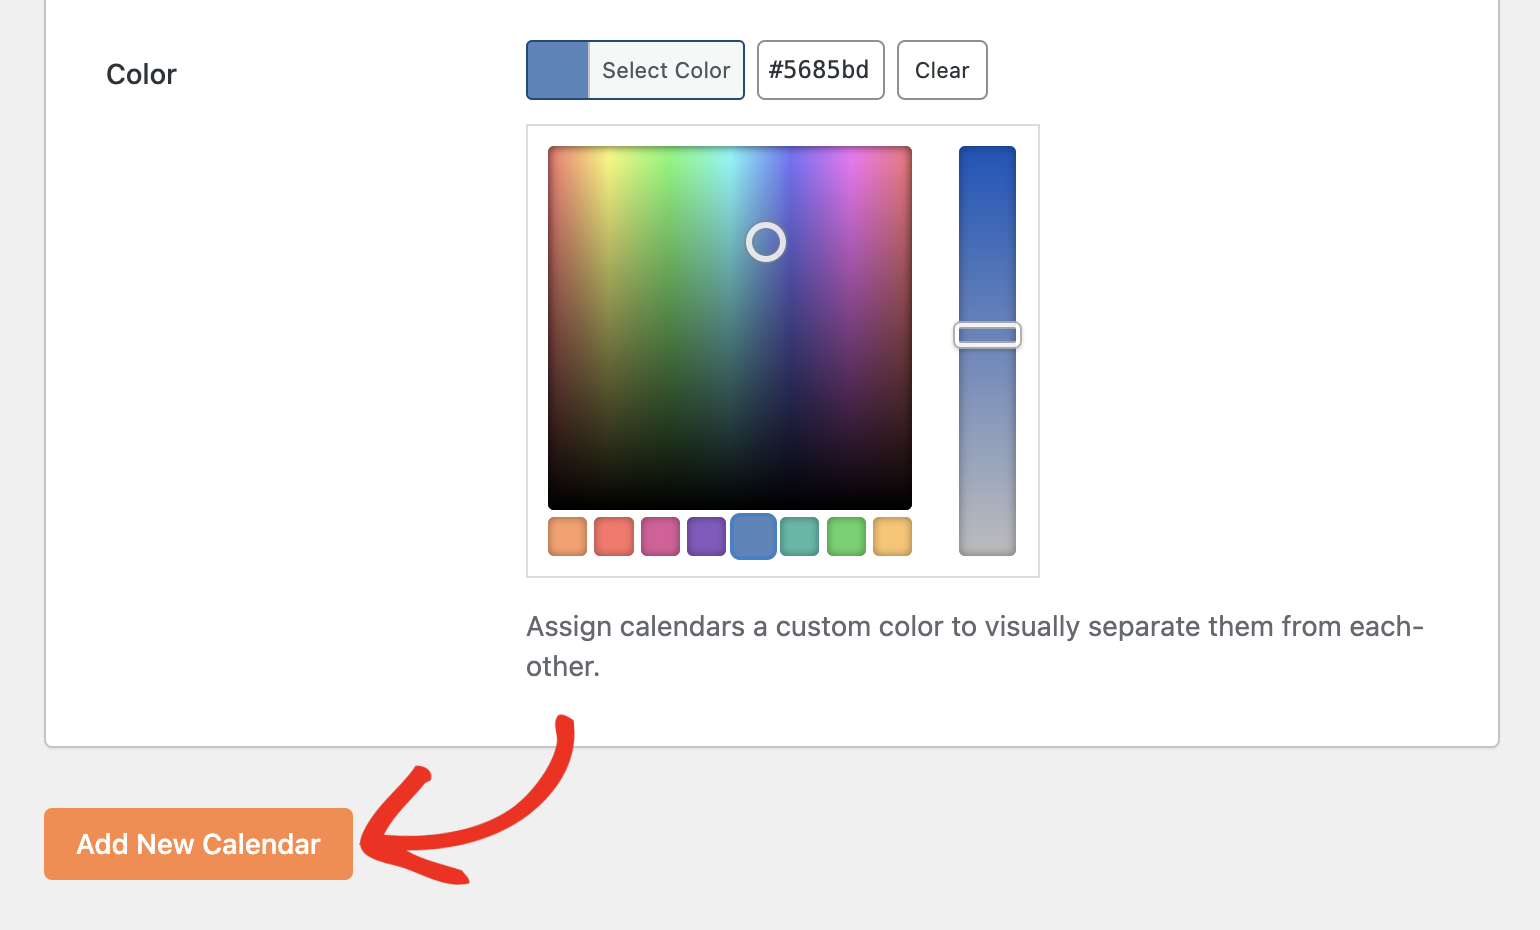
When you’re ready, click the Add New Calendar button to proceed.
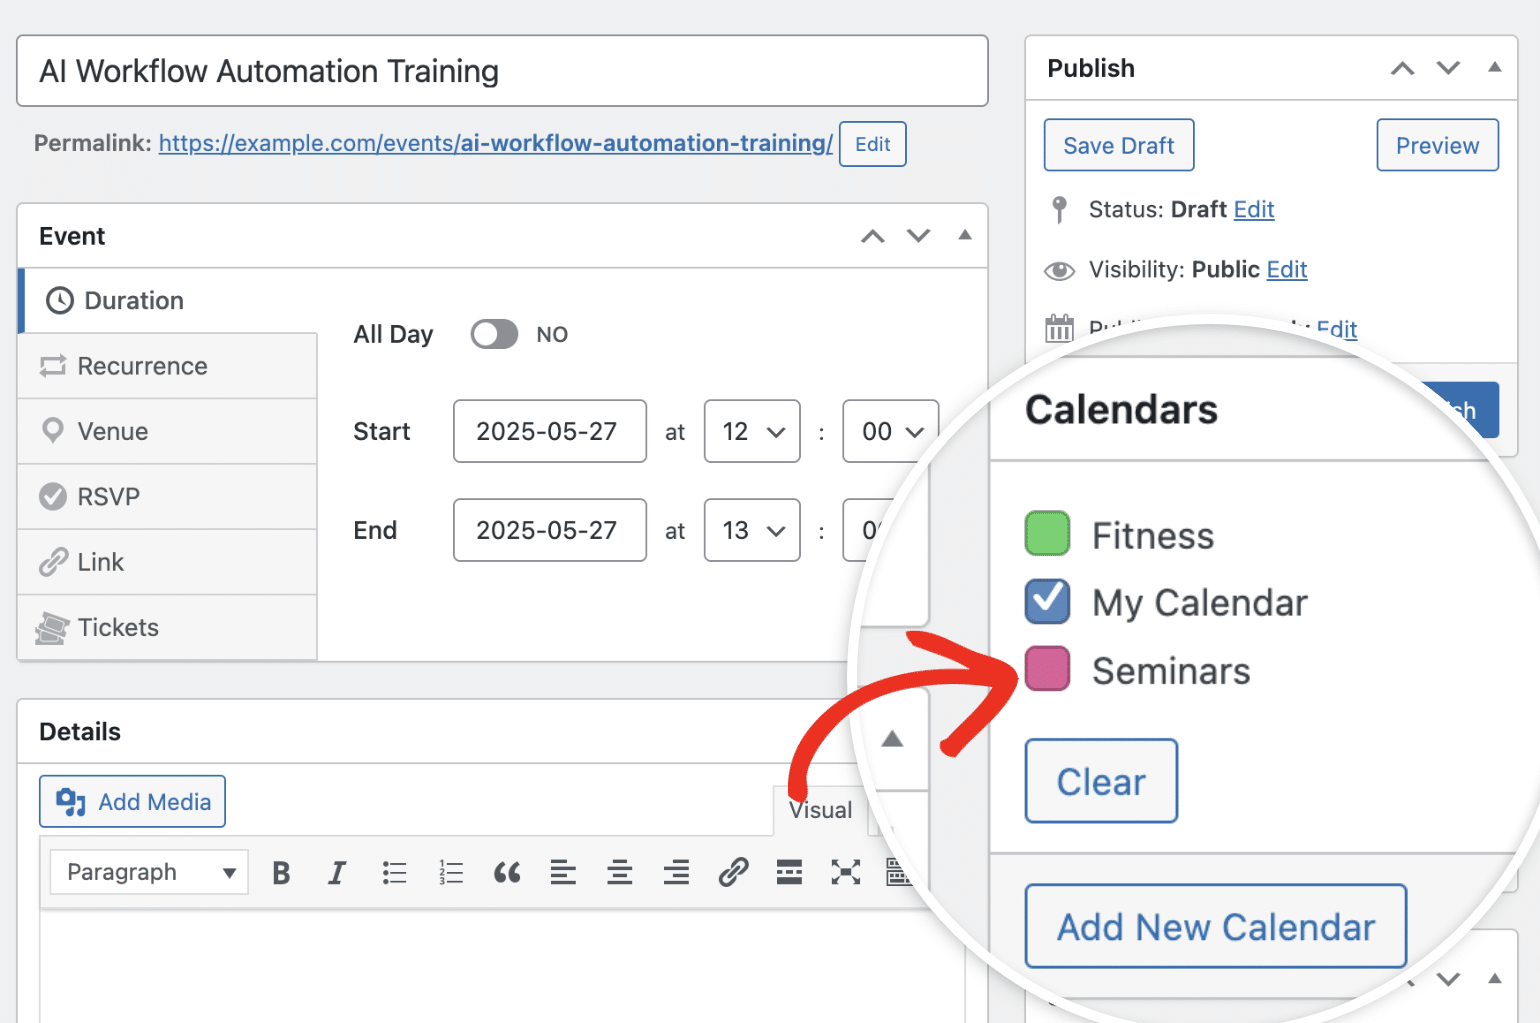
Adding an Event to a Calendar
To get started, create a new event or edit an existing one to access the event editor.
Under the Calendars section, you’ll see all the Calendars you’ve created. To add an event to a calendar, toggle the radio button next to the one you want.
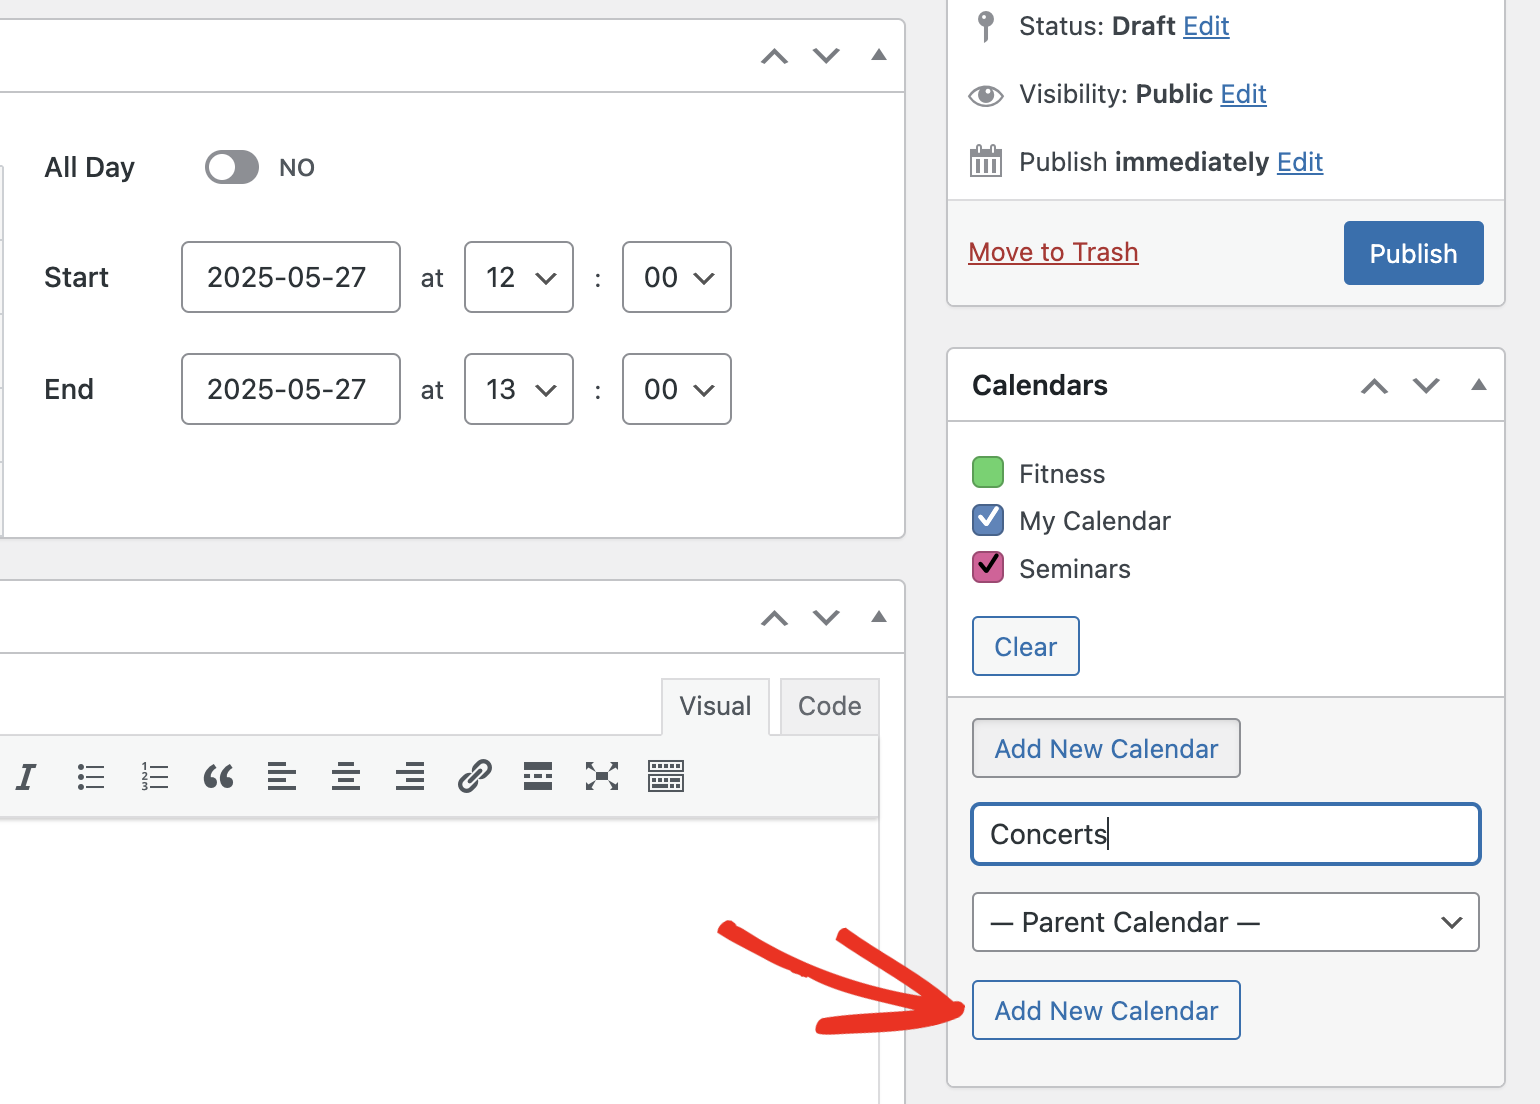
You can also create calendars from the event editor. To do so, click the Add New Calendar button and enter a name for the calendar.
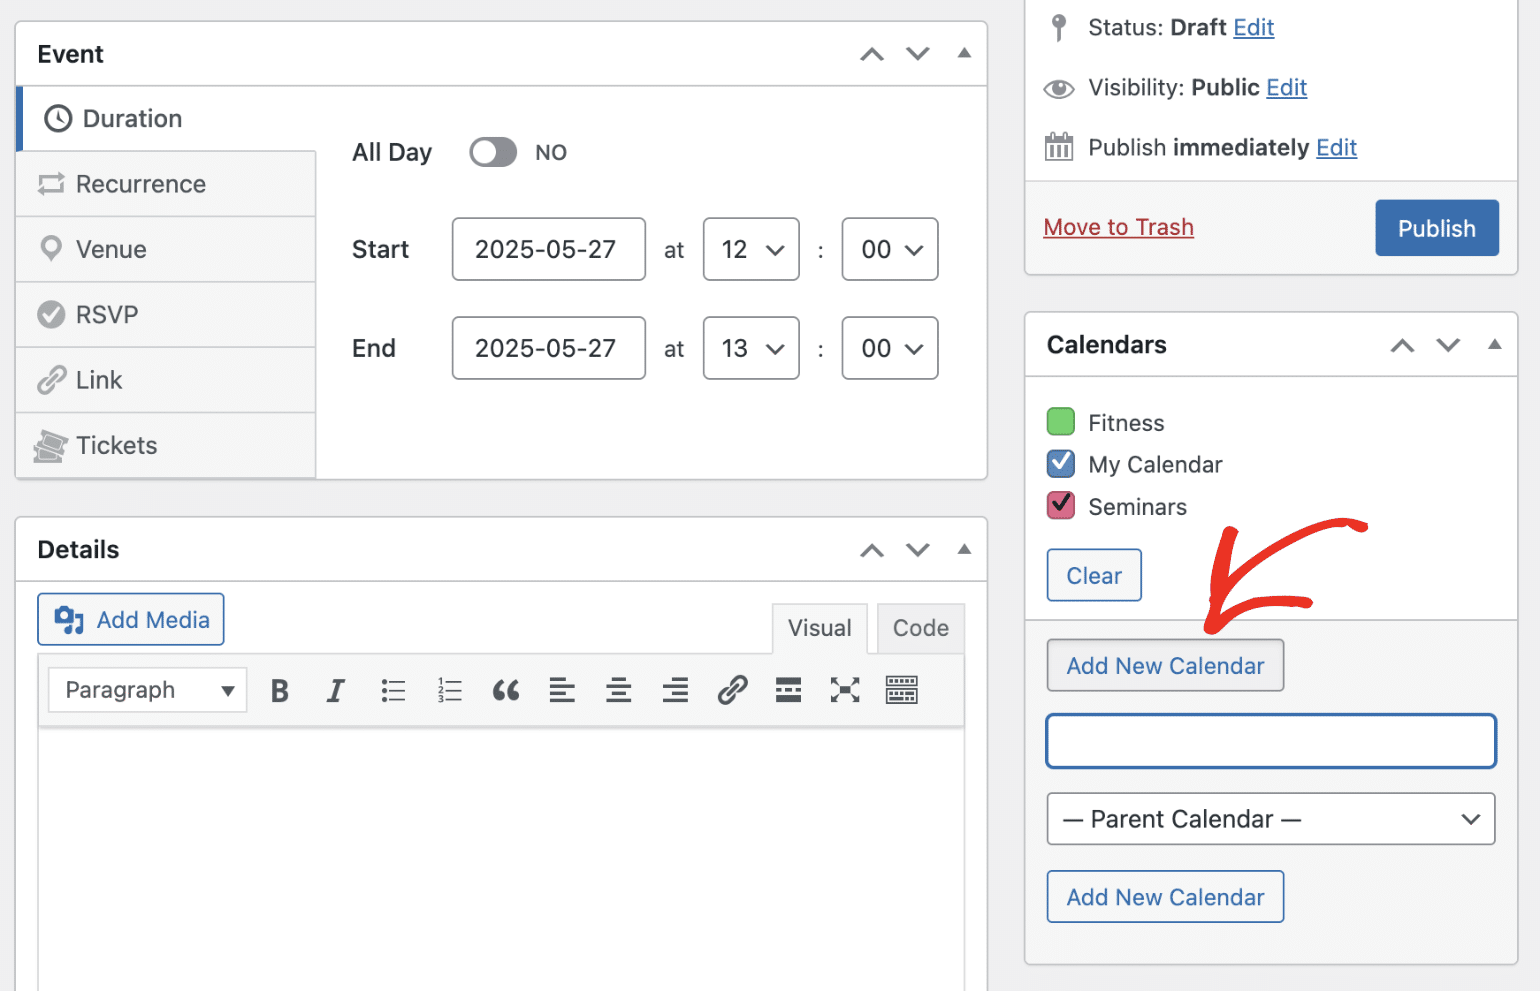
After naming the calendar, click the Add New Calendar button to save your changes.
Be sure to update or publish the event to save your changes.
That’s it! Now you know how to organize events on your site with calendars.
Next, would you like to show the events you’ve created on your site’s frontend? Be sure to check our guide on displaying event calendars to learn how.