Would you like to configure Google reCAPTCHA spam protection on your WordPress site? Sugar Calendar lets you setup reCAPTCHA to protect your RSVP forms from bot submissions.
This tutorial covers how to set up and use Google reCAPTCHA in WordPress.
In This Article
Before getting started, make sure Sugar Calendar is installed and activated on your WordPress site and that you’ve verified your license.
Accessing the Google reCAPTCHA Settings
Note: You’ll need to install and activate the RSVP addon on your site to proceed with this guide.
After installing the RSVP addon, you’ll be able to access the CAPTCHA settings by navigating to Events » Settings. Once there, click on the RSVP tab.
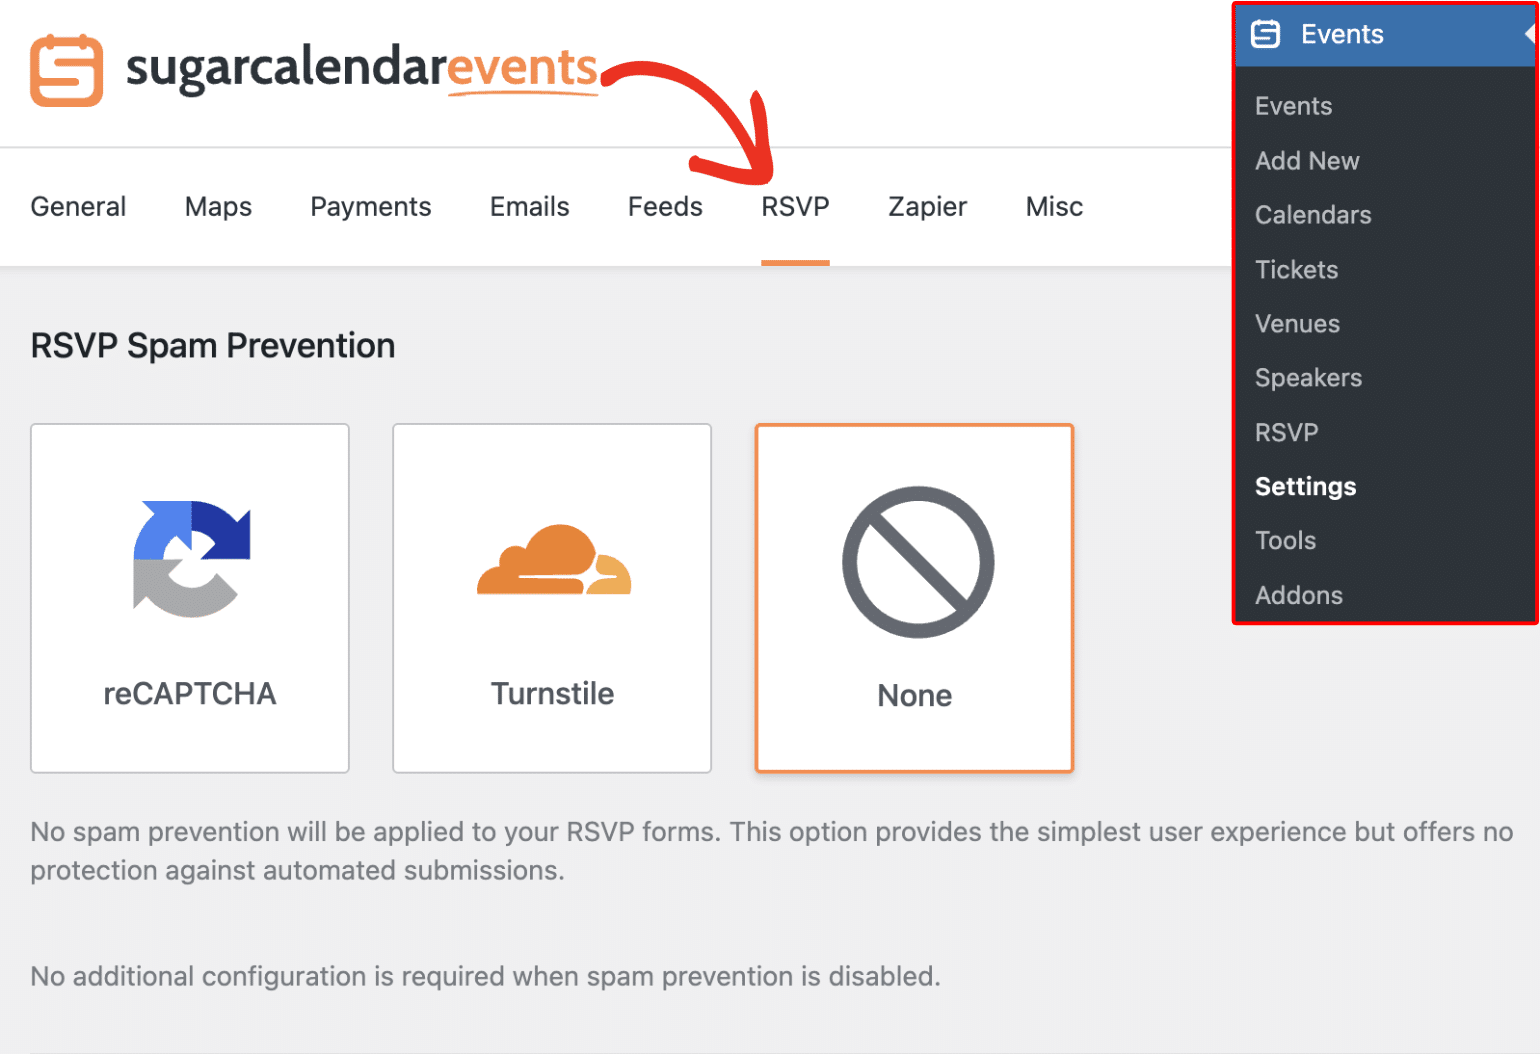
Next, select reCAPTCHA from the available options.
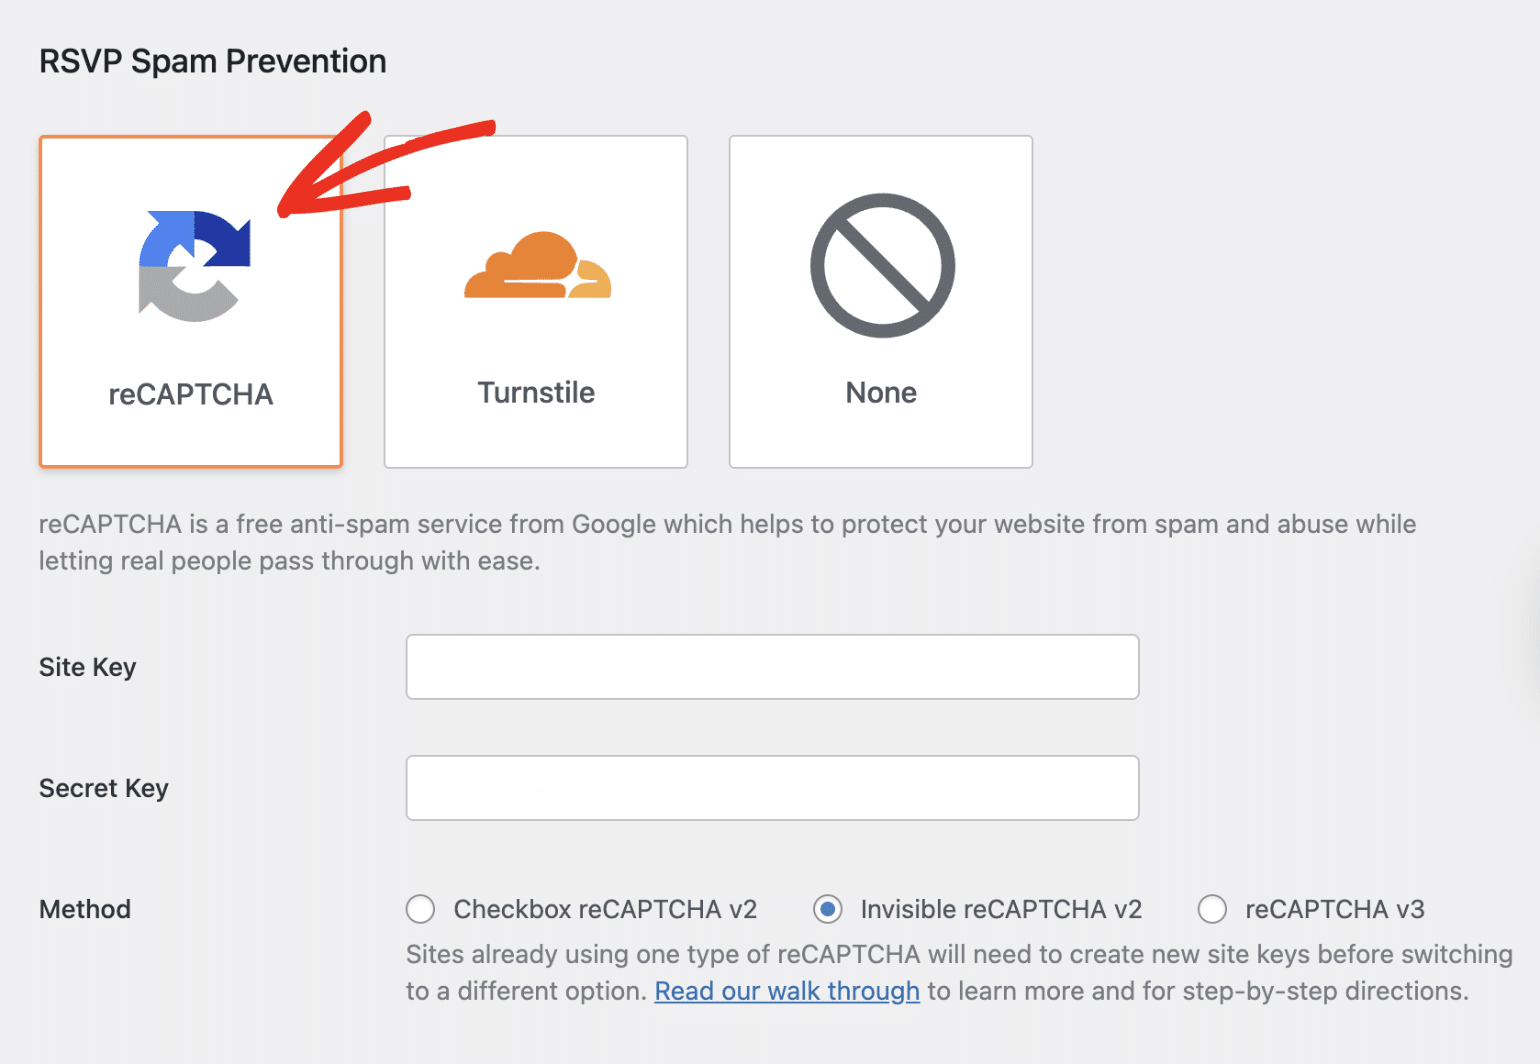
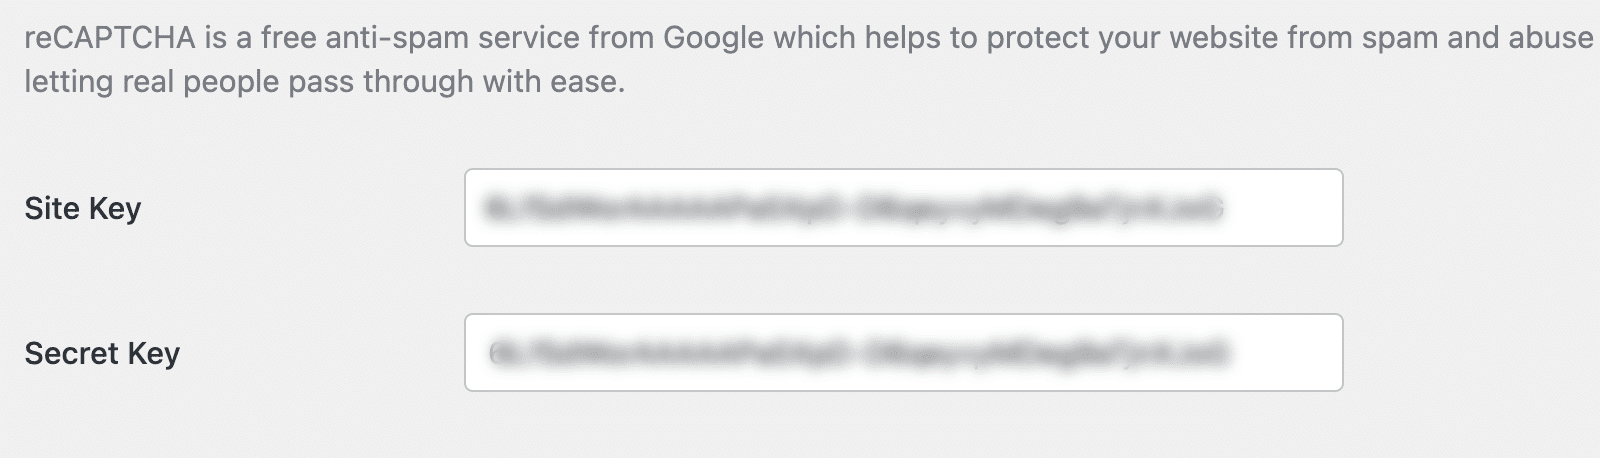
This will display additional fields needed to complete the setup. You’ll need to retrieve your Site key and Secret key from Google Cloud platform.
Generating reCAPTCHA Keys in Google
To create your reCAPTCHA keys, you’ll need to set up reCAPTCHA in your Google account. For this, open Google’s reCAPTCHA admin console and sign in with your Google account. You’ll be directed to the reCAPTCHA setup form.
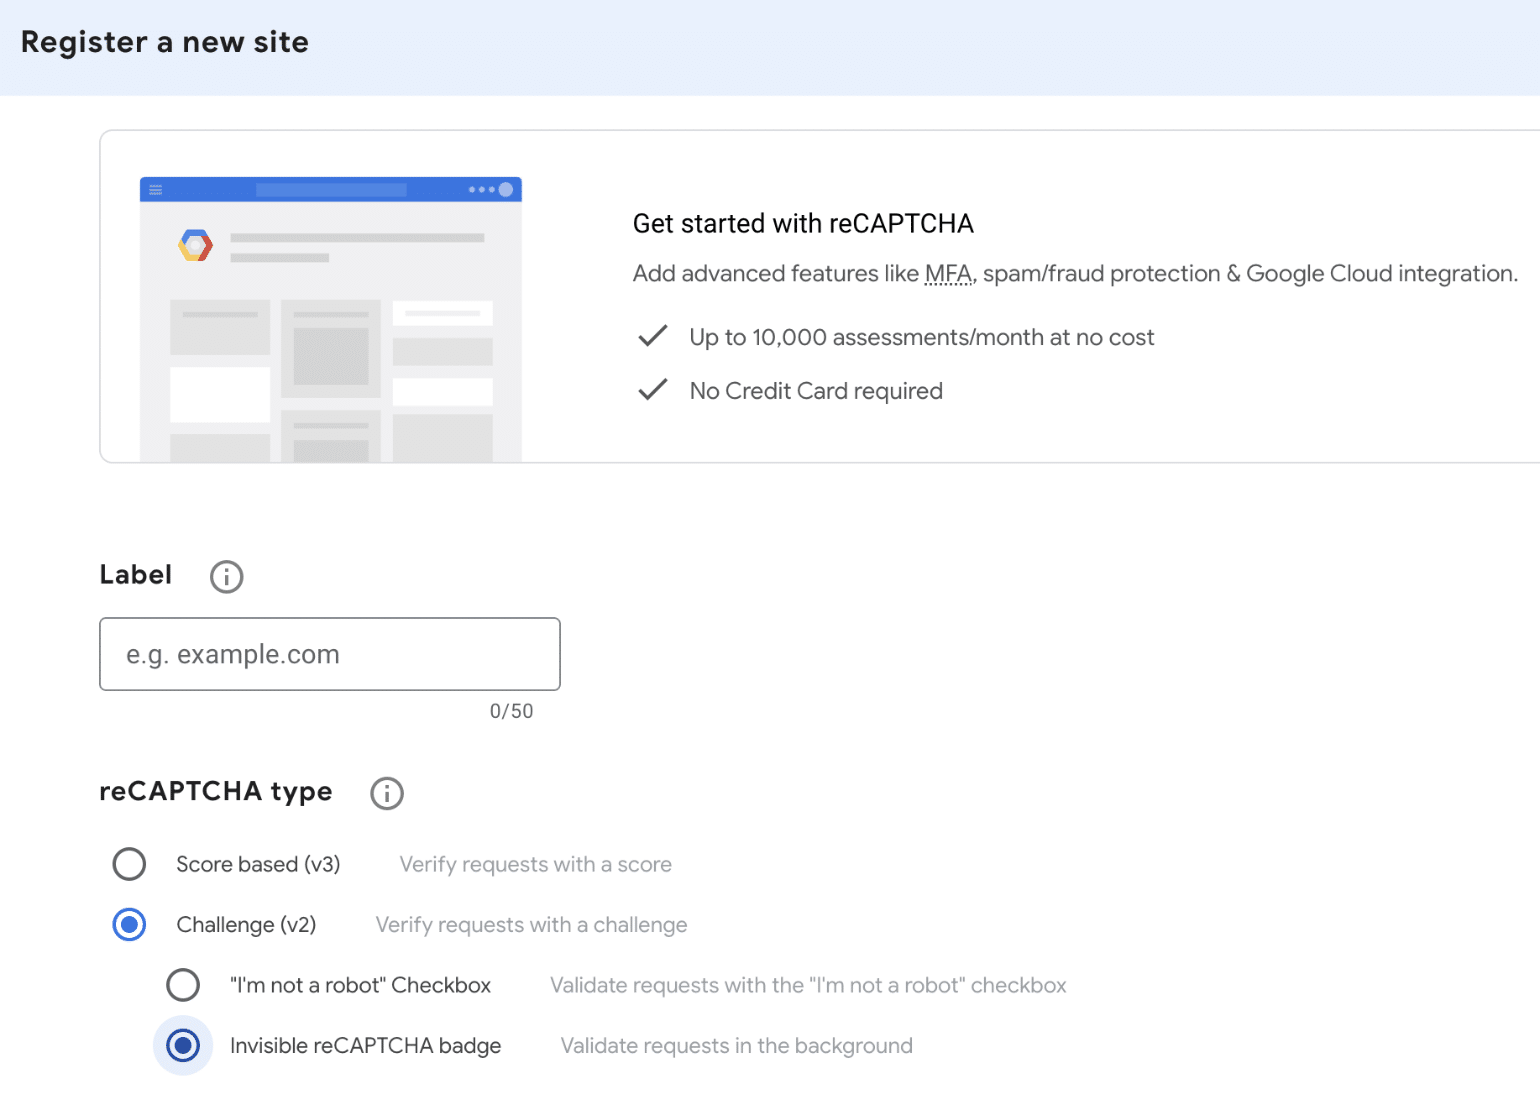
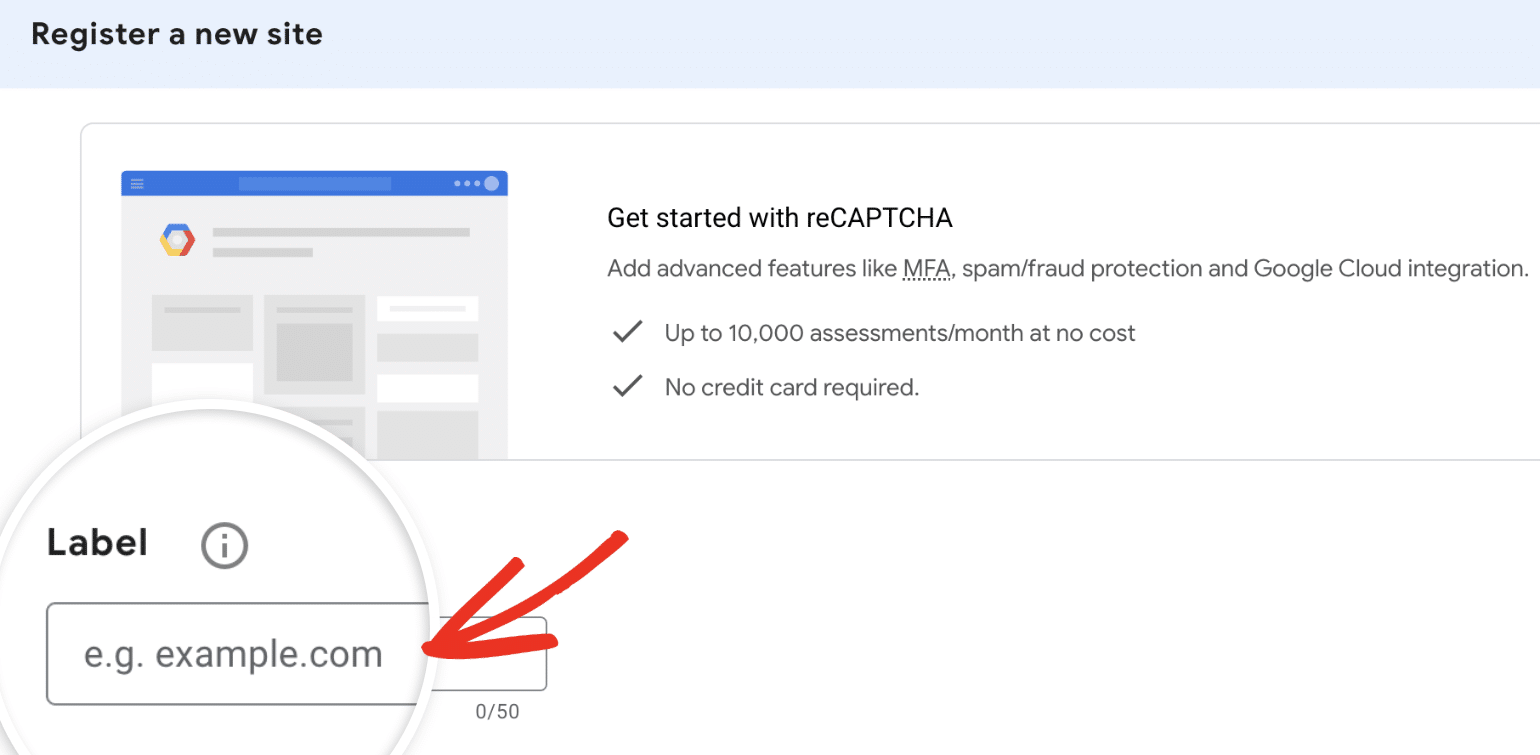
First, you’ll need to enter a label for the key you intend to create in the Label field. This is only visible to you, so enter any name that makes logical sense (most commonly the website name).
Under reCAPTCHA type, you’ll need to specify the version of CAPTCHA you’d like to configure. Challenge (v2) requires users to complete a challenge before verifying their request. Score based (v3) verifies requests with a score.

Note: The CAPTCHA type you select here needs to match the one you select in the RSVP spam protection settings page on your WordPress site.
After selecting the reCAPTCHA type, go ahead and add your WordPress site’s address in the Domains field.
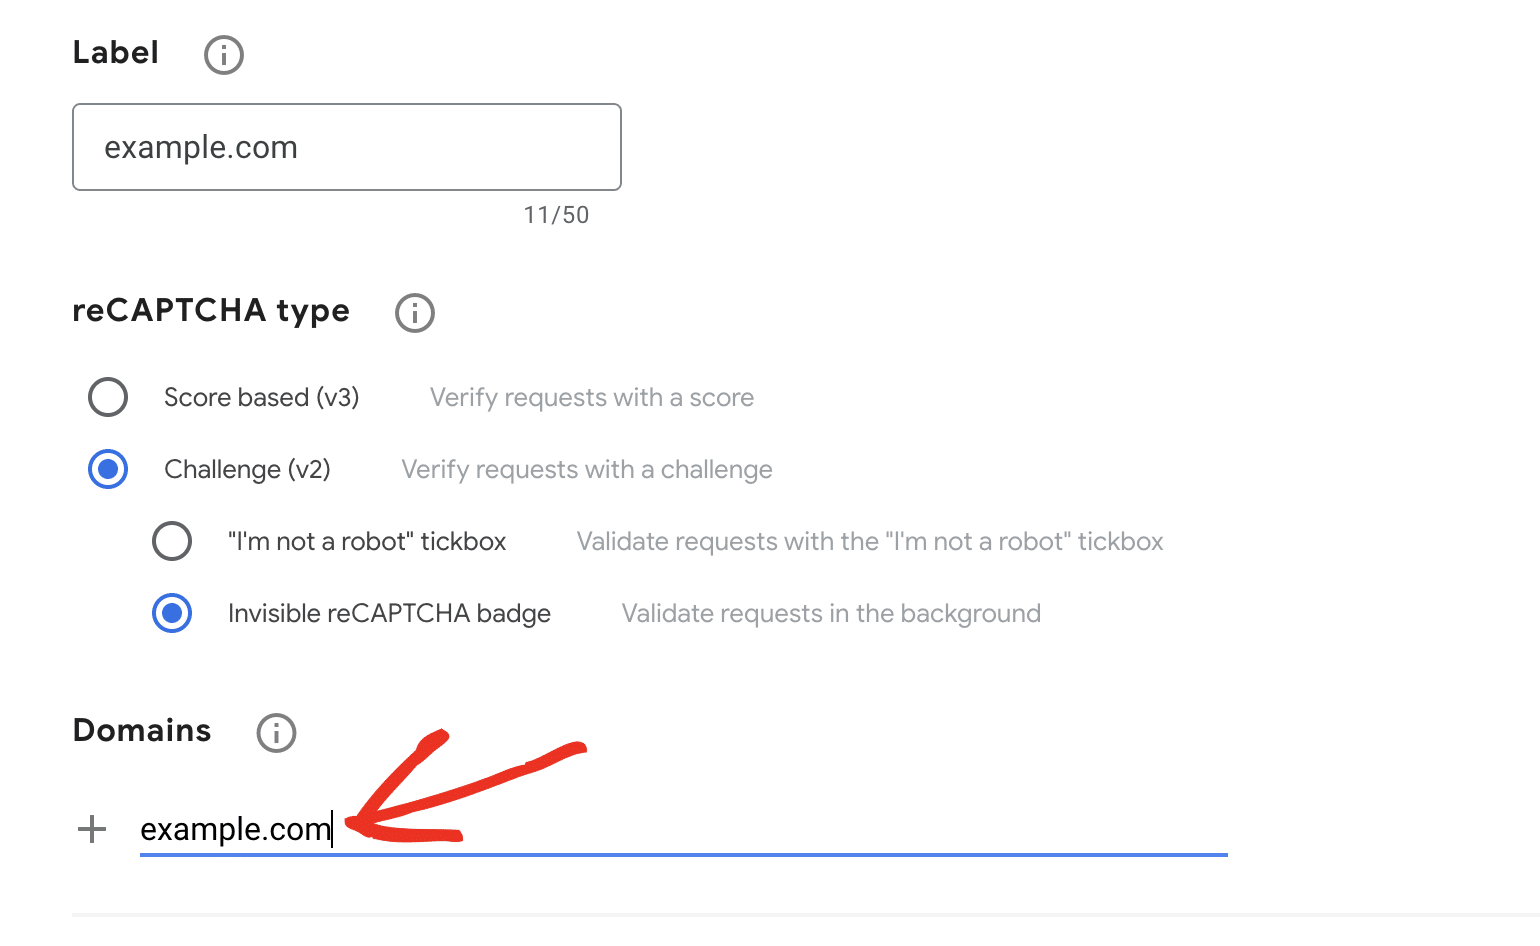
Note: Do not include “https://www” at the start (for instance, example.com would be accepted, but https://example.com or www.example.com would not).
If you haven’t used Google Cloud before, a new Google Cloud Platform (GCP) project will be created for you automatically. If you’ve already set up projects in your account, you’ll be able to select one from the Project name dropdown.
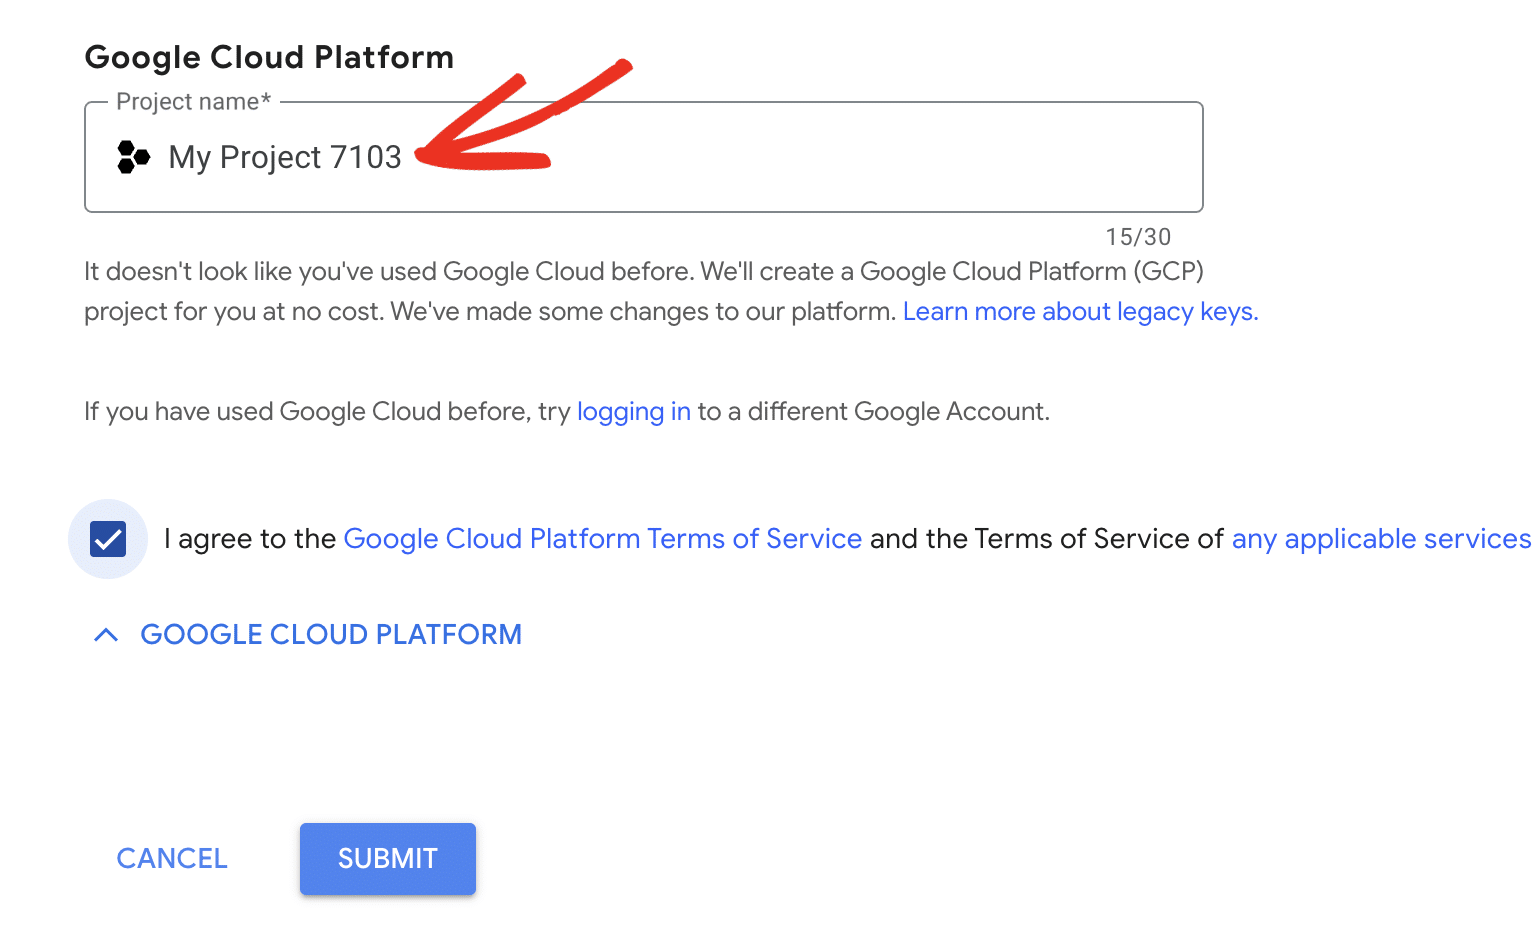
Note: Google Cloud automatically creates a project for reCAPTCHA when needed. A billing account is not required for basic usage, as you’ll get access to 10,000 monthly assessments. However, Google may ask you to set one up if your reCAPTCHA traffic exceeds the free tier. You can review reCAPTCHA pricing details on Google’s site.
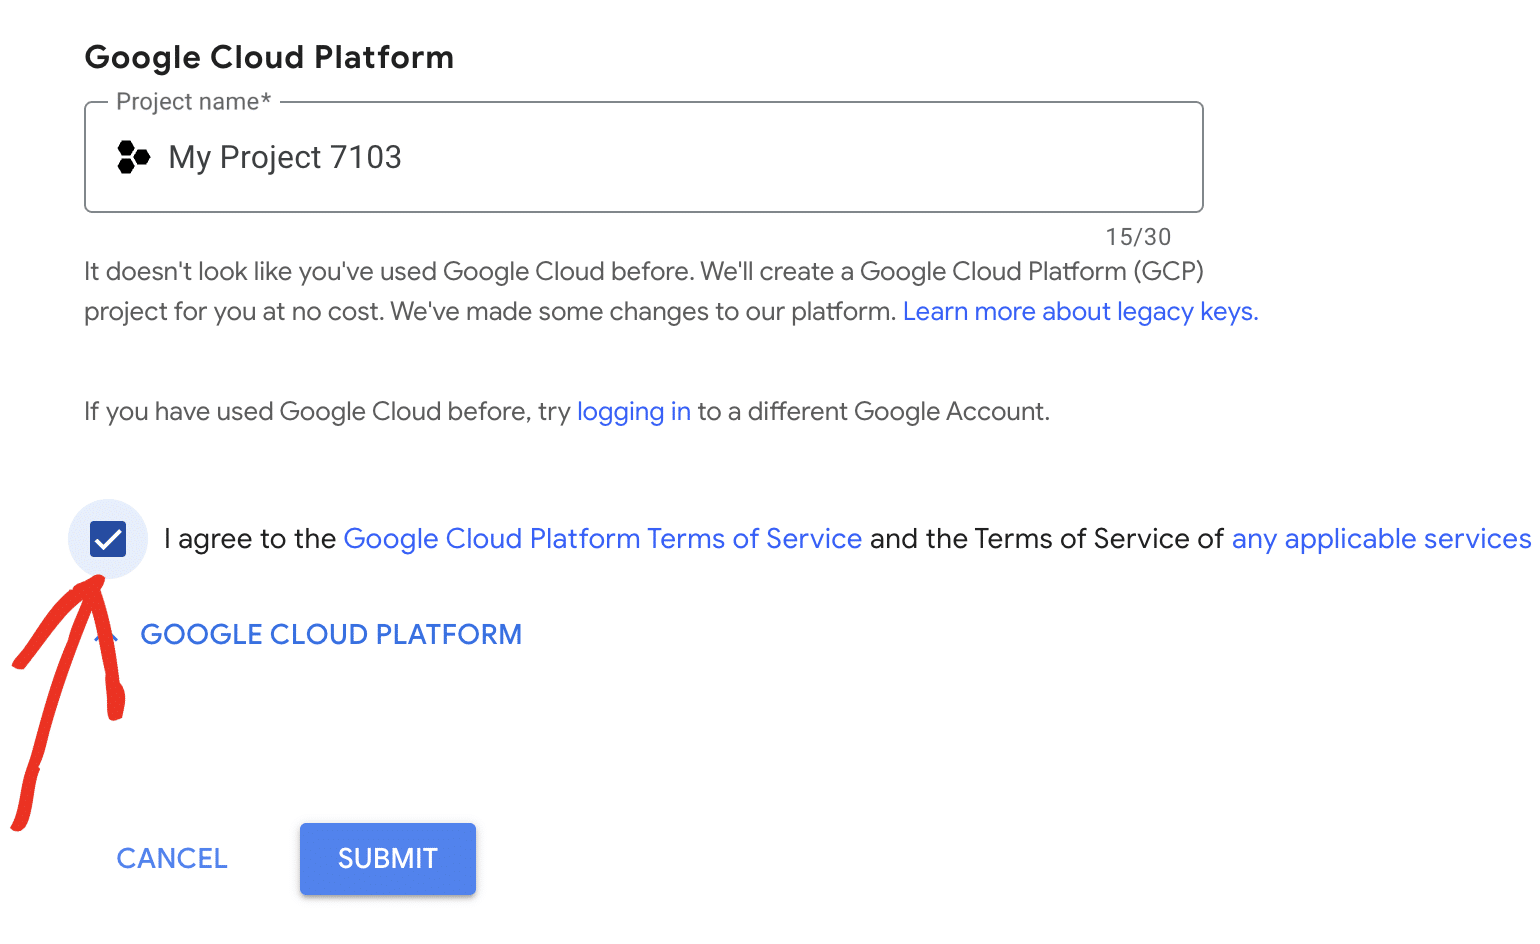
Once done, check the box labeled I agree to the Google Cloud Platform Terms of Service, and the terms of service of any applicable services and APIs.
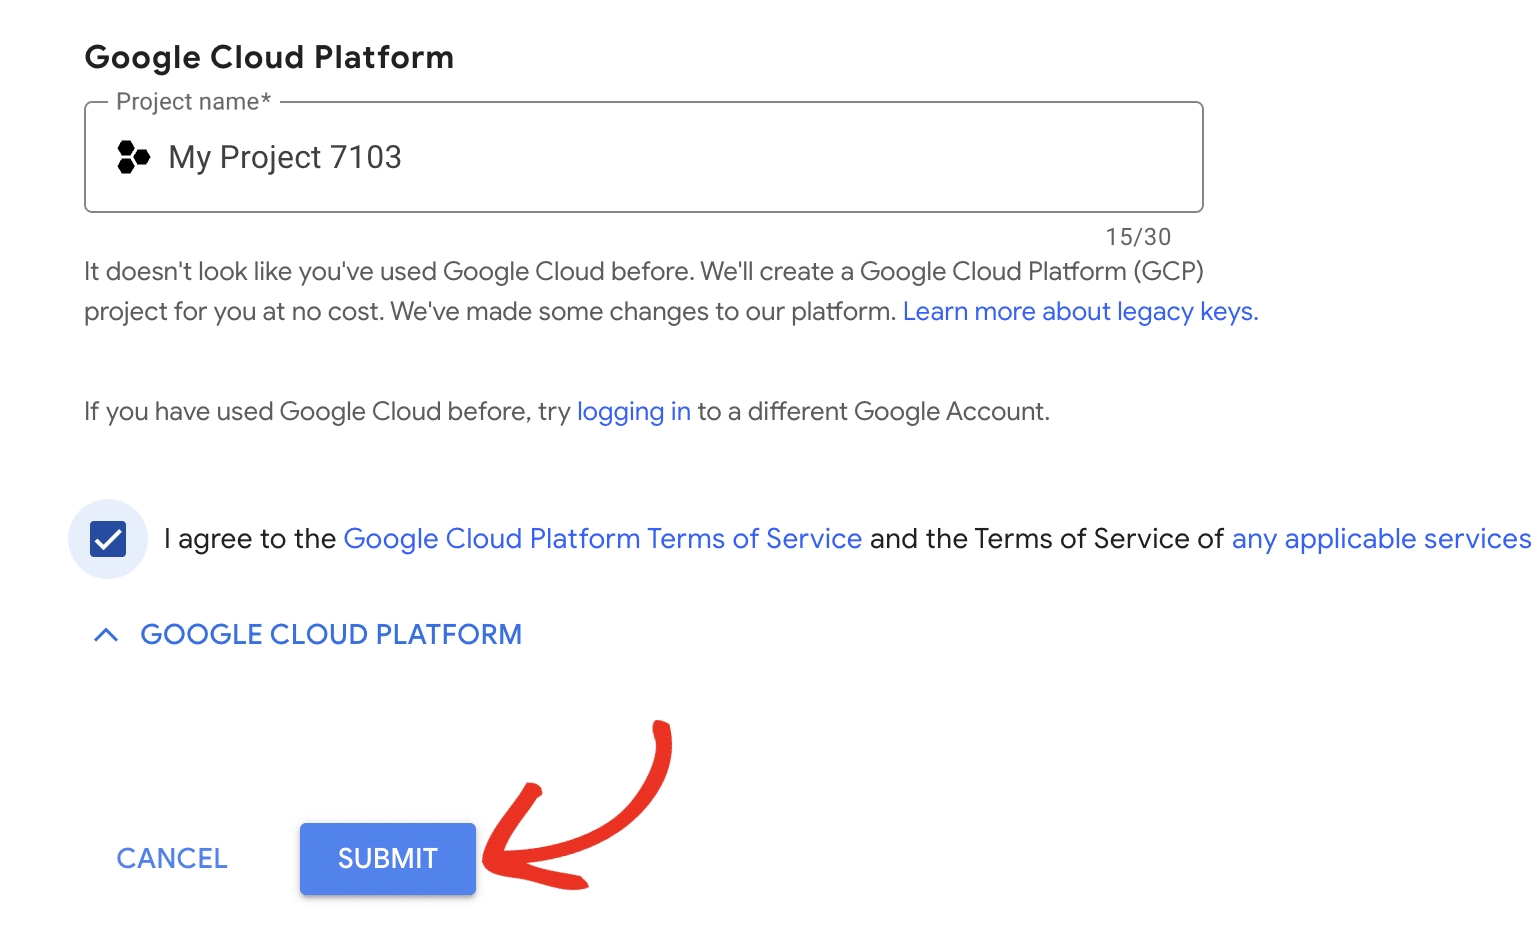
After that, go ahead and click the Submit button to proceed.
You’ll be directed to a page with the keys for your website. Go ahead and copy the Site Key and Secret Key.
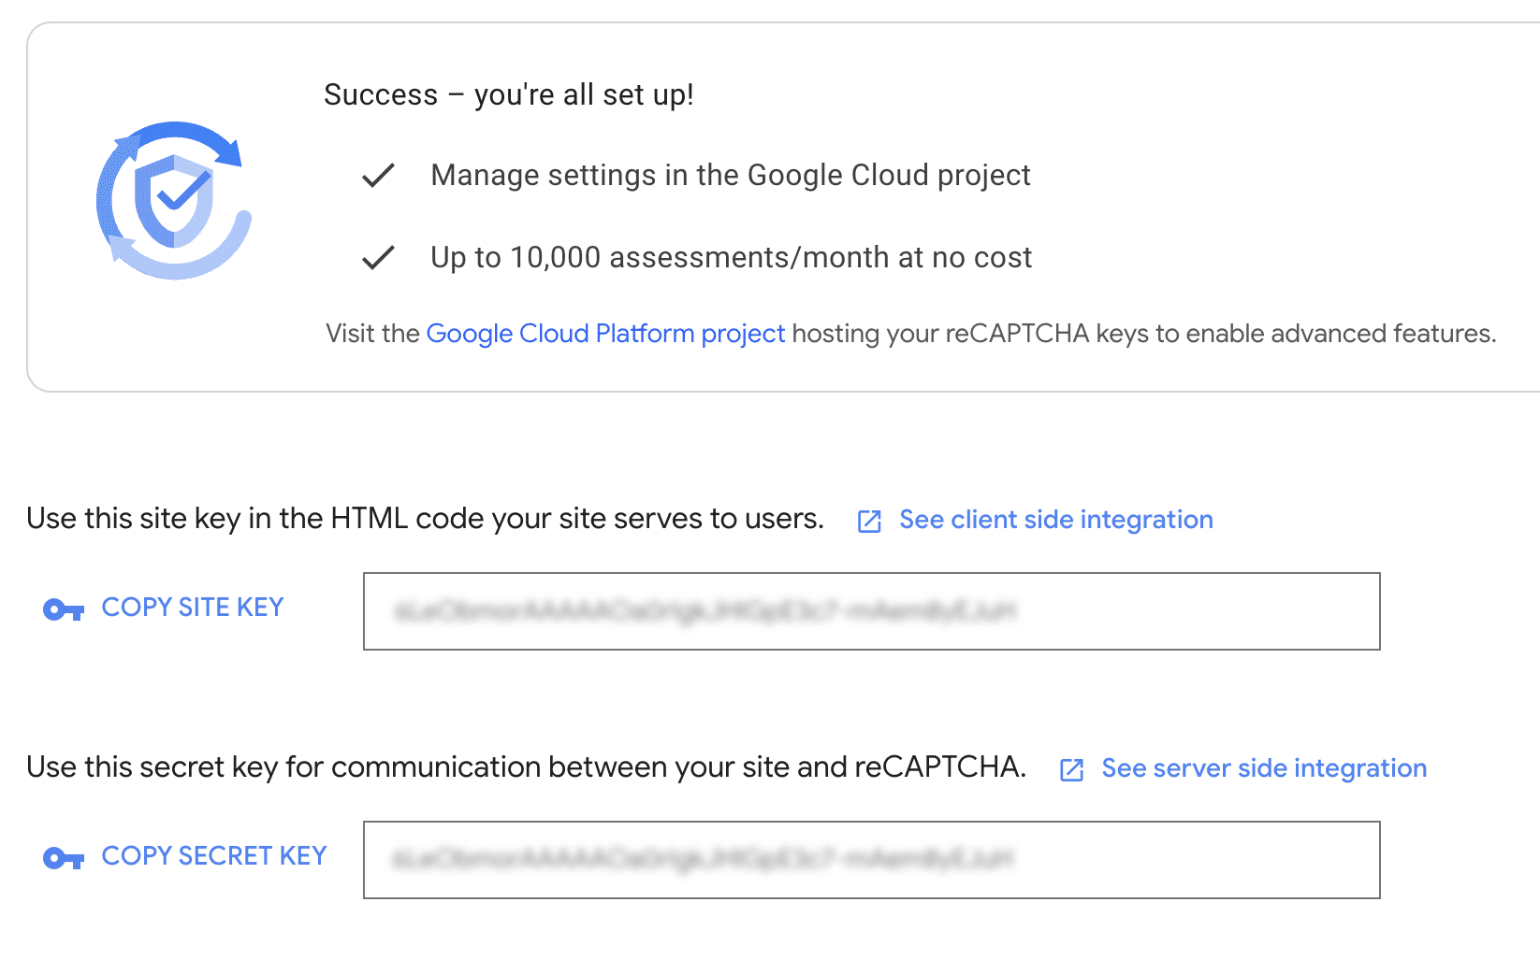
Adding Your reCAPTCHA Keys
Once you’ve copied both keys, switch back to the browser tab with your Sugar Calendar settings page open. Once there, paste these keys into the corresponding Site key and Secret key fields.
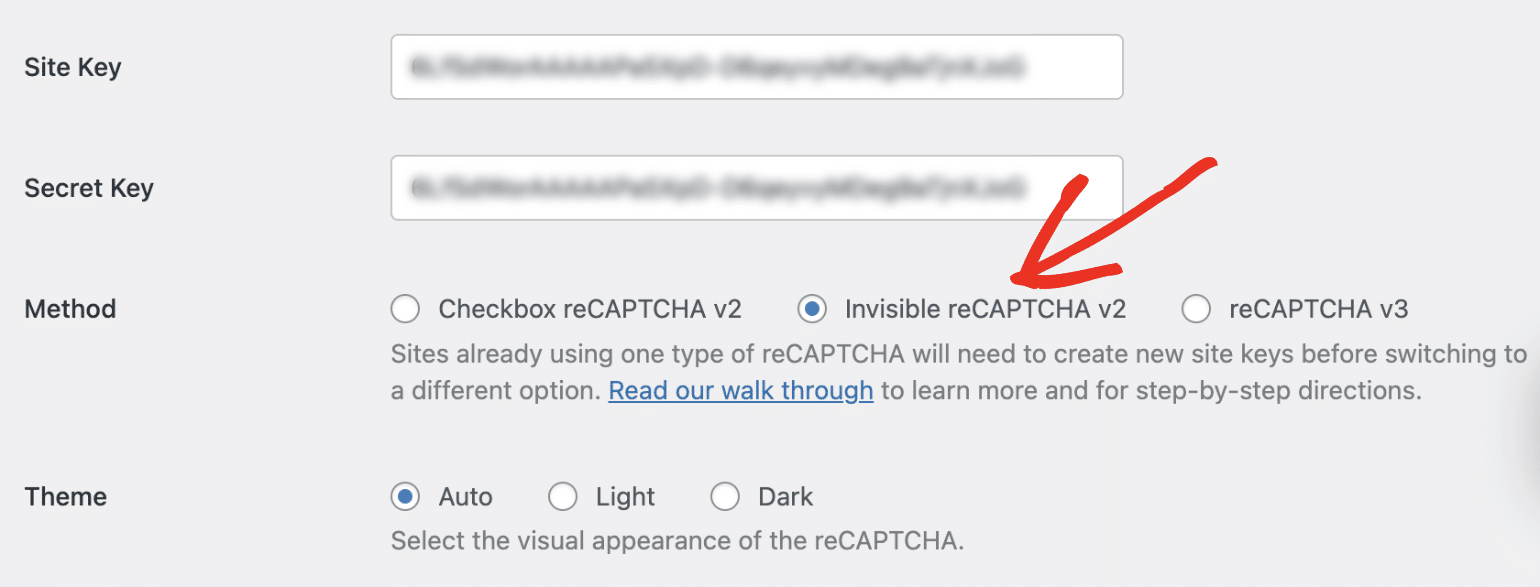
Under Method, make sure to select the reCAPTCHA type you specified when generating your credentials.
Now that you’ve added your reCAPTCHA keys, you can also optionally adjust other reCAPTCHA settings.
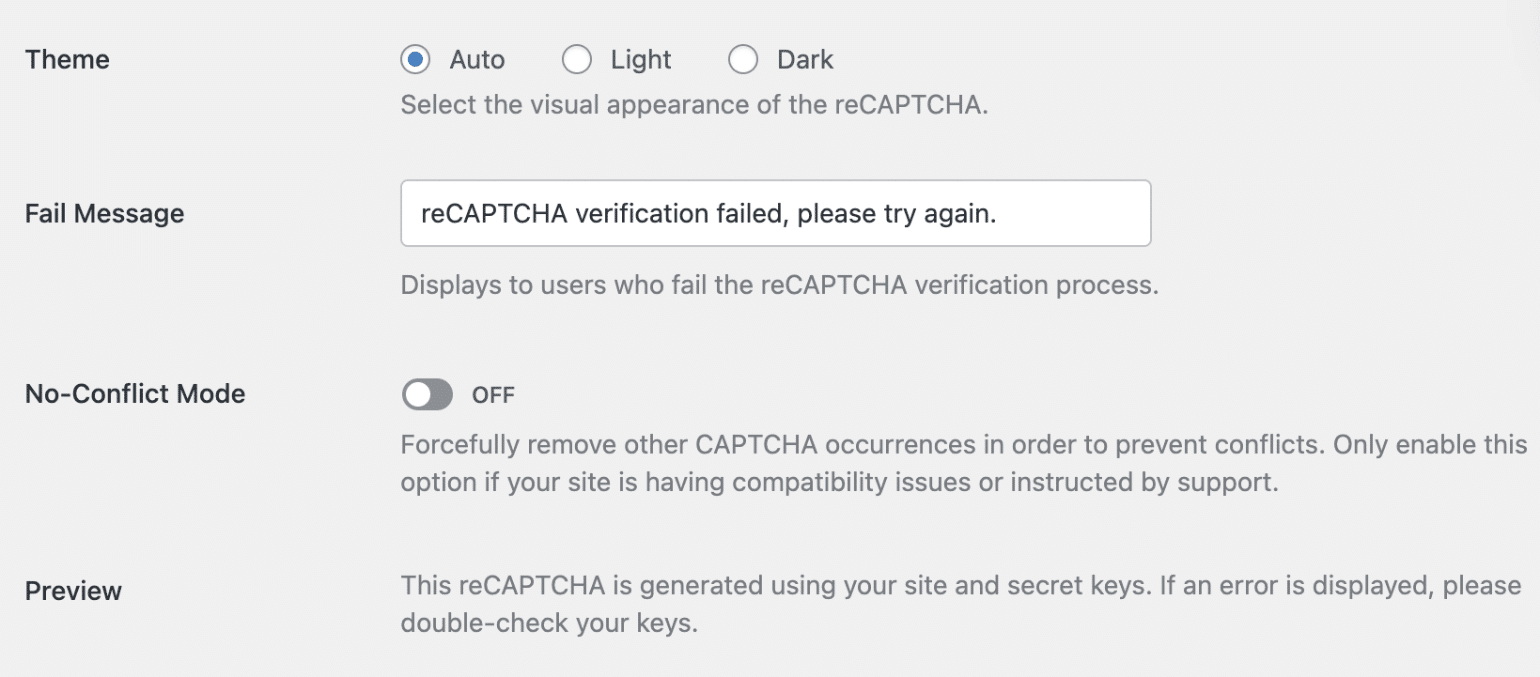
- Theme: This specifies the appearance of the CAPTCHA widget on your site. Available option include: Auto, Dark and Light mode.
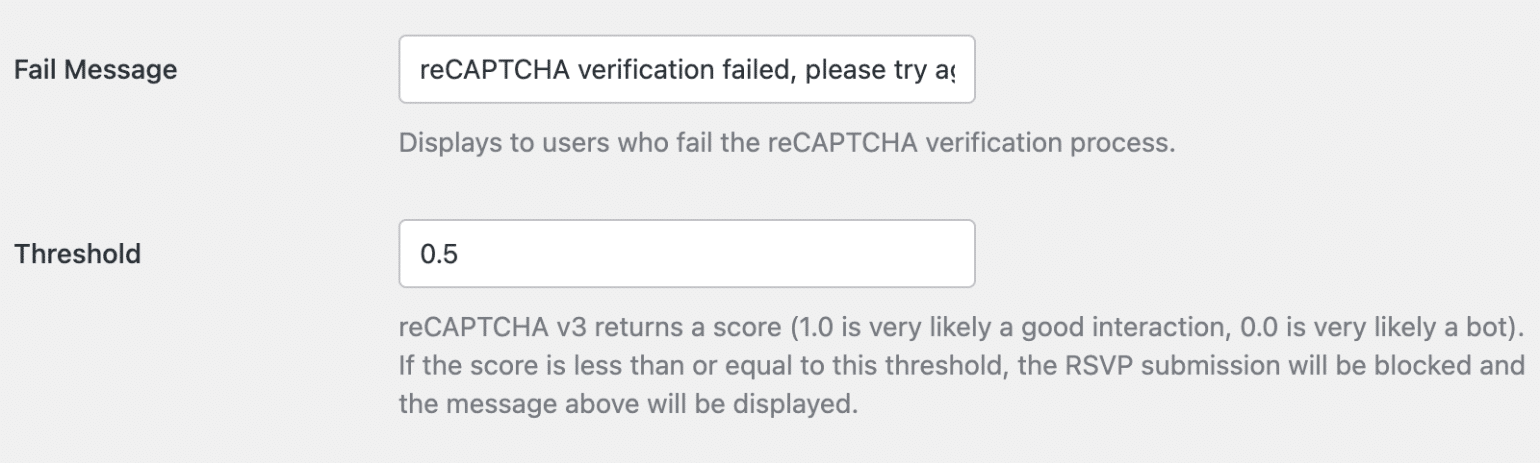
- Fail Message: This error will display to any user who does not pass reCAPTCHA’s verification test.
- Score Threshold (for reCAPTCHA v3 only): This is the score at which you want users to fail reCAPTCHA v3’s verification. Scores can range from 0.0 (very likely a bot) to 1.0 (very likely a good interaction).

- No-Conflict Mode: If reCAPTCHA is being loaded more than once on your site (for example, by both Sugar Calendar and your WordPress theme), it can prevent reCAPTCHA from working properly. No-Conflict Mode will remove any reCAPTCHA code that’s not loaded by Sugar Calendar. We highly recommend getting in touch with our support team if you’re at all unsure whether to use this option.
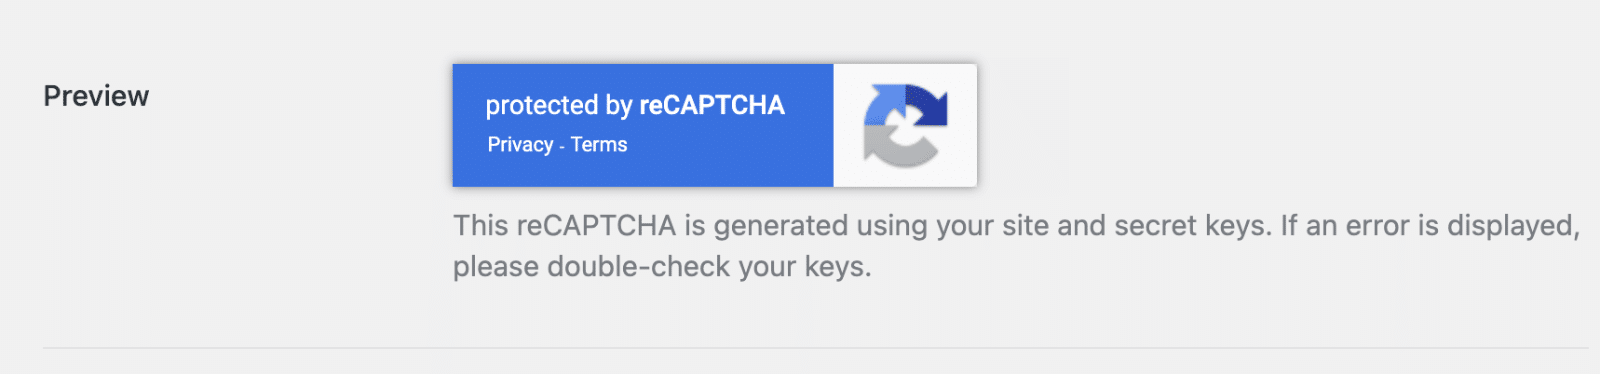
- Preview (for Checkbox reCAPTCHA v2 only): If reCAPTCHA is configured correctly, you’ll see a preview of what it will look like on your site.
Then, click on the Save Settings button at the bottom of this page to save your changes.
When filling out the RSVP form on your site’s frontend, you’ll see Google reCAPTCHA’s badge at the bottom left side of the page, indicating that the form is protected.
![]()
That’s it! You’ve now learned how to protect your RSVP forms with Google reCAPTCHA.
Next, would you like to learn how to customize emails sent to users who RSVP to events on your site? Be sure to check our guide on customizing Sugar Calendar Event emails to learn how.