Would you like to get a quick overview of your upcoming Sugar Calendar events without leaving your WordPress Dashboard? The Sugar Calendar Dashboard Widget makes it easy to manage event-related activities right from your admin homepage.
In this guide, you’ll learn how to use and customize the Sugar Calendar Events dashboard widget.
In This Article
Before getting started, make sure the Sugar Calendar Events plugin is installed and activated on your WordPress site.
Accessing the Dashboard Widget
The Sugar Calendar Events widget is automatically added to your WordPress dashboard when the plugin is activated. To view it, go to Dashboard » Home from the WordPress admin area. Then scroll down to the Sugar Calendar section.
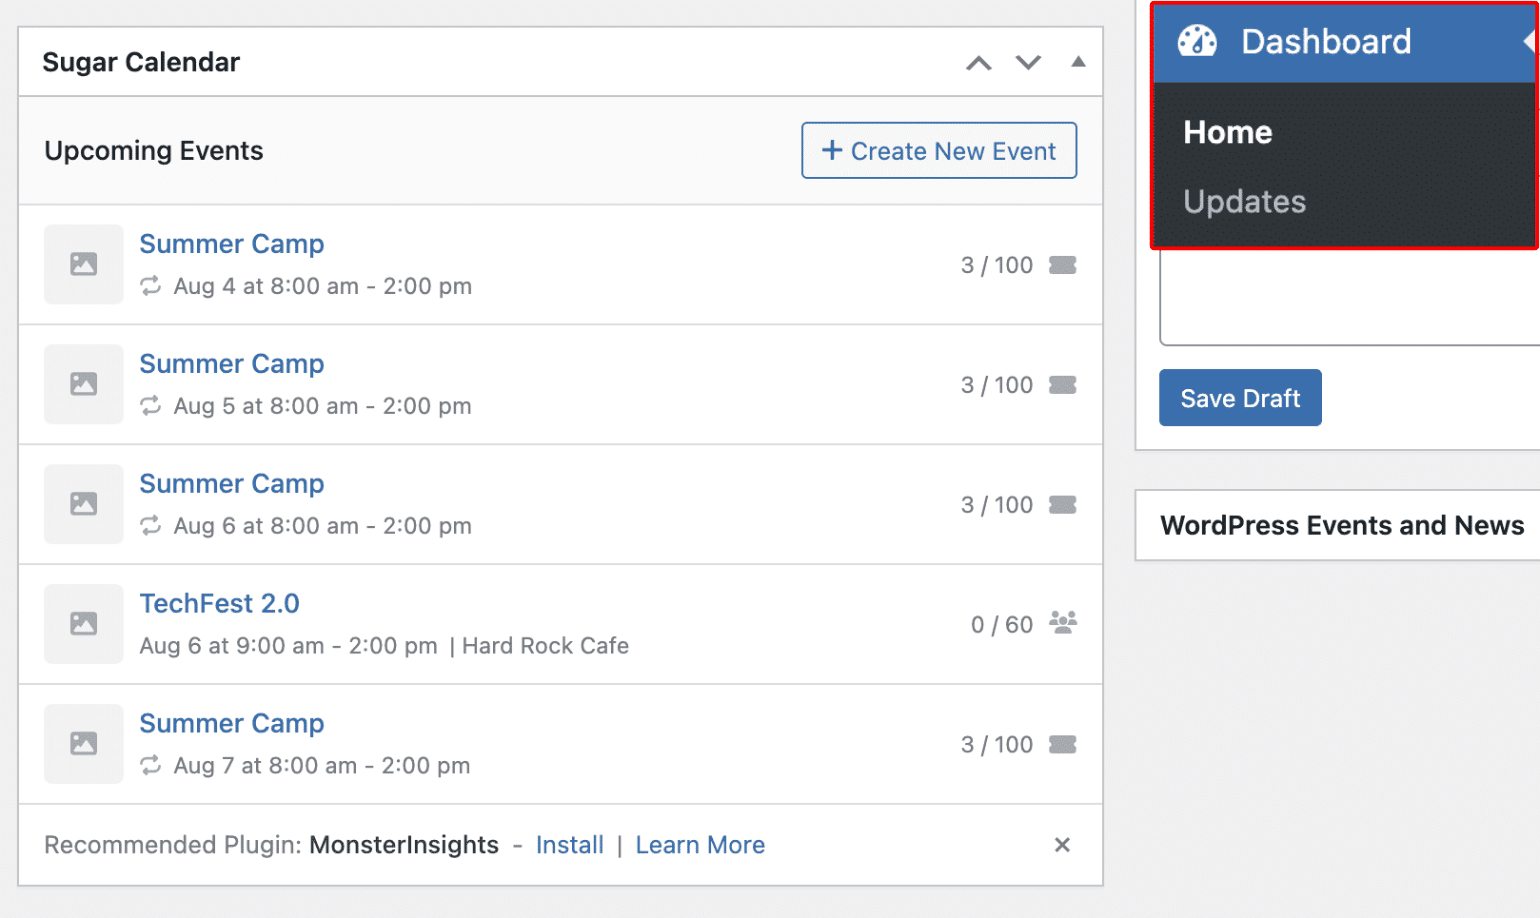
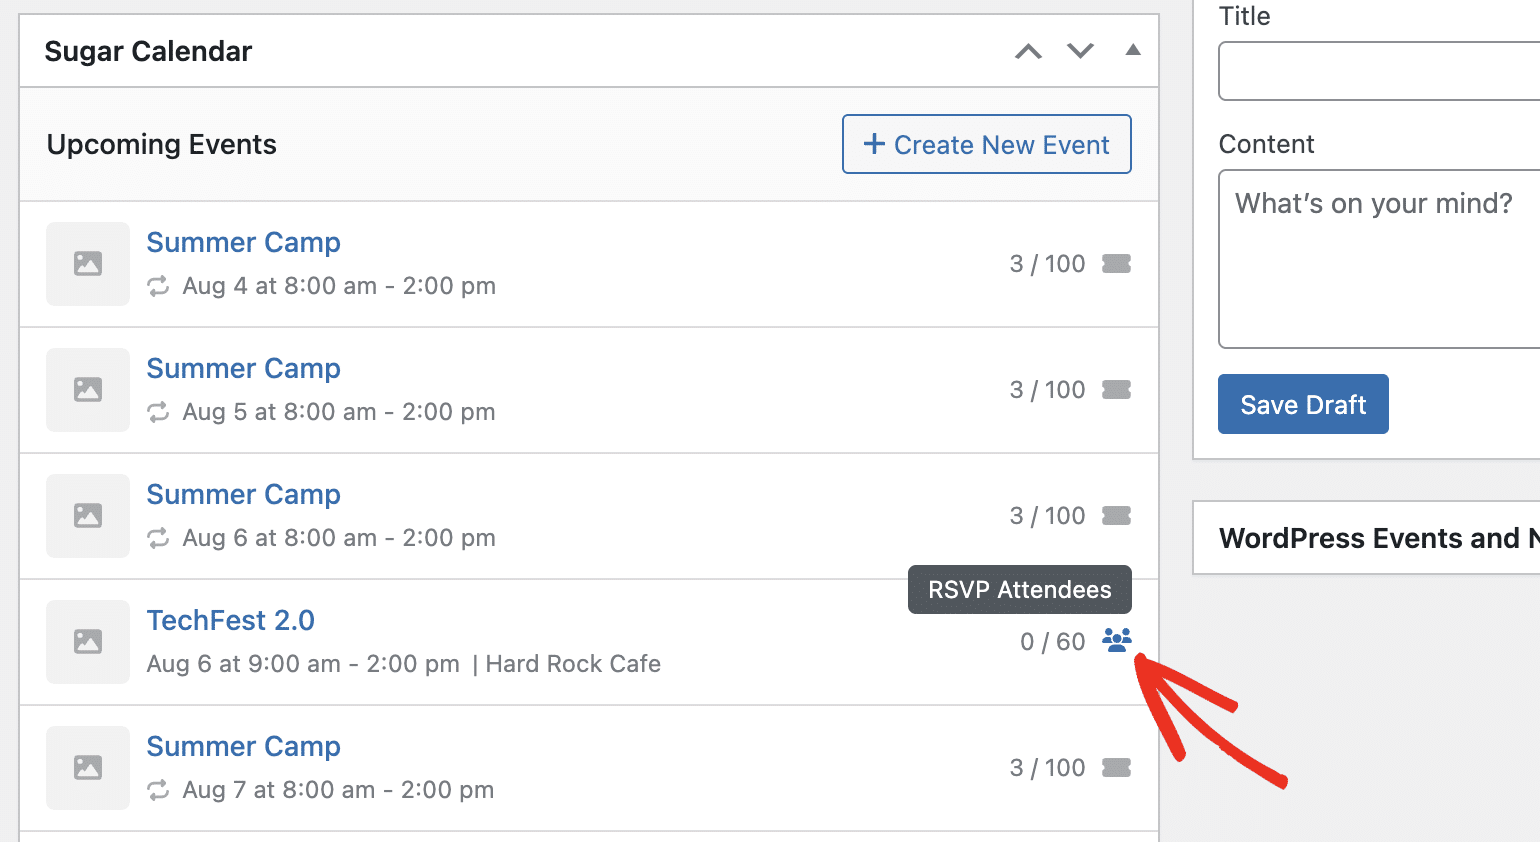
You’ll see a list of the next 5 upcoming events from your calendar. Each event entry displays the following:
- Event name and date
- Time range
- Capacity and signups for ticketed or RSVP-enabled events
- Icons for RSVP or ticketing events with direct links
Creating a New Event
To quickly add a new event, click the + Create New Event button located at the top right of the widget.
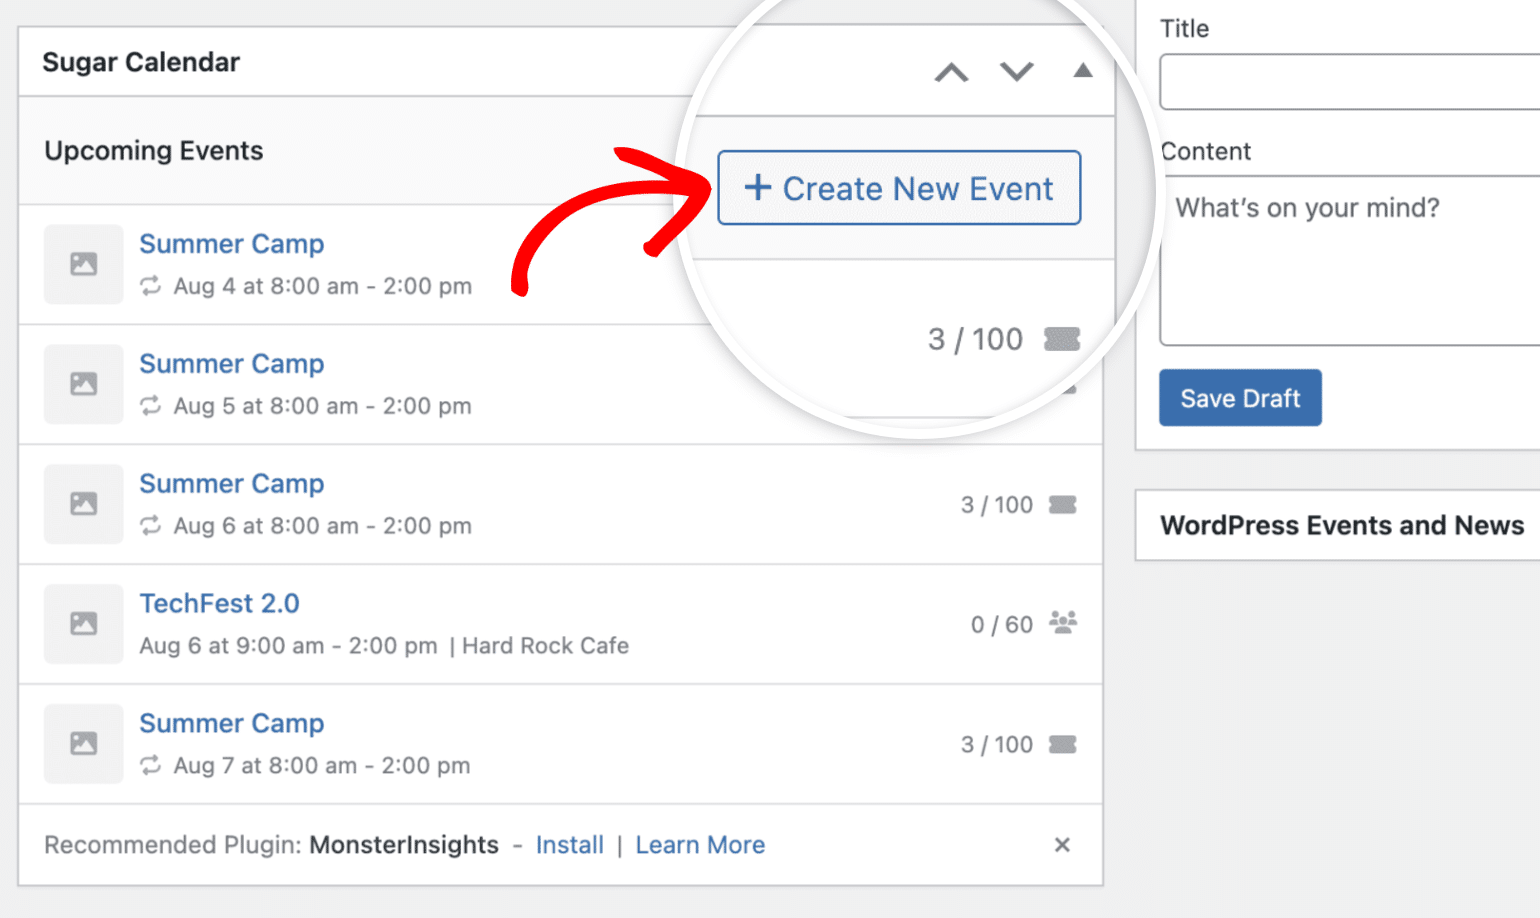
This will open the event editor, where you can enter all the necessary details like time, venue, tickets, or RSVP options.
Viewing Capacity for RSVP and Ticket Events
For events with RSVP or ticketing enabled, you’ll see a count on the right showing the number of seats reserved or purchased out of the total available capacity.
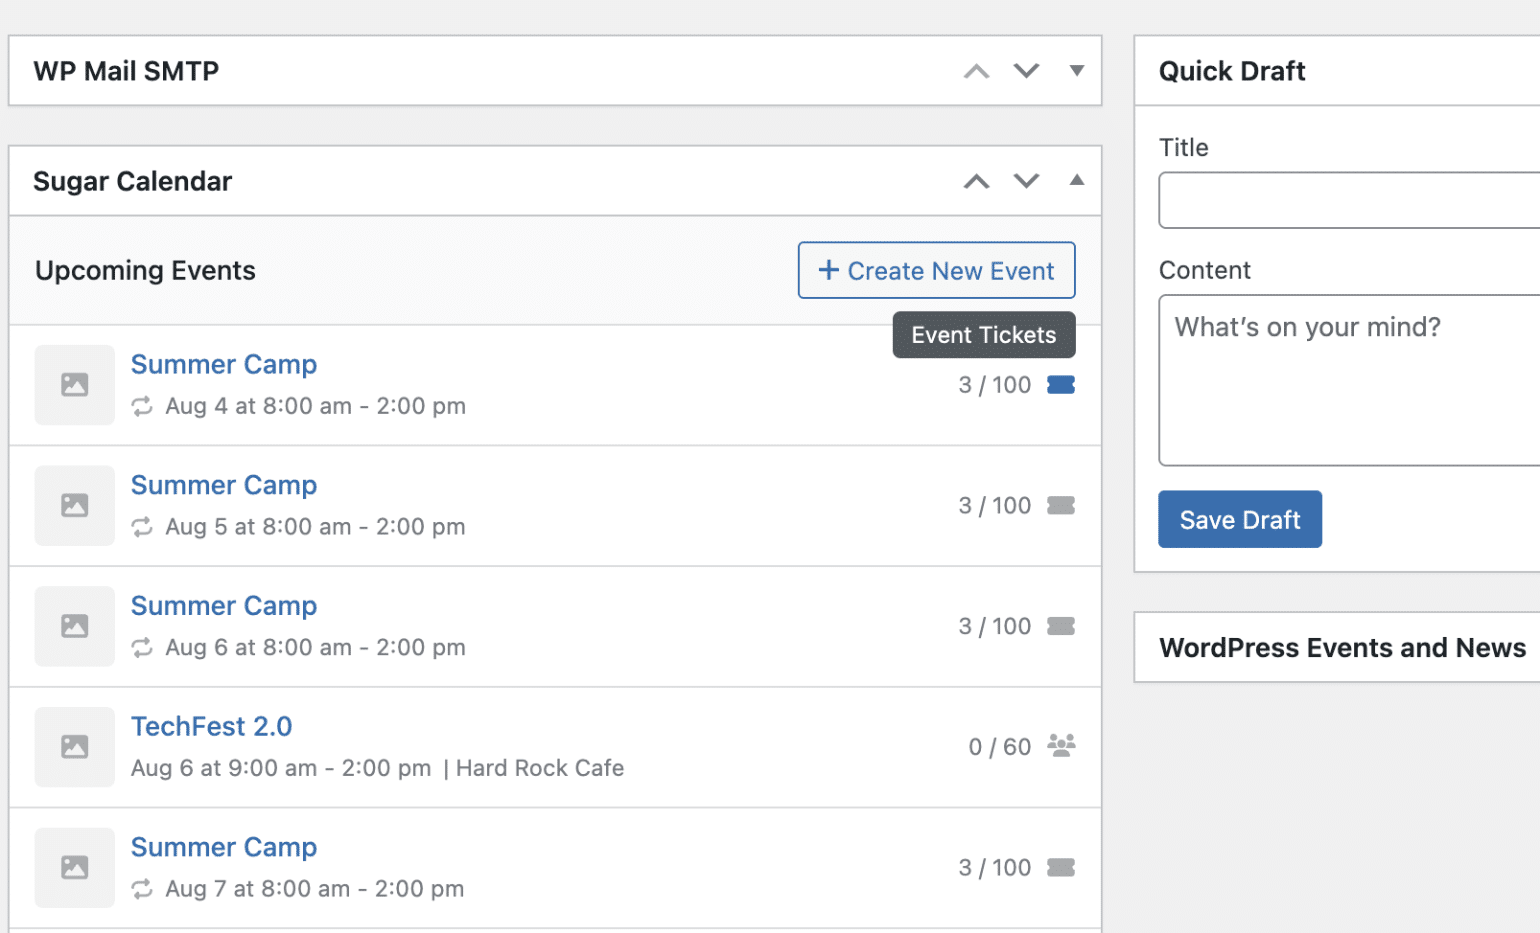
This lets you quickly monitor attendance and demand without digging into individual event pages.
Quick Navigation Links
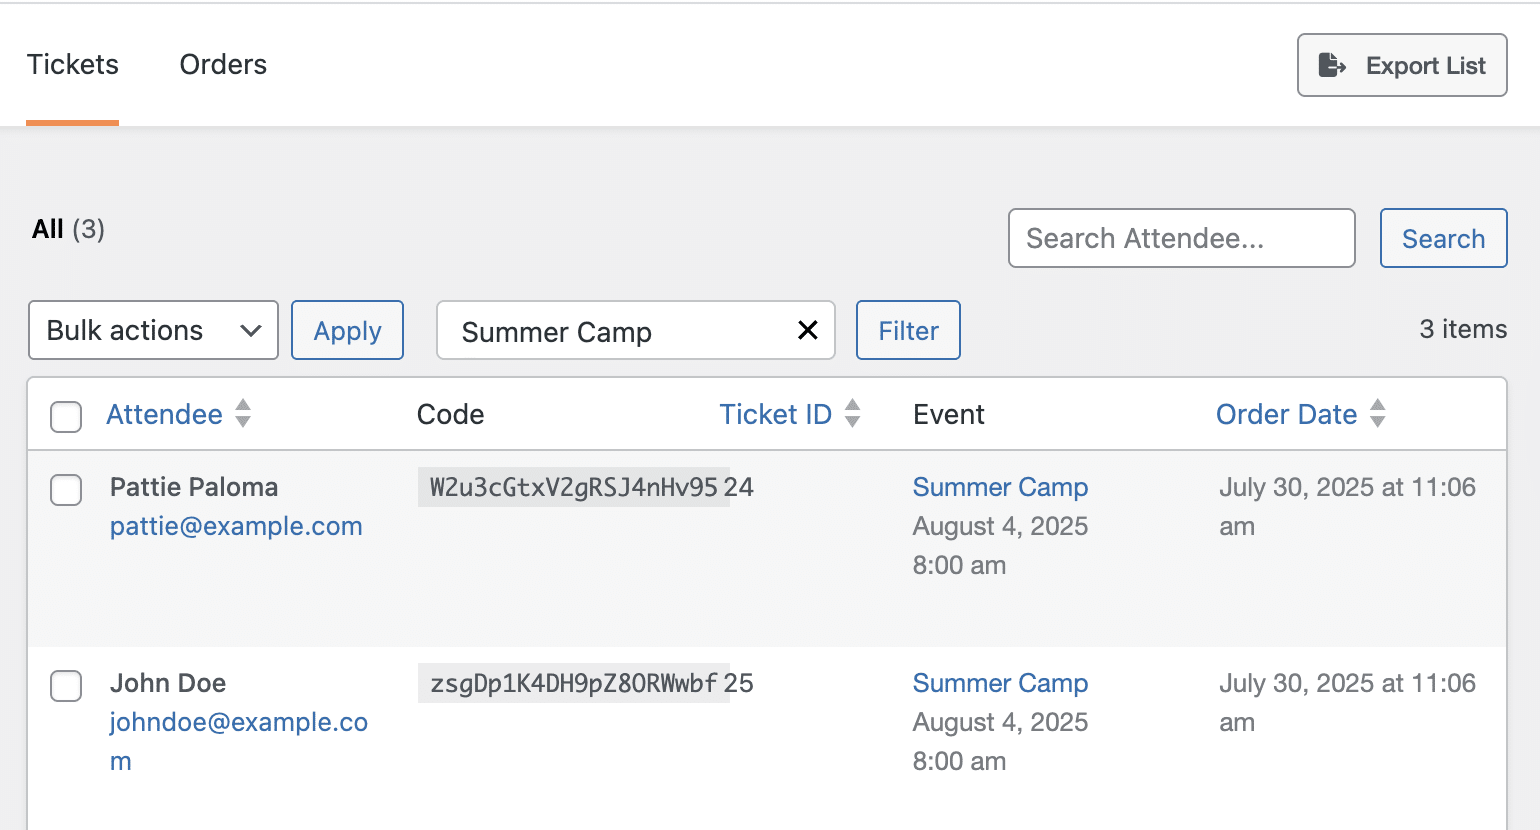
Clicking on the ticket icon will direct you to the tickets overview page.
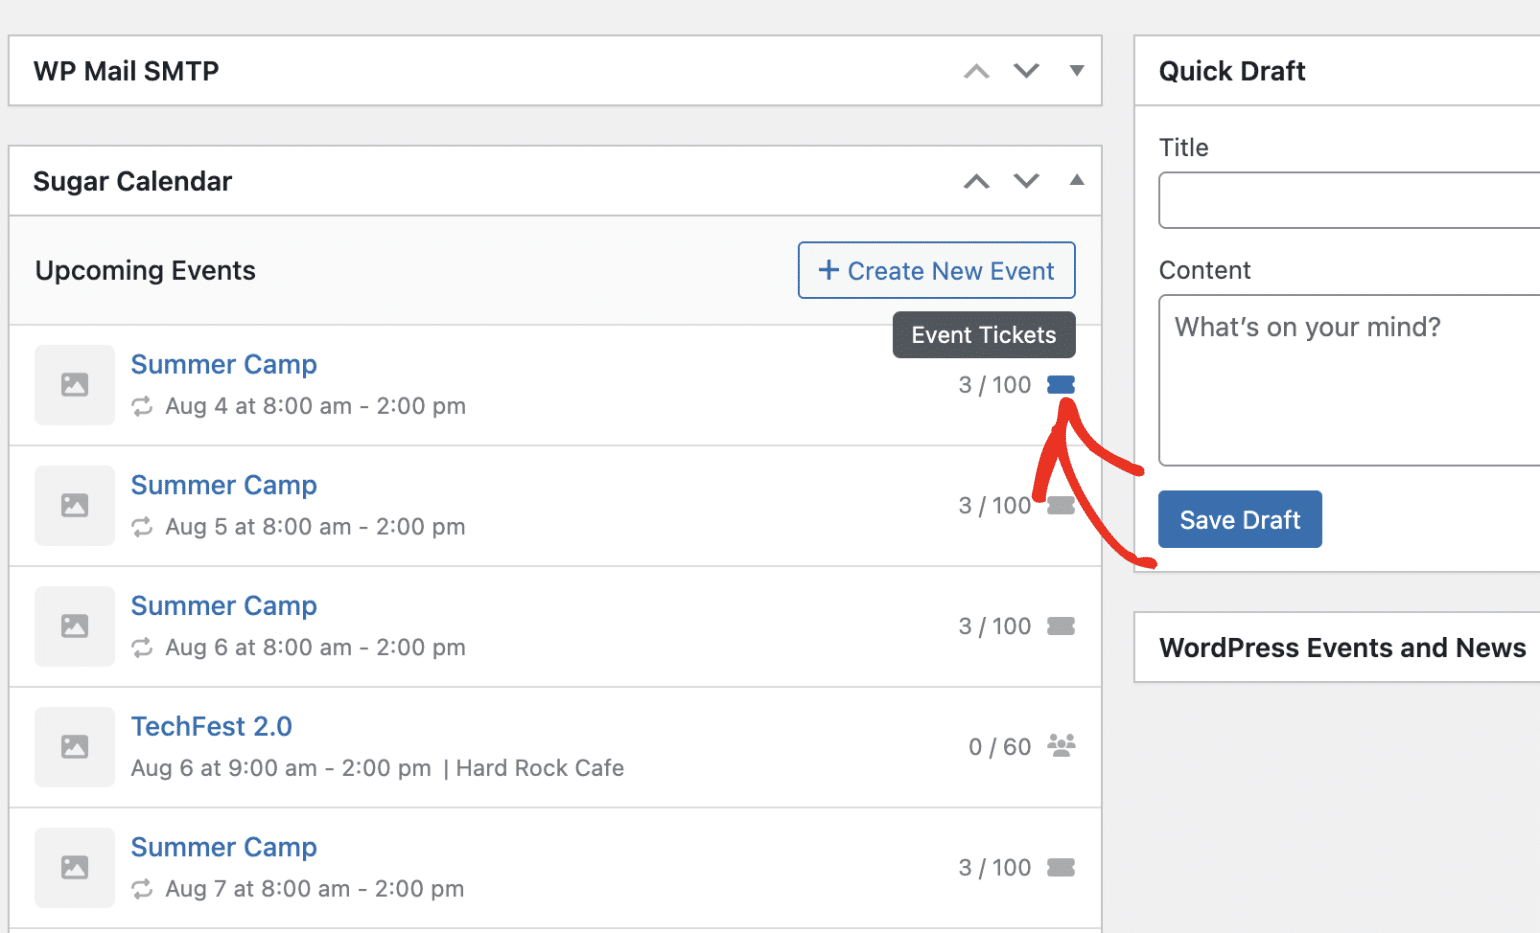
Here you’ll find the attendee list, filtered for the specific event.
To see RSVP details for a specific event, click the RSVP icon.
This will direct you to the RSVP overview page, filtered for the event.
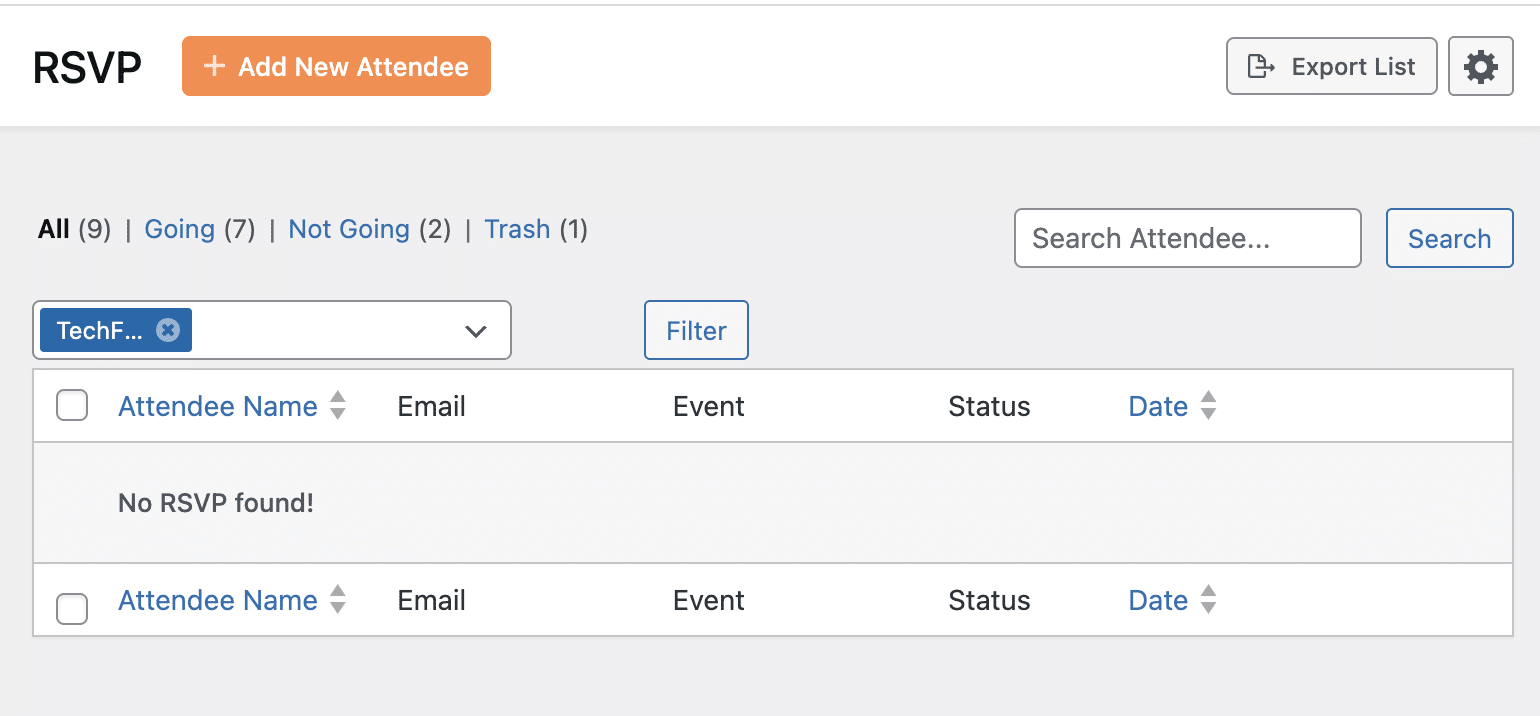
This enables fast and efficient management of attendees and orders.
Customizing the Dashboard View
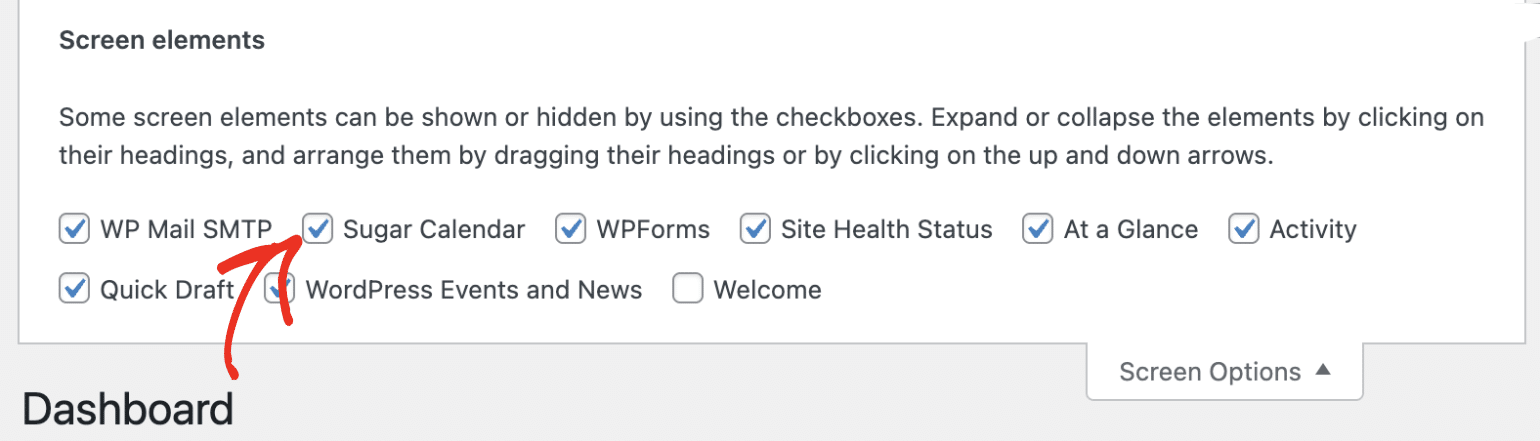
To show or hide the Sugar Calendar widget from the Dashboard, click on the Screen Options tab in the upper-right corner.
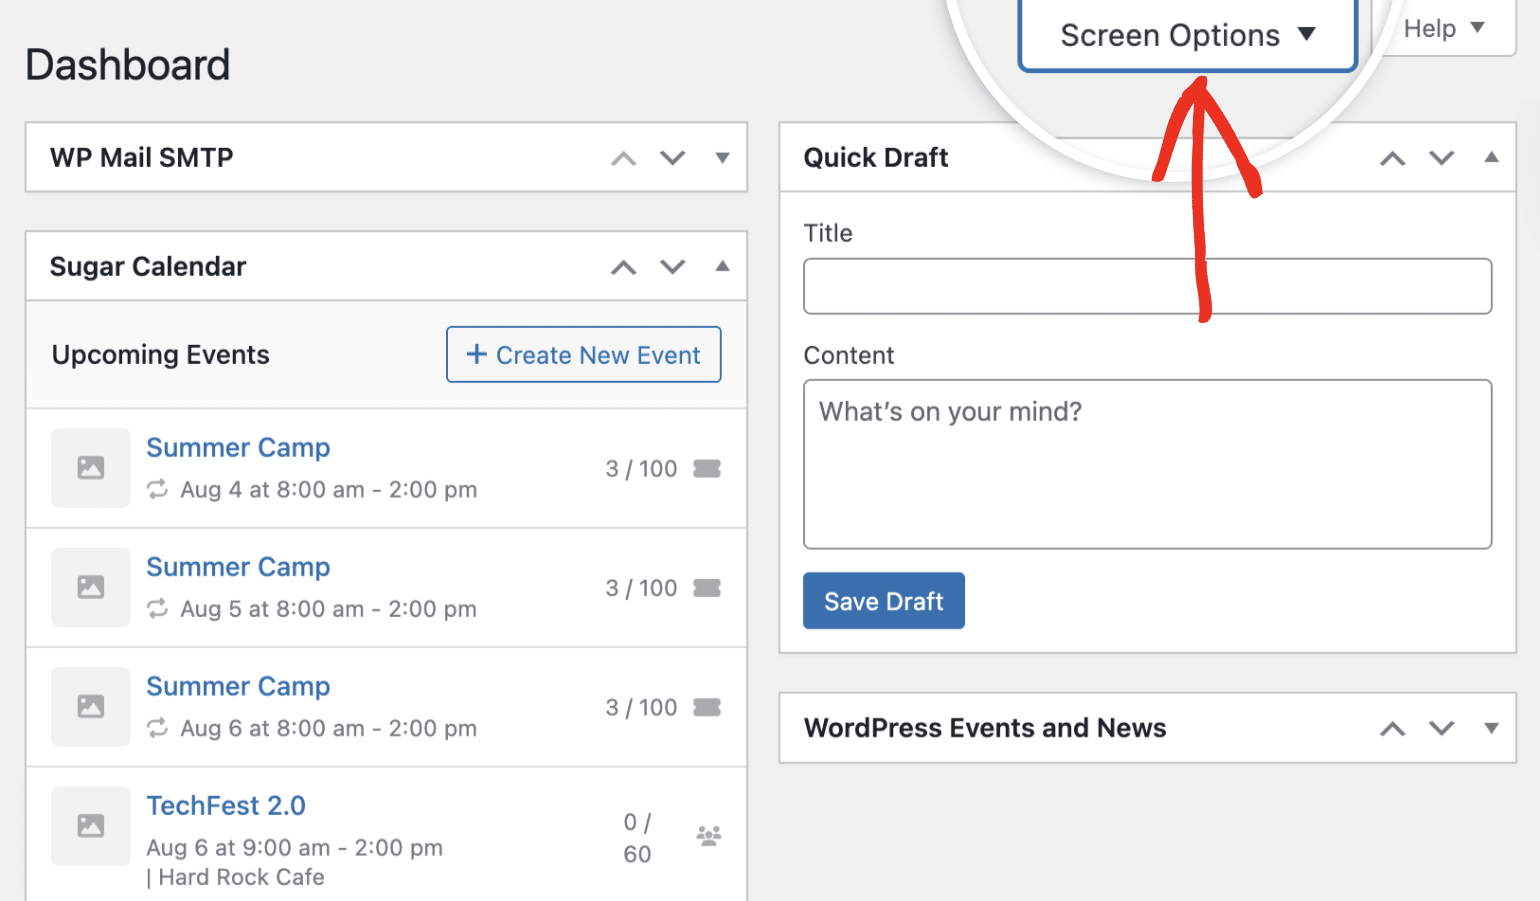
Then toggle the checkbox for Sugar Calendar.
You can also collapse or expand the widget by clicking the arrow in the top-right of the widget box.
That’s it! You’ve now learned how to use the Sugar Calendar Events dashboard widget.
Next, would you like to organize your events with calendars? See our guide on creating and managing Calendars to learn how.