Would you like to organize your bookable services by location? Locations in Sugar Calendar Bookings allow you to manage multiple business locations where you intend to offer services.
This tutorial explains how to create and manage service locations.
In This Article
Before you get started, make sure the Sugar Calendar Bookings plugin is installed and activated on your WordPress site.
Accessing the Locations Management Area
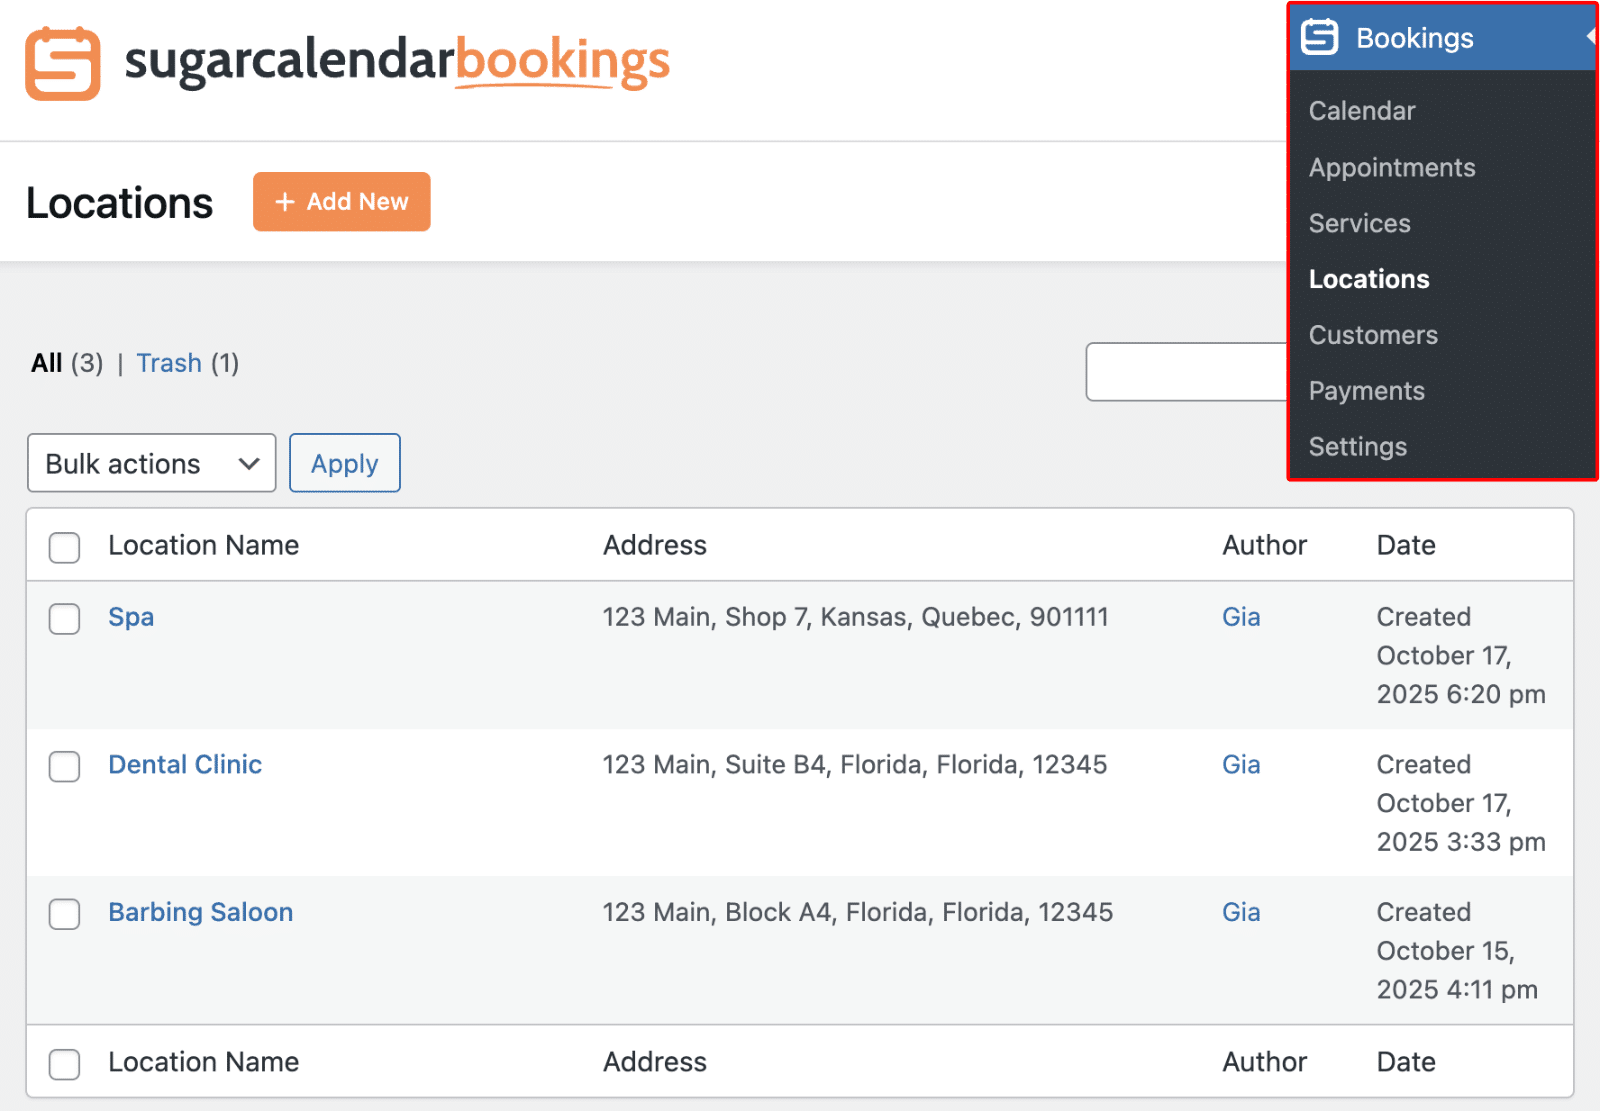
To manage your service locations, log in to your WordPress admin area and navigate to Bookings » Locations. This will take you to the Locations management screen, where you can view all your existing locations.
Creating a New Location
To create a new location, click the Add New button on the Locations screen.
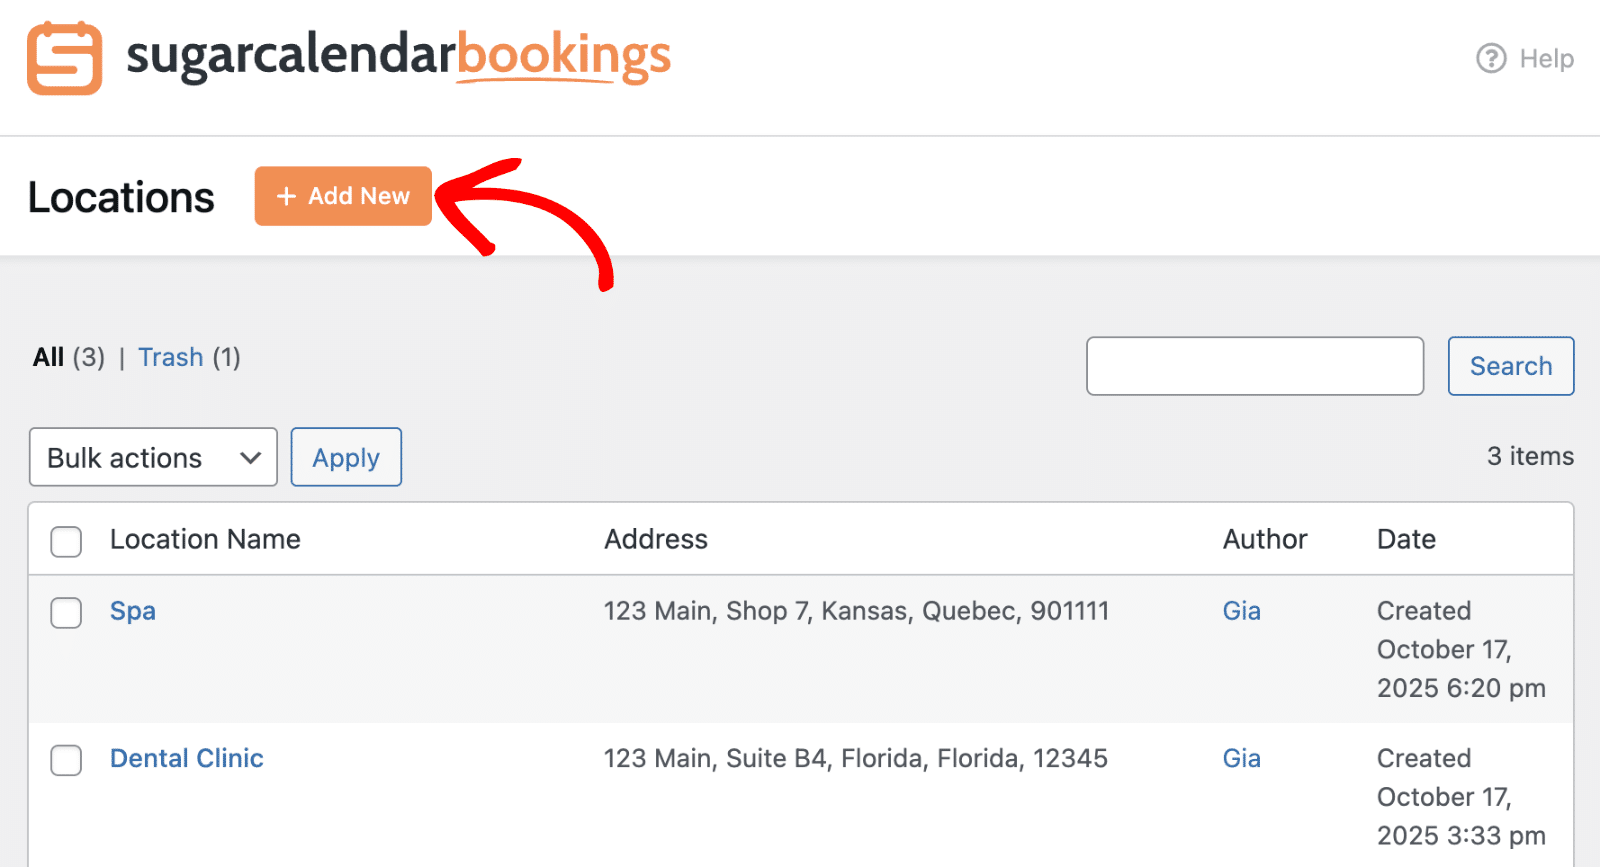
This will open the Add New Location dialog where you can configure your location details.
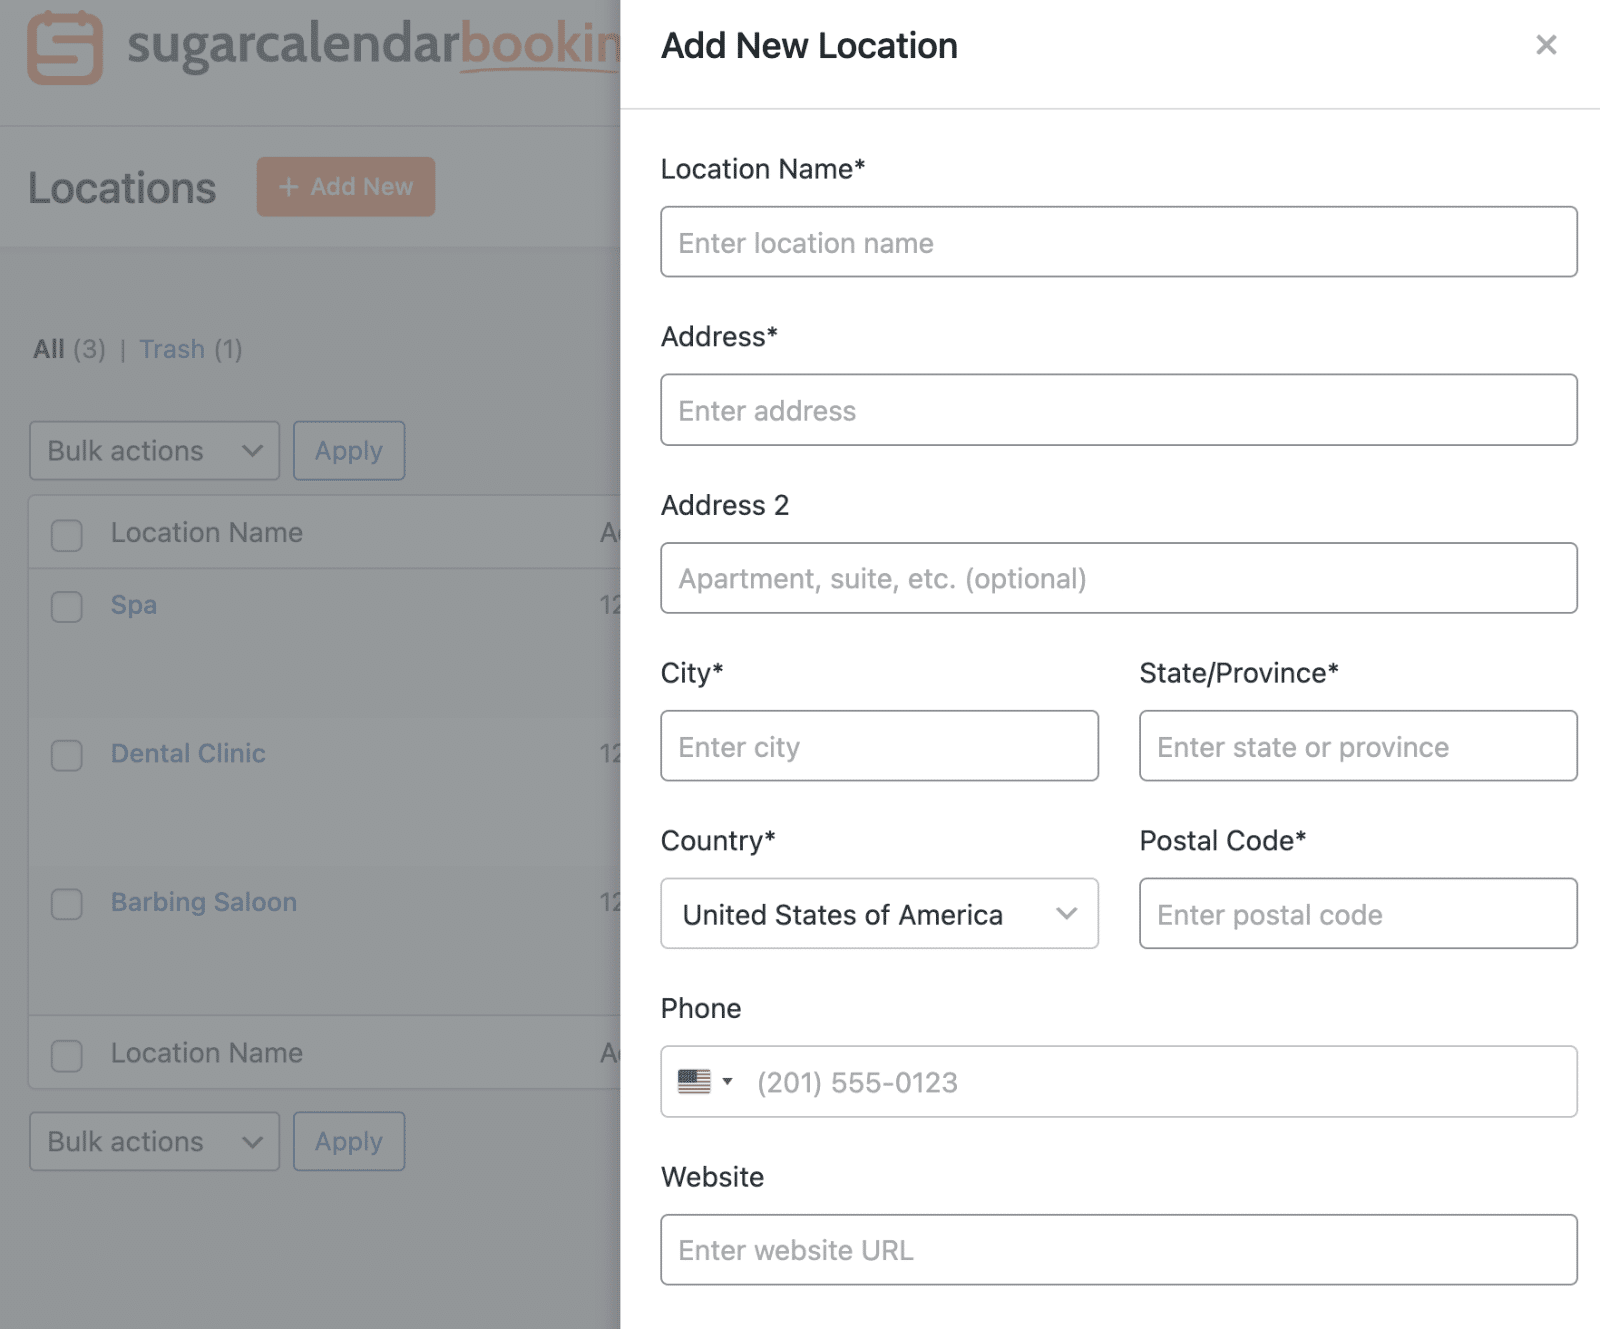
You’ll need to fill out the following fields to set up your location:
- Location Name: Enter a descriptive name for your location (required)
- Address: Enter the street address for the location (required)
- Address 2: Add additional address information such as apartment or suite numbers (optional)
- City: Enter the city where the location is situated (required)
- State/Province: Enter the state or province for the location (required)
- Country: Select the appropriate country from the dropdown menu (required)
- Postal Code: Enter the postal or zip code for the location (required)
- Phone: Add a contact phone number for the location (optional)
- Website: Enter the website URL for the location if applicable (optional)
After entering all the required information, click the Add New button to save your location.
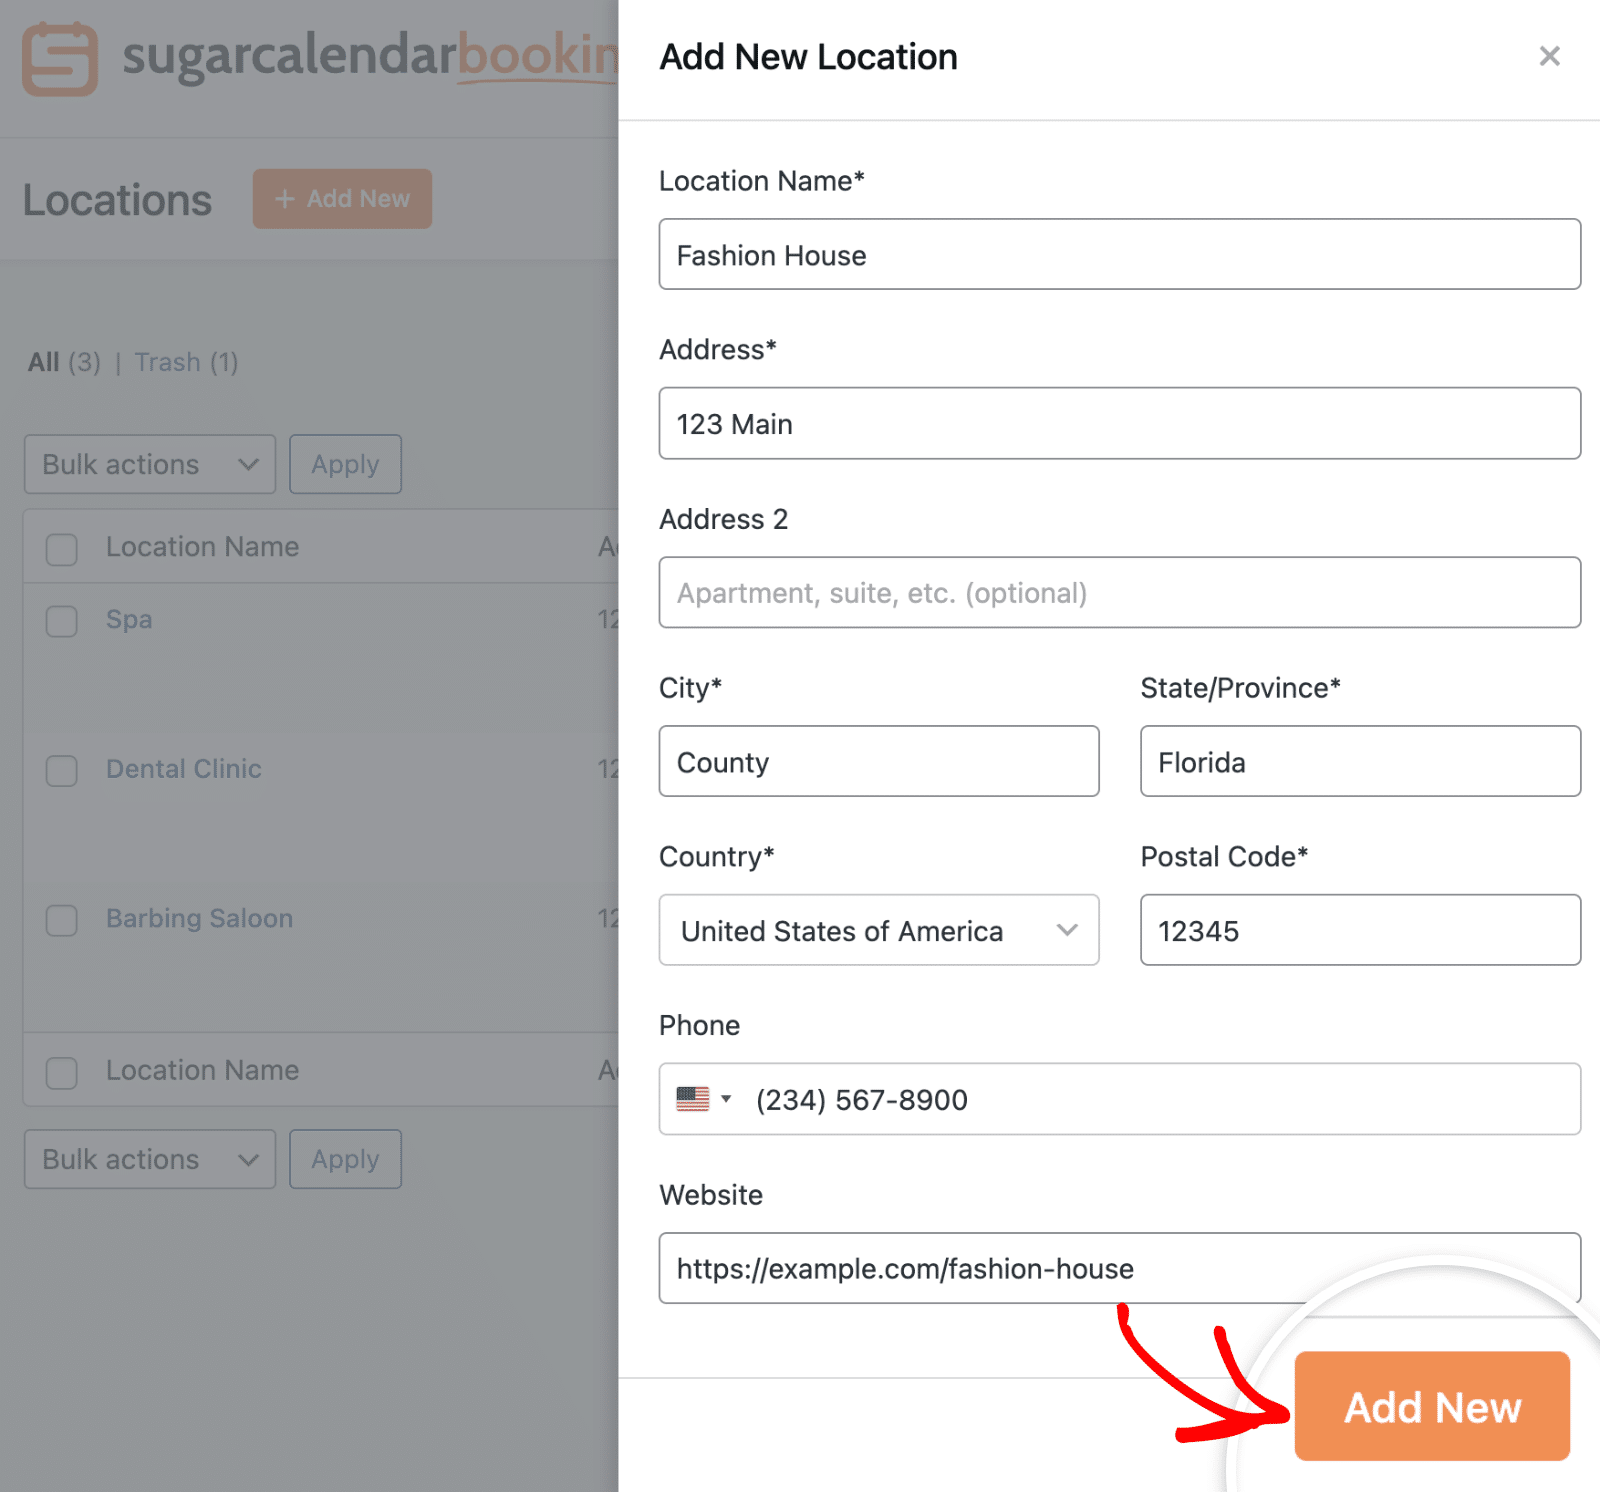
You’ll see a confirmation message that the location was created successfully. The new location will also appear in your locations list.

Managing Existing Locations
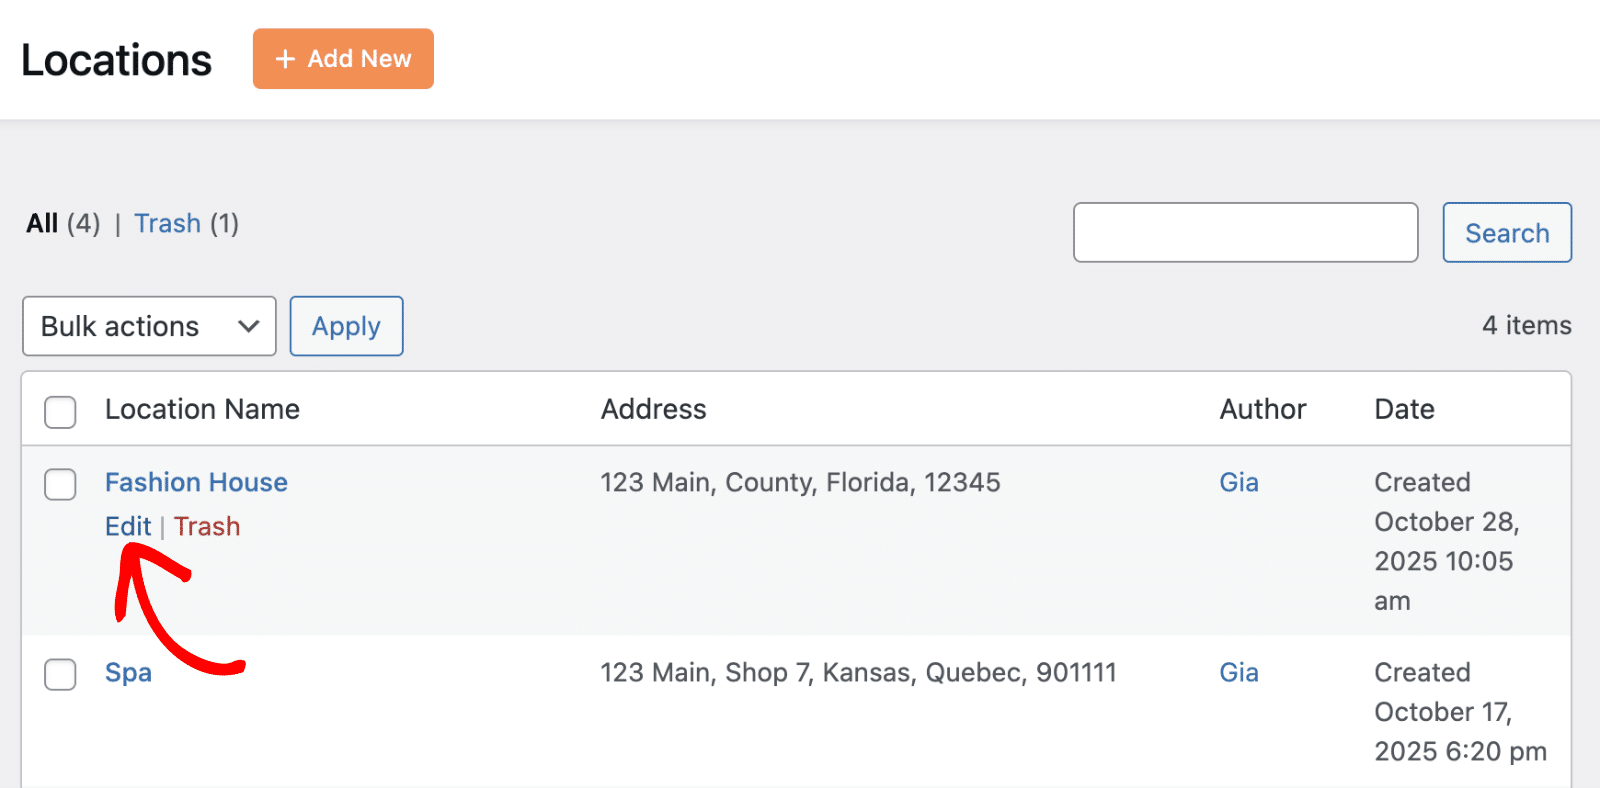
From the Locations management screen, you can view all your existing locations. Each location entry shows the Location Name, Address, Author, and Date created.
To edit an existing location, click on the location name in the list.
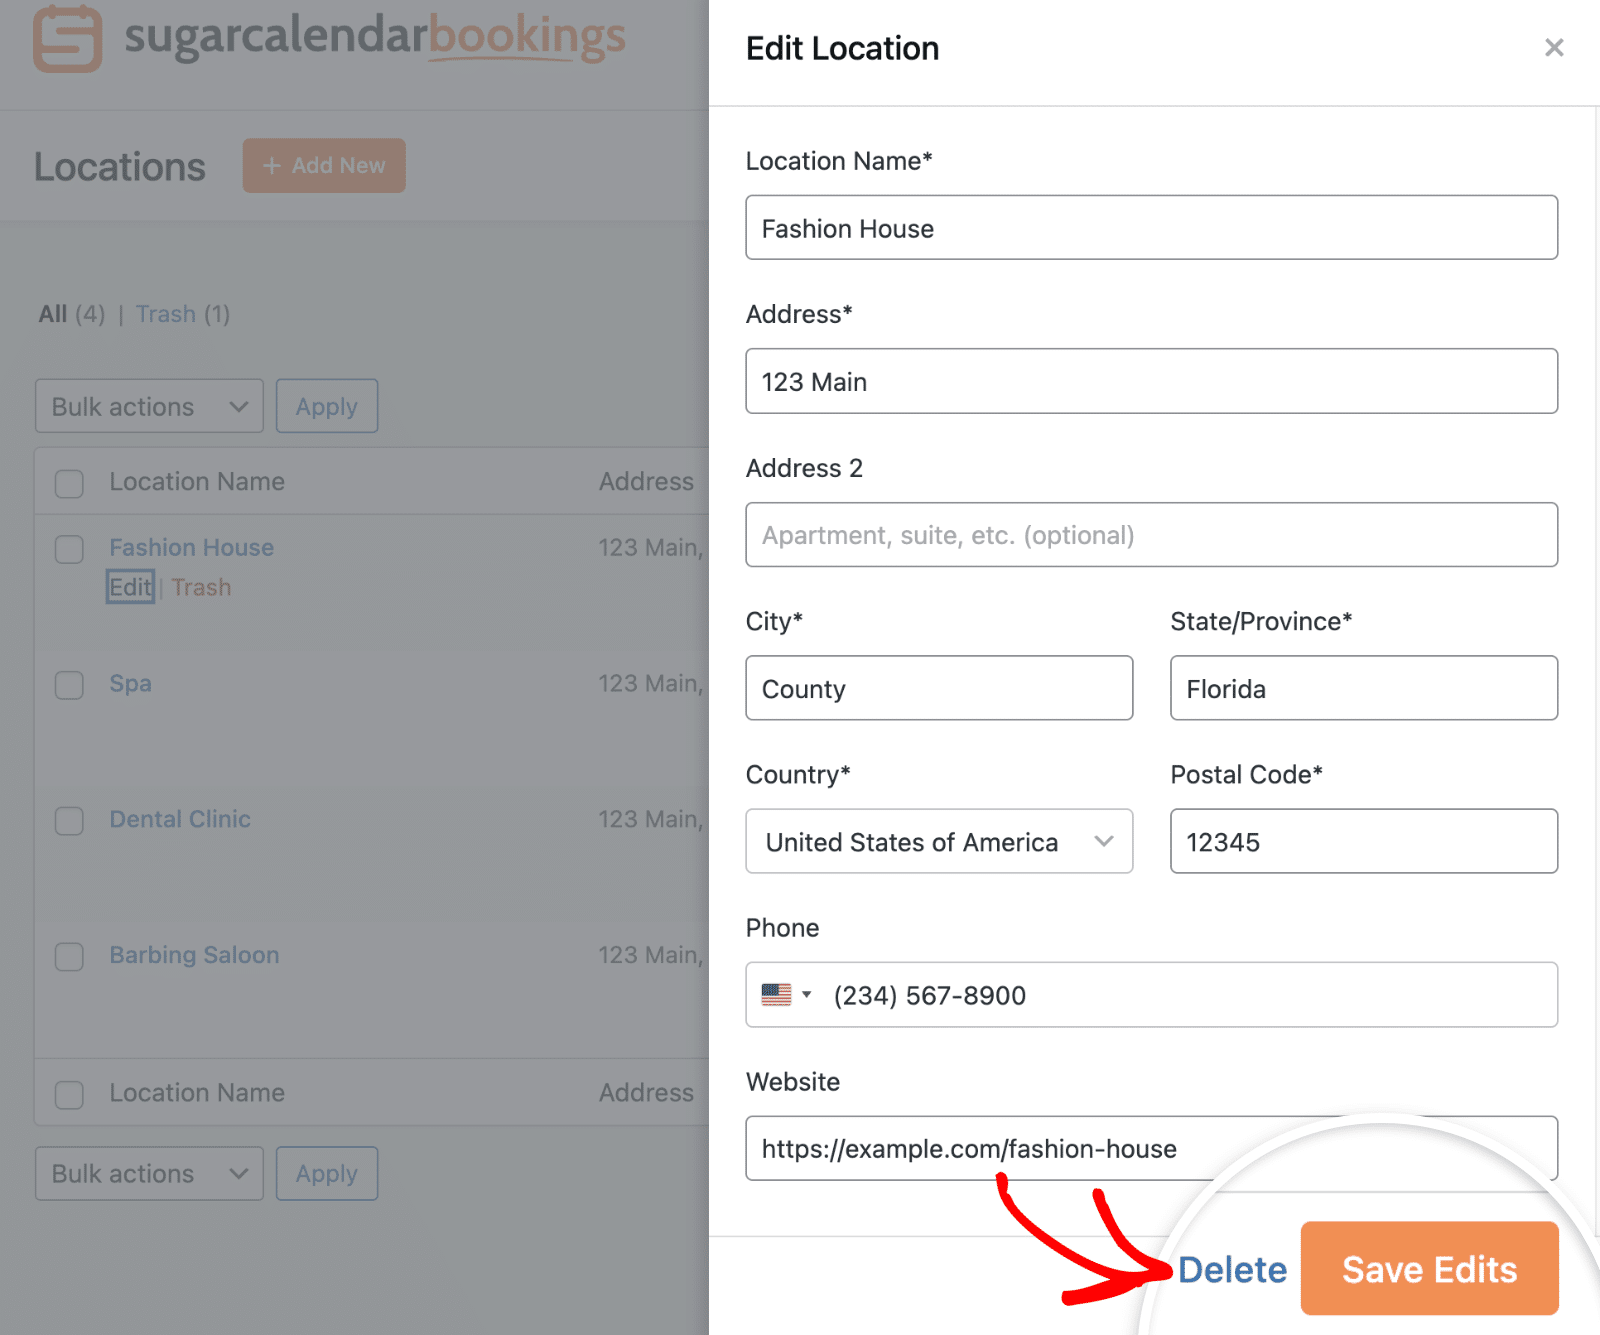
This will open the Edit Location dialog, where you can modify the location details.
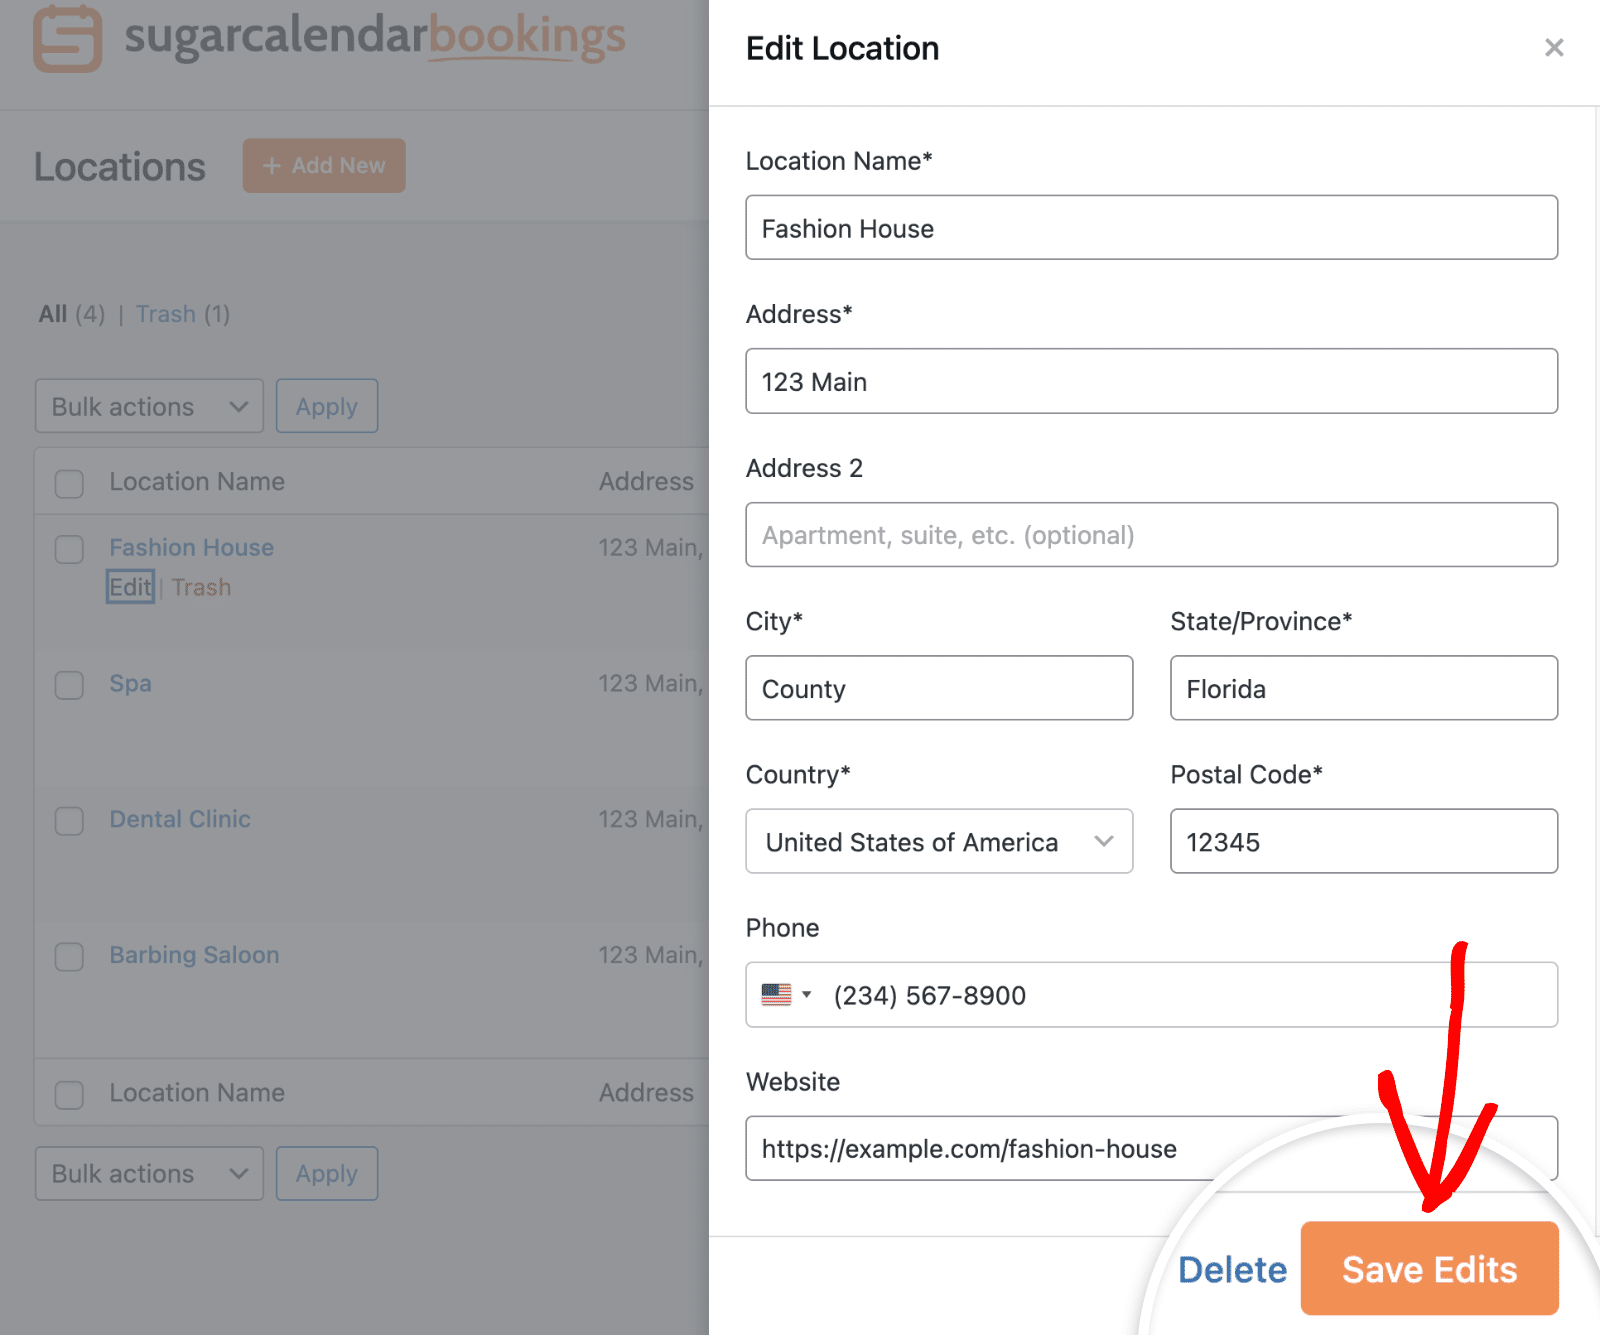
After making your changes, click Save Edits to update the location information.
Deleting Locations
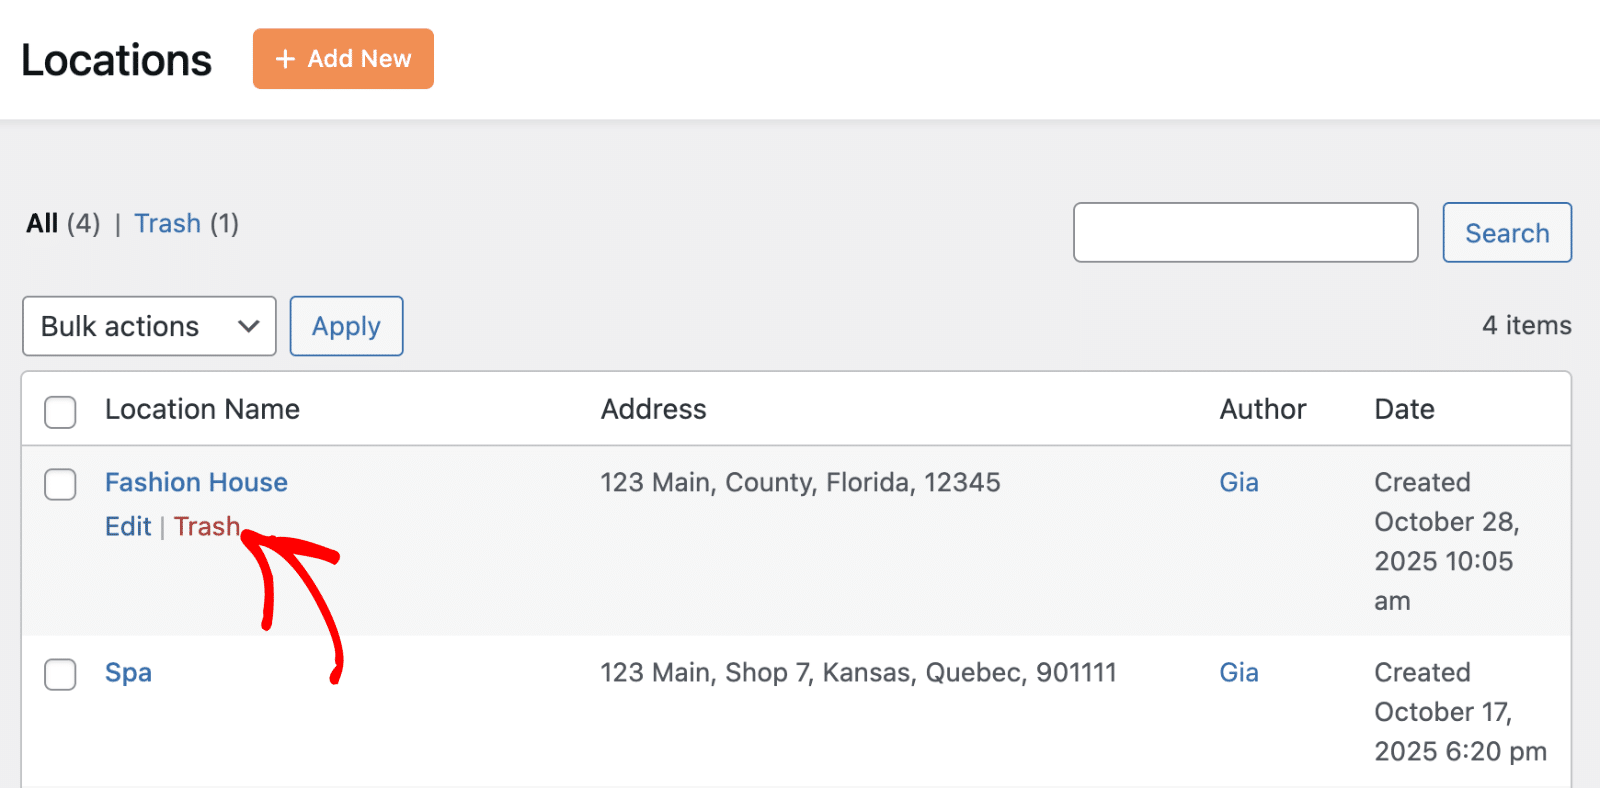
If you’d like to delete a location, hover over the location name and click Trash.
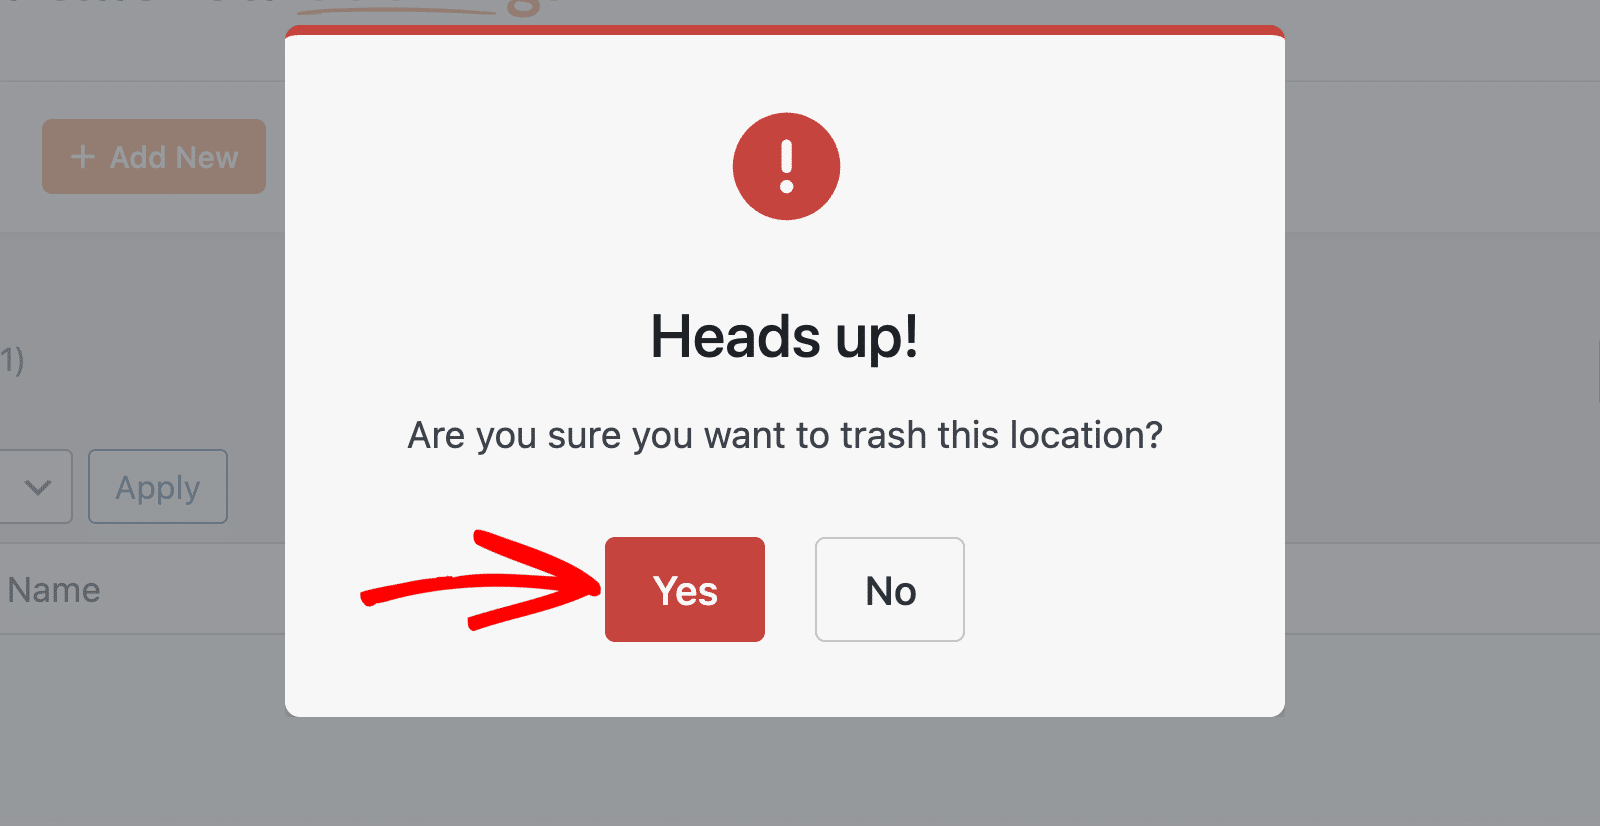
After clicking the button, a confirmation dialog will appear. Go ahead and click Yes to confirm the deletion or No to cancel.
Note: Deleted locations will be moved to the Trash. Be careful when deleting locations that are currently assigned to active services, as this may affect customer bookings.
You can view deleted locations by clicking the Trash link in the location management area.

From there, you can either restore the deleted location or delete it permanently from your site.
Note: You won’t be able to recover location items after permanently deleting them from your site.
To permanently delete a location, open the Edit Location dialog. Then click on Delete to proceed.
That’s it! You now know how to create and manage locations in Sugar Calendar Bookings.
Next, you might want to learn how to create your first service and assign it to one of your newly created locations.