Would you like to build a team of service providers in Sugar Calendar Bookings and control what each person can access? Managing employees well keeps your booking system organized and ensures each team member only sees what they need to do their job.
In this tutorial, we’ll show you how to add and manage employees in Sugar Calendar Bookings and link them to WordPress users.
In This Article
Before you begin, make sure the Sugar Calendar Bookings plugin is installed and activated on your website.
Accessing the Employees Section
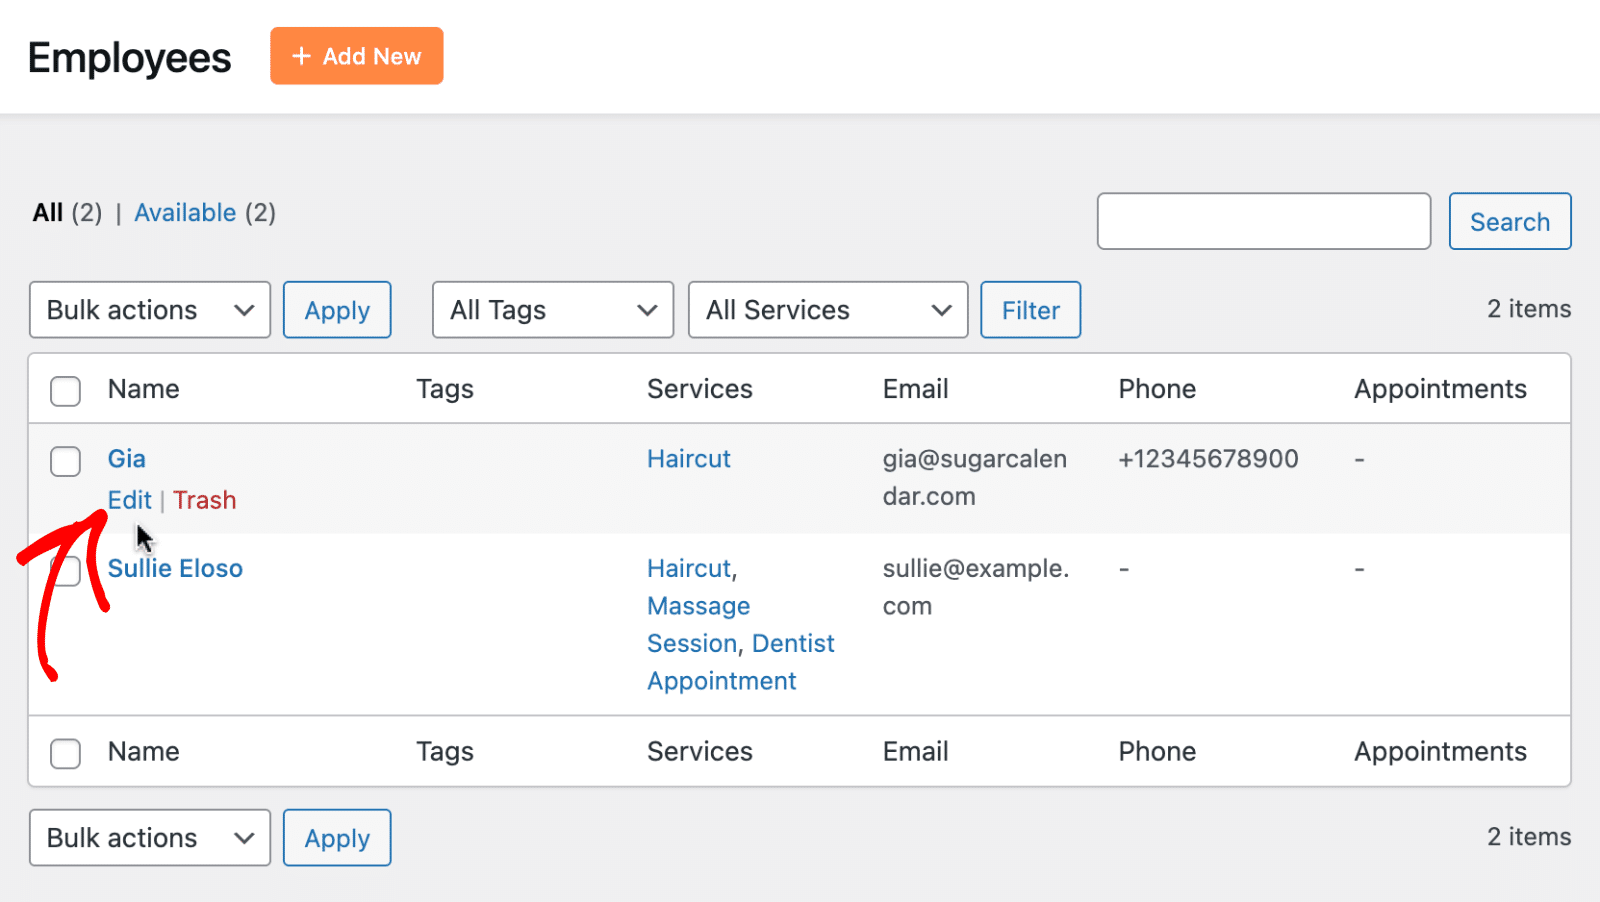
To view your team, go to Bookings » Employees from your WordPress admin sidebar. The Employees page lists all your current team members and lets you search, filter, add, and edit them.
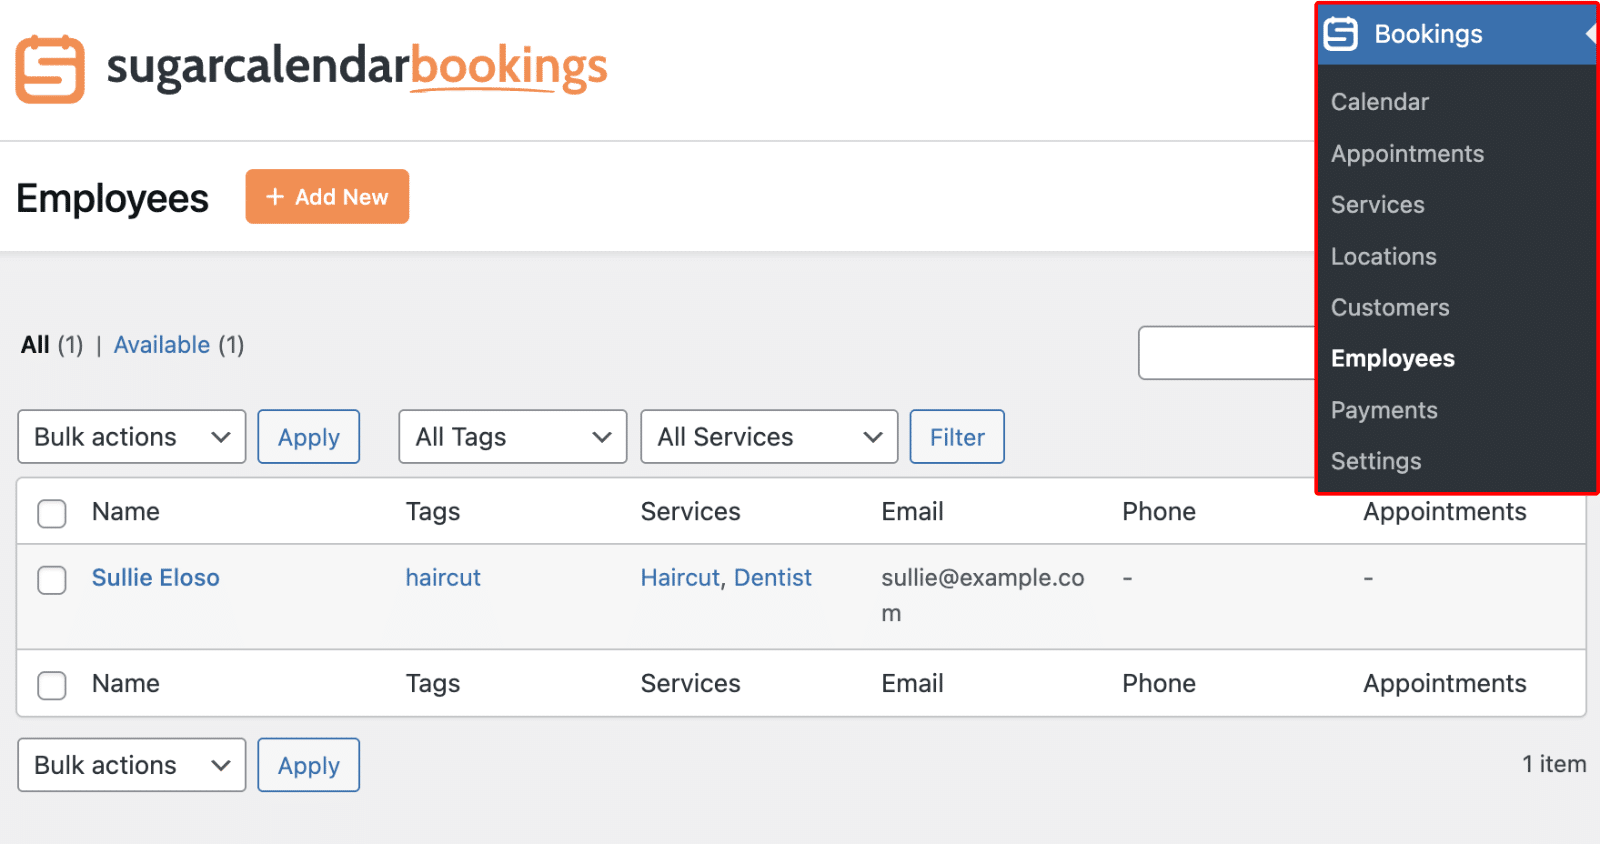
Adding an Employee
To add a new employee, click the Add New button at the top of the Employees page. A modal opens where you’ll fill in the employee’s details across several sections.

General Information
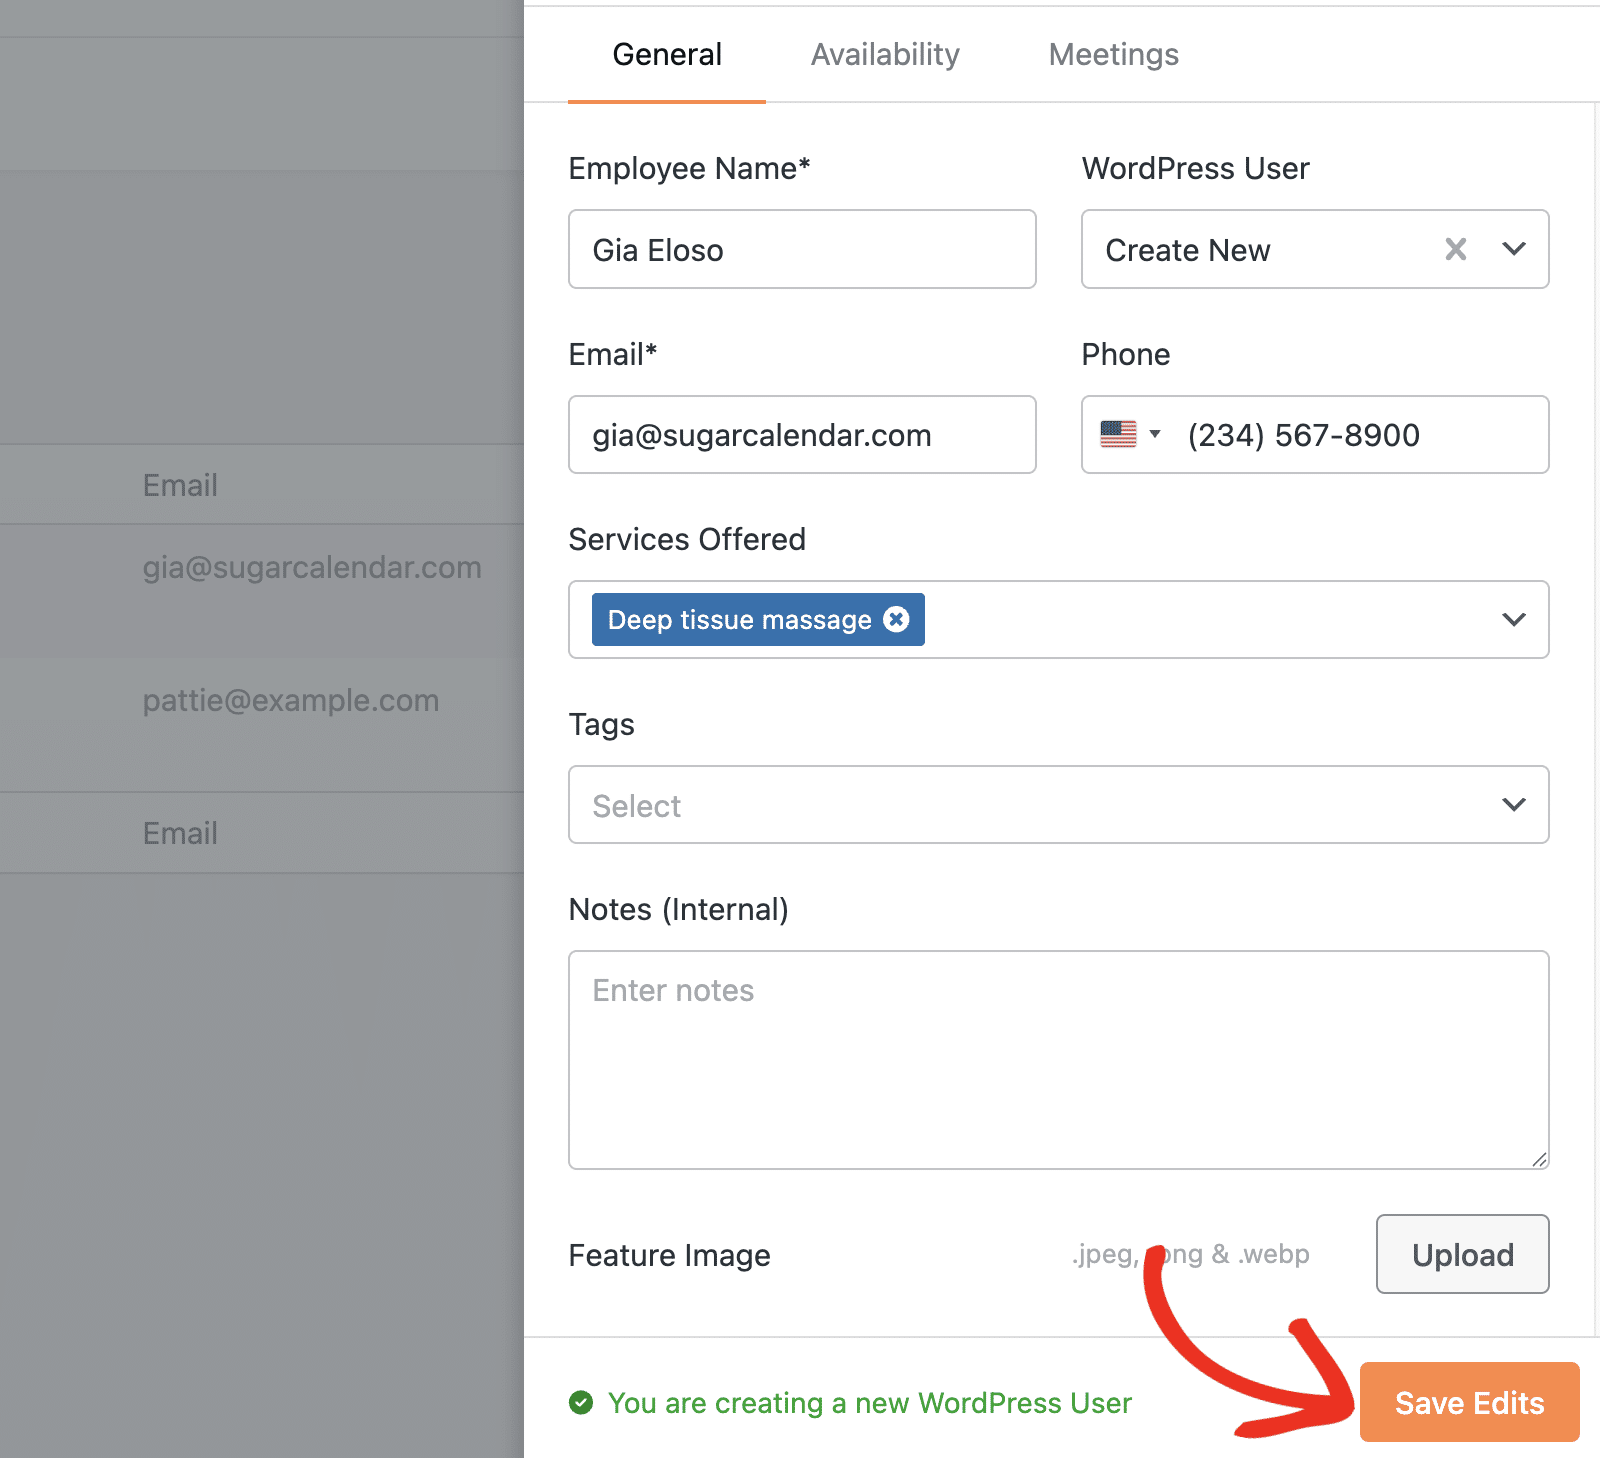
In the General tab, fill in the following fields:
- Name: Enter the employee’s full name. Sugar Calendar Bookings displays this name to customers during the booking process.
- Email: Enter a valid email address. The plugin uses this address for appointment notifications.
- Phone (optional): Add a contact number if desired.
- Profile Image: Upload a professional photo using the upload button.
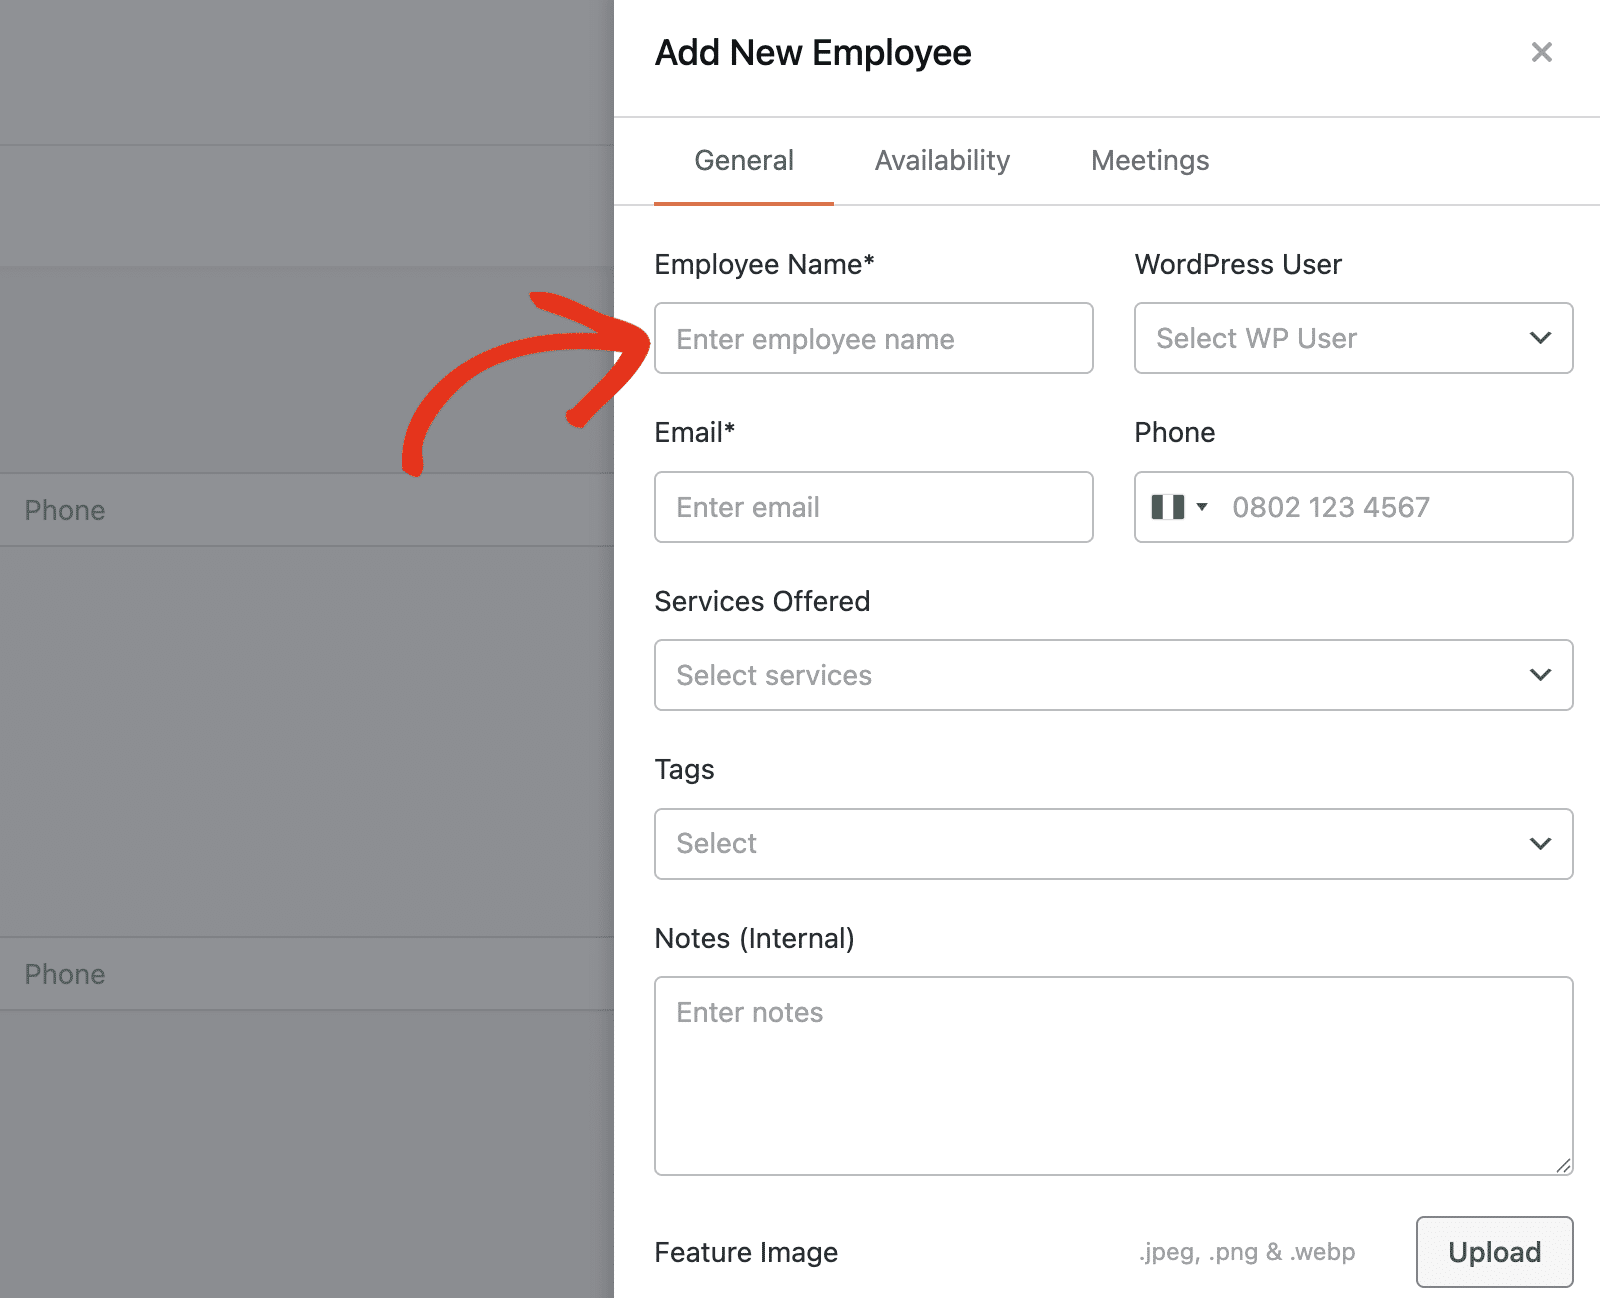
After entering the name, enter the employee’s email and phone number.
Linking to a WordPress User
The WordPress User field connects this employee record to a WordPress user account on your site. The employee needs this link to log in and access the employee view of Sugar Calendar Bookings.
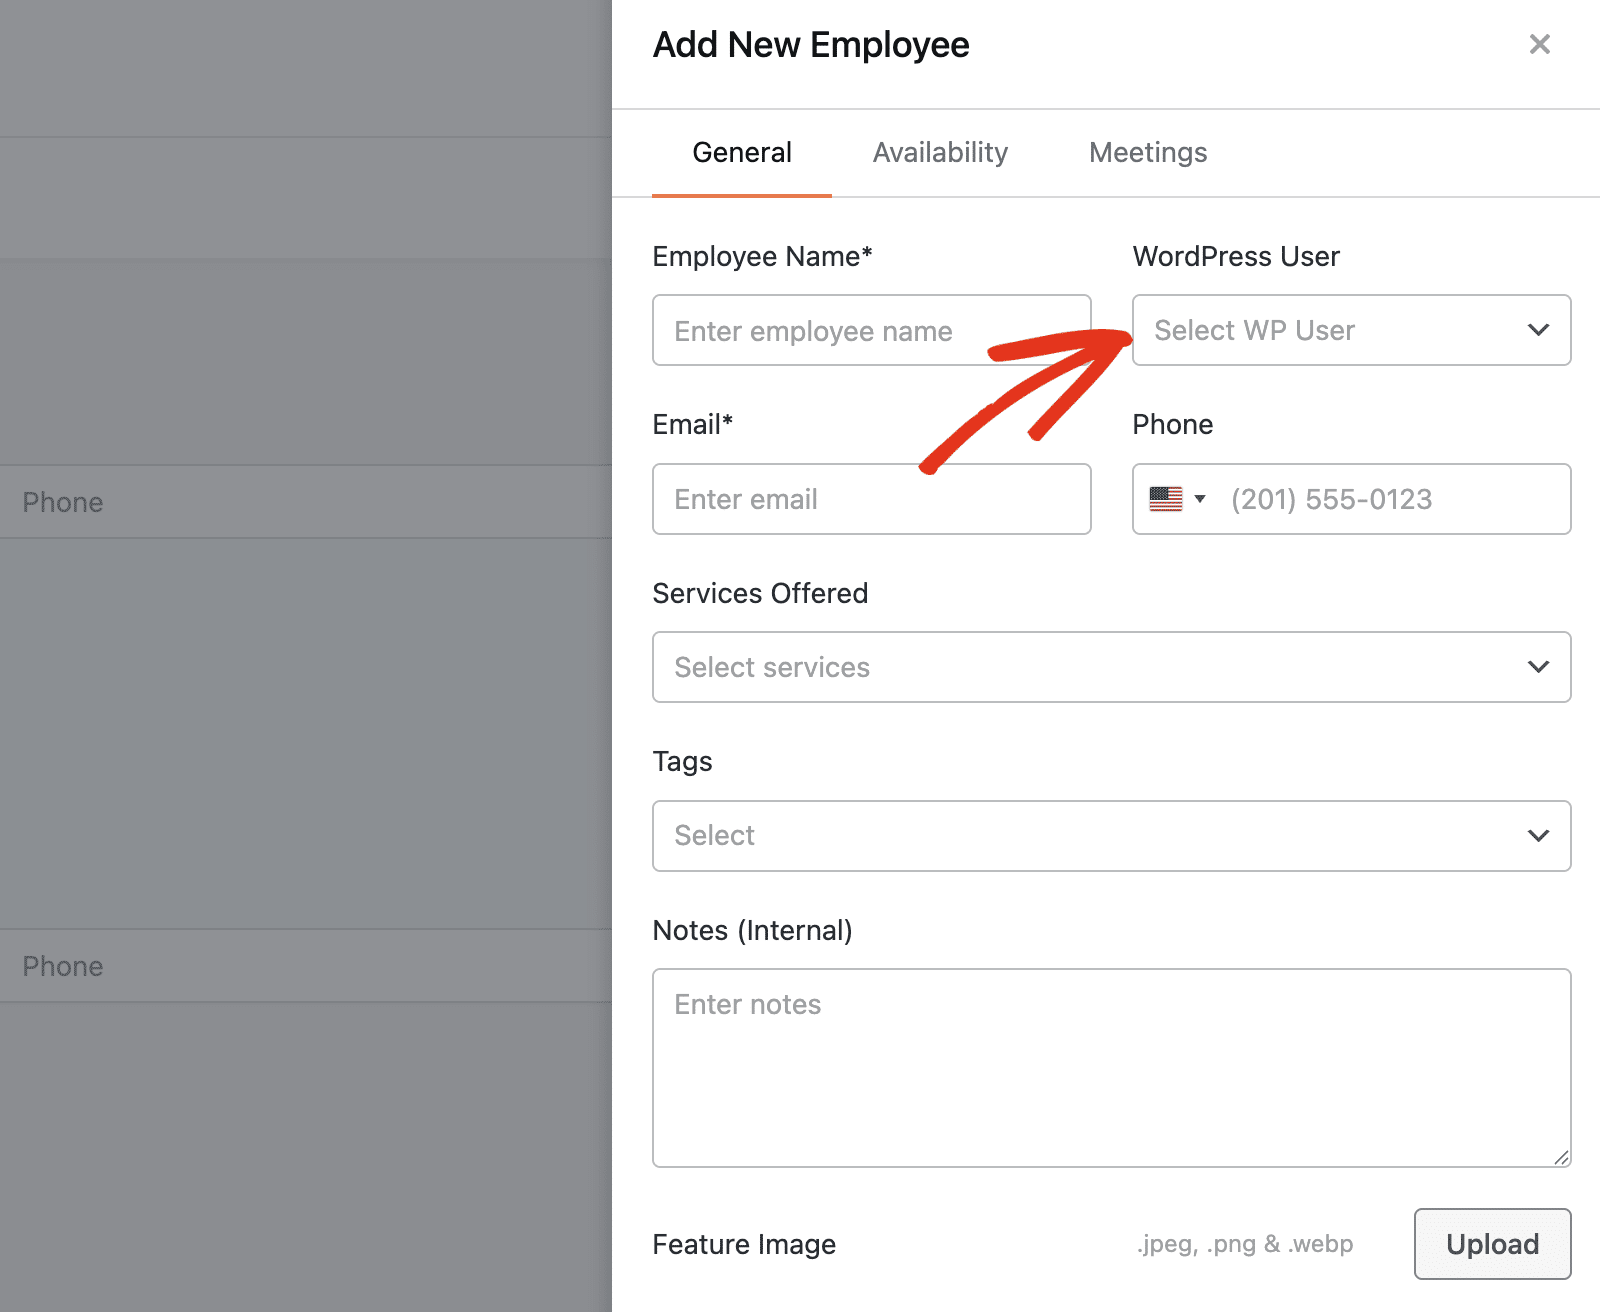
The field offers two options:
- Select an existing WordPress user: Use the dropdown to choose a user that already exists on your site.
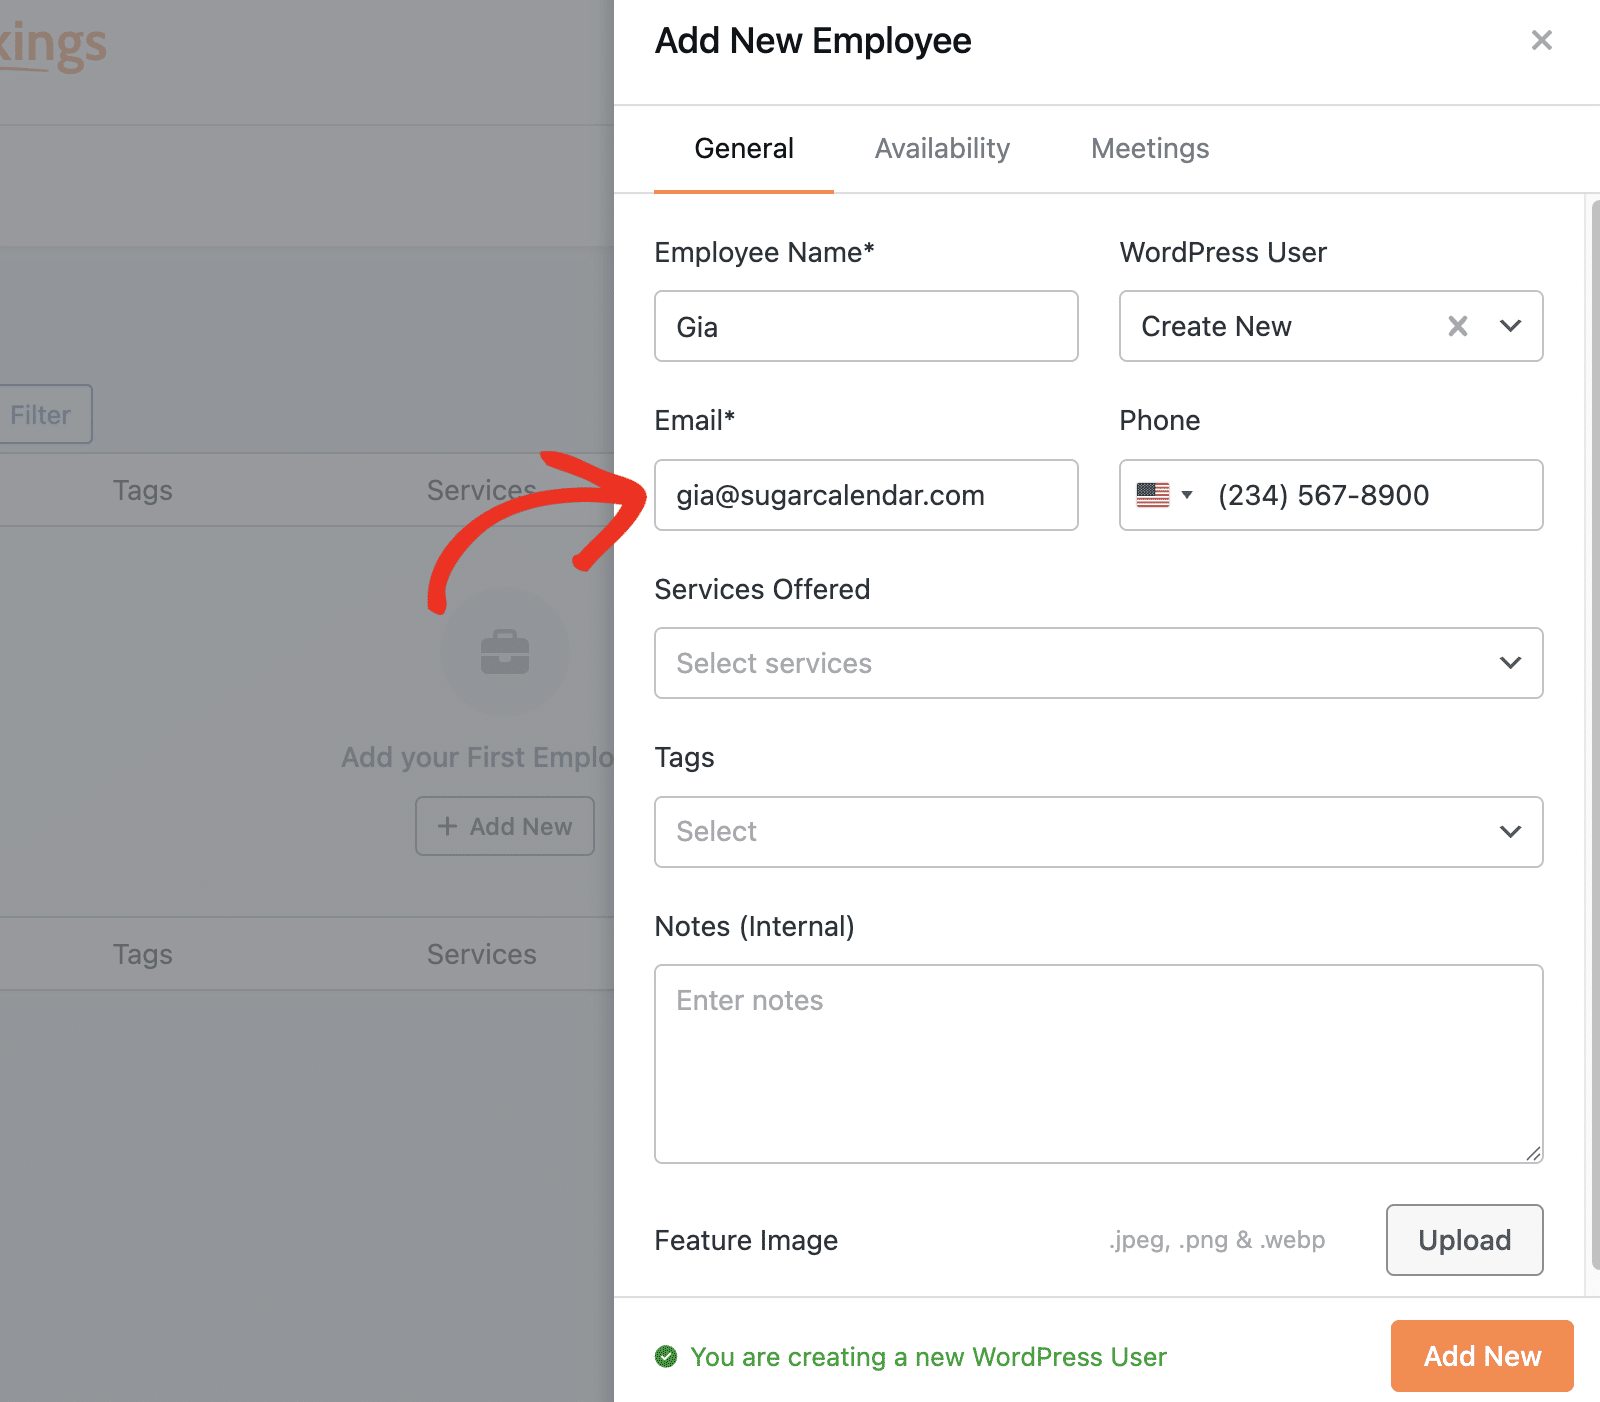
- Create a new WordPress user: Select this option to create a new WordPress account on the spot. You’ll be prompted to enter the new user’s details and assign them a role: either Employee or Manager.
If you select the Create New option, then you’ll see an alert next to the Add New button.
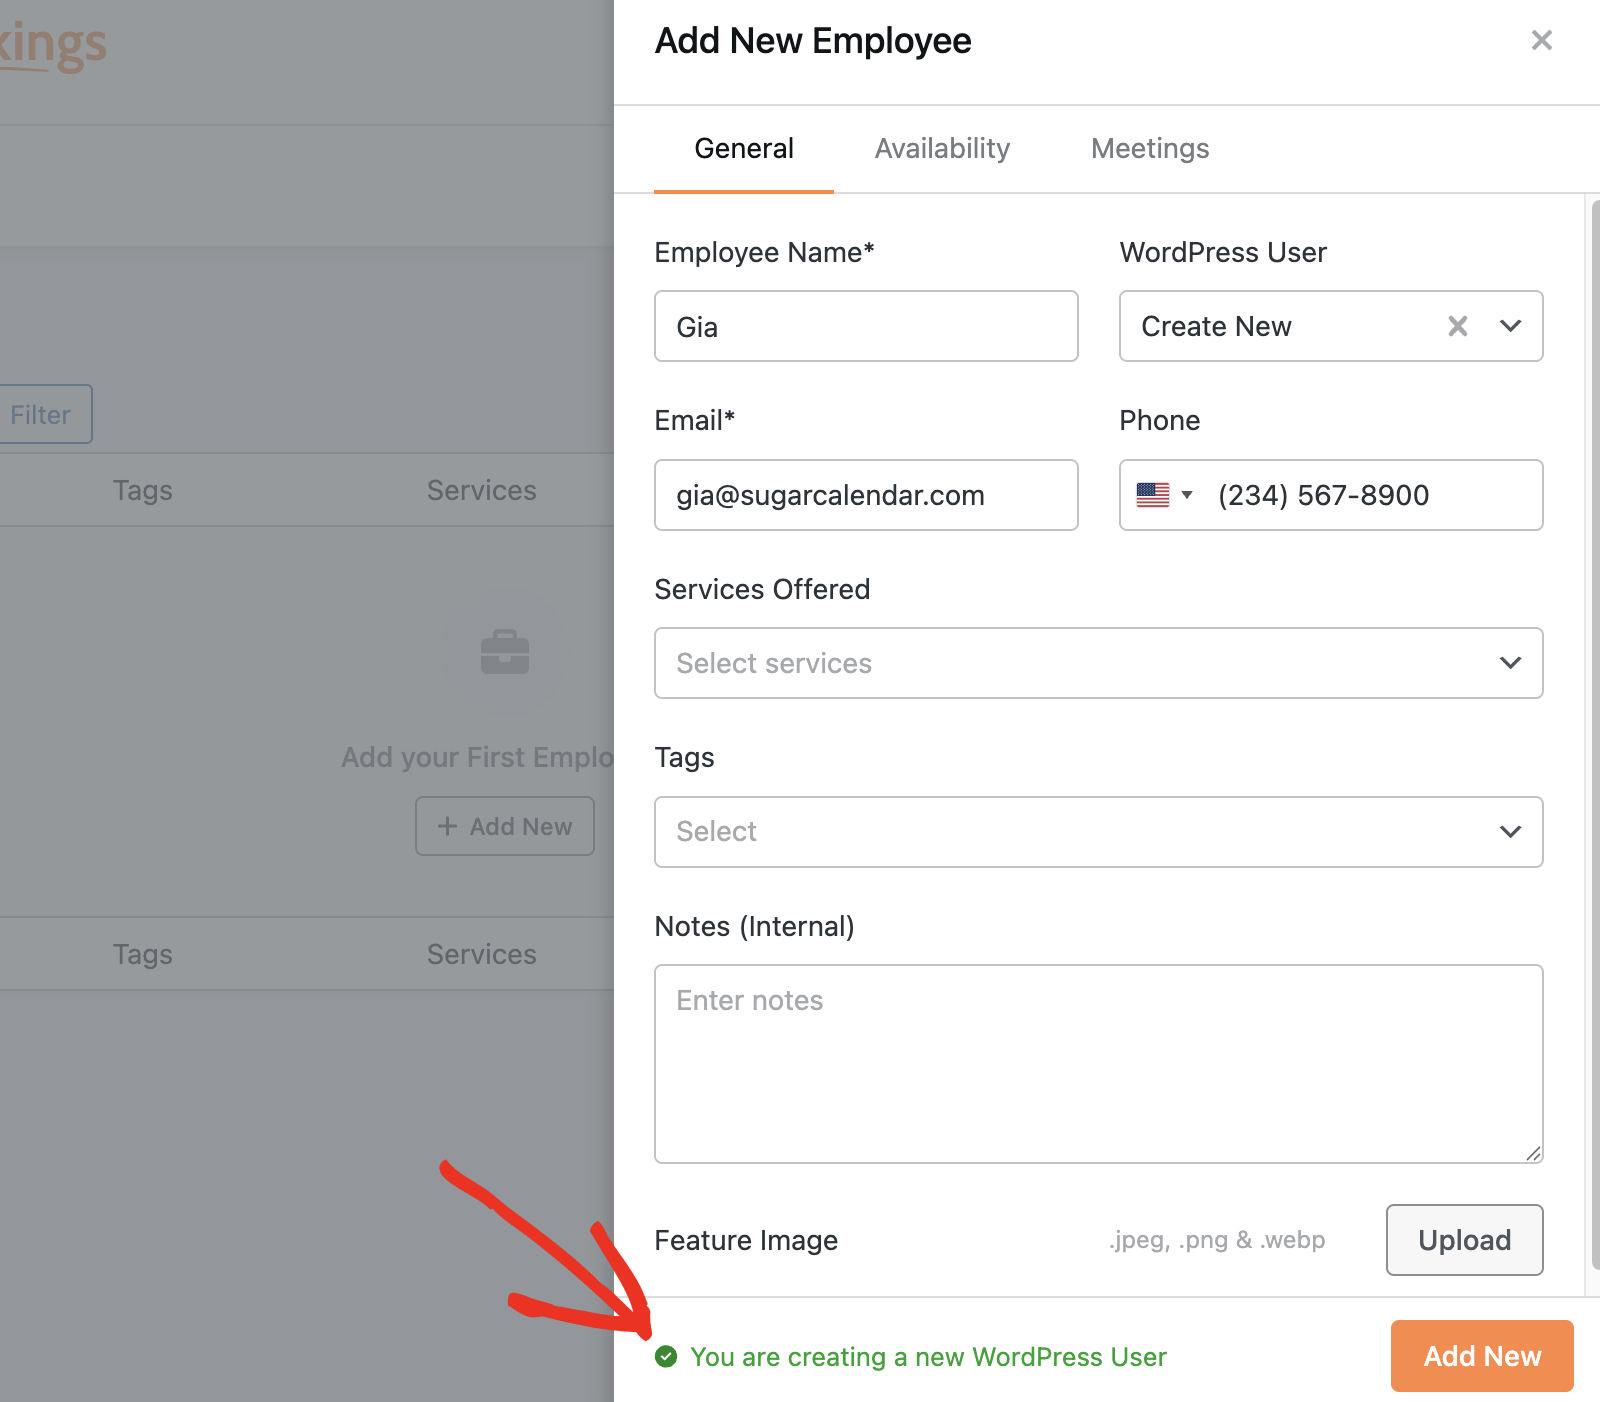
Note: An employee must be linked to a WordPress user before they can log in to the employee view of Sugar Calendar Bookings. Manage role-based access from the Roles tab in Bookings Settings. The Roles tab shows content once at least one employee has a role assigned.
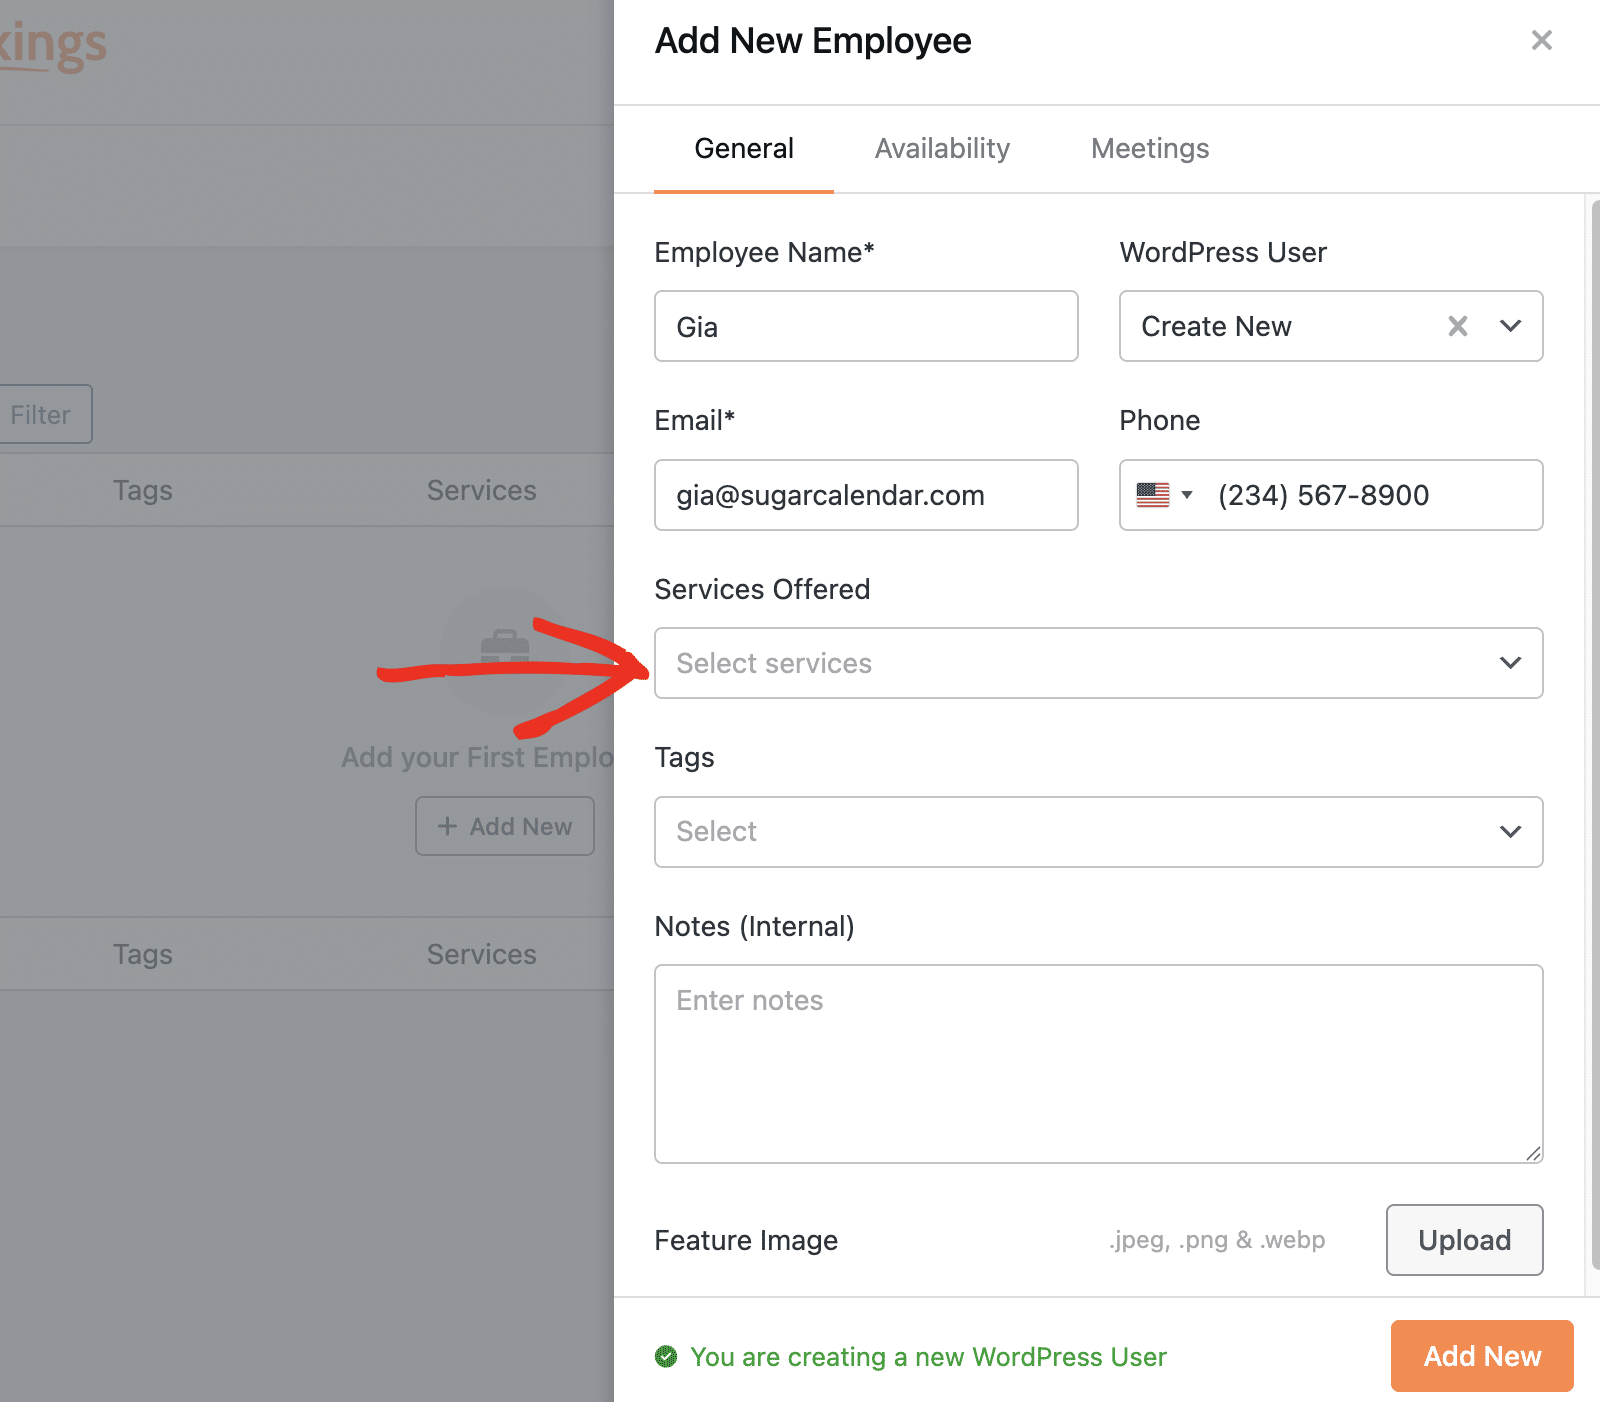
Services Offered
Use the Services Offered dropdown to select which services this employee provides. Assign multiple services to one employee, or click Select All to assign all available services at once.
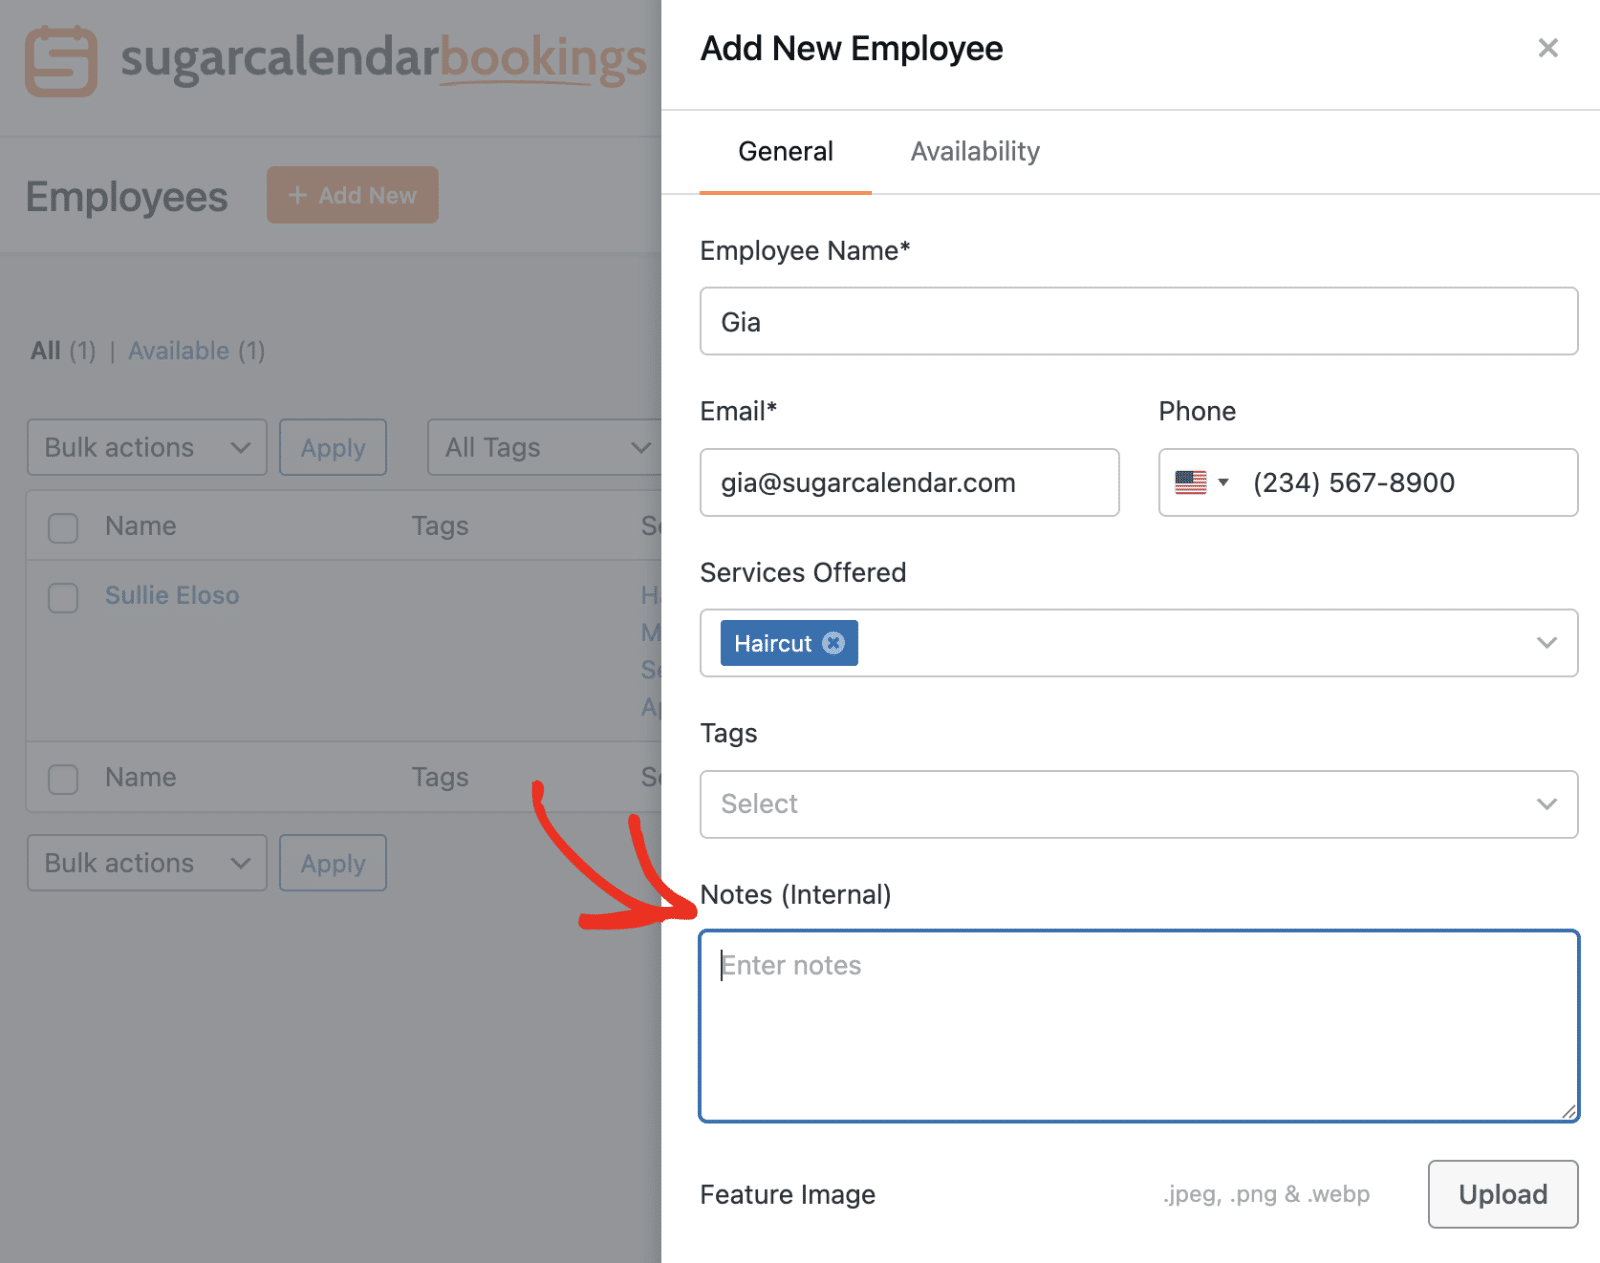
Additional Details
- Tags: Organize employees by department, specialty, or location for easier filtering.
- Internal Notes: Add private administrative notes that customers cannot see.
To add a profile image for the employee, click Upload next to Feature Image. Then upload or select an existing image from your image library.
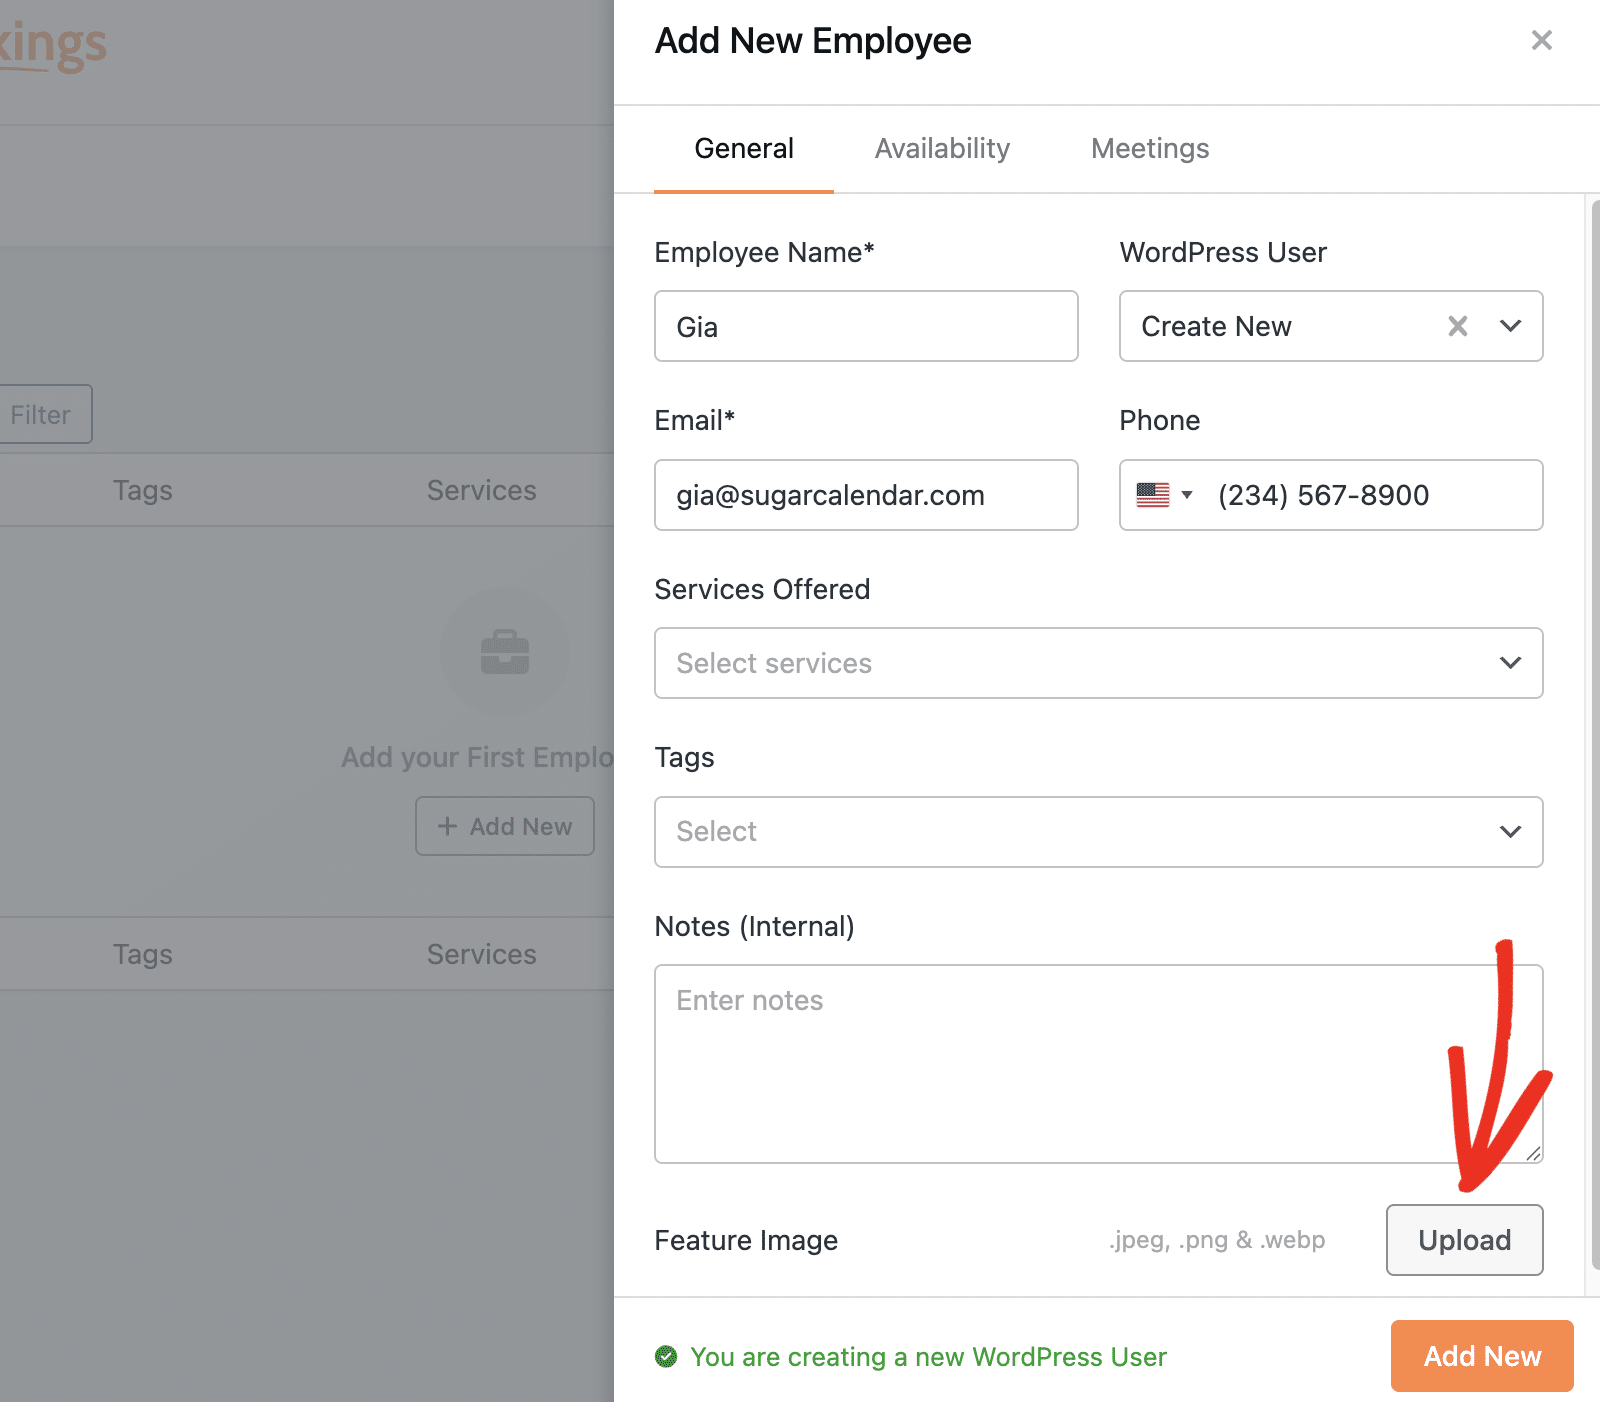
Click Add New to save the employee.
Configuring Availability
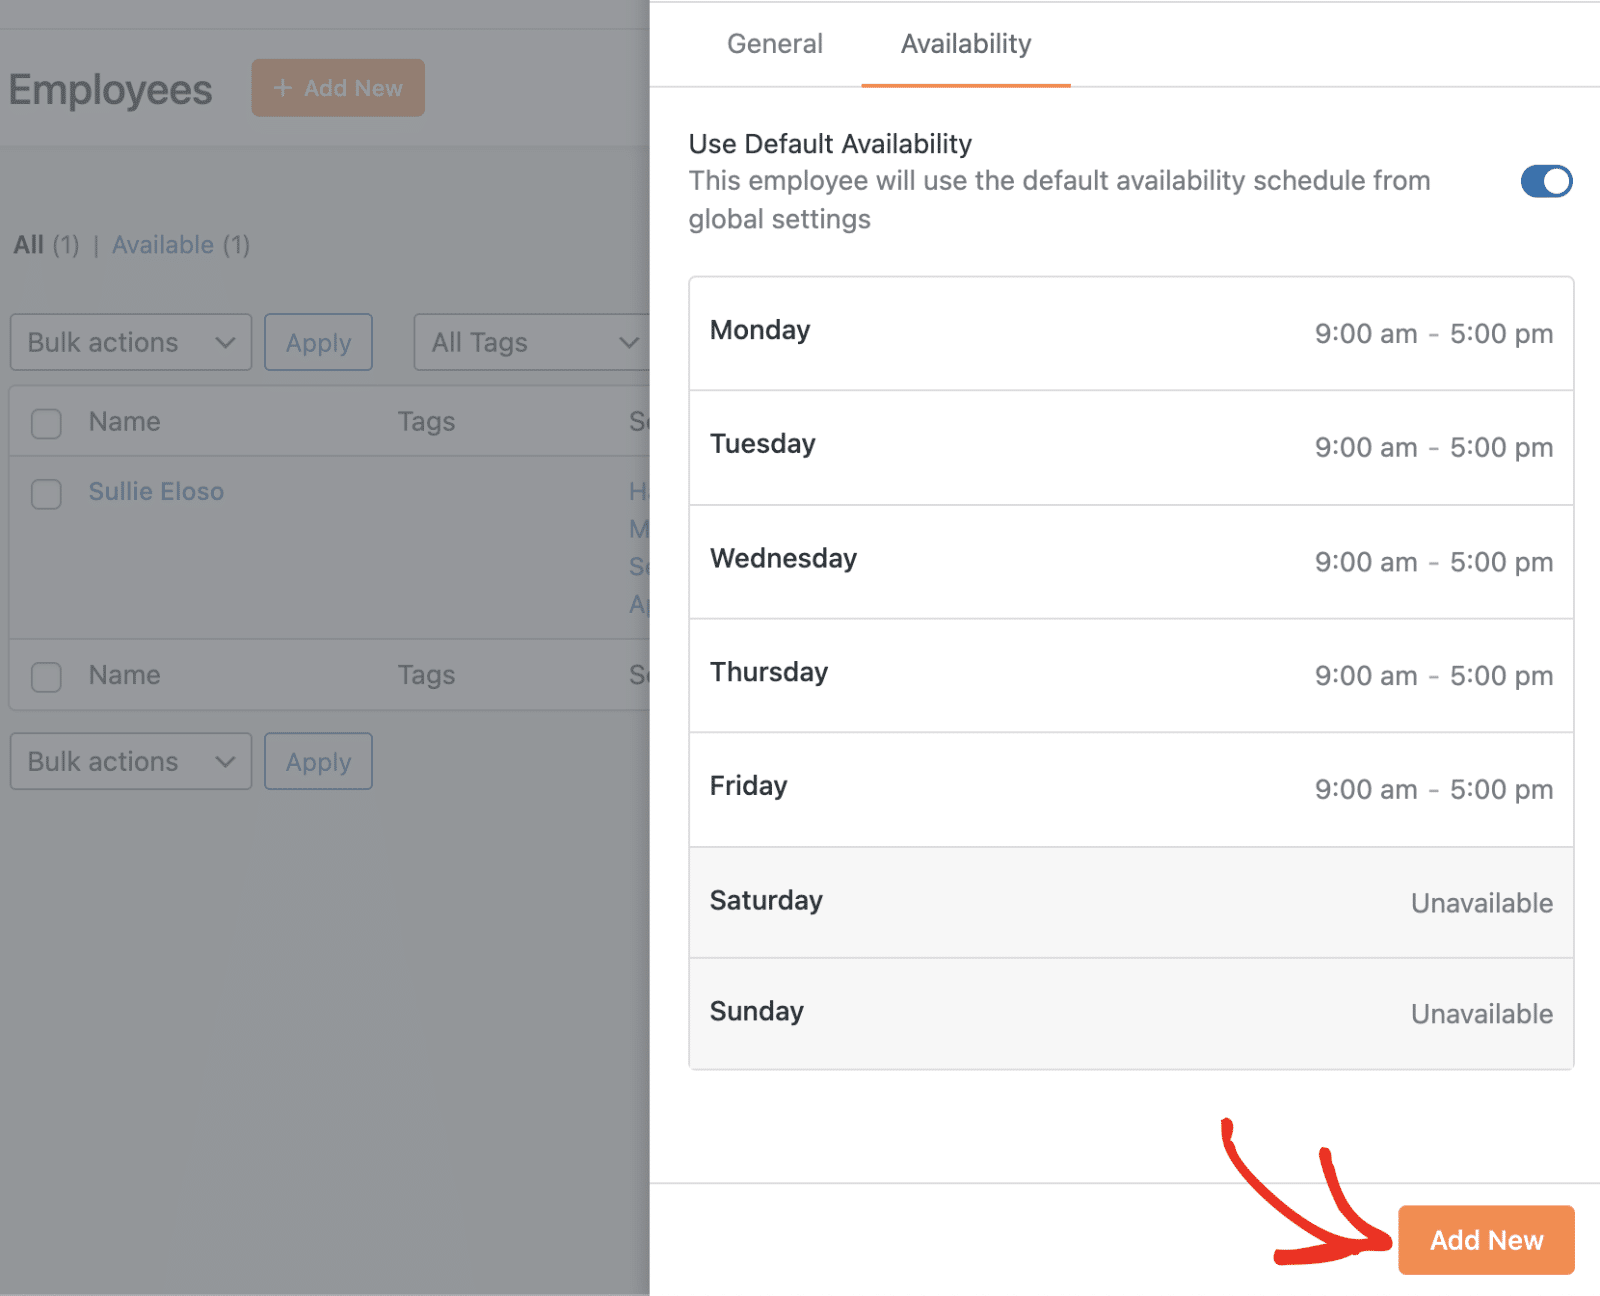
After creating an employee, open their profile and select the Availability tab to set the employee’s available appointment times.
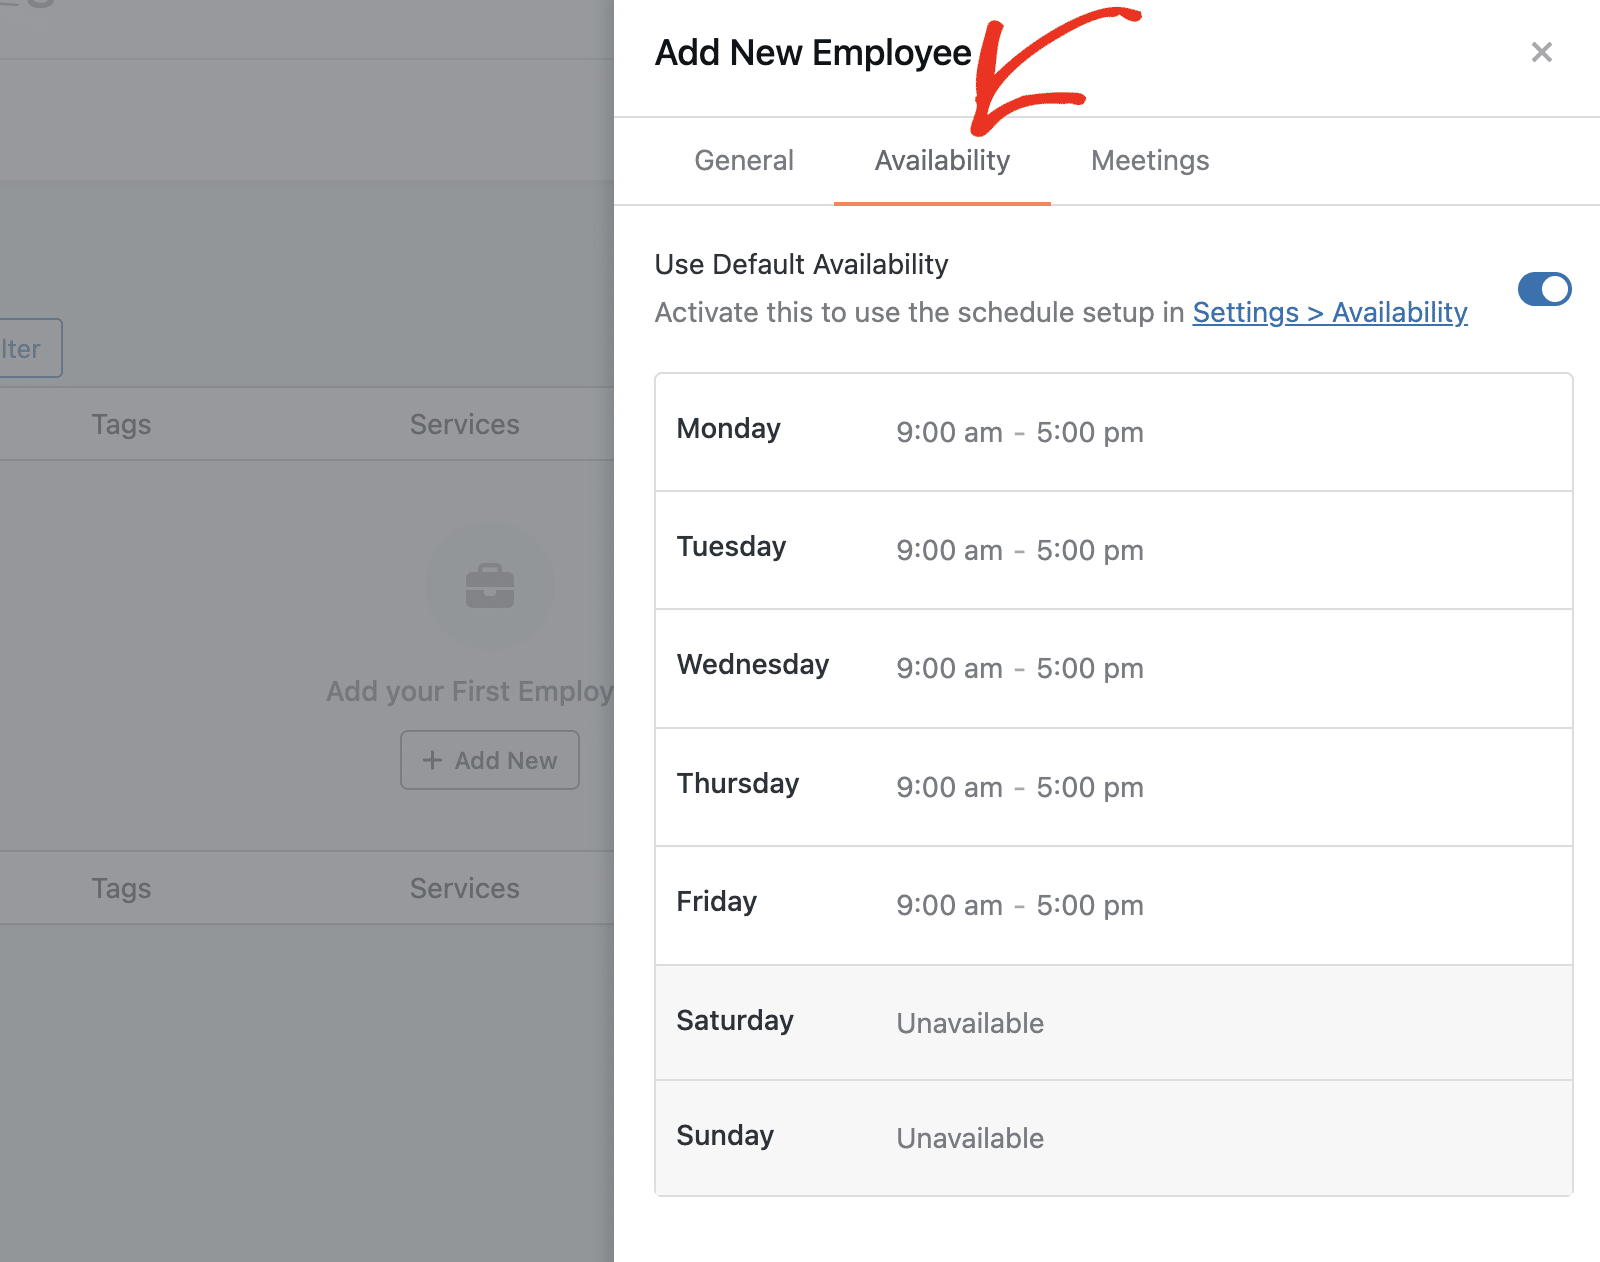
By default, employees use the global availability schedule configured in Bookings » Settings. To create a custom schedule for an individual employee, toggle Use Default Availability to Off.
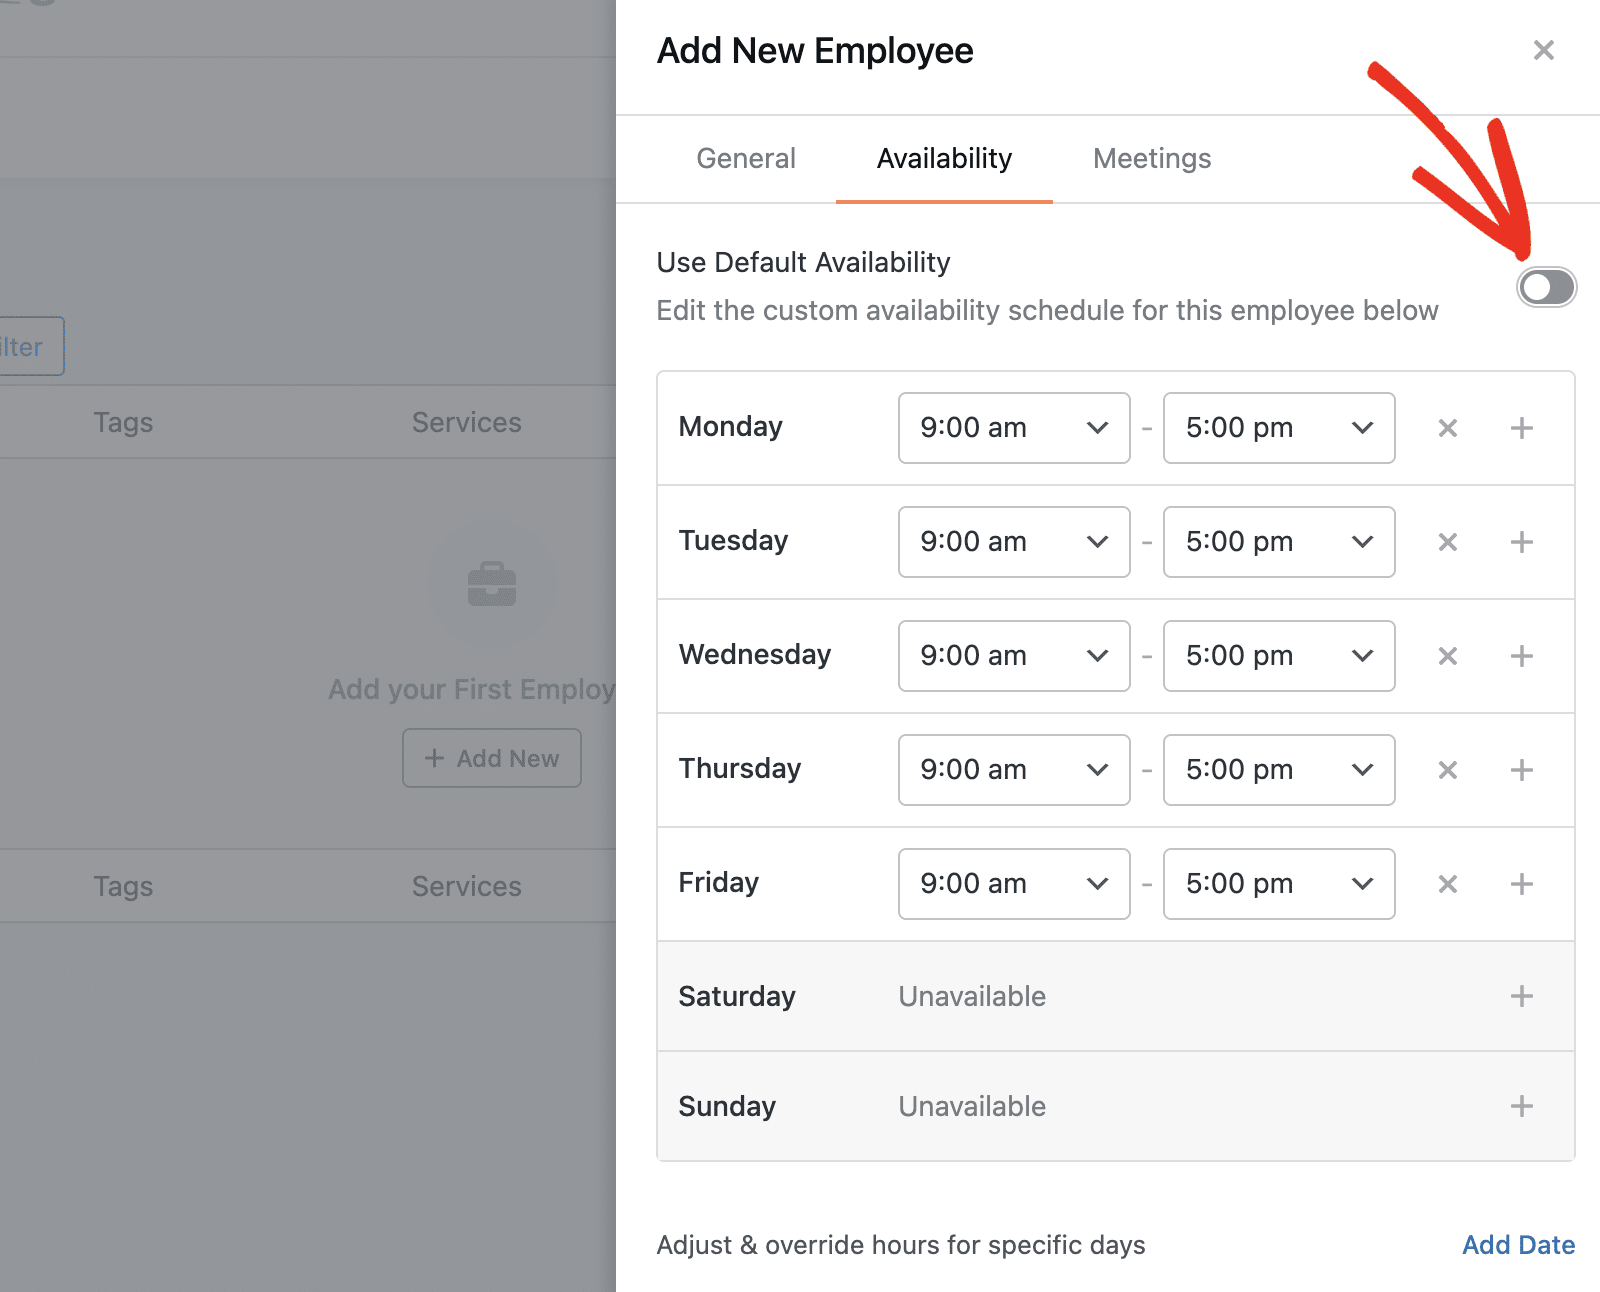
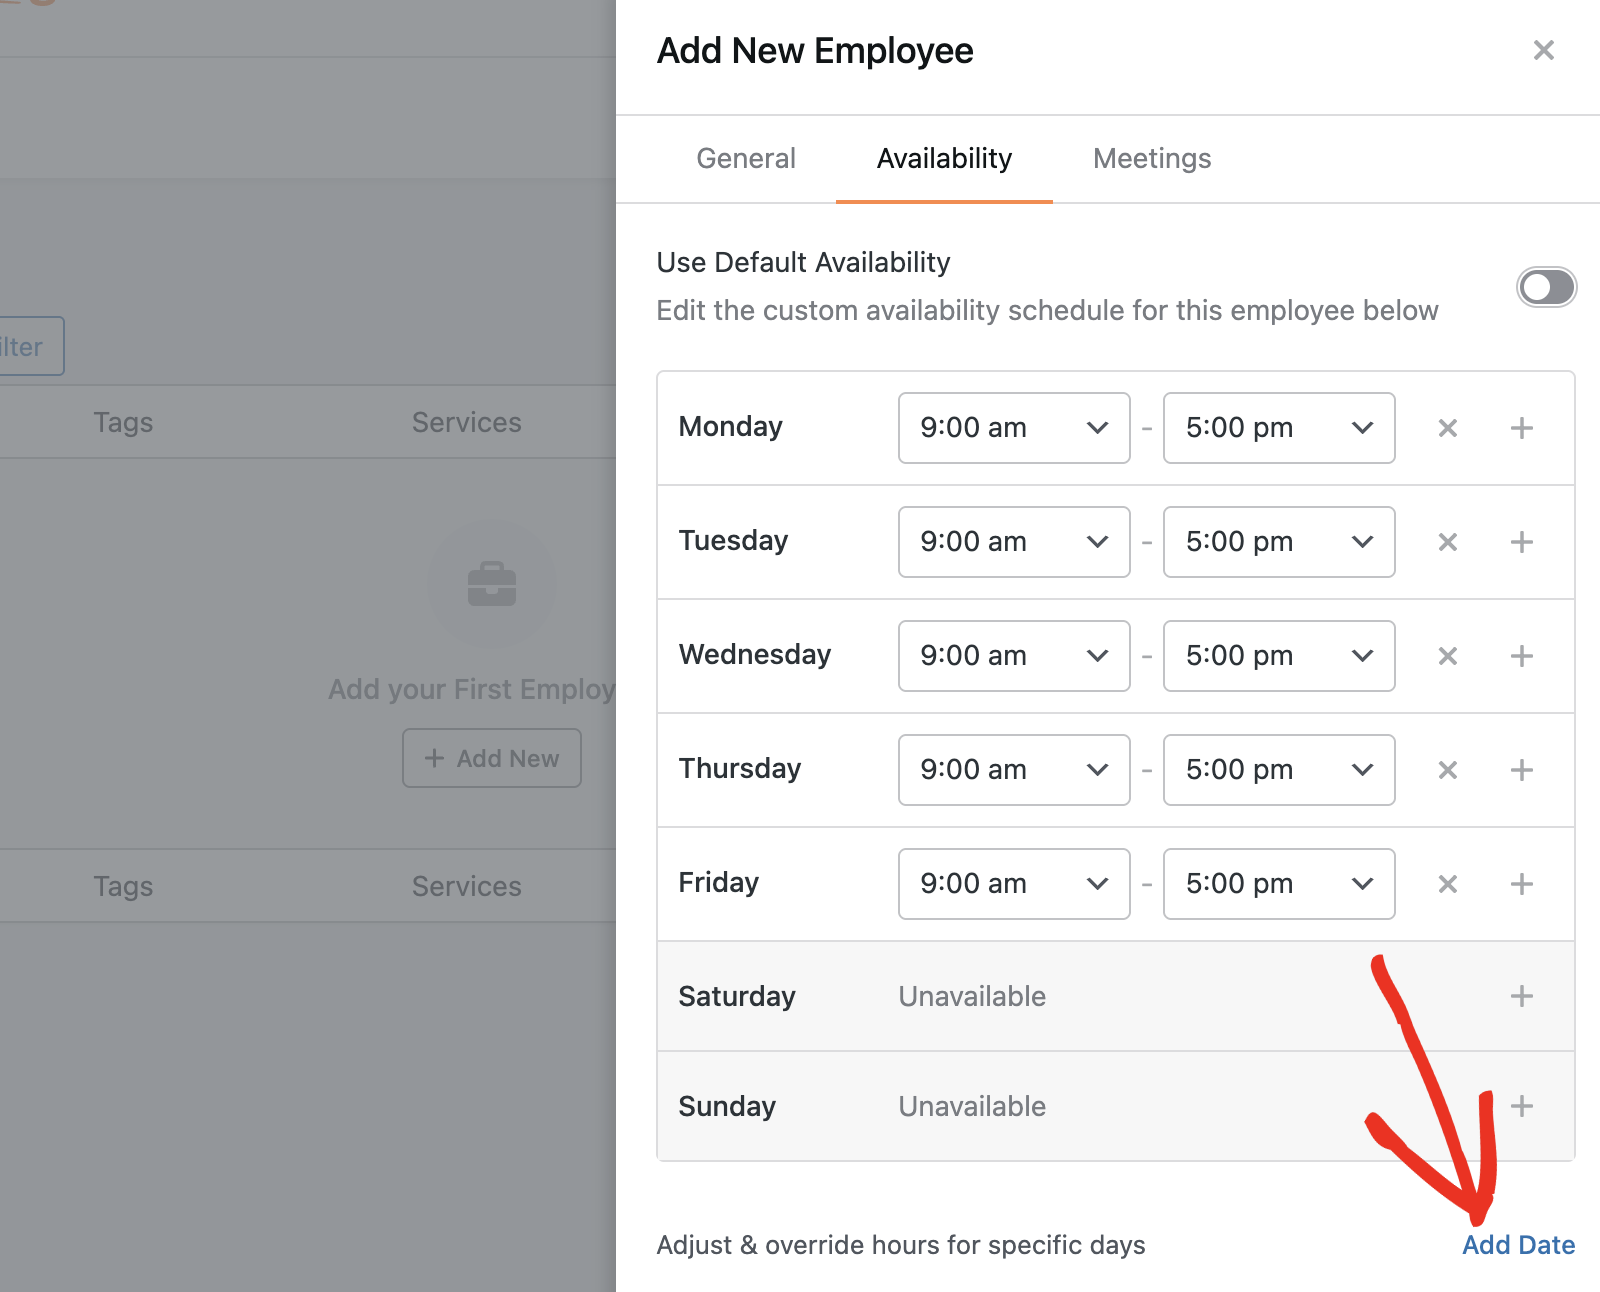
Then set specific start and end times for each day, add multiple time slots with the + button, and remove slots with the × icon.
To add a new date, click the Add Date button below the availability section.
Meetings
After configuring the employee’s availability, click the Meetings tab to view available integrations.
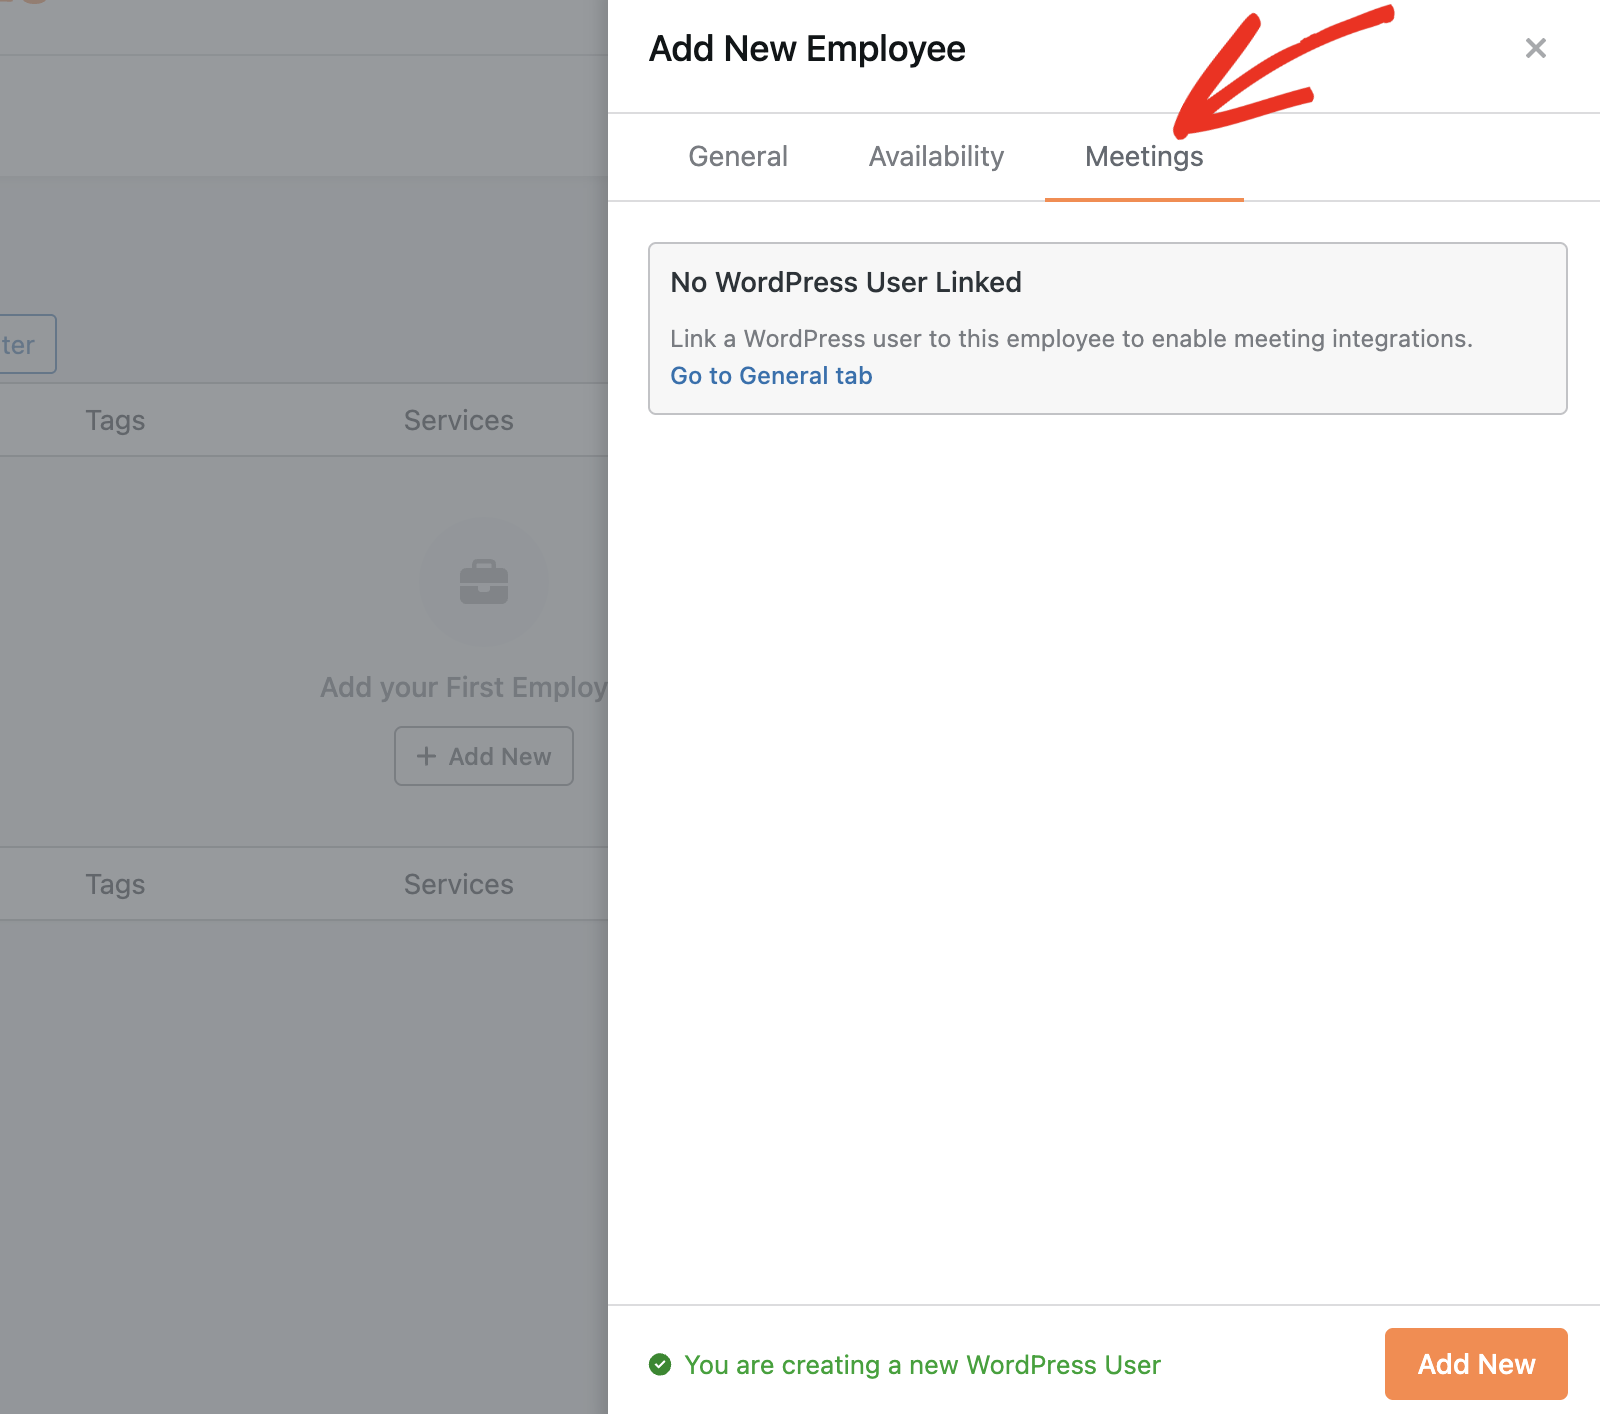
You’ll likely see “No User Linked” if you haven’t yet linked the employee to a WordPress user role.
However, if you’ve set up any connection, you’ll see them listed here.

Note: Employees must configure their Zoom integration from their account dashboard. For more information, see the Zoom integration guide.
After adding the employee details and customizing additional settings, click Add New to save the employee.

Editing and Removing Employees
To edit an employee, locate them in the employee list and click Edit beneath their name.
You can update the employee’s details, like their name, or map them to a WordPress role.

Once done, click Save Edits to save your changes.
To move an employee to trash, click Trash below their name and confirm. This action is reversible. Access trashed employees via the Trash link at the top of the employee list and click Restore to reactivate them.
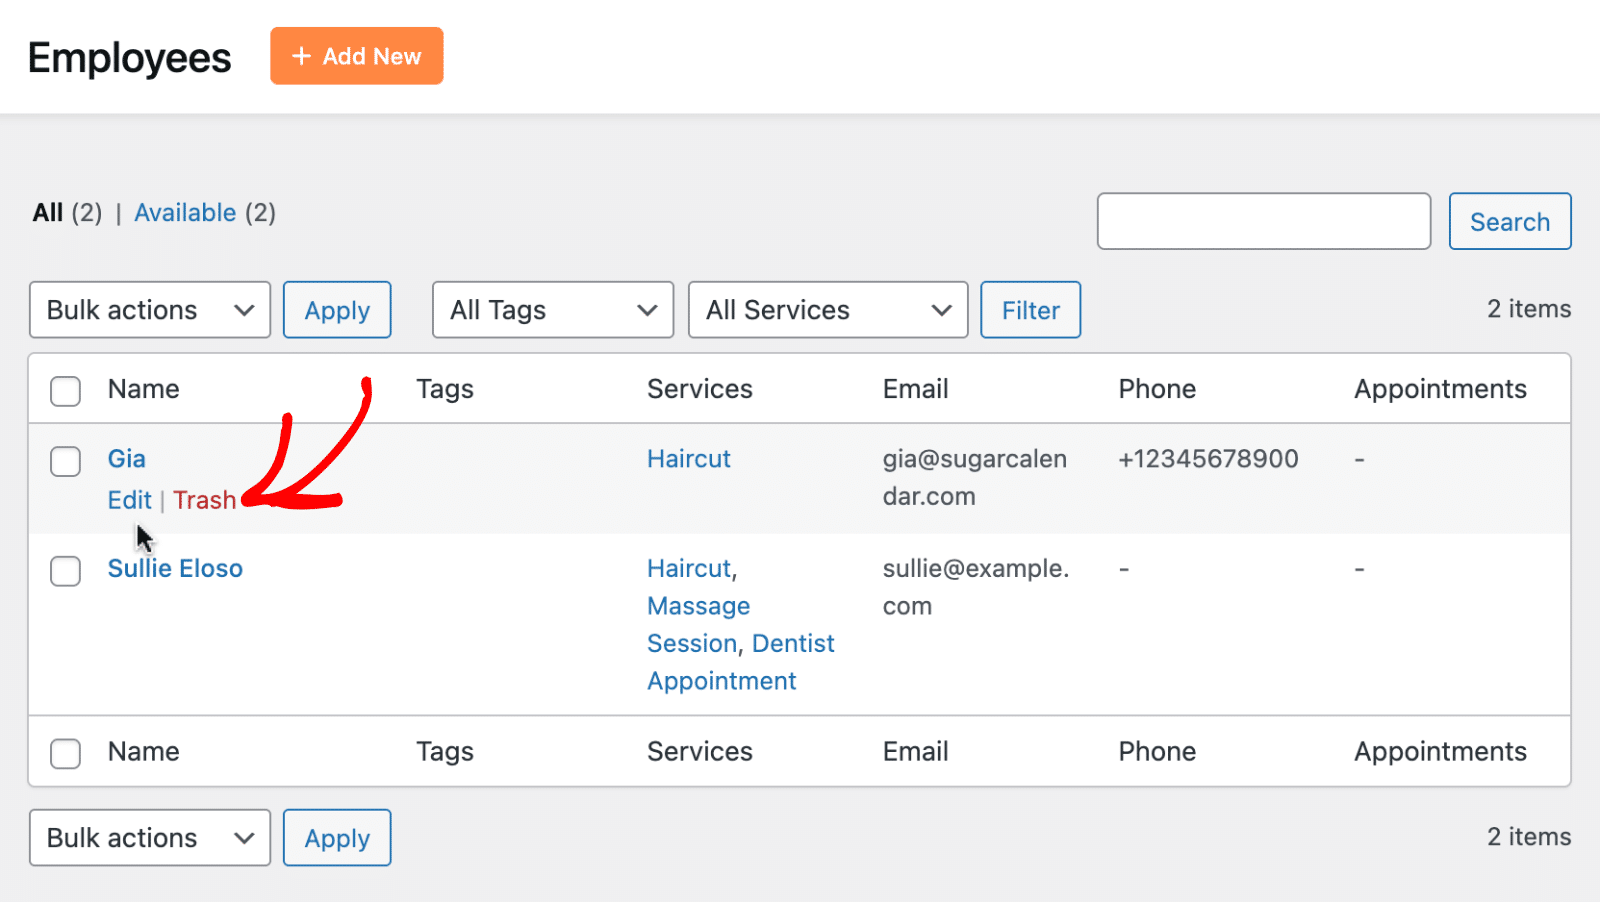
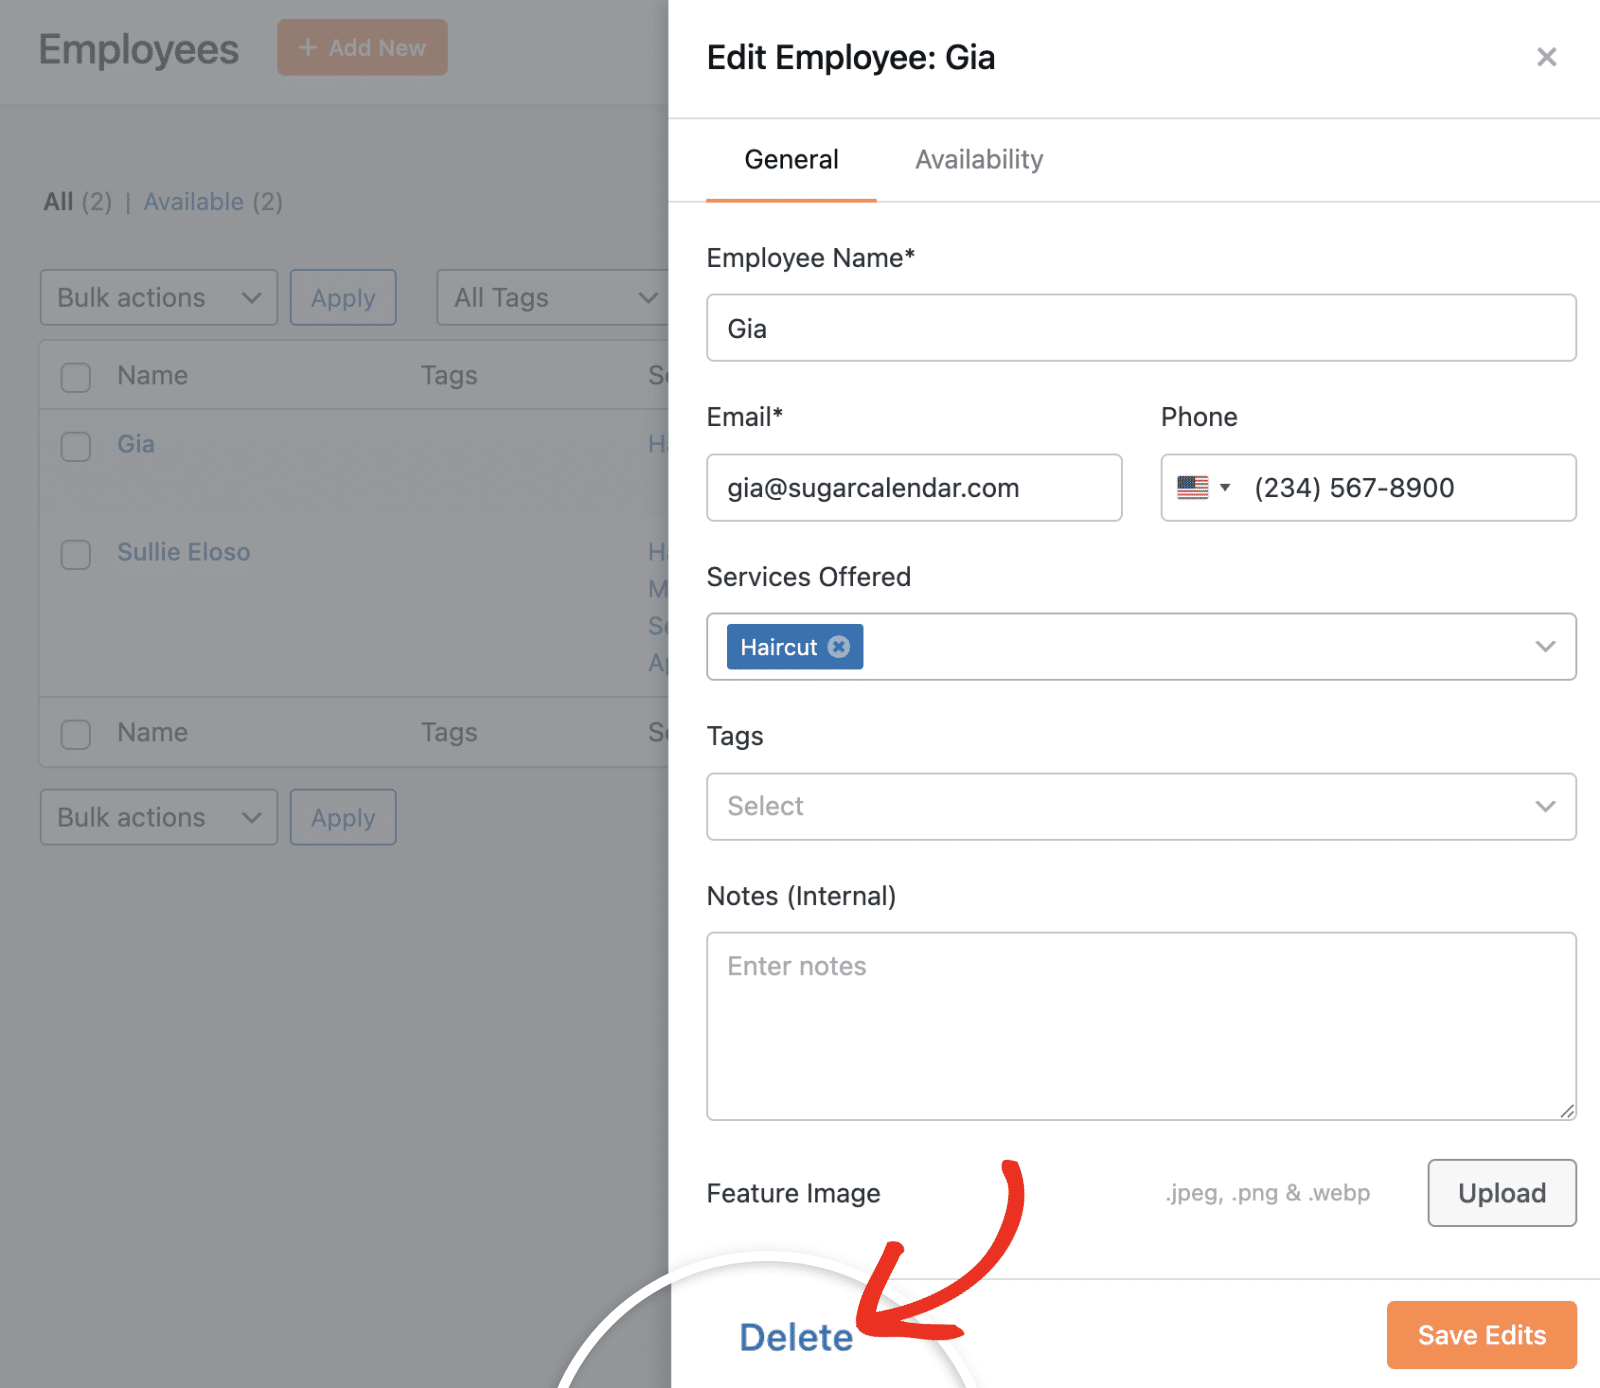
To permanently delete an employee, open the employee from the Trash list and click Delete, or use the Delete button inside the Edit modal. This action permanently removes the employee record.
Searching and Filtering Employees
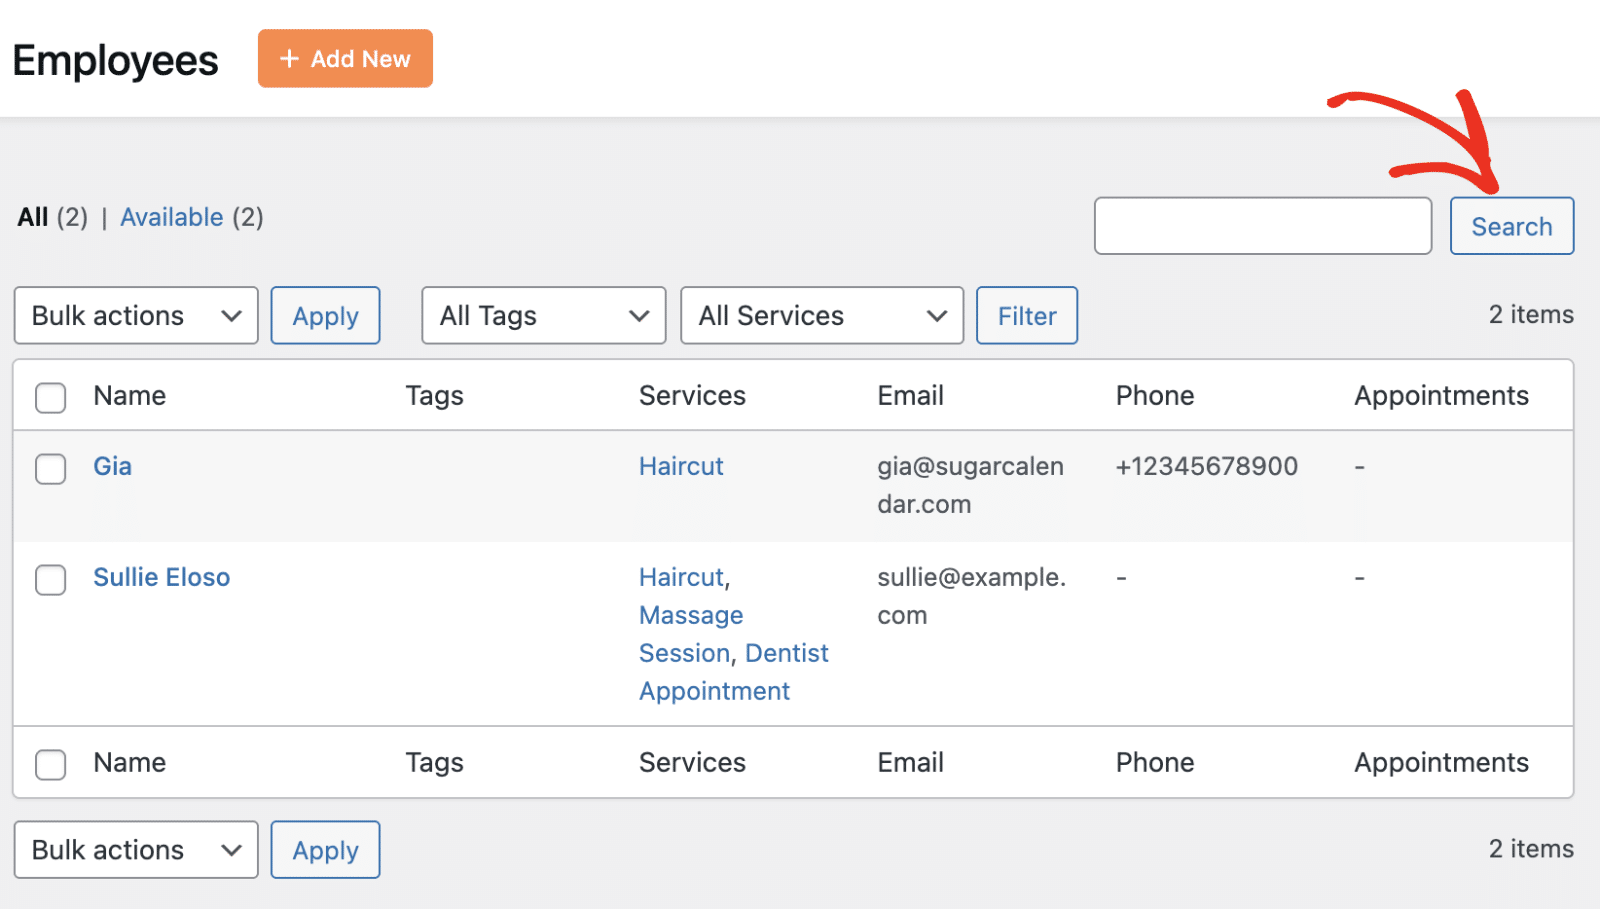
Use the search box in the top-right corner of the Employees page to find employees by name. Use the All Tags and All Services dropdowns to filter the list by classification.
Managing Employee Roles
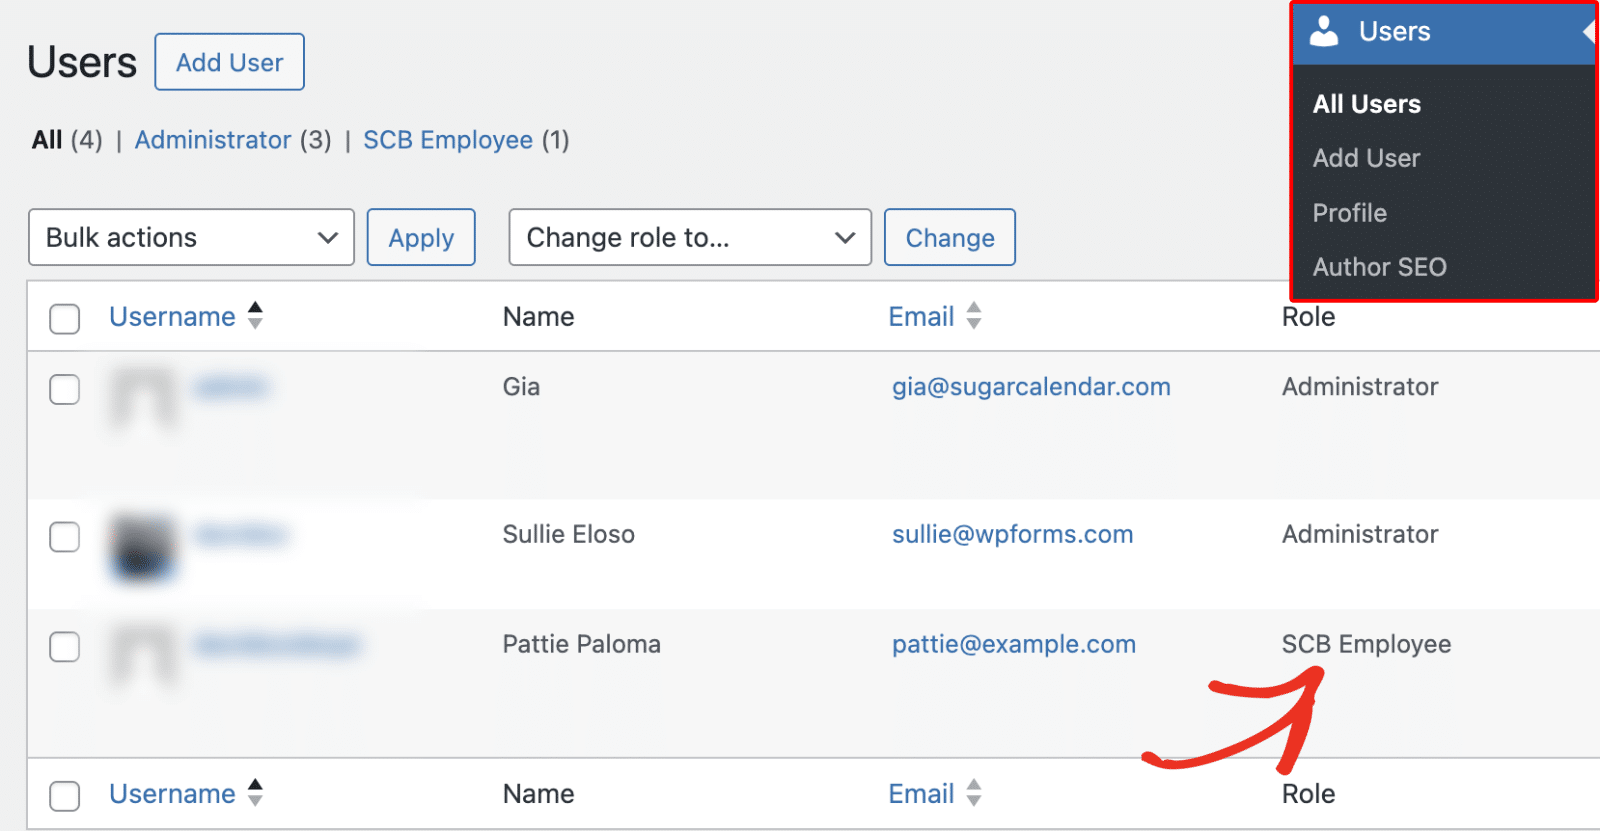
After creating the employee, a new WordPress user will also be created, depending on the option you chose. Under Users » All Users, you’ll see the SCB Employee role assigned to the employee.
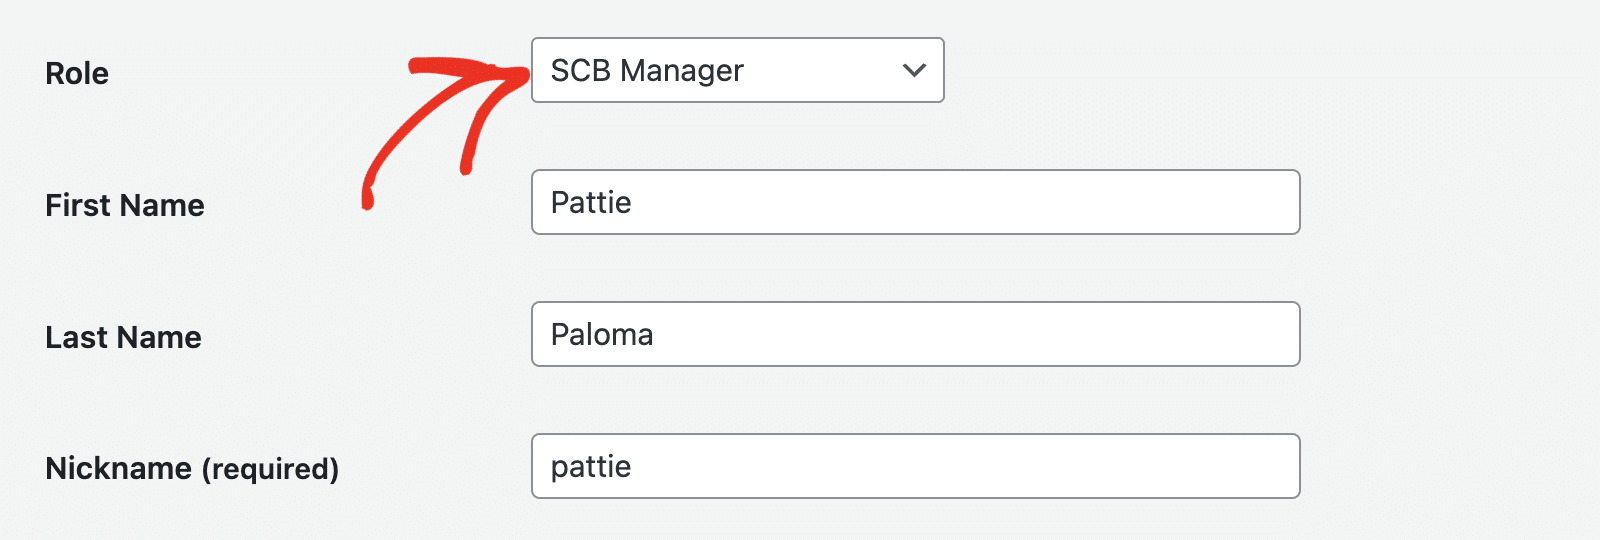
Click on an Employee to manage their details and role assignment. On the user profile settings page, scroll to the Role section and use the dropdown to select a role for the employee.
Sugar Calendar Bookings supports two roles:
- SCB Employee: An employee with limited access to the WordPress admin dashboard.
- SCB Manager: An employee who manages other employees’ profiles.
After assigning the user role, scroll down and click Update User to save your changes.
What Employees See When They Log In
When an employee logs in to WordPress, they see a tailored view of Sugar Calendar Bookings scoped to their role privileges.
Note: Only employees linked to a WordPress user can access this view.
Employees have access to the following areas:
- Calendar and appointments
- Appointments list
- Customer list
- Payments
Employees cannot add or edit services. Role privileges in Bookings Settings control which sections are visible. Admins show or hide individual sections for employees from the Roles tab in Bookings Settings.
Employee Settings Page
To access the bookings settings page for an employee, navigate to Bookings » Profile.
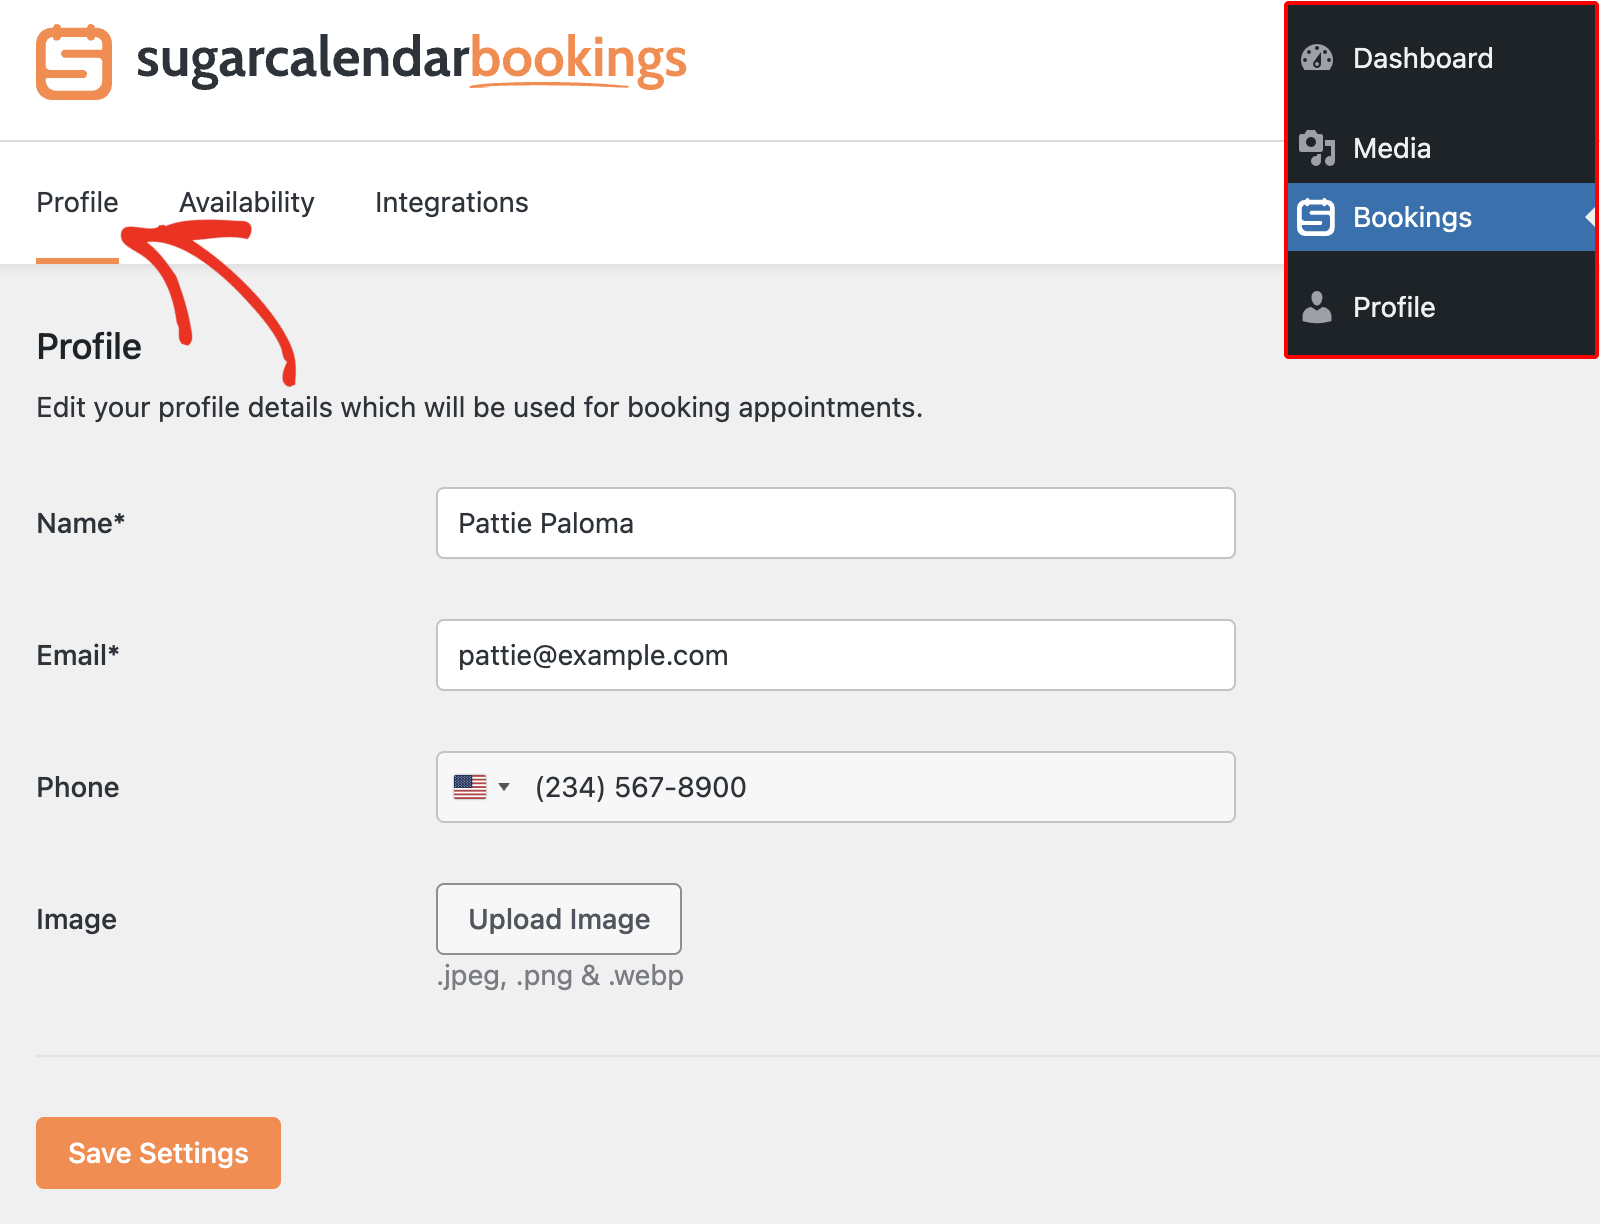
When an employee accesses their settings, they see three tabs:
- Profile: Fields for name, email, phone number, and profile image. Employees update their own contact information from this tab.
- Availability: Employees view their availability schedule here. Depending on admin permissions, this tab is view-only or fully editable.
- Integrations: Employees connect third-party integrations from this tab, such as Zoom. Available integrations and their options differ from the admin view based on role limitations.
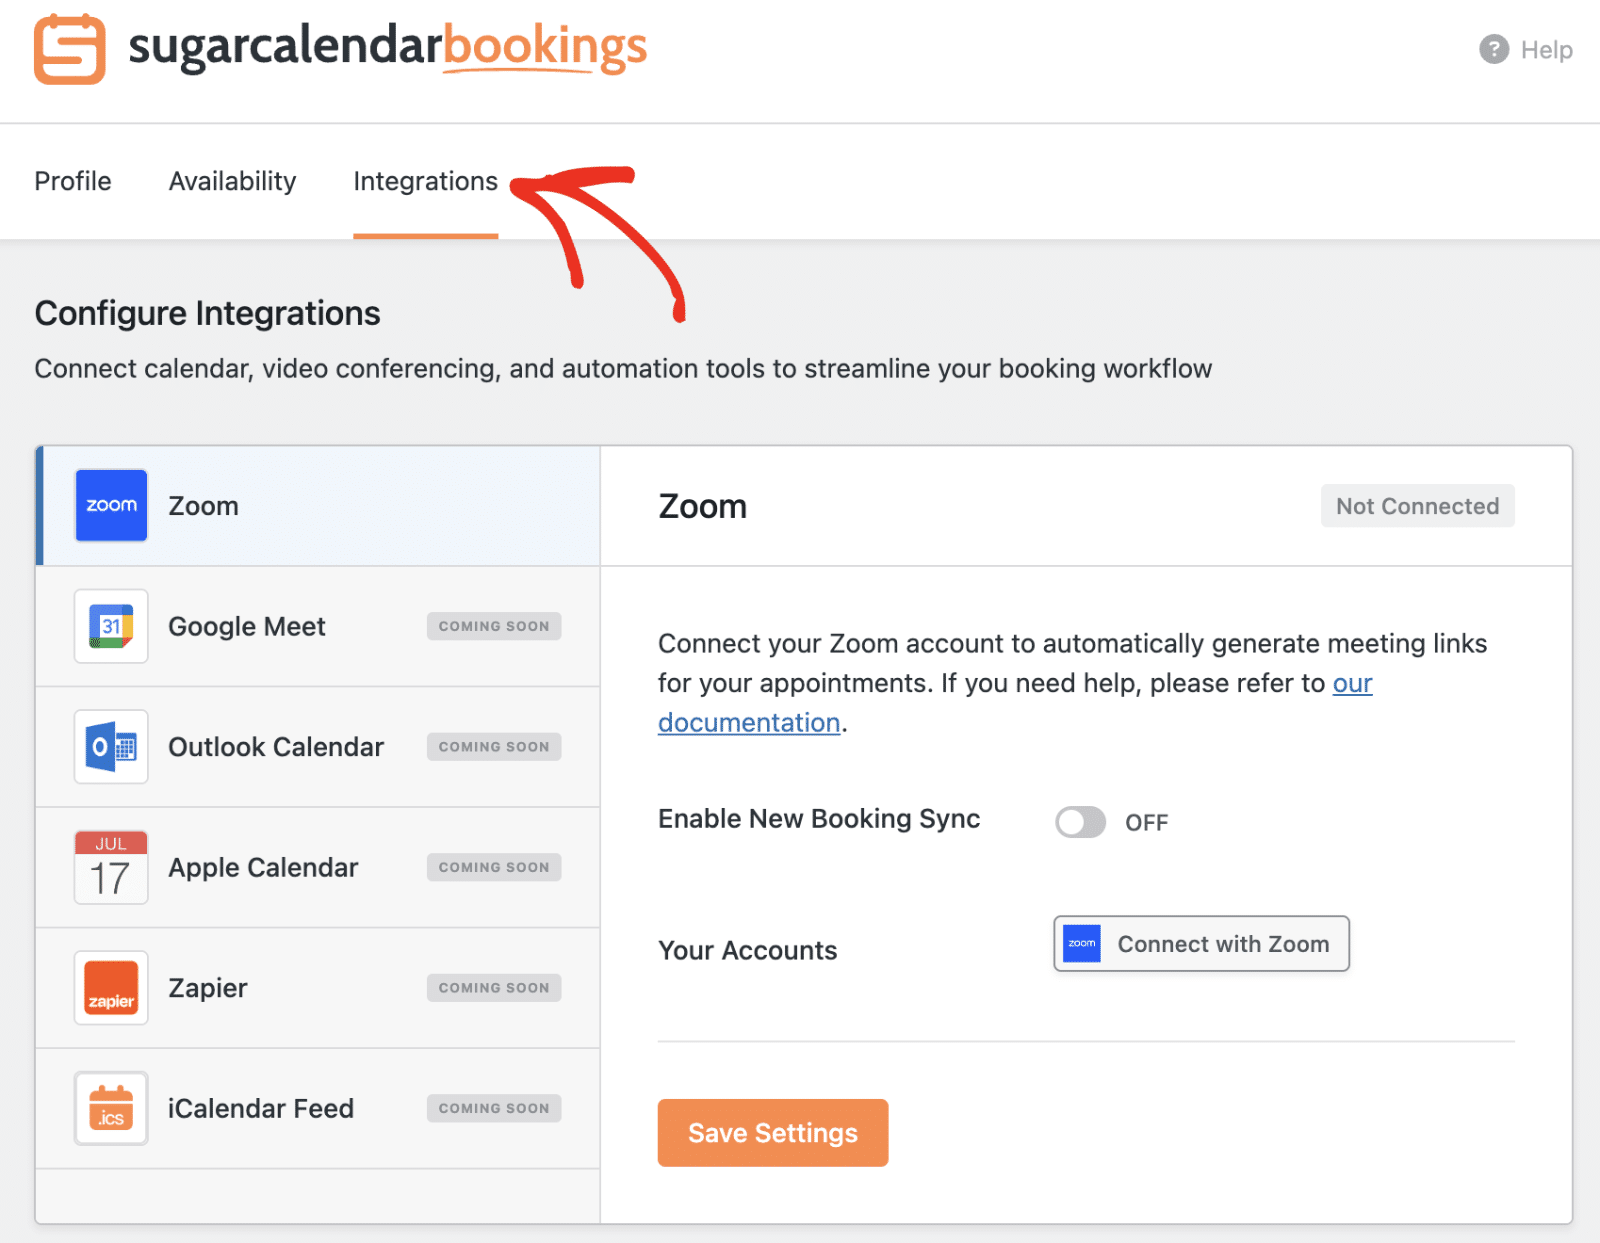
The employee can click on Connect with Zoom to integrate their Zoom account with Sugar Calendar Bookings. Be sure to check the Zoom integration guide for more information.
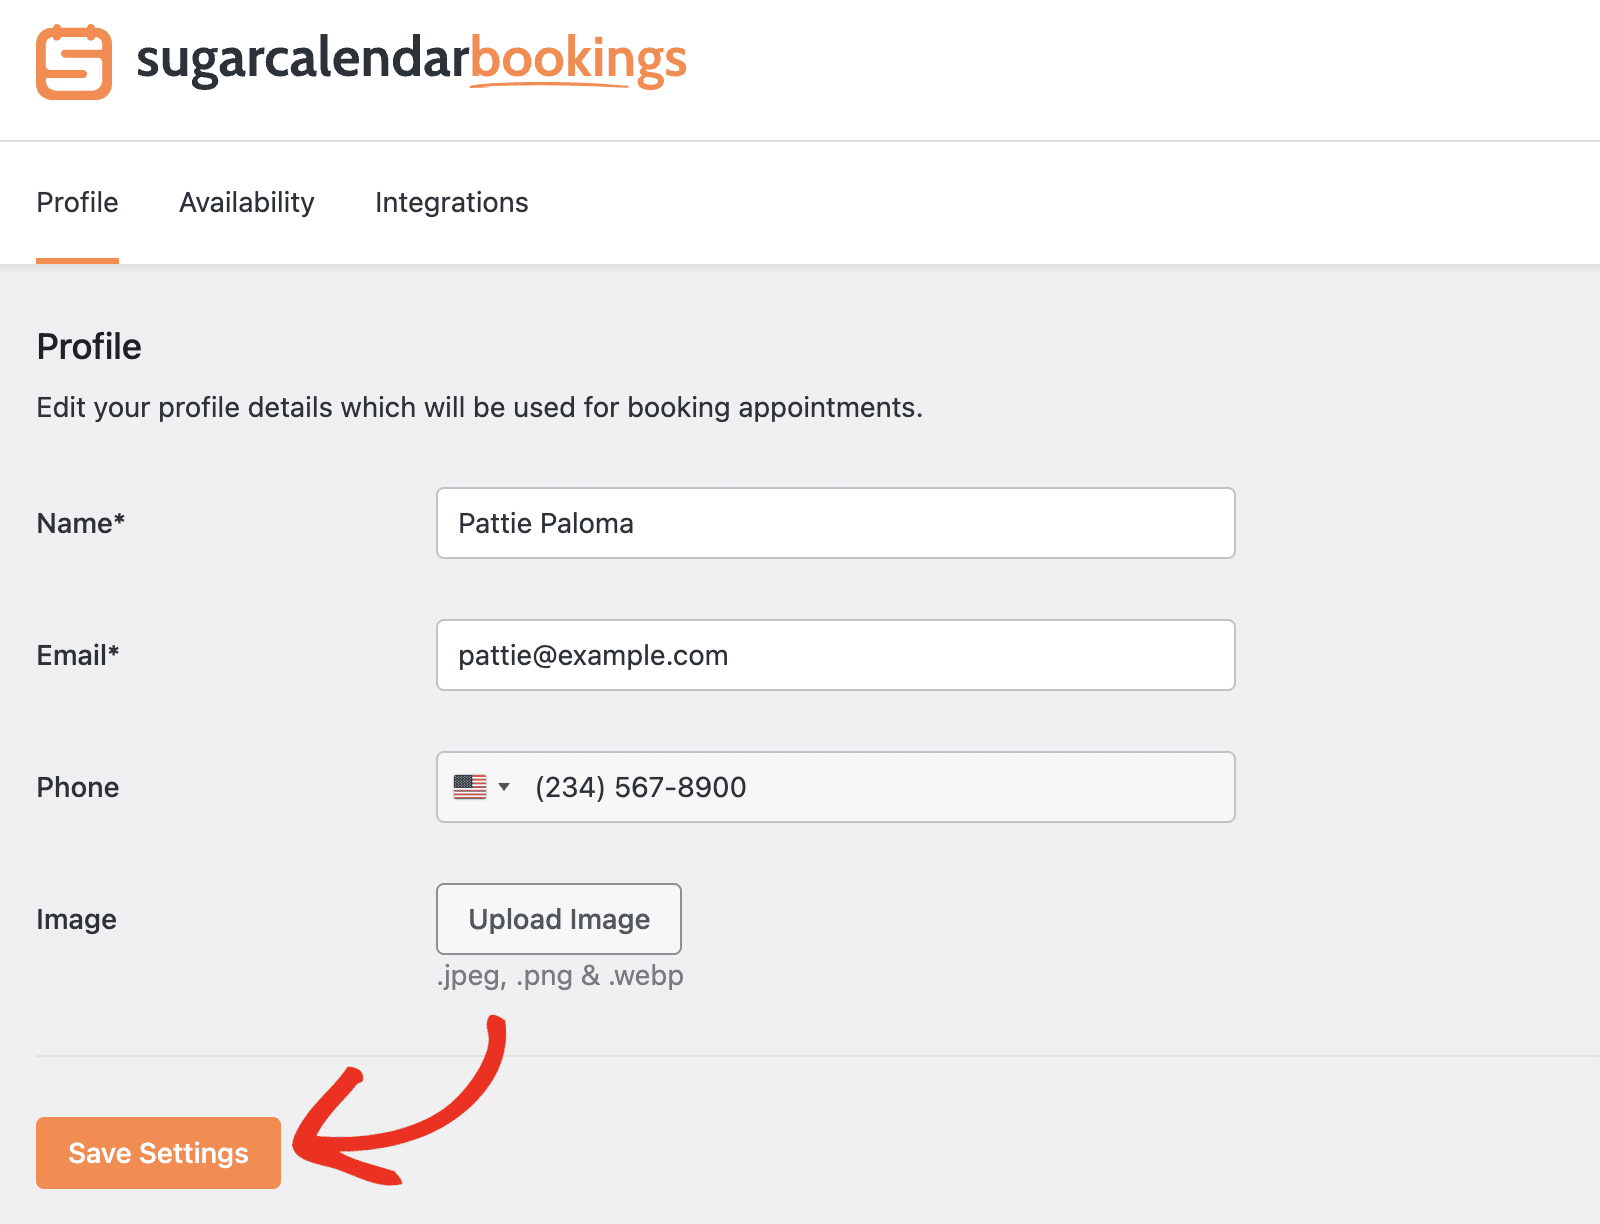
Once done customizing the employee account, click Save Settings.
That’s it! You now know how to create and manage employees in Sugar Calendar Bookings, link them to WordPress users, and understand what the employee experience looks like once they log in.
Would you like to learn more about controlling what each employee can access? See A Complete Guide to Sugar Calendar Bookings Settings for details on the Roles tab and other configuration options.