Would you like your bookings to automatically stay in sync with your Outlook calendar? Sugar Calendar Bookings integrates with Outlook Calendar to keep appointments in sync in both directions, so a change in one calendar shows up in the other, and clients can’t book a time when you’re already busy.
In this tutorial, we’ll show you how to set up and use the Outlook Calendar integration in Sugar Calendar Bookings.
In This Article
Requirements: To use the Outlook Calendar integration, you’ll need:
- A Microsoft account (personal, or a work or school account)
- A valid SSL certificate on your WordPress site
- Sugar Calendar Bookings installed and activated
Connecting Your Outlook Account
Both admins and employees connect their own Microsoft accounts from the Integrations settings page. Each person connects independently, so synced events and conflict checks reflect the calendar owner who handles the booking.
Connecting as an Admin
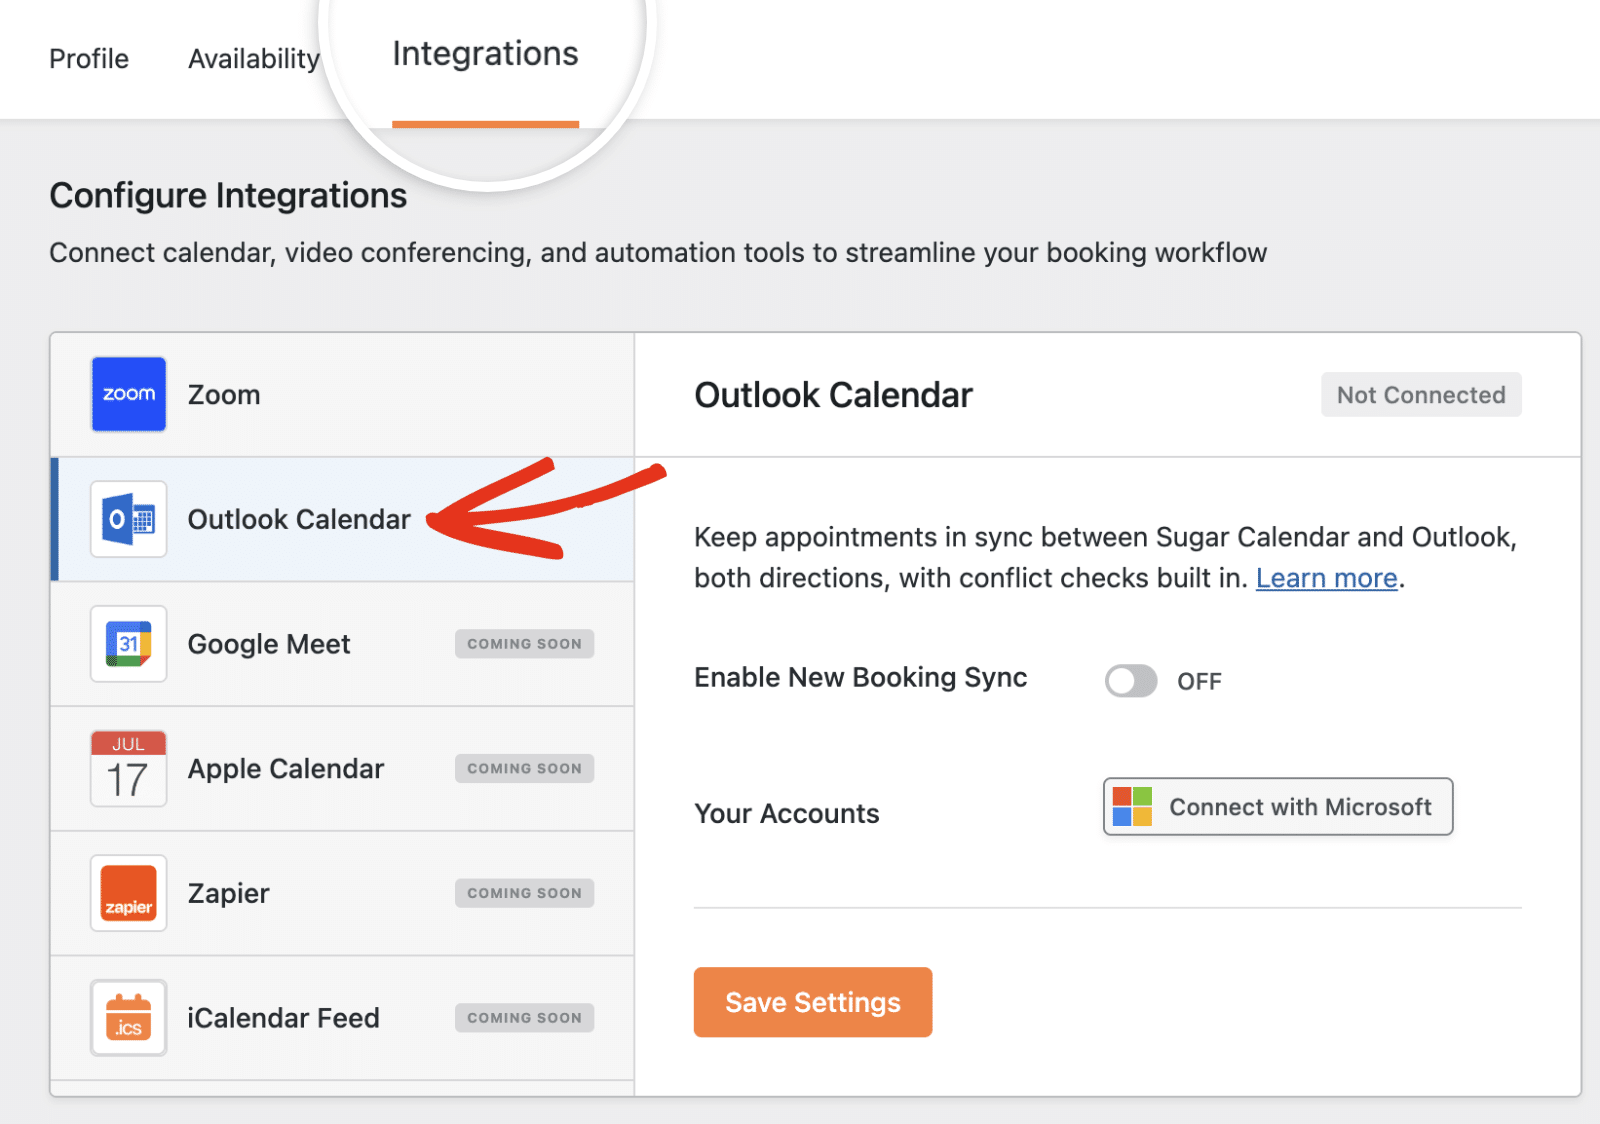
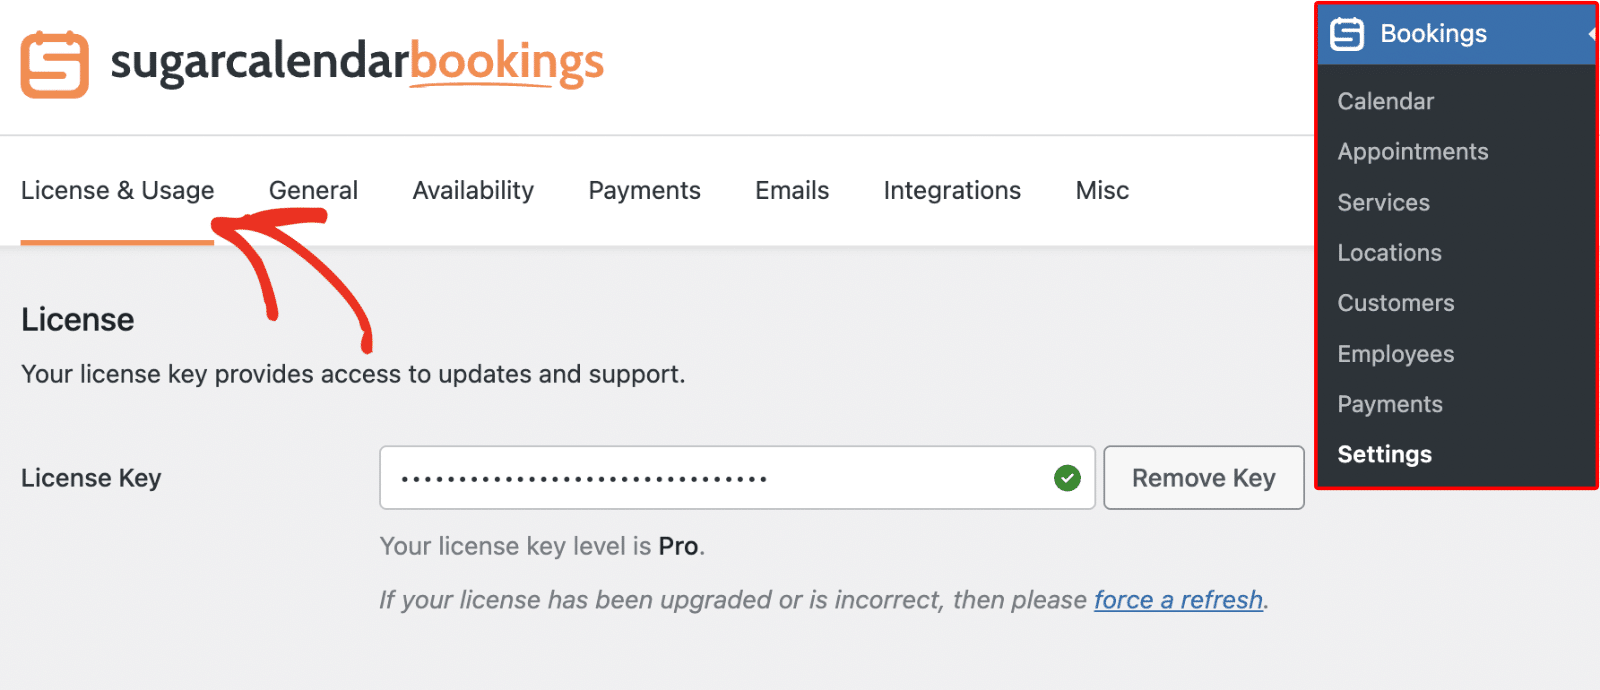
To connect your account as an admin, go to Bookings » Settings in your WordPress dashboard and click the Integrations tab. Select Outlook Calendar from the list of integrations.
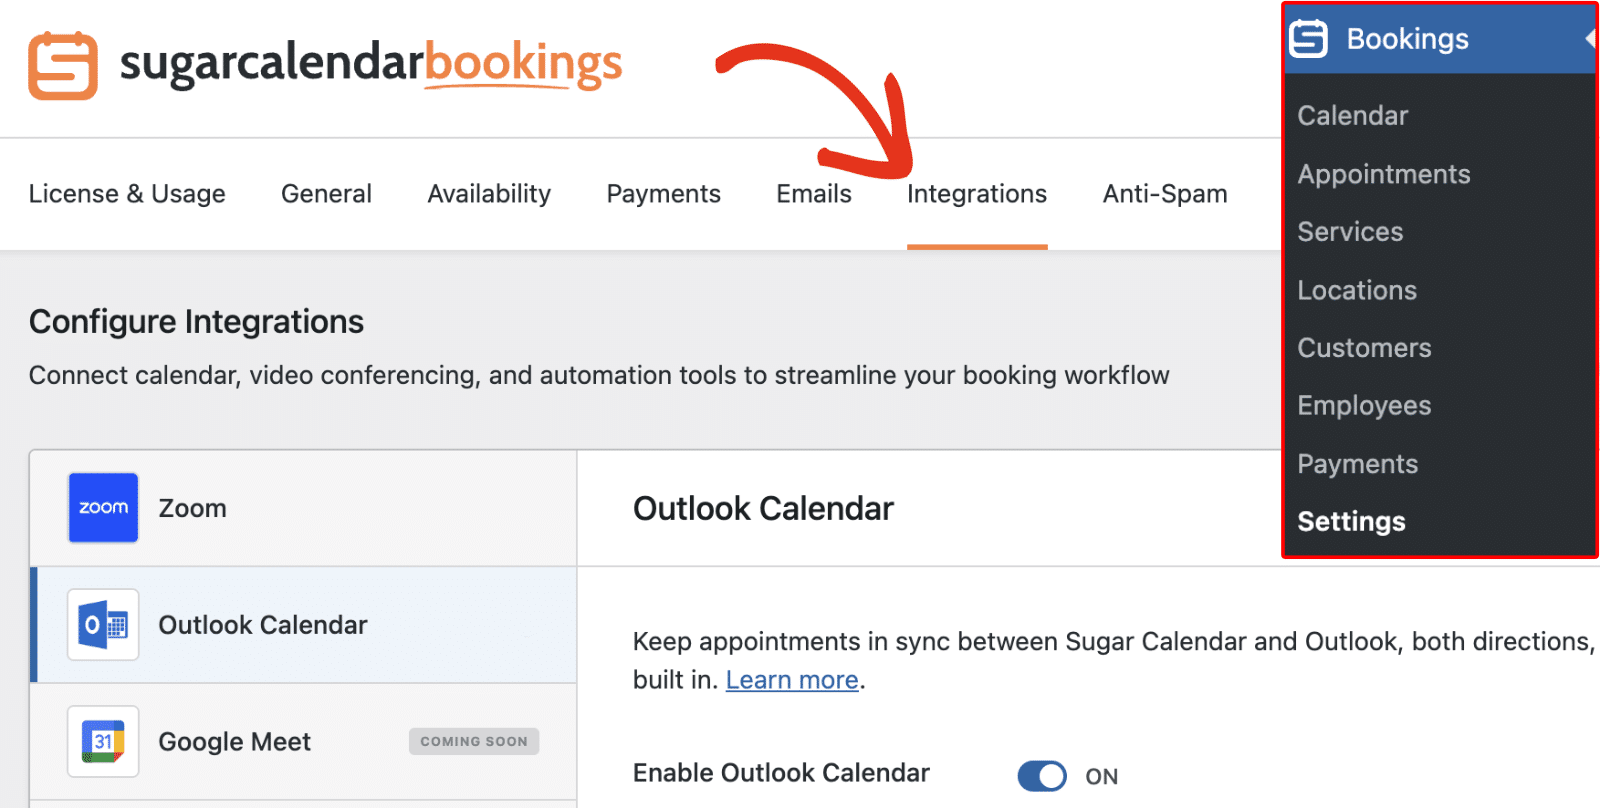
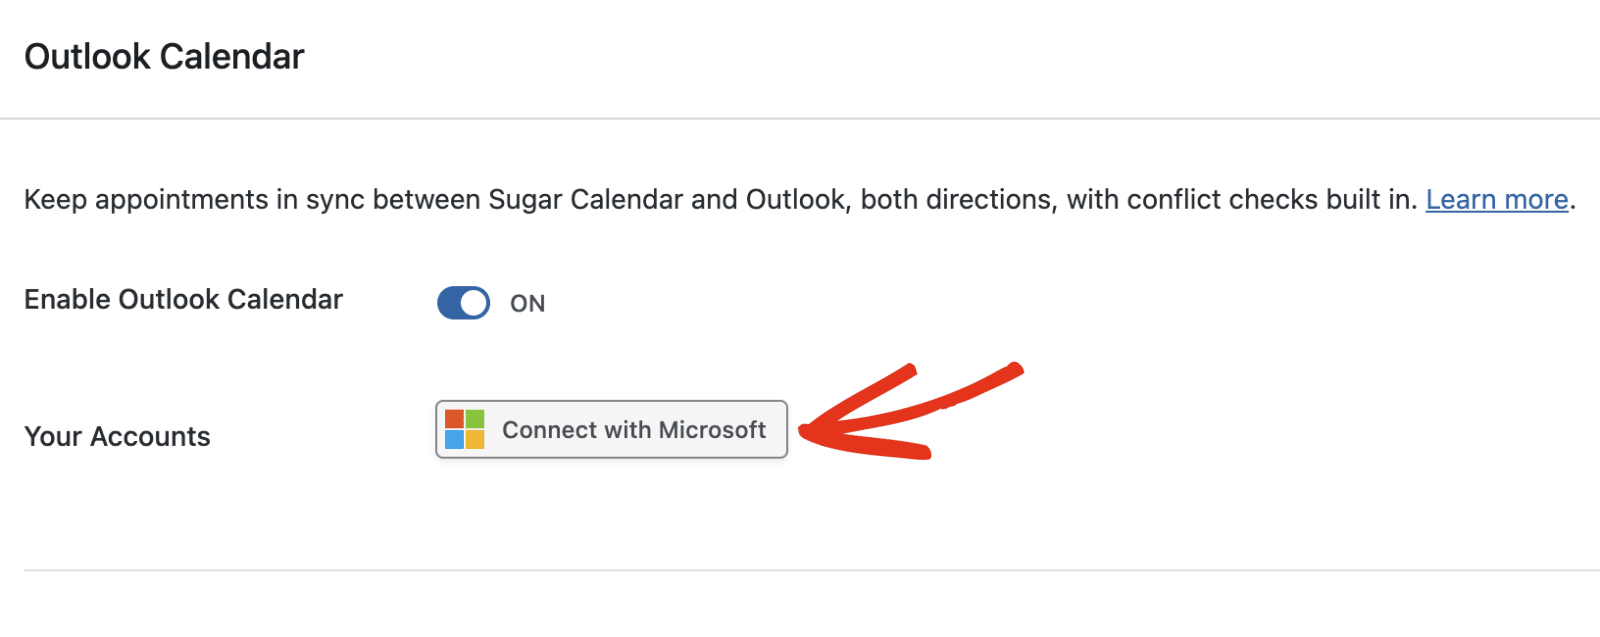
Turn on Enable Outlook Calendar, then click the Connect with Microsoft button under Your Accounts.
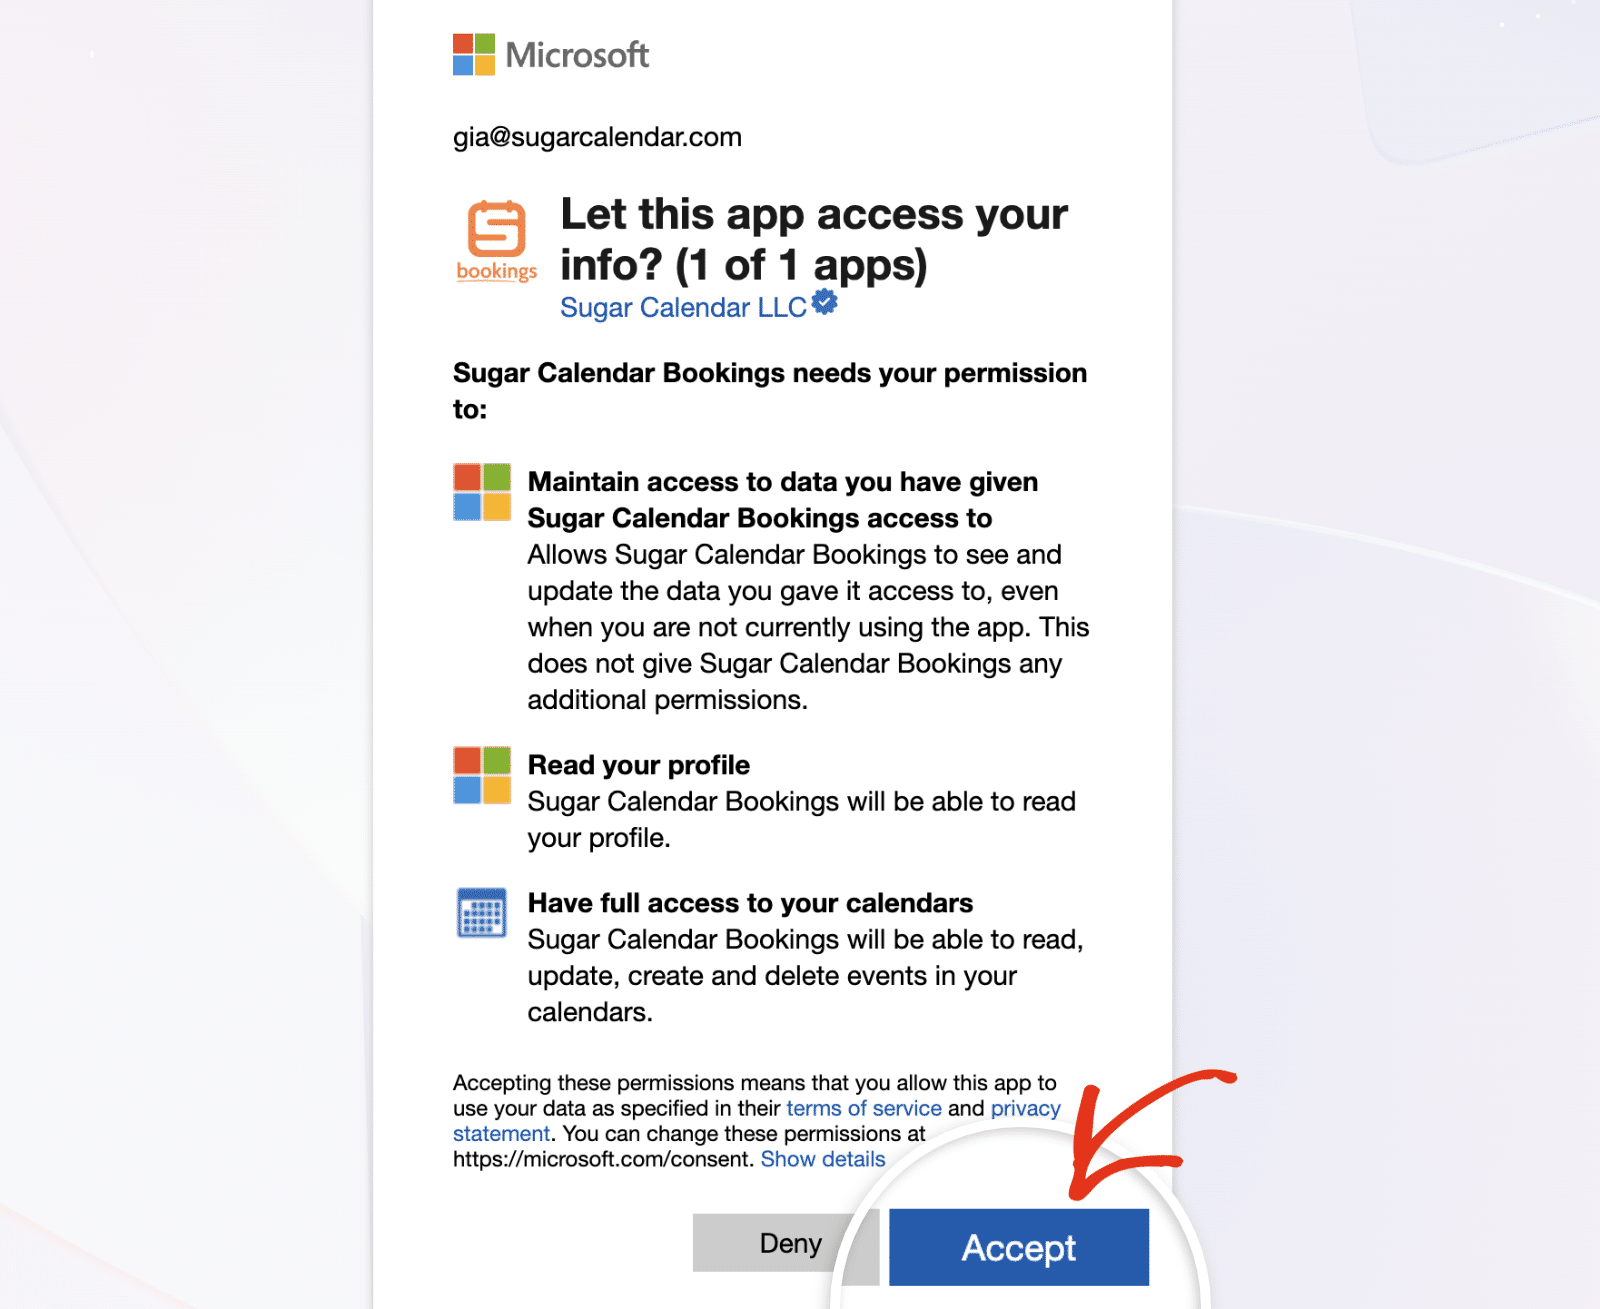
Microsoft’s sign-in page opens in your browser. Sign in with your Microsoft account, then review the permissions that Sugar Calendar Bookings requests. After that, click Accept to continue.
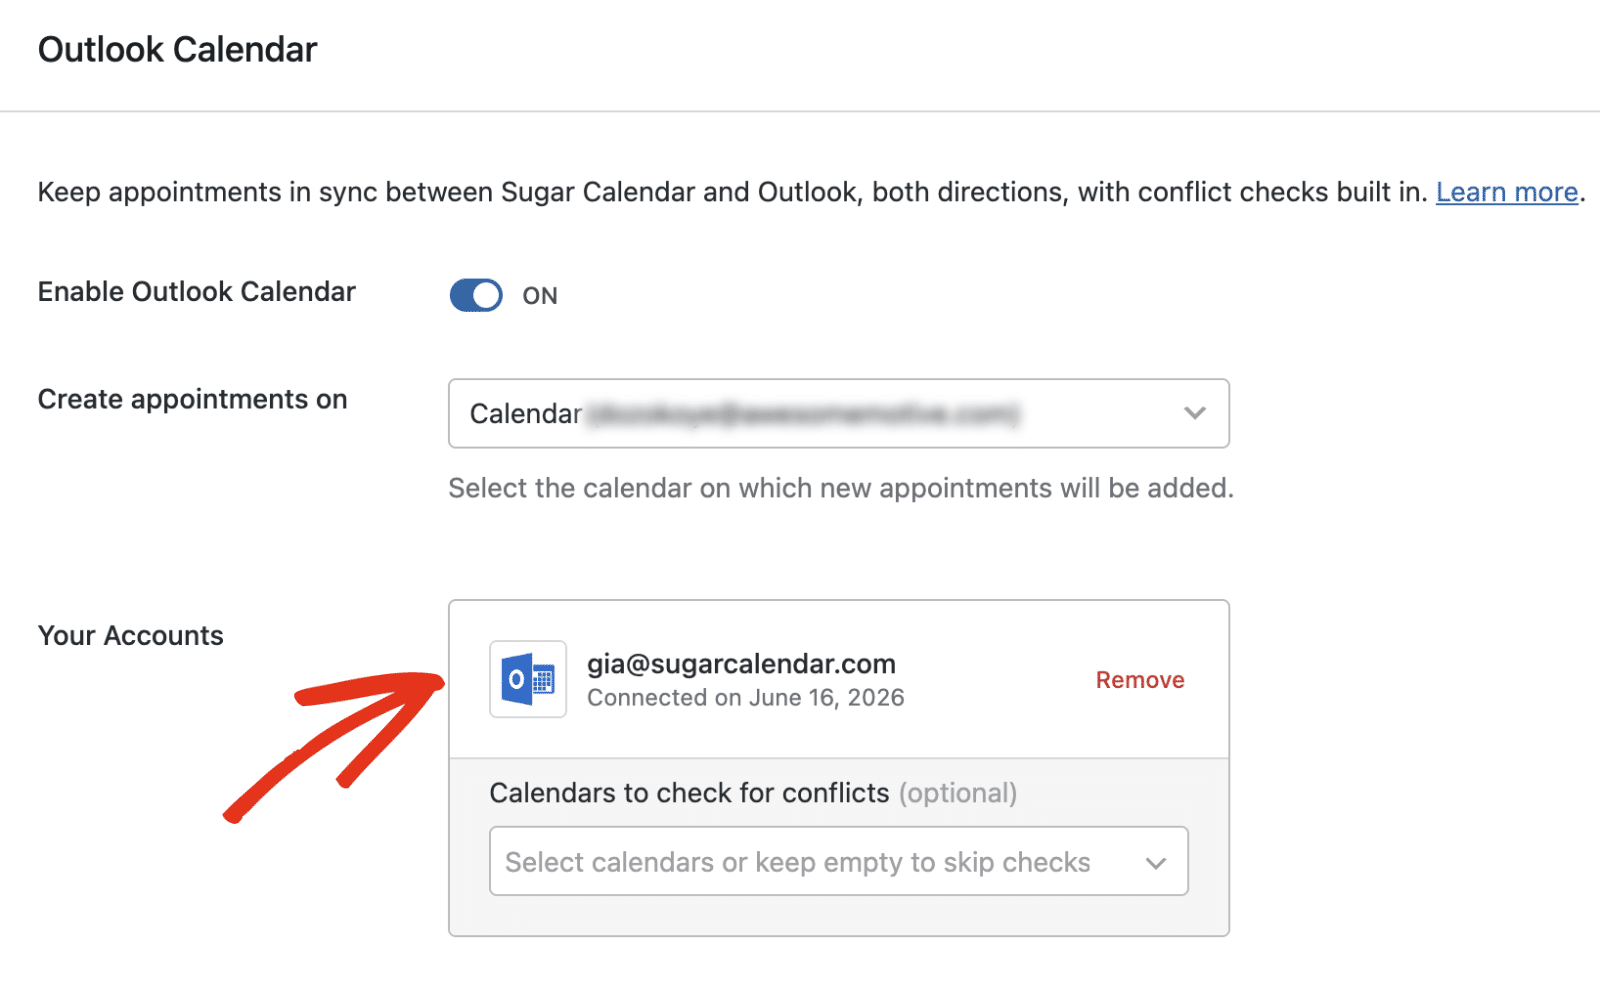
Microsoft returns you to the Integrations settings page and confirms the connection. Your account then appears under Your Accounts.
Connecting as an Employee
Employees connect their own Microsoft accounts from the Integrations tab on their employee settings page. Select Outlook Calendar, turn on Enable New Booking Sync, and click Connect with Microsoft, then sign in and accept the requested permissions.
For more details on accessing the employee settings page, see Creating and Managing Employees.
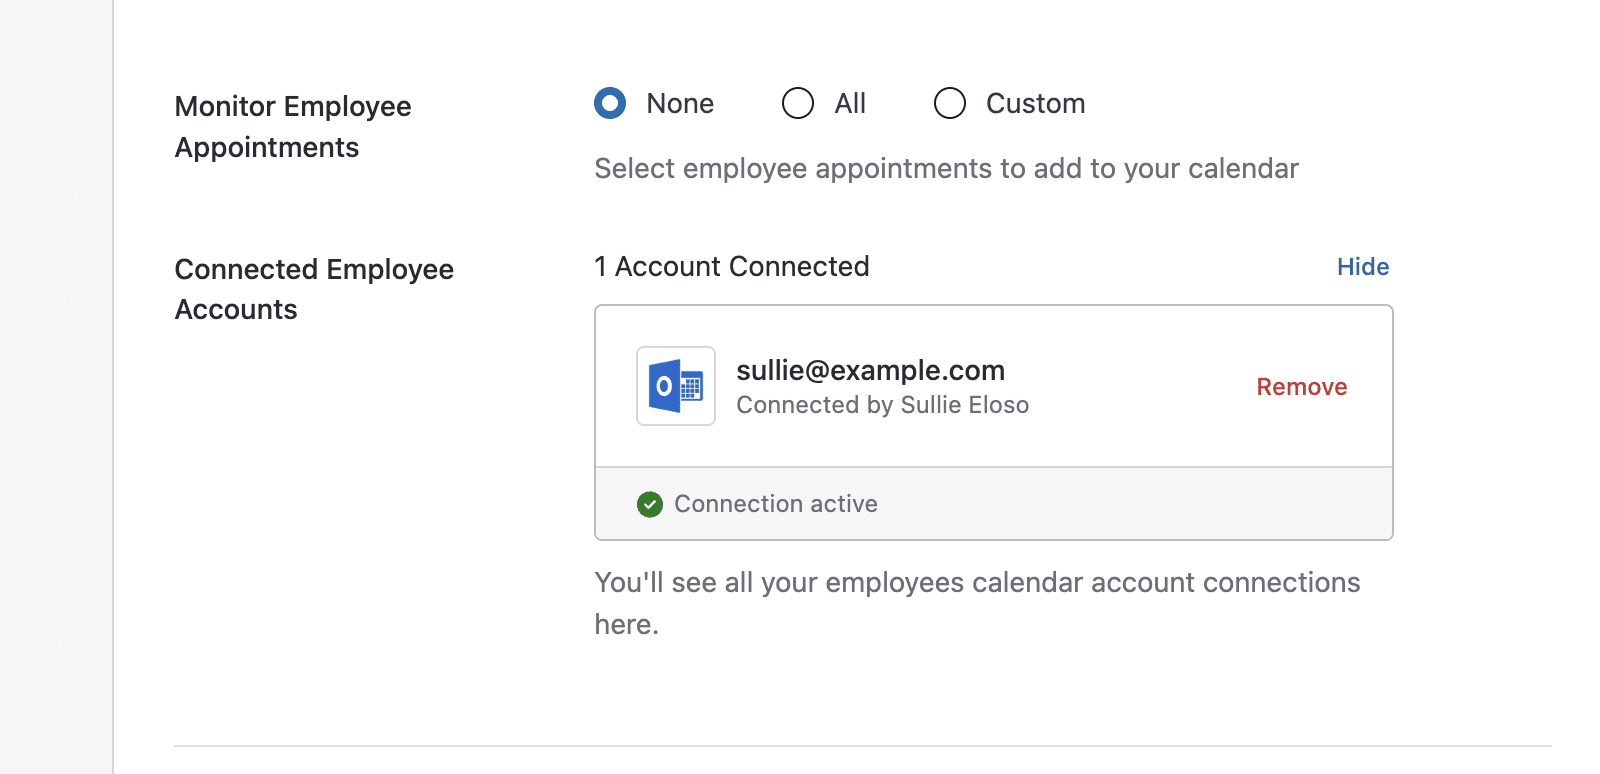
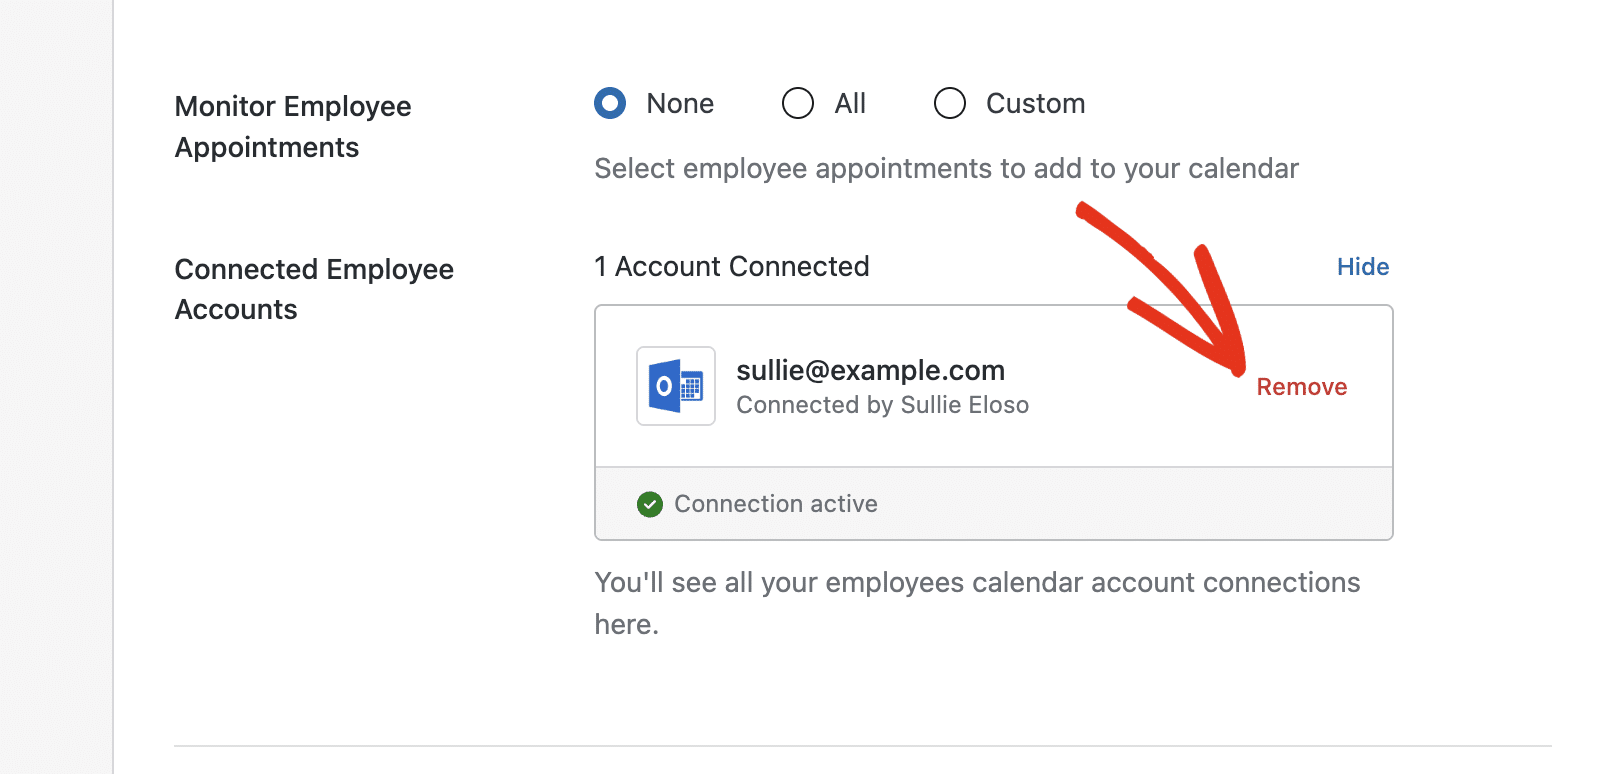
After an employee connects their account, you see it under the Connected Employee Accounts section of the Outlook Calendar panel, marked as an active connection.
Configuring the Integration
Once your account is connected, a few settings control how appointments sync. Configure them in the Outlook Calendar panel, then save your changes.
Choosing the Calendar for New Appointments
Open the Create appointments on dropdown and select the calendar that receives new appointments. Every booking that uses this connection is added to the calendar you choose here.

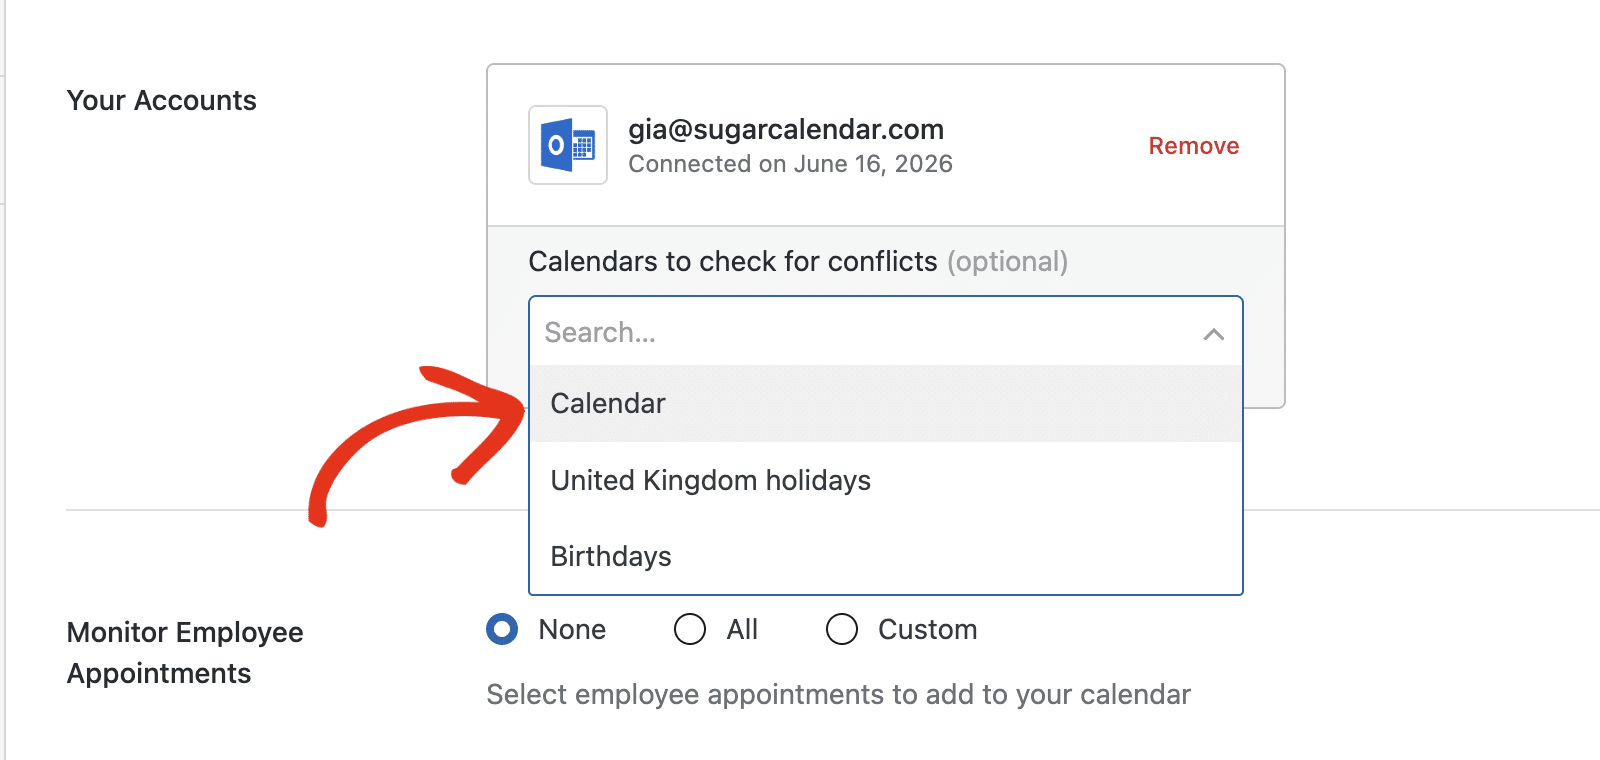
Checking for Scheduling Conflicts
Under your connected account, open Calendars to check for conflicts. Select one or more calendars, and Sugar Calendar Bookings hides any time that overlaps an existing event on them, which prevents double-booking. This setting is optional. Leave it empty to skip conflict checks.
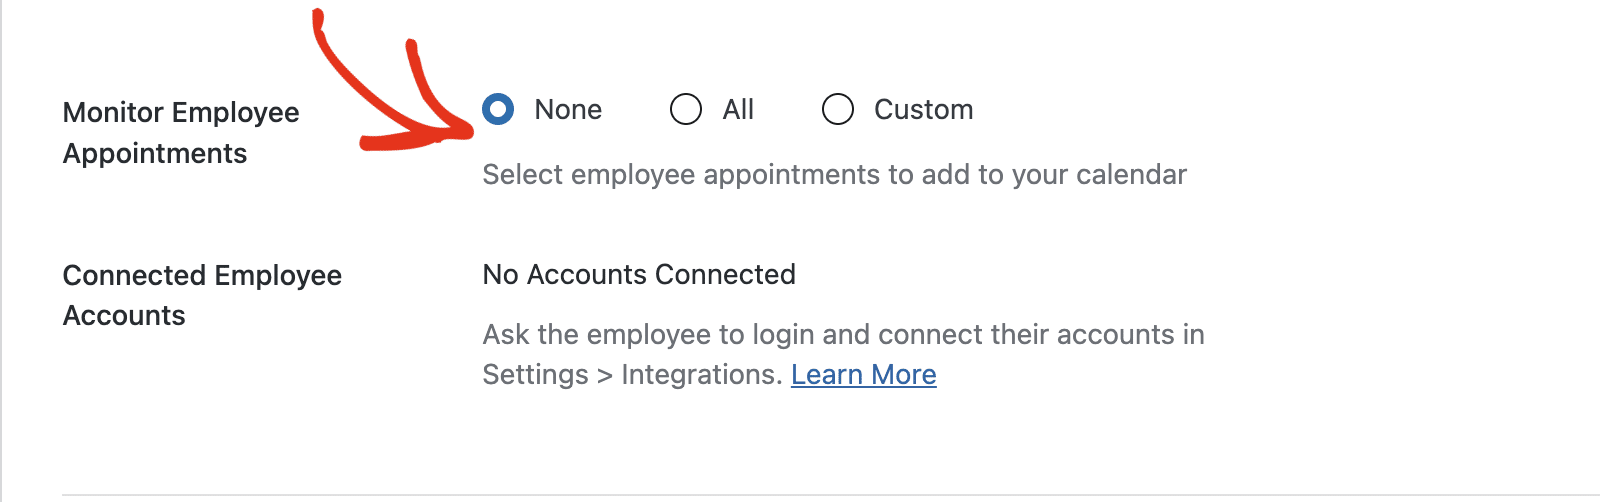
Monitoring Employee Appointments
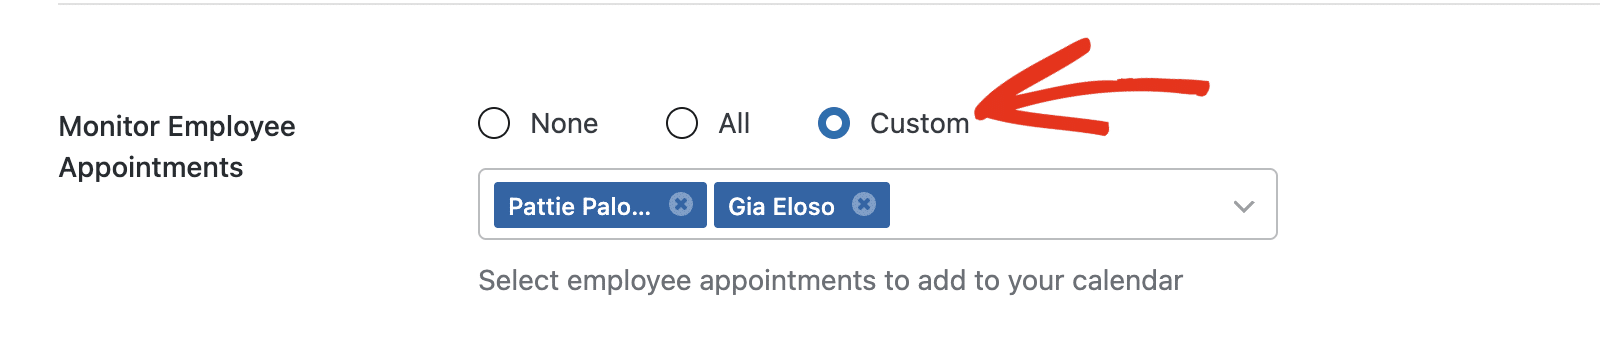
Use the Monitor Employee Appointments setting to choose which employee appointments are added to your own calendar:
- None: no employee appointments are added to your calendar.
- All: every employee’s appointments are added to your calendar.
- Custom: choose specific employees whose appointments are added to your calendar.
When you select Custom, a field appears where you choose the employees to monitor.
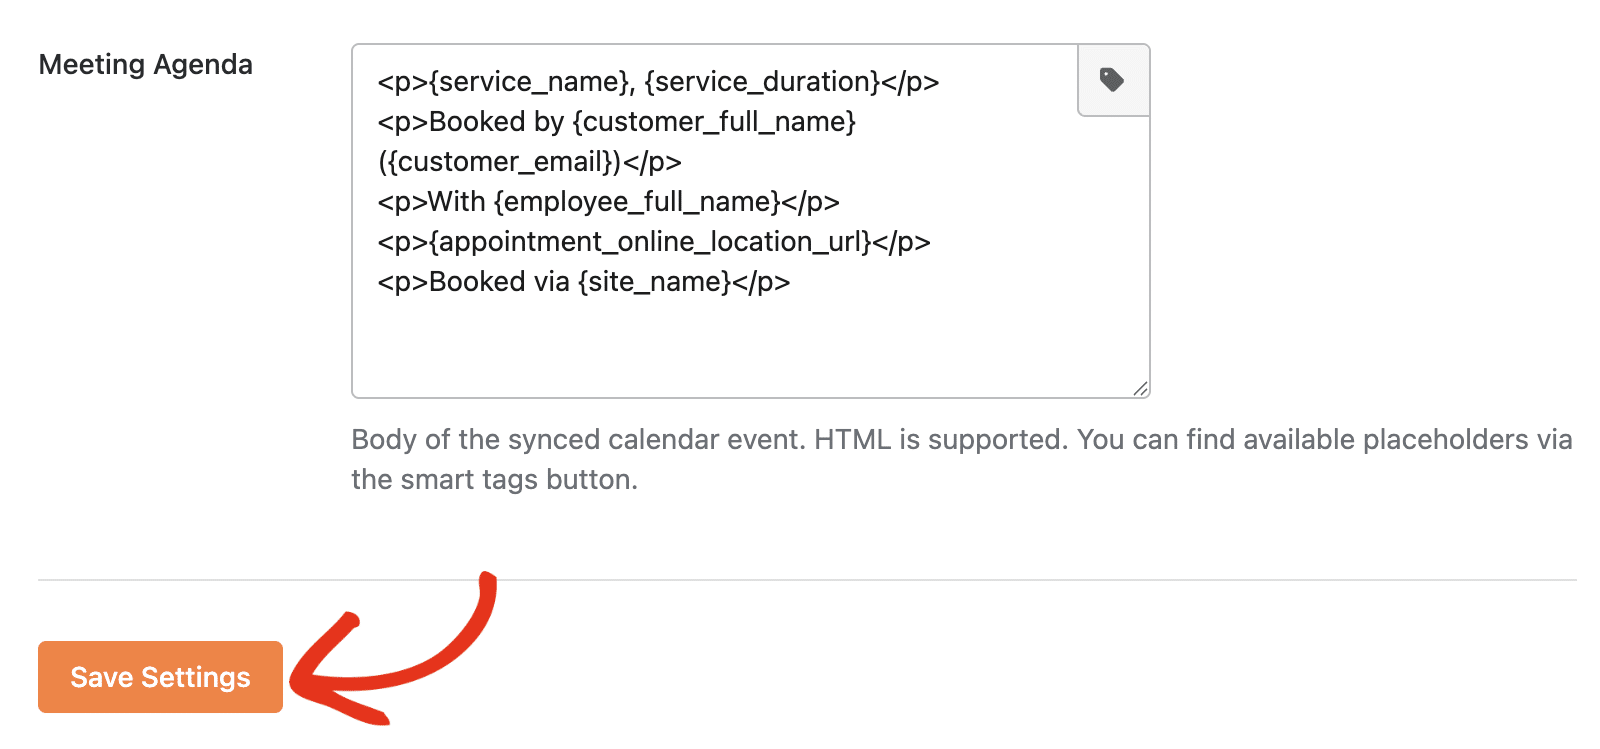
Customizing the Meeting Title and Agenda
The Meeting Title field sets the title used for synced calendar events.
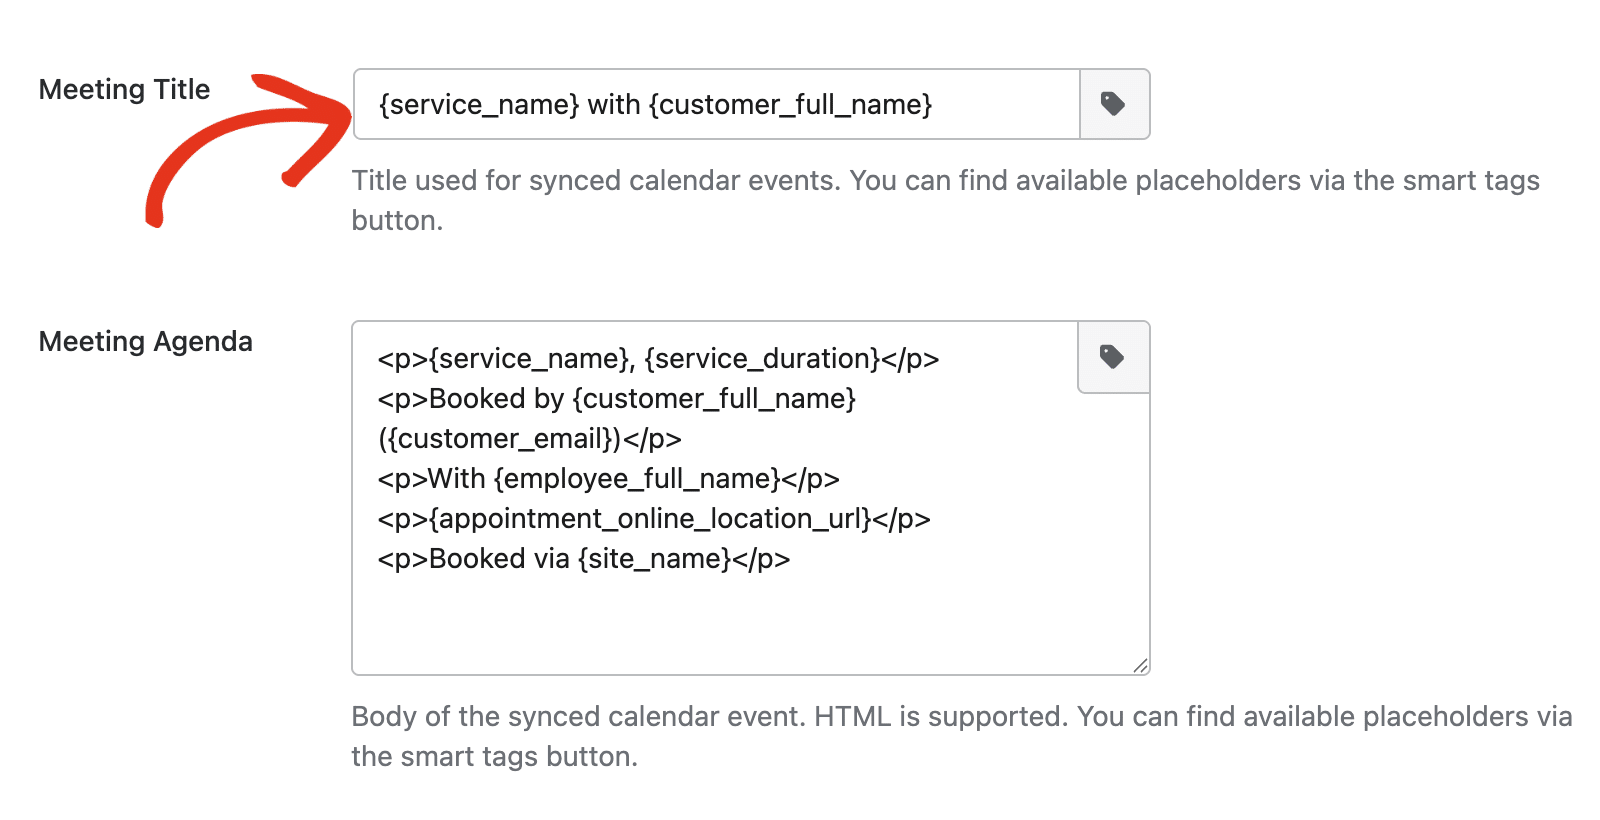
The Meeting Agenda field sets the body of the synced event, and it supports HTML.
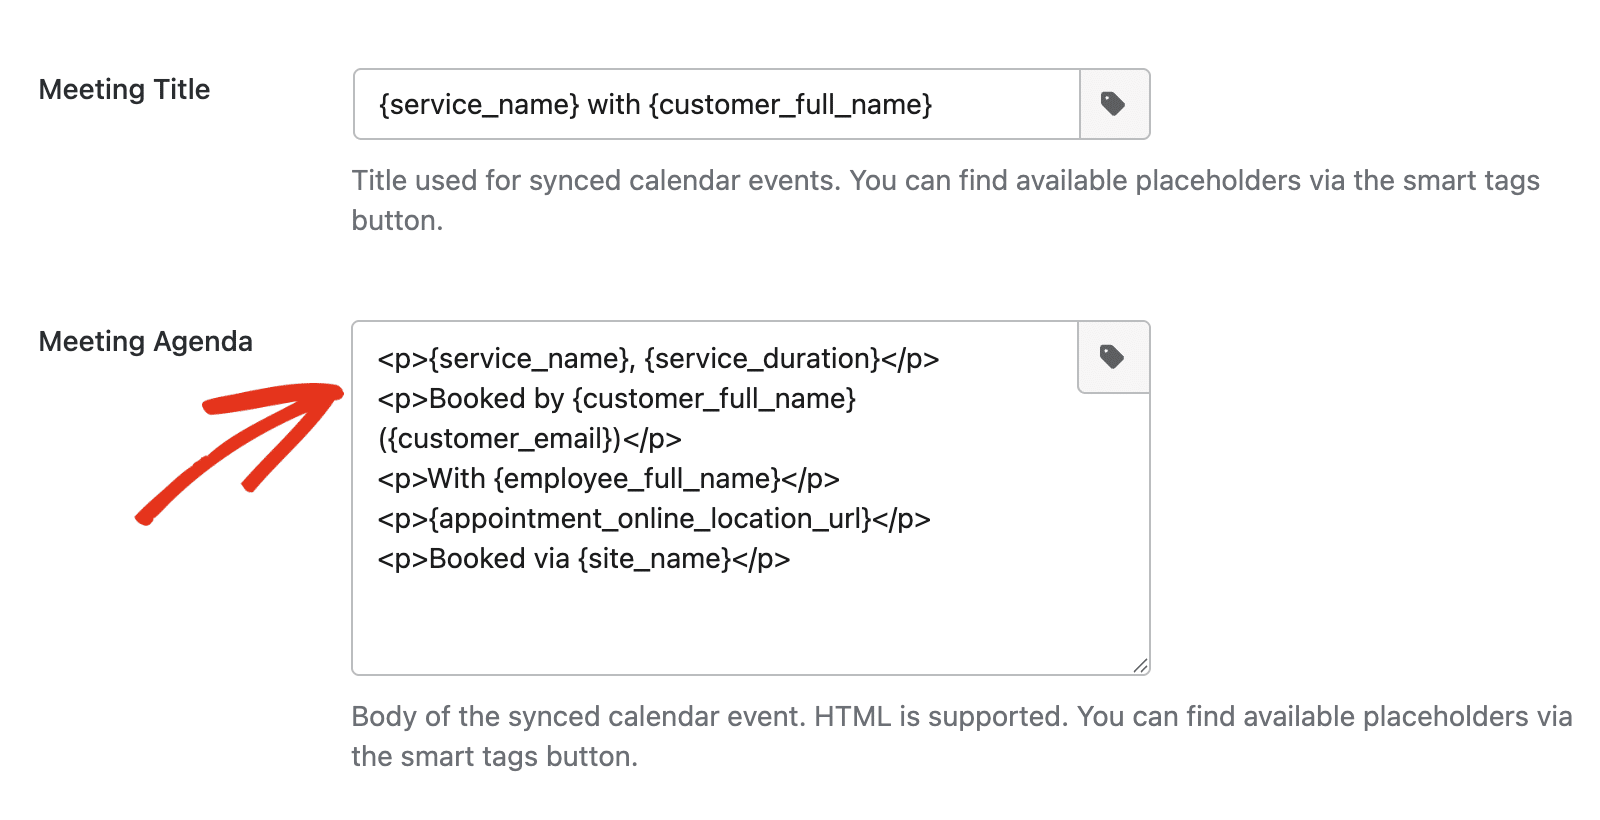
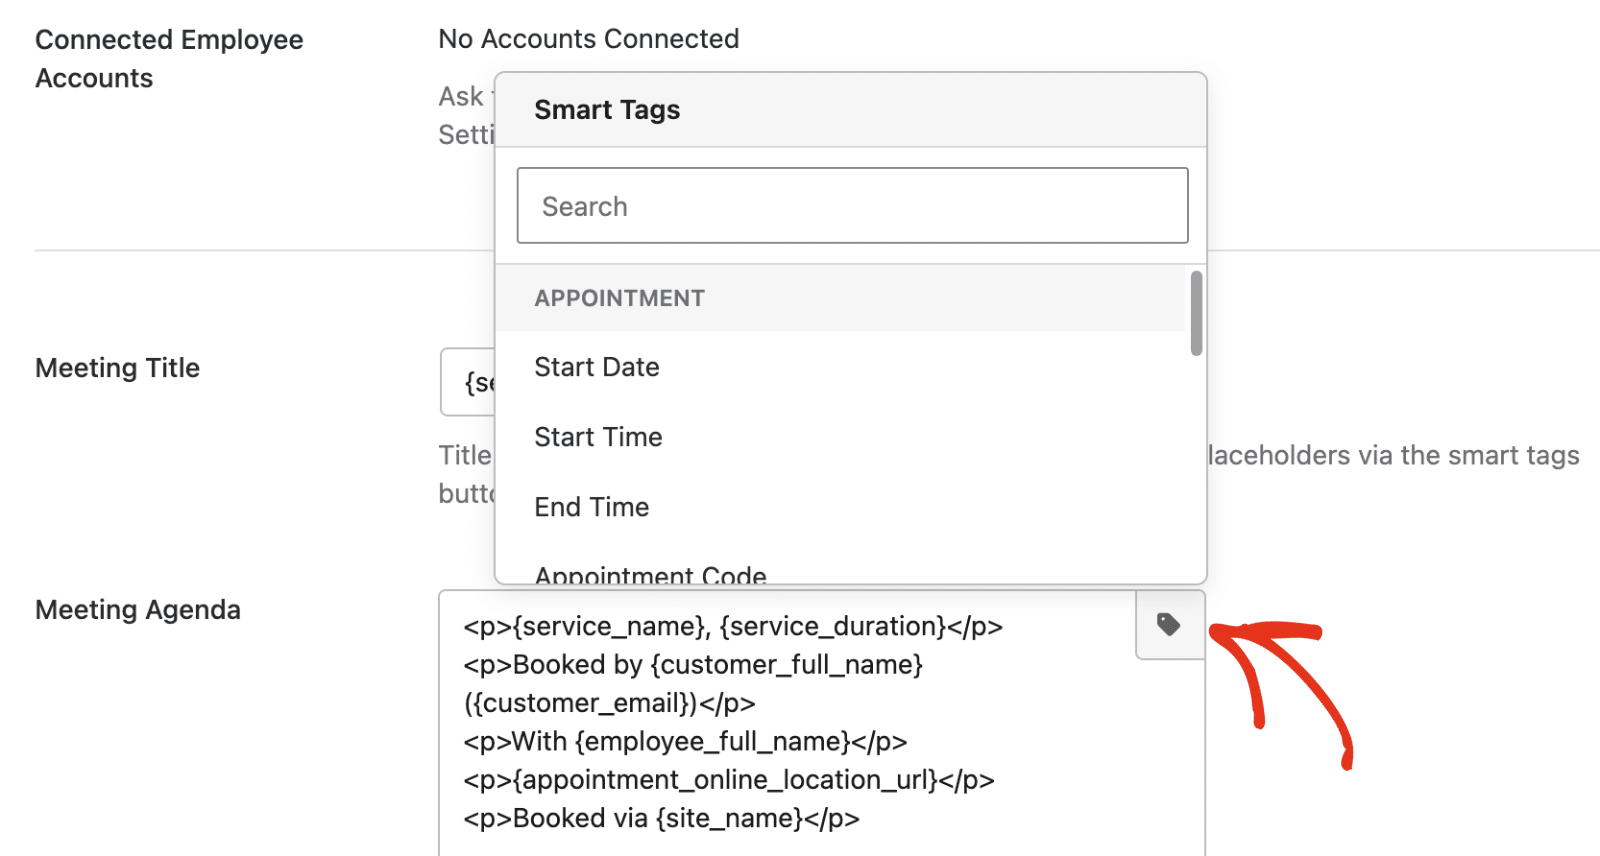
Both fields support smart tags, which pull dynamic values from the appointment. To see the available placeholders, click the smart tags button next to the field.
Saving Your Settings
When you’ve finished configuring the integration, click Save Settings to save your changes.
Understanding the Integration Workflow
Once your account is connected, Sugar Calendar Bookings keeps your appointments and your Outlook calendar in sync in both directions throughout the booking lifecycle.
Two-way sync: Changes sync both ways. When you create, reschedule, or cancel a booking in Sugar Calendar Bookings, the matching event updates on your Outlook calendar. When you edit or move that event in Outlook, the change reflects back on the matching appointment in Sugar Calendar Bookings. Both calendars stay accurate no matter where you make the change.
New bookings: When a client books an appointment, Sugar Calendar Bookings adds a matching event to your Outlook calendar with the correct date, time, and duration.
Rescheduled bookings: When a booking is rescheduled, Sugar Calendar Bookings updates the matching Outlook event to the new date and time.
Cancelled bookings: When a booking is cancelled, Sugar Calendar Bookings removes the matching event from your Outlook calendar.
Conflict checks: When you select calendars under Calendars to check for conflicts, existing events on those calendars block those times in Sugar Calendar, so clients can’t book a slot when you’re already busy.
Usage Limits
Outlook Calendar integration usage counts toward your account’s monthly integration usage limit. When you reach your limit, Sugar Calendar Bookings prompts you to upgrade your plan.
To check your current usage, go to Settings » License and Usage. You can also find the usage tracker at the top of the Integrations page.
The limit resets monthly if you have a valid Sugar Calendar Bookings license.
For more details on how usage limits work and what each plan includes, see Understanding Integration Credits and Usage Limits.
Disconnecting Your Outlook Account
To disconnect an account, go to Bookings » Settings, click the Integrations tab, and select Outlook Calendar.
Click Remove next to the connected account, then confirm the removal.

If you’re the site administrator, you can also remove an employee’s connection from the Connected Employee Accounts section.
Disconnecting immediately removes the stored credentials from your WordPress site. Events already synced to your Outlook calendar remain there, but Sugar Calendar Bookings no longer updates them.
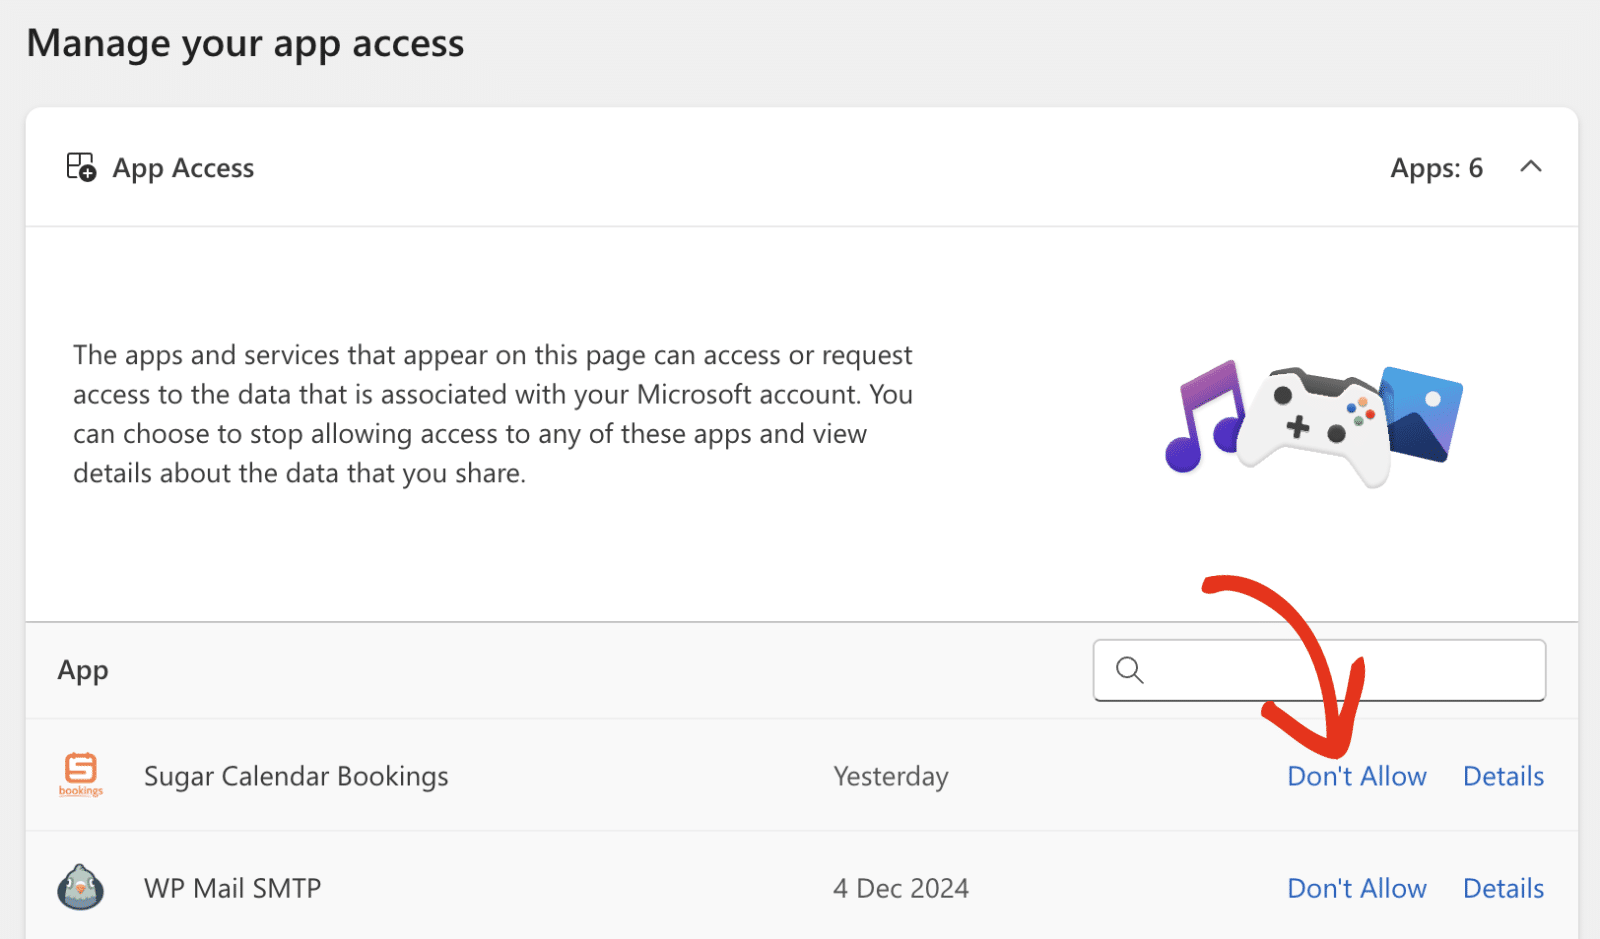
To fully revoke access, also remove Sugar Calendar from your Microsoft account. Once you’re logged in to your account, select Don’t Allow next to the Sugar Calendar Bookings option.
Frequently Asked Questions
Below, we’ve addressed some of the most common questions regarding the Outlook Calendar integration with Sugar Calendar Bookings.
The Connect with Microsoft button doesn’t work. What should I do?
Confirm your WordPress site has a valid SSL certificate (HTTPS). Microsoft requires secure connections for sign-in and API communication. Also, check that your site can make outbound HTTP requests, as some hosting providers or security plugins block external API calls.
Why isn’t my booking appearing on my Outlook calendar?
First, verify your account is still connected by navigating to Bookings » Settings » Integrations and selecting Outlook Calendar. If the connection was lost, for example, after a password change, reconnect by clicking Connect with Microsoft again. Then confirm Enable Outlook Calendar is on and that you’ve chosen a calendar under Create appointments on.
Why are my Outlook events not blocking booking times?
Conflict checks are optional and turned off until you select calendars to check. Open the Outlook Calendar panel and choose one or more calendars under Calendars to check for conflicts. For an employee’s bookings, the employee must connect their own Microsoft account, since conflict checks use each owner’s calendar.
My Outlook connection expired or stopped working. What should I do?
Microsoft refreshes access tokens automatically, but in rare cases, the refresh fails, especially if you revoked access from your Microsoft account settings. To fix this, go to Bookings » Settings » Integrations, select Outlook Calendar, click Remove, and then click Connect with Microsoft to reauthorize the connection.
That’s it! You now know how to set up and use the Outlook Calendar integration in Sugar Calendar Bookings.
Next, would you like to connect a video conferencing tool to your bookings as well? See our guide on Using the Zoom Integration to learn how.