Would you like to customize the availability schedule for services on your site? With the Bookings plugin, you can configure the default schedule that applies to all new services you create.
This guide covers everything about setting availability in Sugar Calendar Bookings.
In This Article
Before getting started, make sure the Sugar Calendar Bookings plugin is installed and activated on your site.
Accessing Availability Settings
To set your appointment availability, go to Bookings » Settings and then click on the Availability tab. Here, you’ll be able to set the default schedule for all new services.
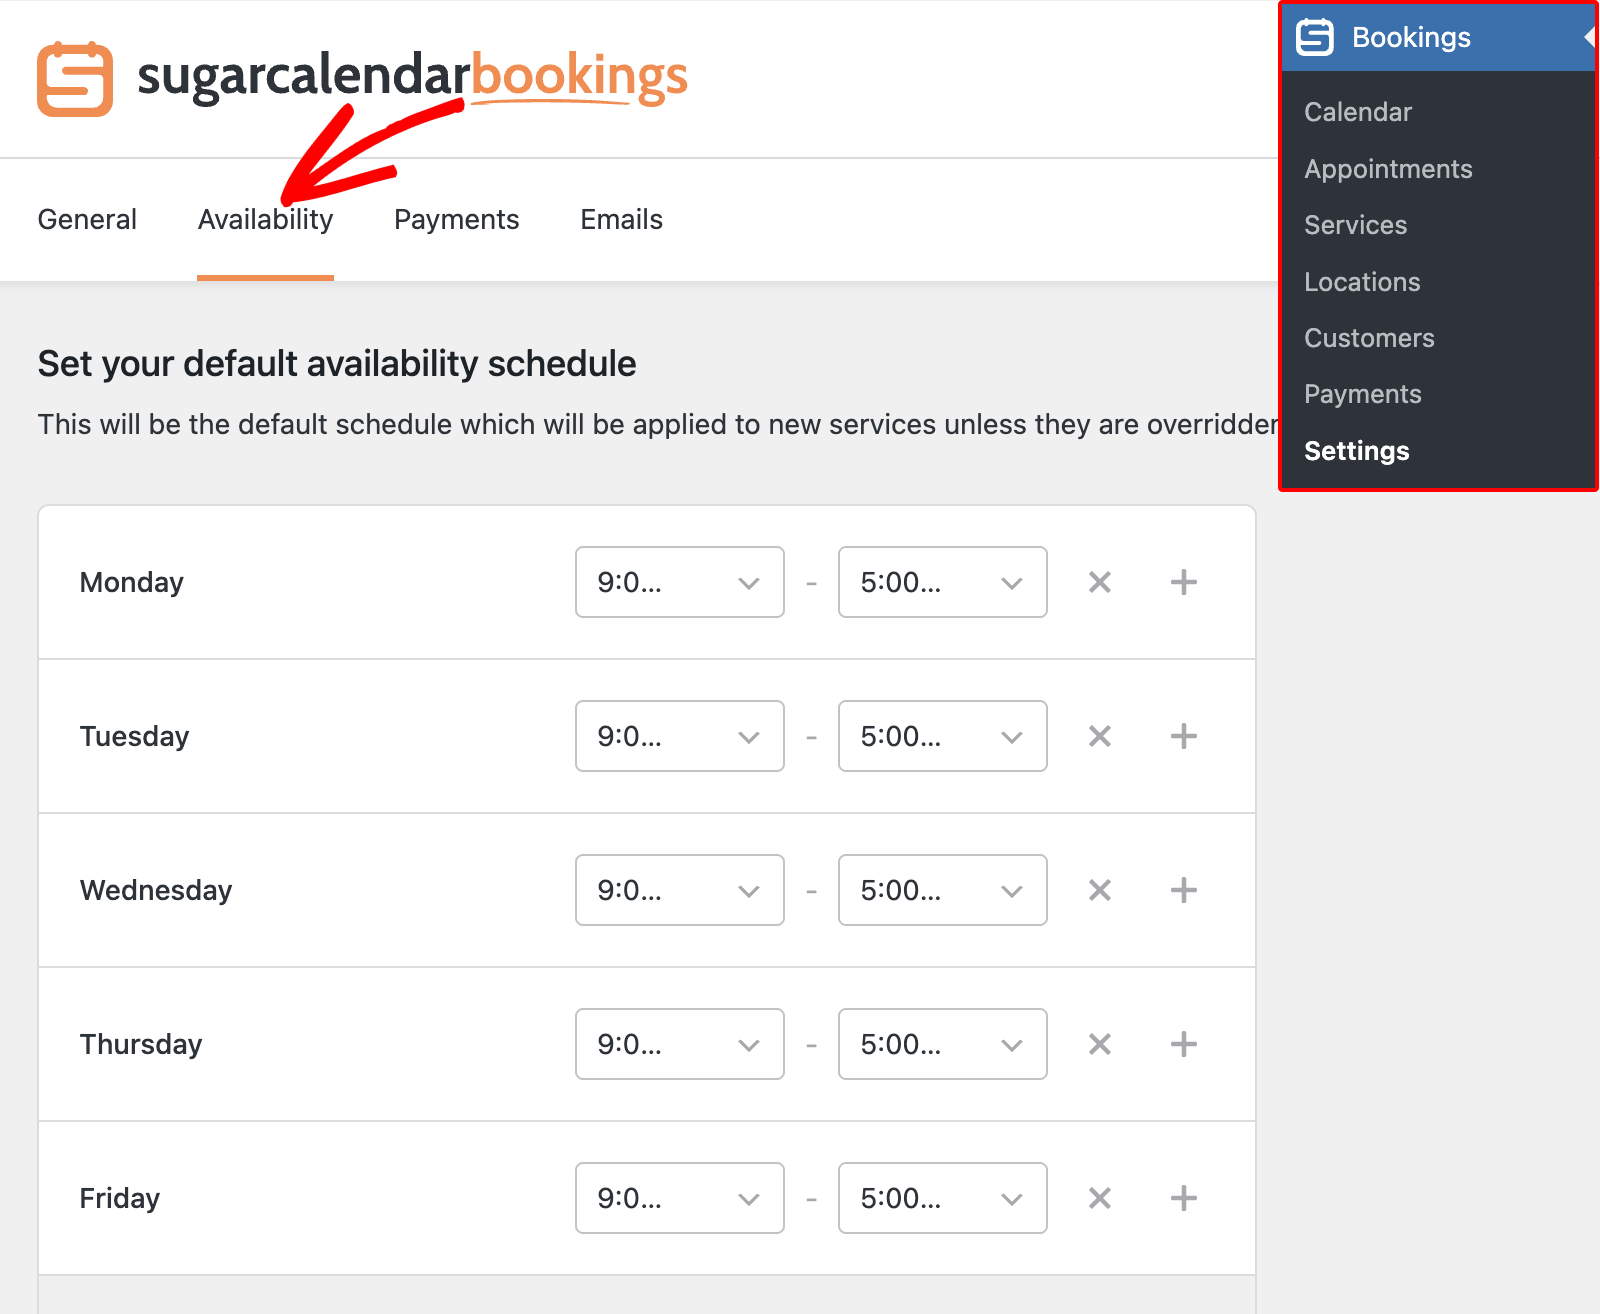
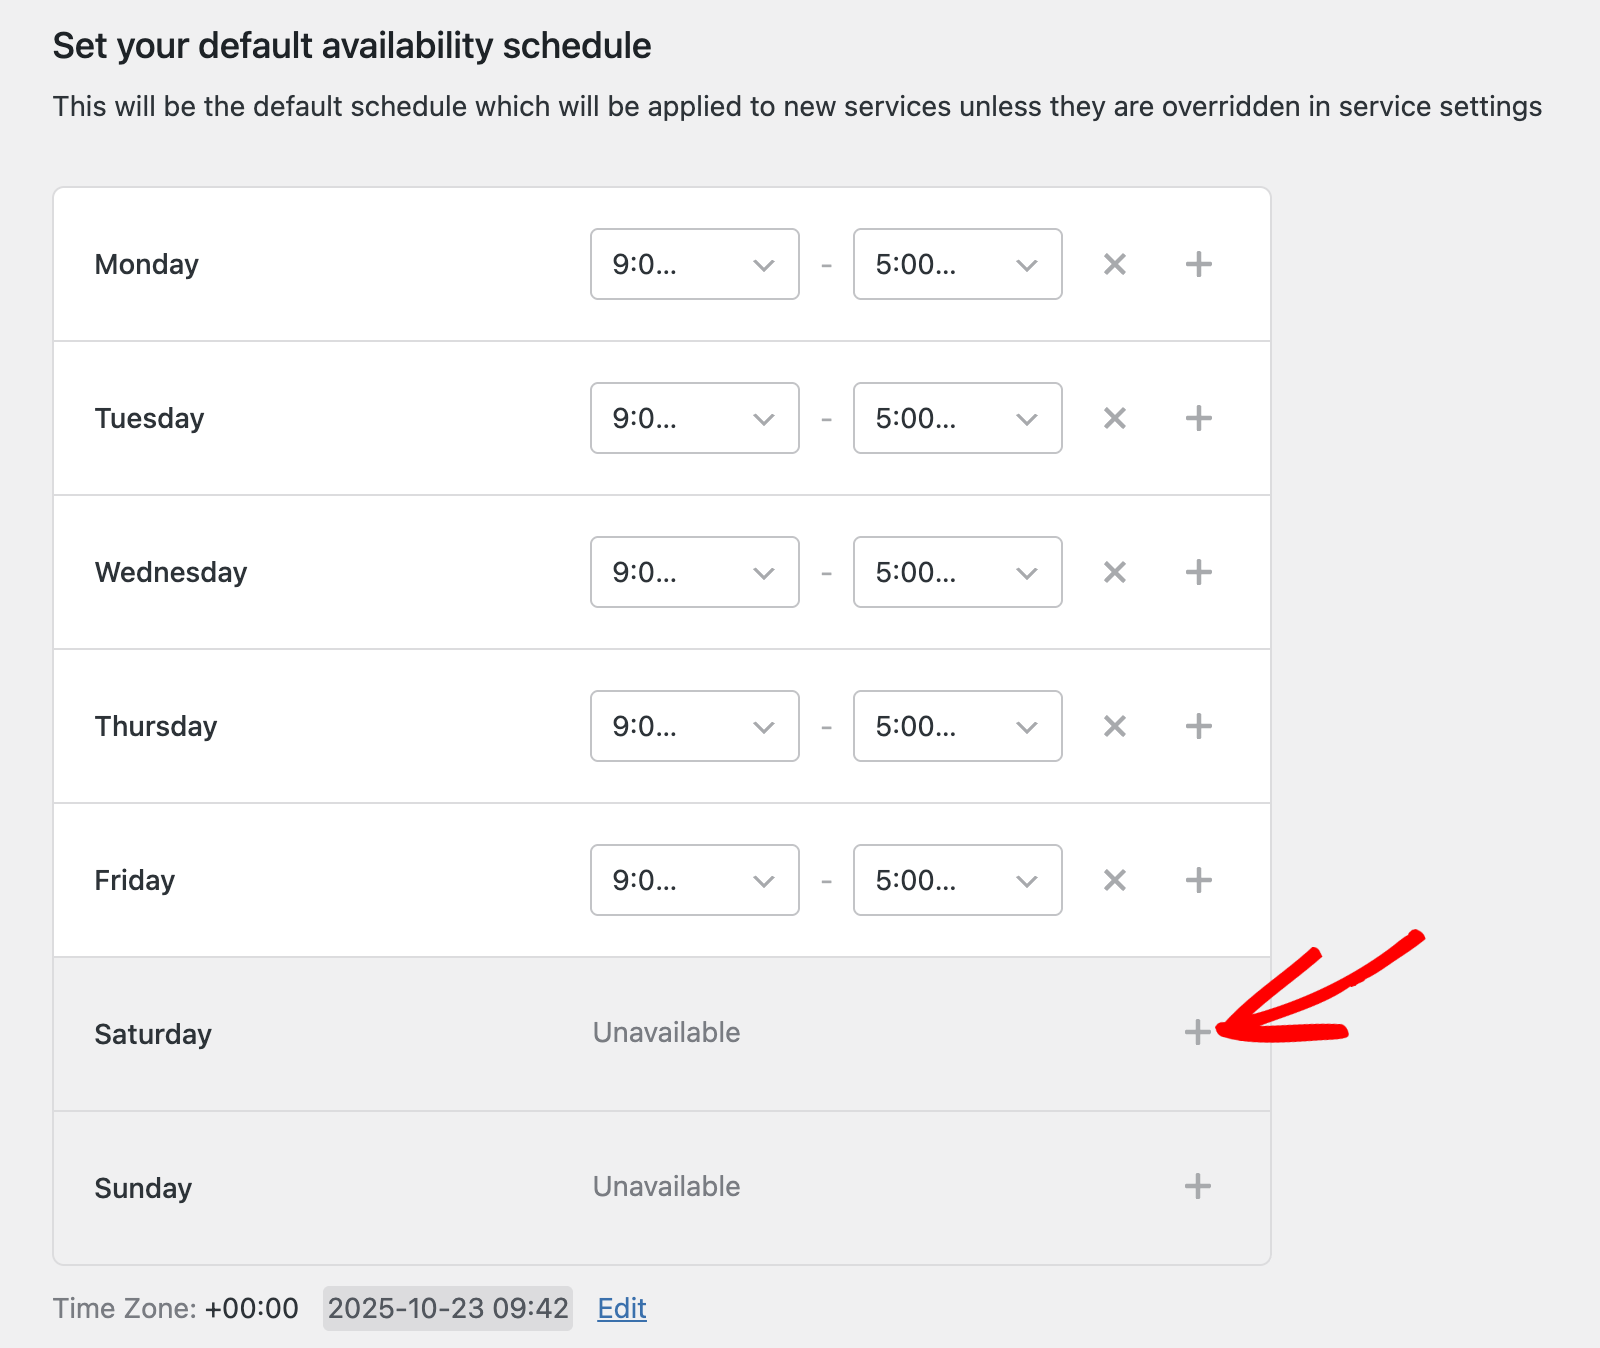
Setting Default Availability Schedule
The default schedule determines your standard working hours for each day of the week. These hours will automatically apply to new services unless you customize them individually within a service’s settings.
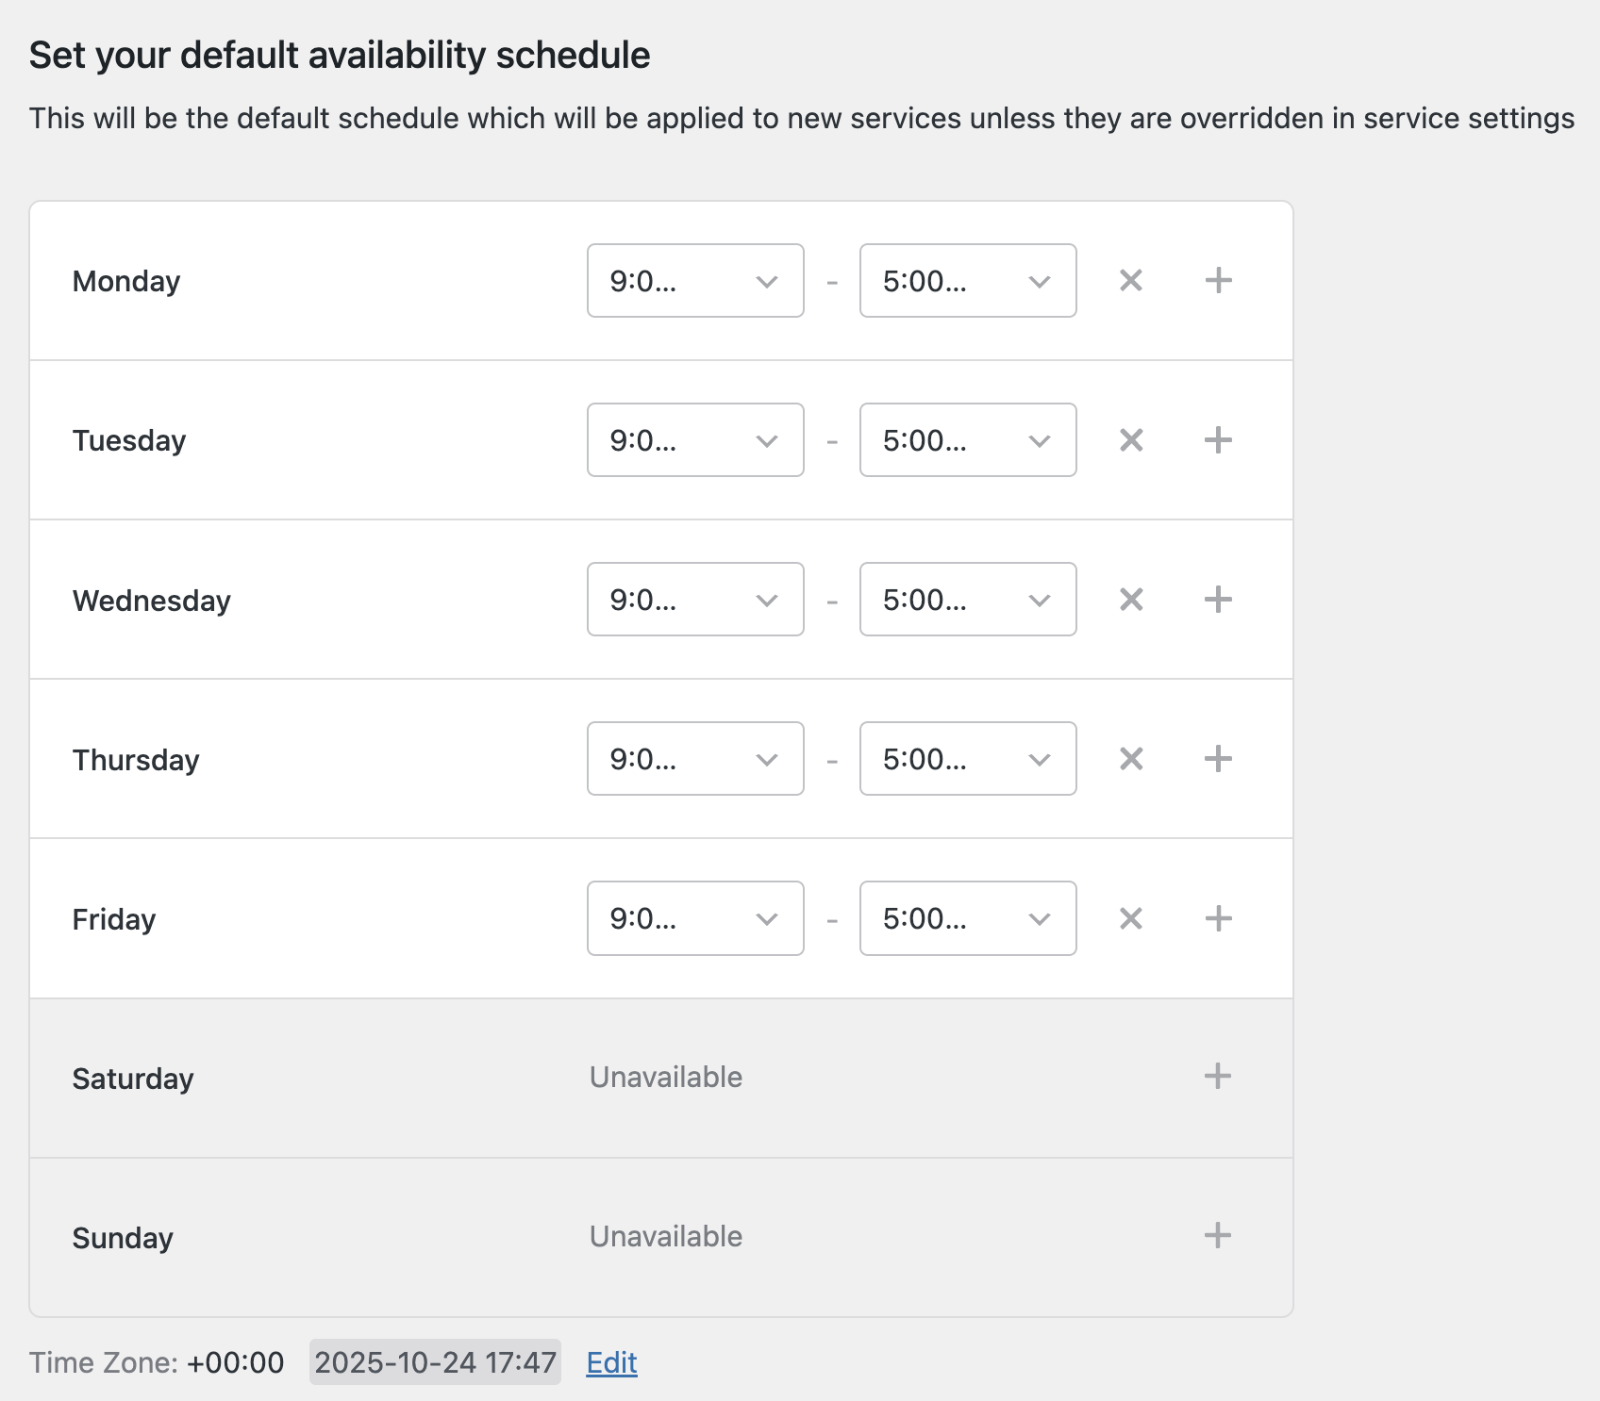
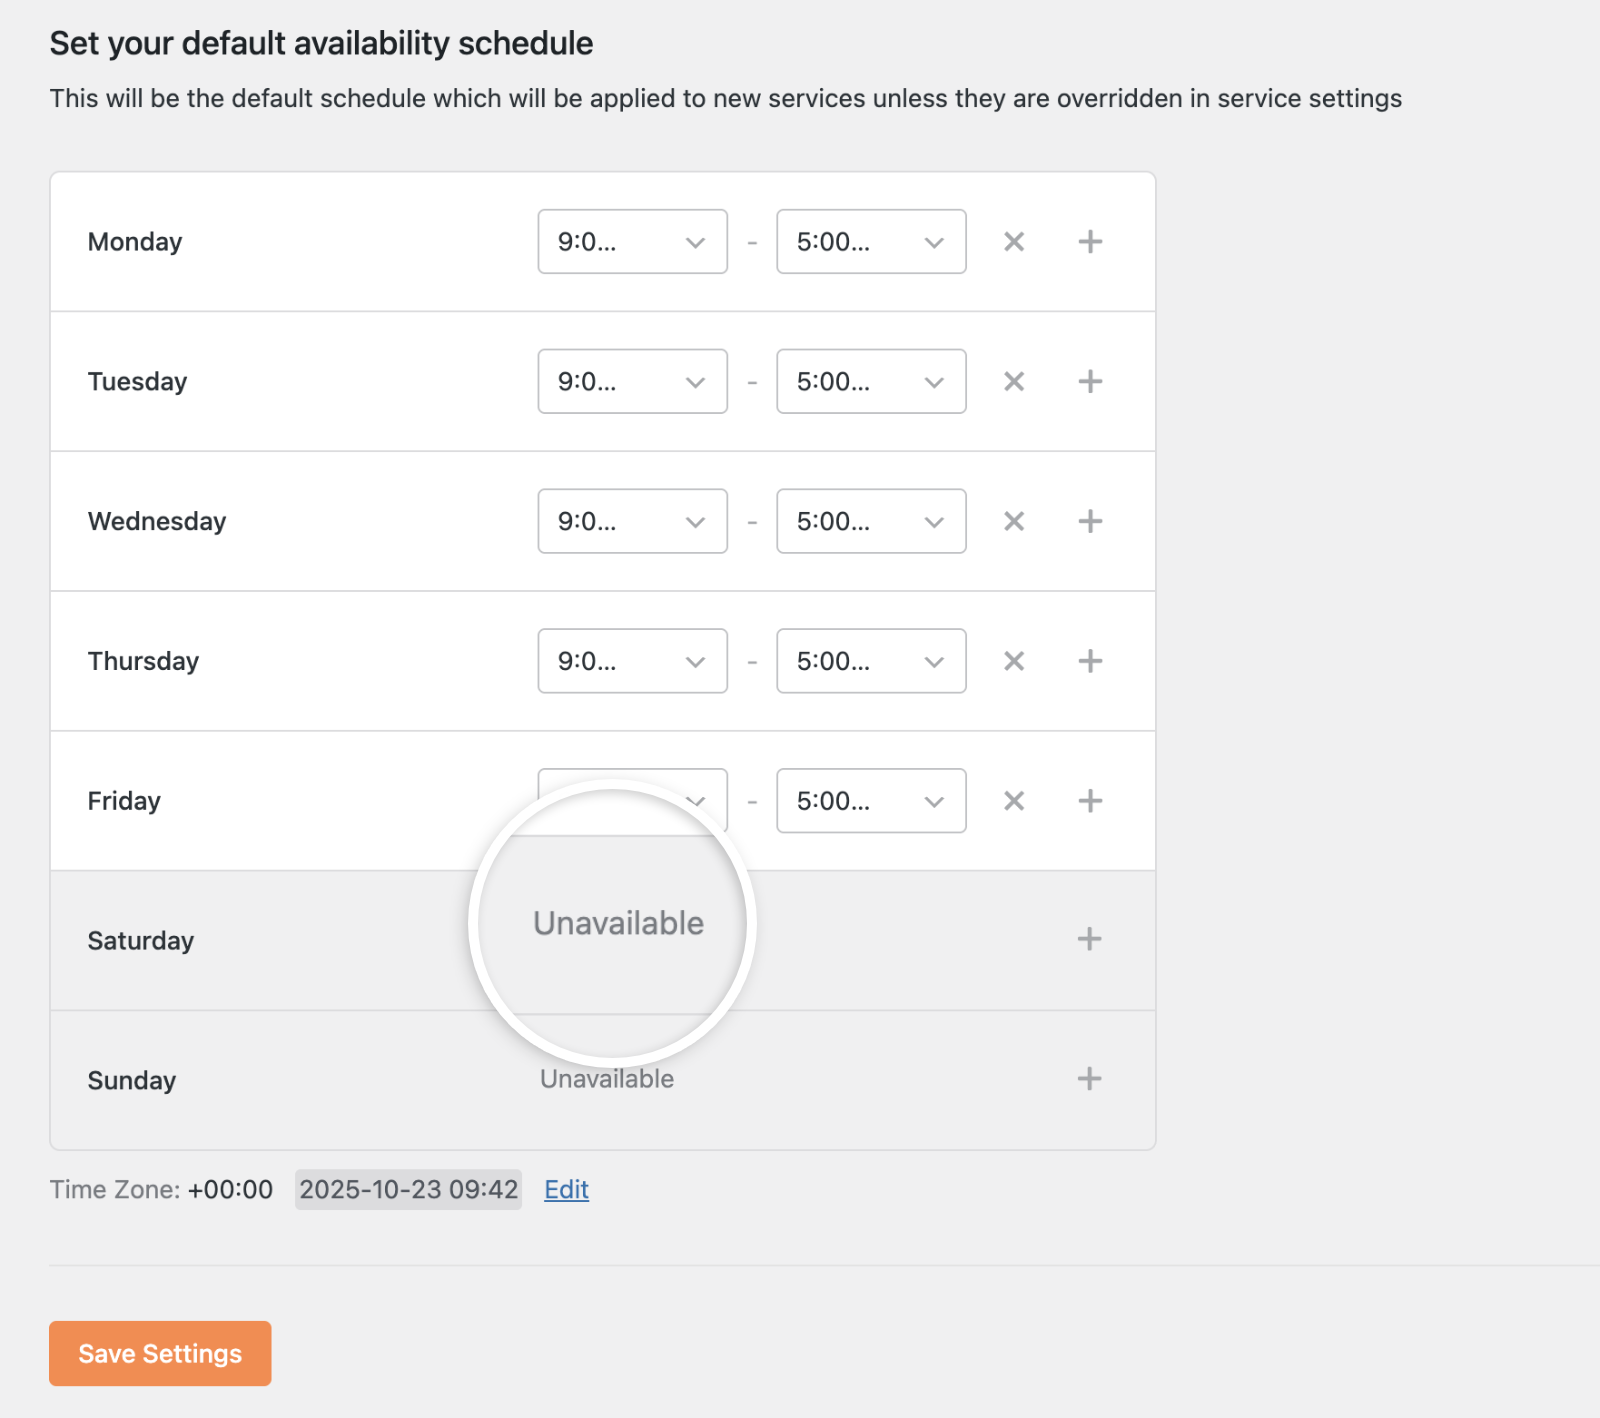
By default, weekdays are set as available from 9:00 AM to 5:00 PM, while weekends are marked as unavailable. You can adjust any time slot using the dropdown menus for start and end times.
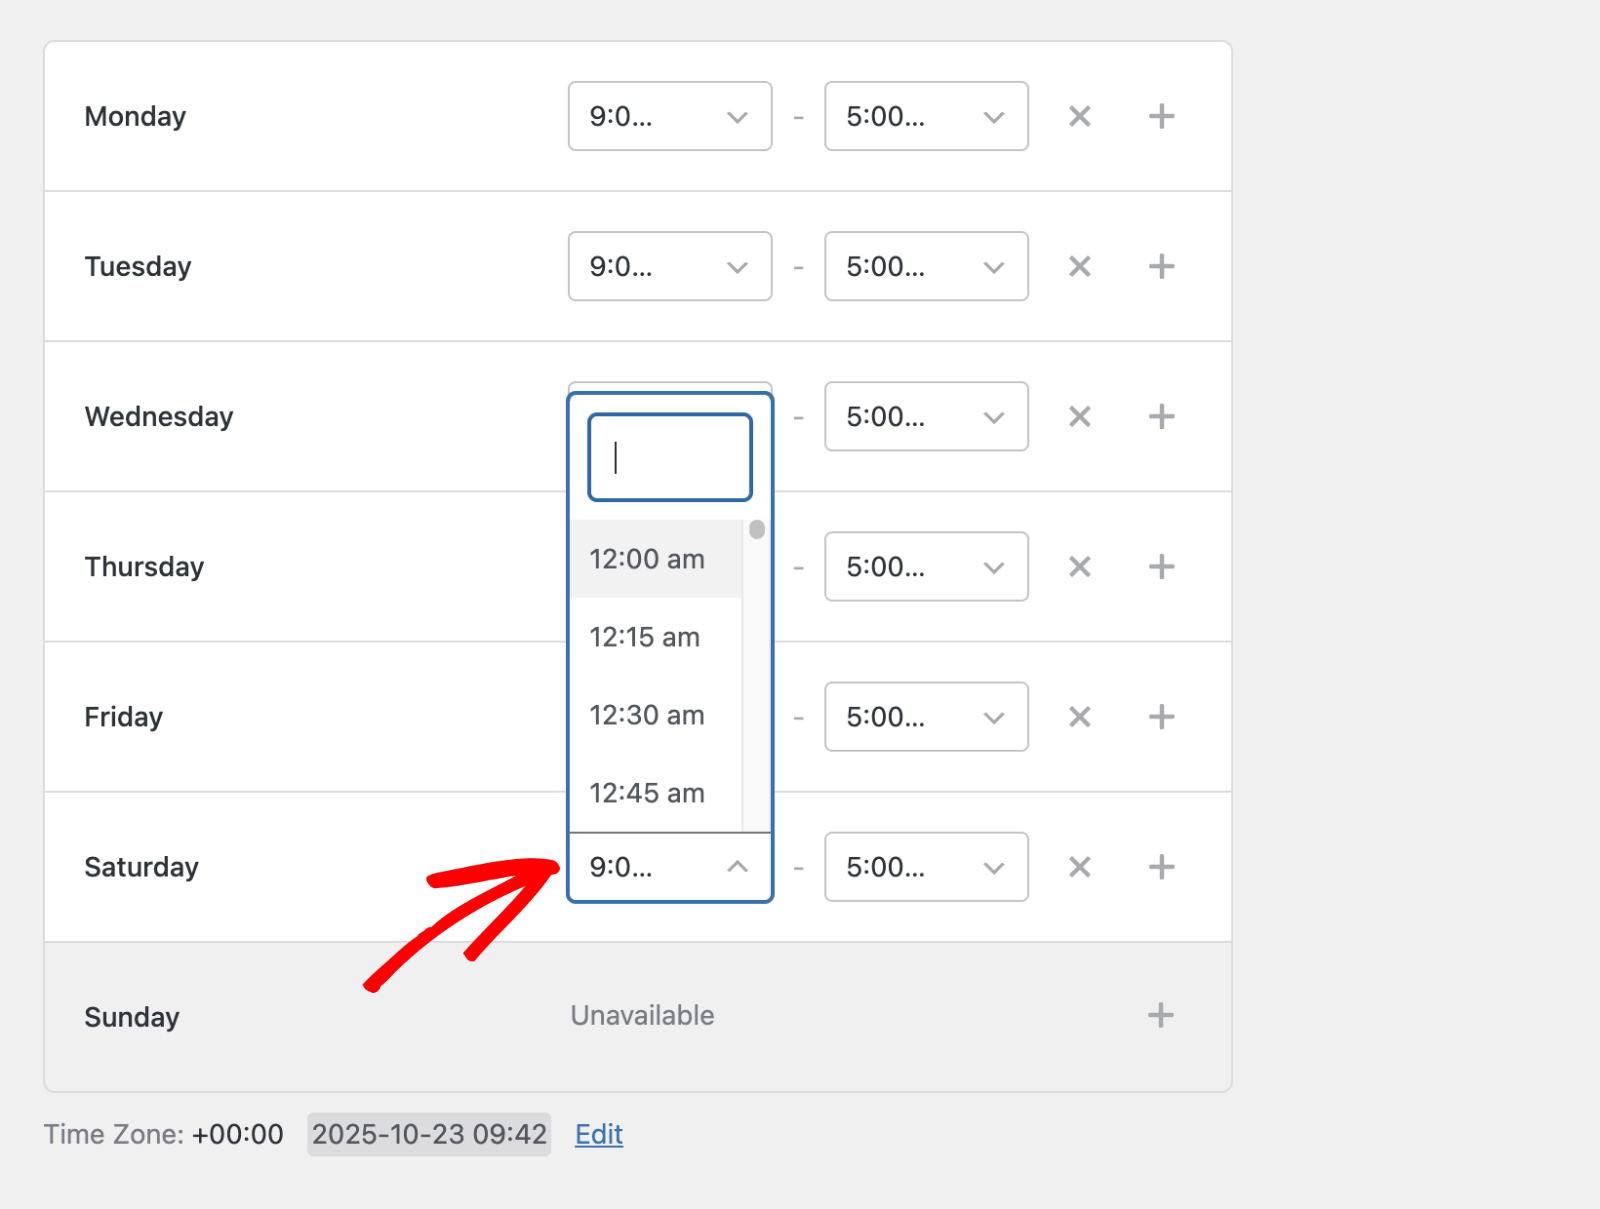
Adding Additional Time Slots
If you want to add multiple working periods within a single day, click the + icon beside that day. For example, you can have morning and evening sessions.
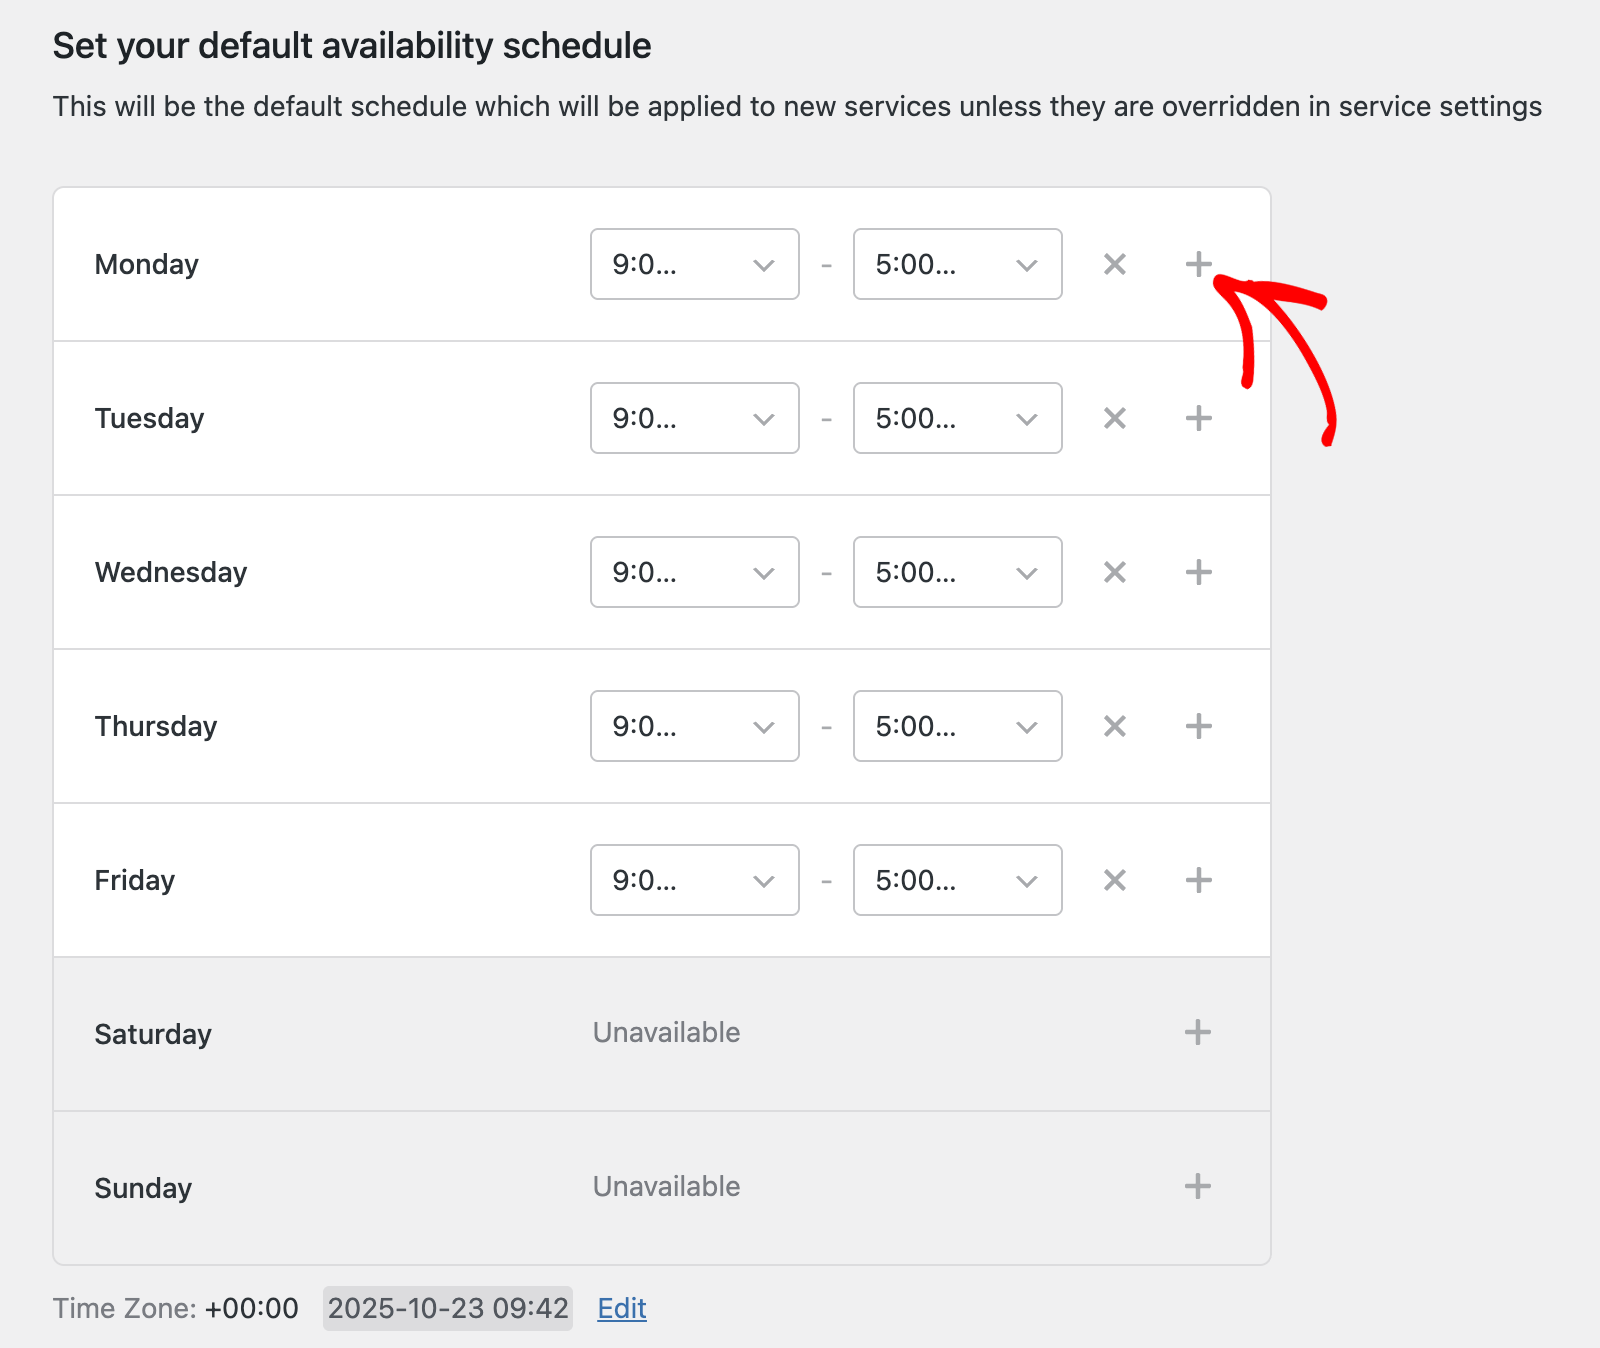
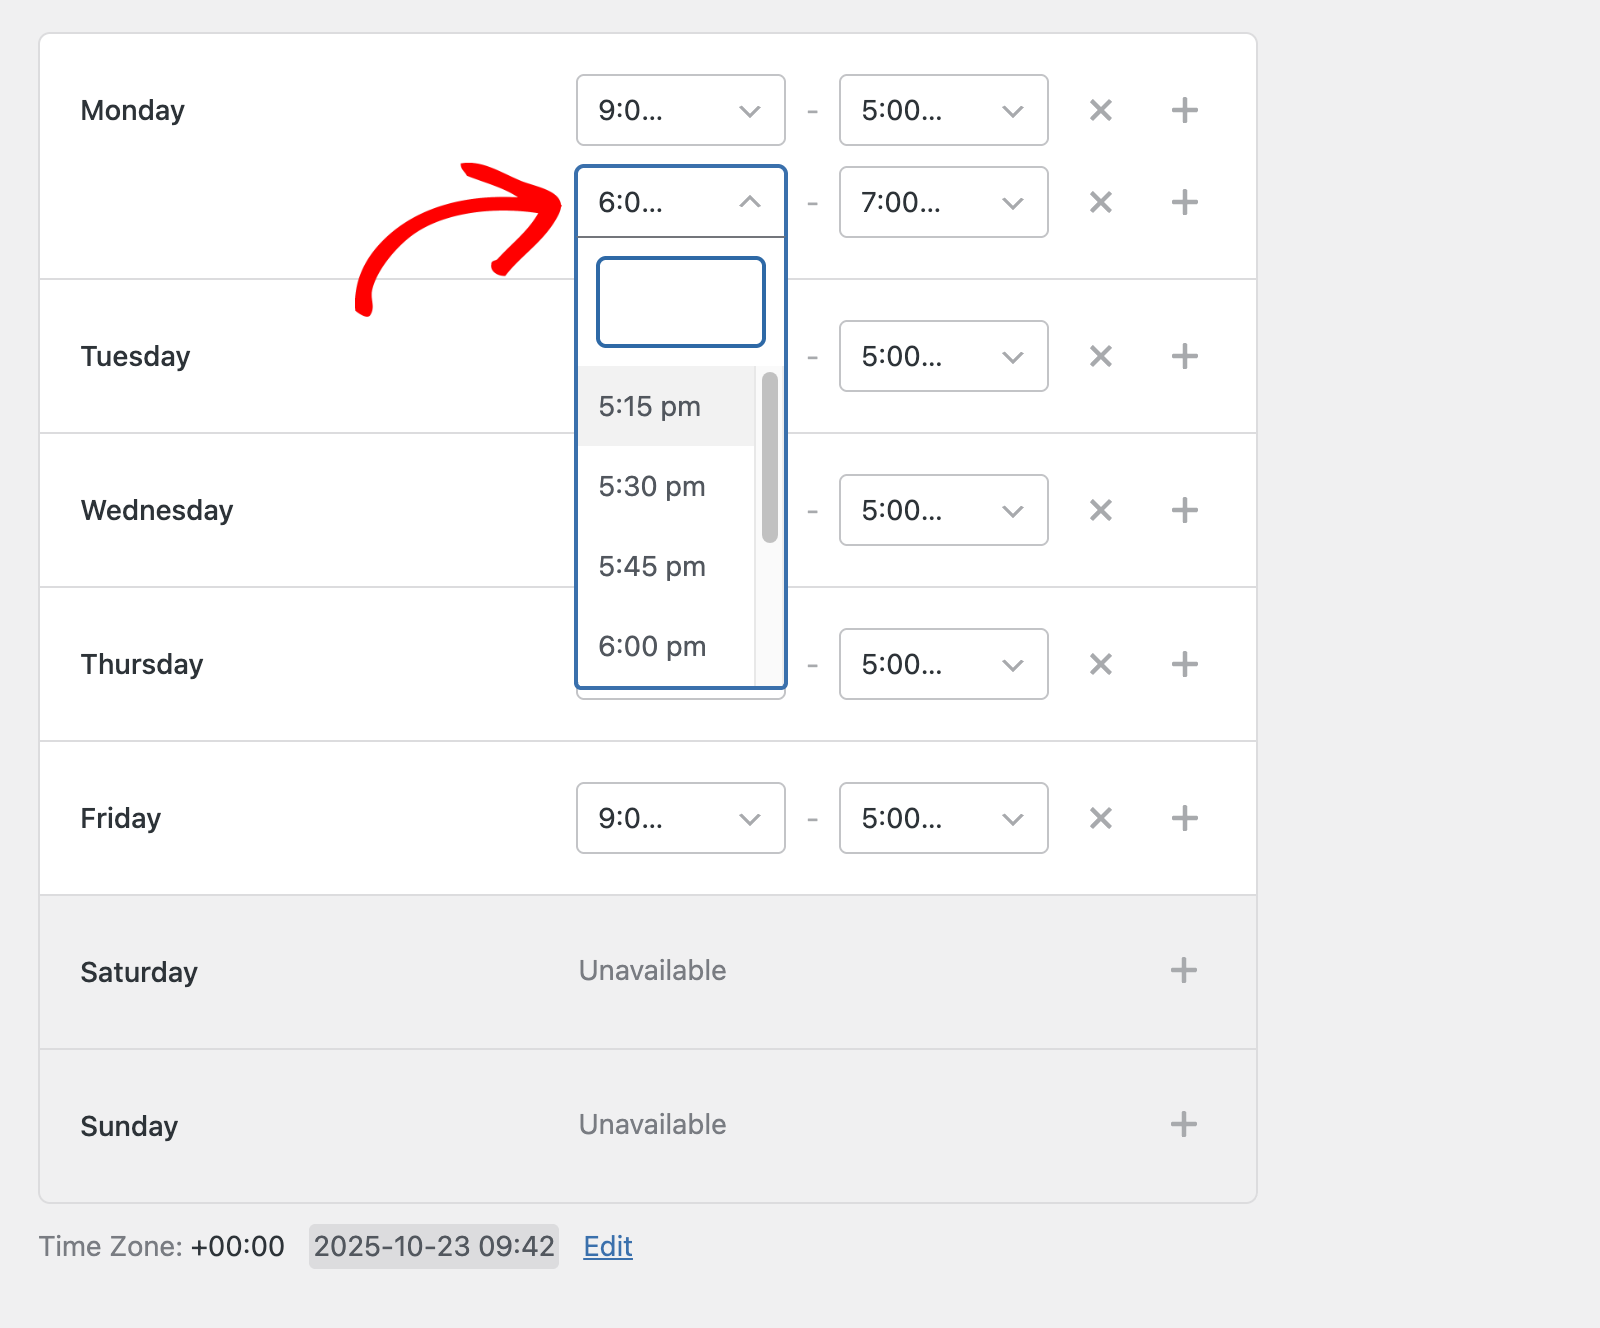
After that, use the dropdown menus to set your additional time slot. You’ll need to set the start and end times for each slot you create.
To enable availability for weekends, click the + icon next to the weekend day you’d like to enable.
Similarly, you’ll need to set the start and end times for the slot.
Removing Availability
To remove a specific time slot, click the × icon next to it.
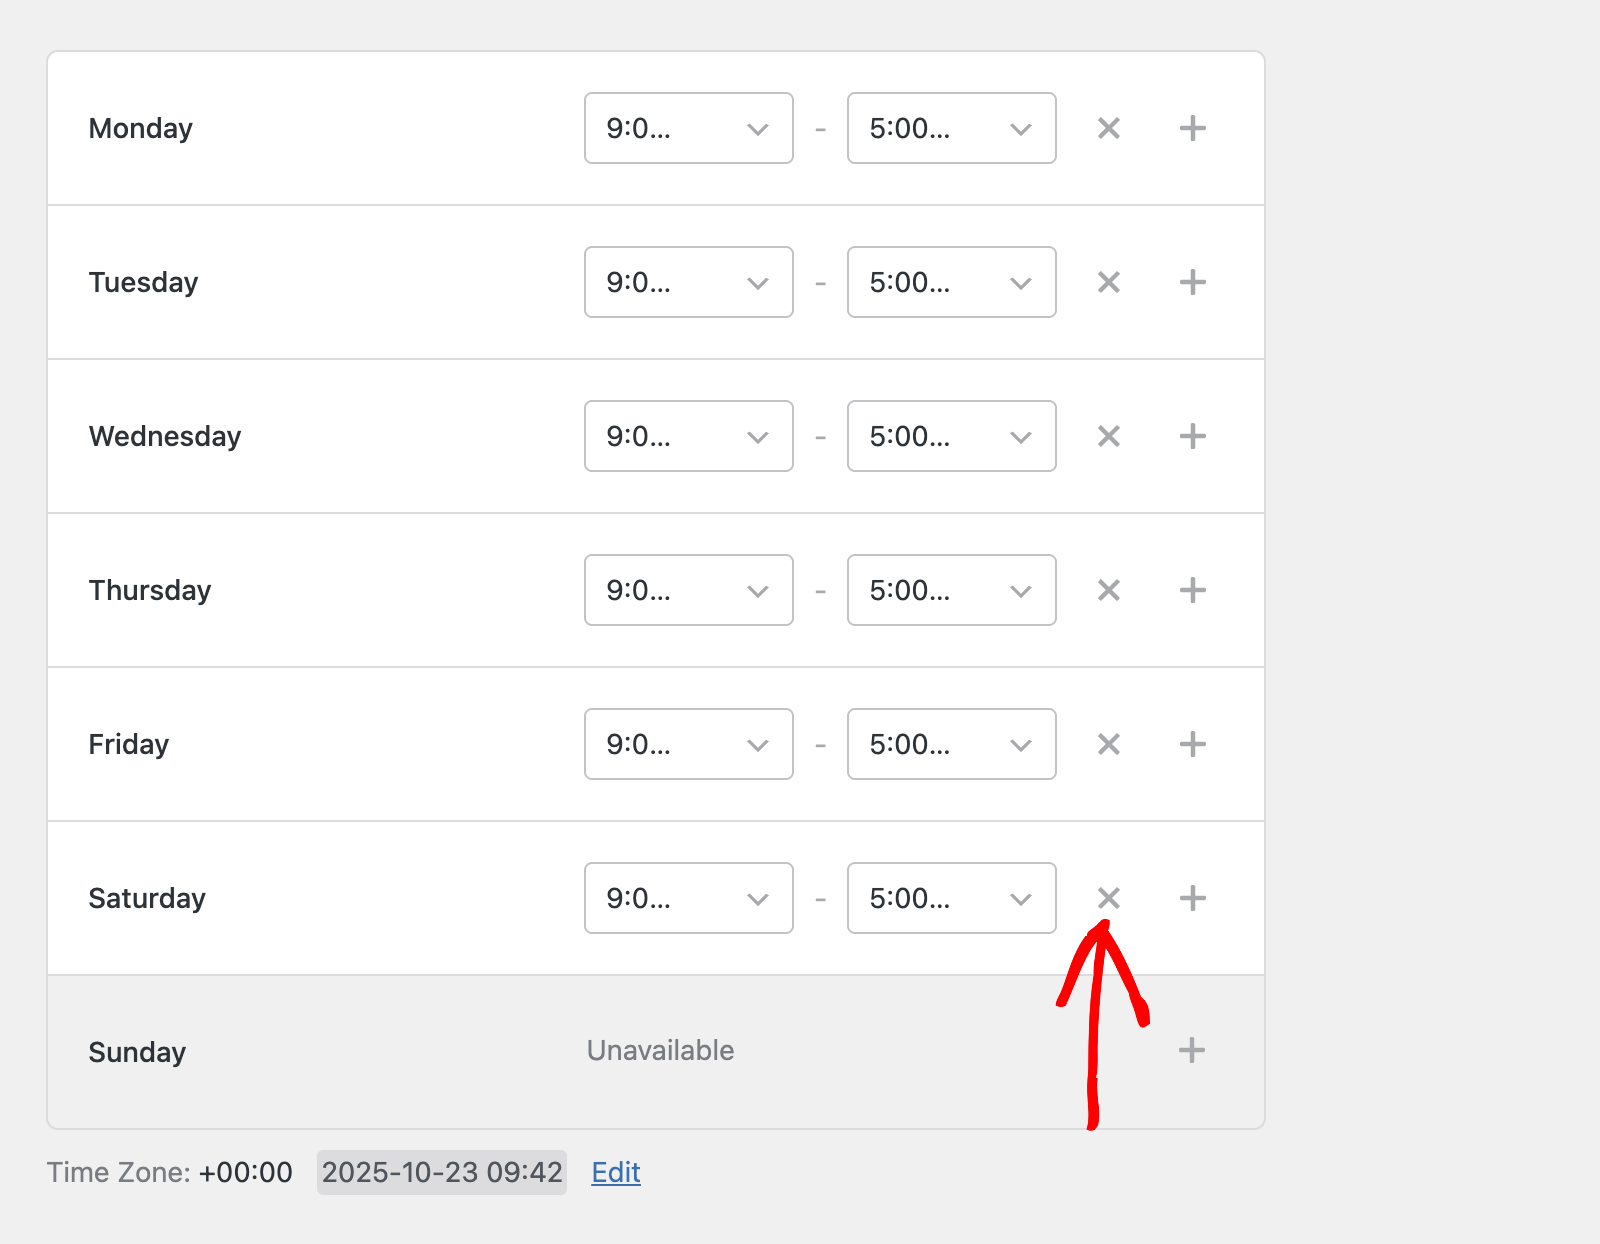
After removing the time slot, you’ll see the Unavailable label next to that day. This ensures customers cannot select that day when booking appointments.
Overriding Specific Dates
You can add a custom schedule to the Booking plugin. This feature is useful for setting off days on public holidays.
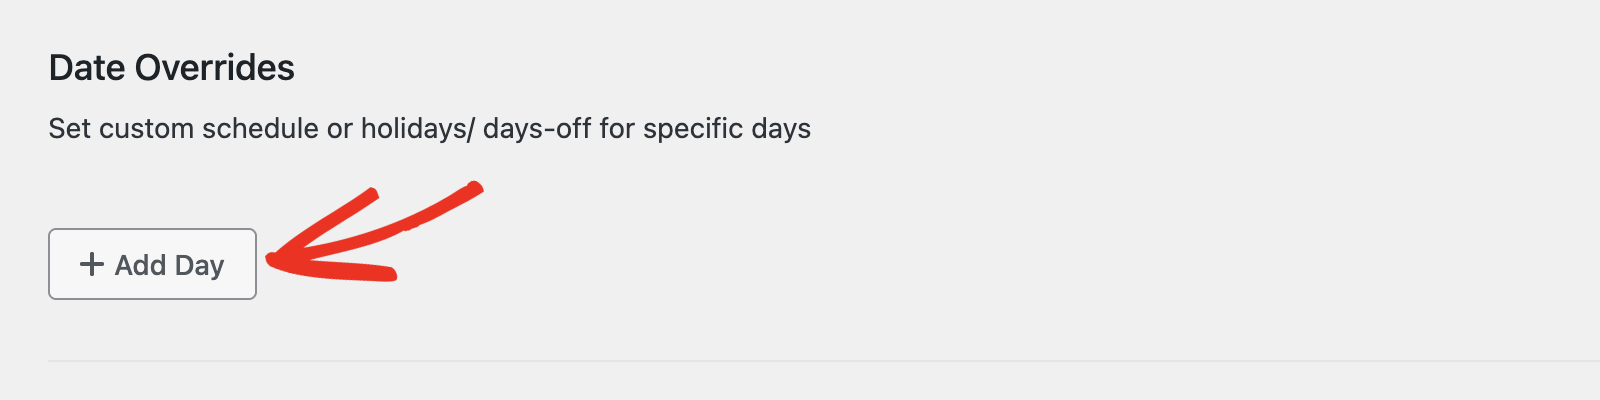
To set custom schedule, scroll to the Date Overrides section. Then click the + Add Day button.
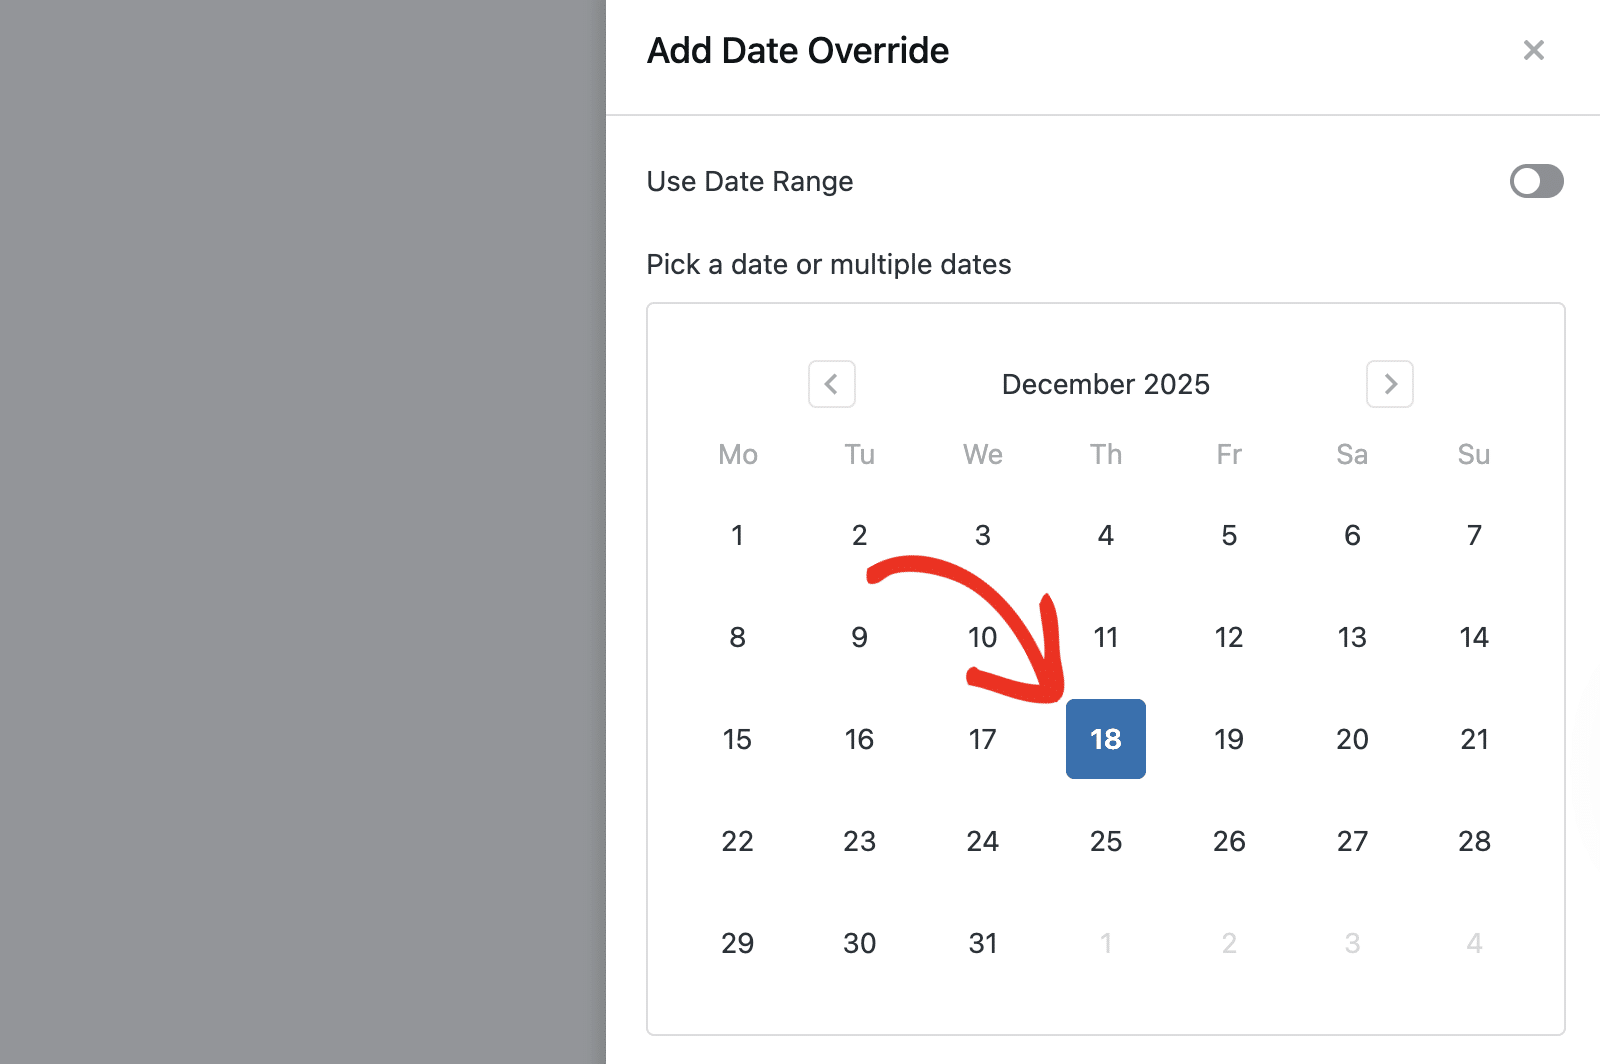
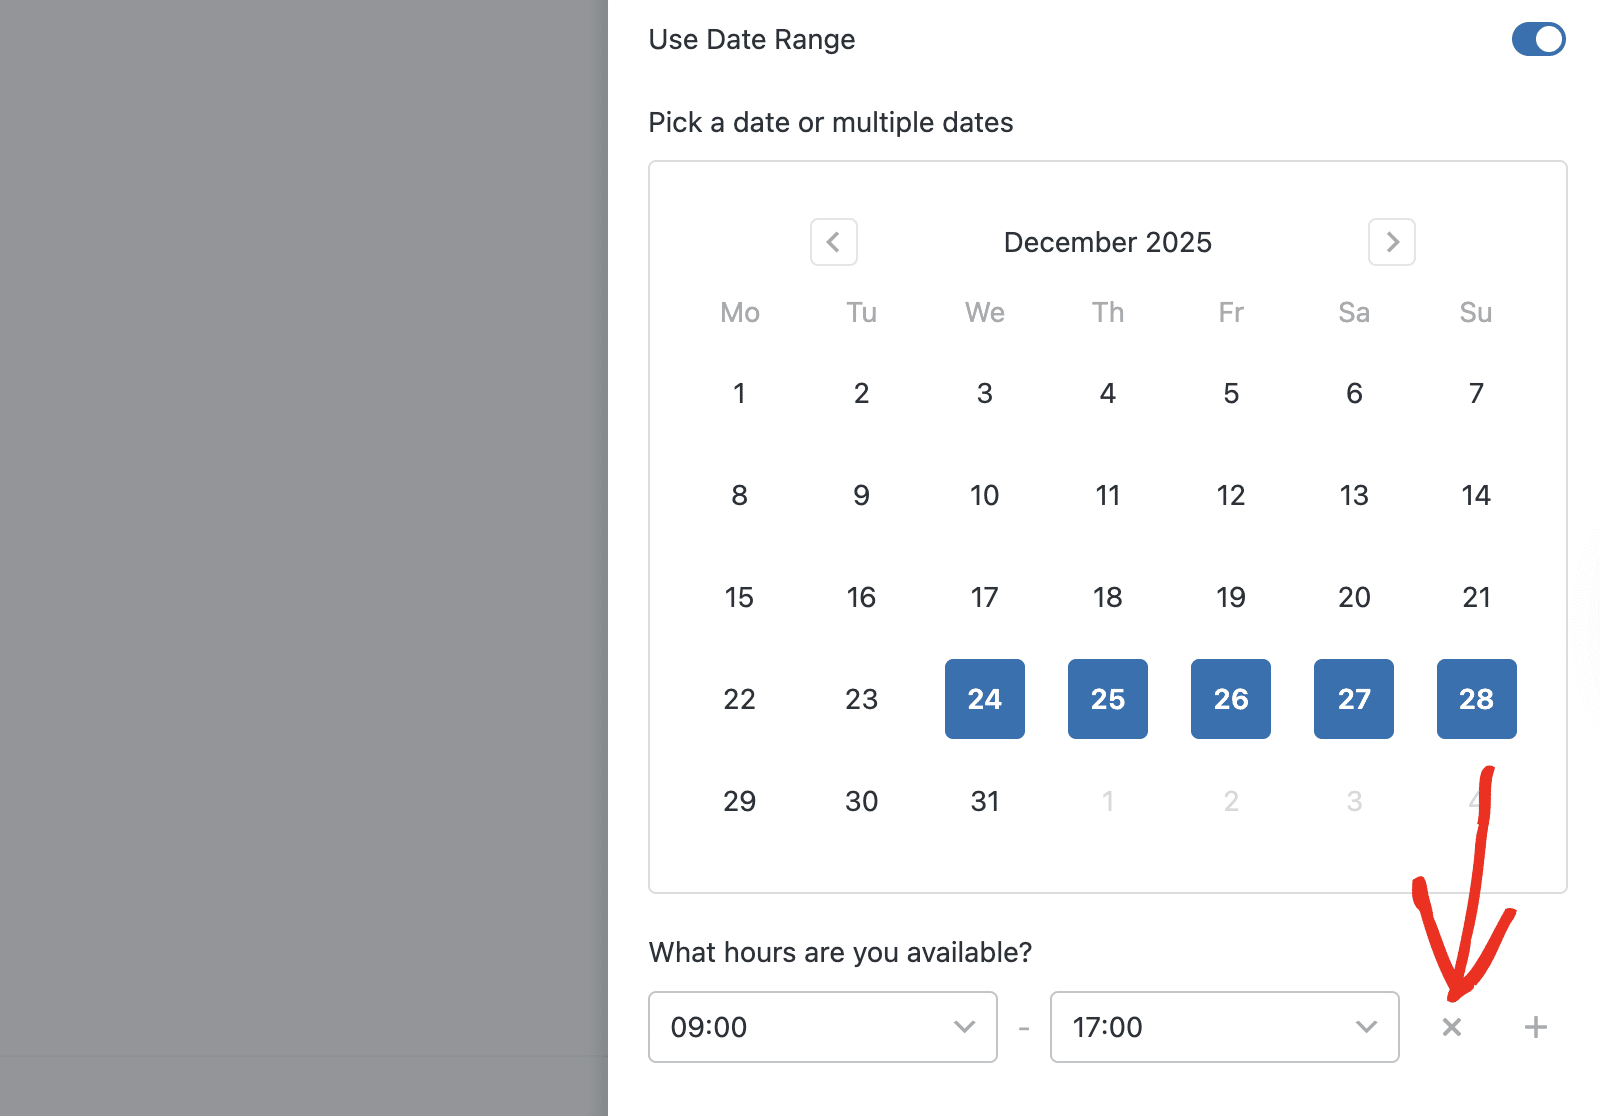
In the overlay that appears, choose the specific date you’d like to customize from the date picker.
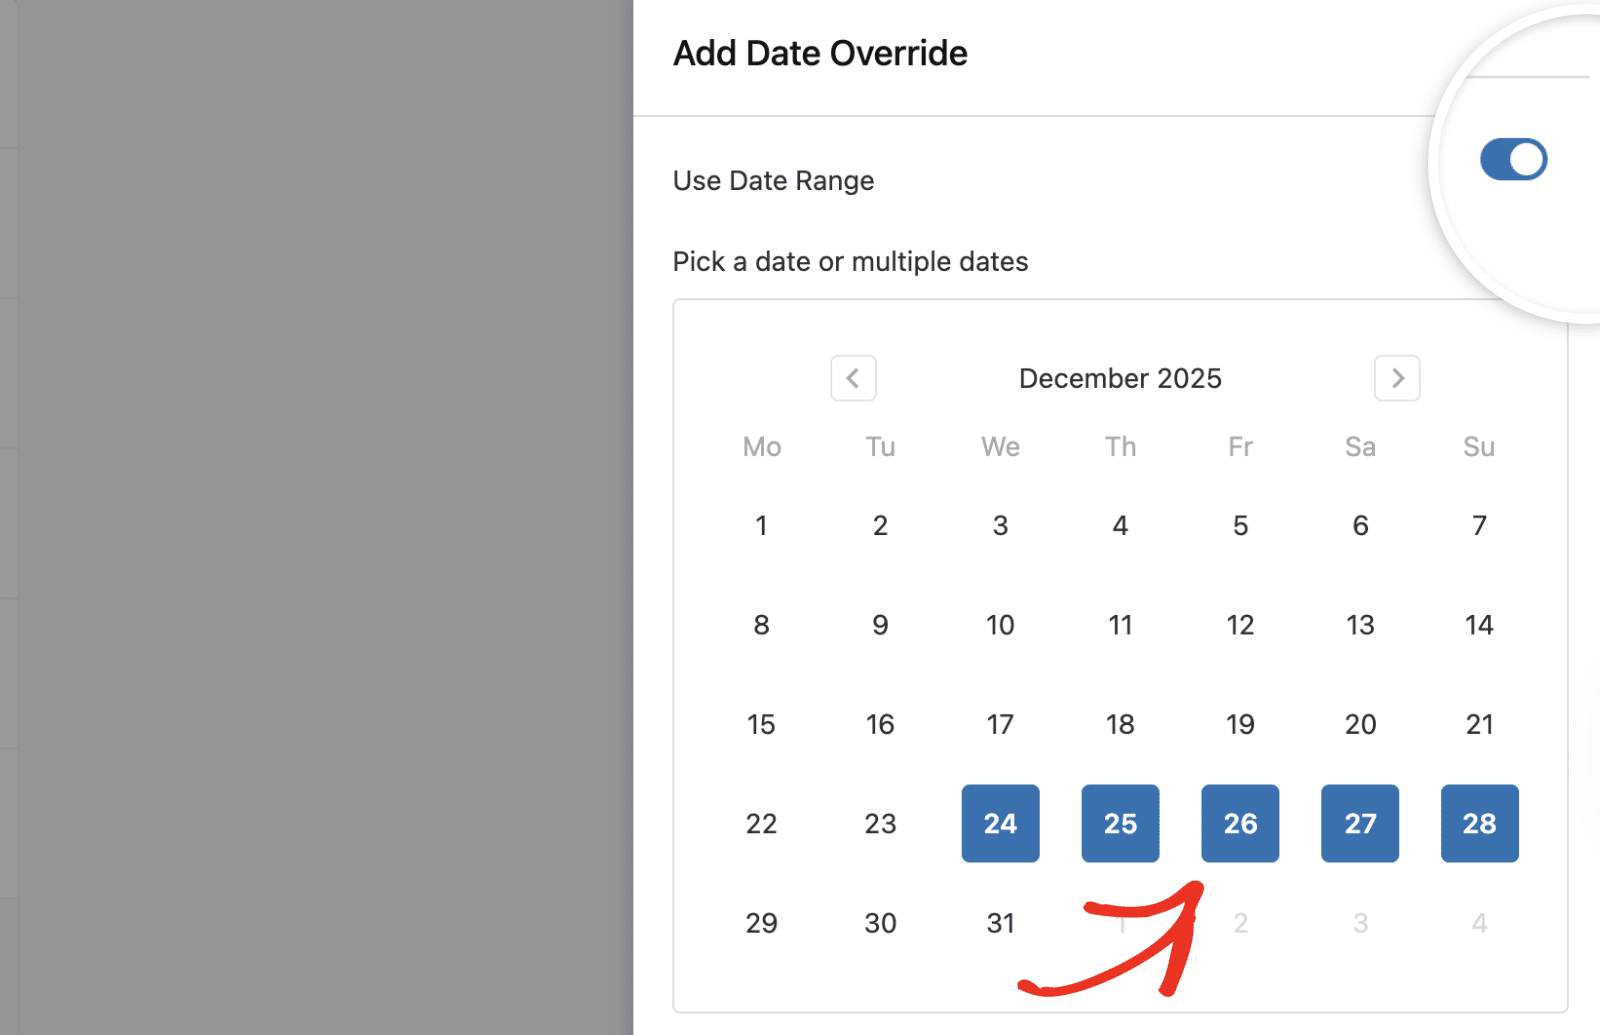
Enable the Use Date Range option if you’d like to customize multiple days.
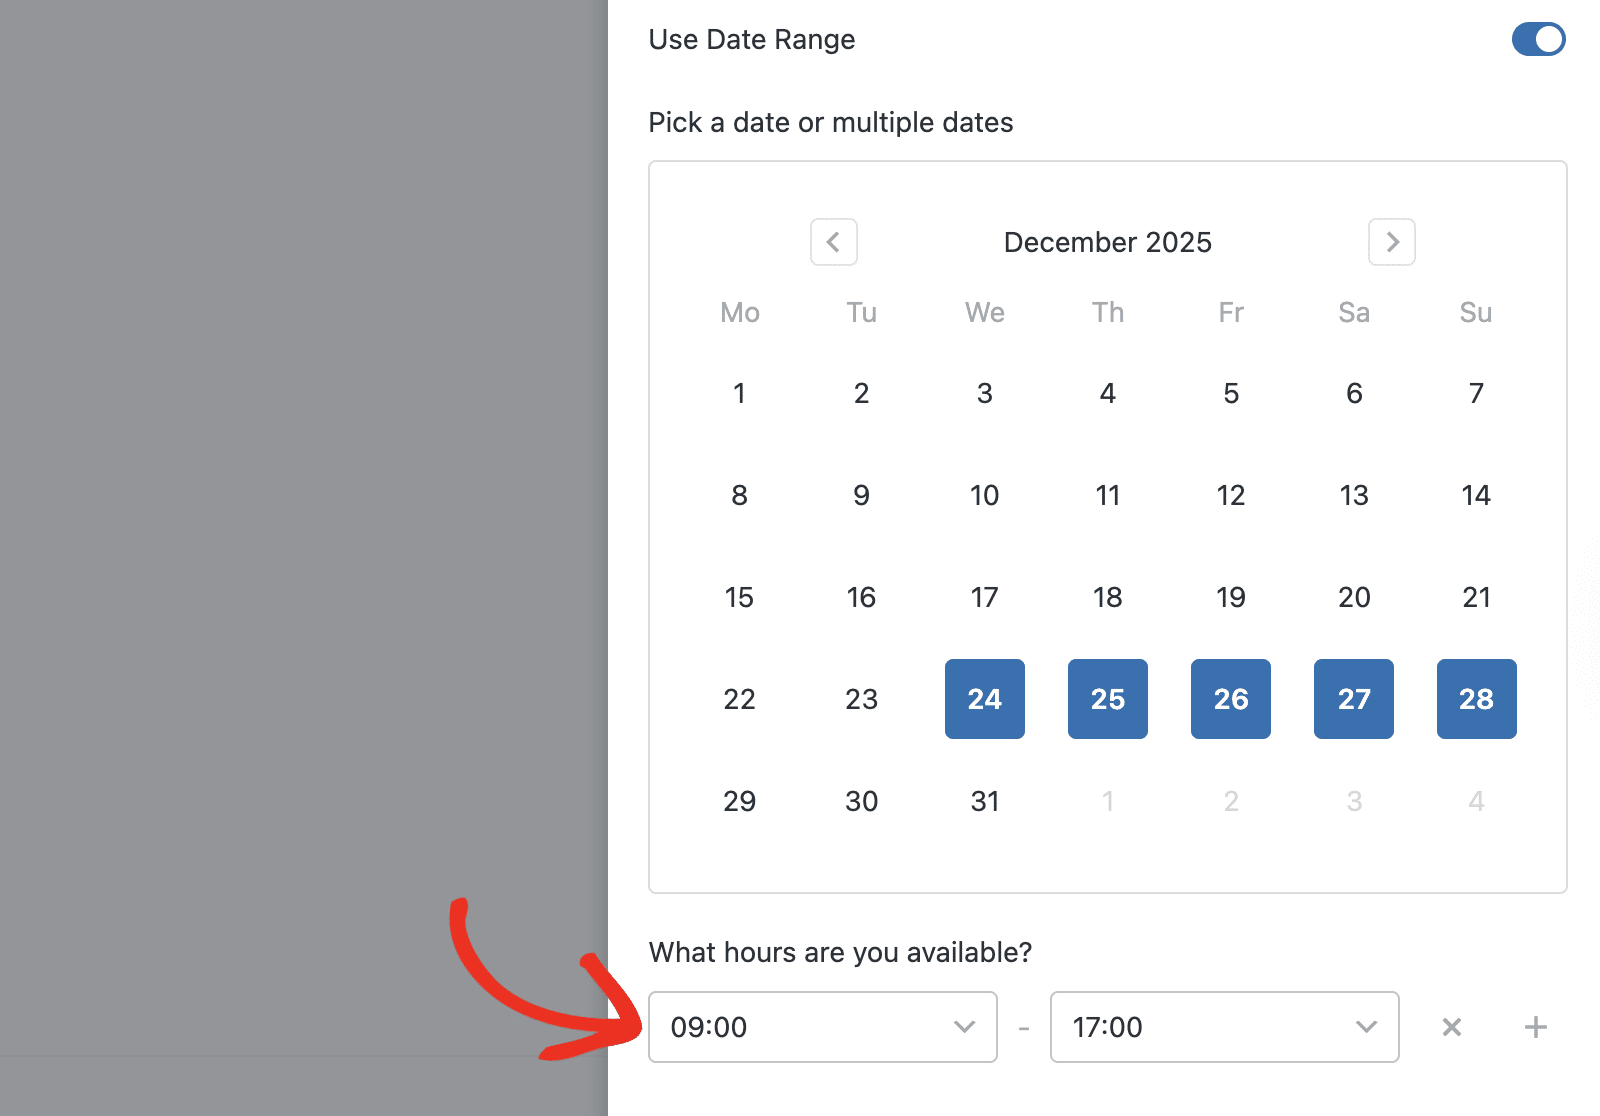
After selecting the date(s), choose the time slot you’d like to operate from the time dropdown.
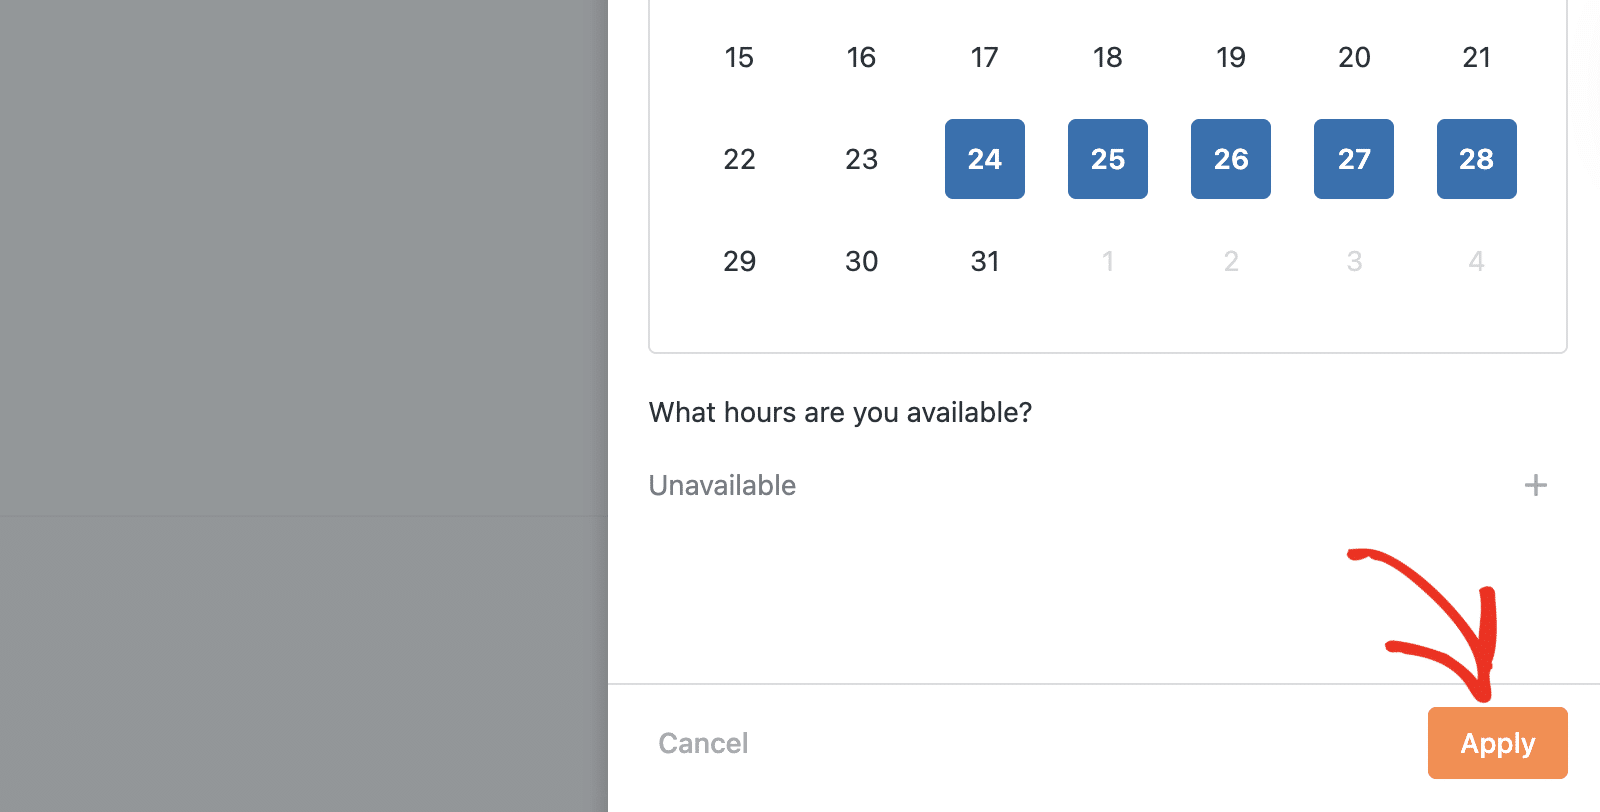
Clicking the X icon will make the specific date unavailable for booking to your users.
After customizing the custom schedule, click Apply to save your changes.
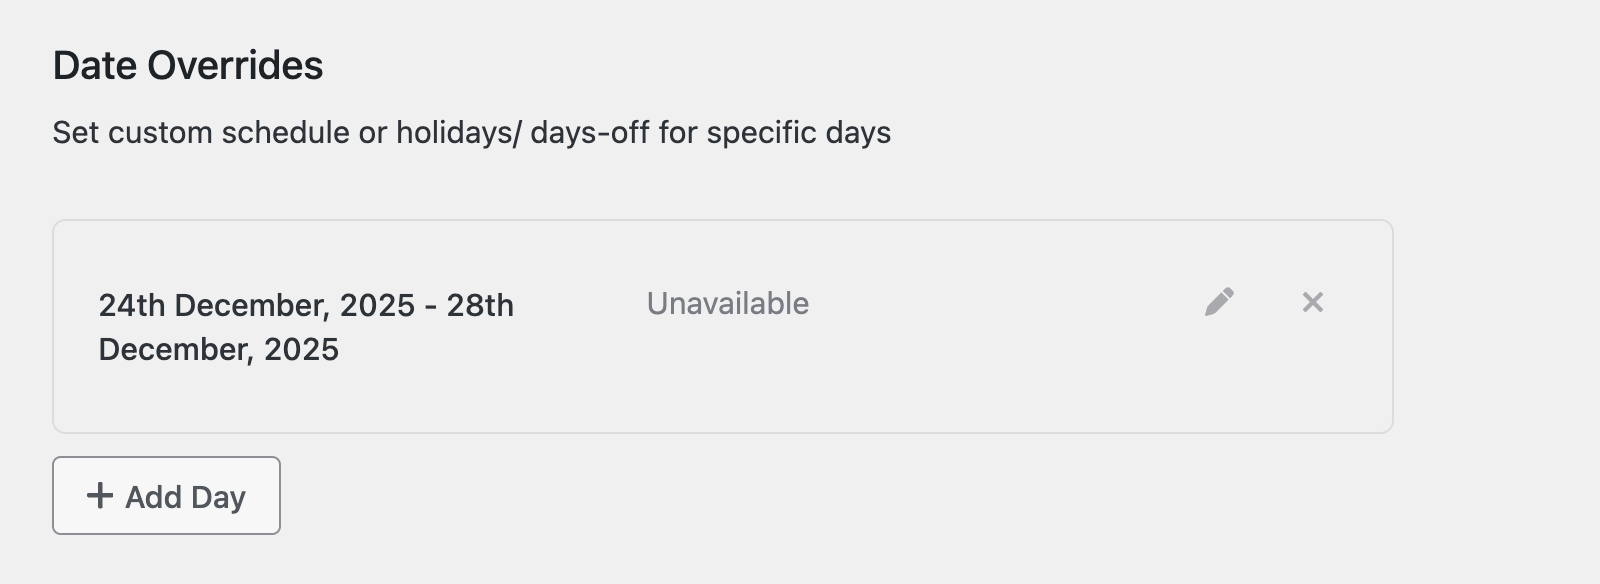
You’ll see the custom schedule in the Date Overrides section.
You can add multiple custom overrides, depending on your business needs and schedule. To do so, click the + Add Day button.
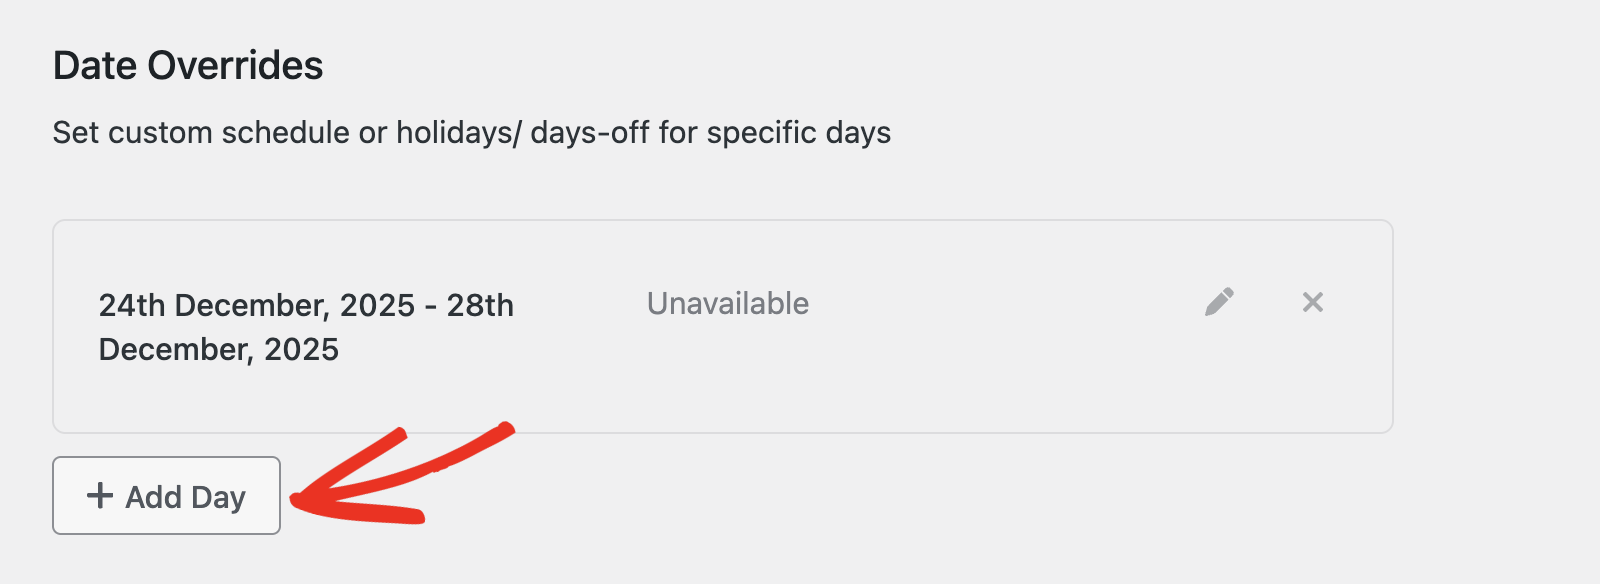
Then follow the prompt to add the date(s) you’d like to override.
To edit the schedule you created, click the Pen icon.
If you’d like to delete a custom schedule, click the X icon.
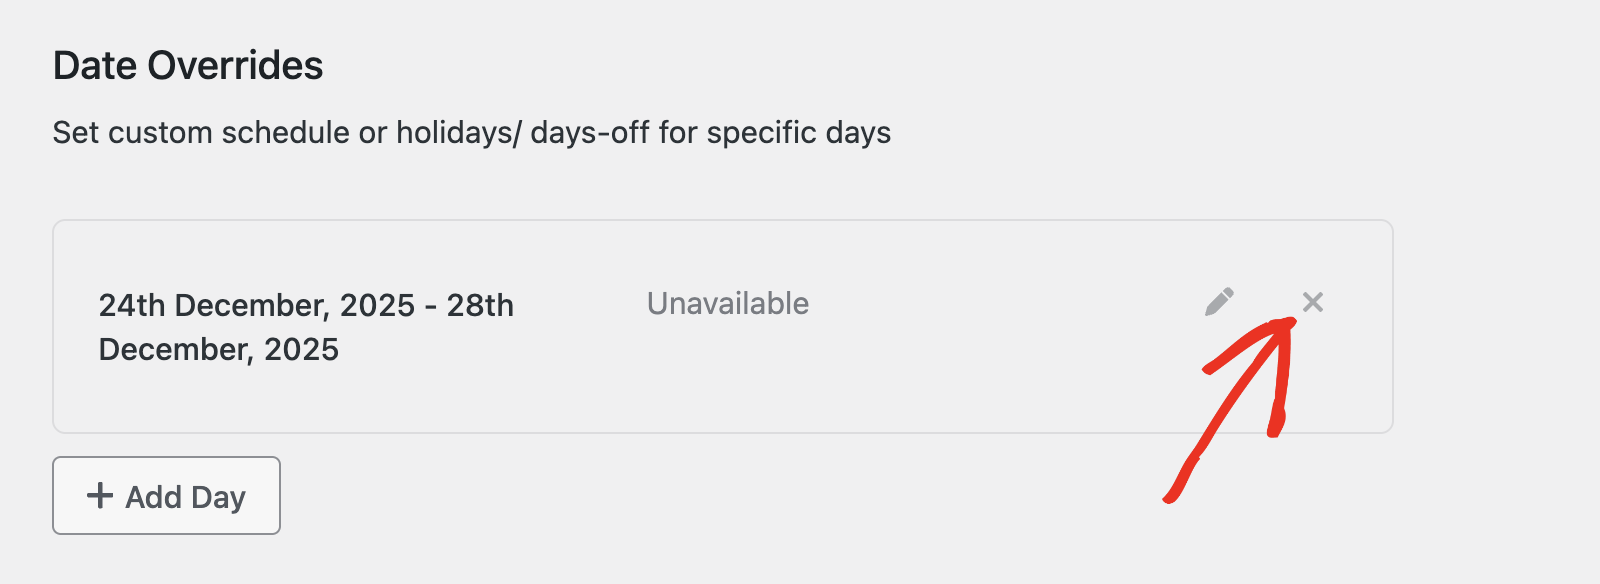
Note: You won’t be able to recover the custom schedule after deleting it from your site.
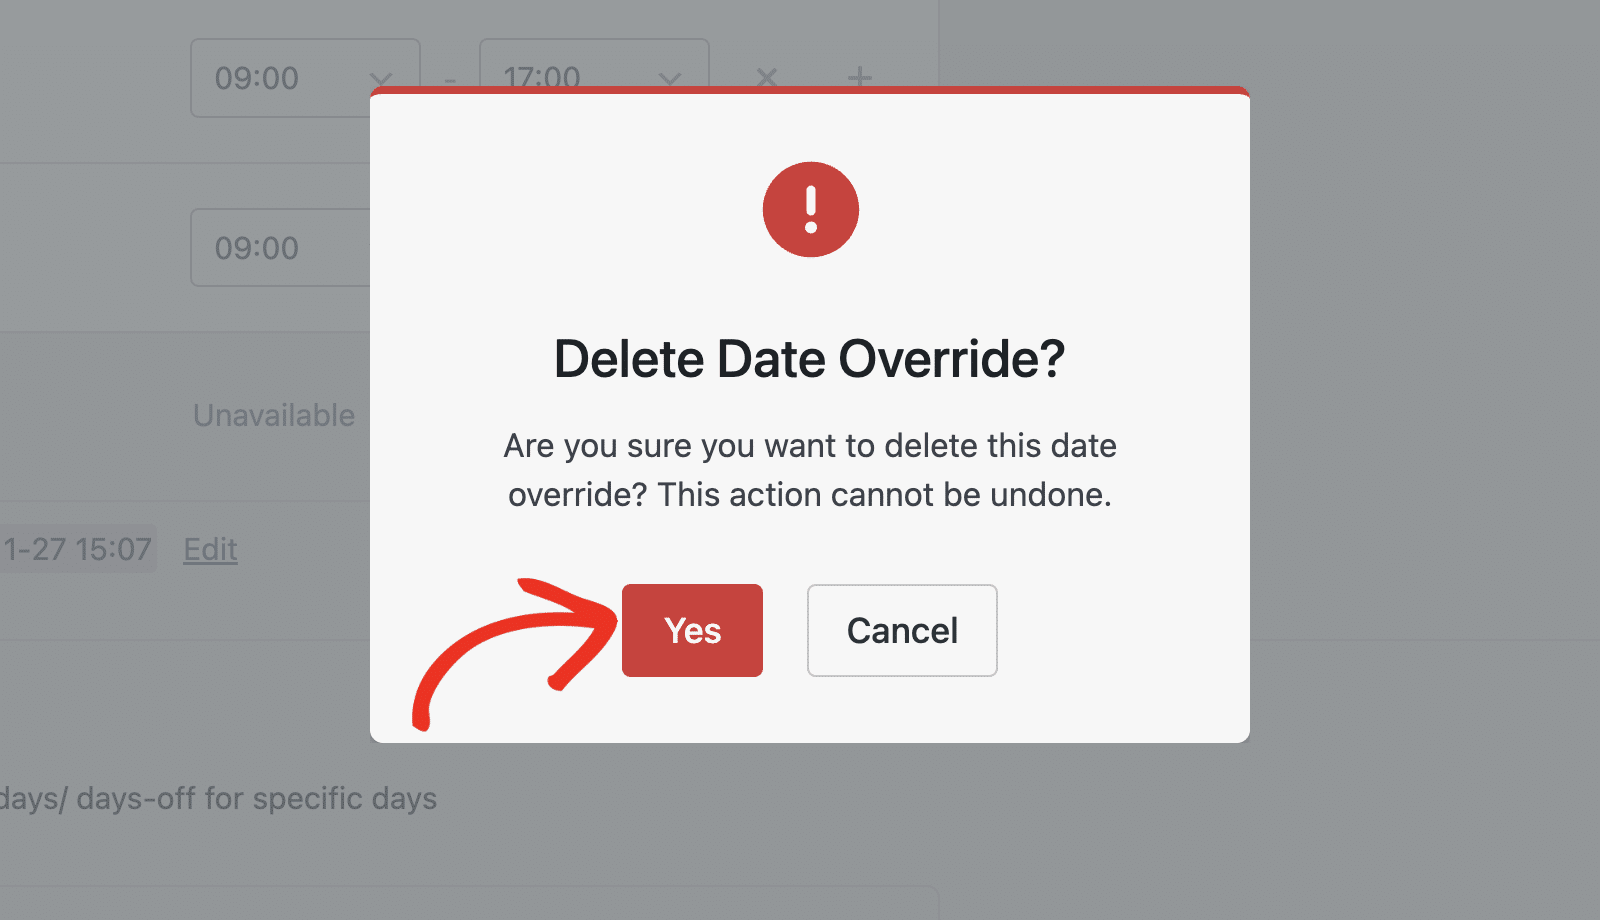
Then click Yes to confirm your deletion.
Saving Availability Settings
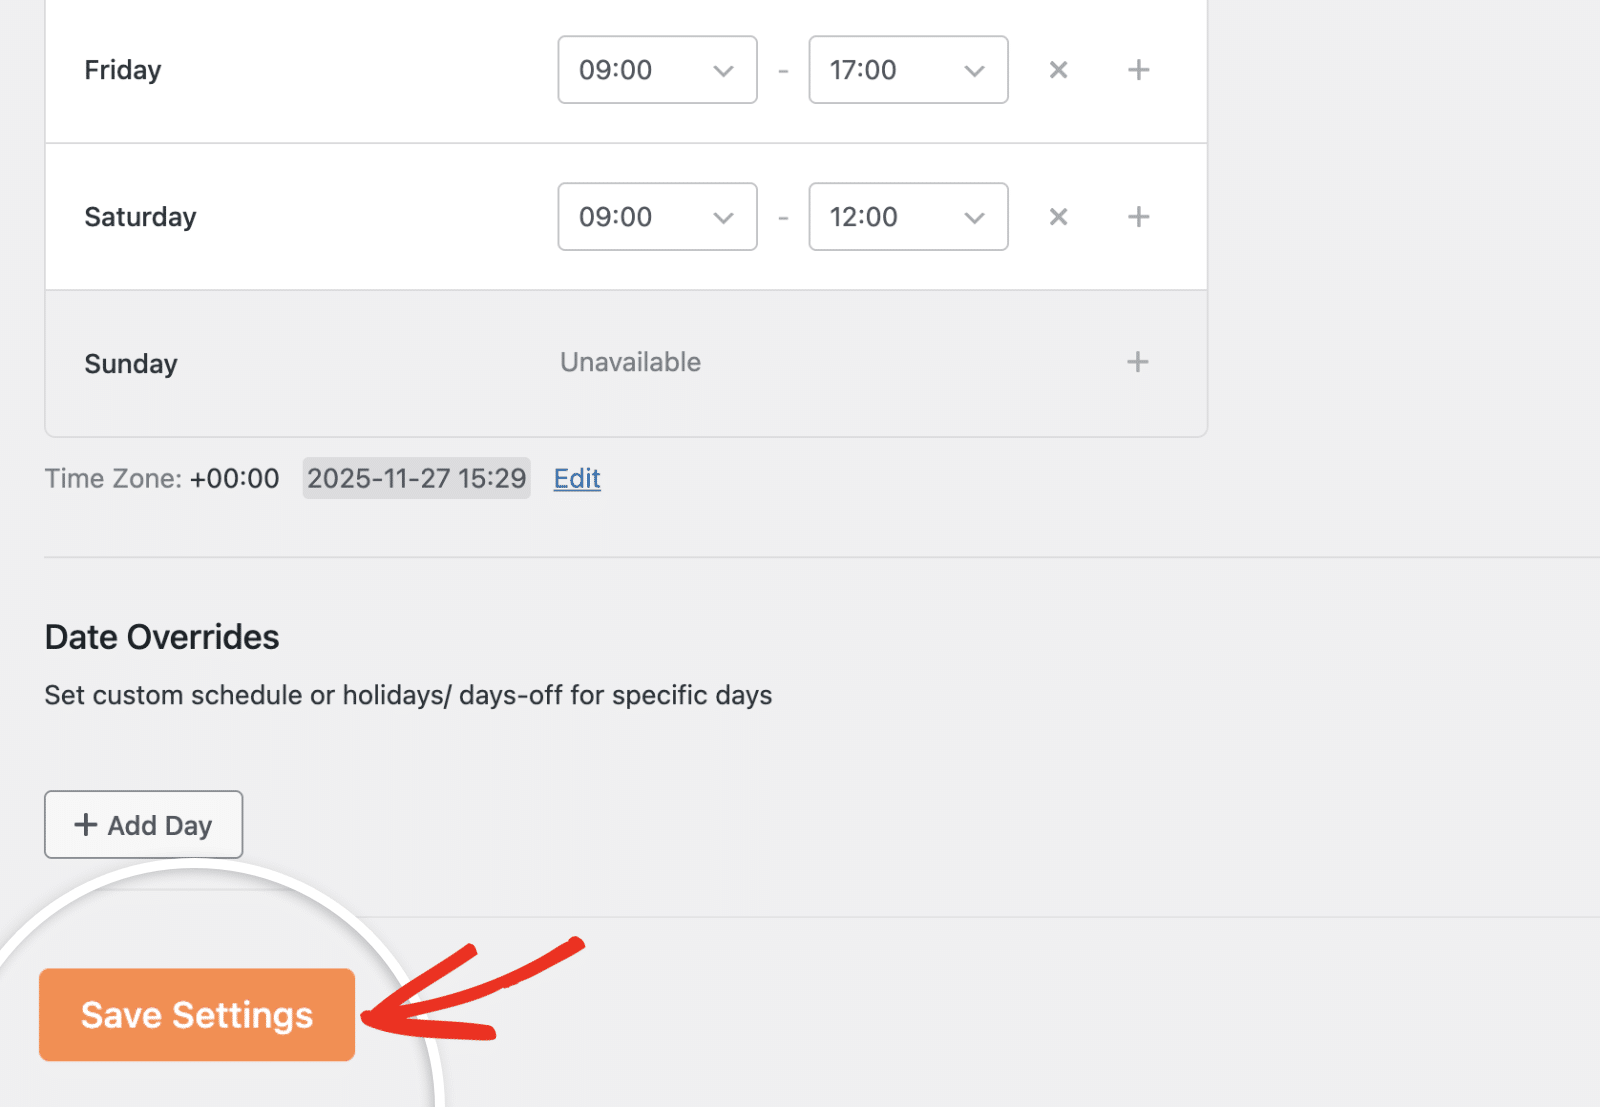
After setting your schedule, scroll down and click Save Settings to apply your changes.
That’s it! You’ve successfully customized your availability schedule in Sugar Calendar Bookings.
Next, would you like to create and manage services on your site? See our guide to learn how to create your first service.