Would you like to learn how to manage booking payments in WordPress? Sugar Calendar Bookings provides an intuitive dashboard to keep track of On-Site and online payment records.
This guide will show you how to properly manage booking payments on your site.
In This Article
Before getting started, make sure the Sugar Calendar Bookings plugin is installed and activated and that you’ve created some bookings.
Viewing Payments
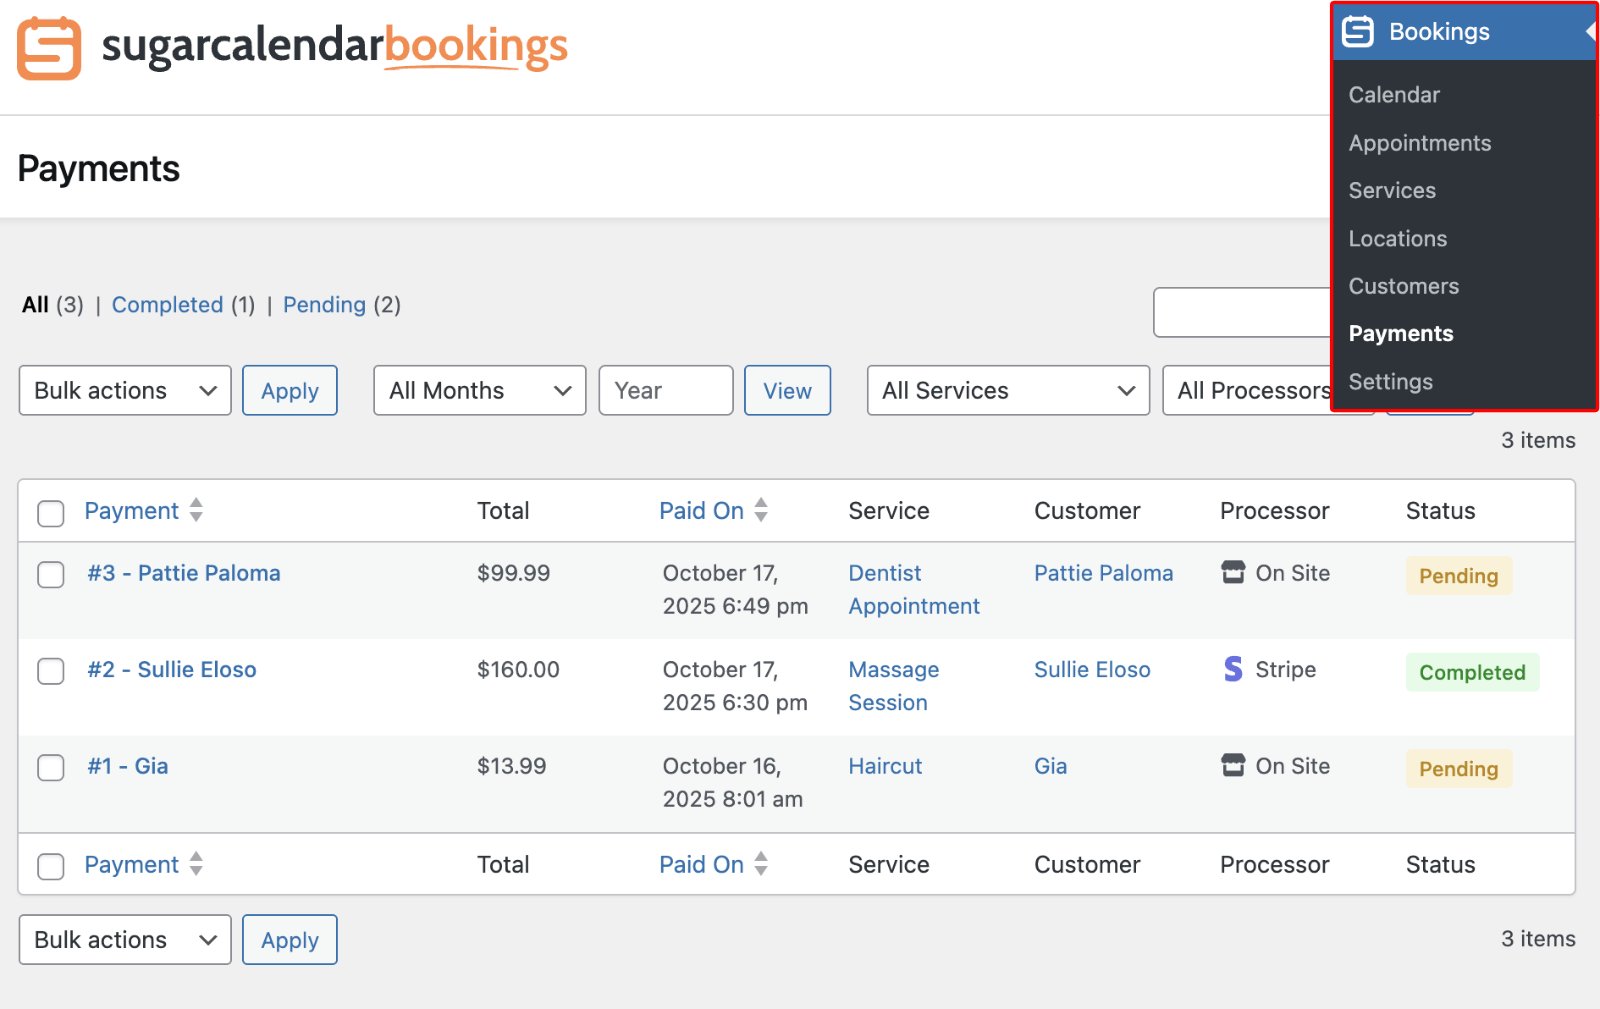
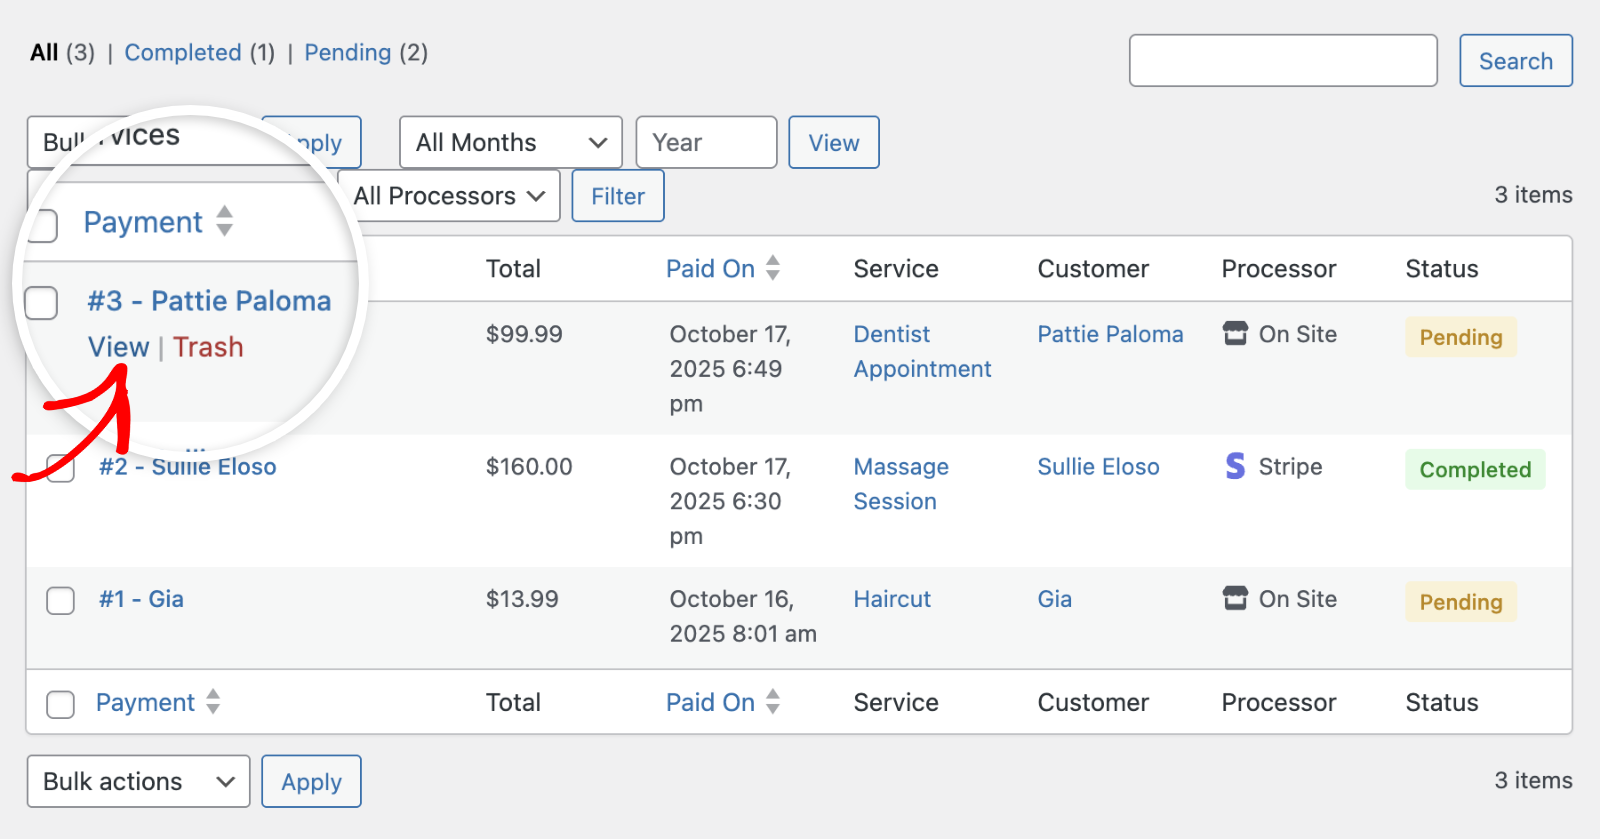
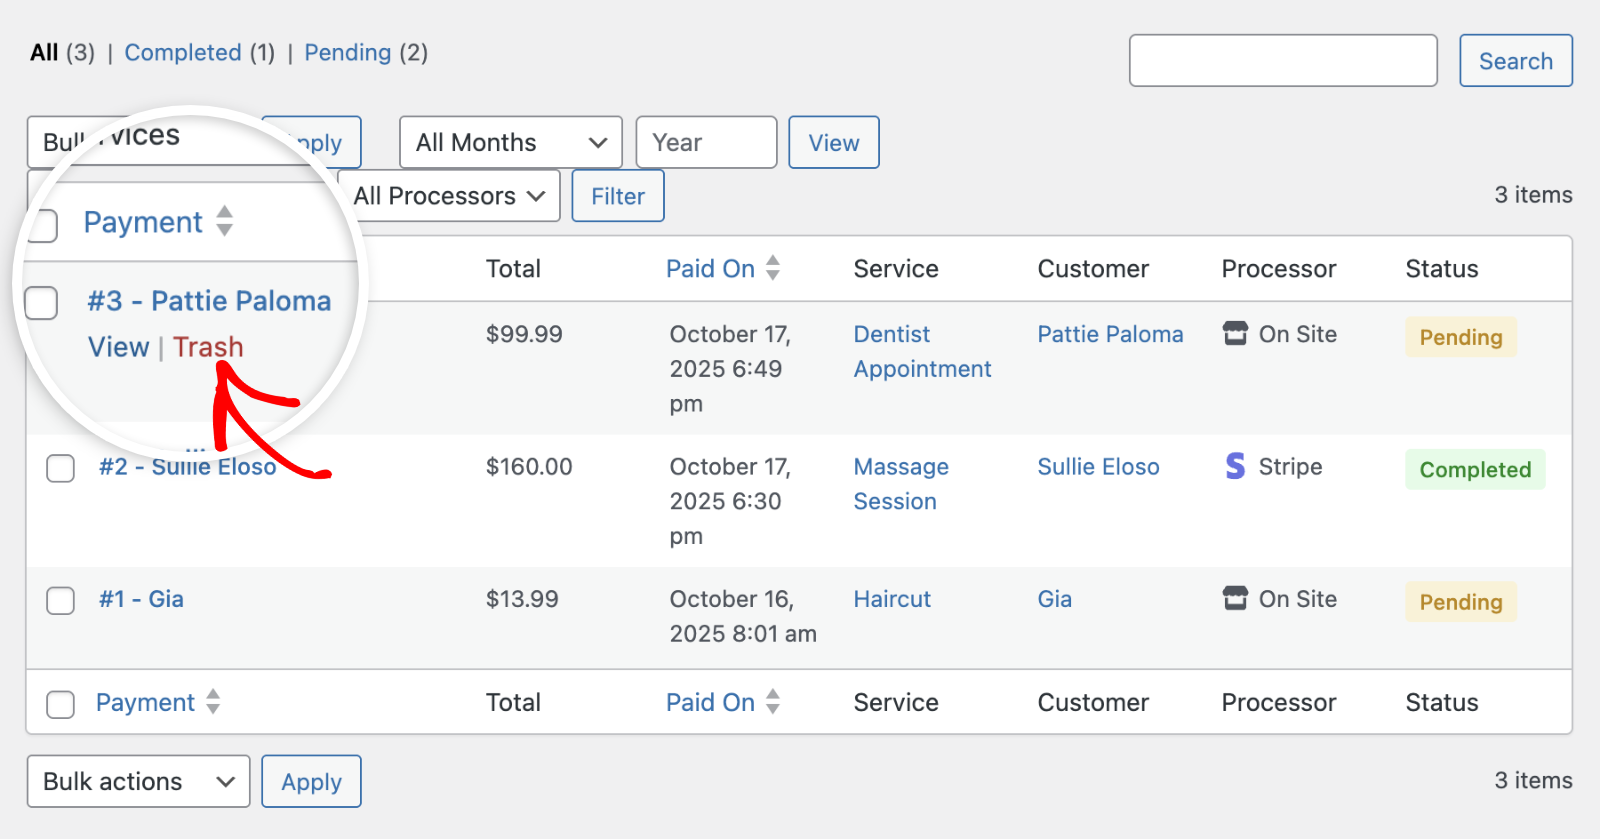
To see all payments, go to Bookings » Payments. You’ll find a table that lists each payment with the total amount, date, related service, customer, processor, and status.
Filtering and Searching Payments
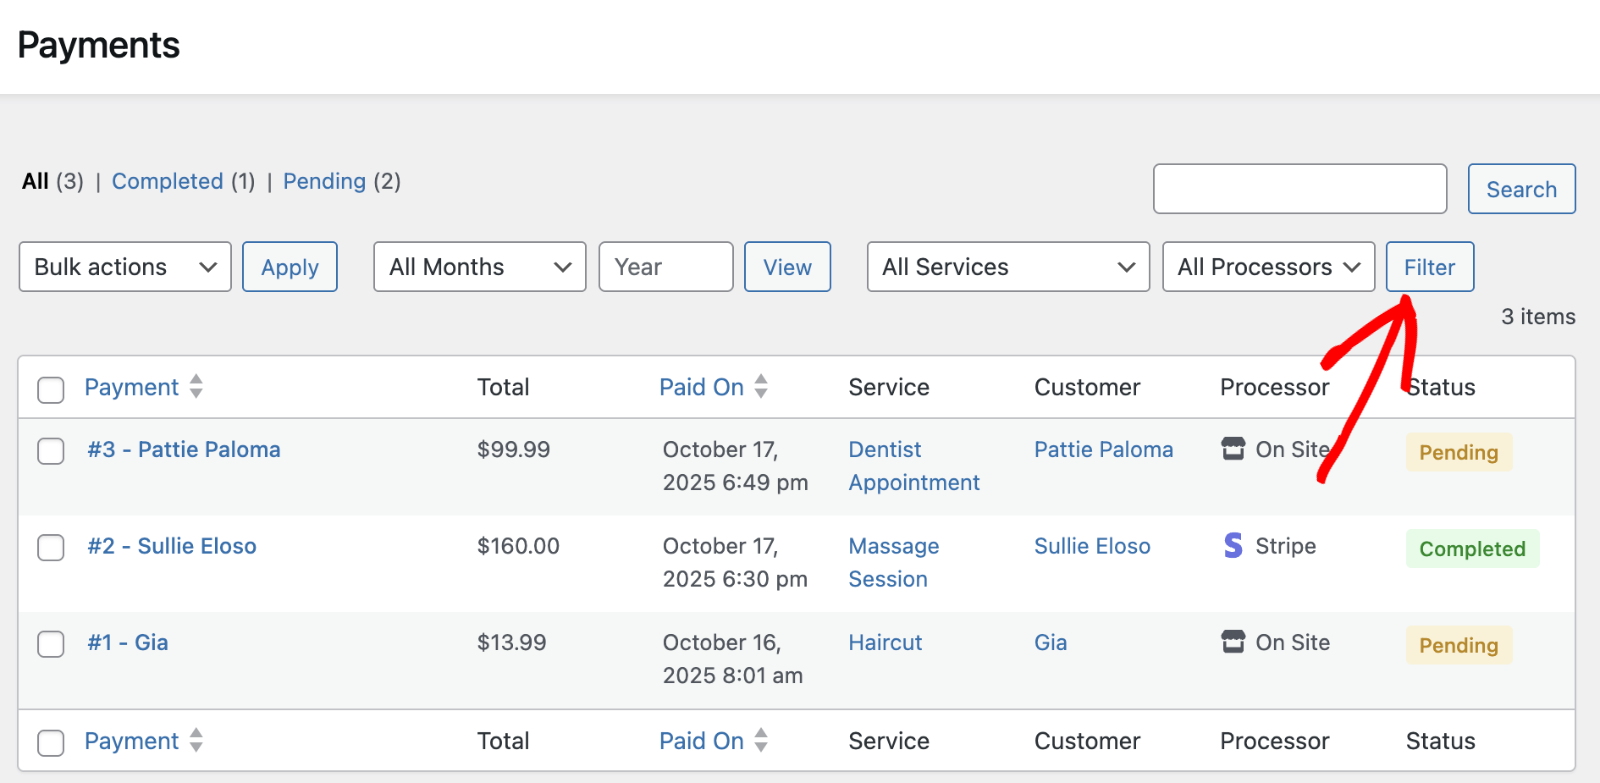
Use the filters at the top of the table to quickly narrow results by month, service, or processor.
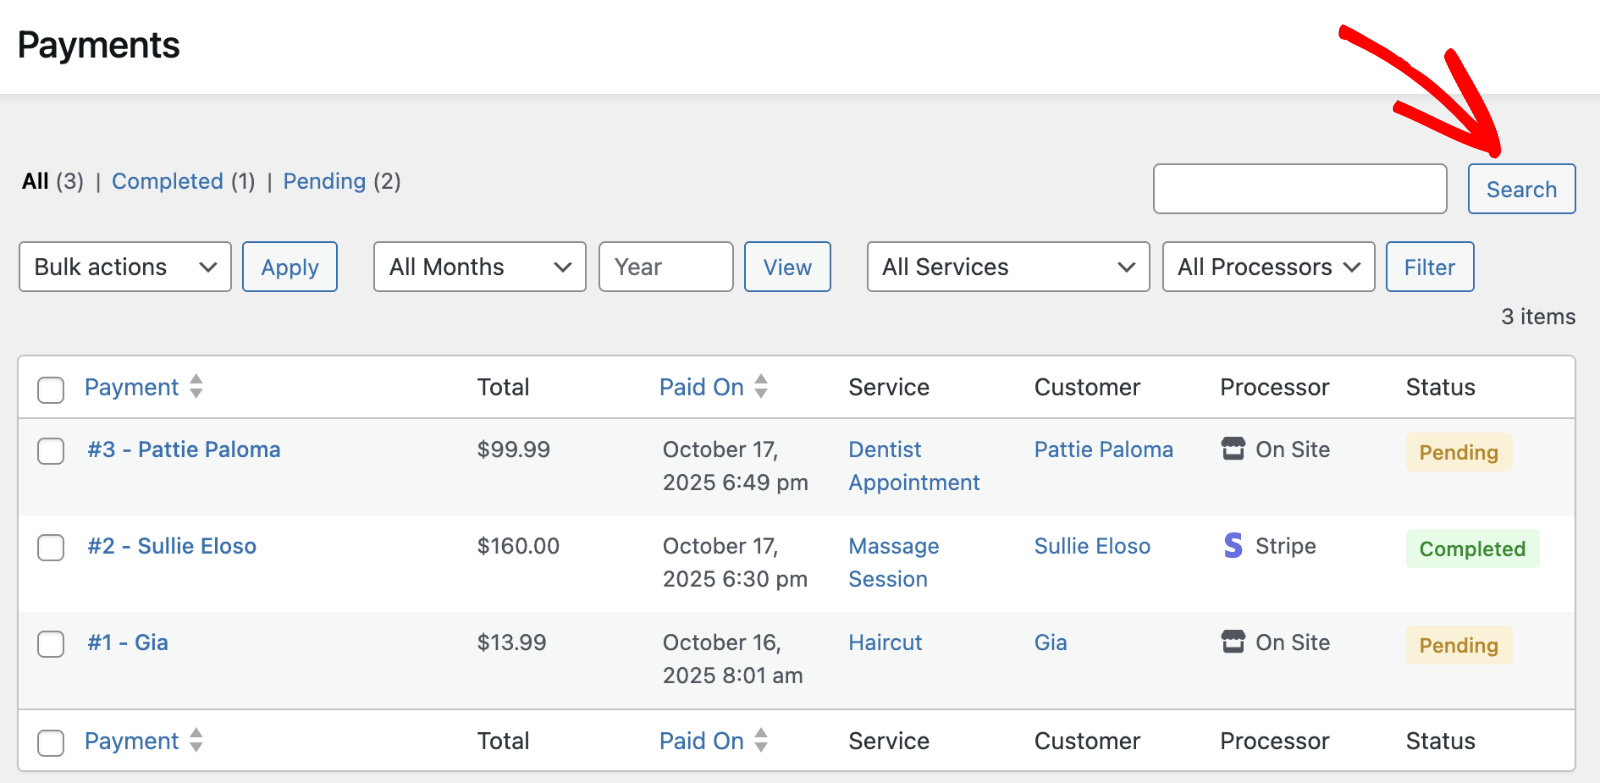
You can also enter a keyword (such as a customer’s name) into the search box and click Search.
Understanding Payment Processors & Statuses
The Processor column shows how the payment was taken:
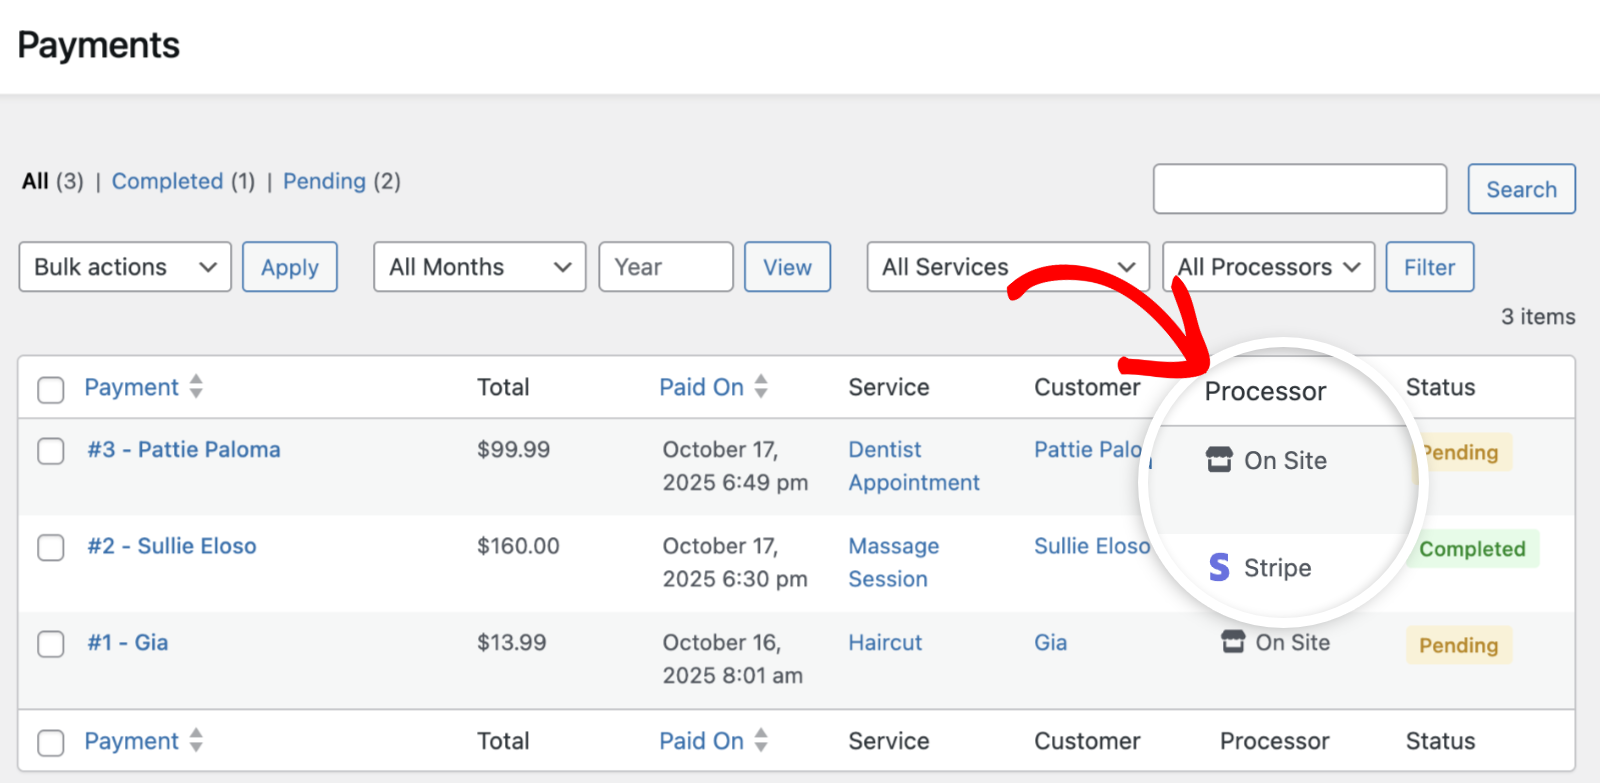
Below, we’ve highlighted the available options:
- On Site: Payment will be collected in person (commonly used for admin-created bookings).
- Stripe: Payment was made online during the booking process.
Note: You’ll need to configure Stripe before you can start collecting online payments for appointment bookings.
The Status column shows the current state of each appointment booking. Payments completed online through Stripe will have the Completed status.

On-Site payments default to Pending status. However, you can update the status manually once the customer completes their payment. Below, we’ve highlighted the available payment statuses:
- Completed: Indicates the customer has completed their payment.
- Pending: This status indicates the customer has yet to complete their booking payment. Often used when On-Site payment option is selected.
- Failed: When online payment fails to process, the status is automatically set to Failed.
- Refunded: This status is used when customers’ appointments are canceled and refunded.
Viewing a Payment Record
To view additional details about a specific payment, click the payment’s ID or the View link.
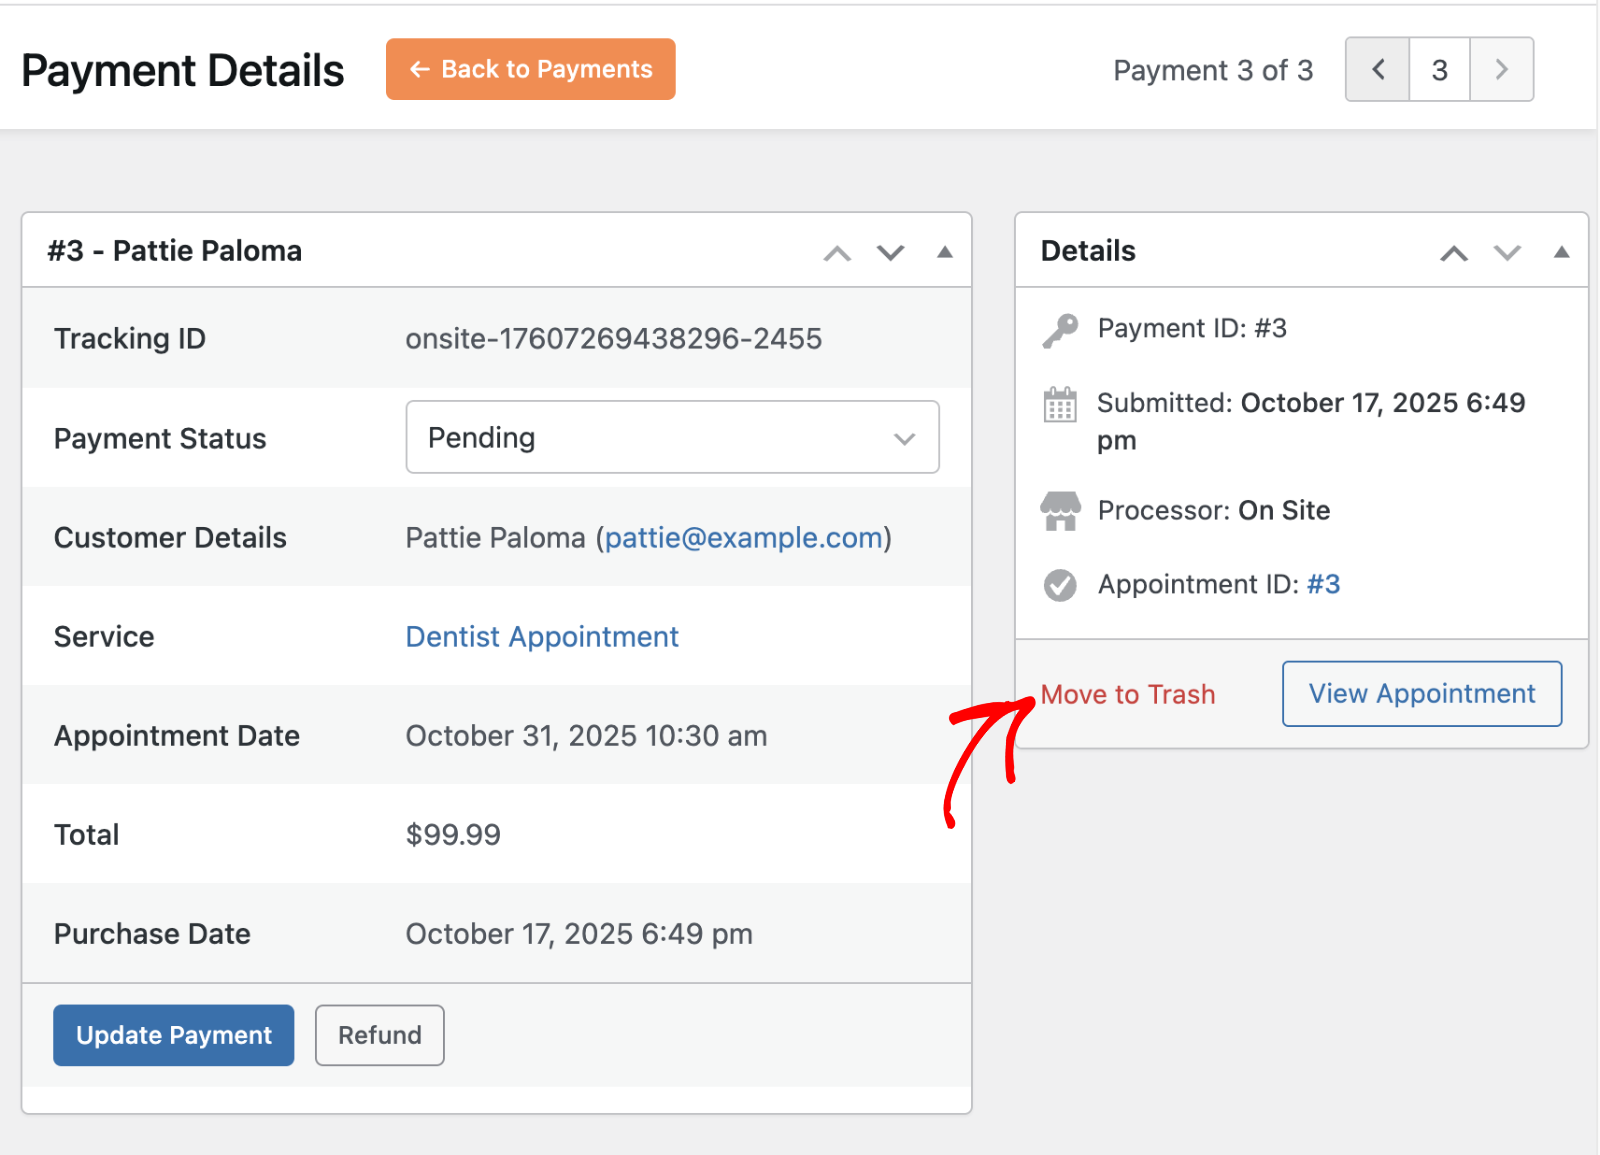
From here, you can verify the tracking ID, payment status, customer details, associated service, appointment date, and totals.
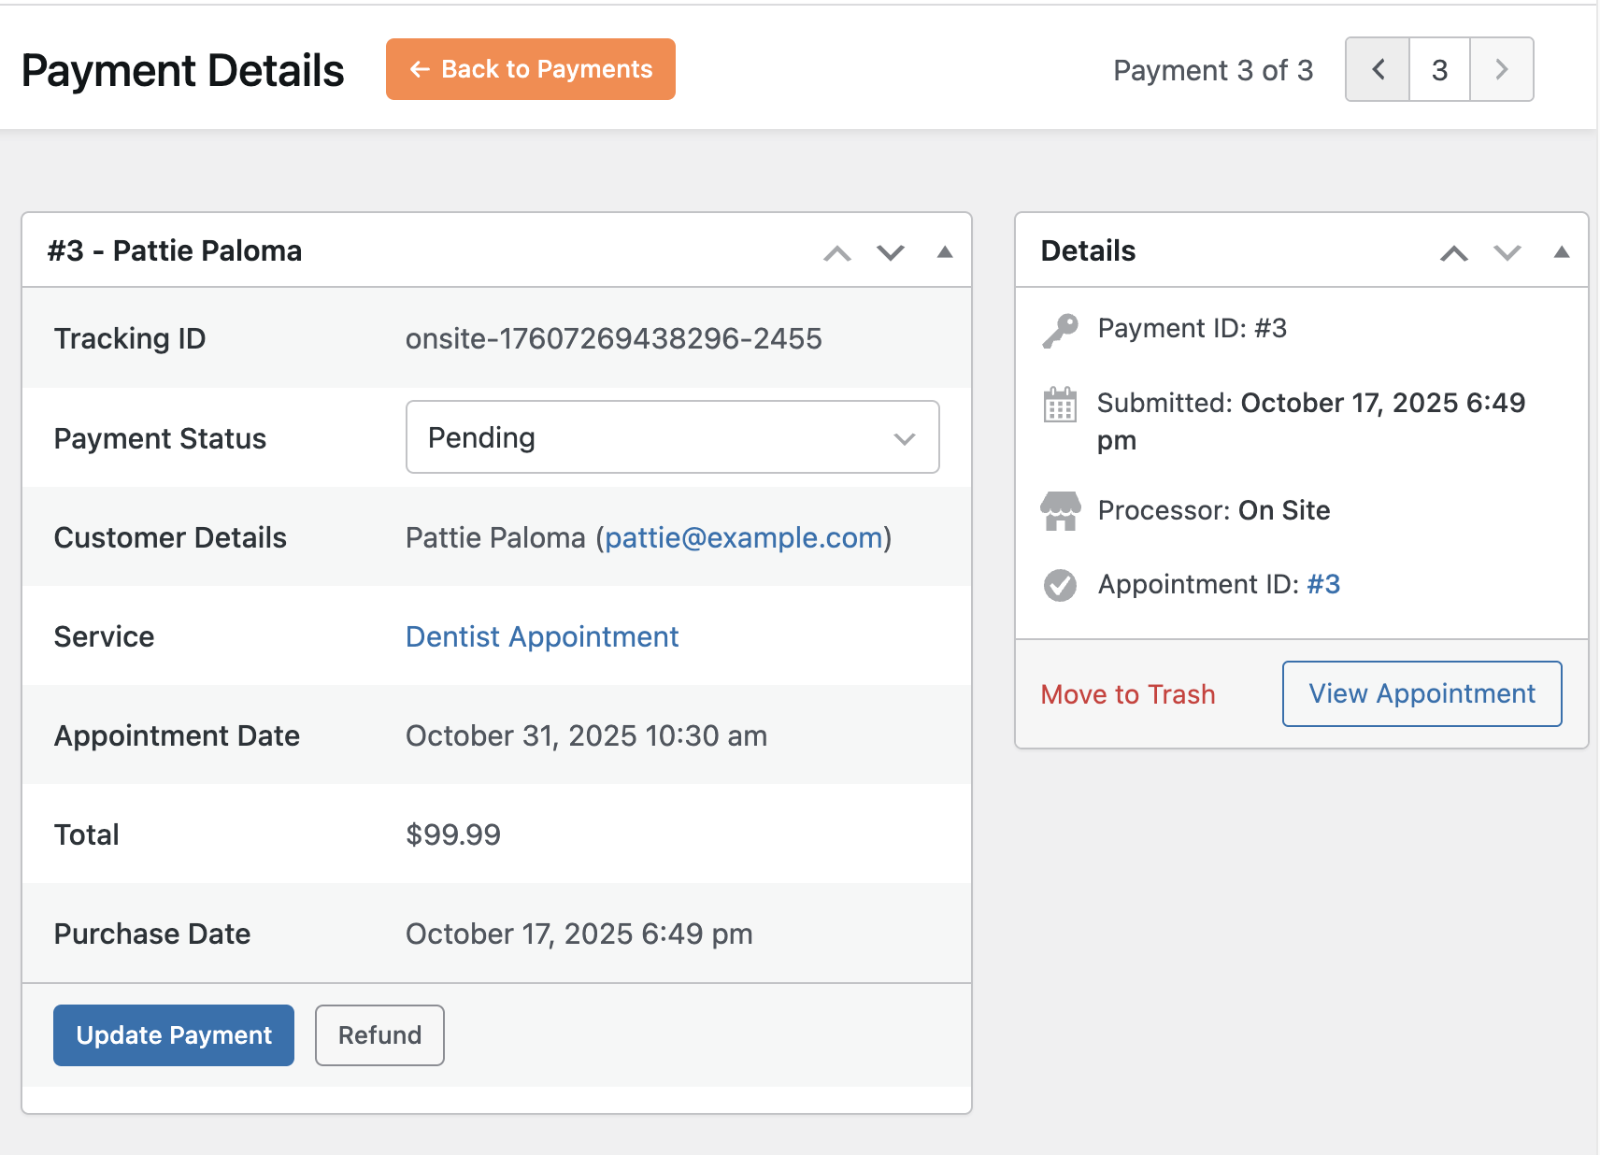
If you need context for the related appointment, click View Appointment from the payment details panel.
Updating Payment Status
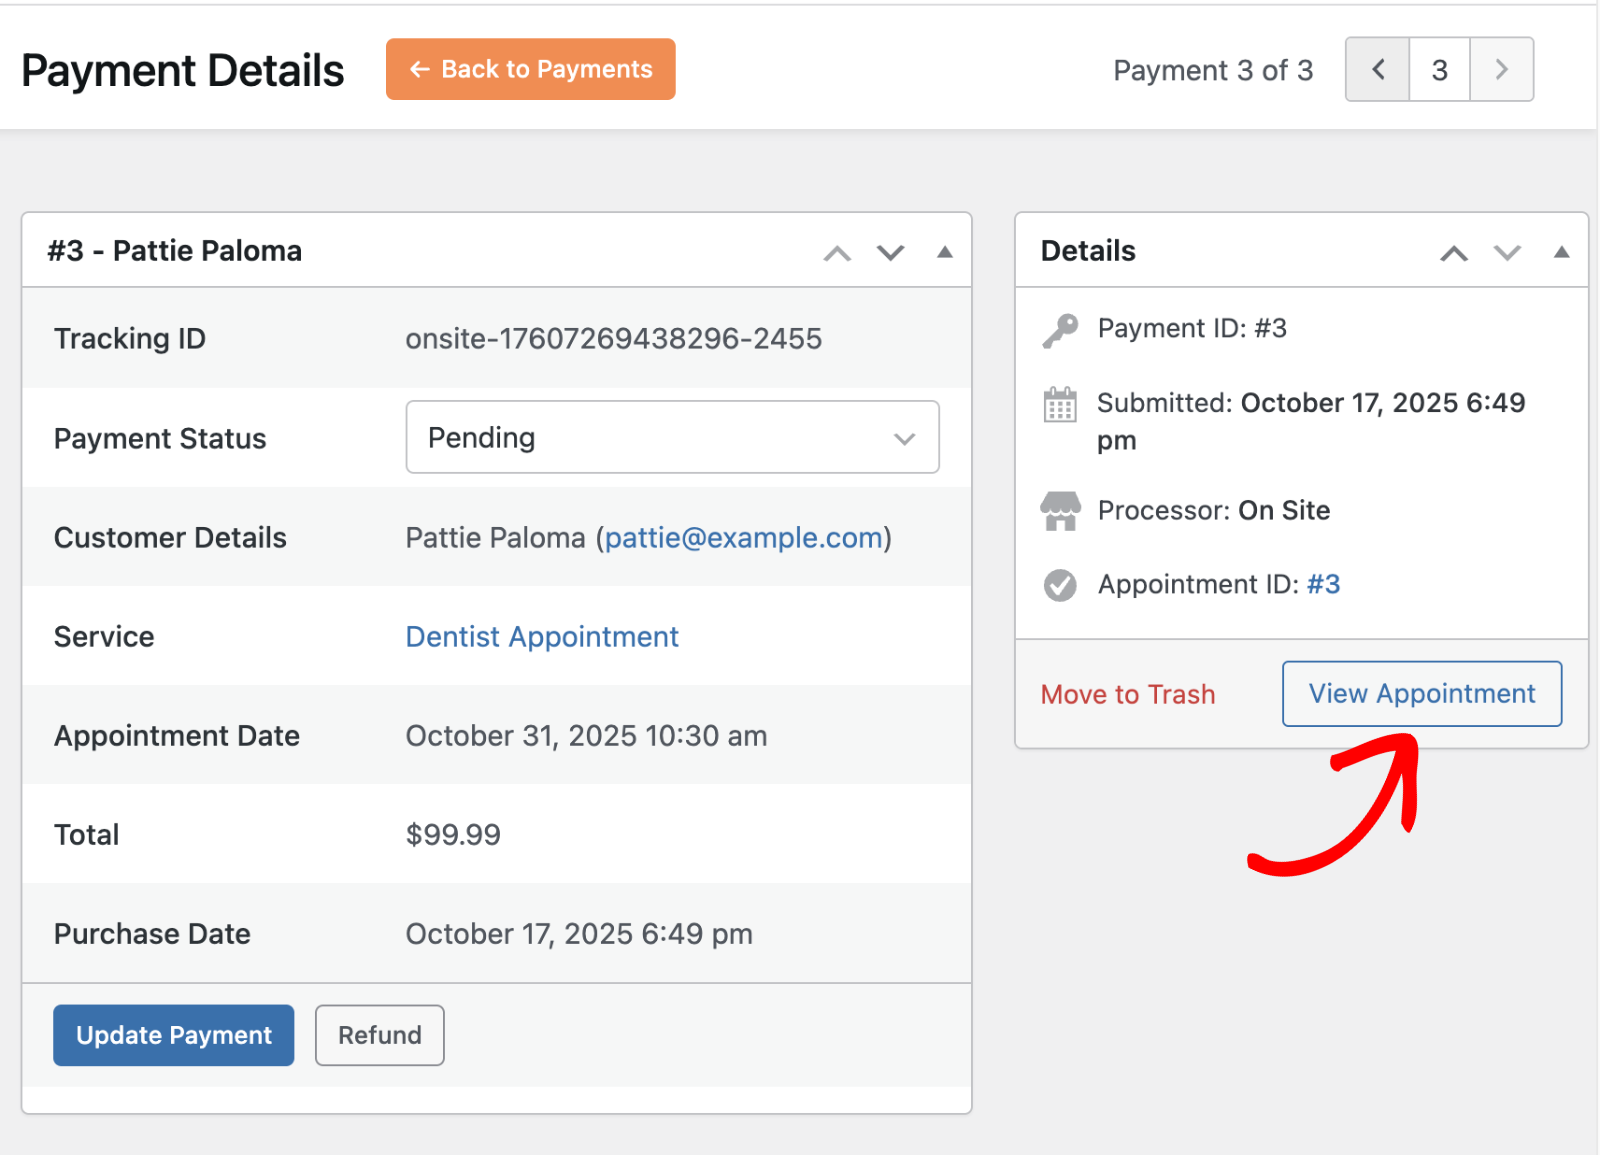
Need to mark an On-Site payment as received? Choose a new option from the Payment Status dropdown (for example, switch from Pending to Completed).
Once done, click the Update Payment button to save your changes.
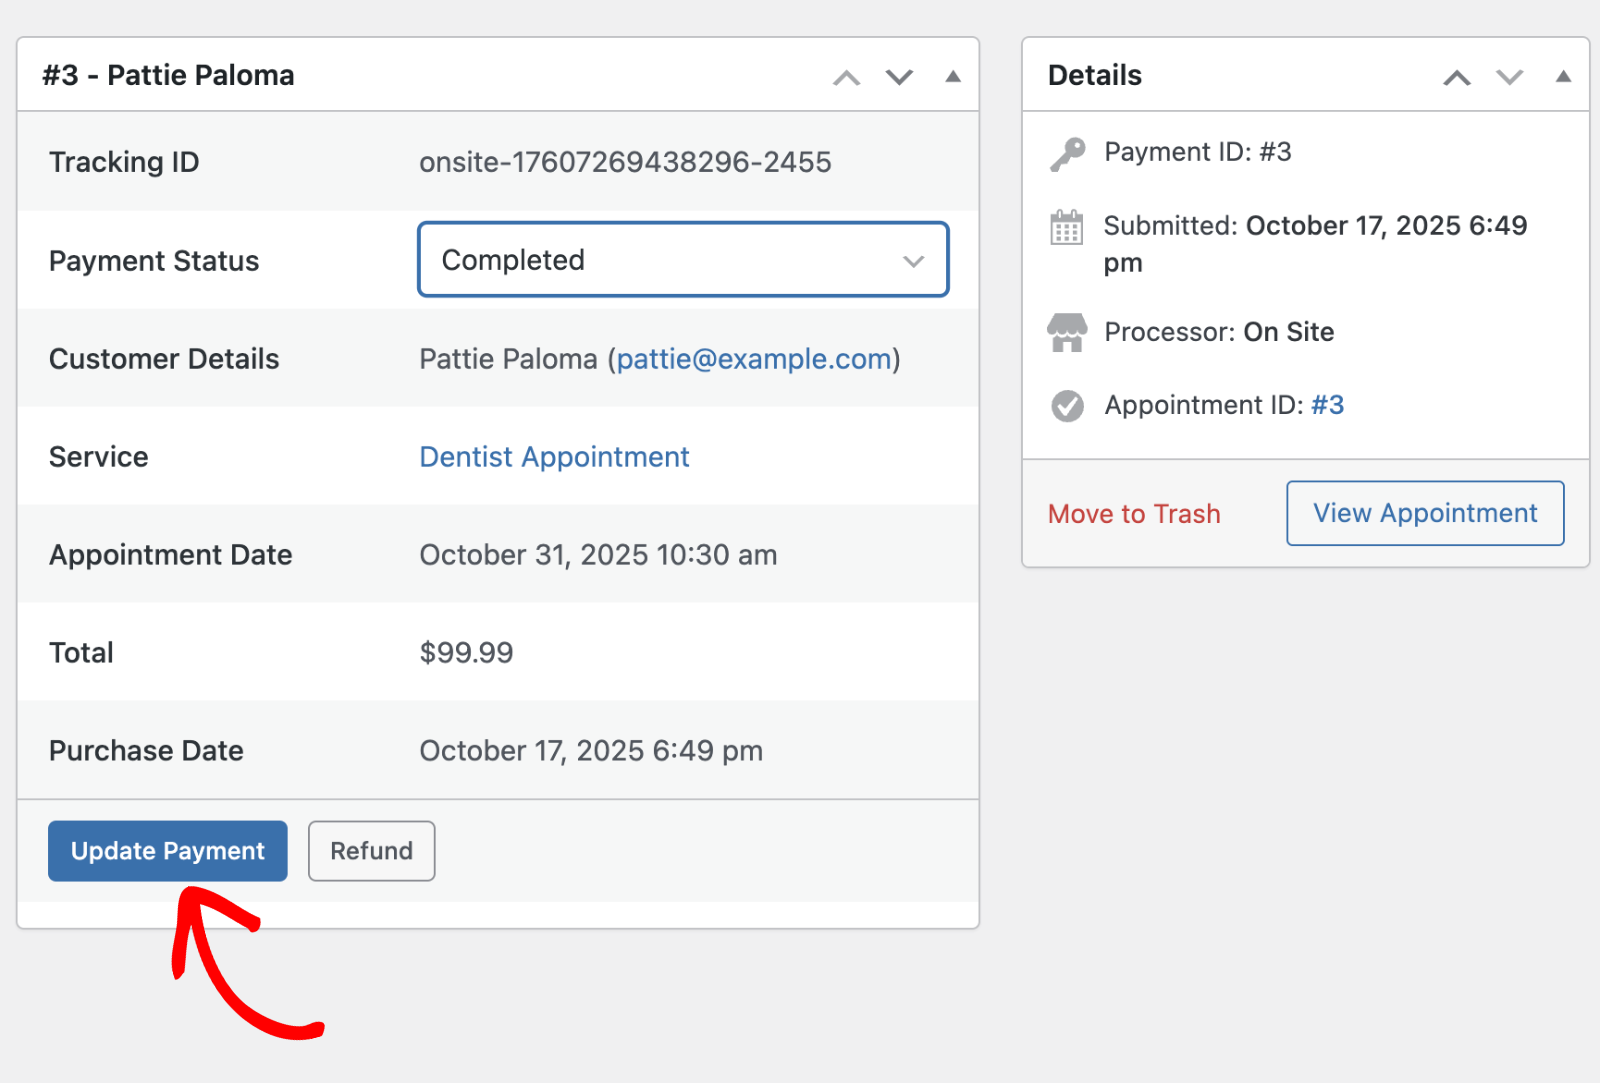
Note: Updating the status in the payment record will also reflect in the Appointments list for the related booking.
Issuing Refunds
If you need to refund a payment, click Refund from the payment details screen.
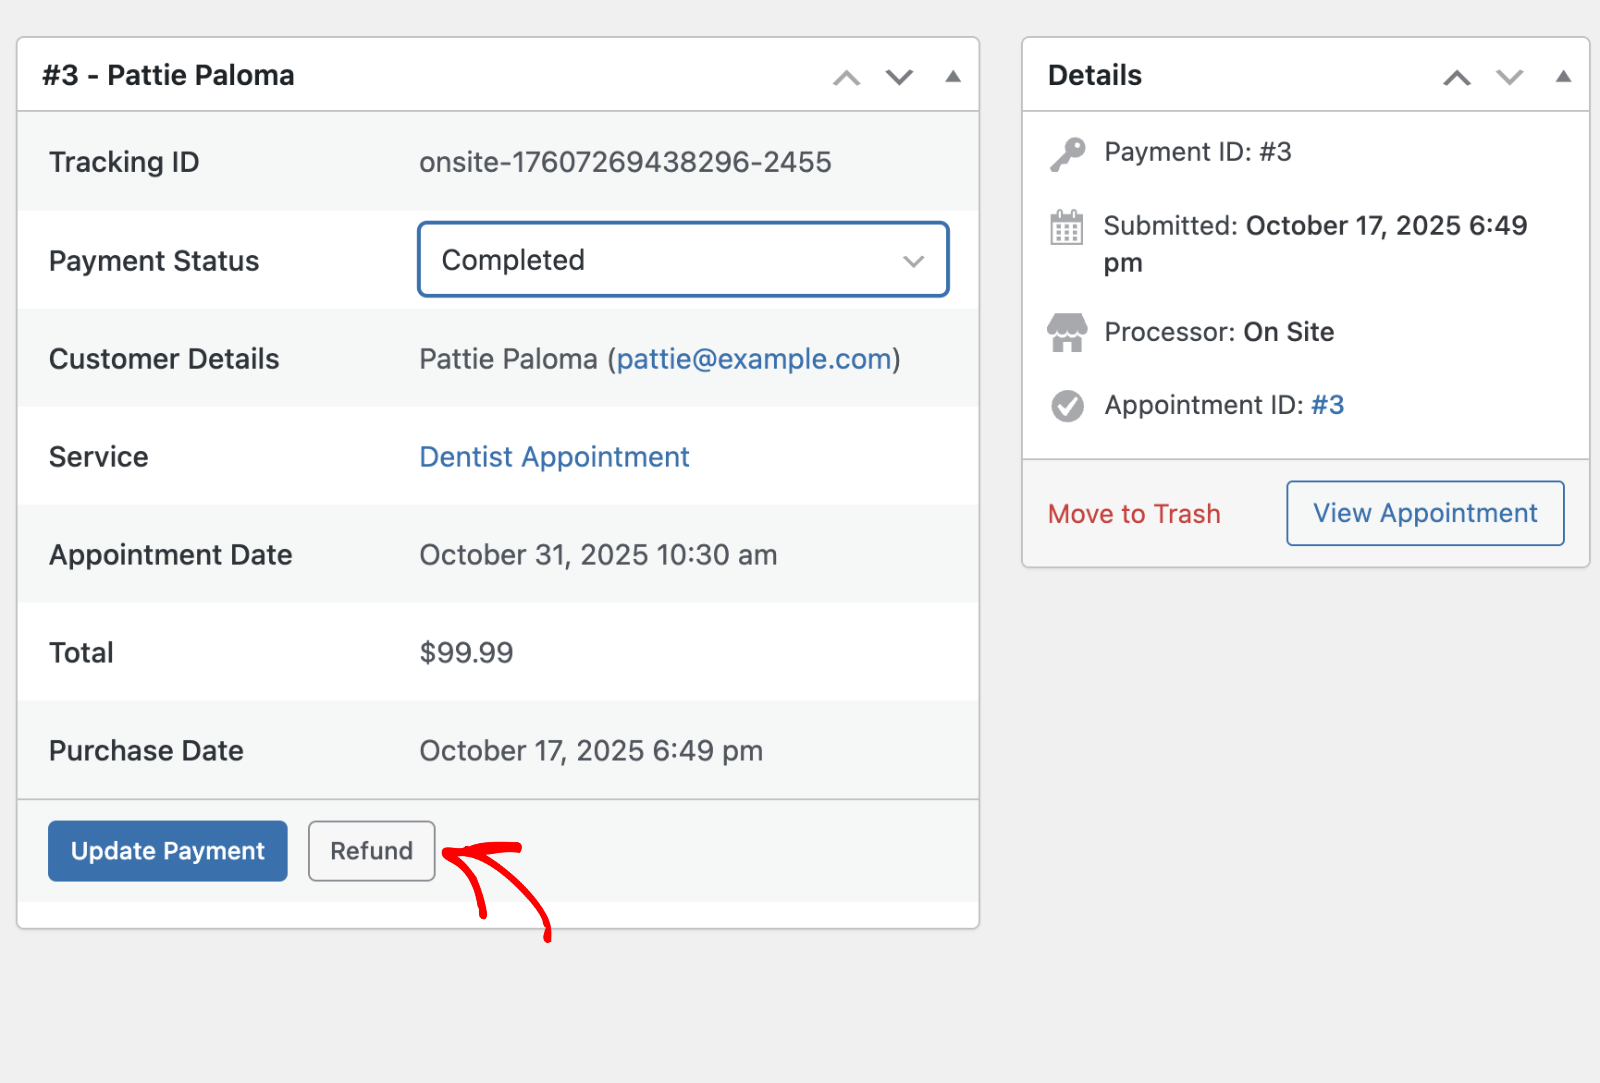
Refunds are recorded against the payment, and for Stripe payments the refund is processed through Stripe.
Trashing and Deleting Payments
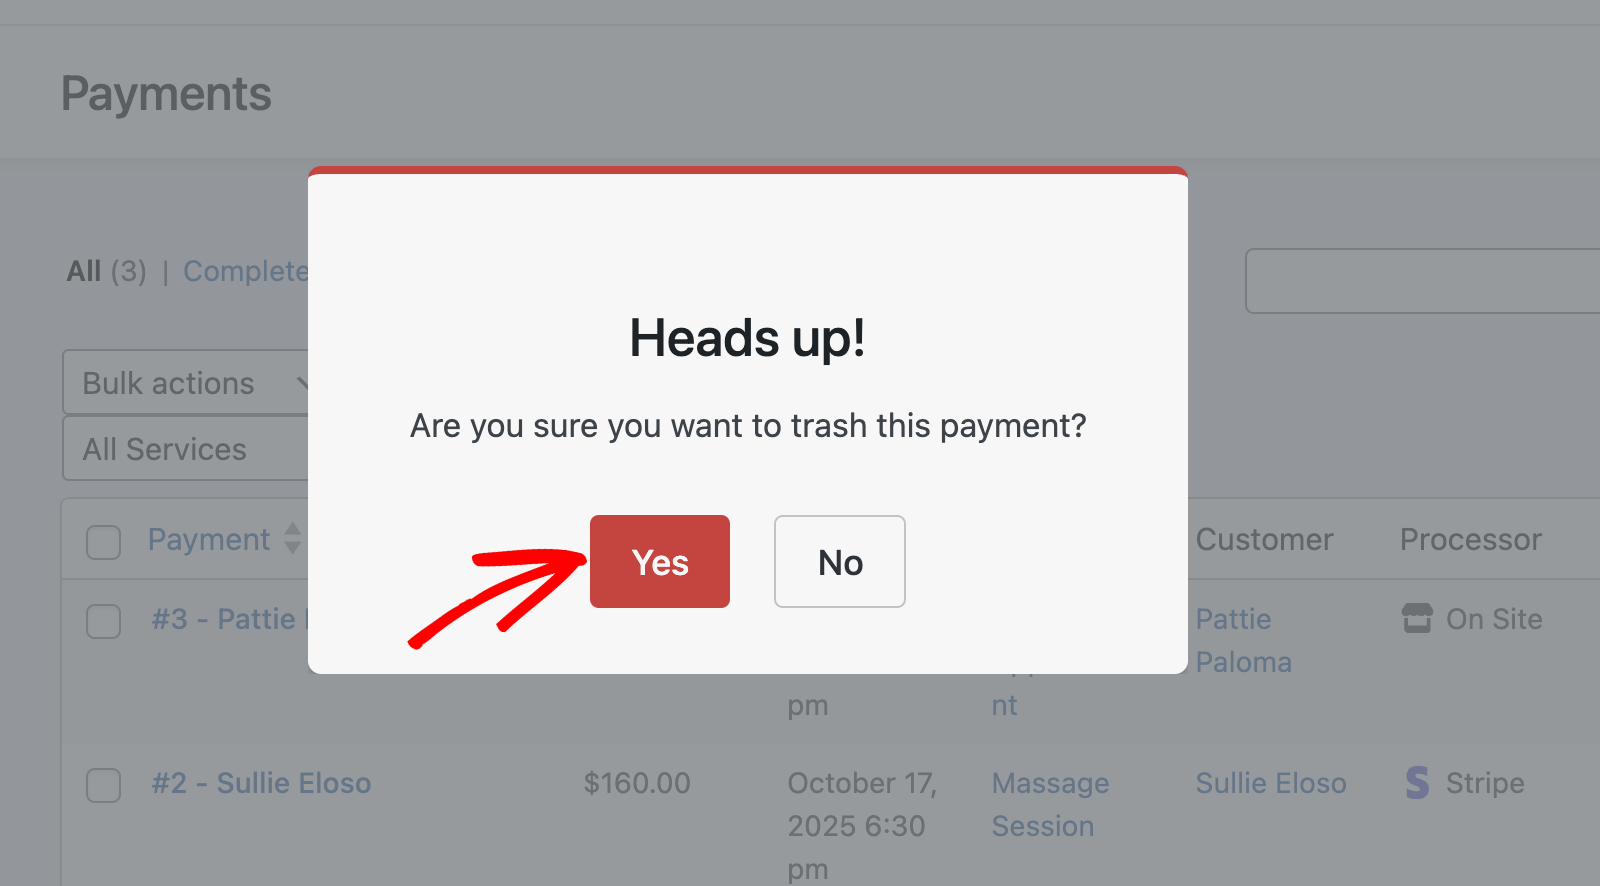
To remove a payment record from the main list, hover over the payment and click Trash.
Alternatively, you can open the record and choose Move to Trash.
When prompted, confirm the action by clicking Yes.
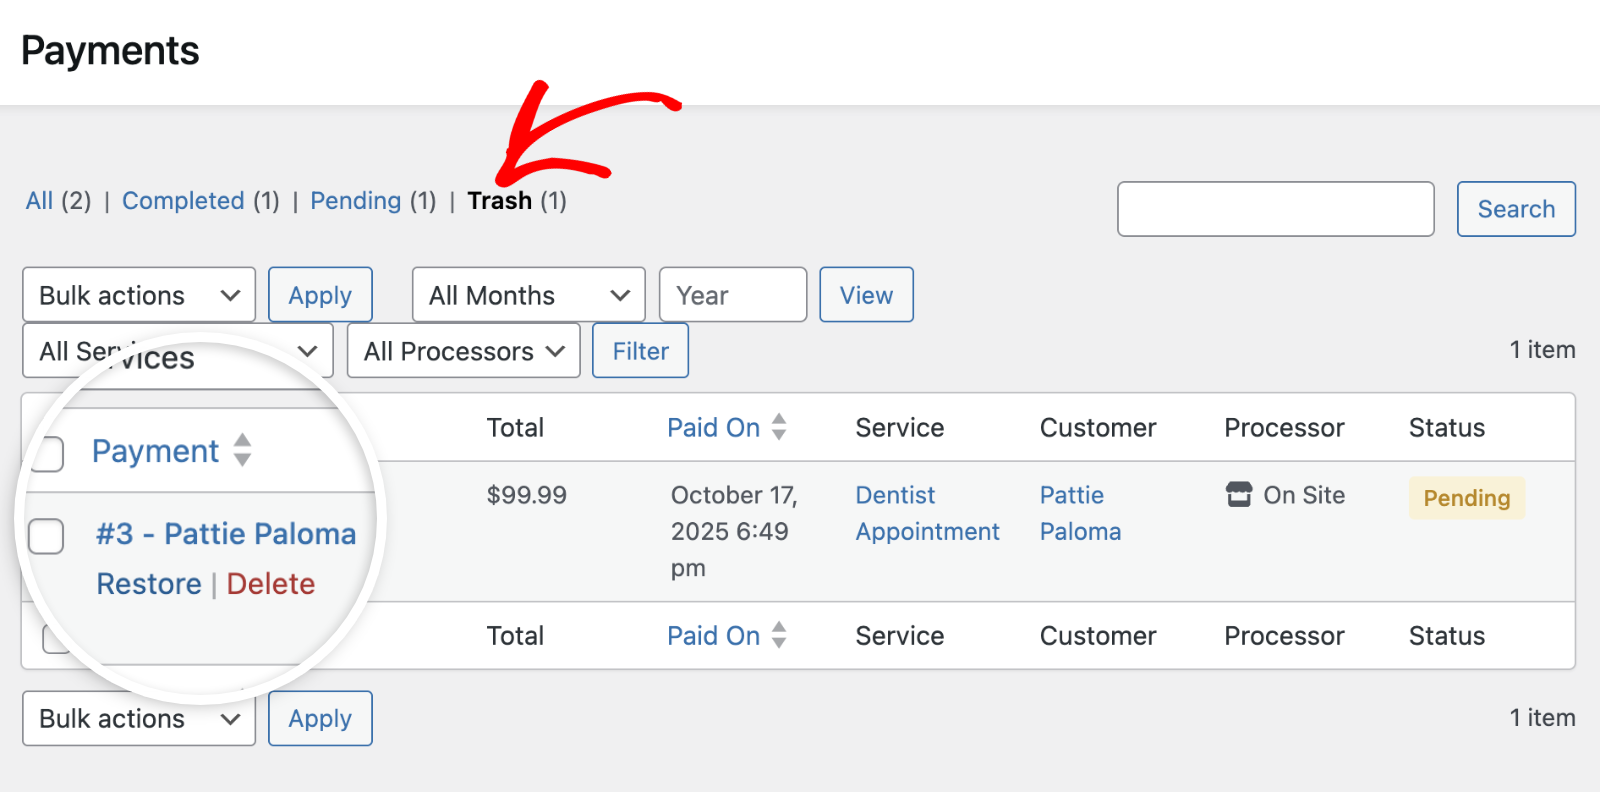
To view trashed items, click the Trash tab at the top of the Payments screen. From here, you can either Restore or permanently Delete a record.
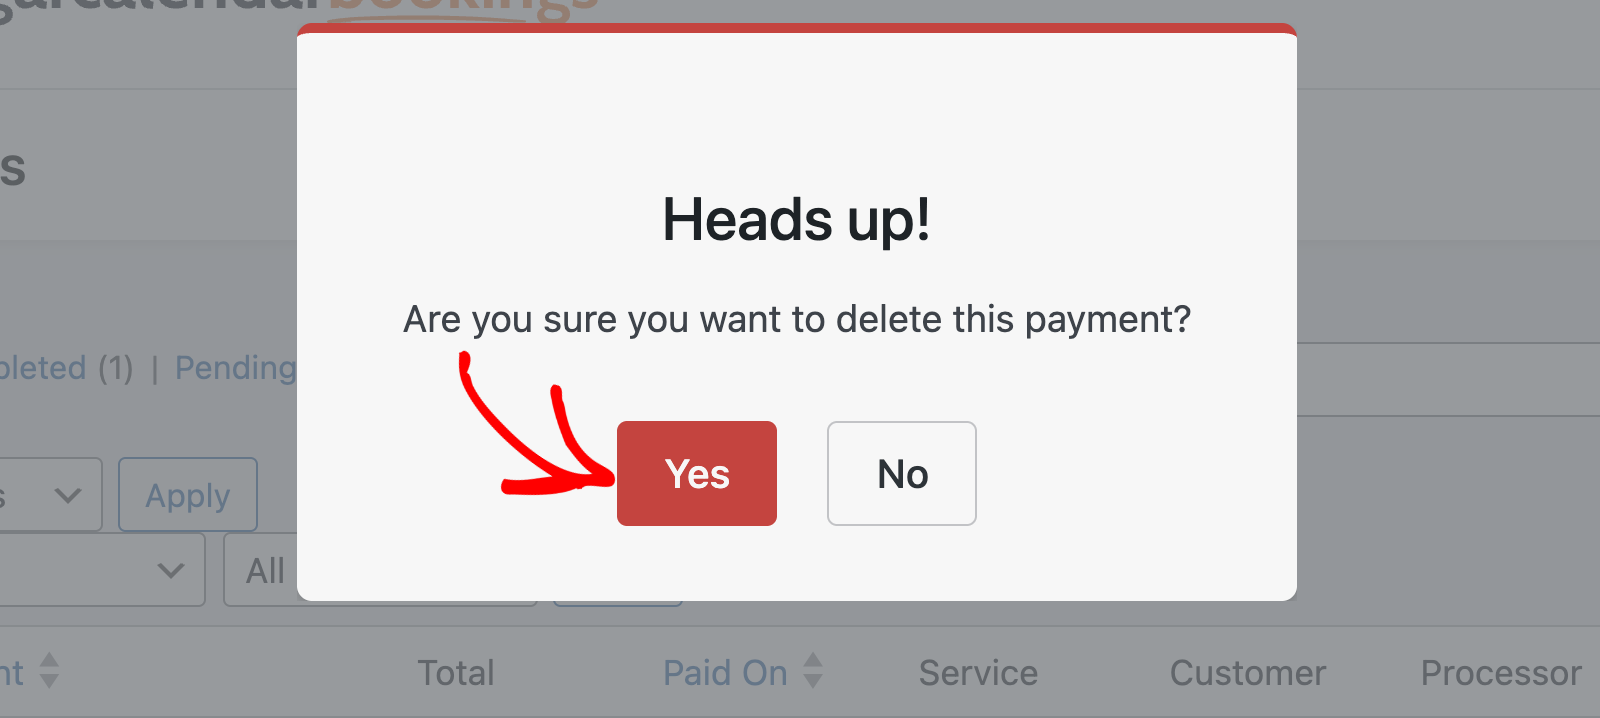
Permanent deletion can’t be undone. You’ll need to confirm the delete action to proceed.
That’s it! You now know how to manage booking payments in Sugar Calendar Bookings.
Next, would you like to customize email notifications sent to customers about their bookings? Be sure to check our guide on customizing booking emails.