Want to accept payments for your appointment bookings and services? Sugar Calendar integrates with Stripe to provide secure payment processing for your booking system.
In this guide, we’ll walk you through setting up payment options in Sugar Calendar Bookings.
In This Article
Before getting started, make sure Sugar Calendar Bookings is installed and activated on your site.
Accessing Payment Settings
To start, navigate to Bookings » Settings in the sidebar menu. Once in the settings area, click on the Payments tab to access payment configuration options.
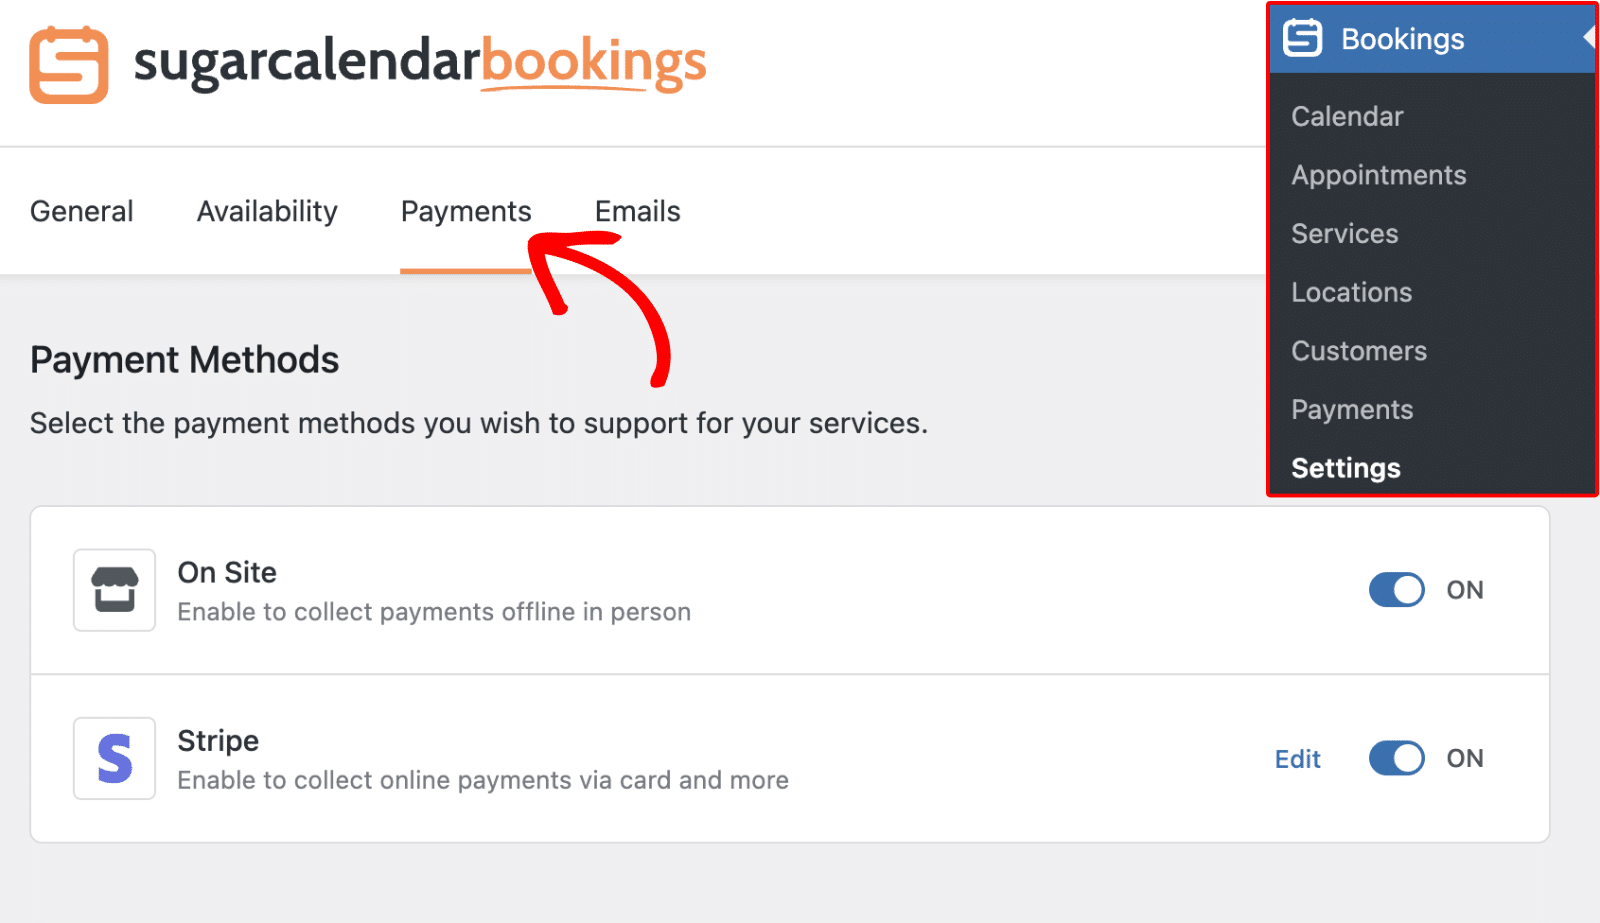
Here, you’ll see the available payment methods. Sugar Calendar Bookings supports On Site and online payment through the Stripe payment gateway.
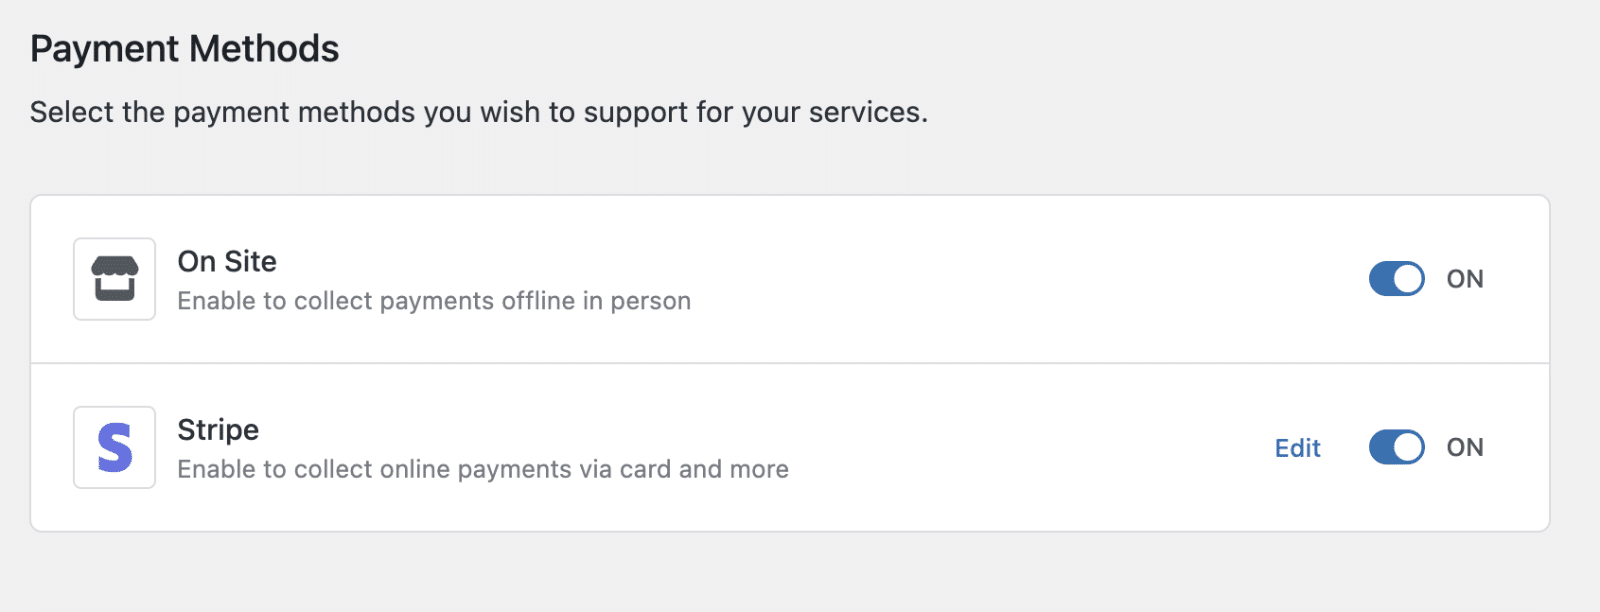
Toggle the switch to the OFF position to disable any of the payment methods.
Configuring Currency Options
Before connecting your payment provider, you’ll want to configure your currency settings to match your business needs.
Currency
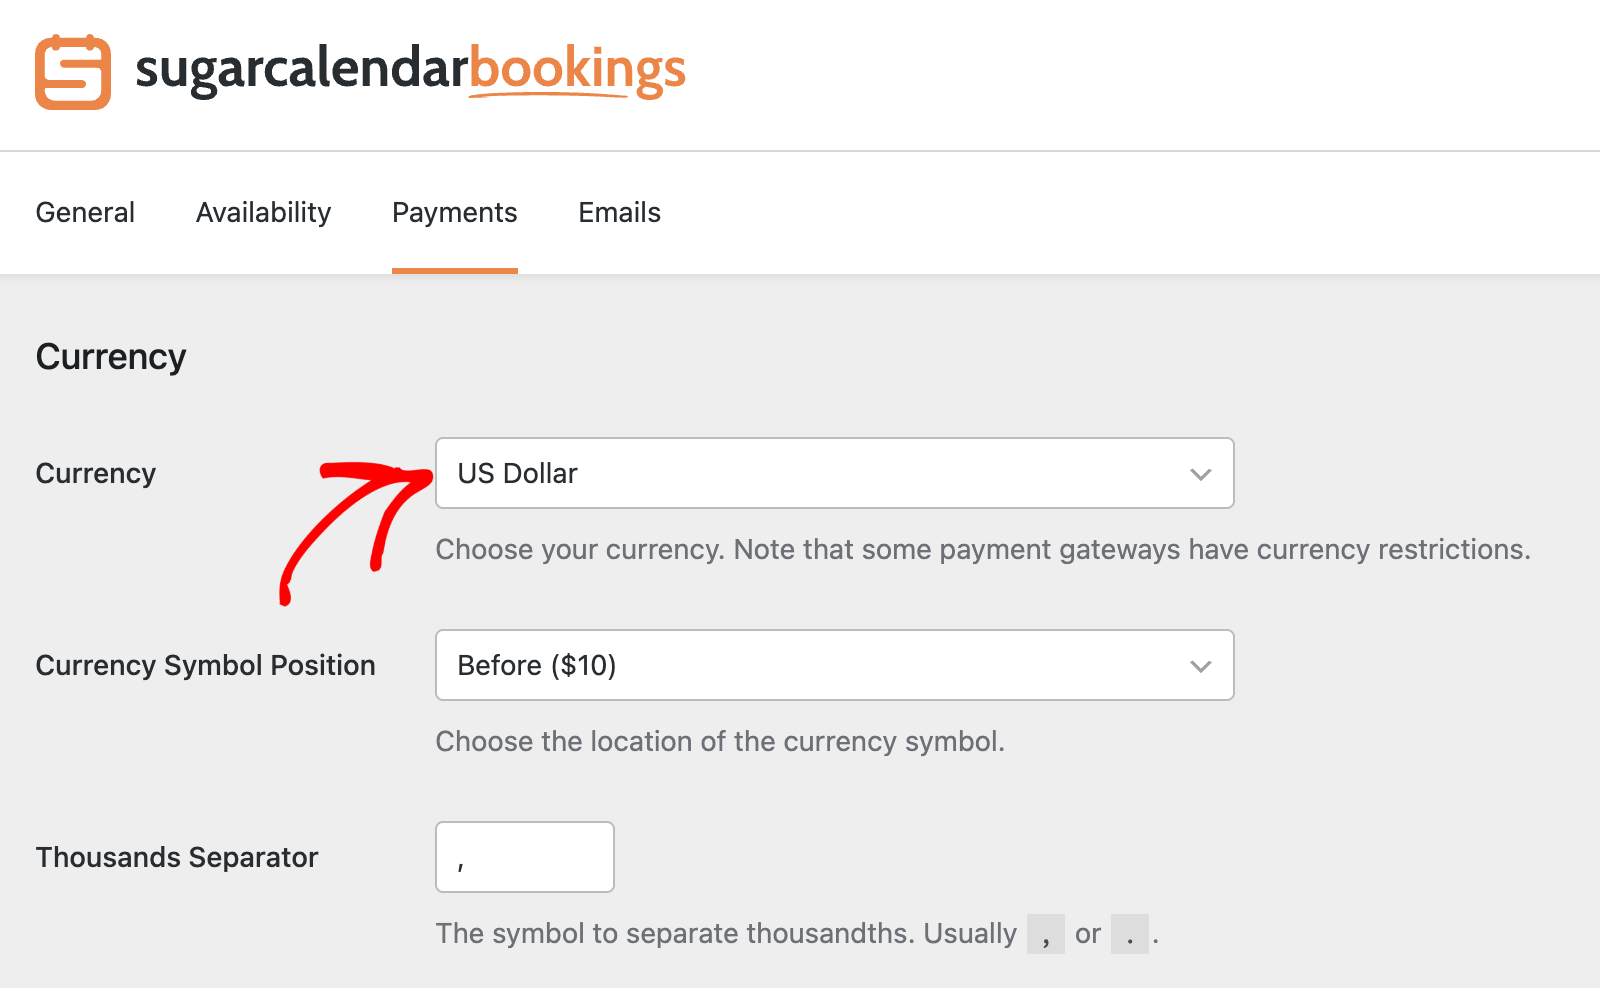
Use the Currency dropdown to select your preferred currency for payments. The Bookings plugin supports multiple currencies to accommodate businesses worldwide.
Currency Symbol Position
The Currency Symbol Position setting controls where the currency symbol appears in relation to the price. You can choose to display it before the amount (e.g., $10) or after the amount.
Thousands Separator
Set your preferred thousands separator character. Common options include commas (,) or periods (.) depending on your regional formatting preferences.
Connecting Your Stripe Account
Sugar Calendar uses Stripe as its payment processor, providing secure and reliable payment processing for your bookings.
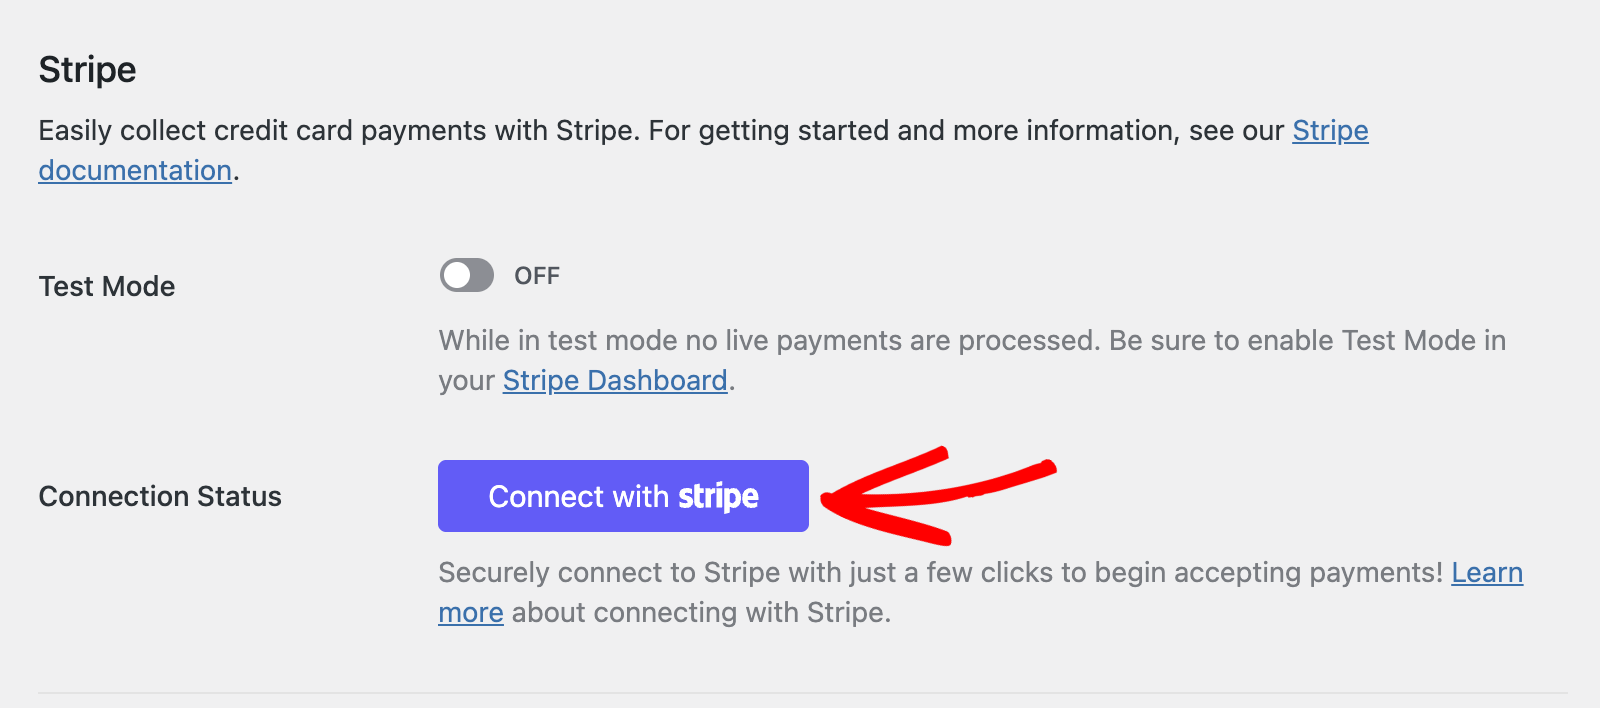
To connect your Stripe account, scroll to the Connection Status section and click the Connect with stripe button.
This will redirect you to the Stripe authentication page where you’ll be asked to select or create your Stripe account.
Choose the account you’d like to connect and click the Connect button to authorize the connection.

Creating a New Stripe Account
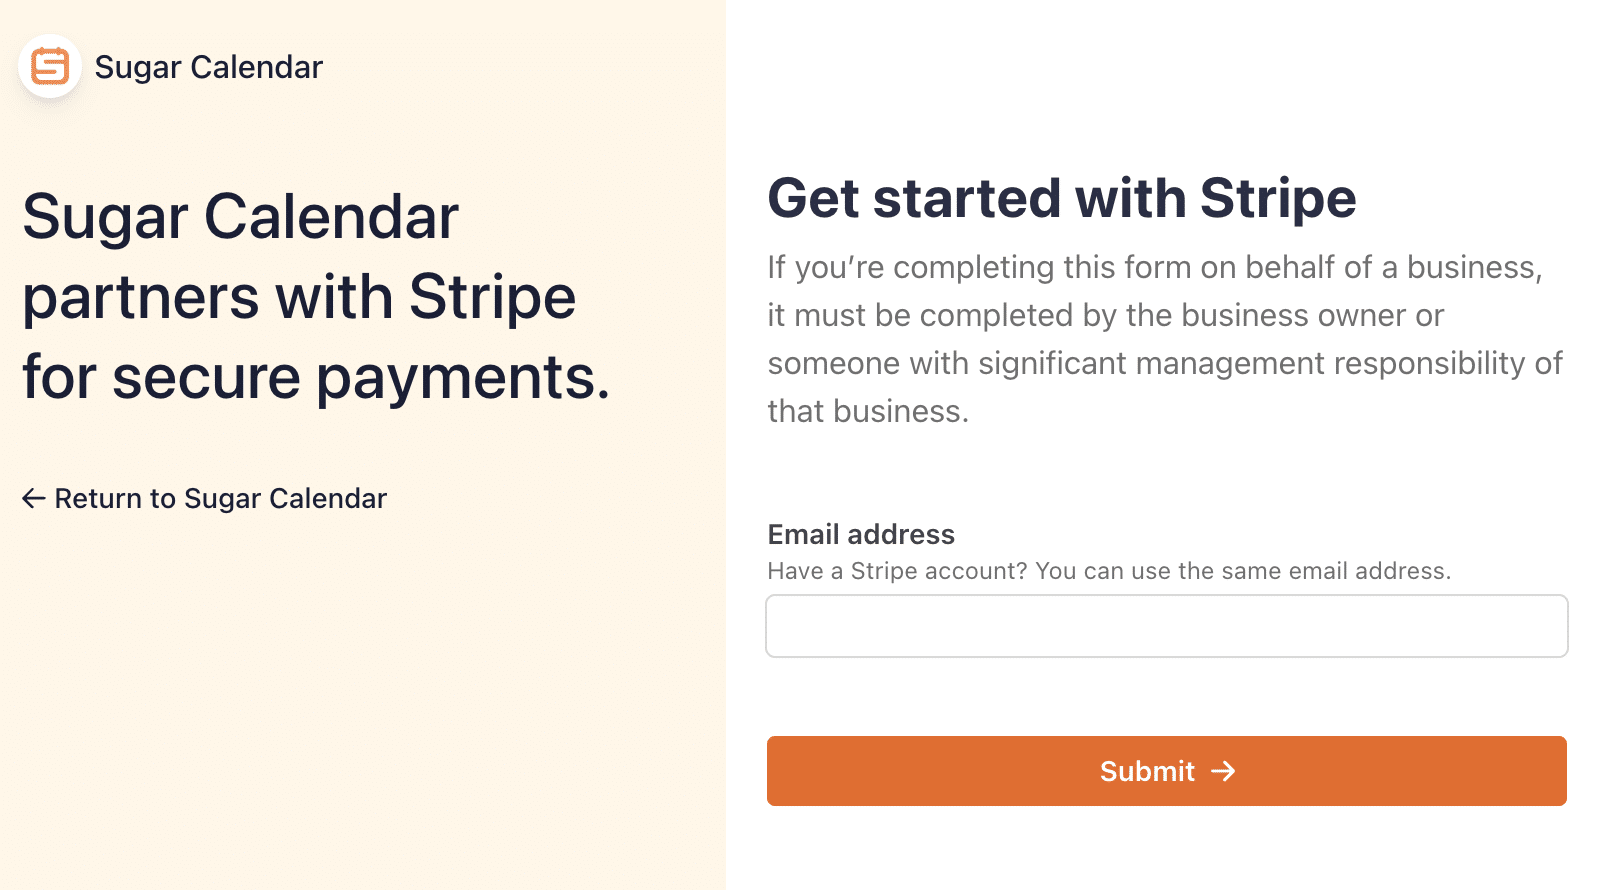
If you don’t have a Stripe account yet, you can create one during the connection process. Click Create a new account and follow the setup prompts.
You’ll need to provide your email address and complete the Stripe onboarding process, which includes verifying your business information.
Successful Connection
Once your Stripe account is successfully connected, you’ll see a confirmation message showing that your account is connected in live mode. The Connection Status section will display options to Reconnect or Disconnect your account.
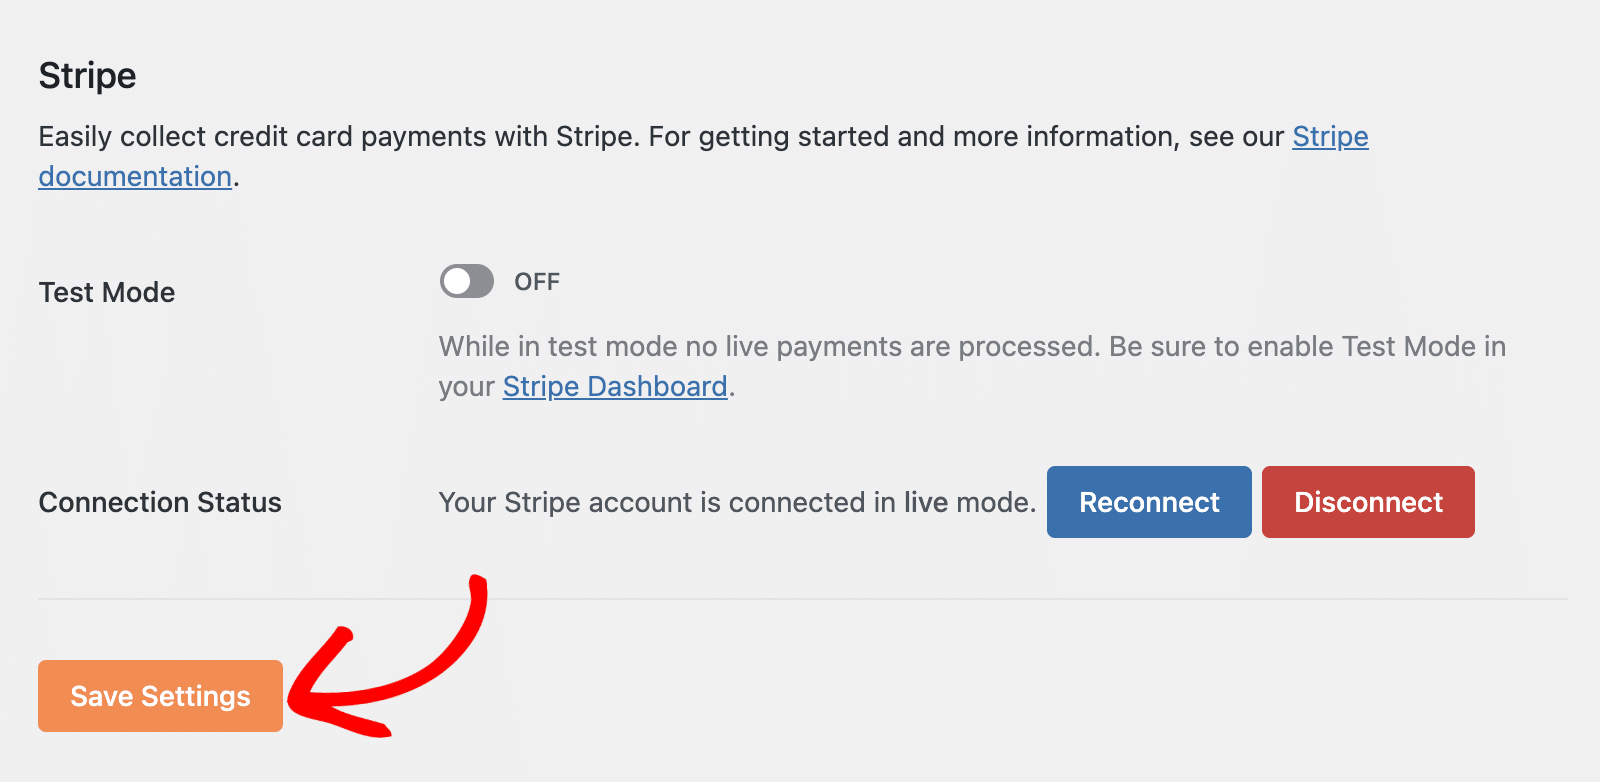
Don’t forget to click Save Settings to ensure your payment configuration is saved.
Managing Test Mode
Sugar Calendar includes a Test Mode feature that allows you to test your payment setup without processing real transactions.
Enabling Test Mode
To enable Test Mode, toggle the Test Mode switch to the ON position. When Test Mode is active, no live payments will be processed.
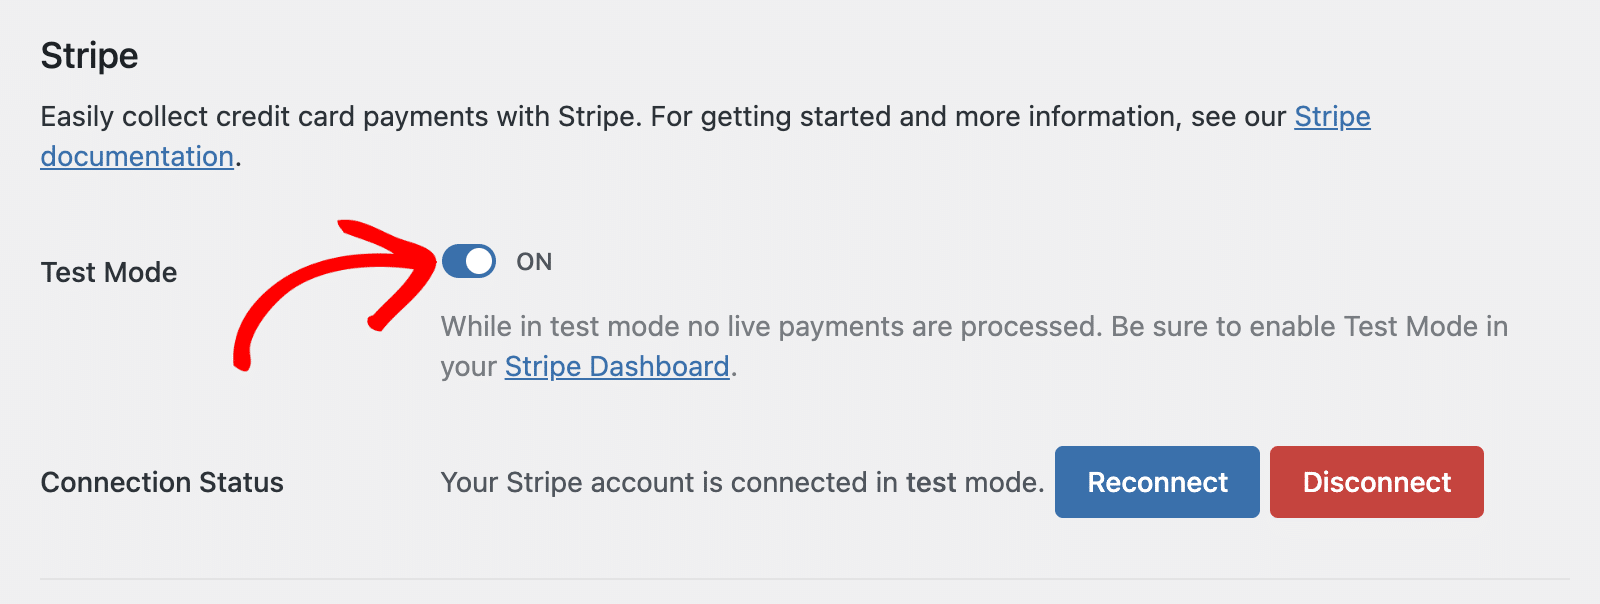
The system will display a message explaining: “While in test mode no live payments are processed. Be sure to enable Test Mode in your Stripe Dashboard.”
Important Test Mode Notes
- Test Mode should be enabled in both Sugar Calendar and your Stripe Dashboard
- Use Stripe’s test card numbers when testing payments
- Remember to disable Test Mode when you’re ready to accept live payments
- Test transactions will not appear in your live Stripe dashboard
Disconnecting Your Payment Provider
If you need to disconnect your Stripe account or connect a different account, you can use the Disconnect button in the Connection Status section.
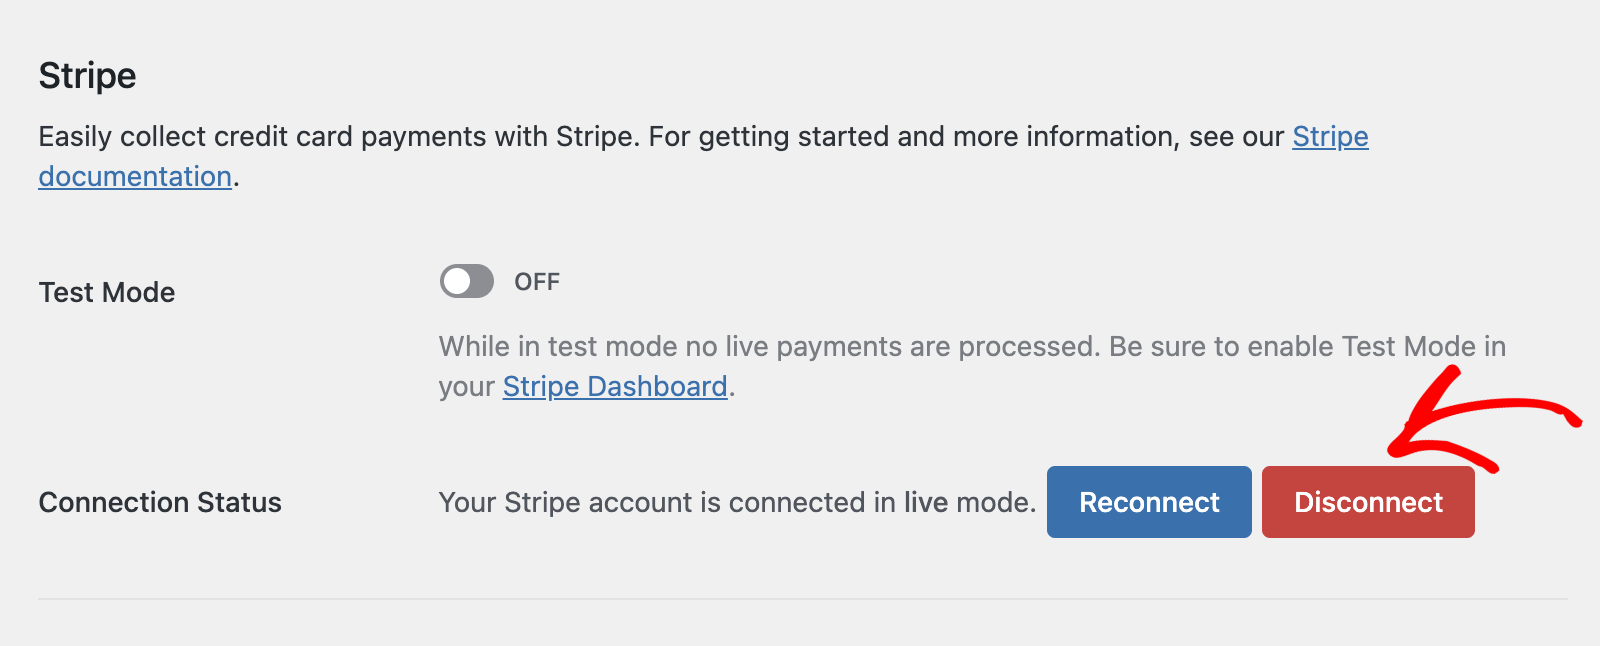
After disconnecting, you can reconnect the same account or set up a different Stripe account using the Connect with stripe button.
The Reconnect option allows you to refresh your connection without fully disconnecting, which can be useful if you’re experiencing connection issues.
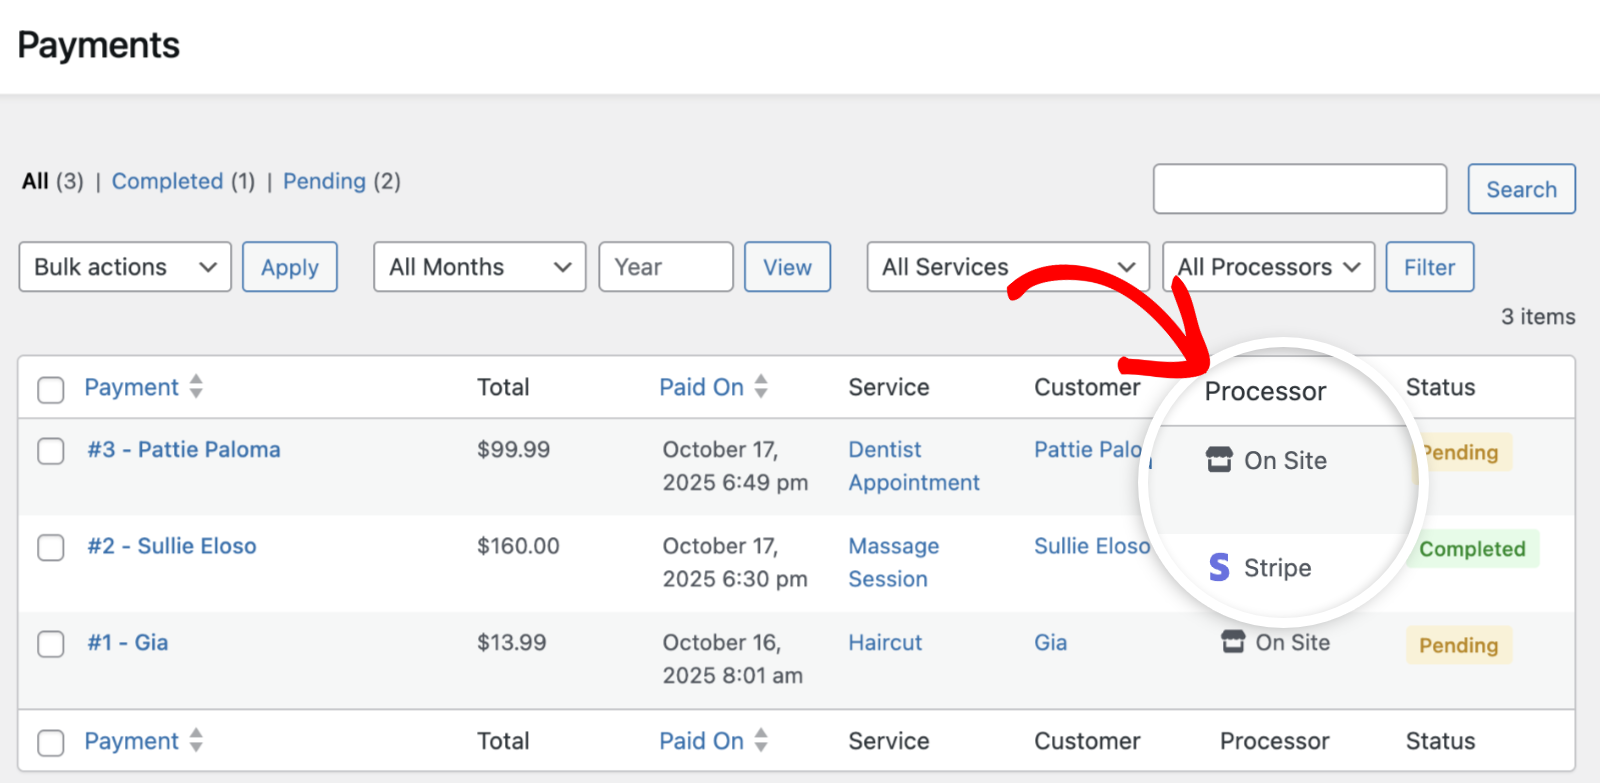
Managing Booking Payments
After configuring your payment methods, users will be able to either pay online or On-site when booking an appointment.
Once you’ve collected some payments, you’ll be able to manage the booking payments from the admin area.
That’s it! You’ve successfully set up payment options for Sugar Calendar Bookings.
Next, would you like to learn how to create paid services for your booking system? Check out our guide on creating and managing services to set up your bookable offerings with pricing.