Are you looking for a step-by-step onboarding wizard to configure the Sugar Calendar plugin? The Setup Wizard will walk you through the key settings and optional features to get your calendar up and running in minutes.
In this guide, we’ll show you how to use Sugar Calendar’s Setup Wizard.
In This Article
What Is the Setup Wizard?
The Setup Wizard is a step-by-step onboarding process that launches automatically the first time you activate the Sugar Calendar plugin. It helps you:
- Configure basic event settings
- Enable key features like Speakers, Venues, or Tickets
- Connect to payment providers like Stripe to accept payments for event ticket sales
Launching the Setup Wizard
To begin, install and activate the Sugar Calendar plugin on your WordPress site. Once the plugin is activated, you’ll be directed to the Setup Wizard page. Once here, click the Let’s Get Started button to begin.

Note: The Setup Wizard only appears when you first install Sugar Calendar. See our FAQ section if you’d like to manually launch the Setup Wizard.
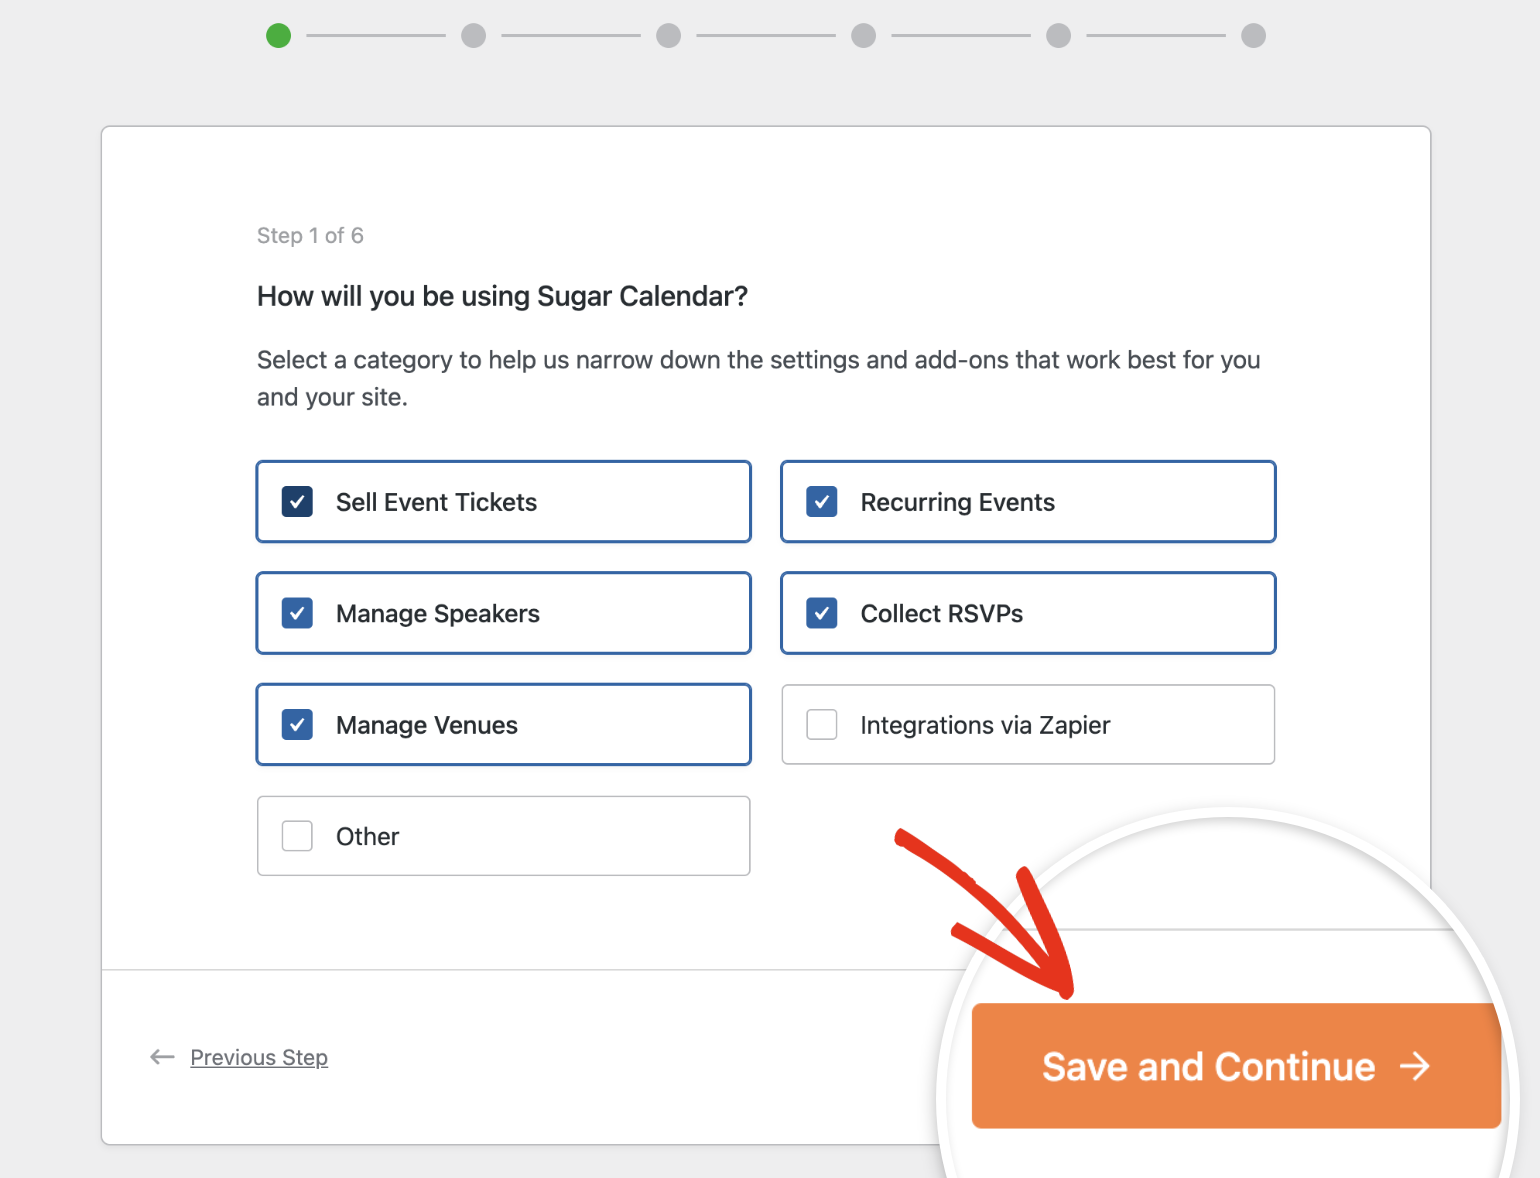
Step 1: Select How You’ll Use Sugar Calendar
Start by choosing the features that match how you plan to use Sugar Calendar. Available options include:
- Sell Event Tickets
- Recurring Events
- Manage Speakers
- Collect RSVPs
- Manage Venues
- Integrations via Zapier
After making your selections, click Save and Continue.
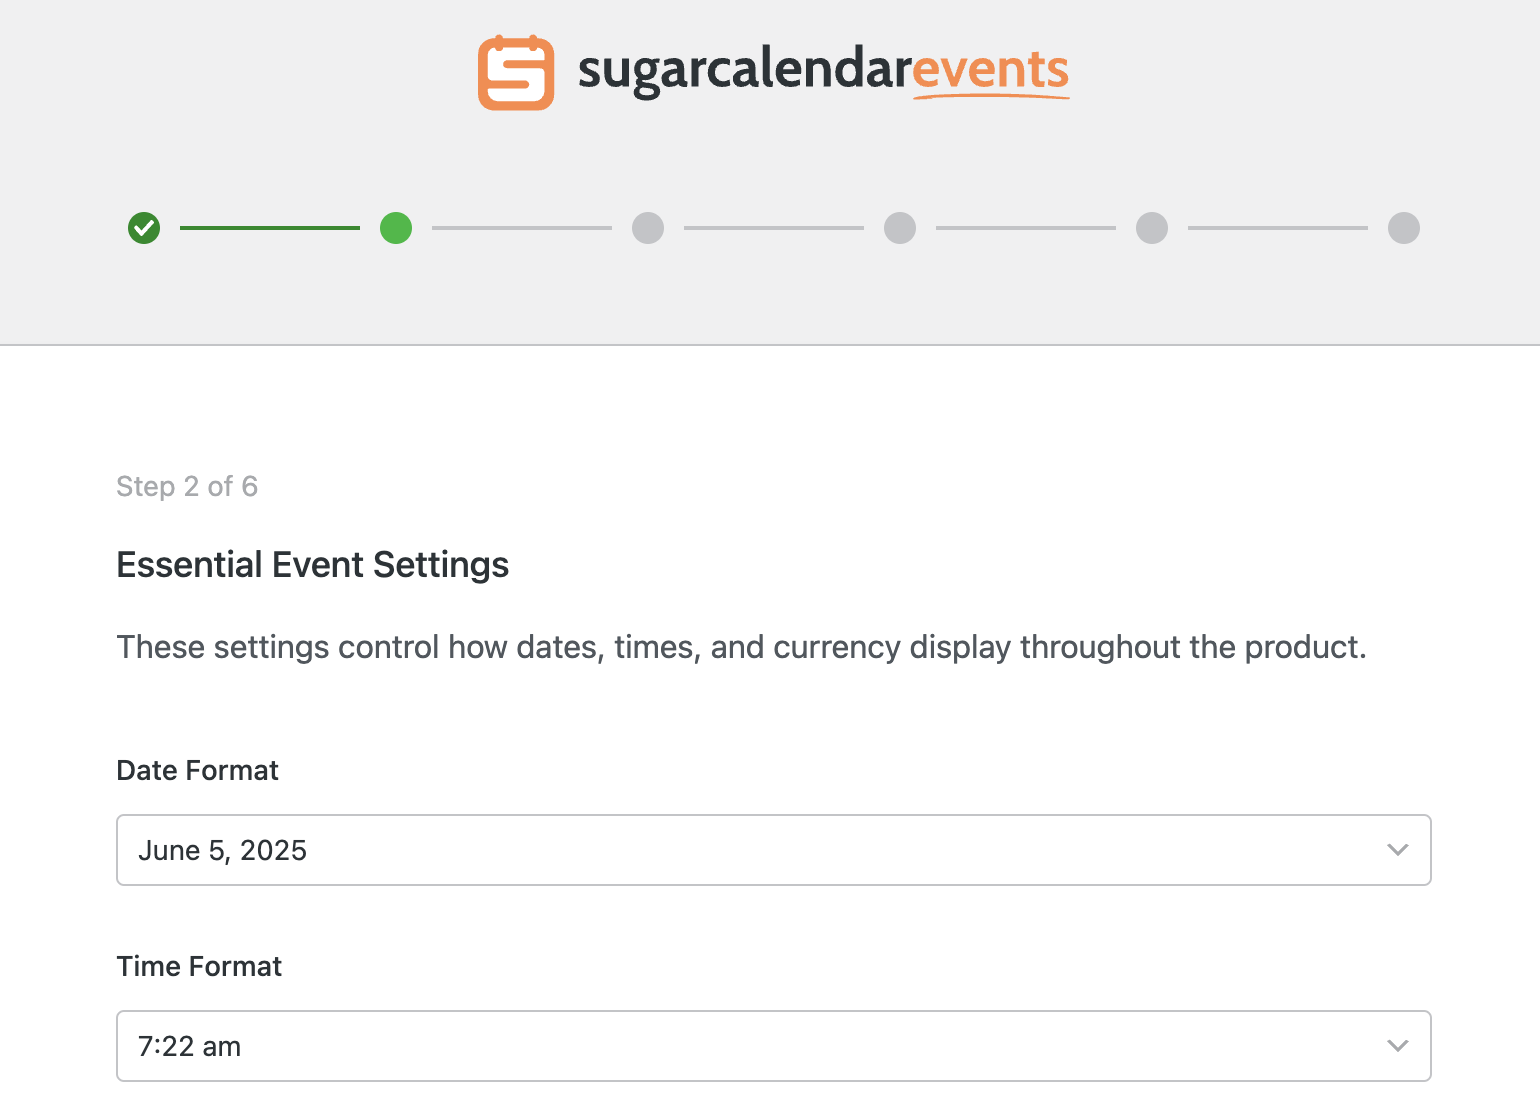
Step 2: Configure Essential Settings
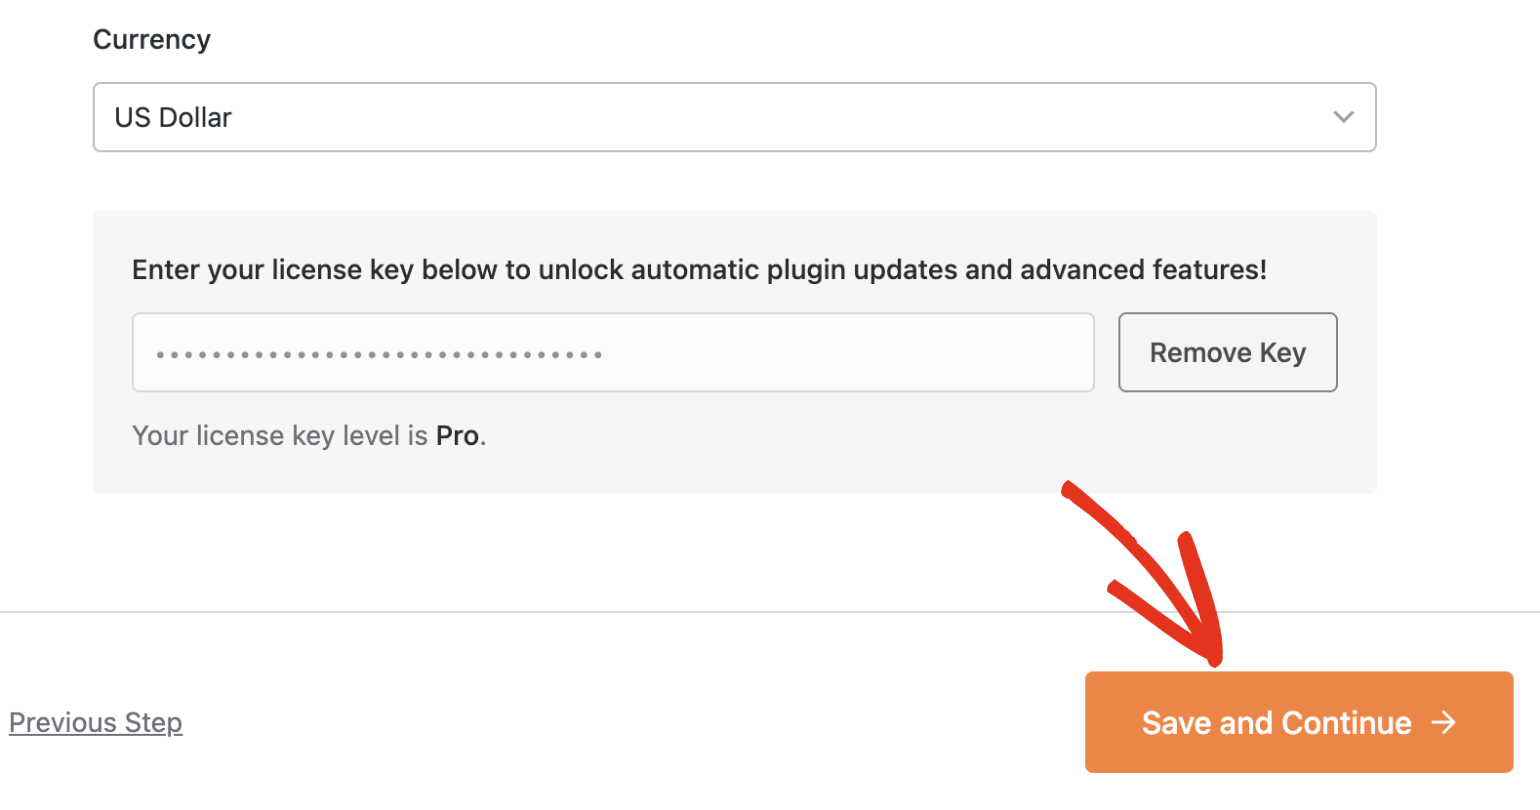
Next, you’ll be prompted to choose your default date and time formats.
After that, choose the first day of the week and update the Currency field to match your site’s currency.
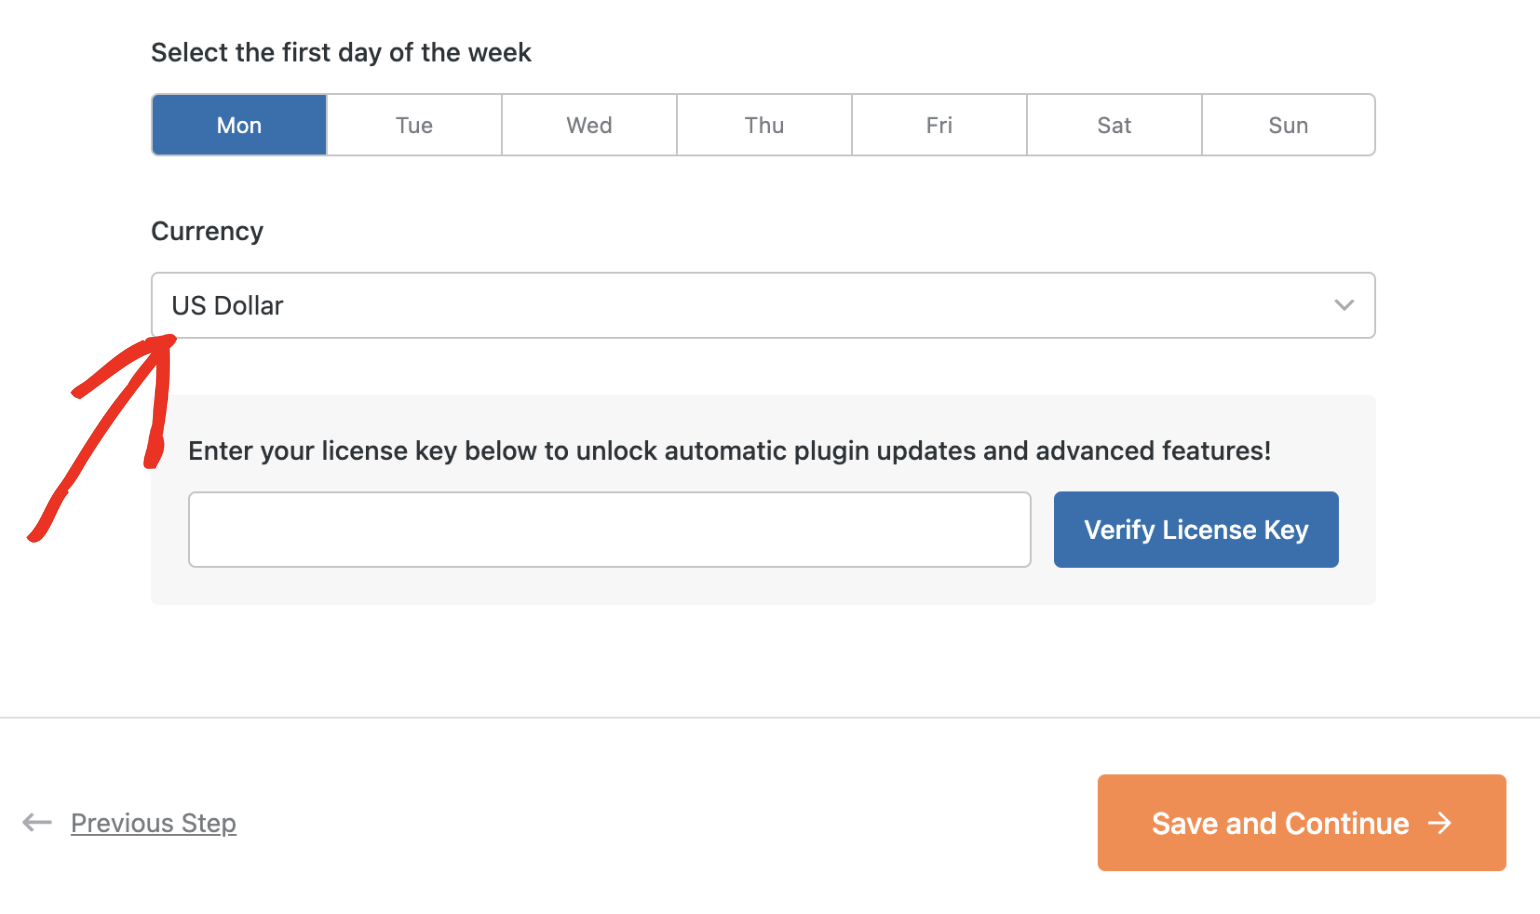
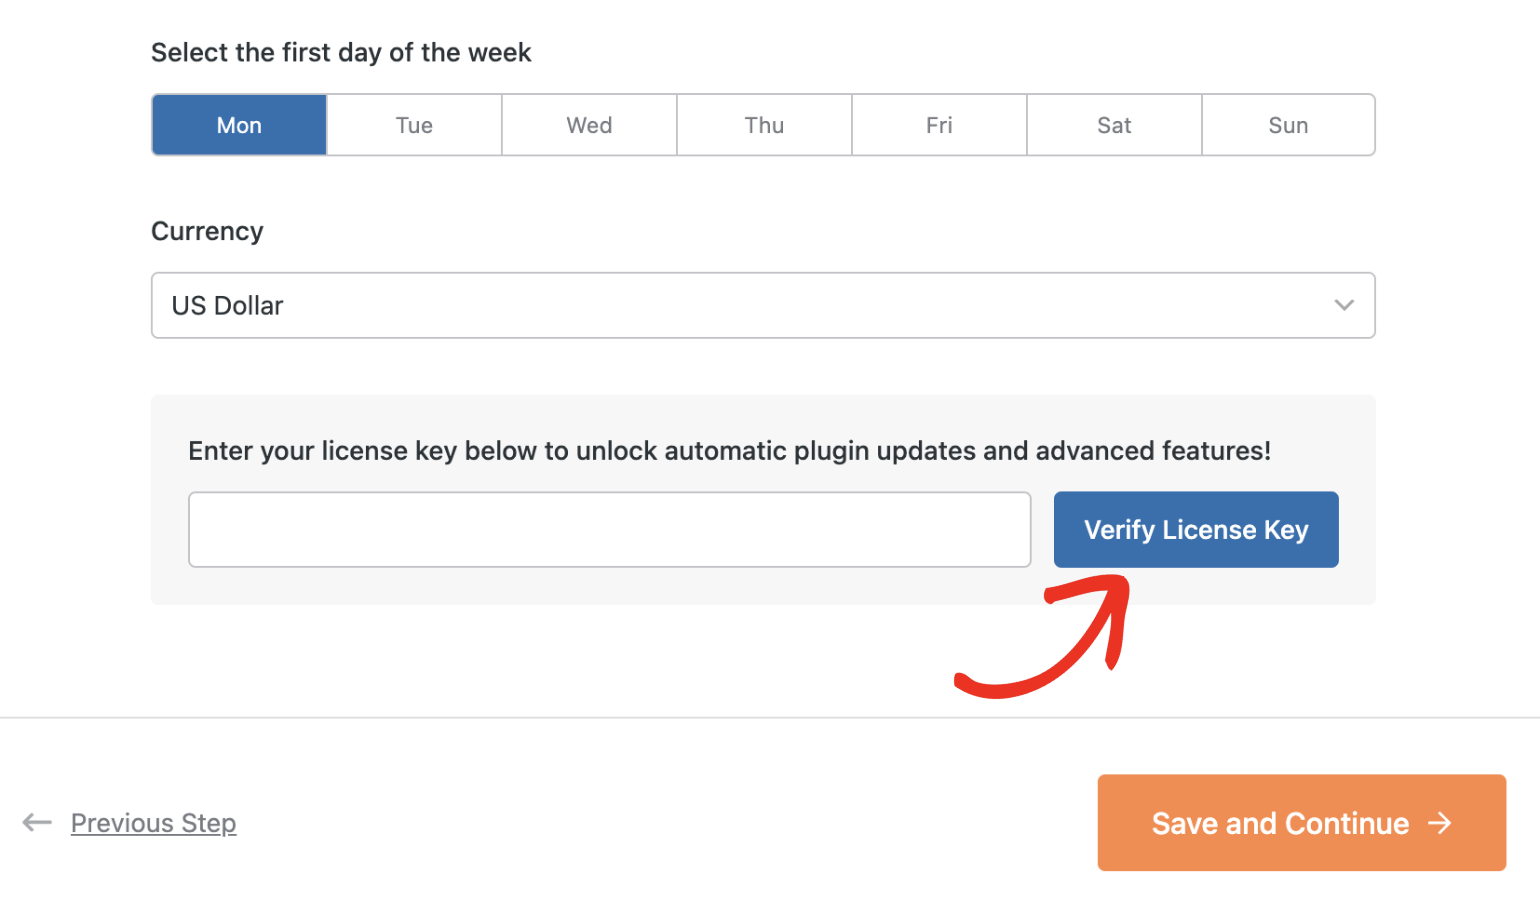
If you have a paid license, enter your license key to unlock updates and premium features. Click Verify License Key to activate it.
Note: See our guide if you need help accessing your license key.
After verifying your license, click the Save and Continue button to proceed with the setup.
Step 3: Connect Stripe (Optional)
If you selected Sell Event Tickets, you’ll be given the option to connect your Stripe account. To proceed, click the Connect with stripe button.
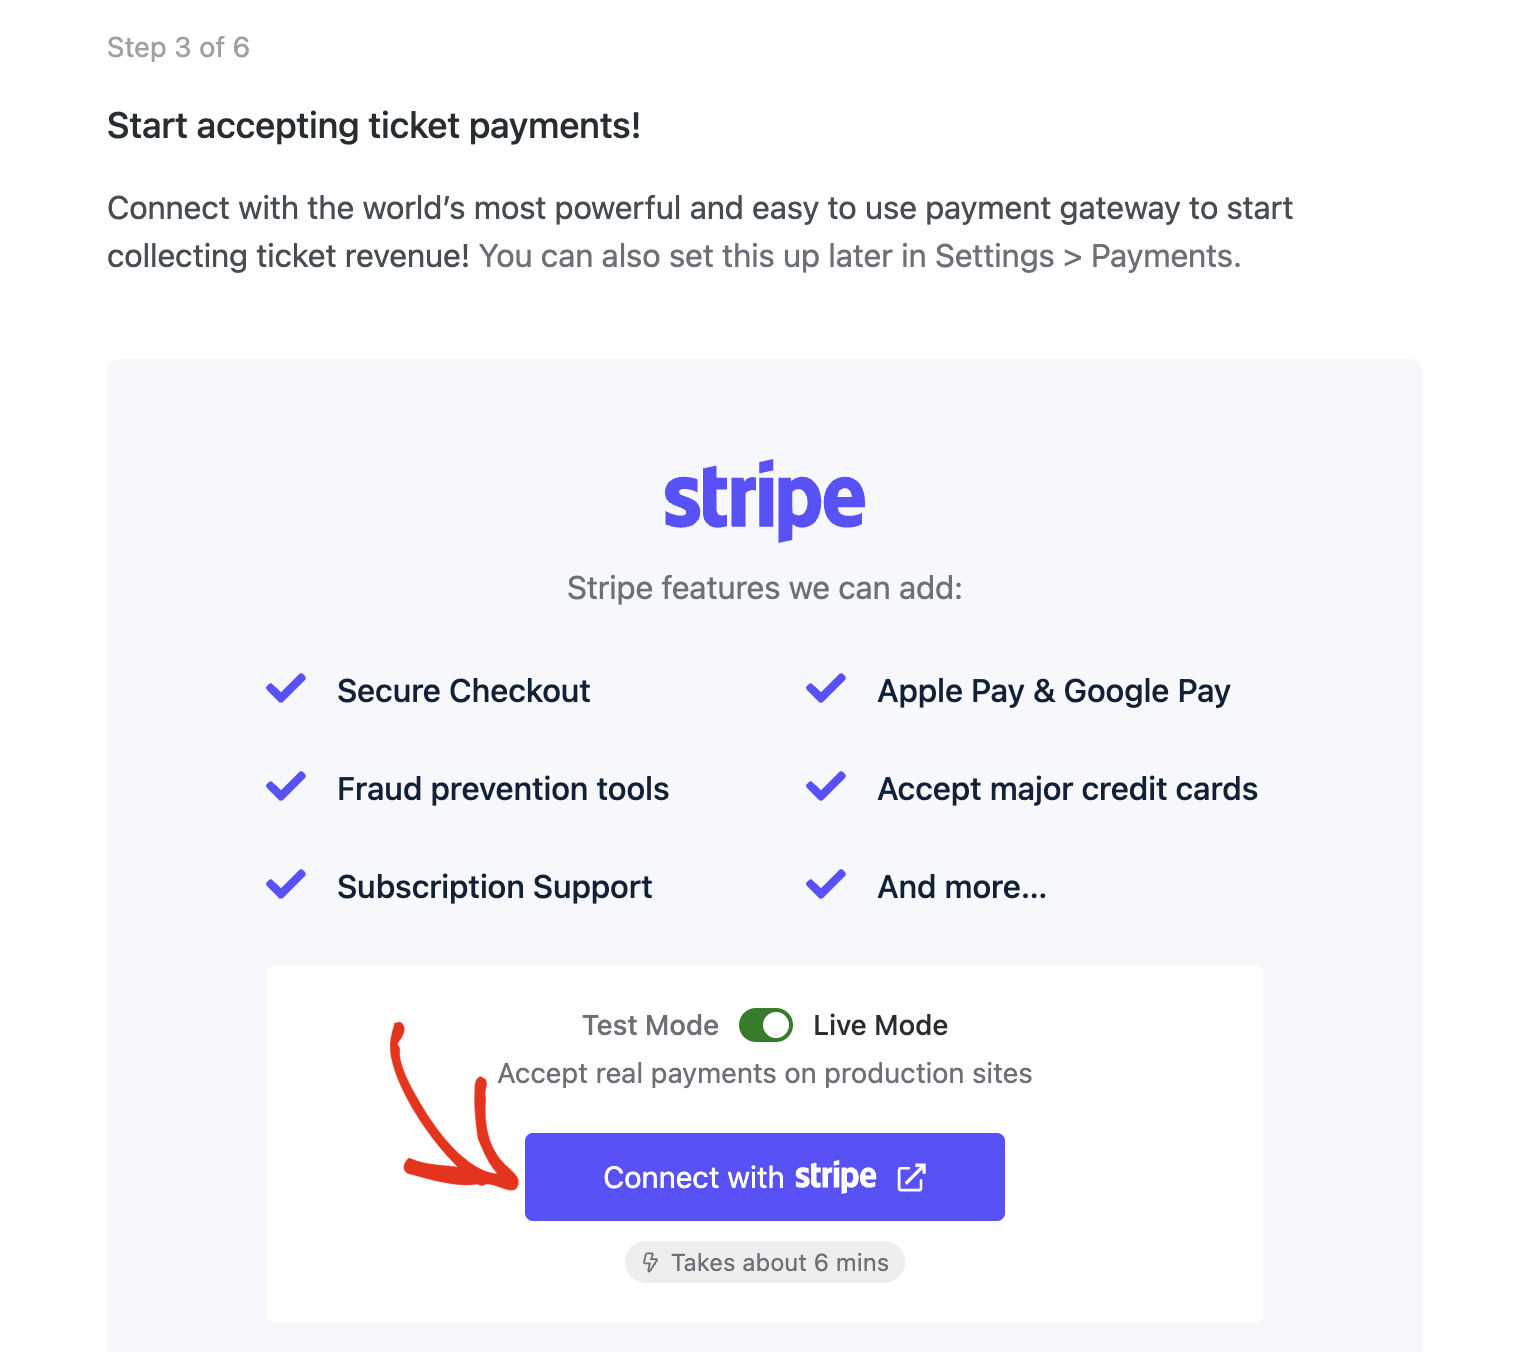
This will direct you to the Stripe account set-up page. You’ll need to follow the prompts to link your account.
Note: See our guide for details on how to connect your Stripe to your site.
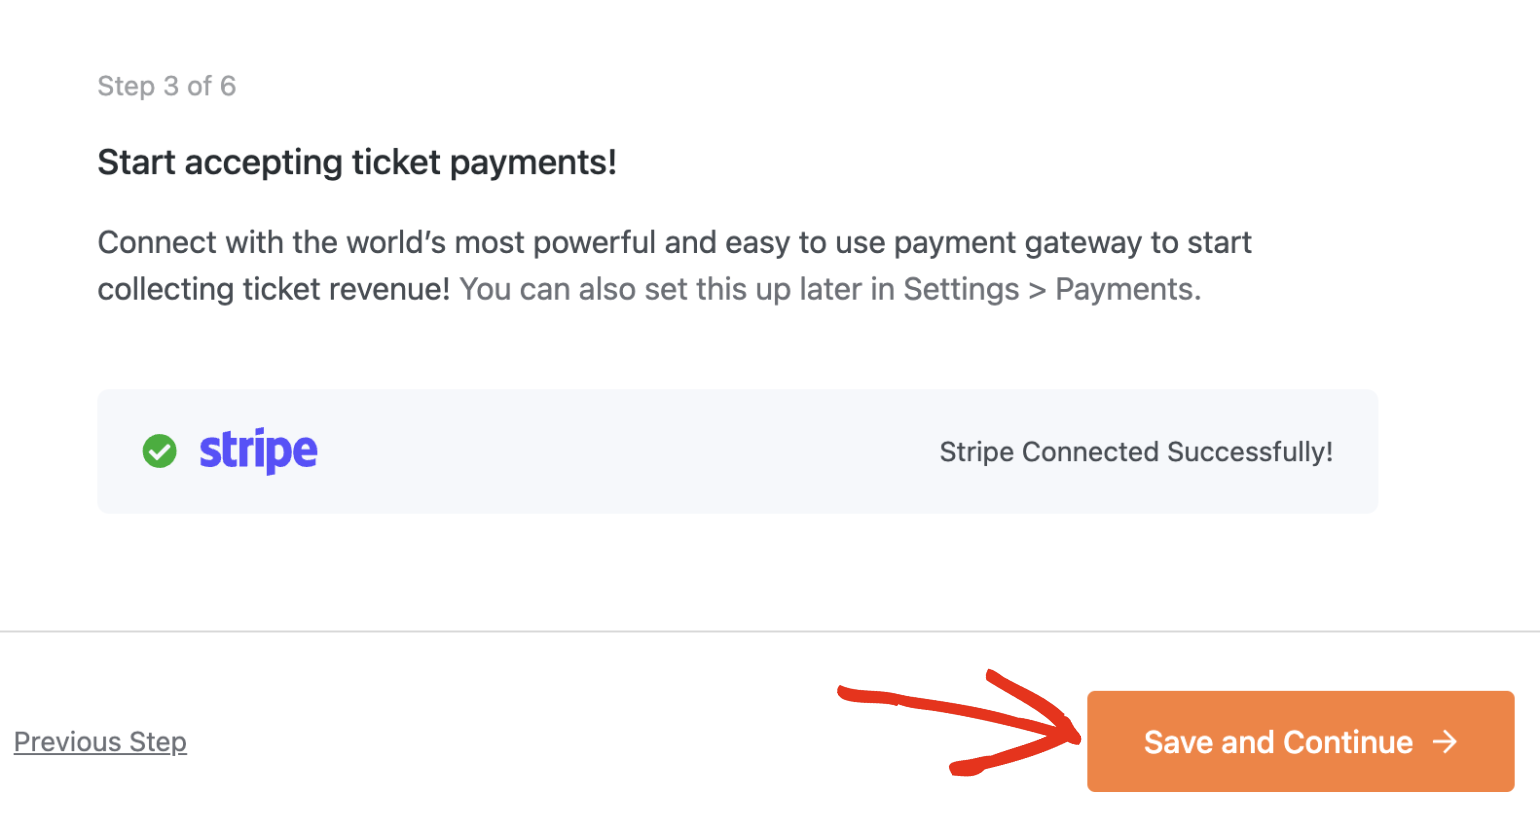
Once connected, you’ll be redirected to the Setup Wizard screen with a confirmation message. Go ahead and click the Save and Continue button to proceed.
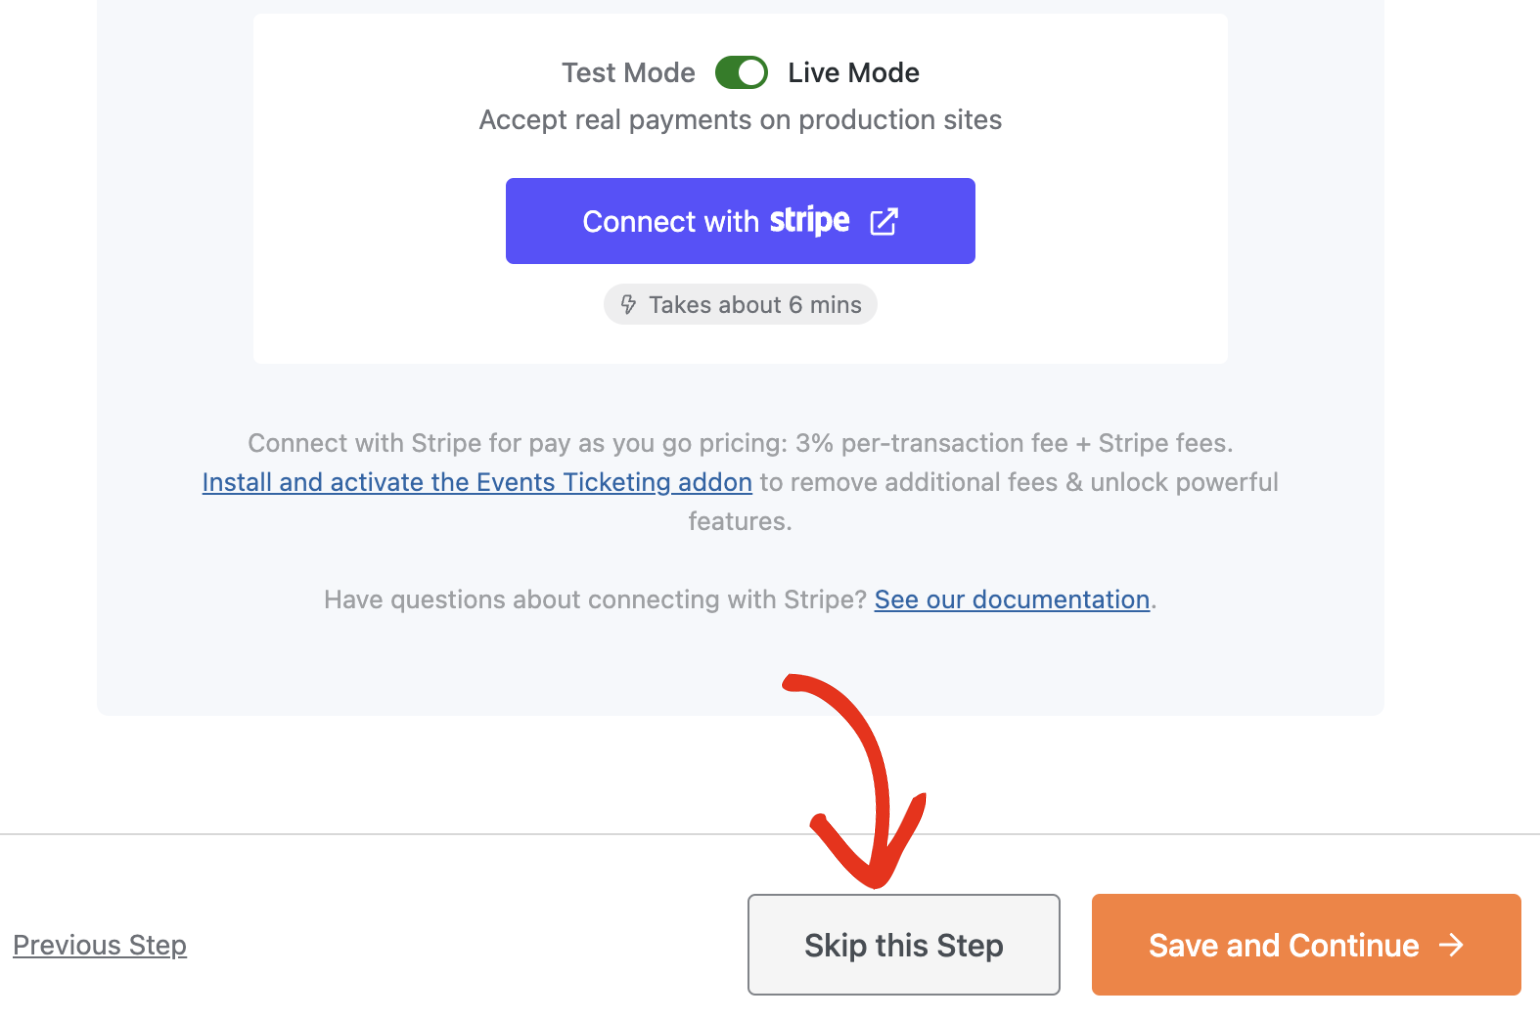
Alternatively, you can skip the Stripe setup and complete it later. To do so, click the Skip this Step button.
Step 4: Enable Recommended Tools
Sugar Calendar will recommend enabling additional tools and addons based on your earlier selections.
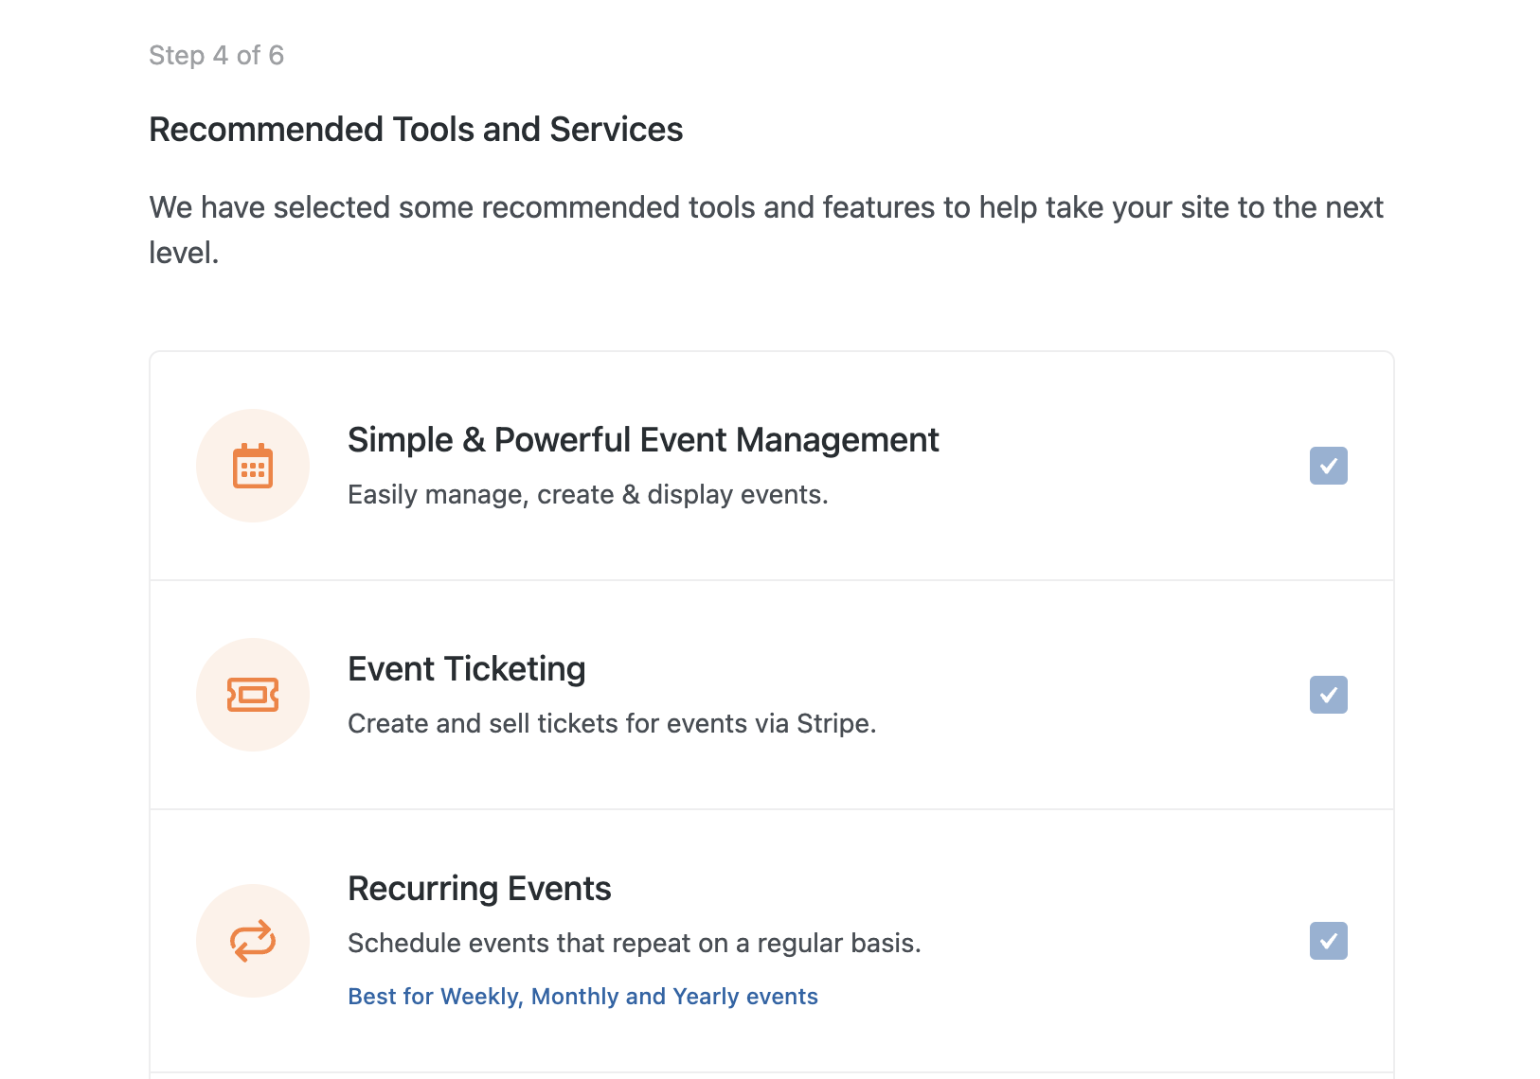
You can toggle each one on or off before moving to the next step. After making your selection, click the Save and Continue button.
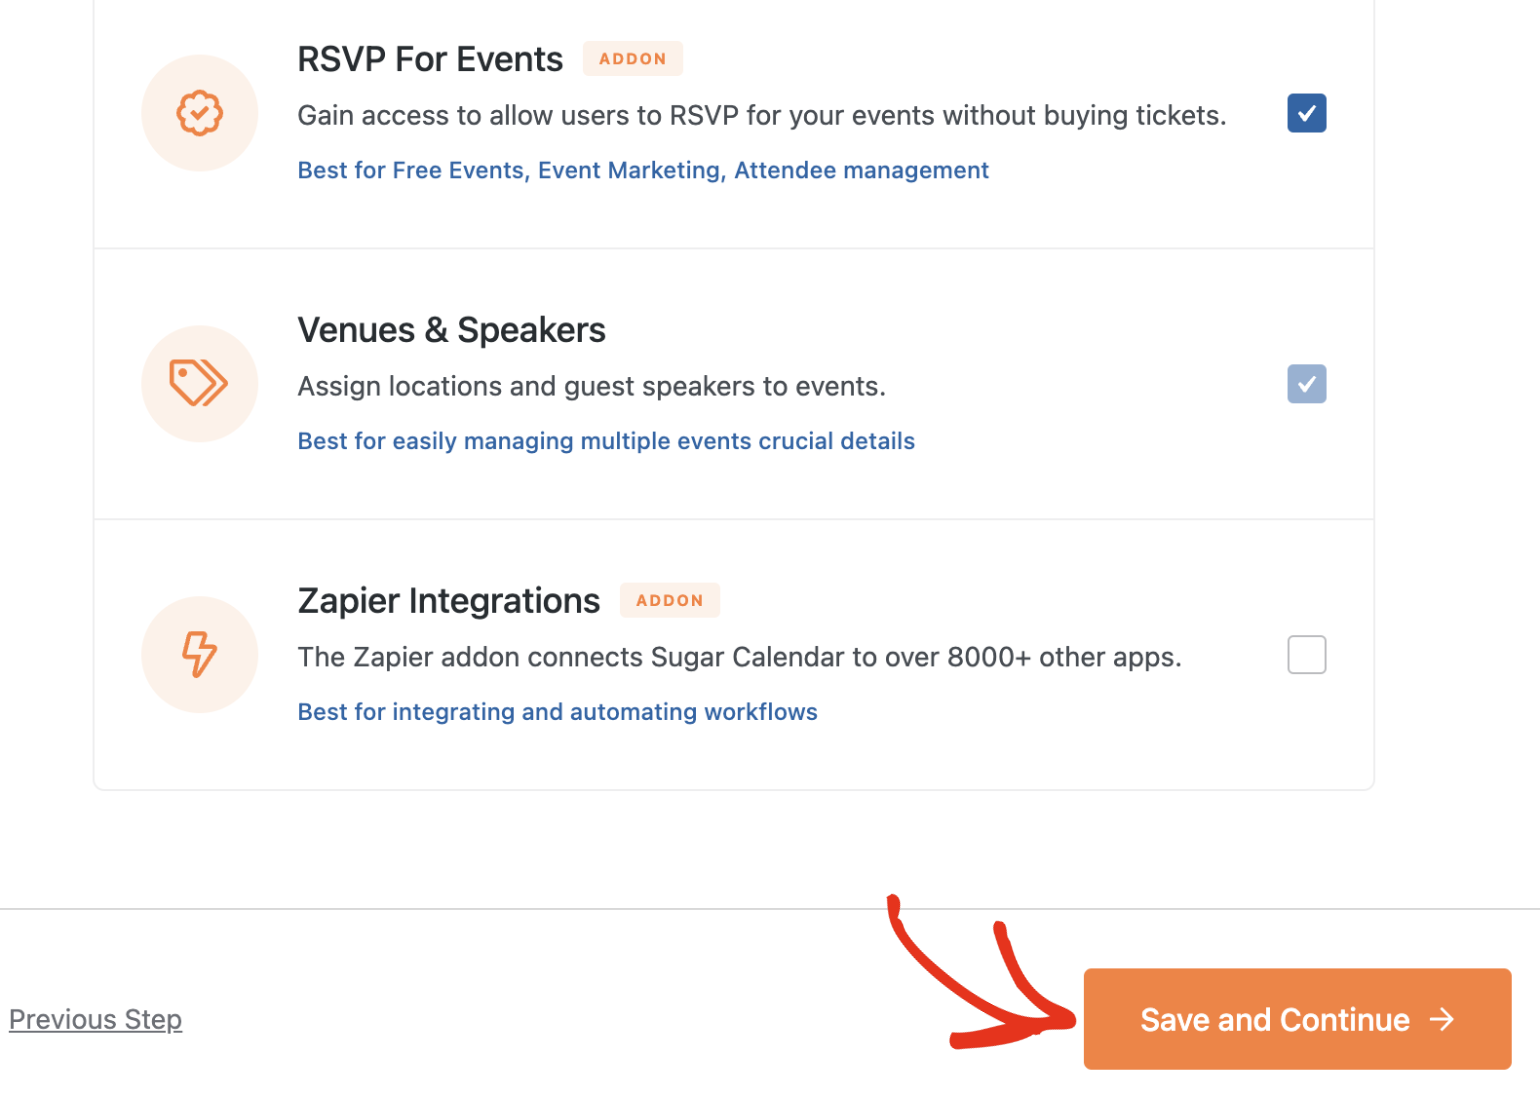
If some of your selections require installing an addon, Sugar Calendar will install the addon(s) to your site.
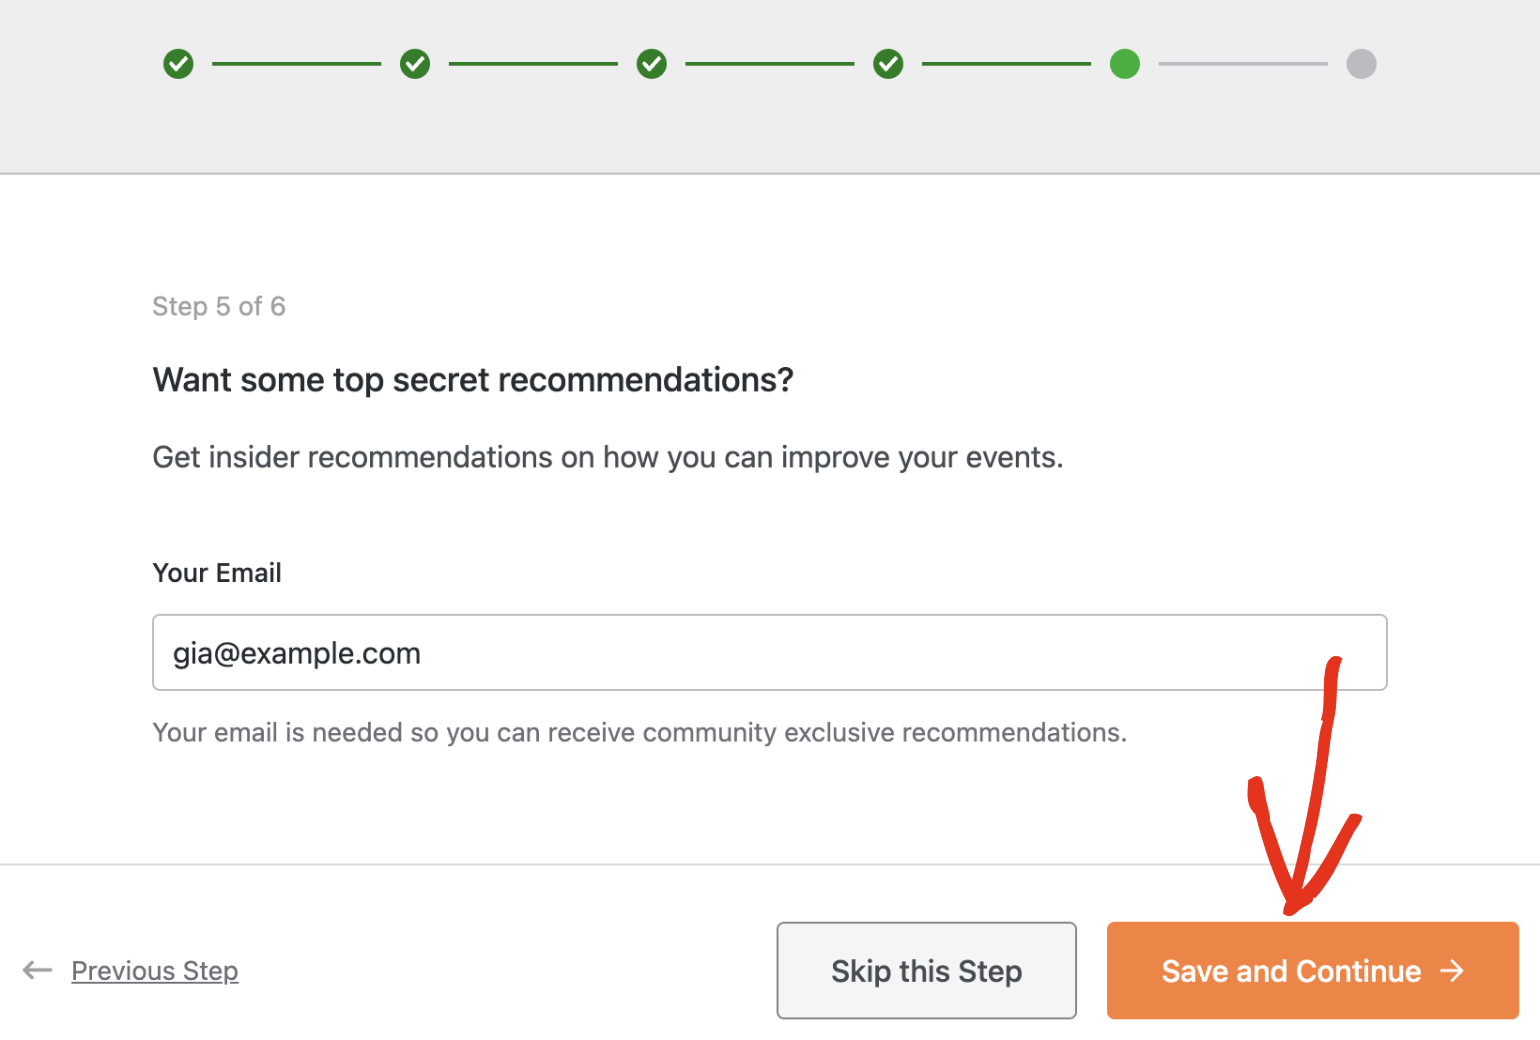
Step 5: Enter Your Email (Optional)
You can enter your email address to receive exclusive recommendations, updates on new features, and helpful resources.
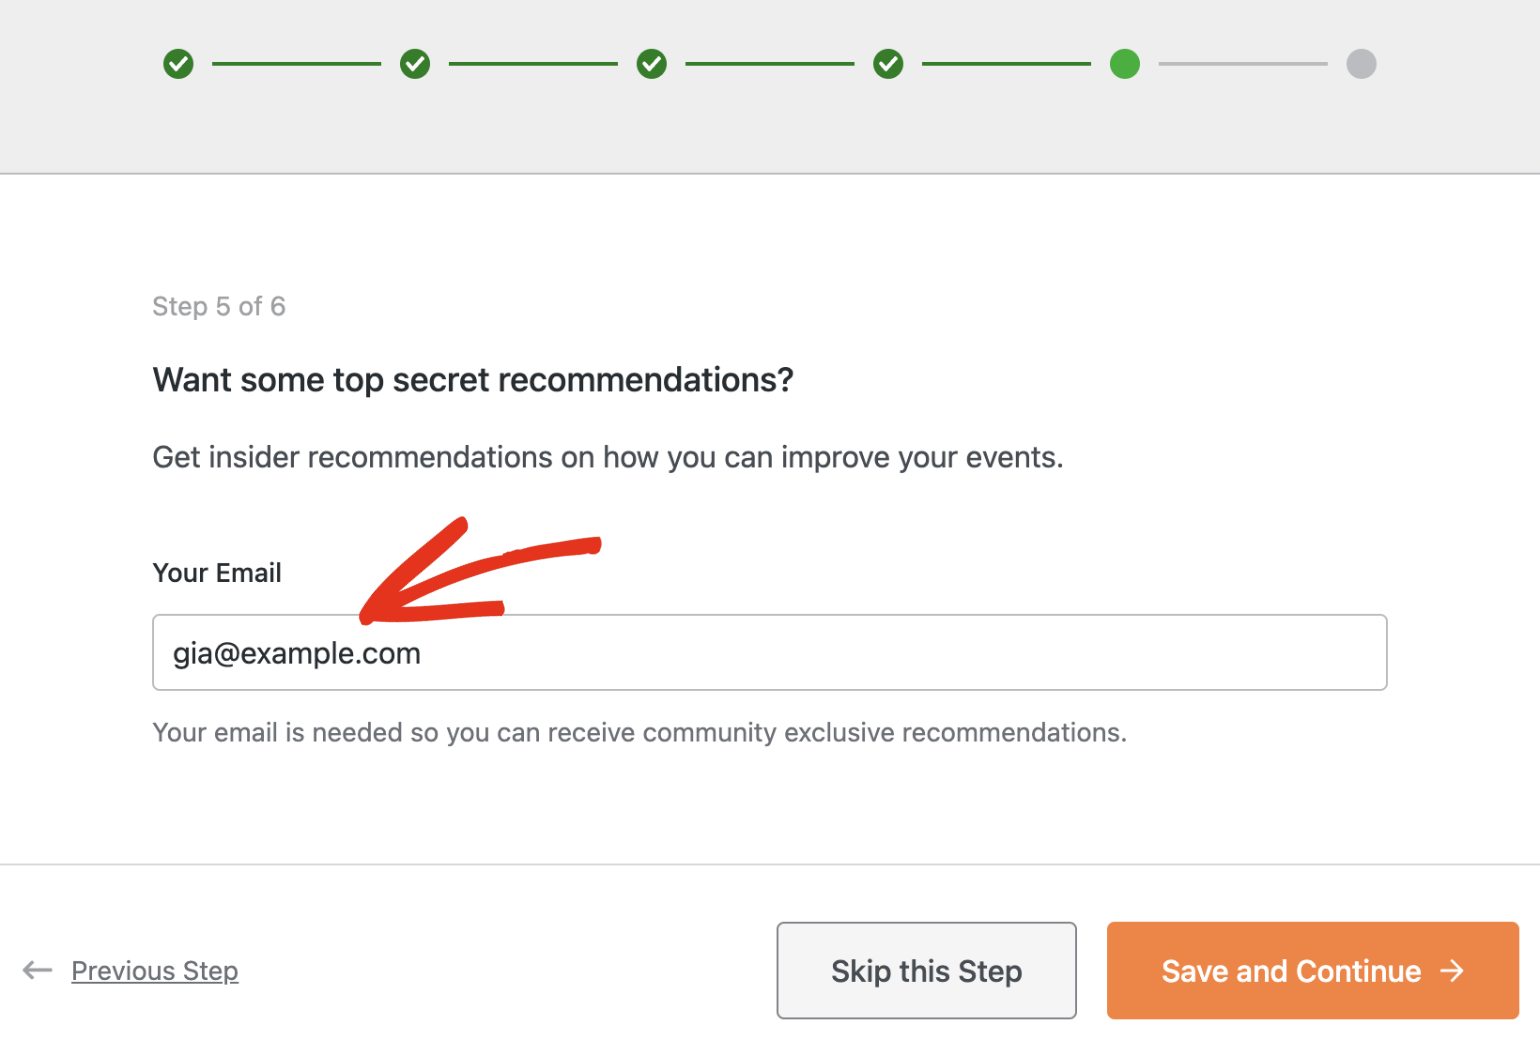
After that, click the Save and Continue button to proceed.
You’ll see a confirmation screen when the setup is complete. Congratulations if you’ve made it this far!

From here, you can either create your first event, go to the Sugar Calendar settings page, or access our extensive documentation to learn about other cool features.
Frequently Asked Questions
These are answers to some of the top questions we receive about using the Setup Wizard in Sugar Calendar.
How can I access the Setup Wizard manually?
Sugar Calendar’s Setup Wizard only pops up the first time you install the plugin. However, you can manually relaunch the wizard through the following URL:
https://example.com/wp-admin/admin.php?page=sugarcalendar-settings&sugar_calendar_setup_wizard=1
Note: Be sure to replace example.com with your actual site URL.
That’s it! You’ve now completed the Sugar Calendar Setup Wizard.
Next, would you like to learn how to organize your events using Calendars? See our guide for details on how to create and add events to Calendars.