Would you like to learn how to book an appointment with the Bookings plugin? Sugar Calendar Bookings offers two convenient ways to create bookings.
This guide will show you both methods for booking appointments in Sugar Calendar Bookings.
In This Article
Before getting started, make sure the Sugar Calendar Bookings plugin is installed and activated on your site. Then, proceed to create at least one bookable service.
Booking Through the Frontend Form
The frontend booking form provides a user-friendly way for customers to book appointments on your website. Here’s how the booking process works:
Note: You’ll need to display the booking form on a page or post on your site before users can access it.
Step 1: Selecting a Service
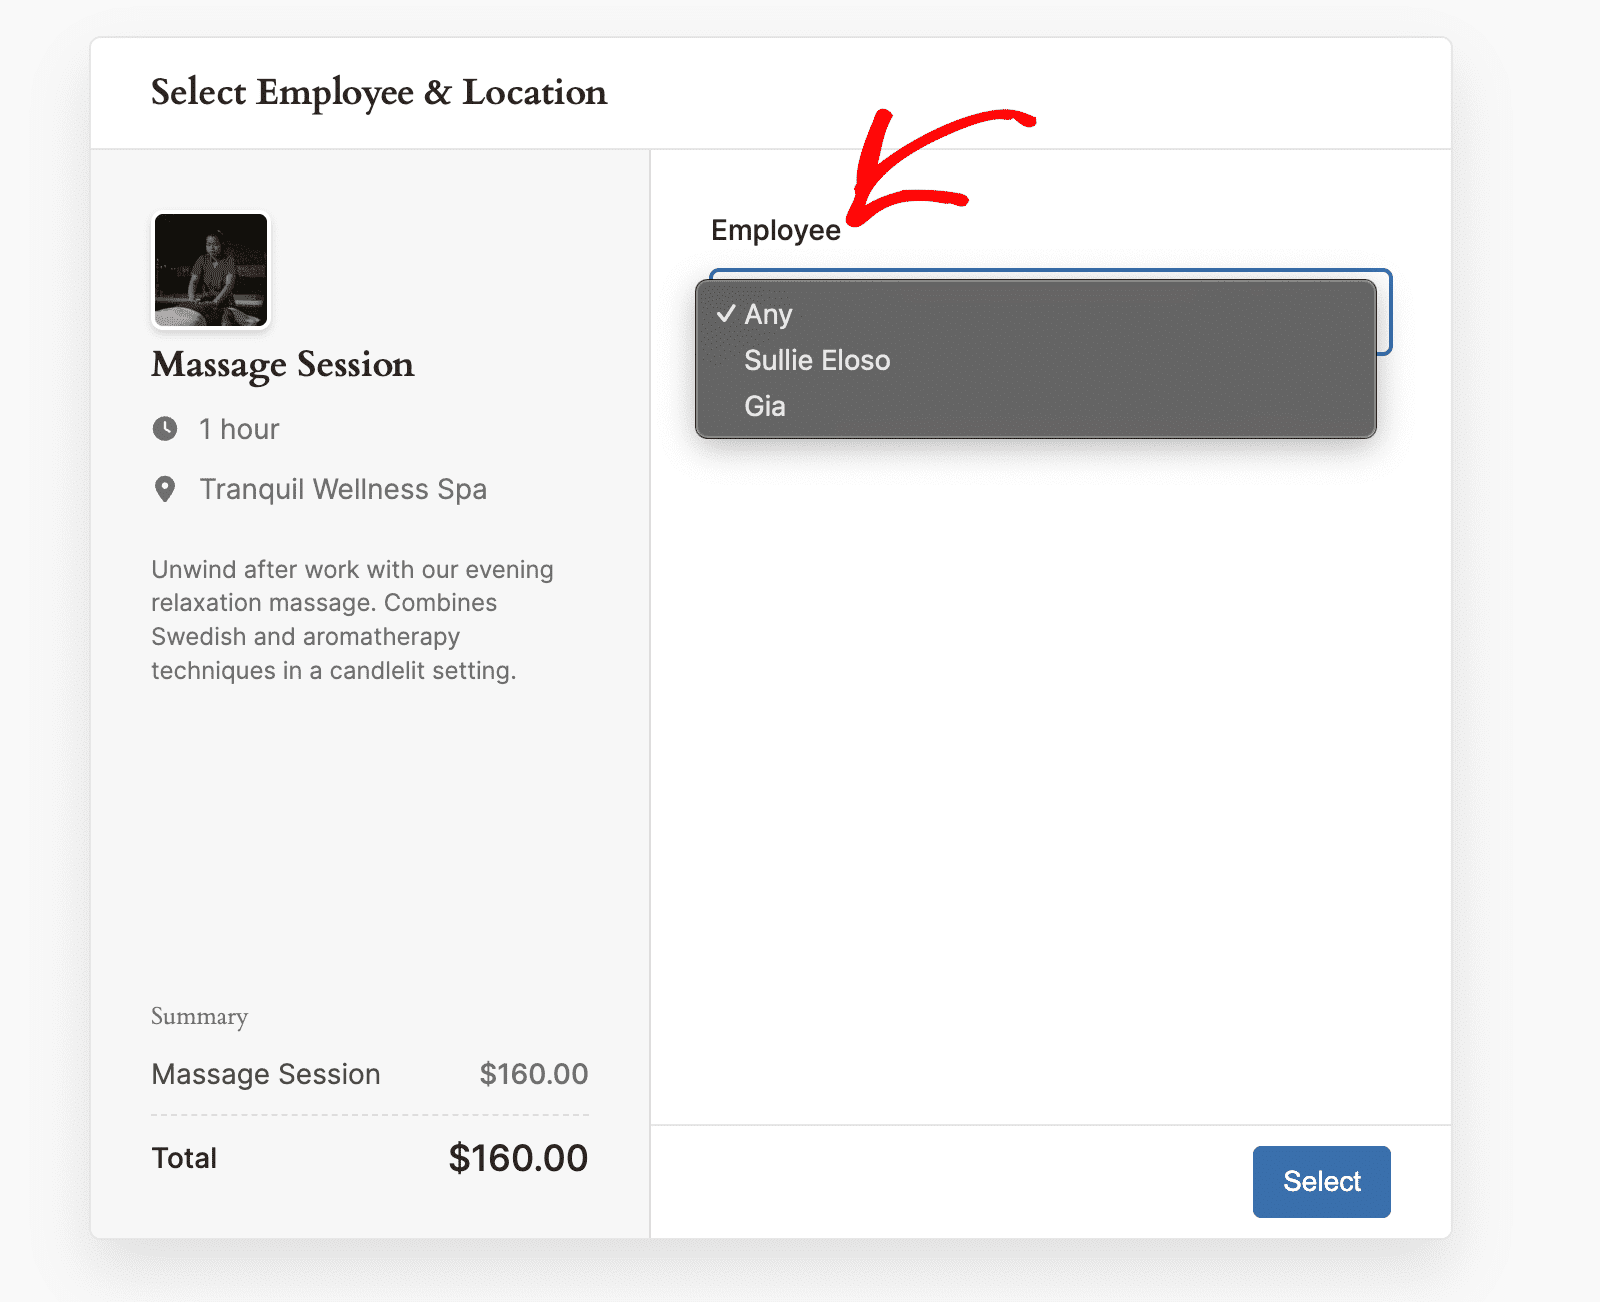
In the page/post with the booking form, customers will first need to choose the service they want to book from the available options. Each service displays its duration, available locations, and price.
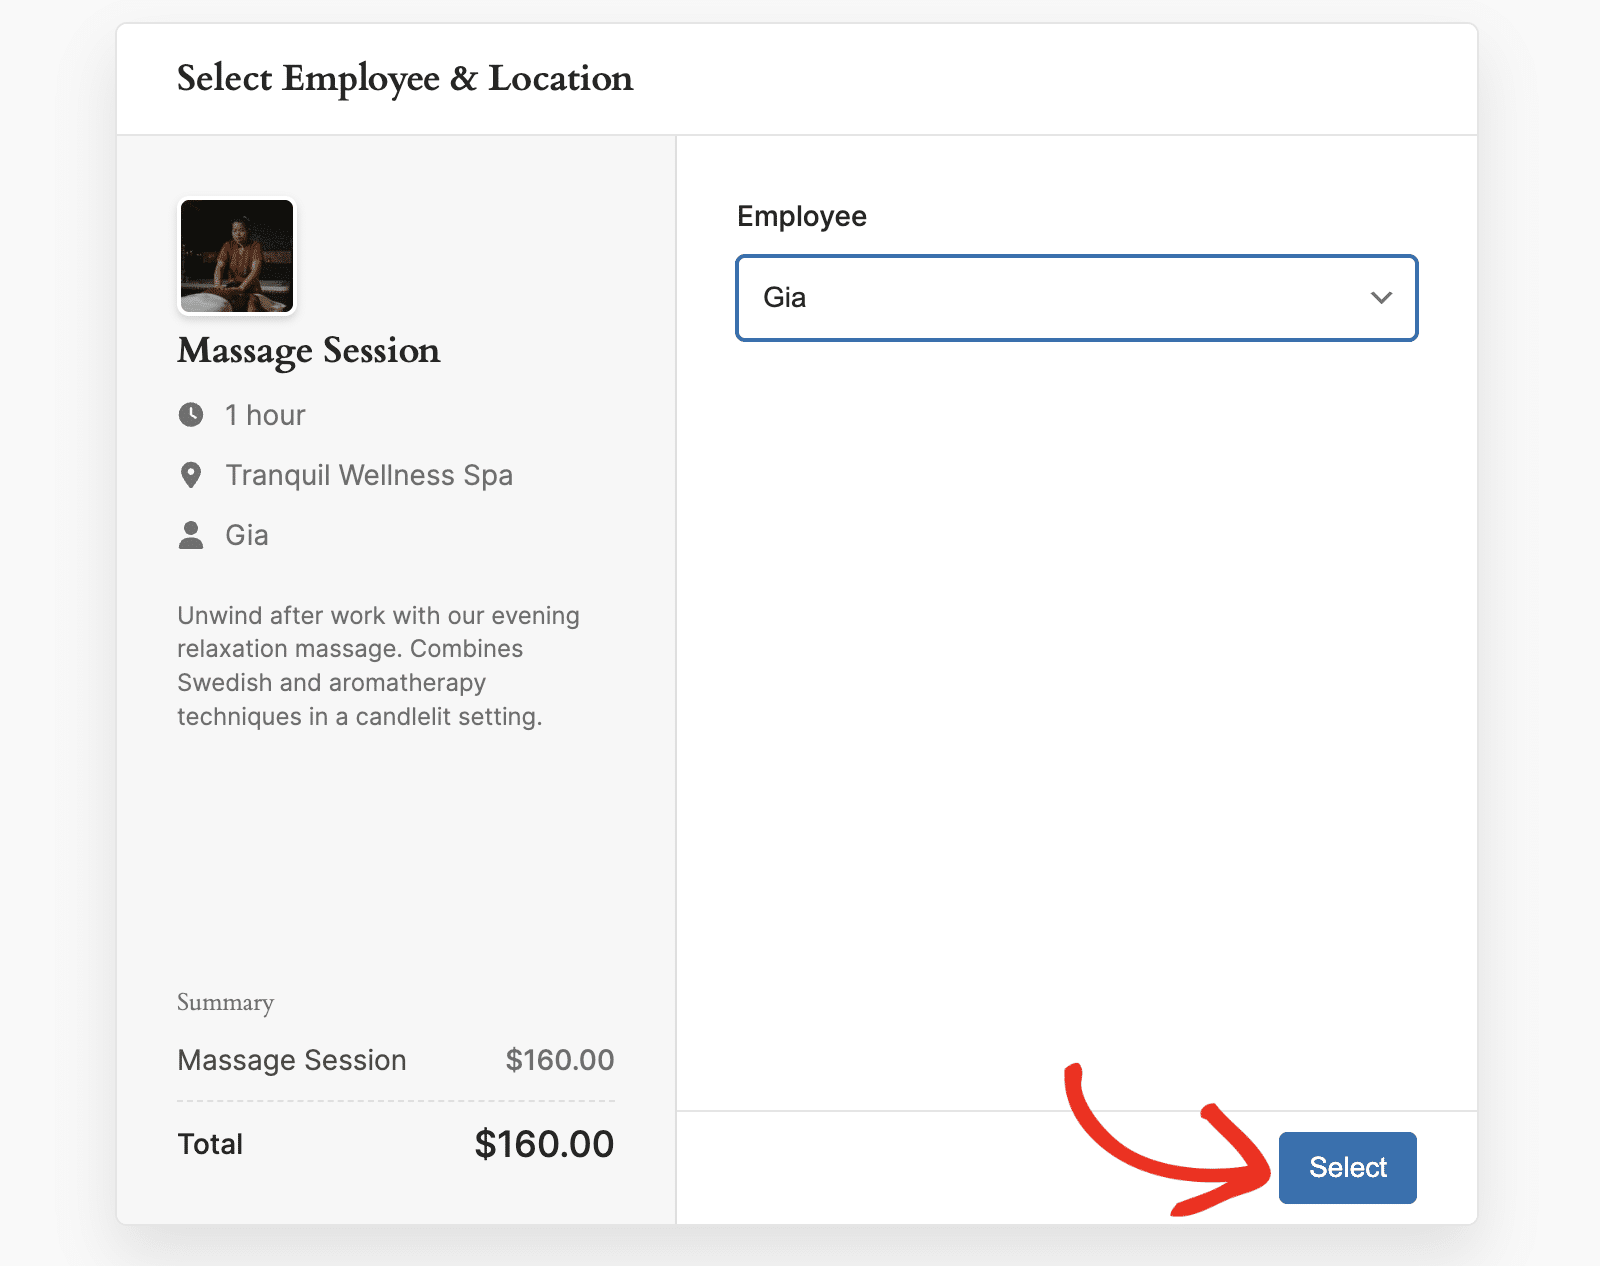
They can select an employee from the Employee dropdown to specify who’d attend to them.
After selecting a service, customers click the Select button to proceed to the next step.
Step 2: Choosing the Date and Time
The next step allows customers to choose their preferred appointment date and time. The calendar shows available dates, and customers can navigate between months to find their desired appointment time.
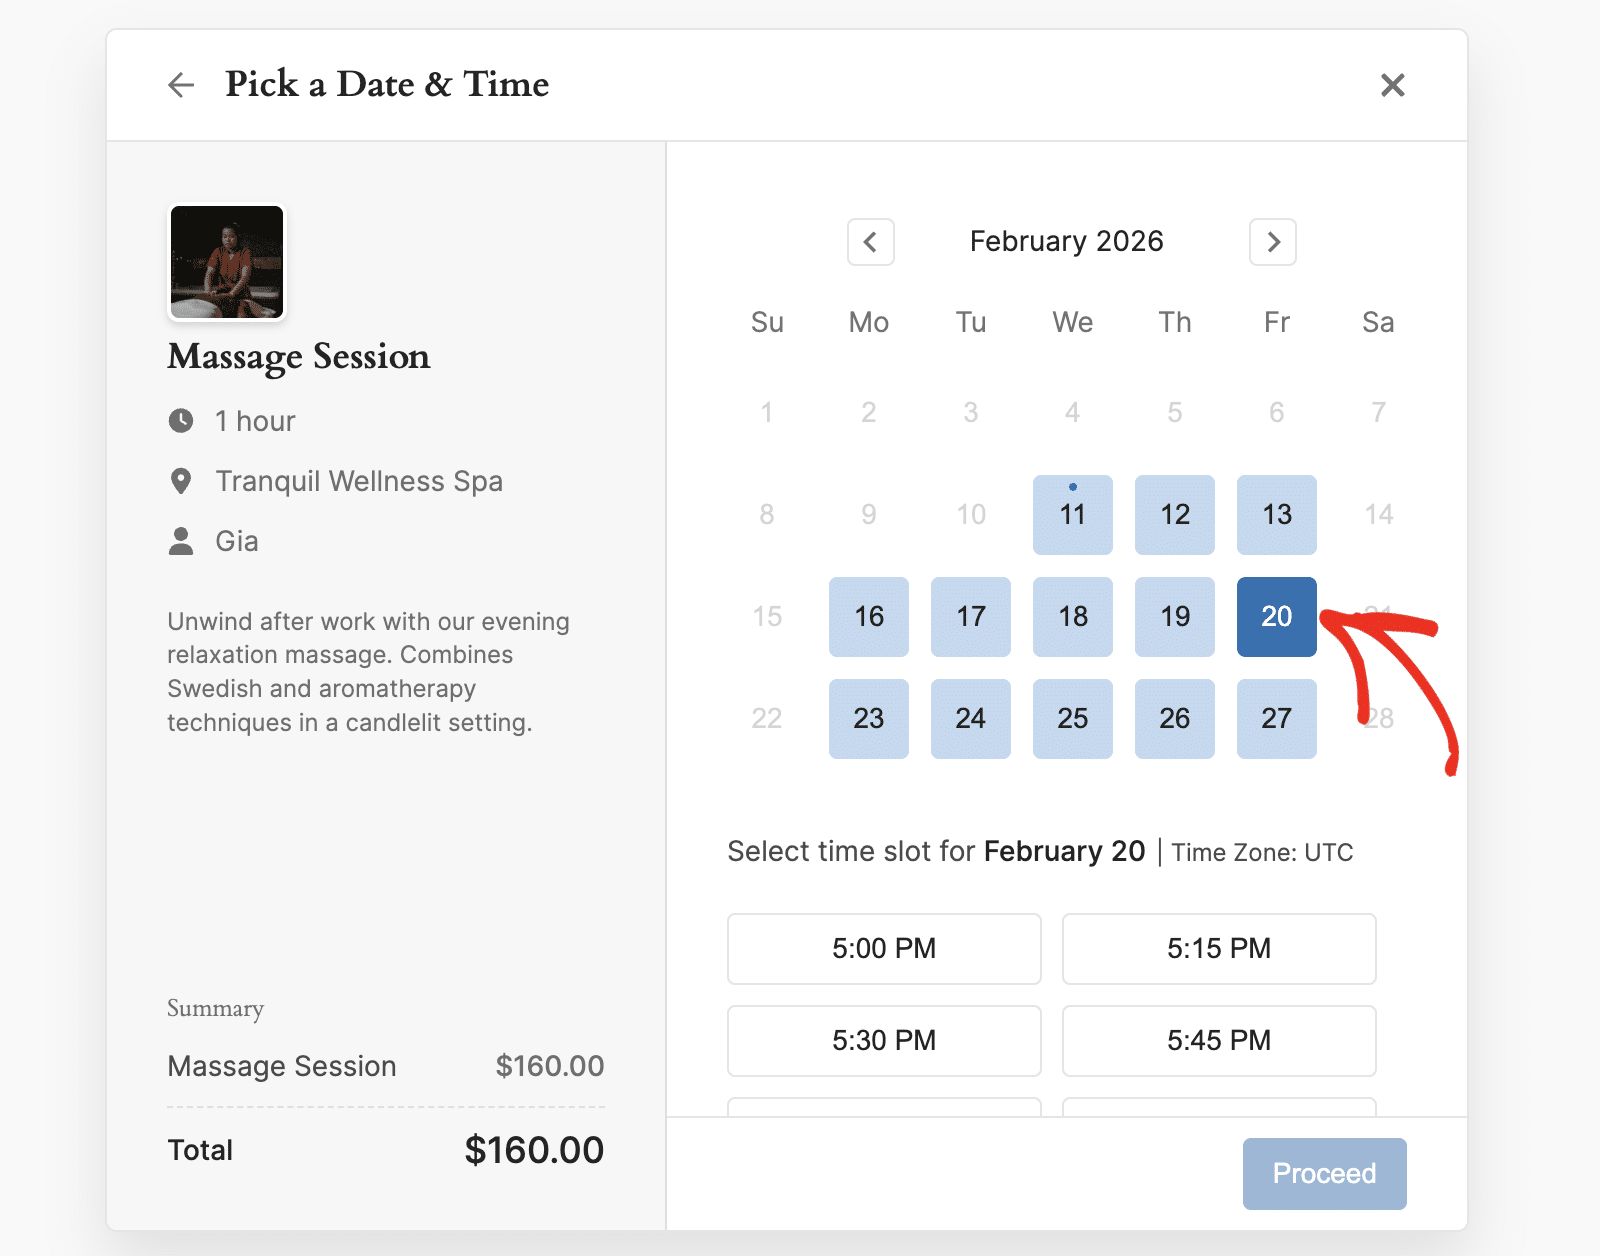
After selecting a date, the time slot will appear. Only available time slots are shown, preventing double-bookings.
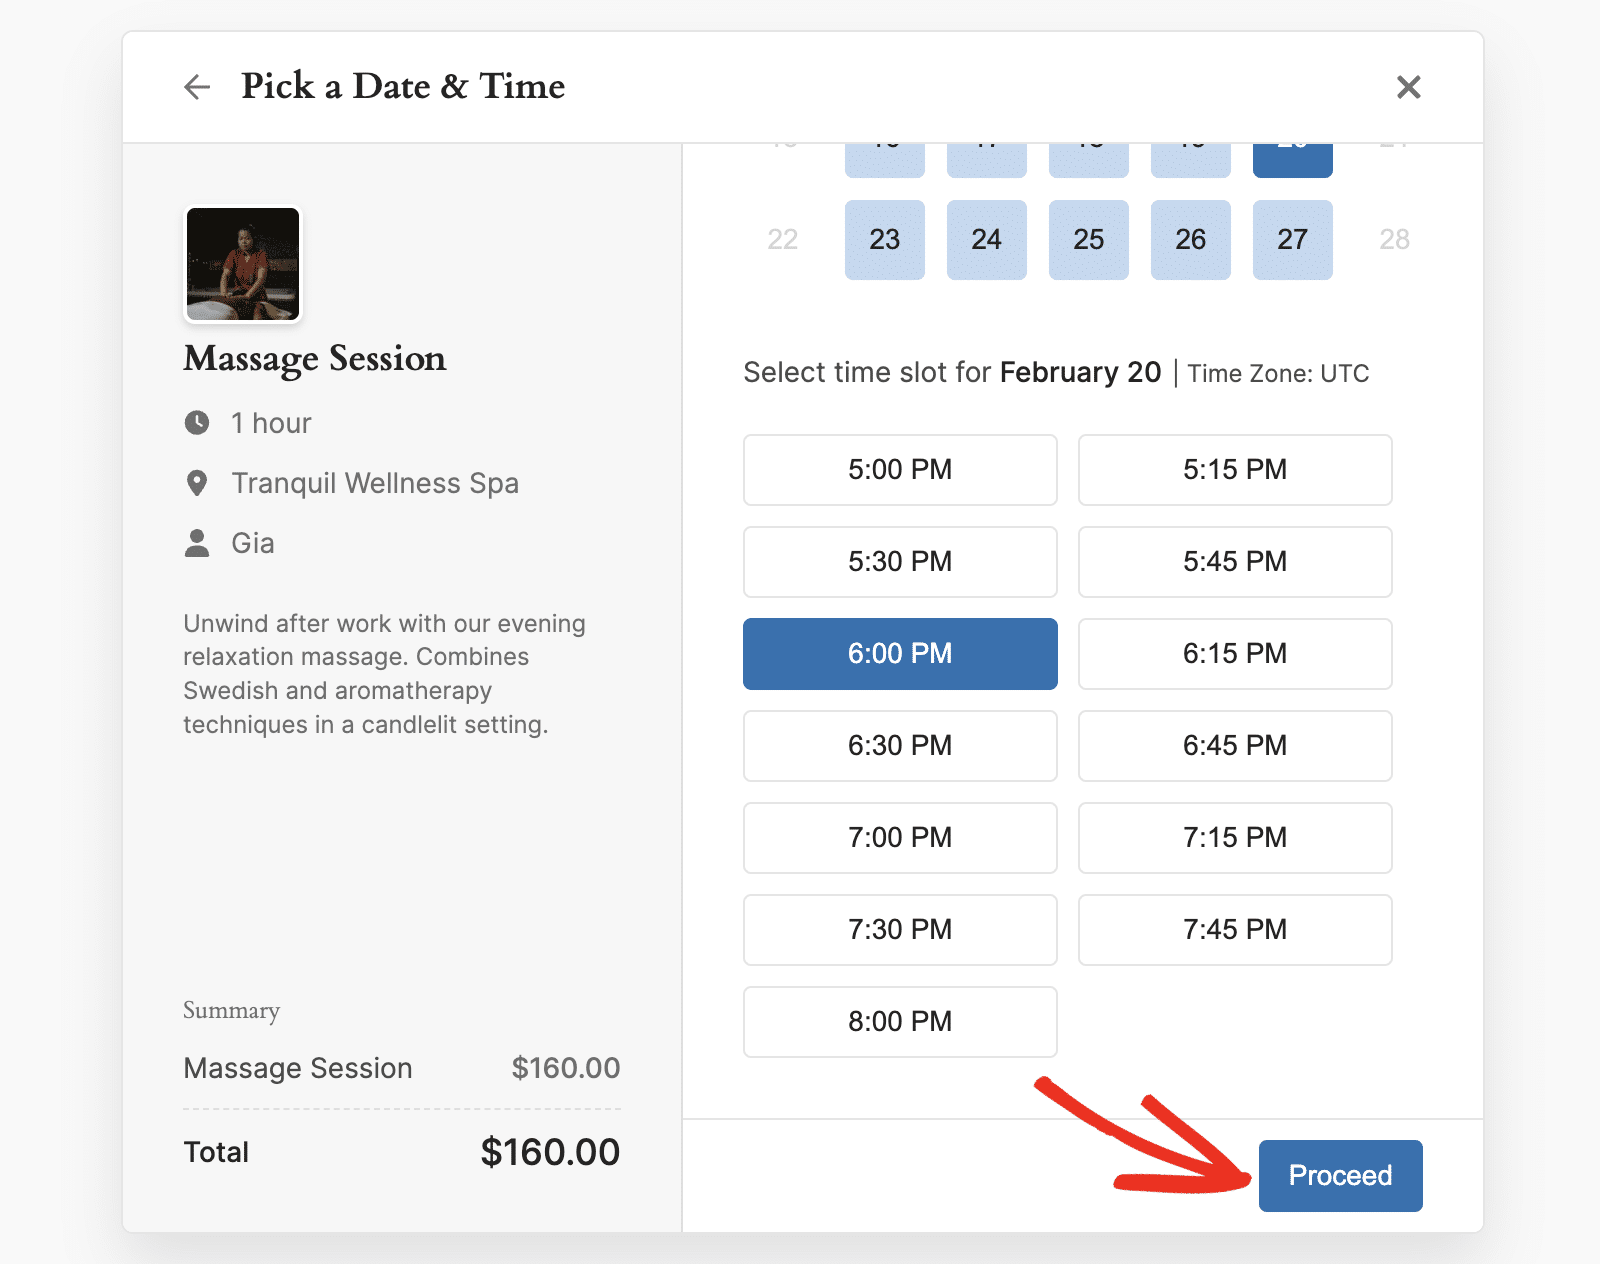
Go ahead and choose a time for your appointment, then click Proceed to continue.
Step 3: Adding Customer Details
Next, the customer will need to provide their contact information, including:
- Full Name: Required field for the customer’s complete name
- Email: Required for booking confirmations and communication
- Phone: Required contact number with country code
- Additional Information: Optional field for special requests or notes
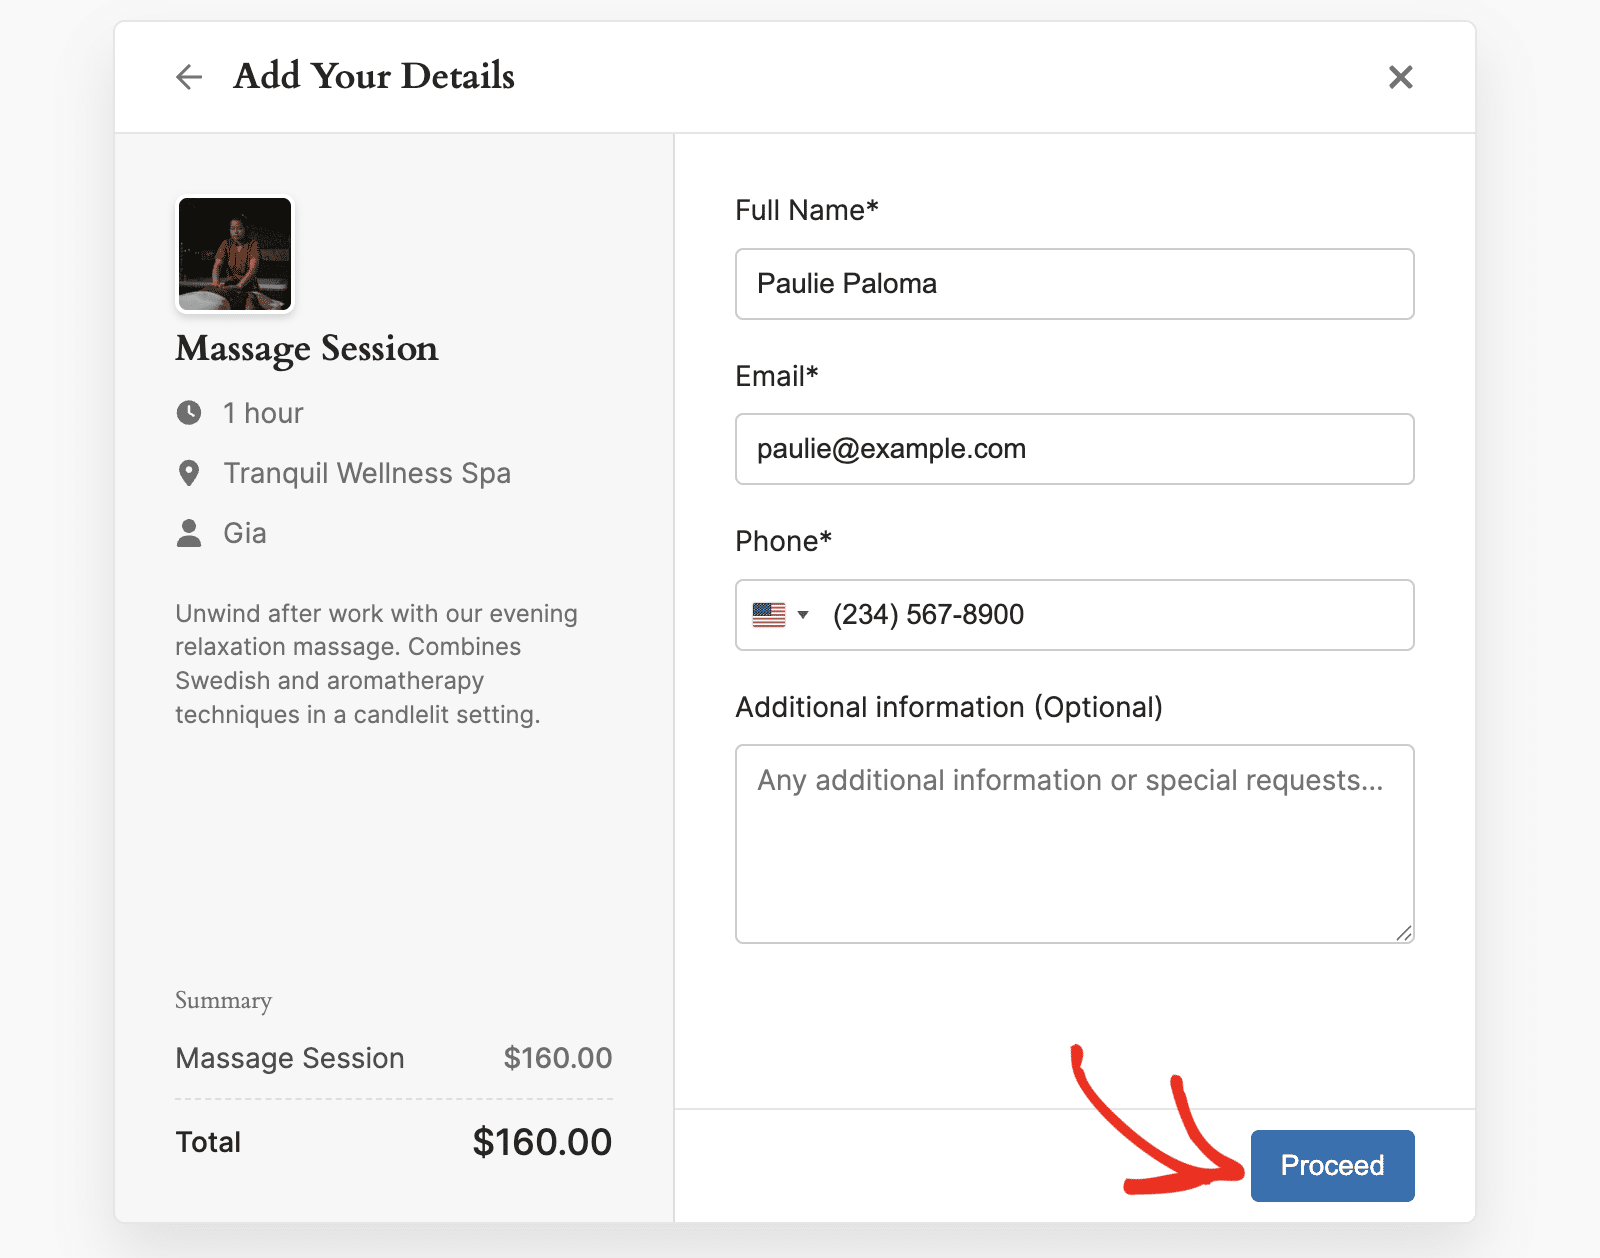
After filling in their details, customers click Proceed to continue to payment.
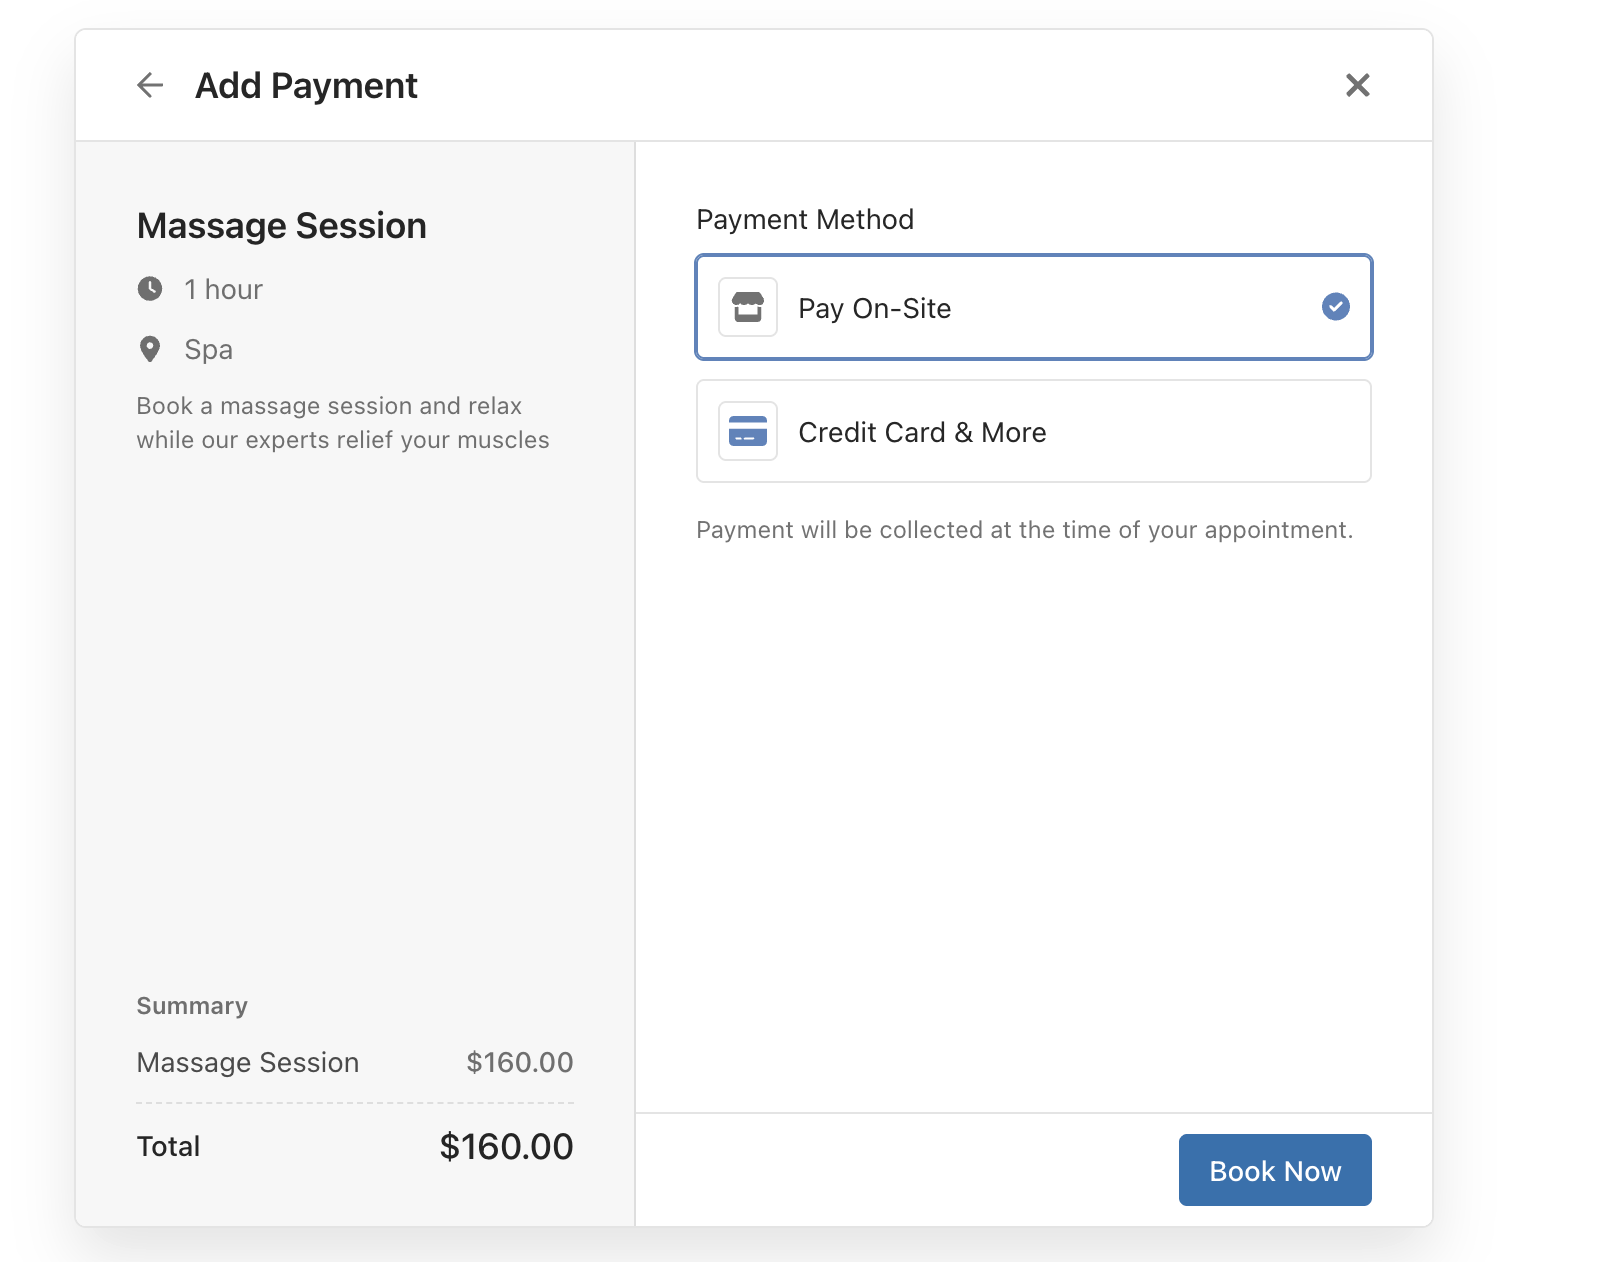
Step 4: Payment Processing
The final step presents payment options. Customers can choose between:
- Pay On-Site: The customer will make the payment at the appointment location
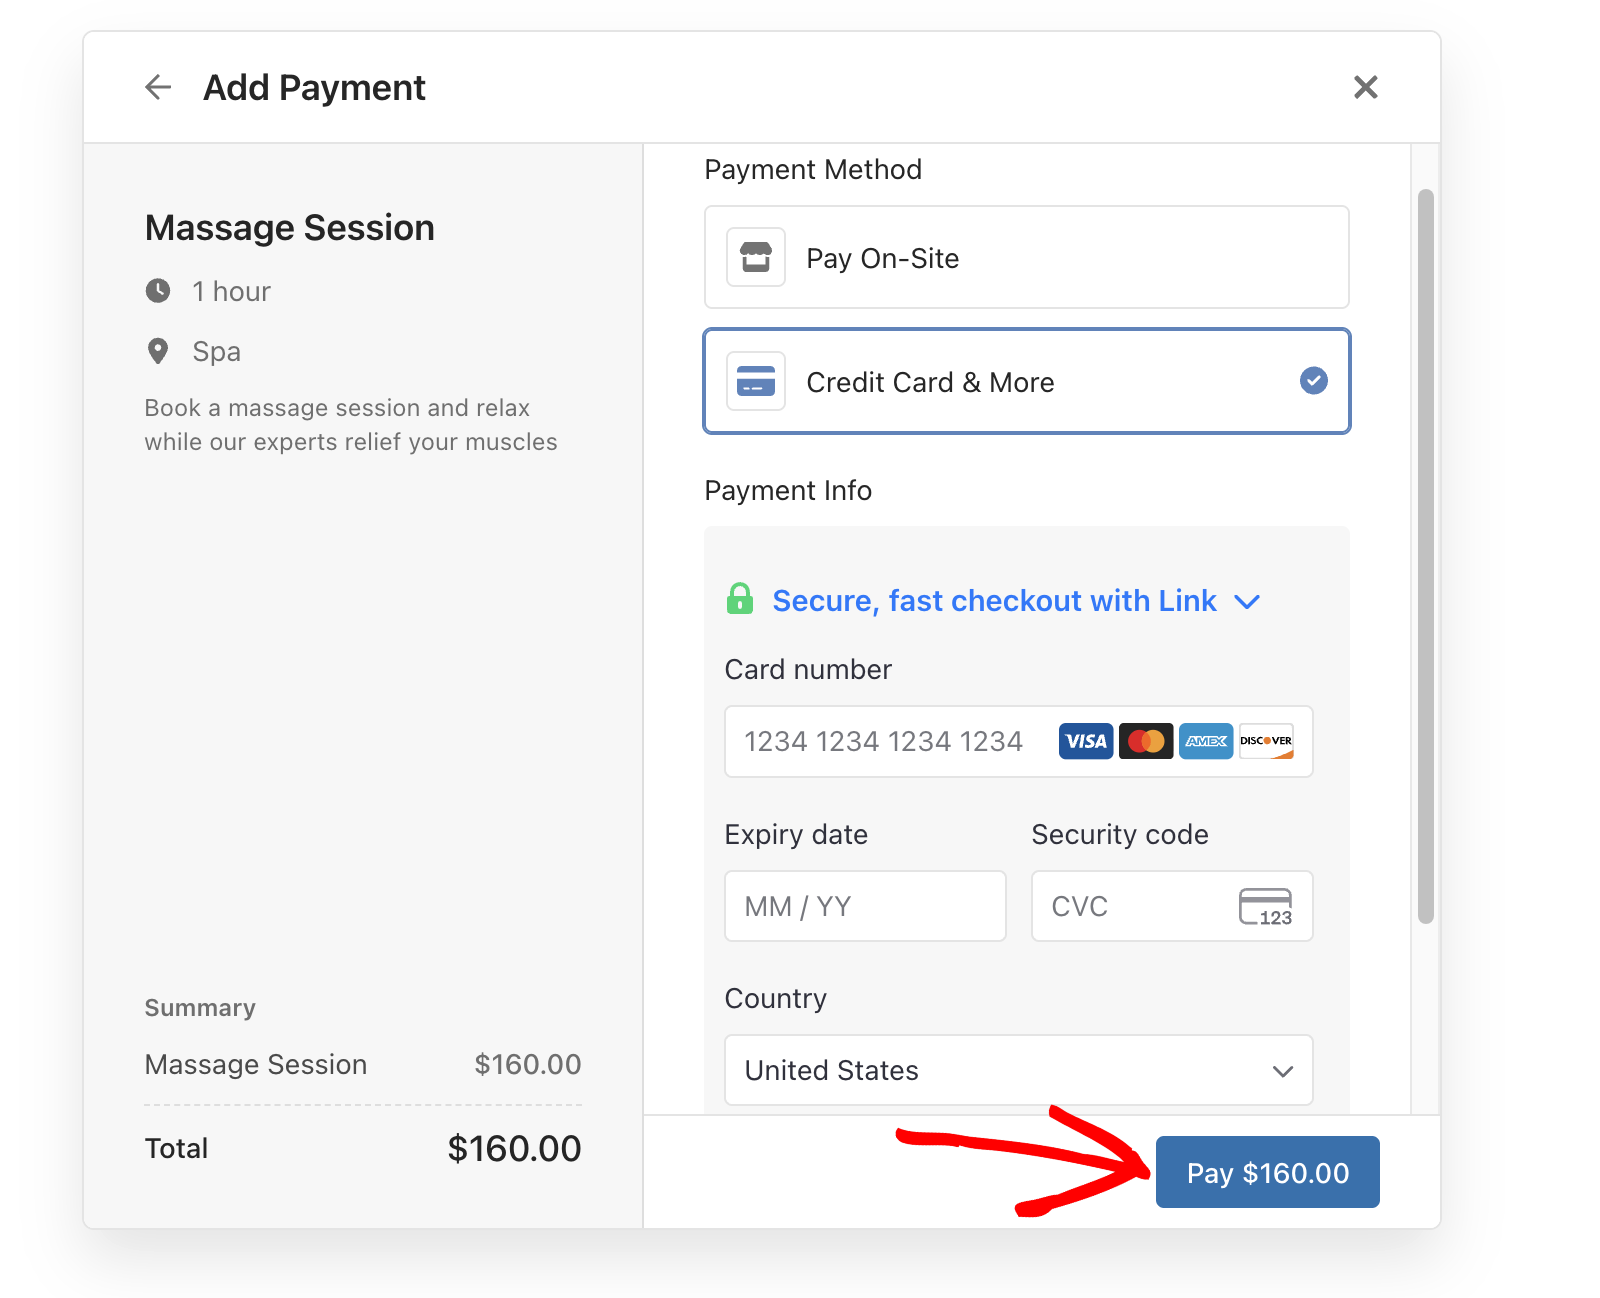
- Credit Card & More: Immediate online payment through Stripe
If you choose the Pay On-Site option, click the Book Now button to confirm your booking.
For online payments, customers enter their payment details securely through Stripe’s payment interface.
Note: See our tutorial to learn more about setting up Stripe with Sugar Calendar Bookings.
Regardless of the payment option you choose, the customer will receive a booking confirmation with their appointment details.
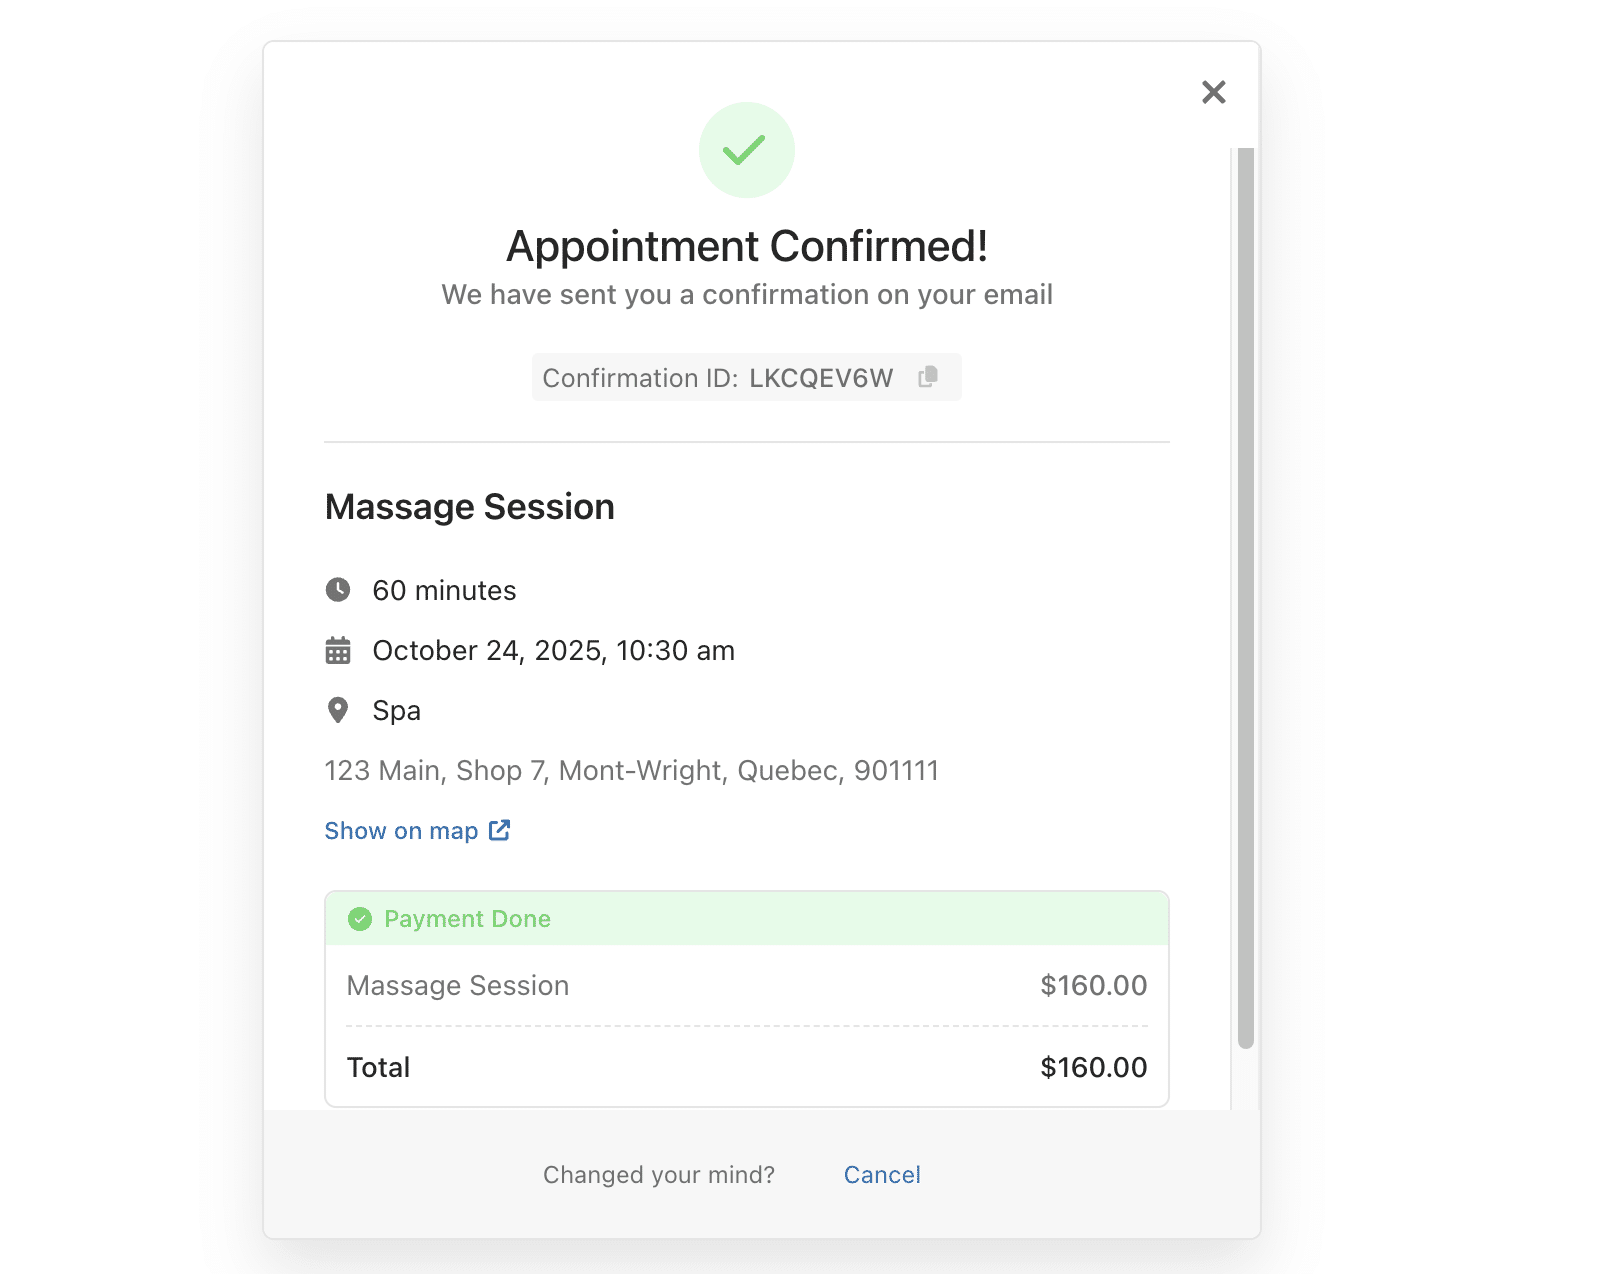
The user will also receive a confirmation email in the inbox of the address they specified when completing the booking form.
Manually Creating Appointments from Admin
As an administrator, you can manually create appointments for customers directly from your WordPress dashboard. This is useful for phone bookings or walk-in appointments.
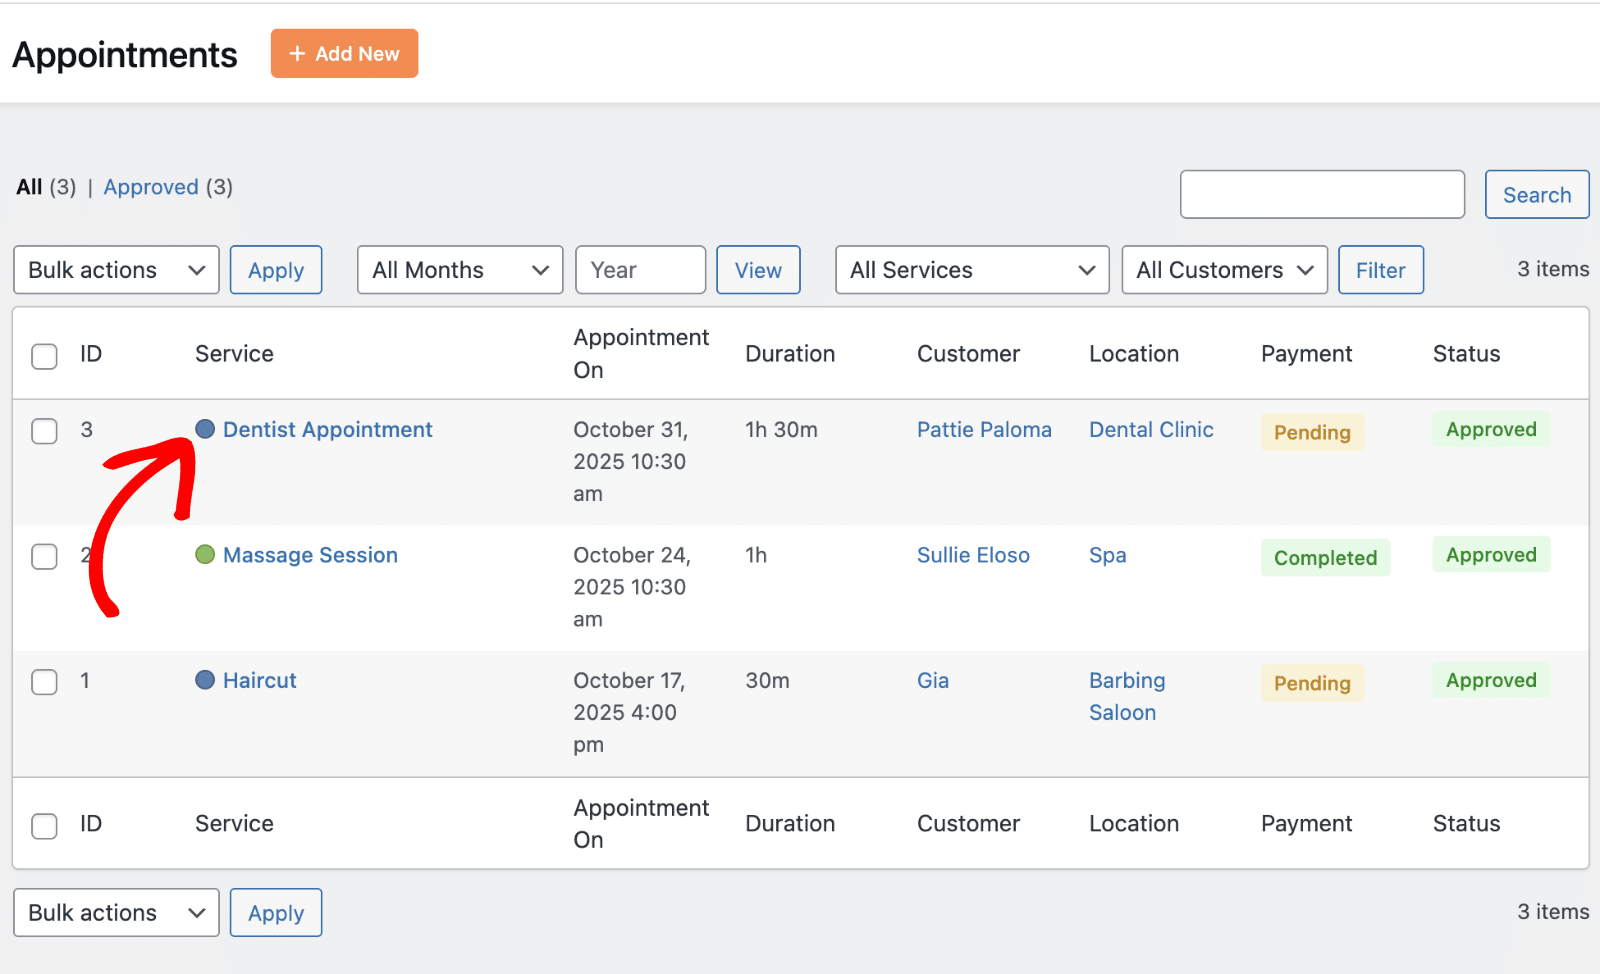
Accessing the Appointments Interface
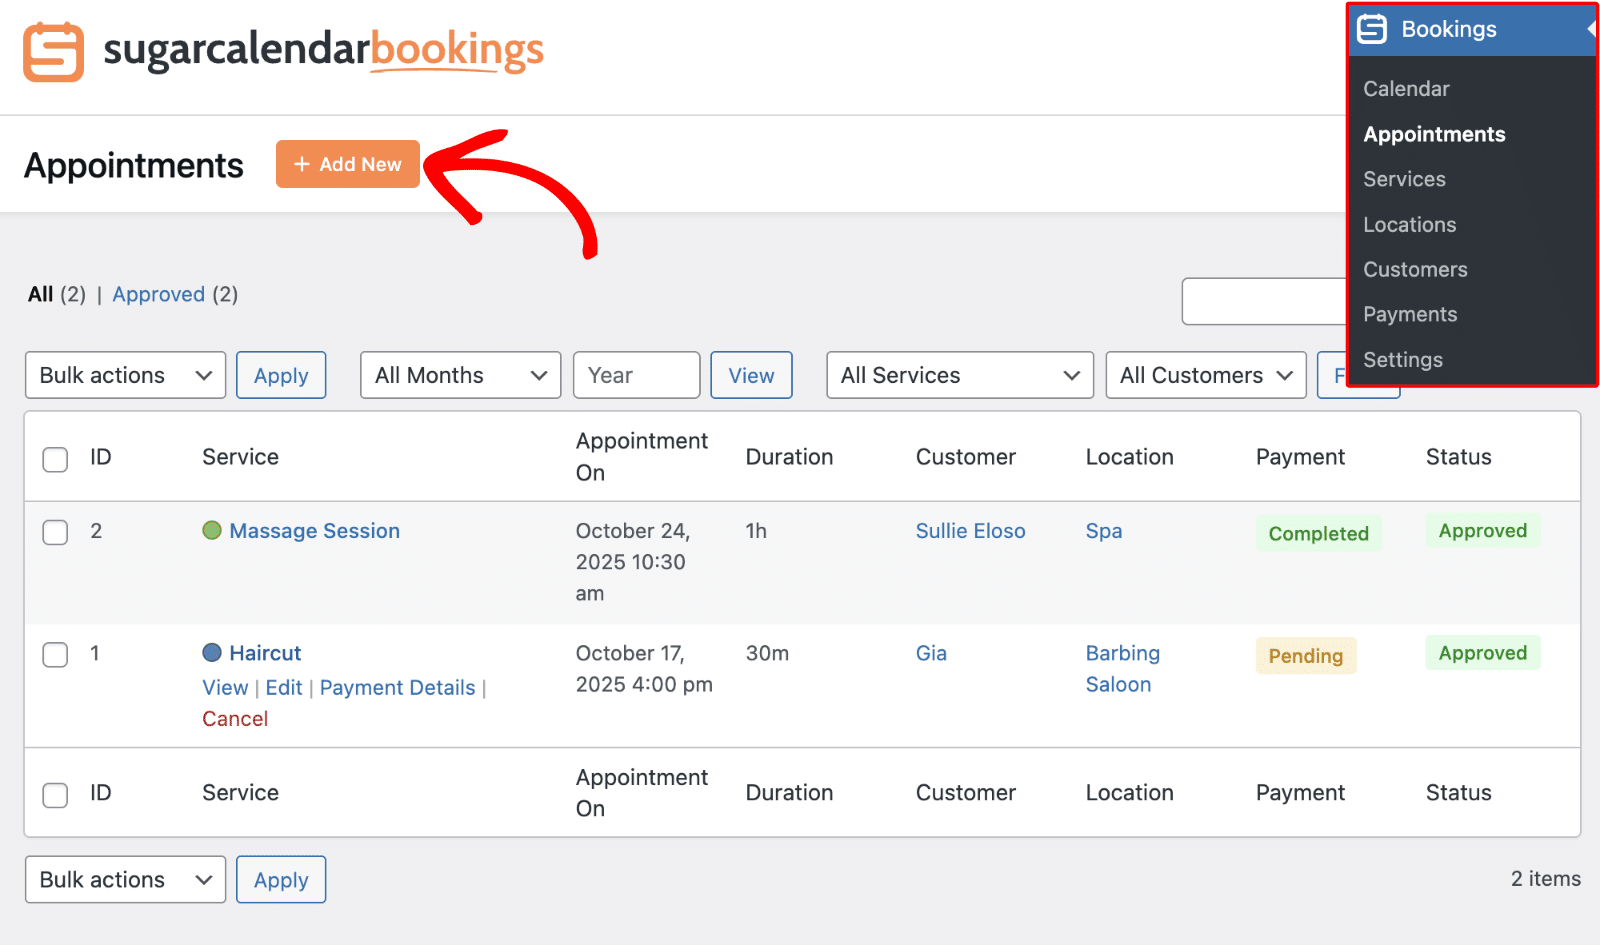
Start by navigating to Bookings » Appointments from the WordPress admin area. Then click the Add New button to create a new appointment.
Filling Out Appointment Details
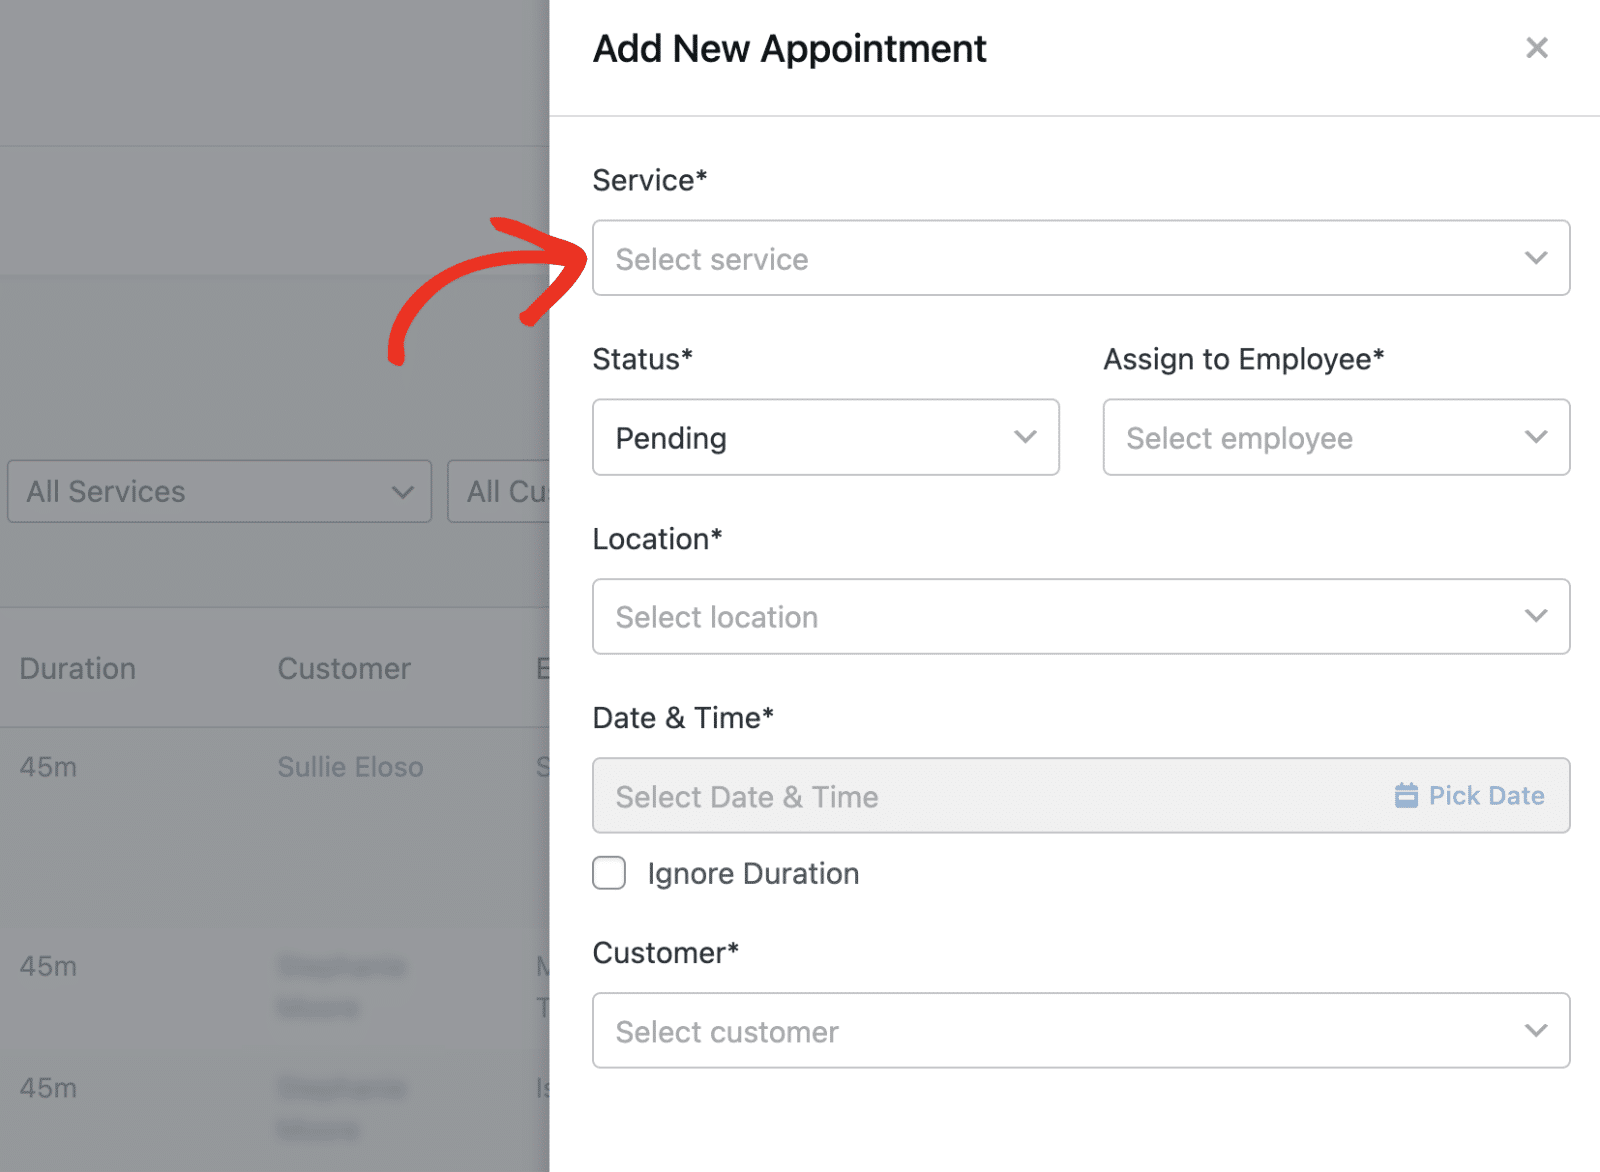
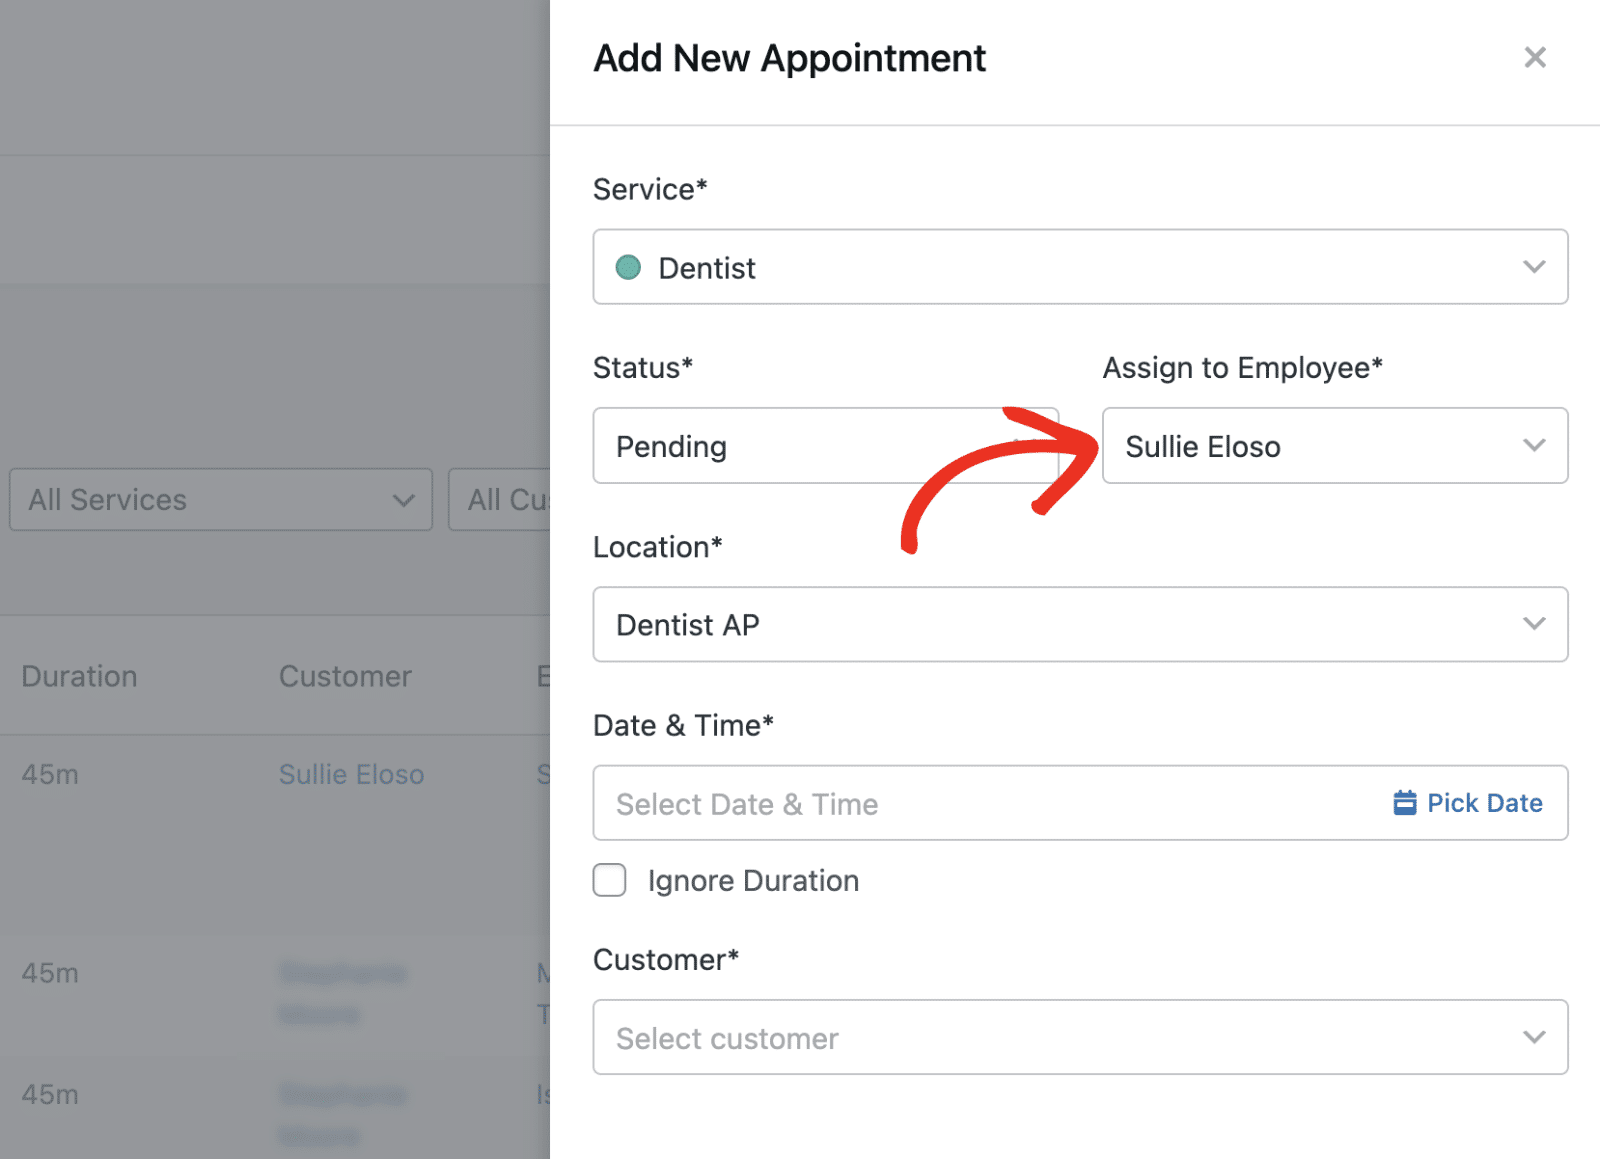
In the Add New Appointment dialog, you’ll need to fill out the appointment details.
Start by selecting a service from the Service dropdown.
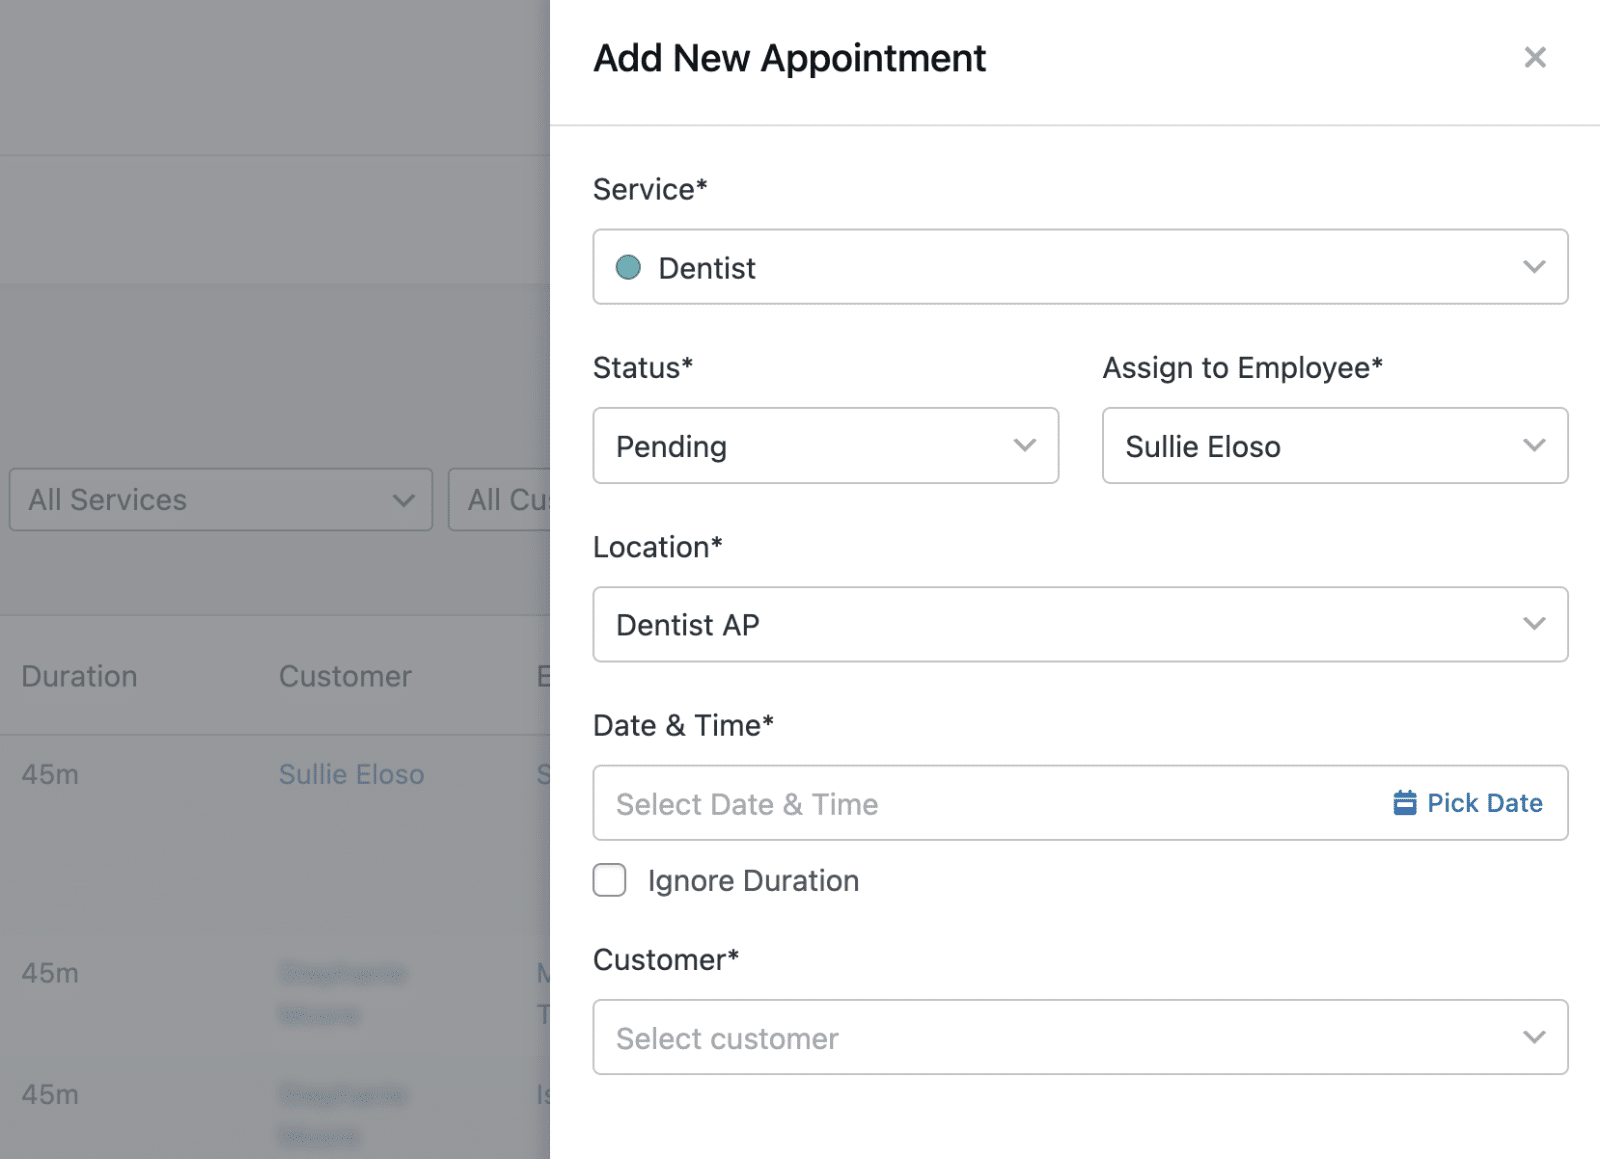
The Location field will automatically be set to the location specified when you created the service.
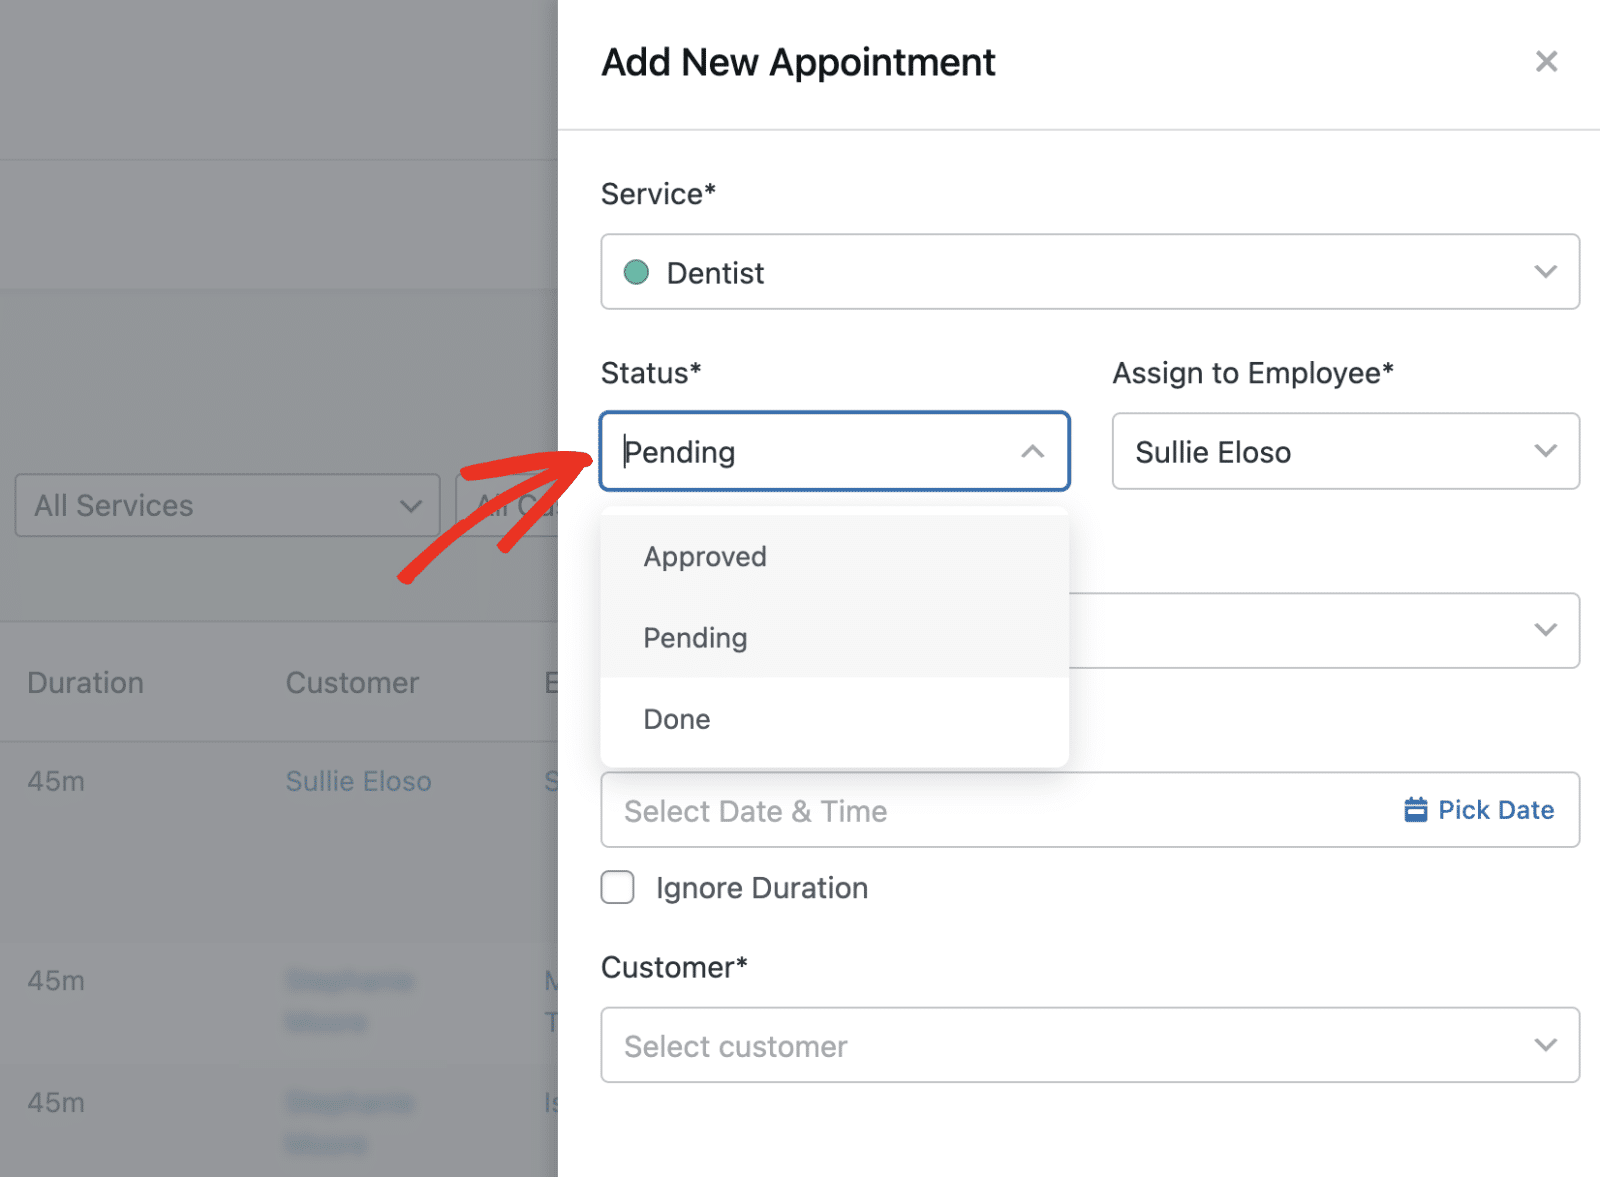
After selecting the service, set the appointment status from the Status dropdown. Available options include: Approved, Pending, and Done.
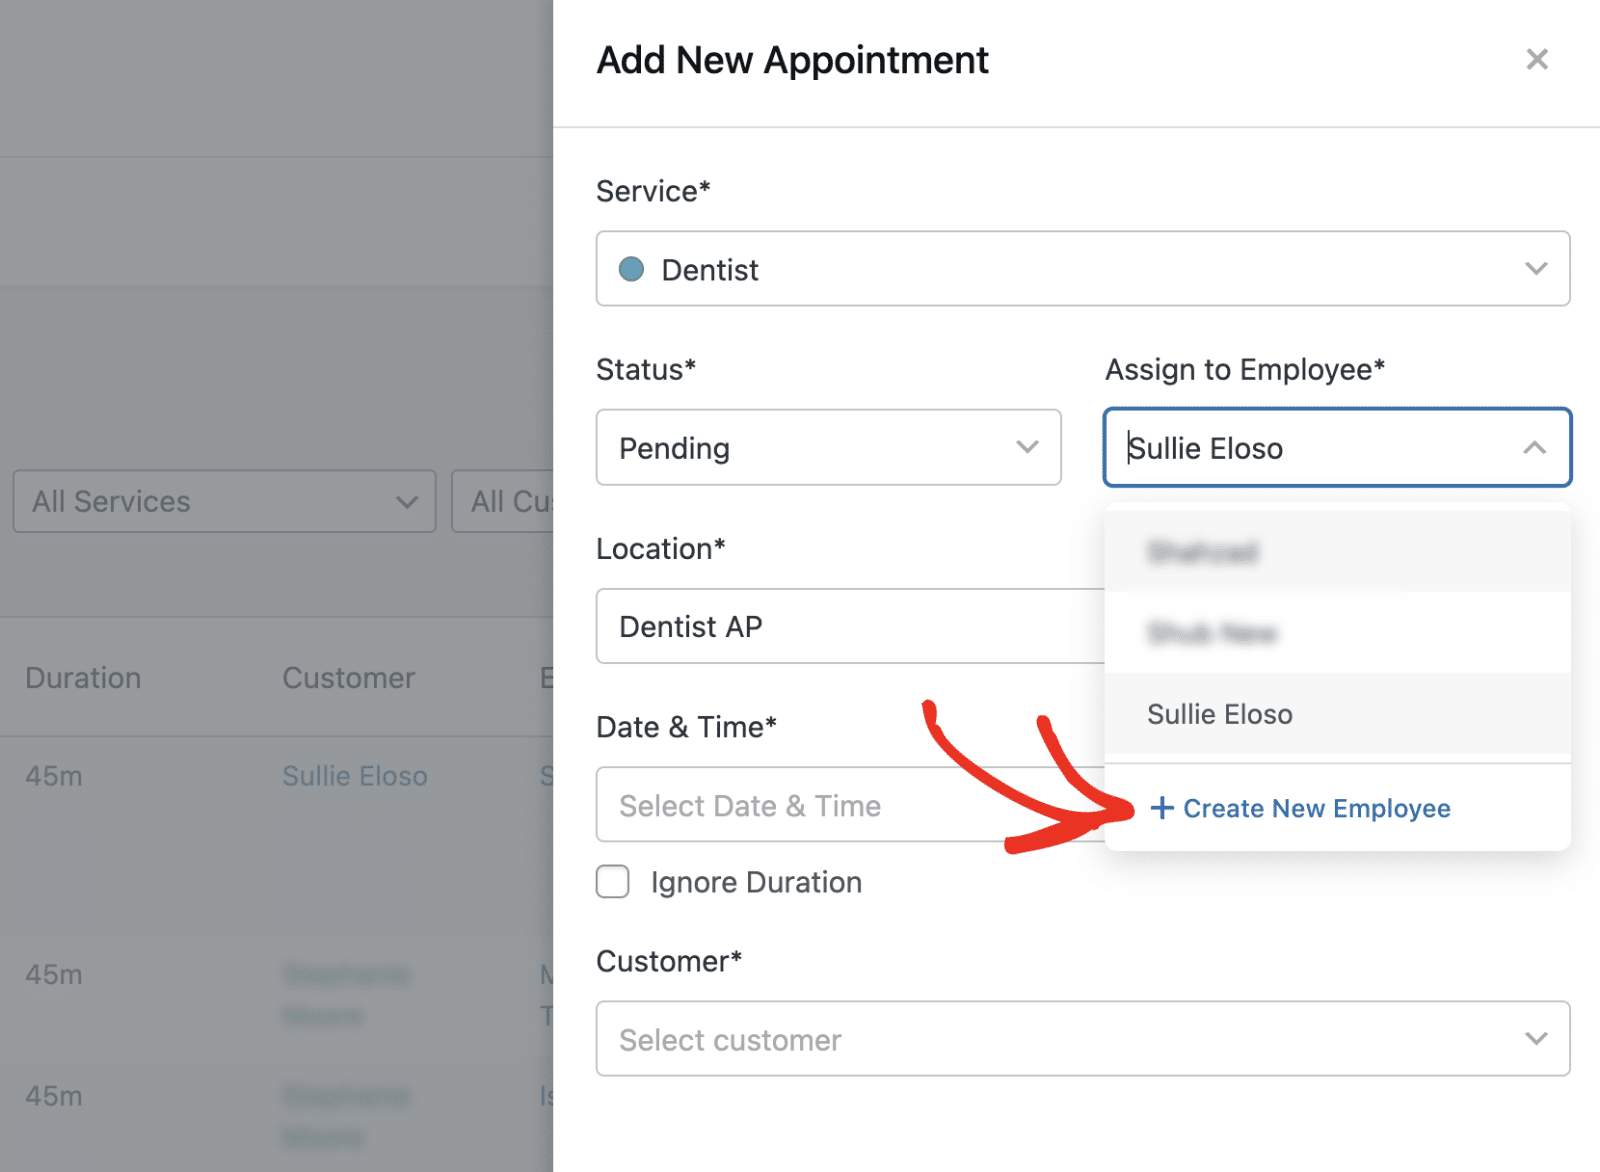
If you assigned the service to an employee when creating the service, the Assign to Employee field will be populated. Click the Assign to Employee dropdown to choose a different employee.
Then select from the available options. To create a new employee, click Create New Employee.
In the Add New Employee form, you’ll need to enter the employee’s details. Then click Add New to save the employee.
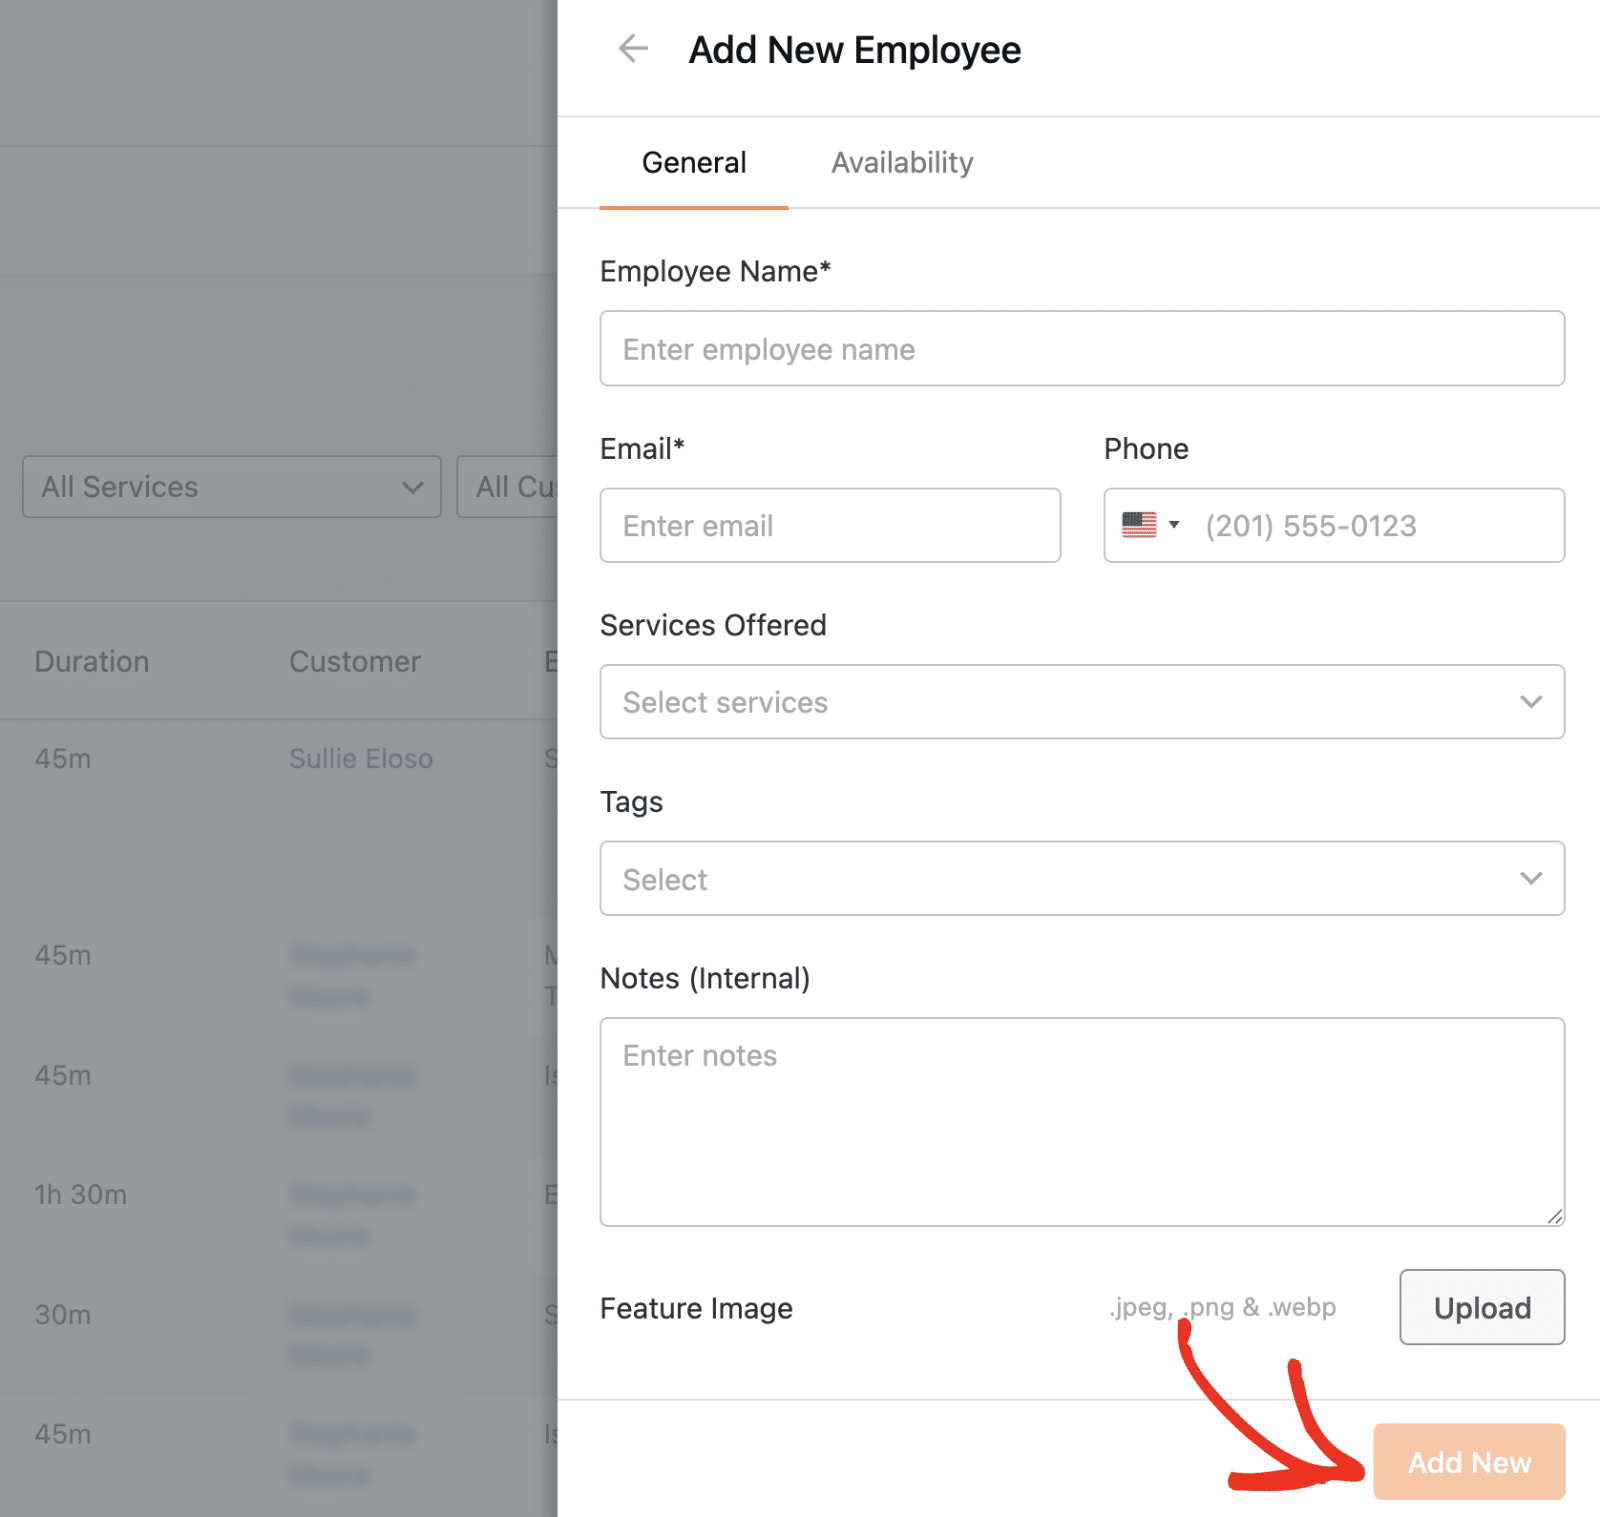
Note: You’ll need to include the service for which you’re creating an appointment in the Services Offered field. Otherwise, the employee won’t appear in the list. See our tutorial to learn more about creating and managing employees.
You can now select the new employee from the list.
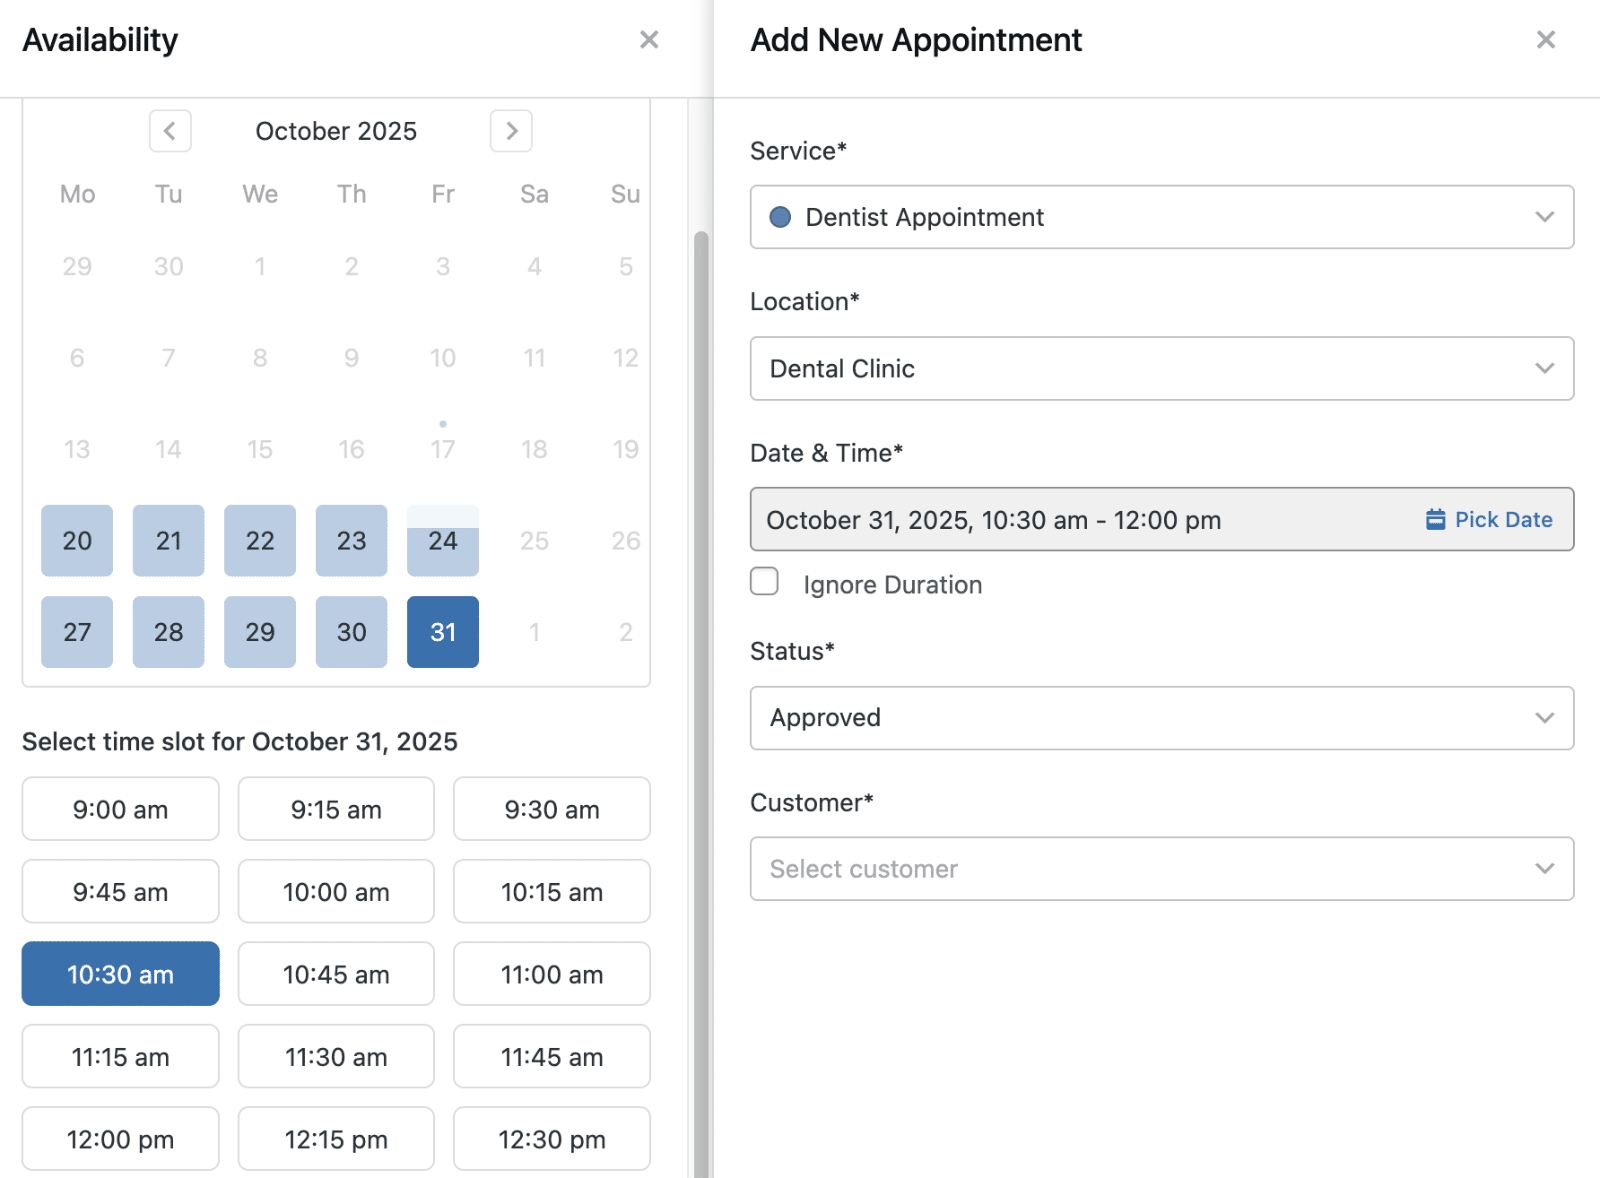
After that, click Pick Date to choose the appointment date and time. This will open the date picker, showing the available dates and time slots.
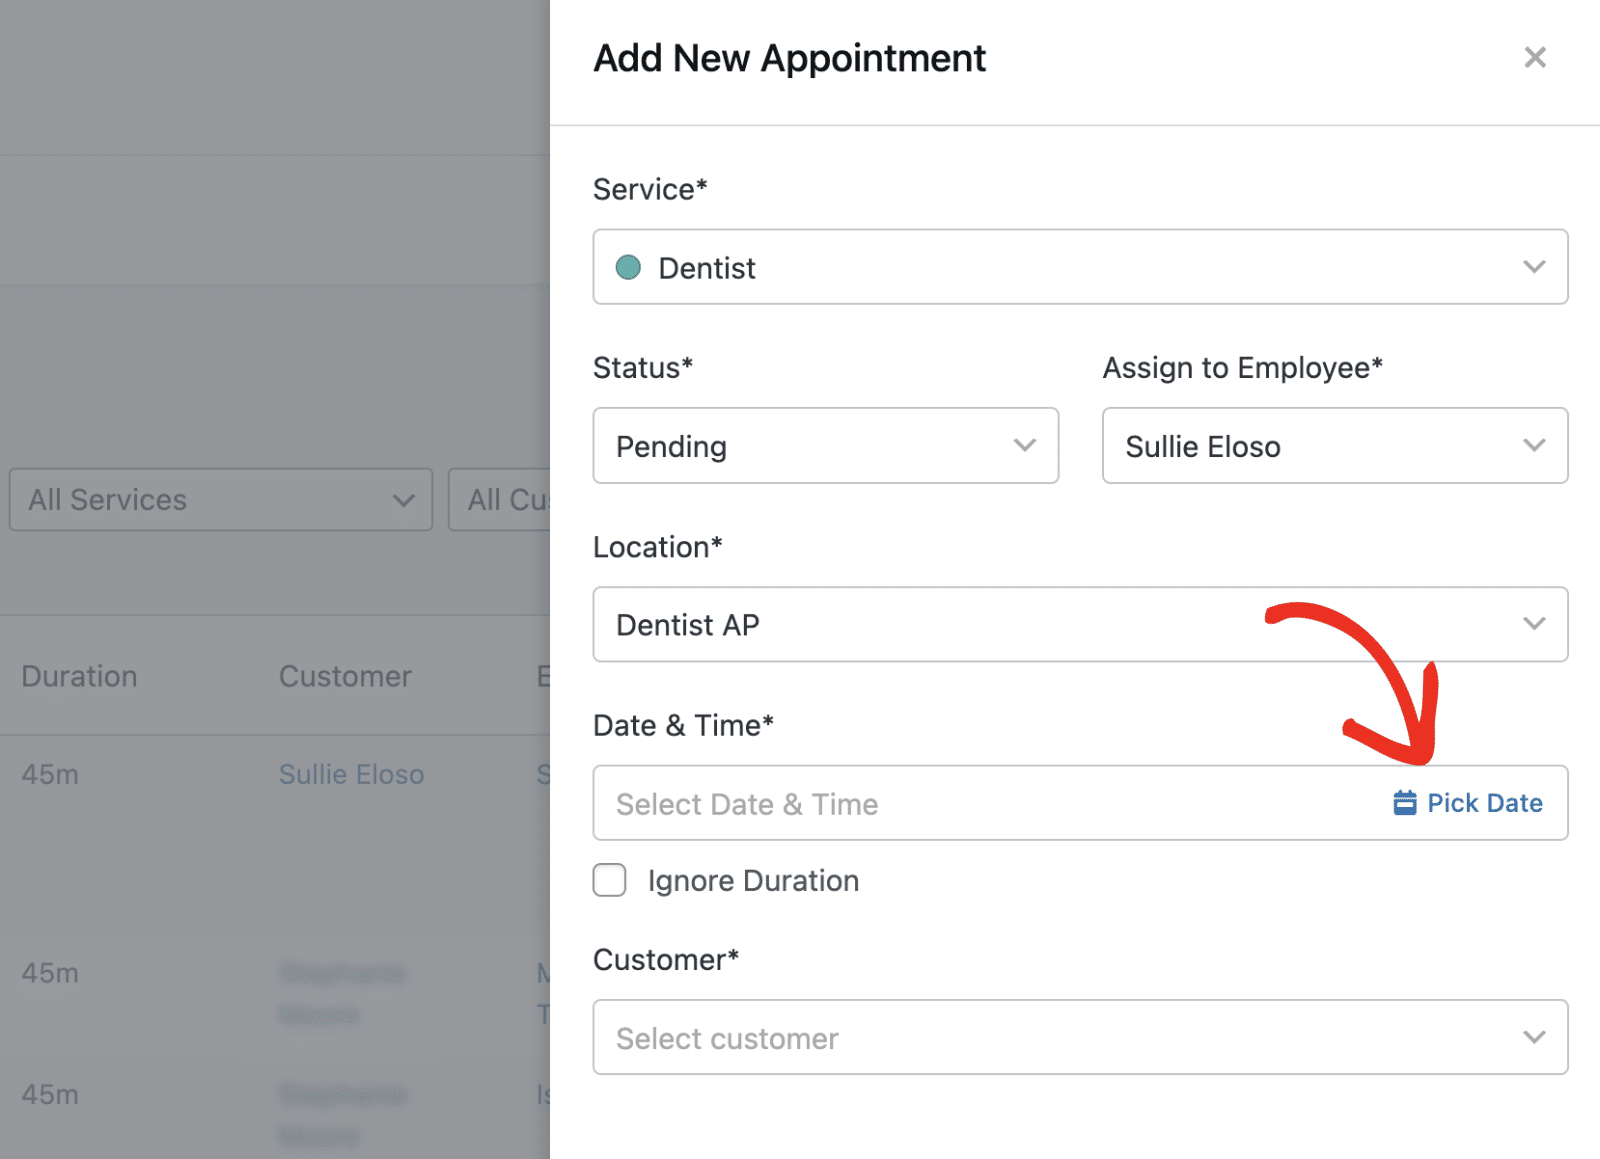
The system will automatically show only available time slots to prevent scheduling conflicts.
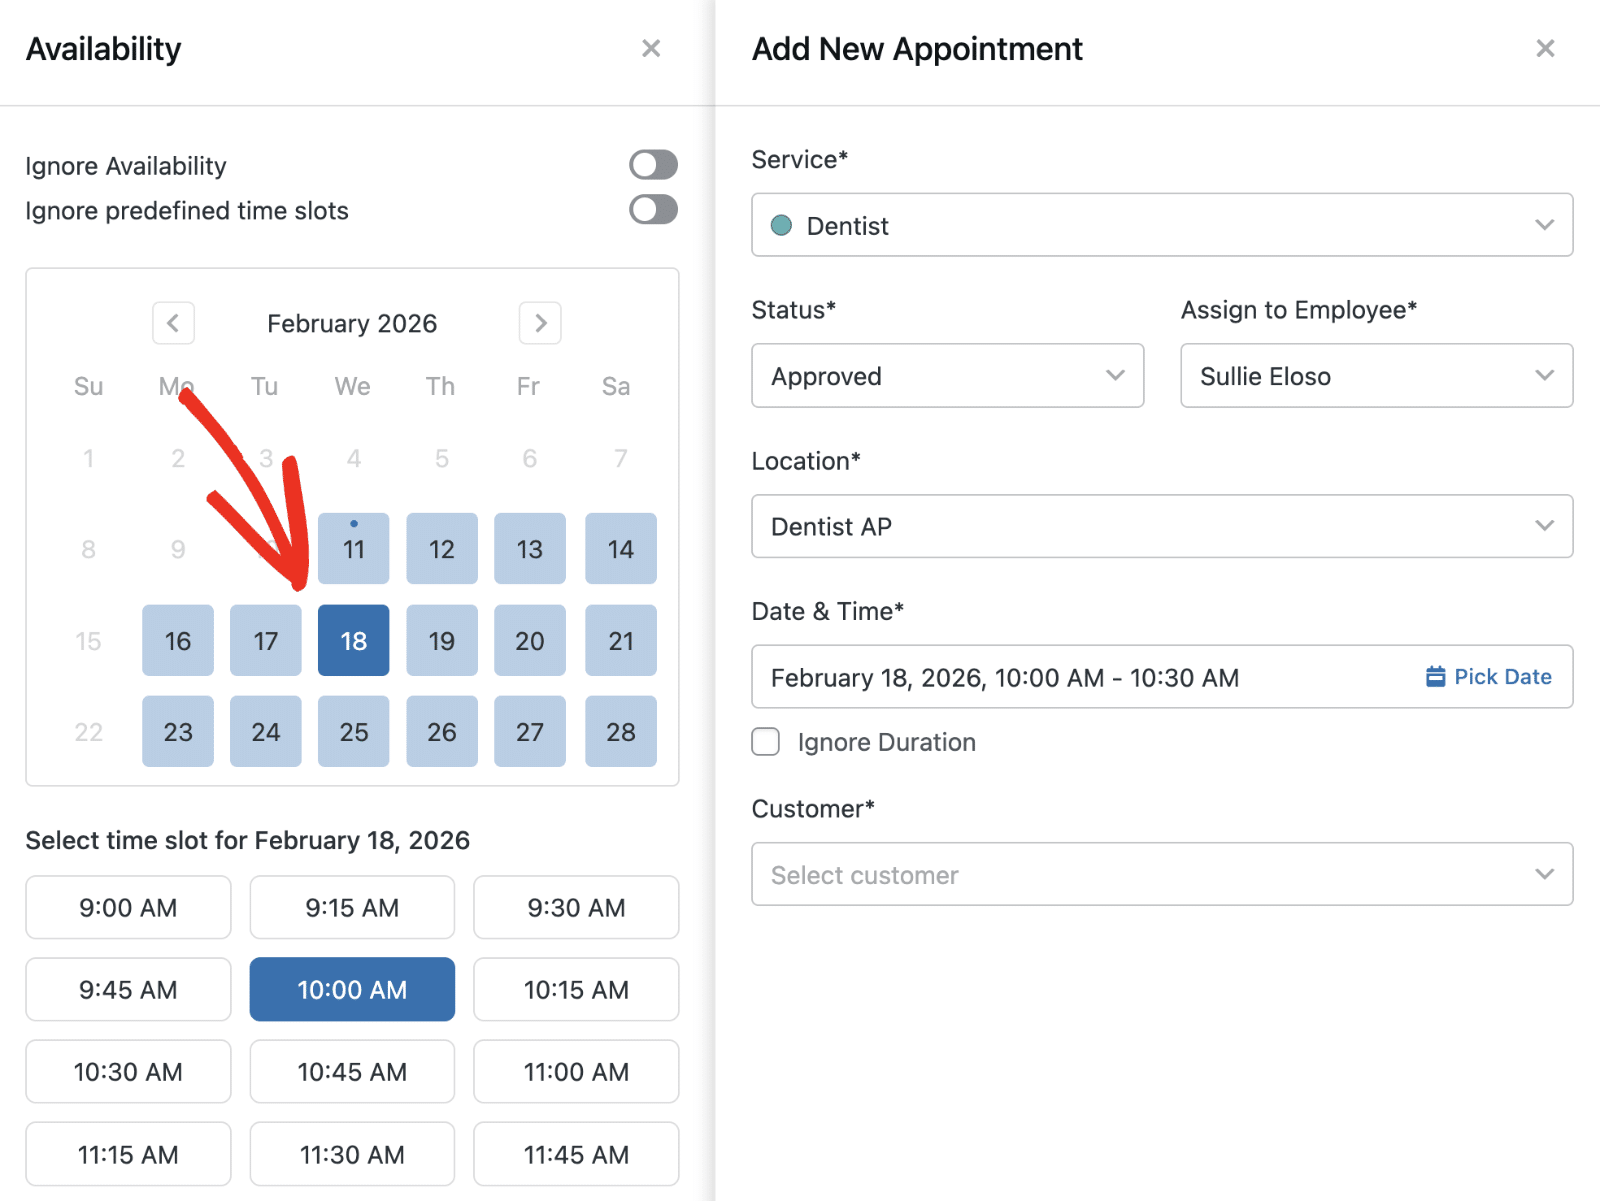
Go ahead and choose the date and time from the available options.
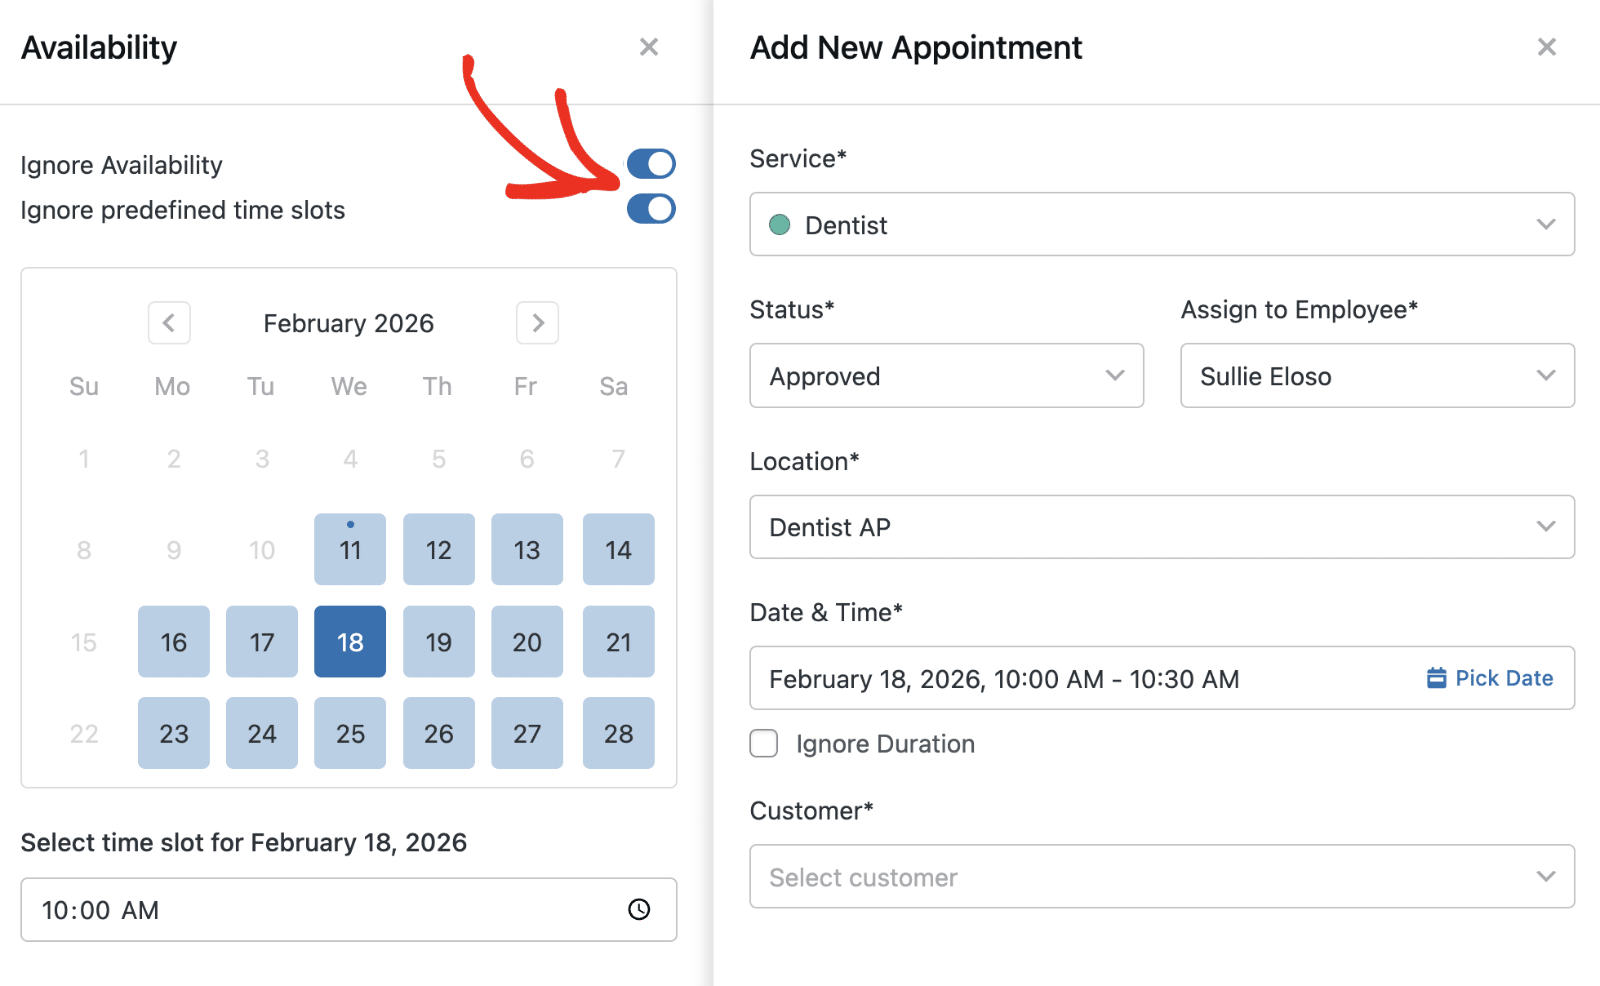
If you’d like to use a custom time slot, toggle on the Ignore Availability or Ignore predefined time slots options.
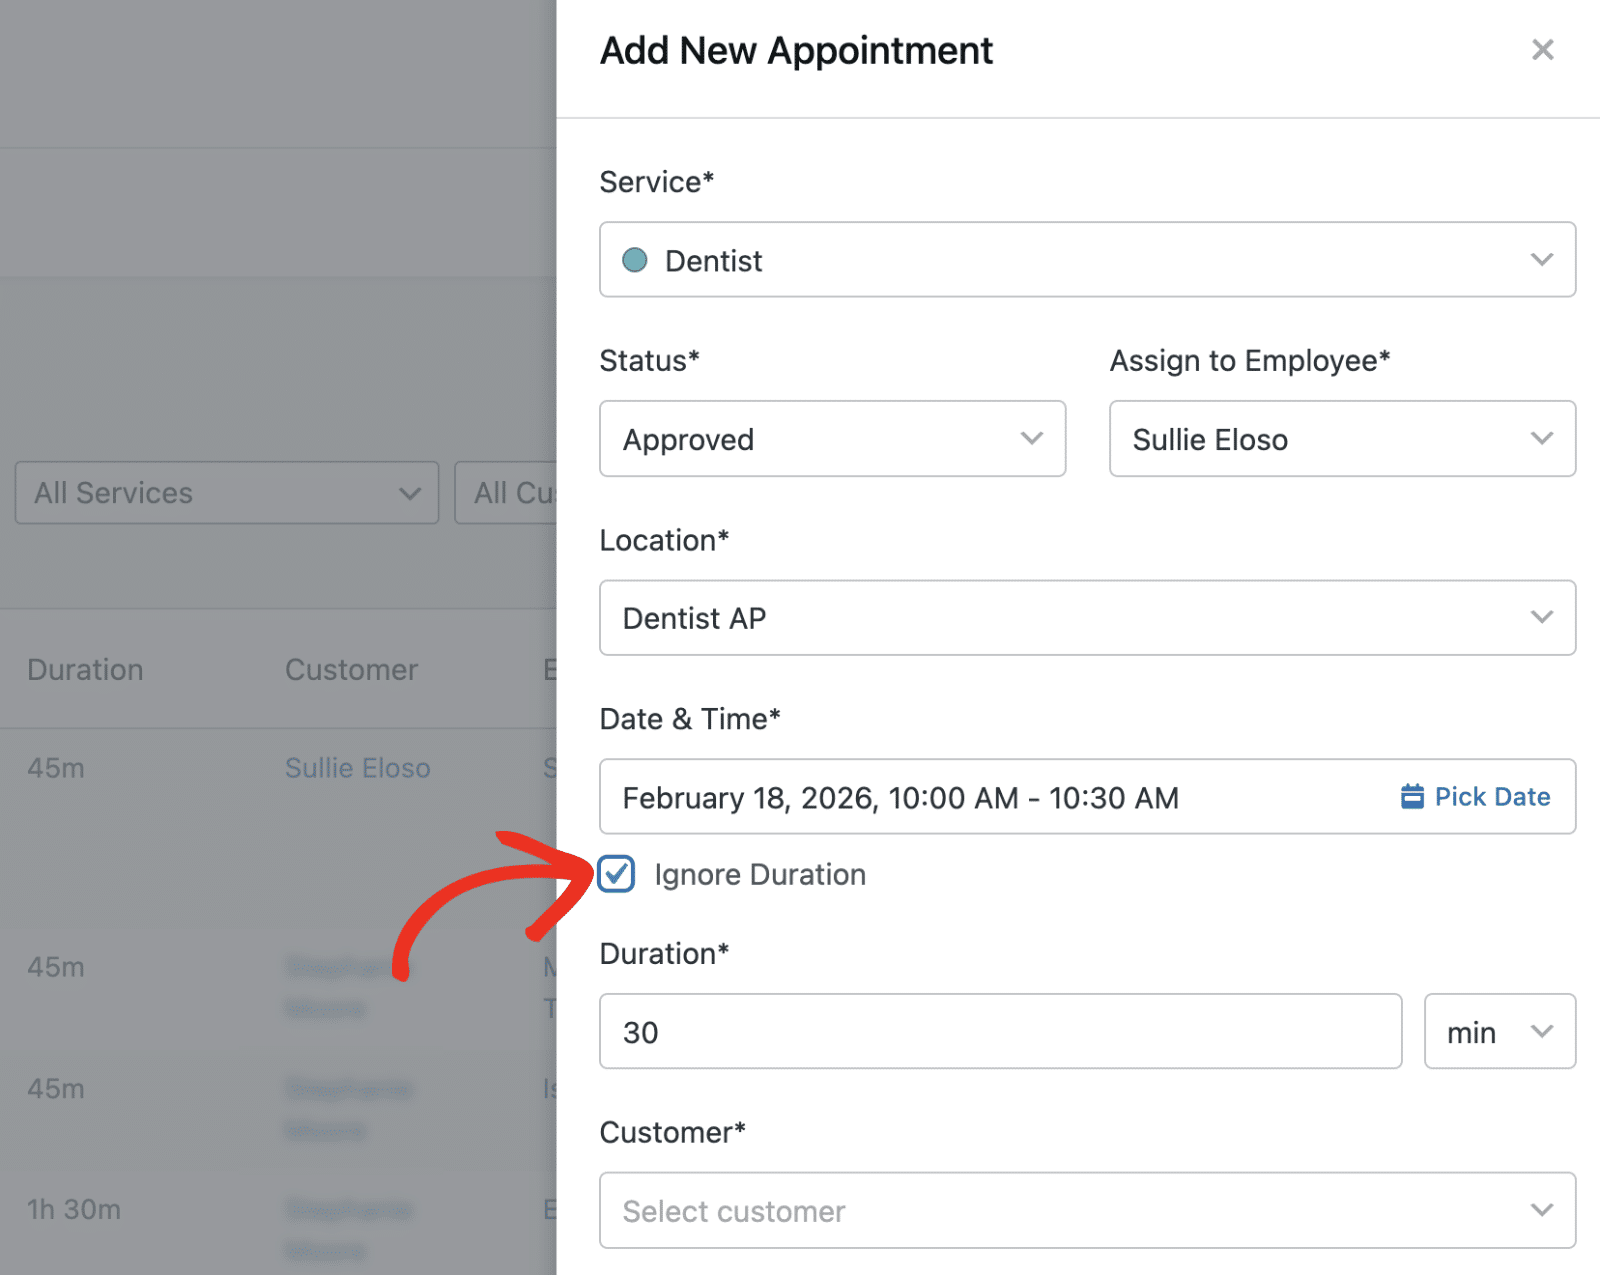
You can override the default appointment duration by checking the Ignore Duration box. Then specify the appointment time in the Duration field.
Next, select an existing customer from the Customer dropdown. or create a new one
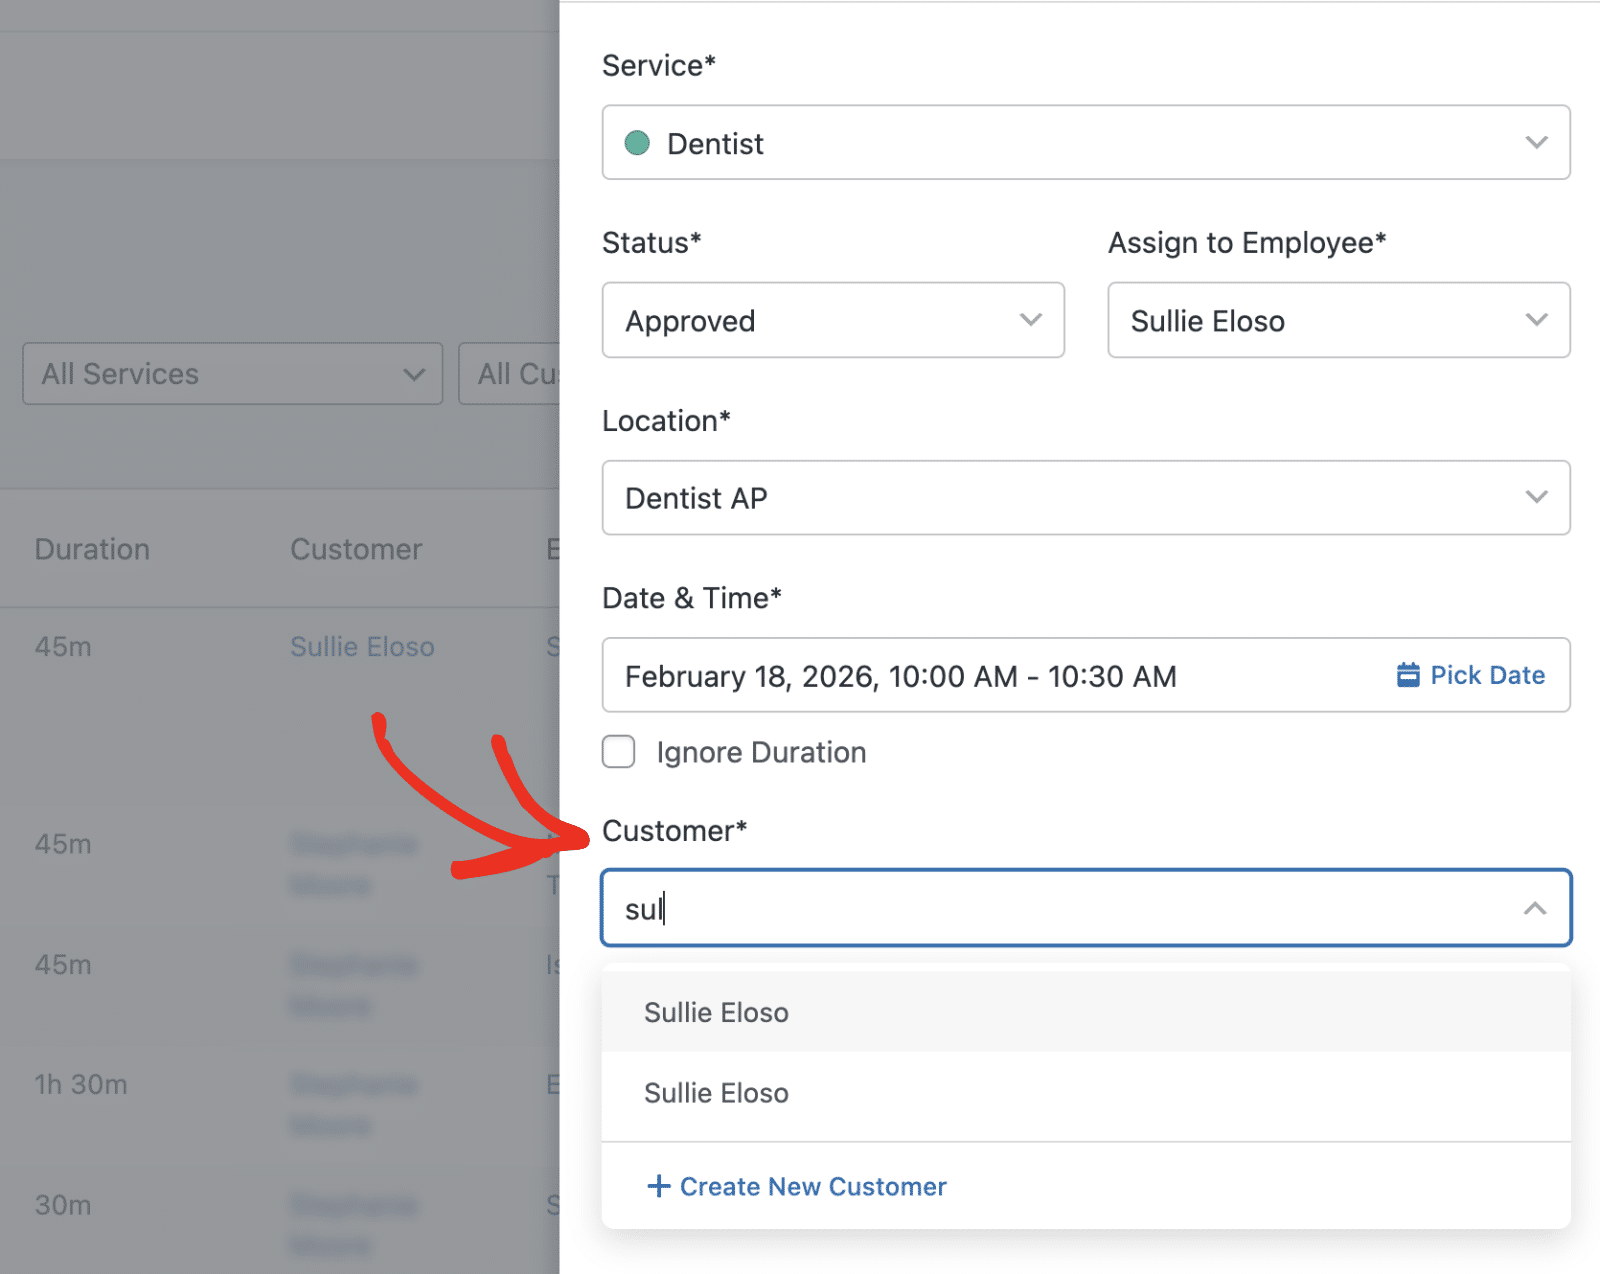
Note: Customers who book an appointment using the booking form will be added to the customer list. They’ll also be available as options in the Customer dropdown.
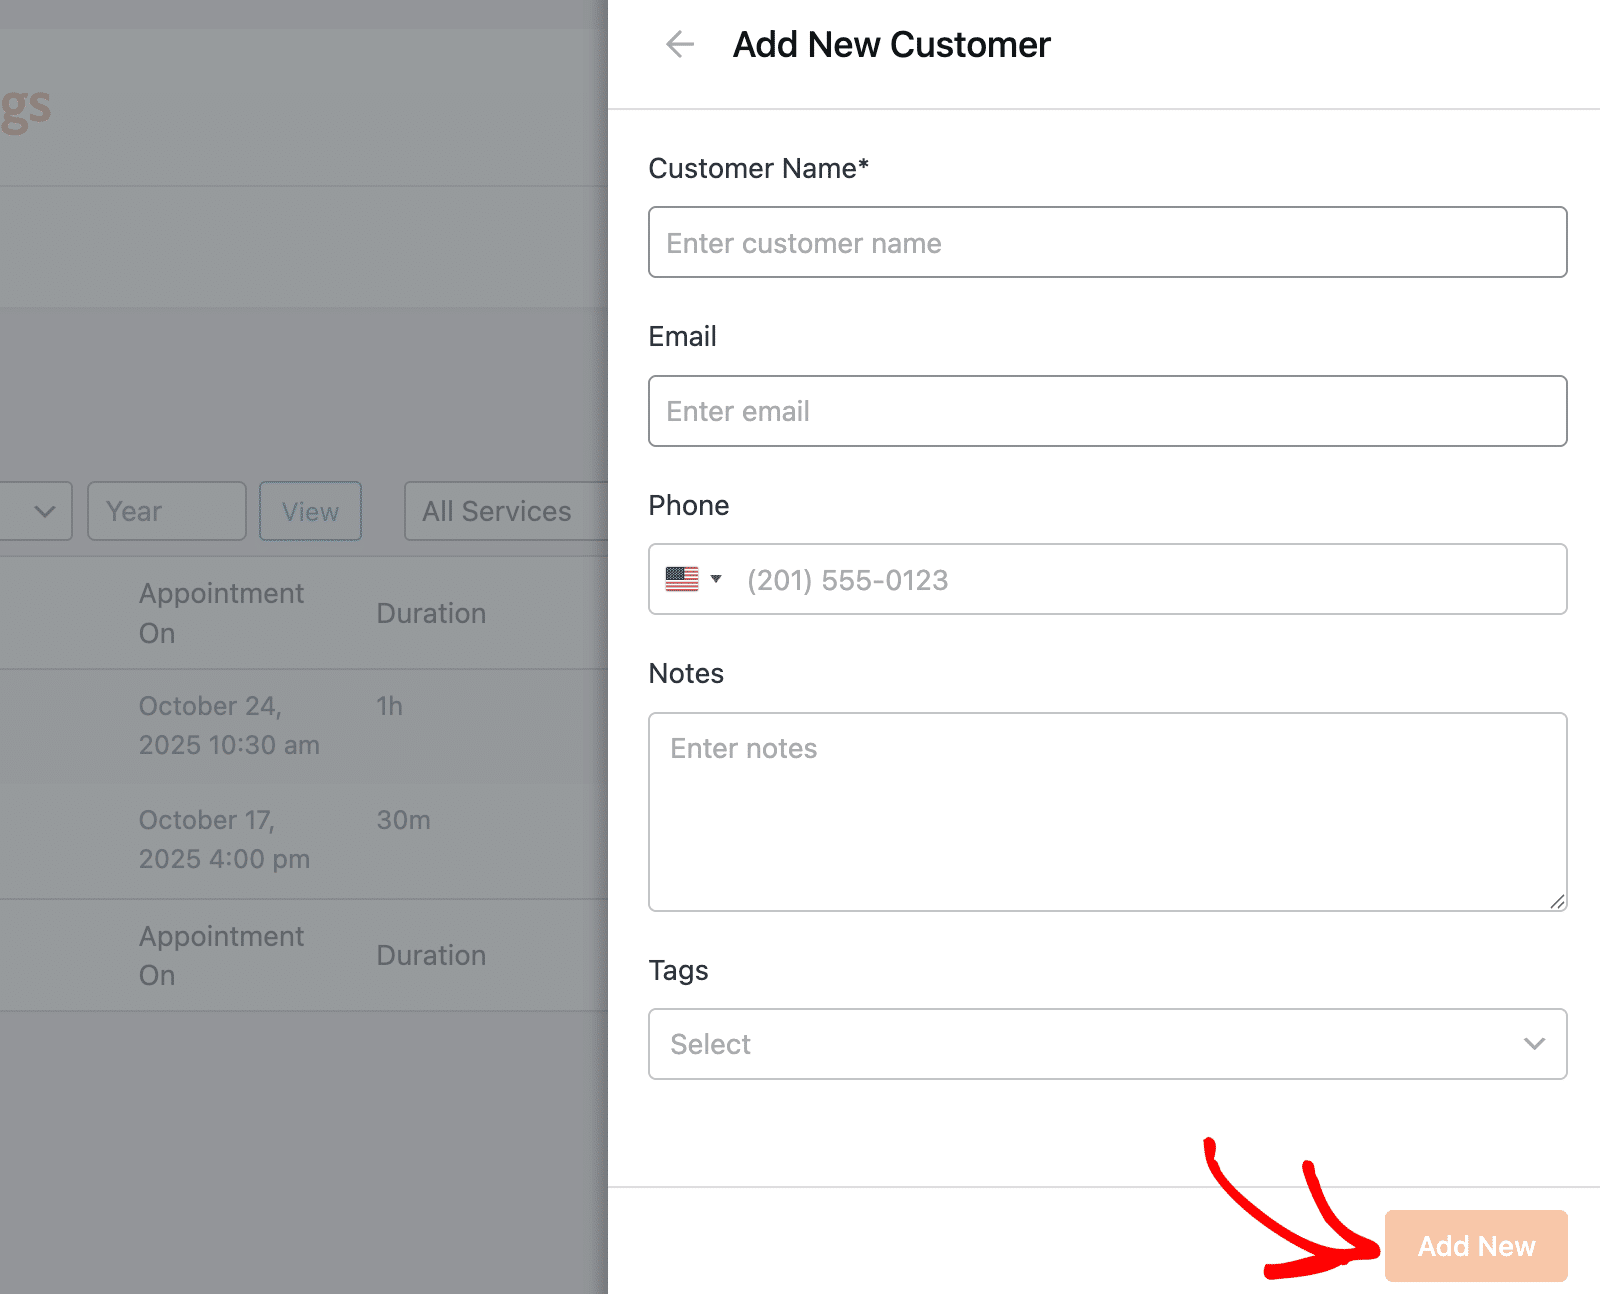
If the customer doesn’t exist in your system yet, you can create them directly from the appointment form by clicking Create New Customer.

In the dialog that appears, you’ll need to fill out the customer’s information. After that, click Add New to add them to your customer database.
Note: See our tutorial to learn more about creating and managing customer data.
After filling in all required fields, click Add New to create the appointment.
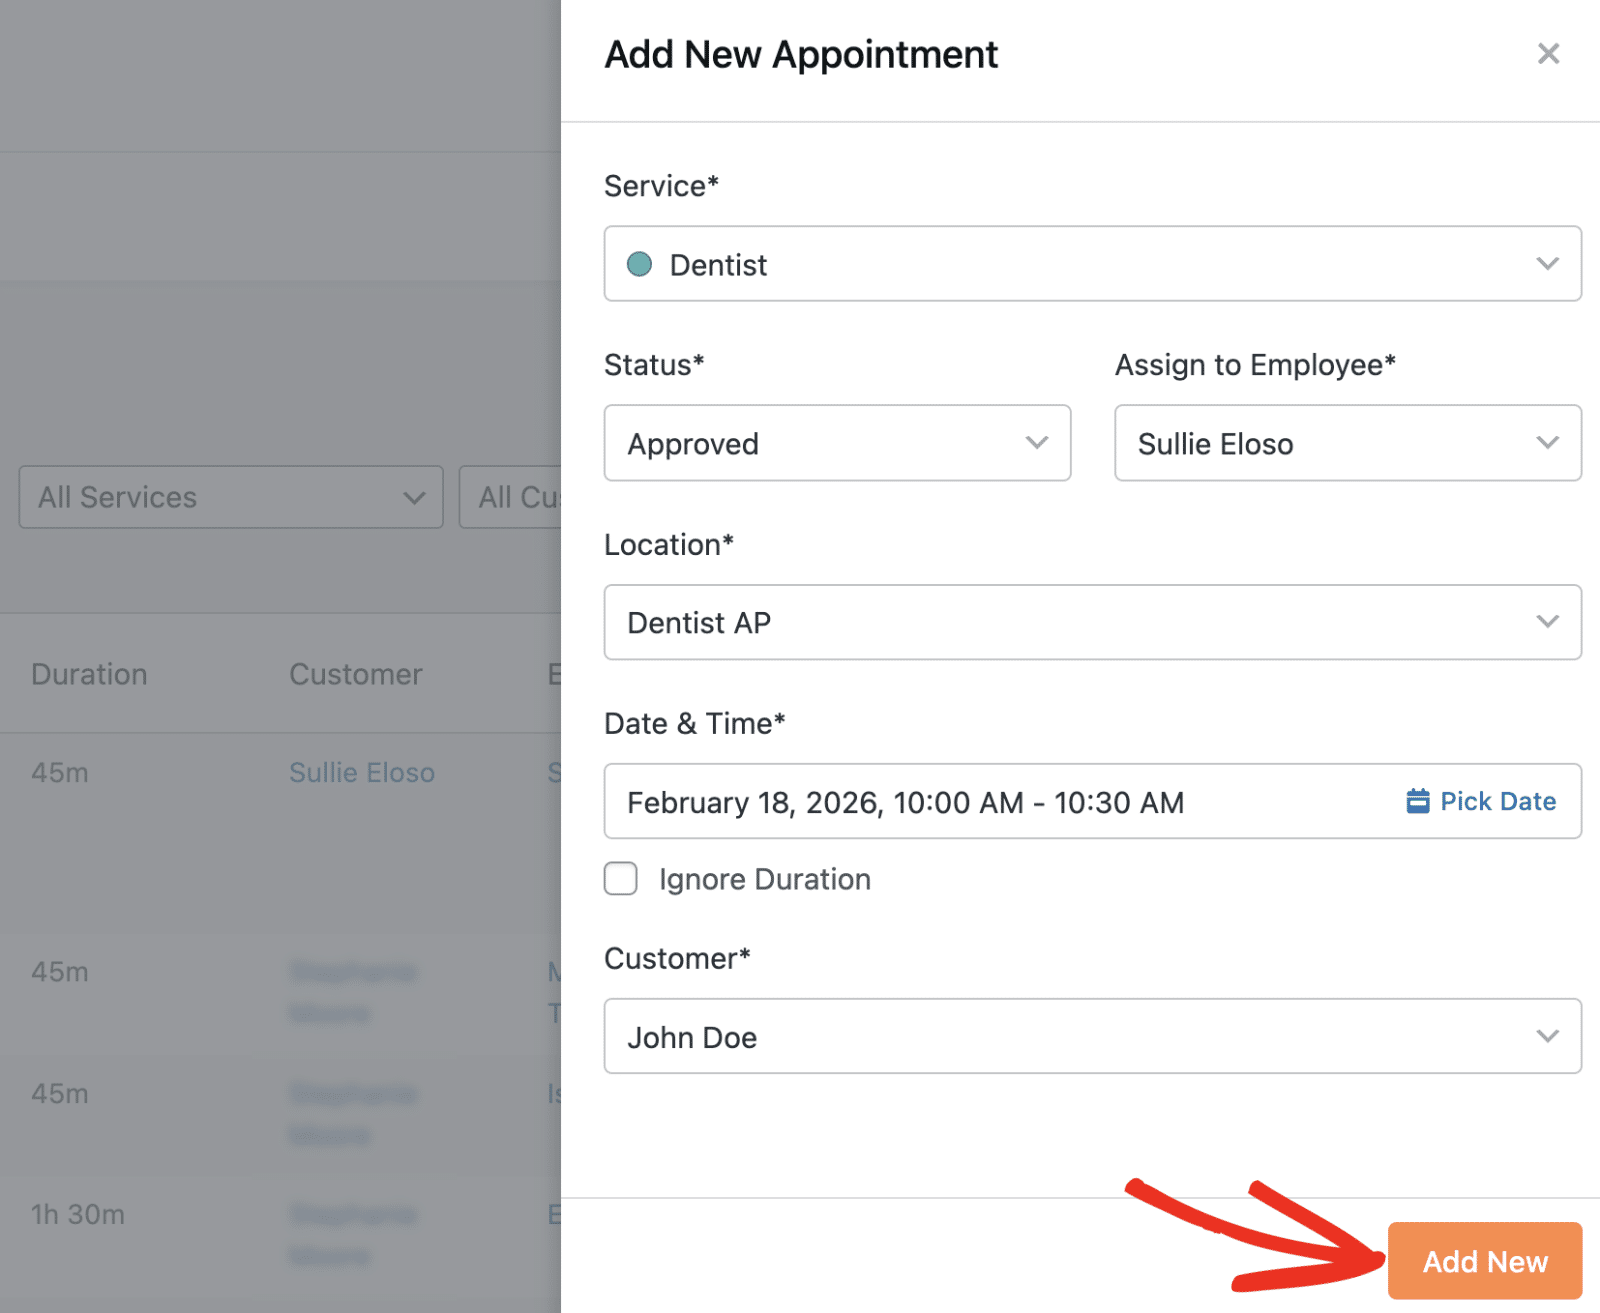
Once you’re done, the customer and employee will receive a booking confirmation email at the address you specified when entering their details. You’ll also see the new booking in the appointments list.
Understanding Payment Methods
Sugar Calendar supports different payment methods depending on how the appointment is booked:
Frontend Booking Payment Options
- Credit Card & More: Immediate online payment through Stripe integration
- Pay On-Site: The user will make payment at the time of the appointment
Manual Booking Payment Method
When creating appointments manually from the admin dashboard, the payment method is automatically set to On-site.
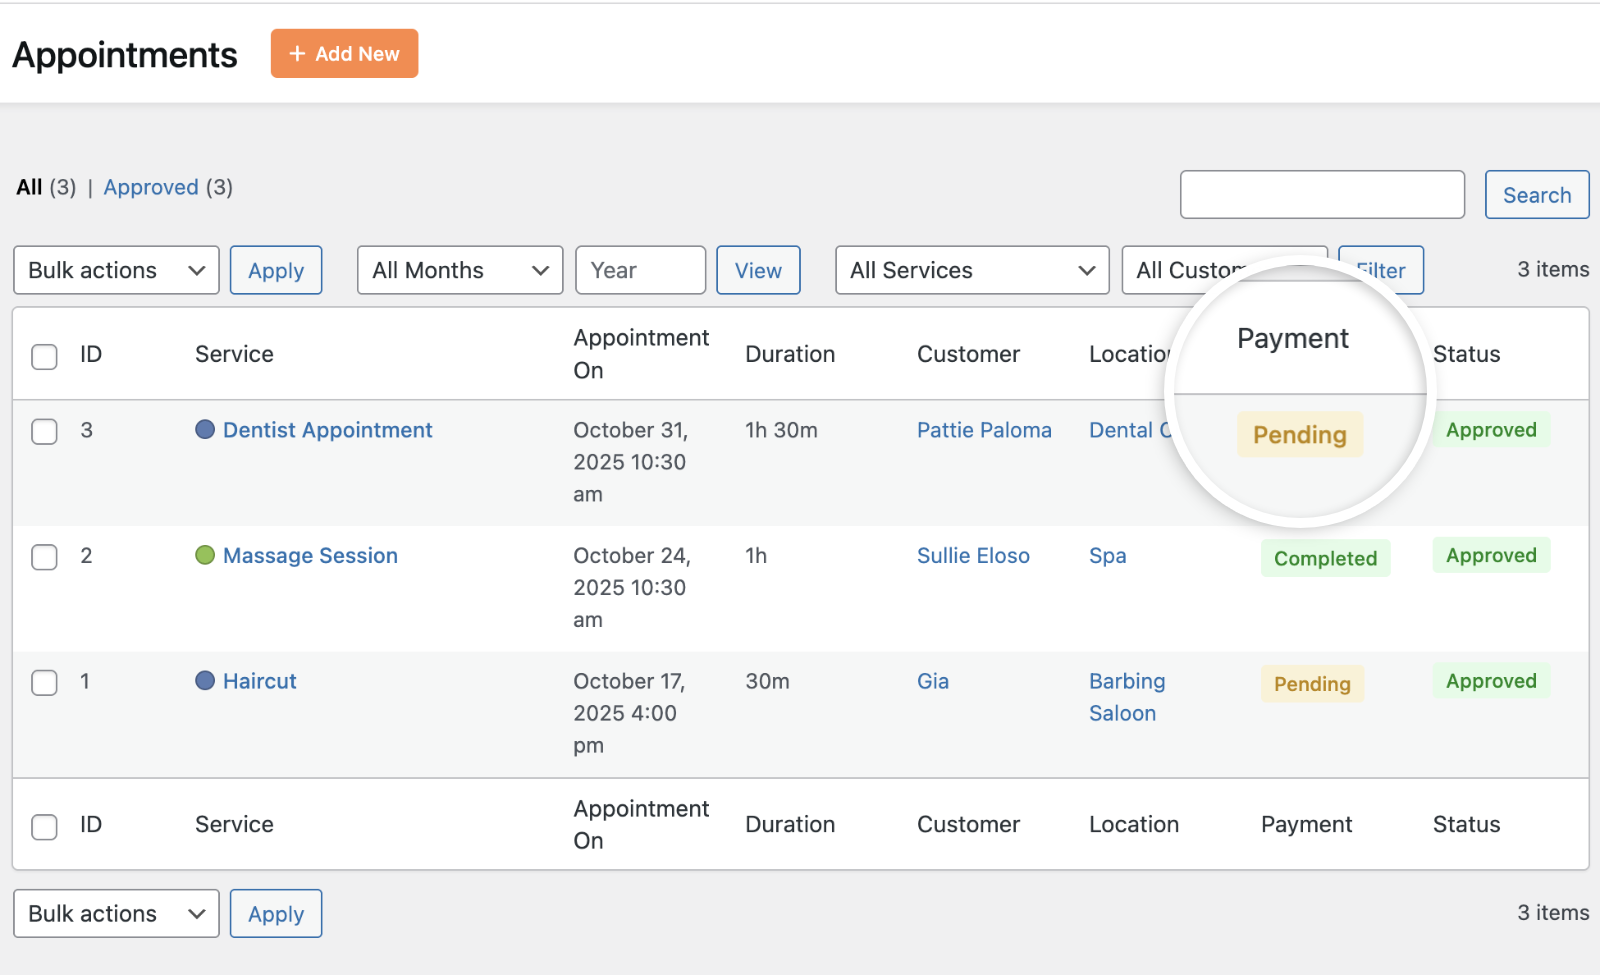
On the admin dashboard, On-Site bookings have the “Pending” payment status, which you can update after the customer pays.
Understanding Booking Status
All appointments have a status that helps you track their progress:
- Approved: The appointment is confirmed and scheduled
- Pending: The appointment is awaiting confirmation or approval
- Done: The appointment has been completed
- Canceled: The appointment was canceled by the site admin
That’s it! You now understand both methods for booking appointments in Sugar Calendar Bookings.
Next, would you like to learn how to manage and organize your appointment bookings? Check out our guide on Managing Appointment Bookings for more details.