Would you like to manage your upcoming appointments without leaving your WordPress Dashboard? Our Dashboard Widget provides a quick overview of scheduled appointments right from your admin homepage.
In this guide, you’ll learn how to use and customize the Sugar Calendar Bookings dashboard widget.
In This Article
Before getting started, make sure the Sugar Calendar Bookings plugin is installed and activated on your WordPress site.
Accessing the Dashboard Widget
The Sugar Calendar Bookings widget is automatically added to your WordPress dashboard when the plugin is activated.
To view it, go to Dashboard » Home from the WordPress admin area. Then scroll down to the Sugar Calendar Bookings section.
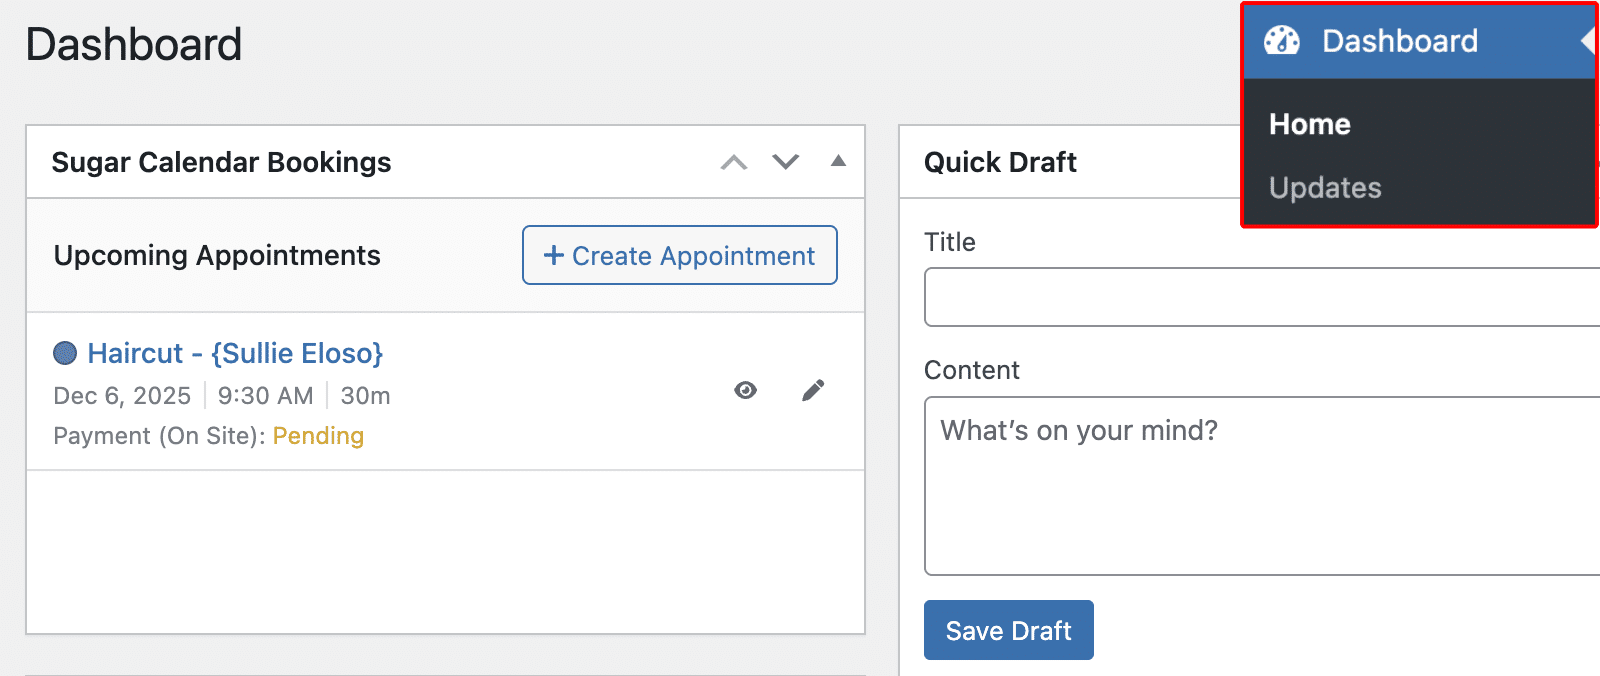
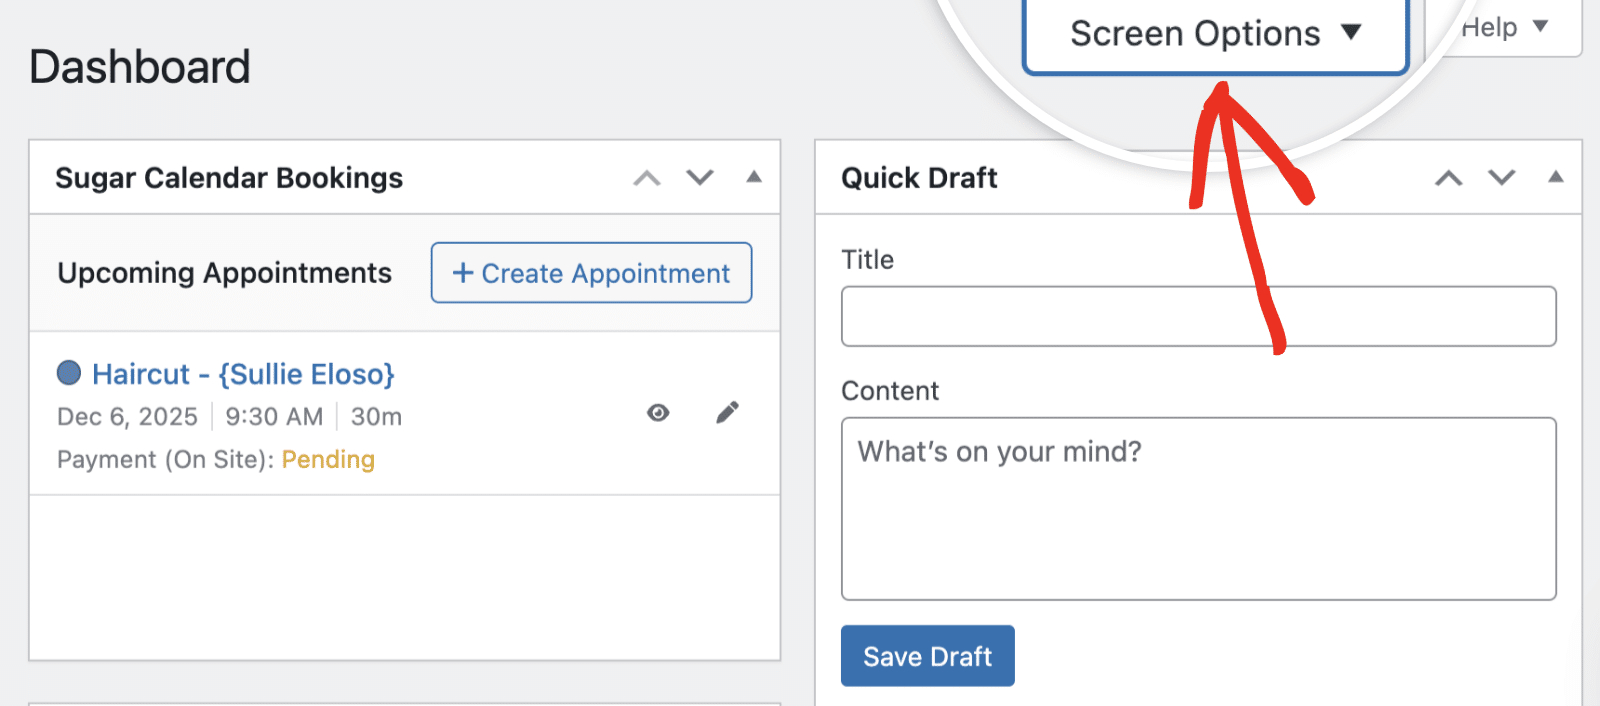
The widget displays upcoming appointments in a list format, showing the most relevant information at a glance.
Creating a New Appointment
To quickly add a new appointment, click the + Create Appointment button located at the top right of the widget.
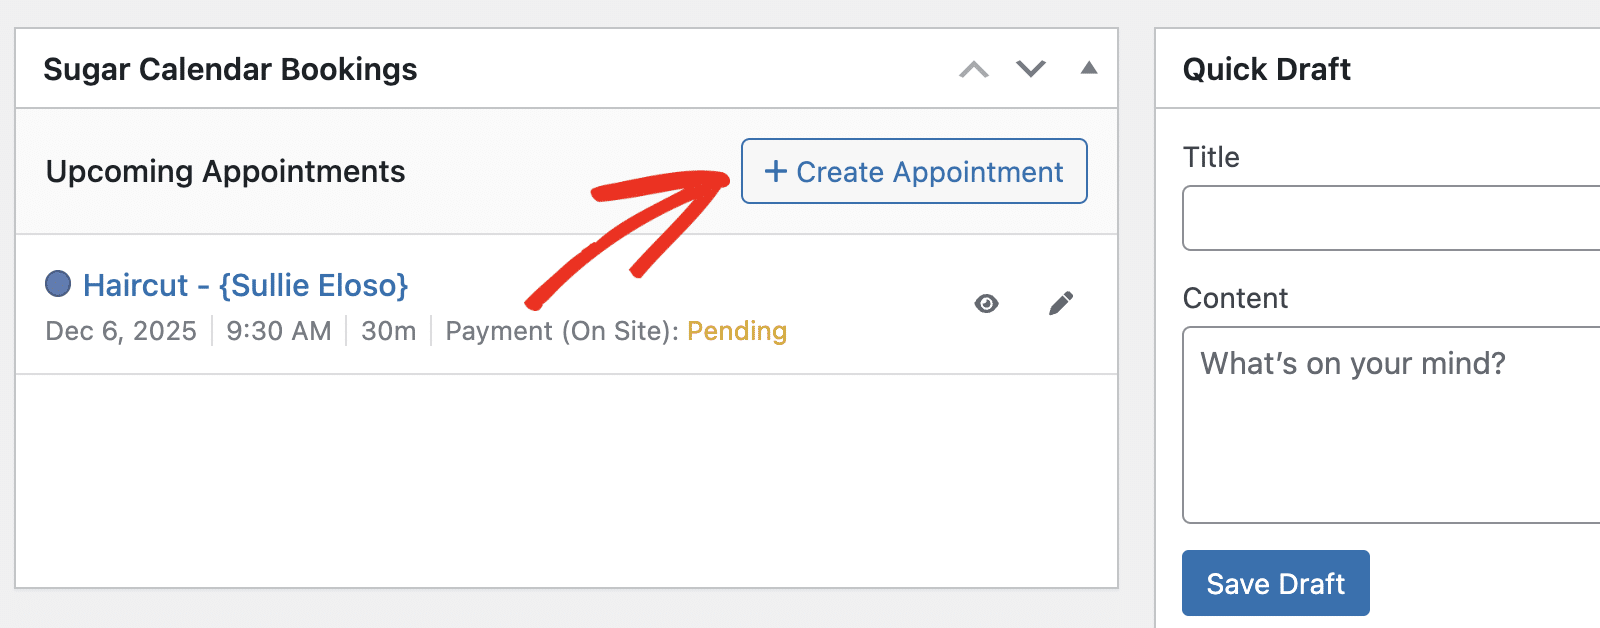
This will open the appointment editor, where you can enter all the necessary details like customer information, service type, date, time, and payment options.
Viewing Appointment Details
Each appointment entry in the widget displays the following information:
- Service name and customer
- Appointment date
- Start time
- Duration
- Payment method and status
This layout helps you quickly identify which appointments require attention, especially those with pending payments.
Quick Actions for Appointments
Each appointment in the widget includes two action icons for quick access:
Viewing the Appointment
Click the eye icon to view the full details of an appointment.
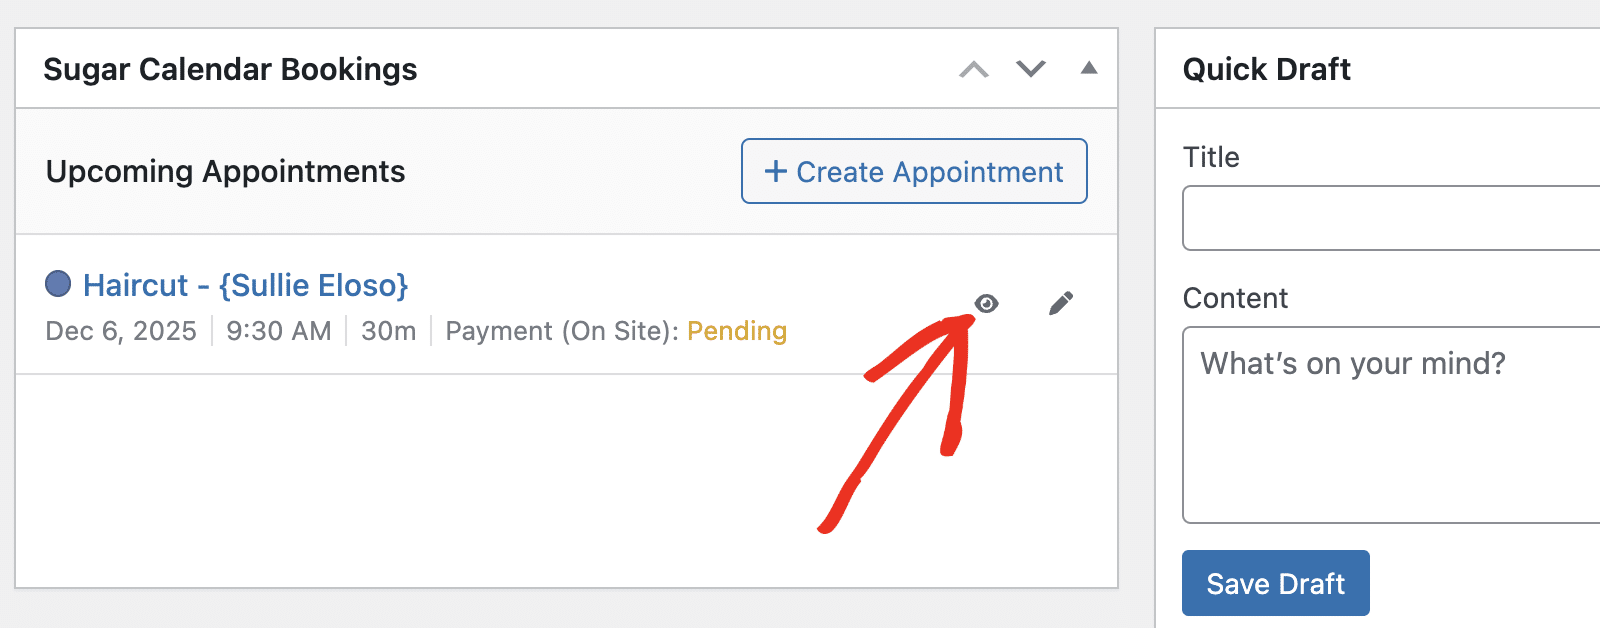
This will direct you to the appointment details page, where you can see complete information about the booking.
Editing the Appointment
To make changes to an appointment, click the pencil icon.
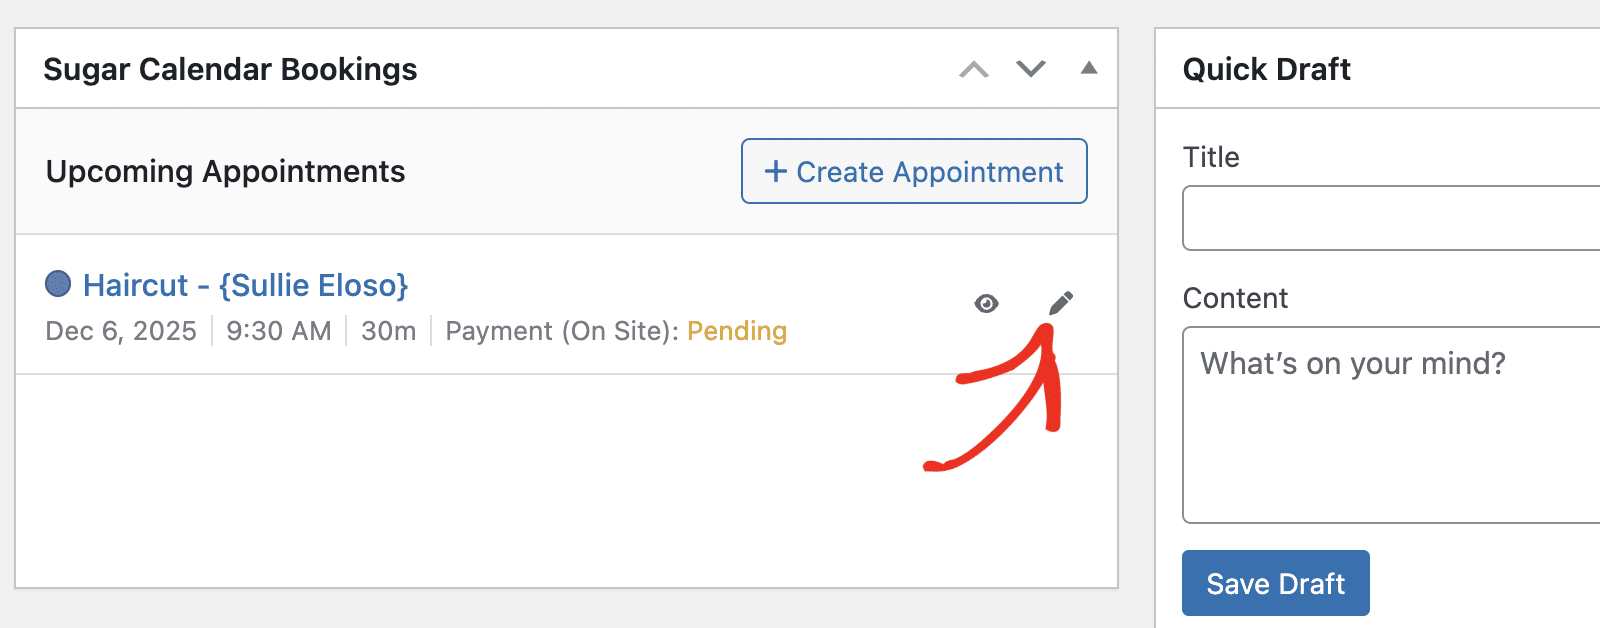
This opens the appointment editor where you can modify any details such as the date, time, service, or payment status.
Customizing the Dashboard View
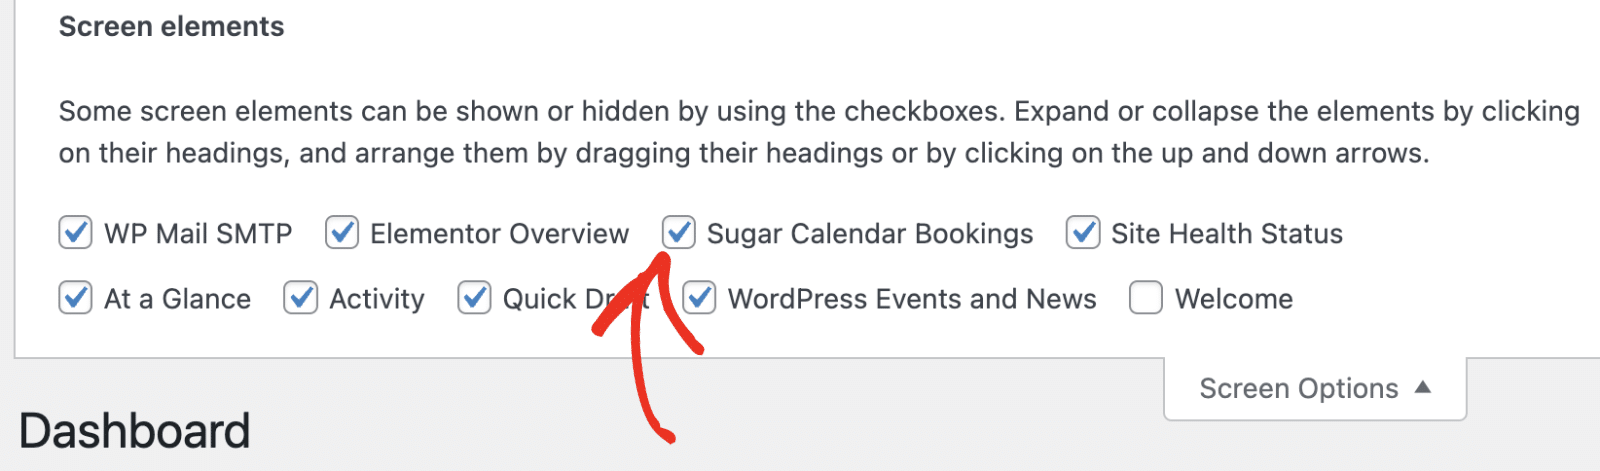
To show or hide the Sugar Calendar Bookings widget from the Dashboard, click on the Screen Options tab in the upper-right corner.
Then toggle the checkbox for Sugar Calendar Bookings.
You can also collapse or expand the widget by clicking the arrow in the top-right of the widget box.

That’s it! You’ve now learned how to use the Sugar Calendar Bookings dashboard widget.
Next, would you like to learn how to customize settings in the booking plugin? See our complete guide to Sugar Calendar Bookings settings to get started.