Are you looking for a step-by-step onboarding wizard to configure the Sugar Calendar Bookings plugin? The Setup Wizard will walk you through the key settings and features to get your booking system up and running in minutes.
In this guide, we’ll show you how to use Sugar Calendar Bookings’ Setup Wizard.
What Is the Setup Wizard?
The Setup Wizard is a step-by-step onboarding process that launches automatically the first time you activate the Sugar Calendar Bookings plugin. It helps you:
- Configure your meeting location preferences
- Select your service category and set up initial services
- Set up essential booking settings like date formats and employee information
- Connect to payment providers like Stripe to accept payments for bookings
- Configure default availability schedules
Launching the Setup Wizard
To begin, install and activate the Sugar Calendar Bookings plugin on your WordPress site.
After activating the plugin, you’ll be directed to the Setup Wizard welcome screen. Once there, click the Let’s Get Started button to begin.

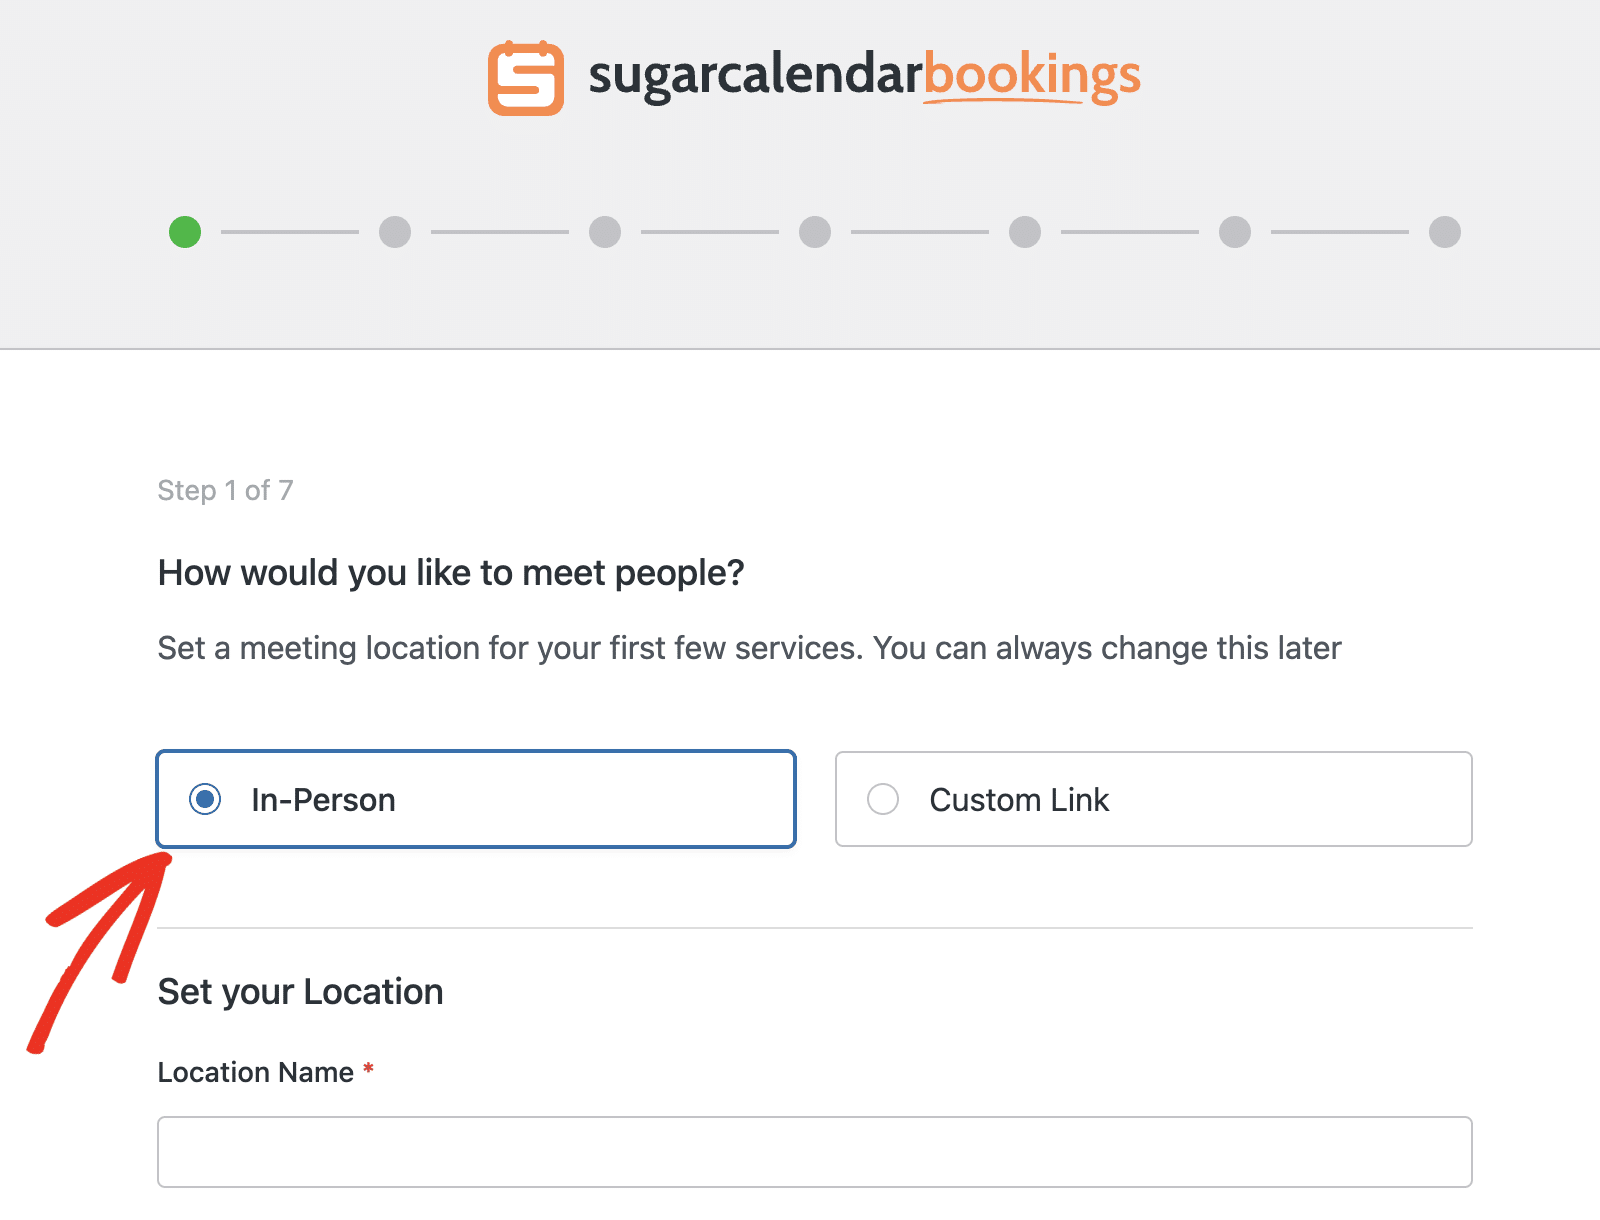
Step 1: Choosing Booking Location
Start by selecting how you’d like to meet with clients. You’ll have two options to choose from:
- In-Person – For physical location meetings at your business
- Custom Link – For virtual meetings using video conferencing tools
Setting Up In-Person Meetings
If you select In-Person, you’ll need to provide your physical location details.
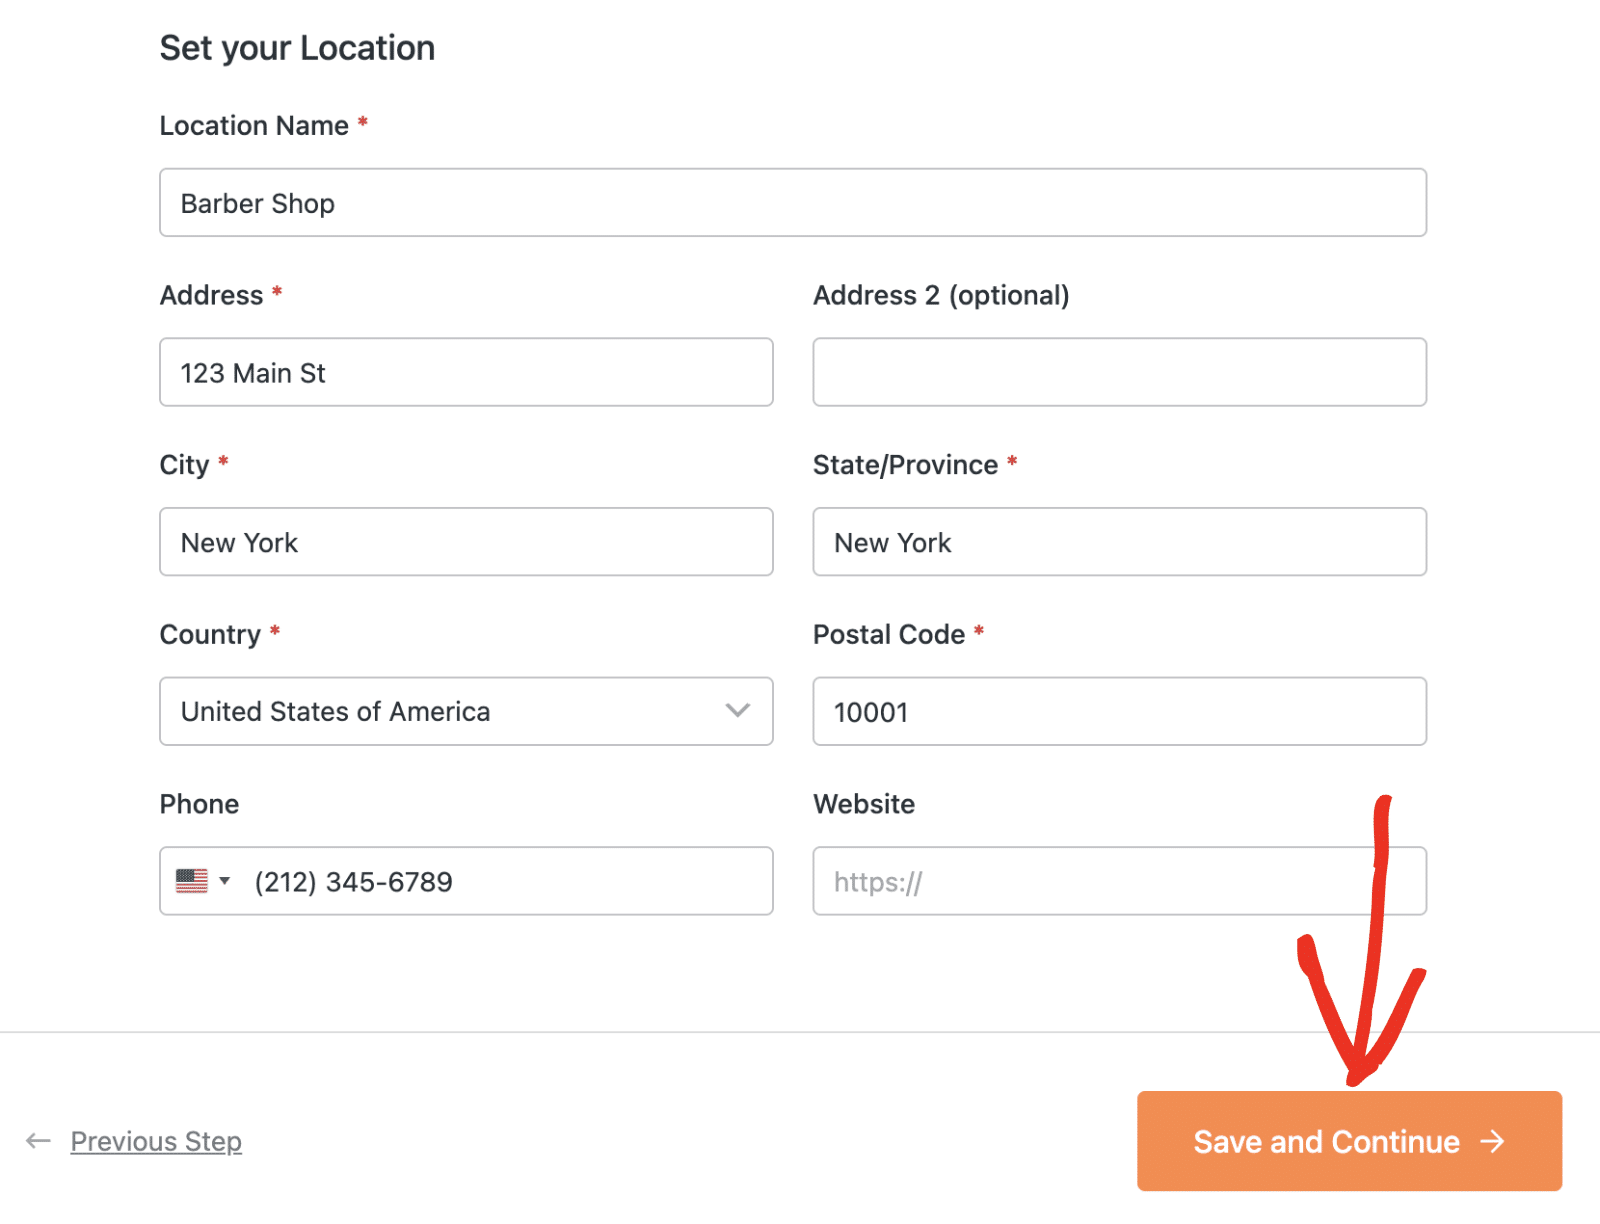
You’ll need to fill out the location information form with the following details:
- Location Name – The name of your business or location
- Address – Your street address
- Address 2 (optional) – Suite, unit, or building number
- City – Your city
- State/Province – Your state or province
- Country – Select your country from the dropdown
- Postal Code – Your ZIP or postal code
- Phone – Contact phone number with country code selector
- Website – Your website URL (optional)
Setting Up Custom Link Meetings
If you select Custom Link, you’ll need to provide a URL where clients can join virtual meetings (such as Zoom, Google Meet, or Microsoft Teams).
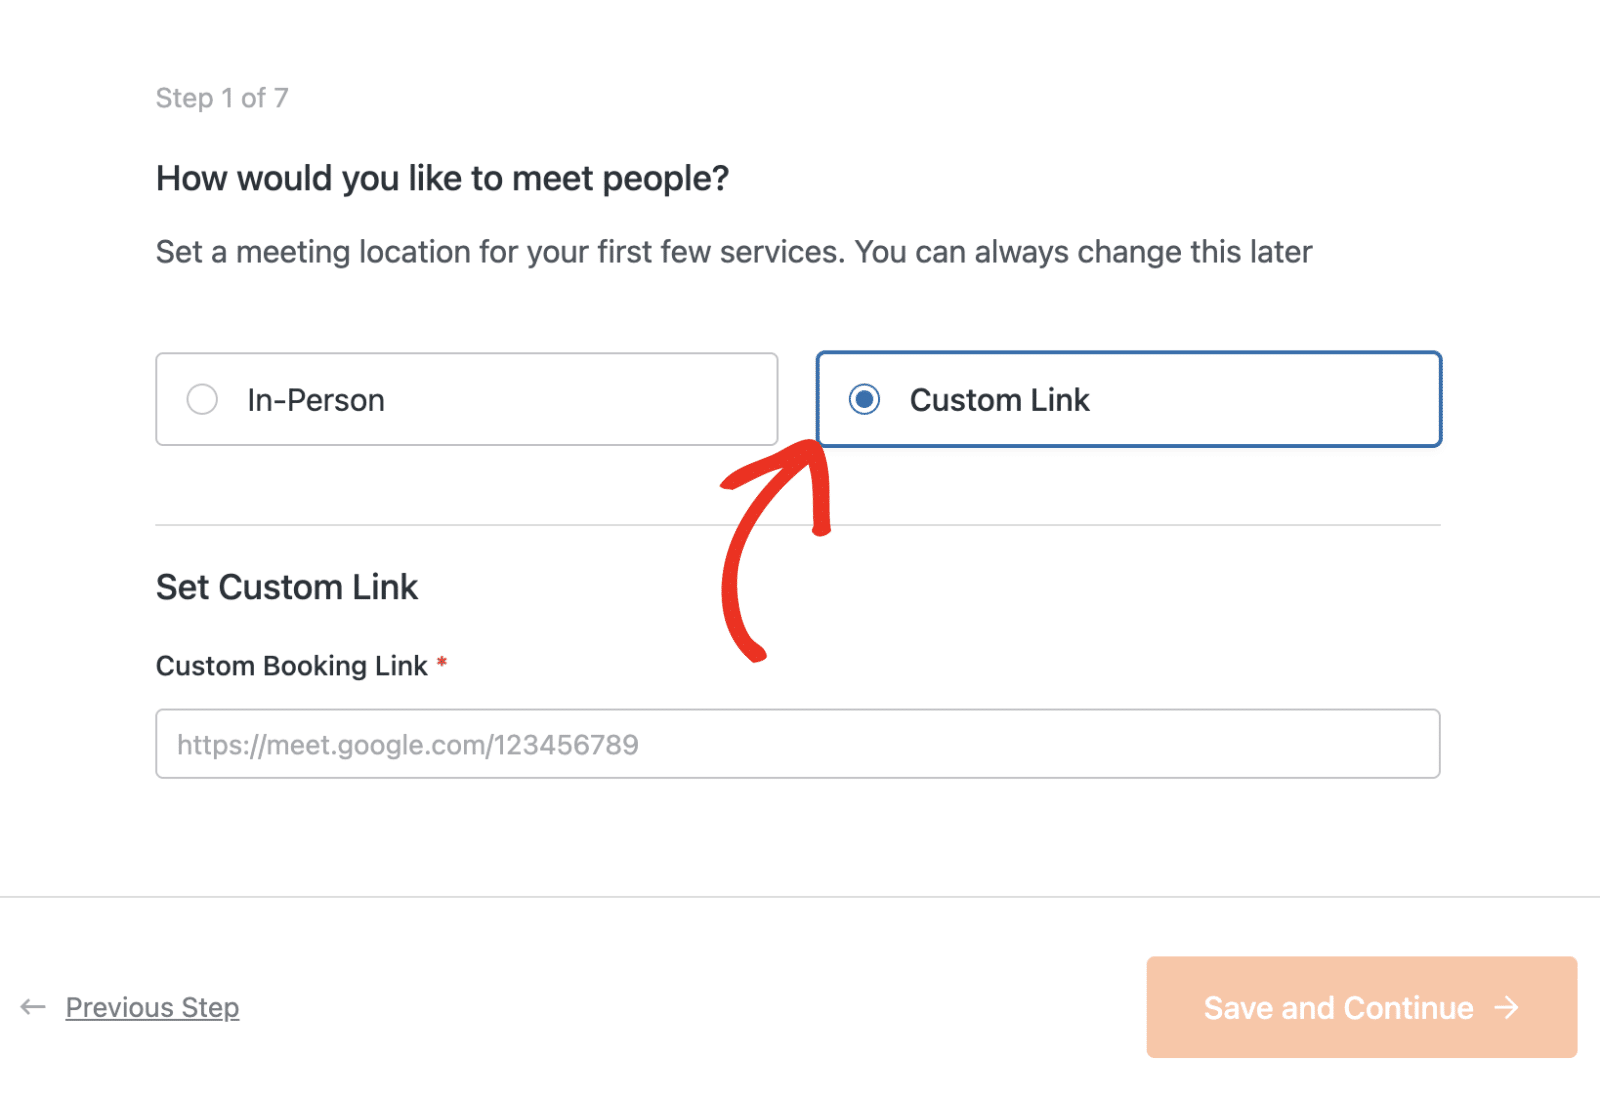
Enter your meeting link in the Custom Booking Link field. This link will be shared with clients when they book appointments.
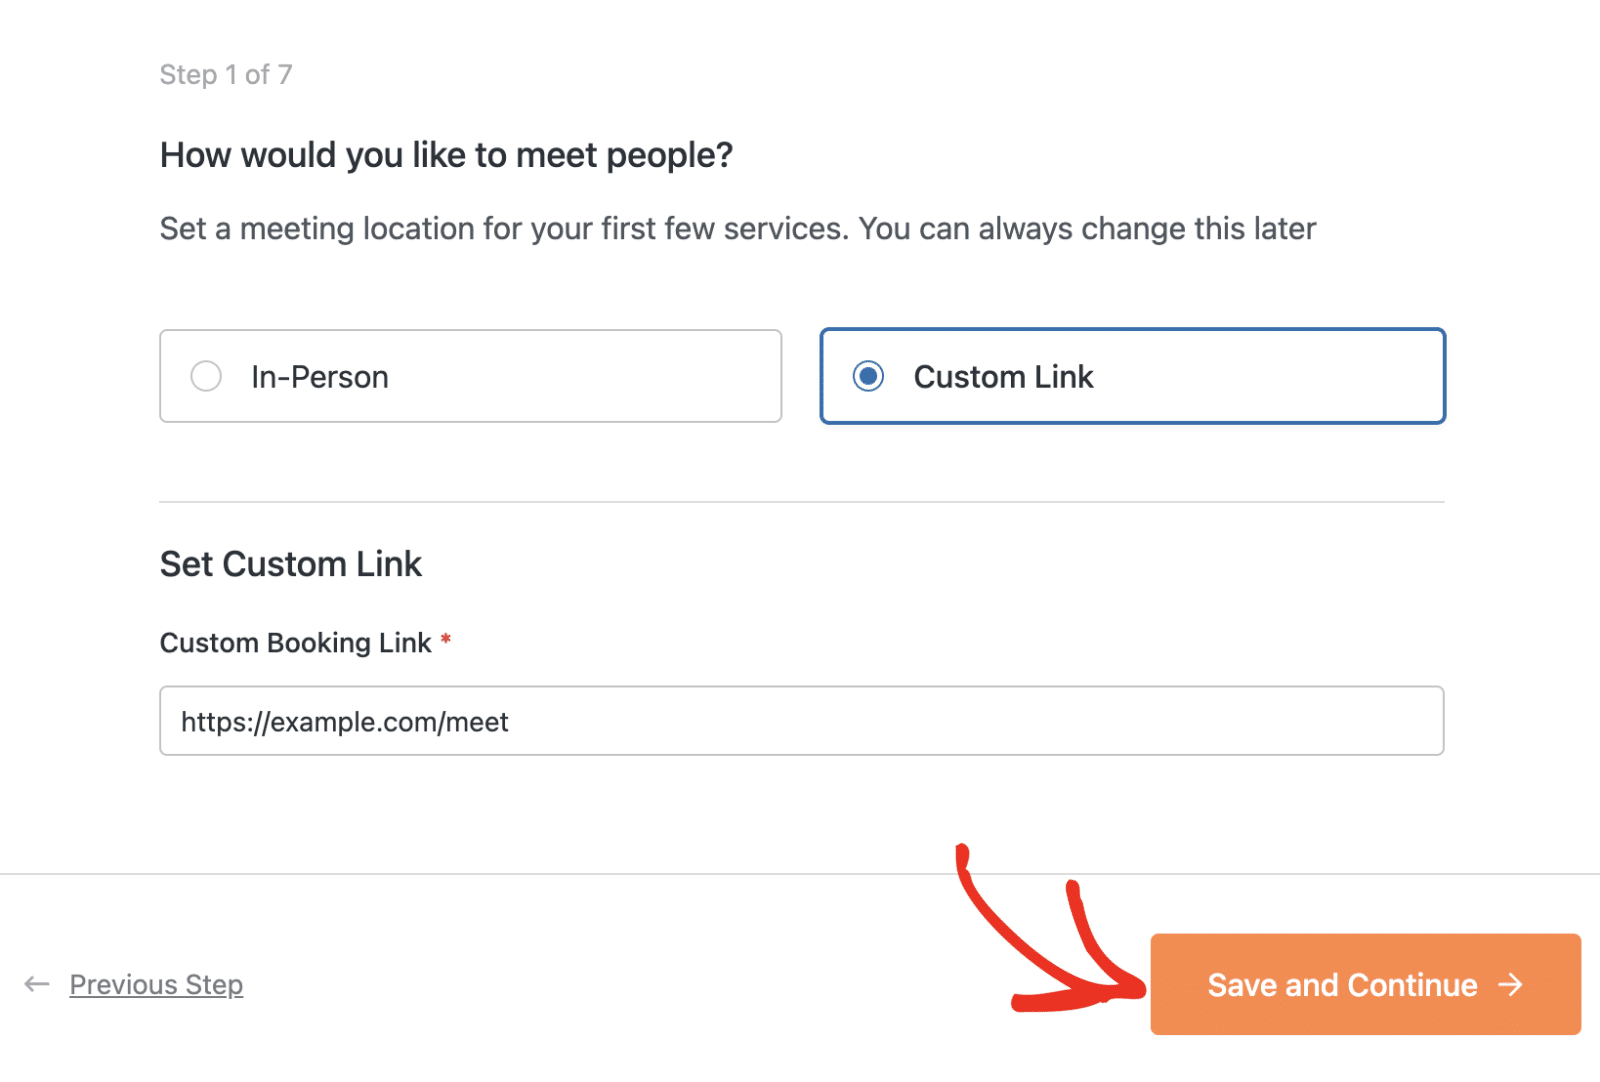
After configuring your meeting location, click Save and Continue to proceed.
Step 2: Selecting Service Category
Next, select the category that best describes the type of services you provide. This helps Sugar Calendar tailor the setup process and pre-configure settings that work best for your business type.
Available categories include:
- Health & Wellness
- Beauty & Personal Care
- Fitness & Sports
- Education & Tutoring
- Home & Field Services
- Pet Care
- Creative & Event Services
- Automotive
- Hospitality & Experiences
- Other
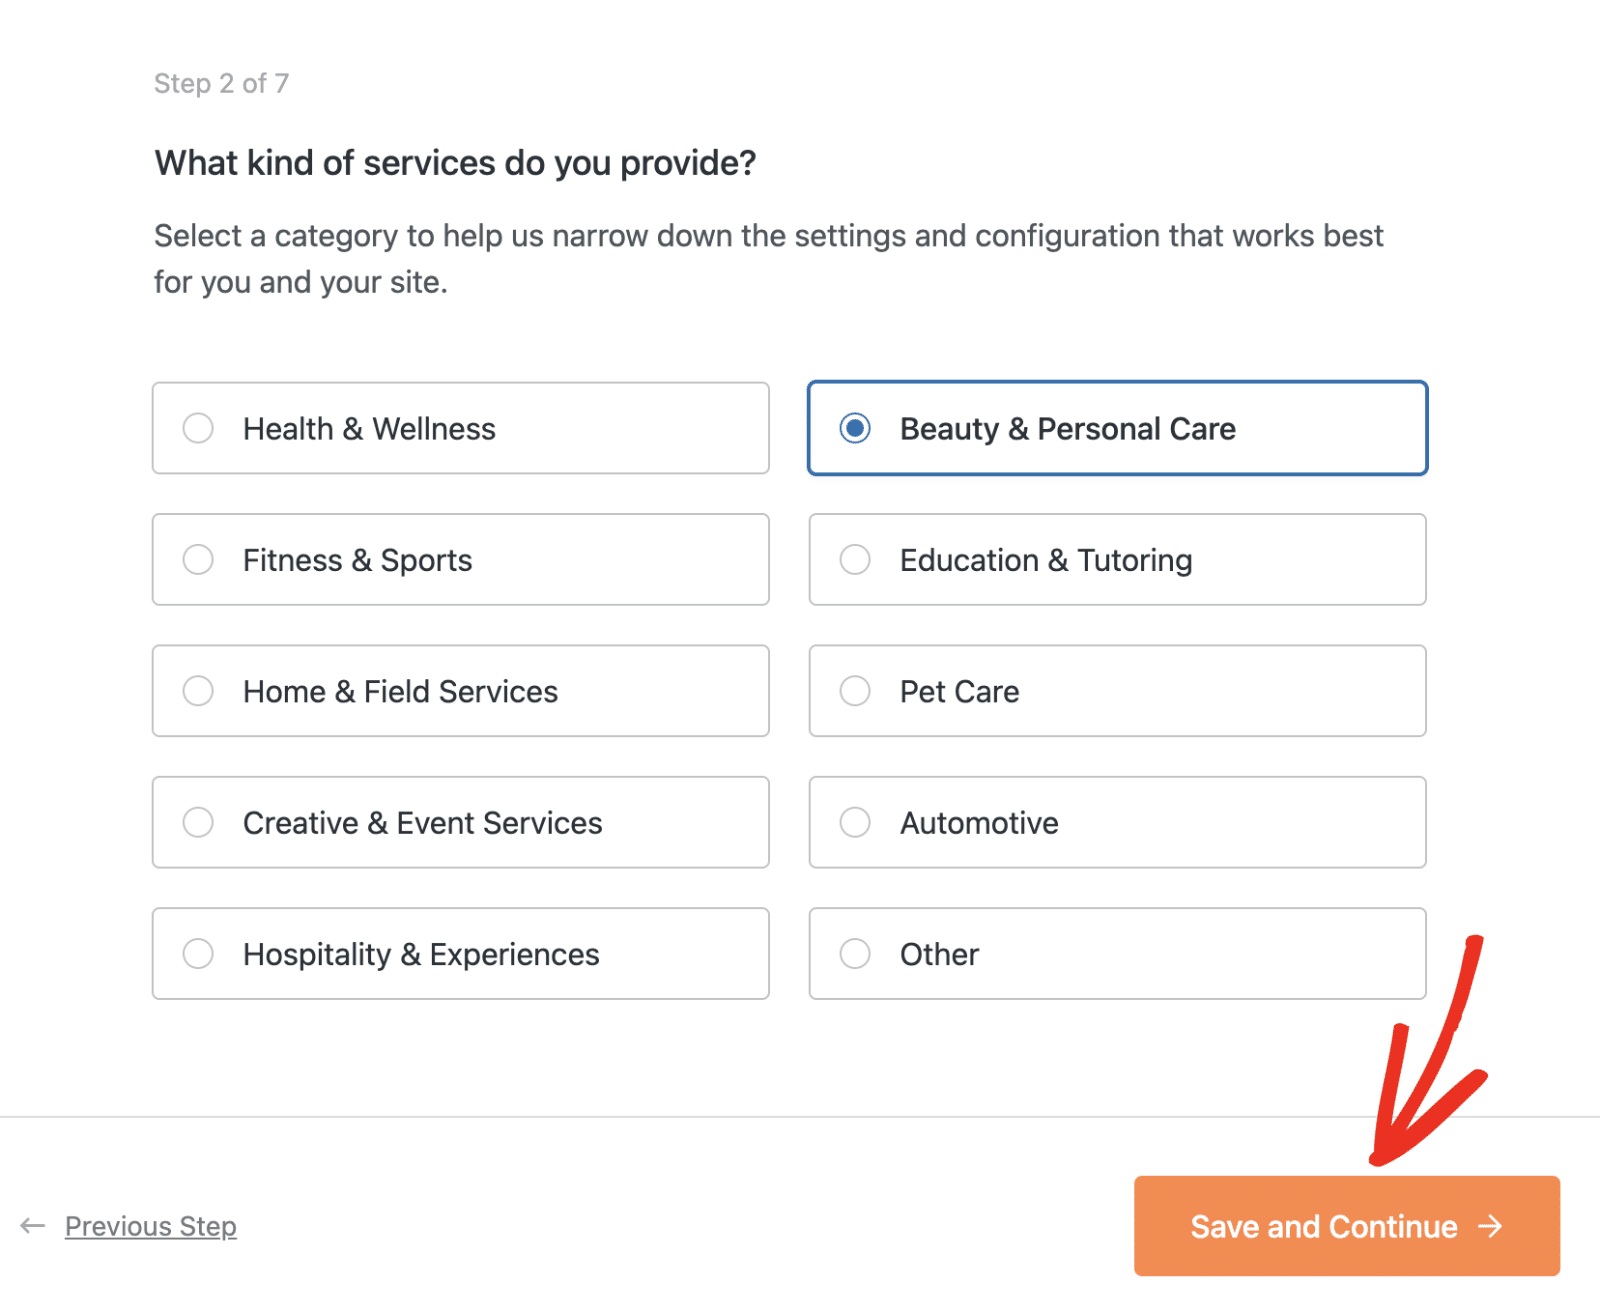
Select the category that best matches your business, then click Save and Continue.
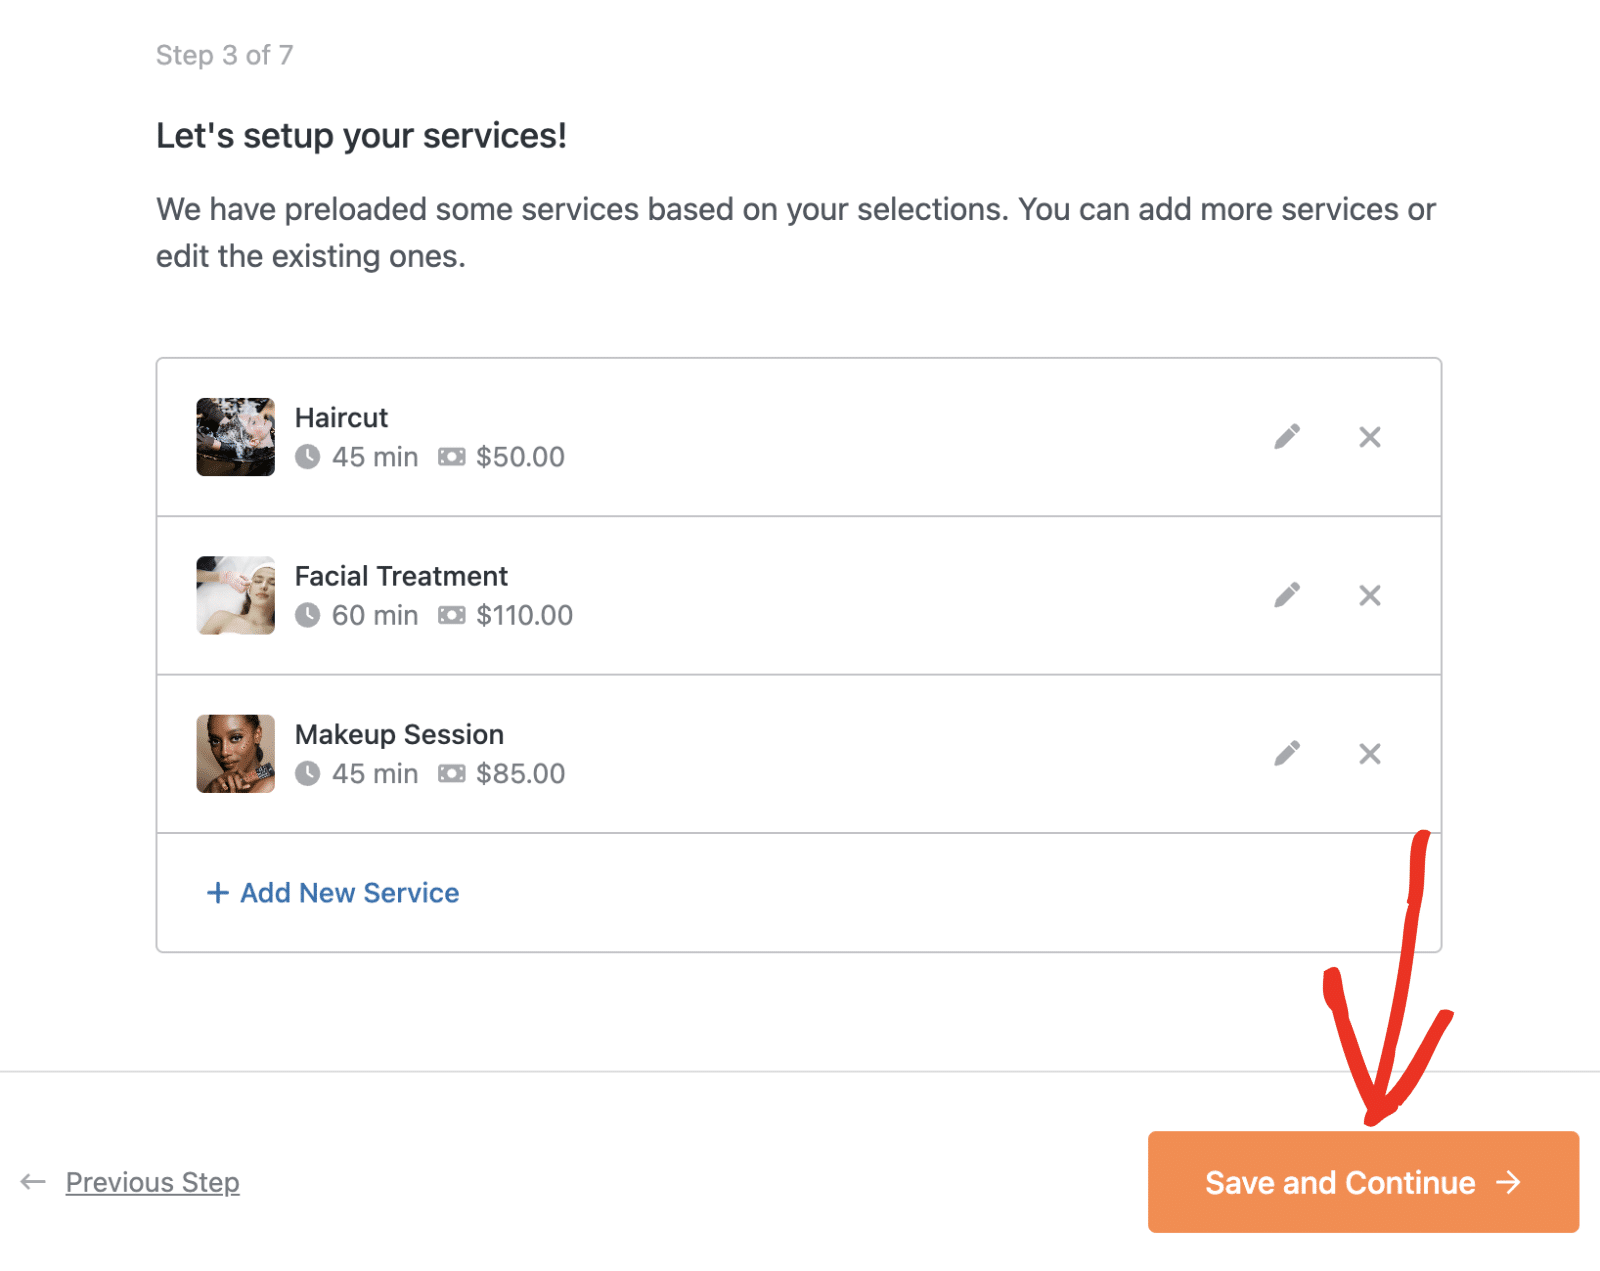
Step 3: Setting Up Services
Based on the category you selected, Sugar Calendar will preload sample services to help you get started quickly. You can customize these services or add new ones.
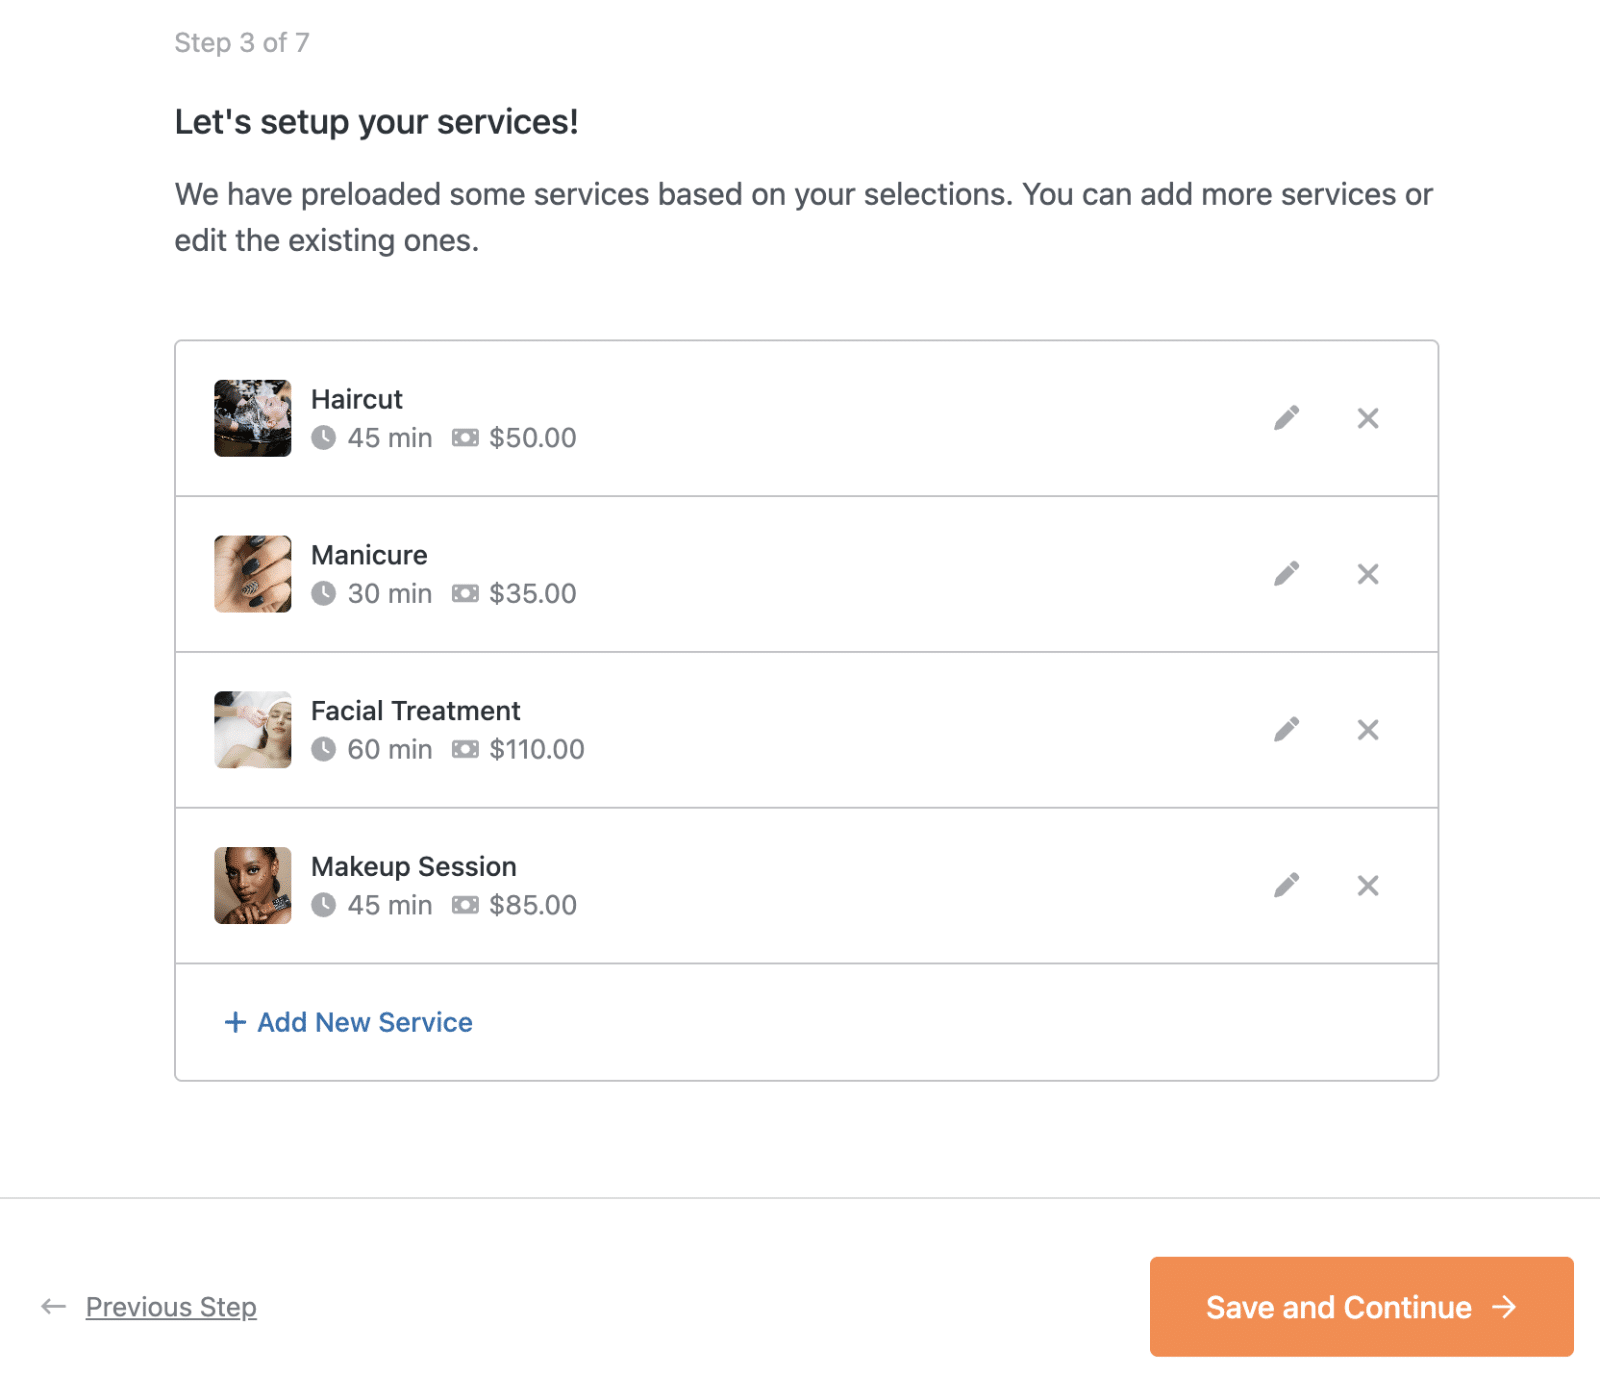
Each service displays:
- Service name and featured image
- Duration (in minutes)
- Price
- Edit and delete icons
Editing Existing Services
To customize a preloaded service, click the pen icon next to the service you want to edit.

This will expand the service editor where you can:
- Upload or change the feature image
- Modify the Service Name
- Adjust the Duration (with a dropdown to select minutes or hours)
- Update the Price

After making your changes, click Save Edits to save the service.
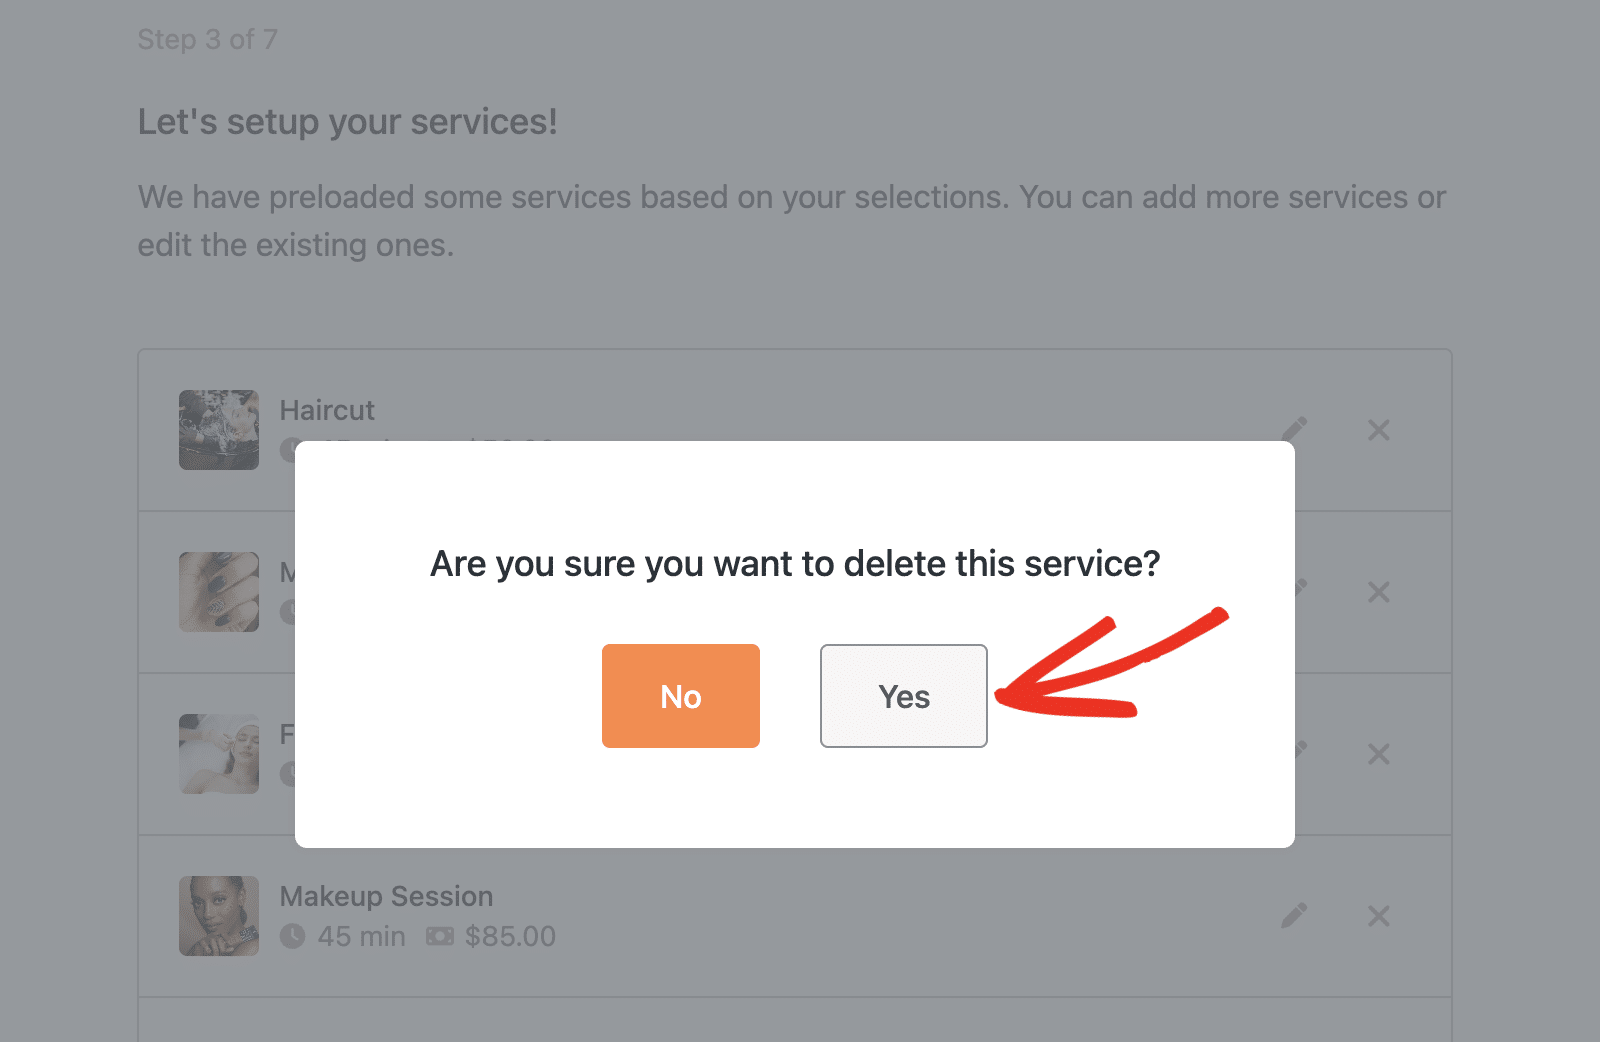
Deleting Services
To remove a service you don’t need, click the X icon next to the service.
A confirmation dialog will appear asking if you’re sure you want to delete the service. Click Yes to confirm deletion.
Adding New Services
To create a new service, click the + Add New Service link at the bottom of the services list.
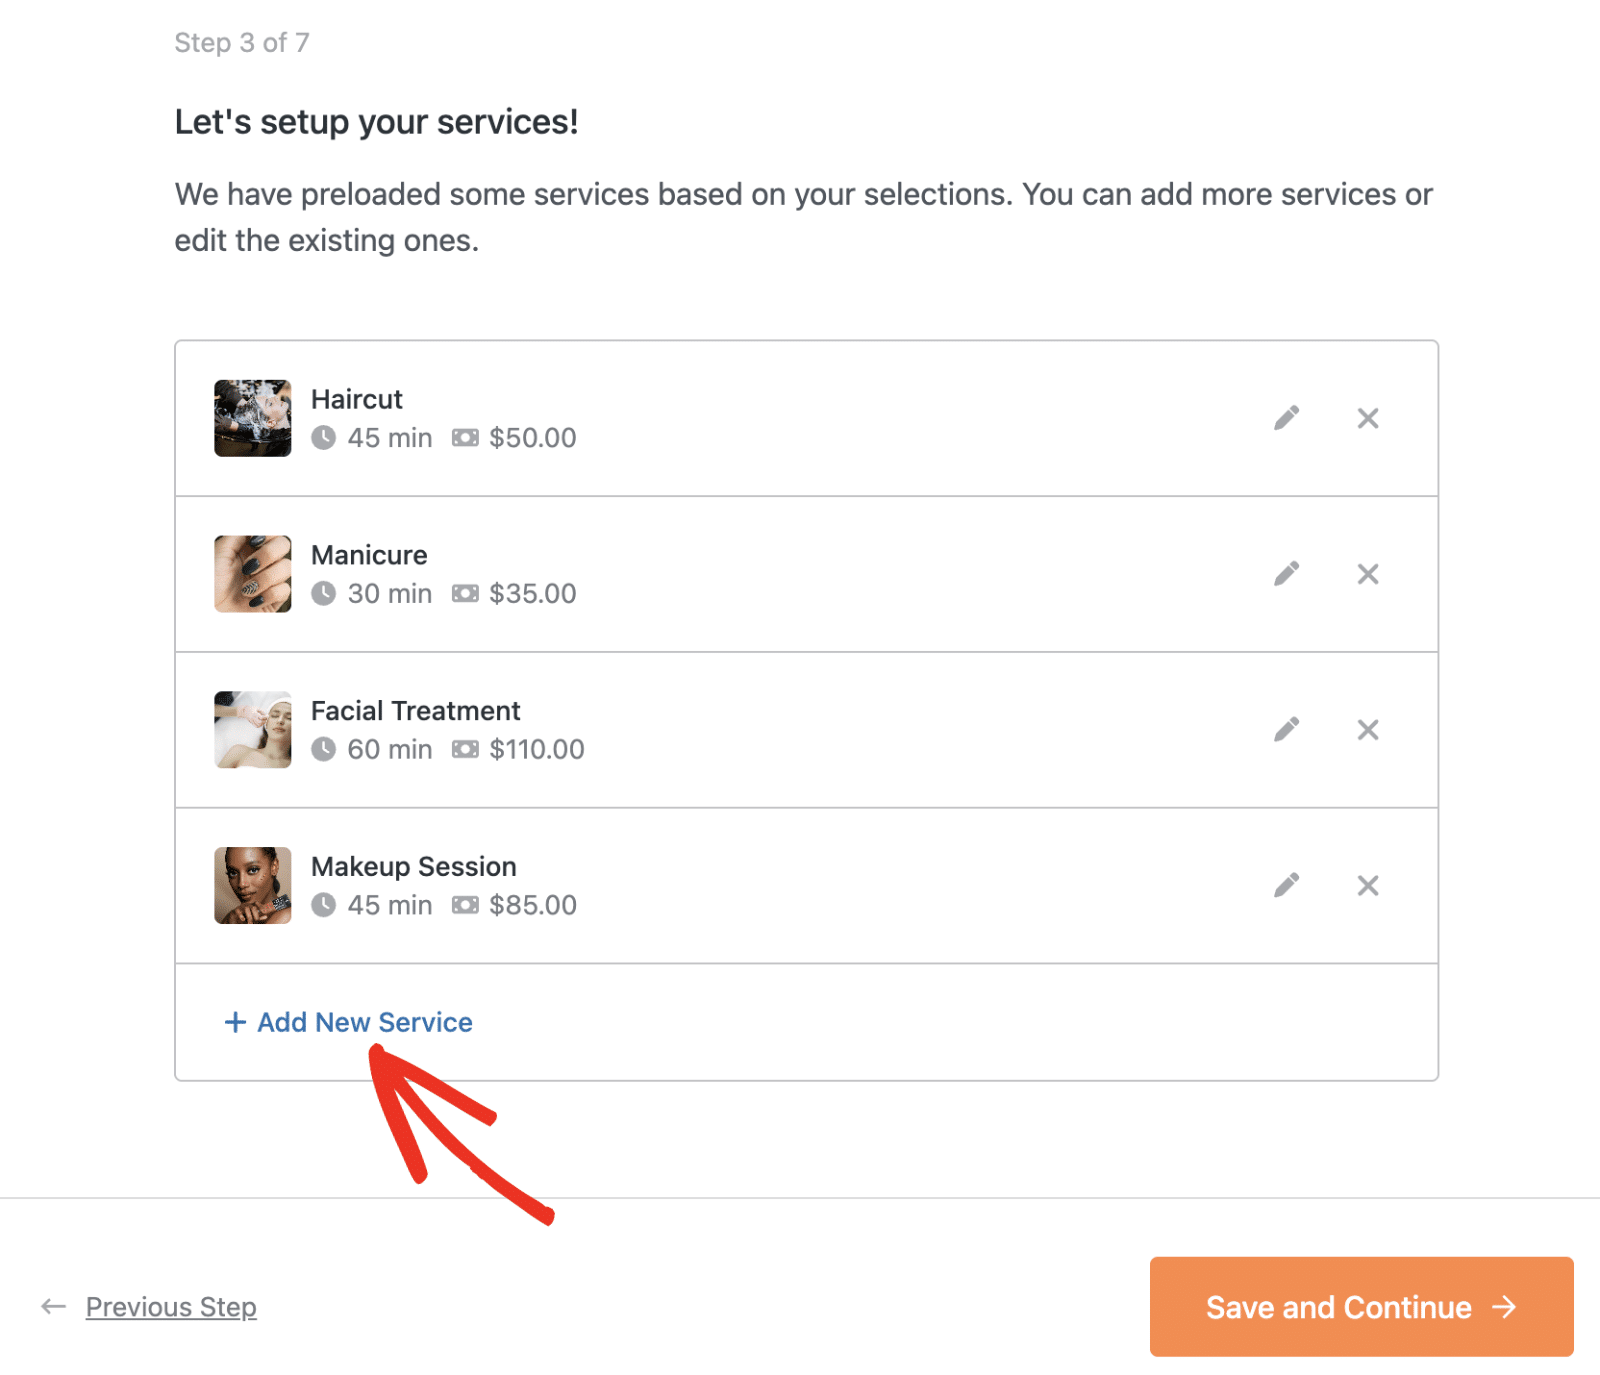
This will open a service creation form where you can:
- Upload a feature image by clicking Upload
- Enter the service name
- Set the duration
- Set the price
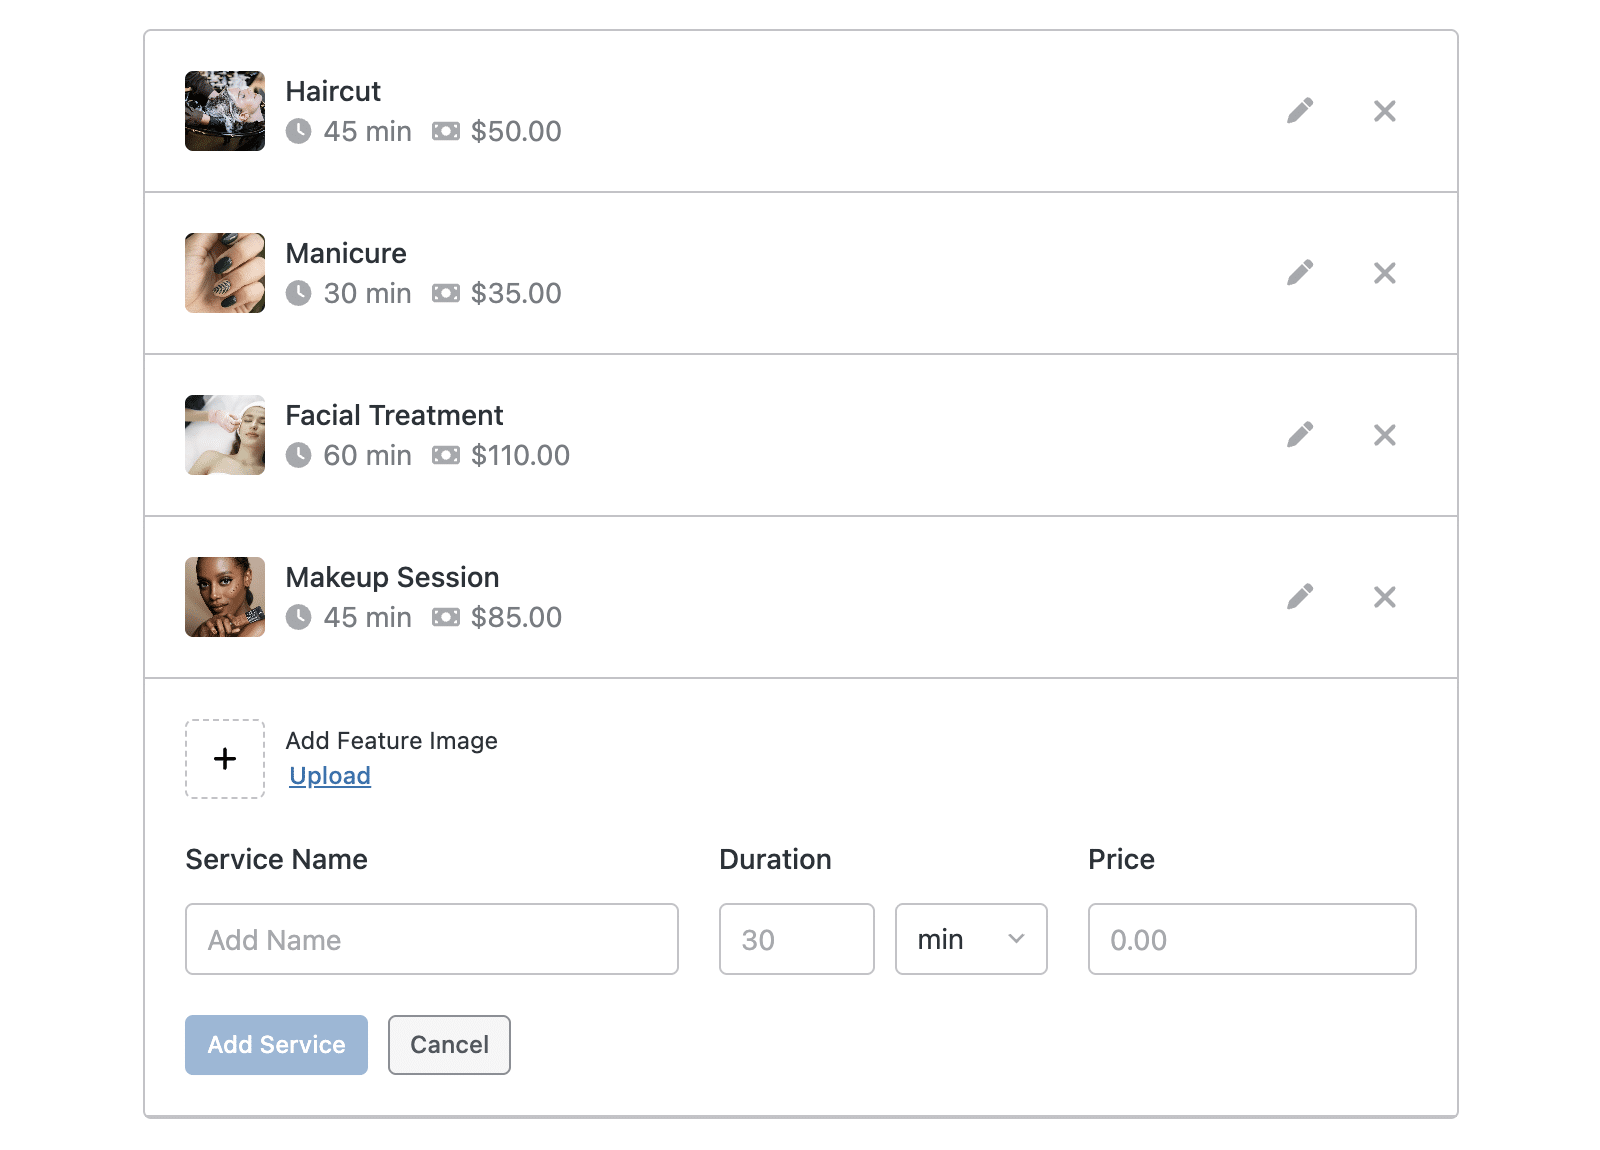
After entering the service details, click Add Service to add it to your list. Otherwise, click Cancel to discard it.
Once you’ve configured your services, click Save and Continue to proceed.
Step 4: Configuring Essential Settings
In this step, you’ll configure essential settings that affect how your booking system operates.
Employee Information
Start by entering the primary employee information:
- Employee Name – Enter the name of the primary service provider
- Email – Enter the employee’s email address for booking notifications
- Phone – Enter the employee’s phone number with country code
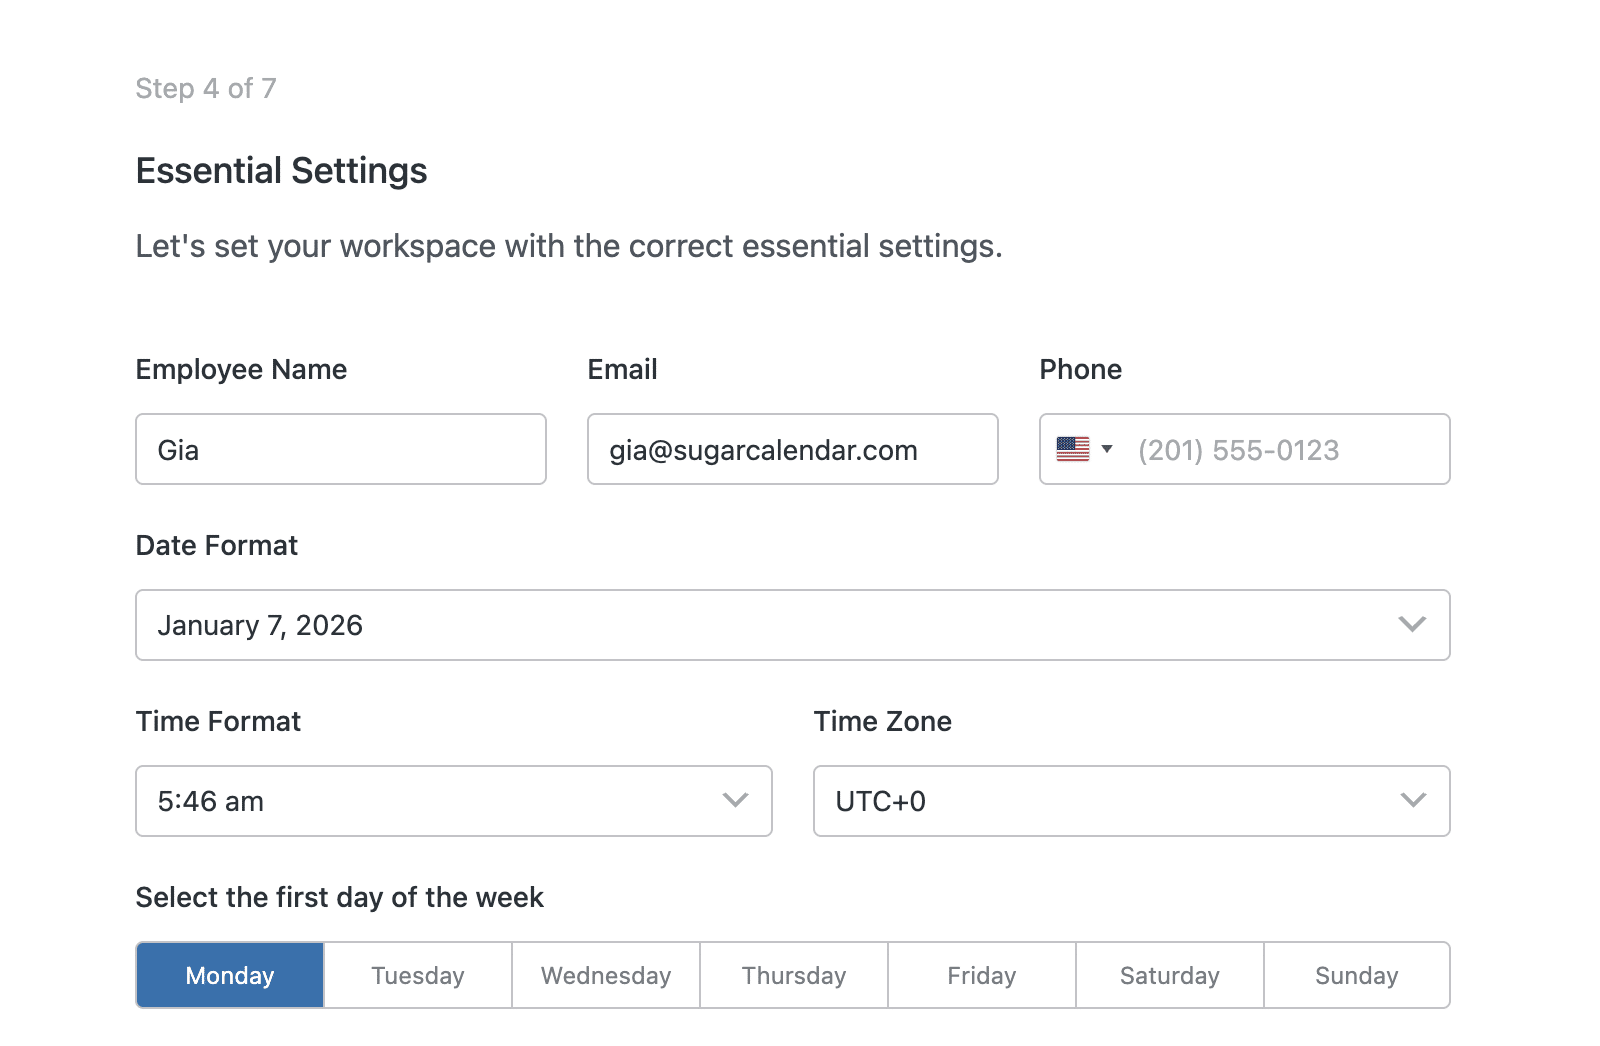
Date and Time Settings
Next, configure how dates and times are displayed throughout your booking system:
- Date Format – Choose your preferred date format from the dropdown
- Time Format – Select between 12-hour or 24-hour time format
- Time Zone – Select your time zone
First Day of the Week
Choose which day should be displayed as the first day of the week in your calendar view. Options include Monday through Sunday.
Availability
Next, you can configure your default availability schedule. This sets the hours when appointments can be booked.
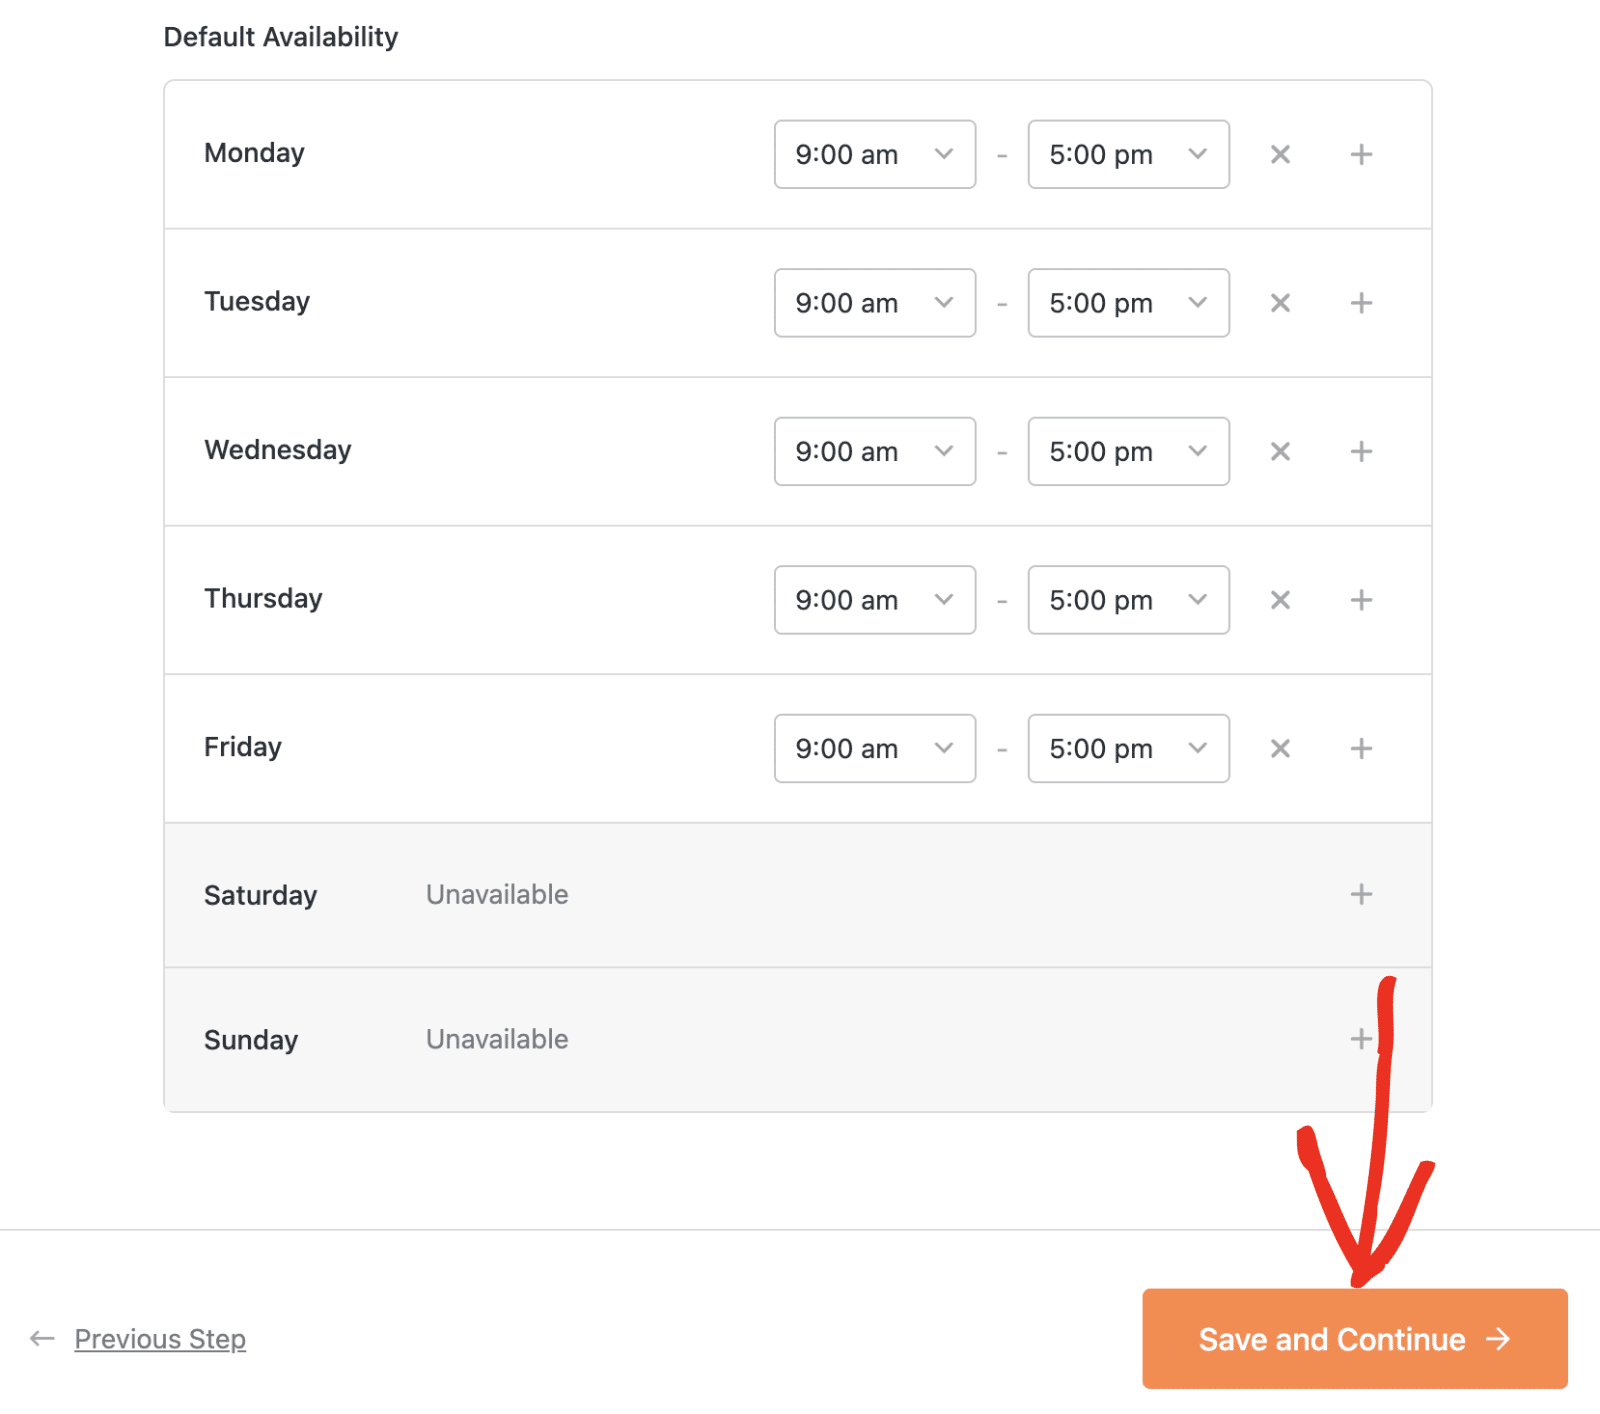
Once you’ve configured your availability, click Save and Continue to complete the setup.
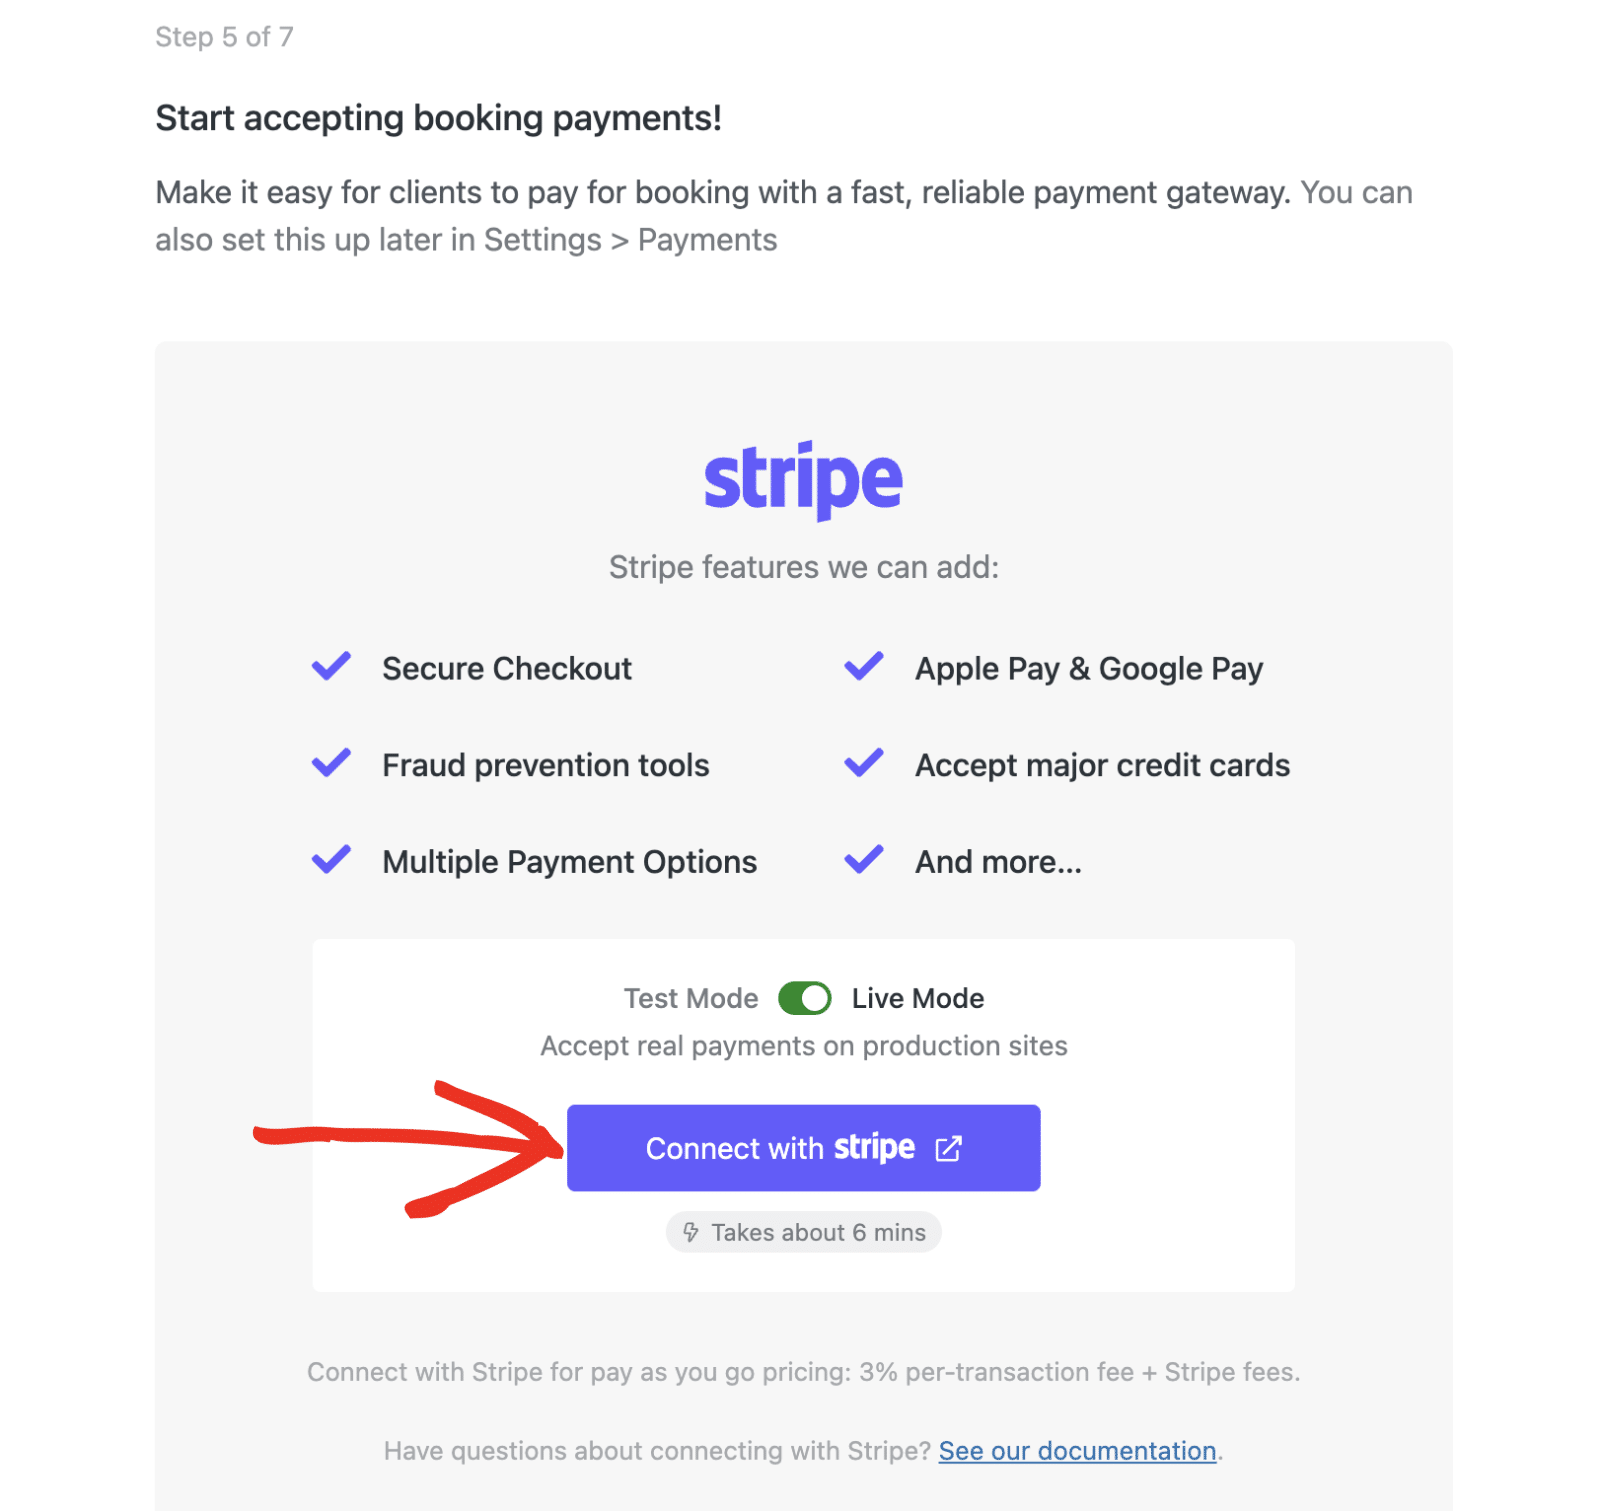
Step 5: Connecting Stripe (Optional)
If you’d like to accept payments for your bookings, you’ll need to connect your Stripe account. This step is optional and can be completed later from the Payments settings page.
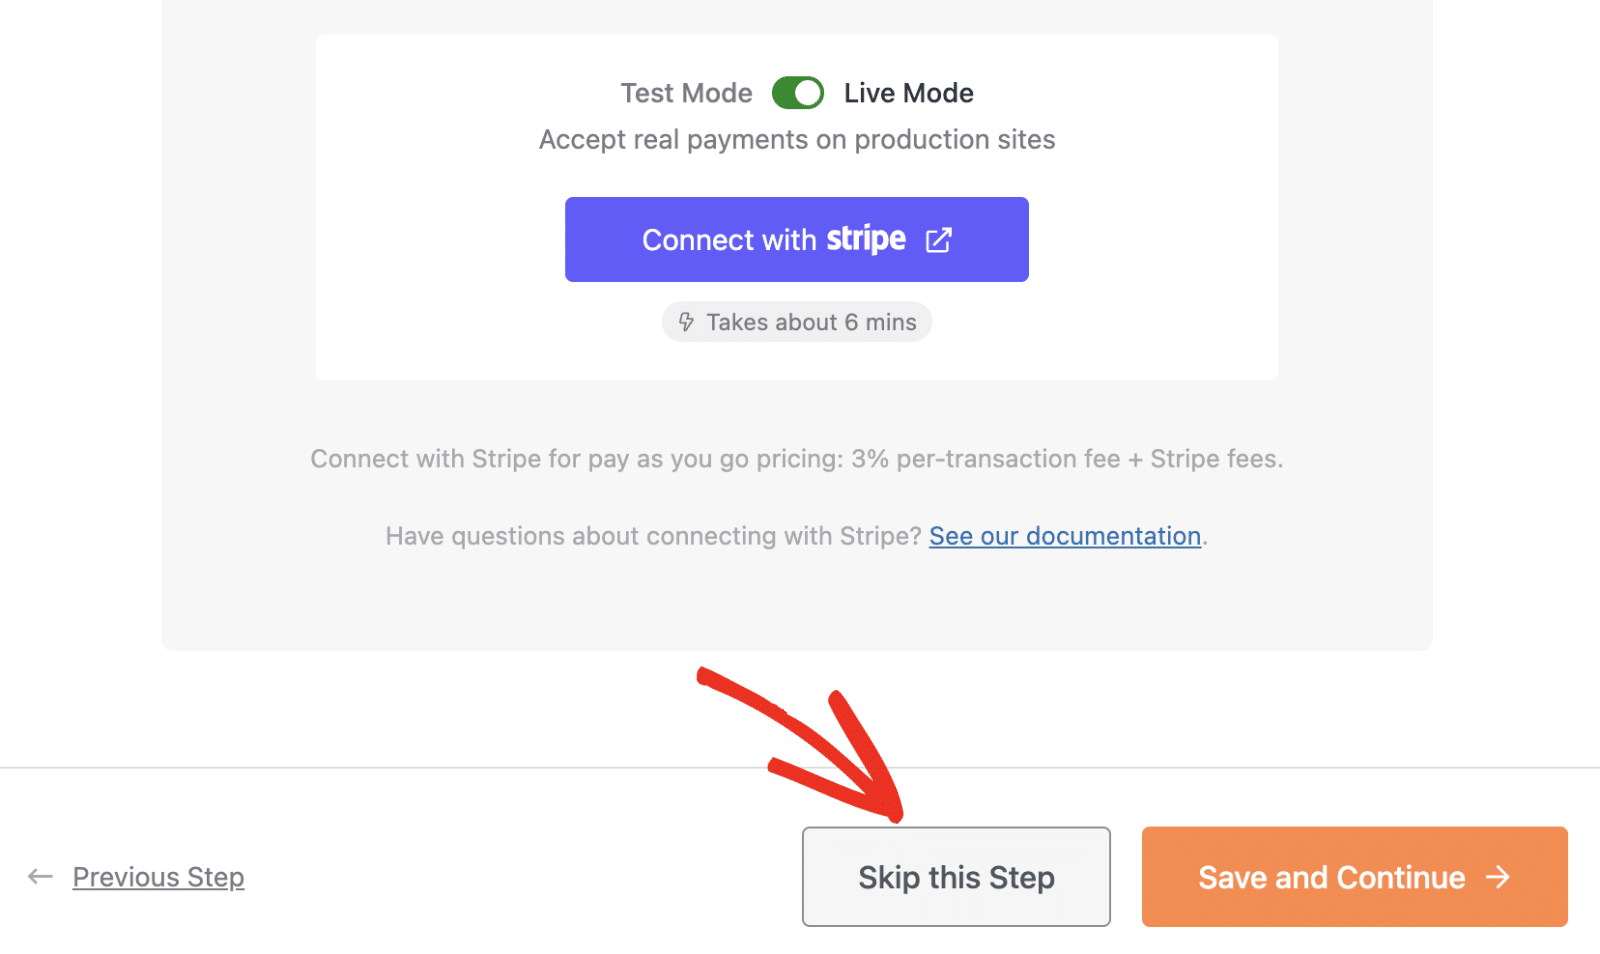
You can toggle between Test Mode and Live Mode using the switch at the top of the Stripe section.
To connect your Stripe account, click the Connect with stripe button. This will redirect you to Stripe where you’ll authorize the connection.
Once connected, you’ll be redirected back to the Setup Wizard with a success message.
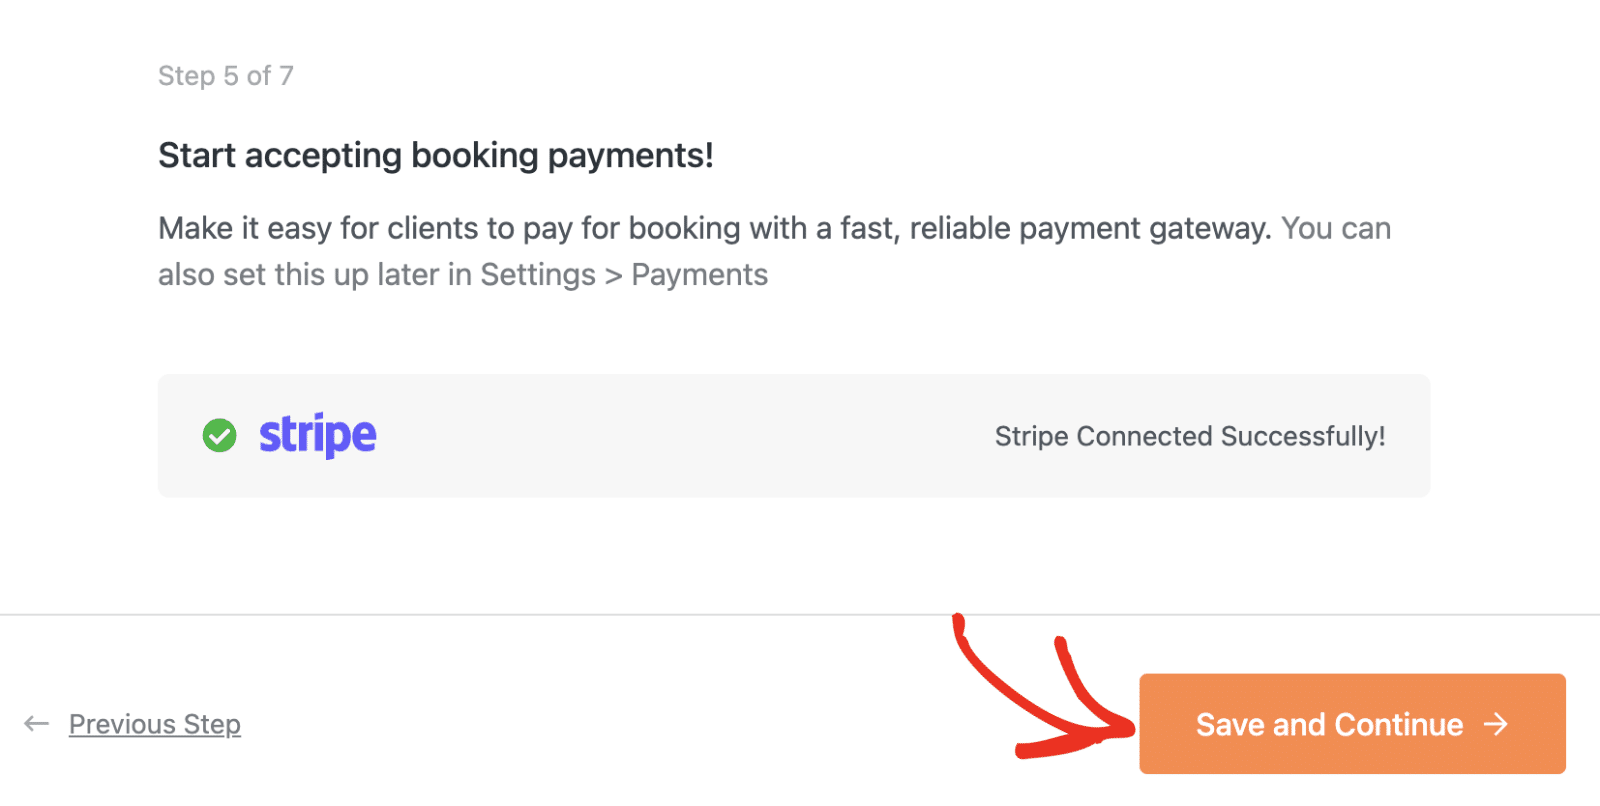
Click Save and Continue to proceed, or click Skip this Step to configure Stripe later.
Step 6: Enabling Recommended Tools
Sugar Calendar Bookings will recommend helpful tools and features to enhance your booking system. Each recommendation includes a description and can be toggled on or off.
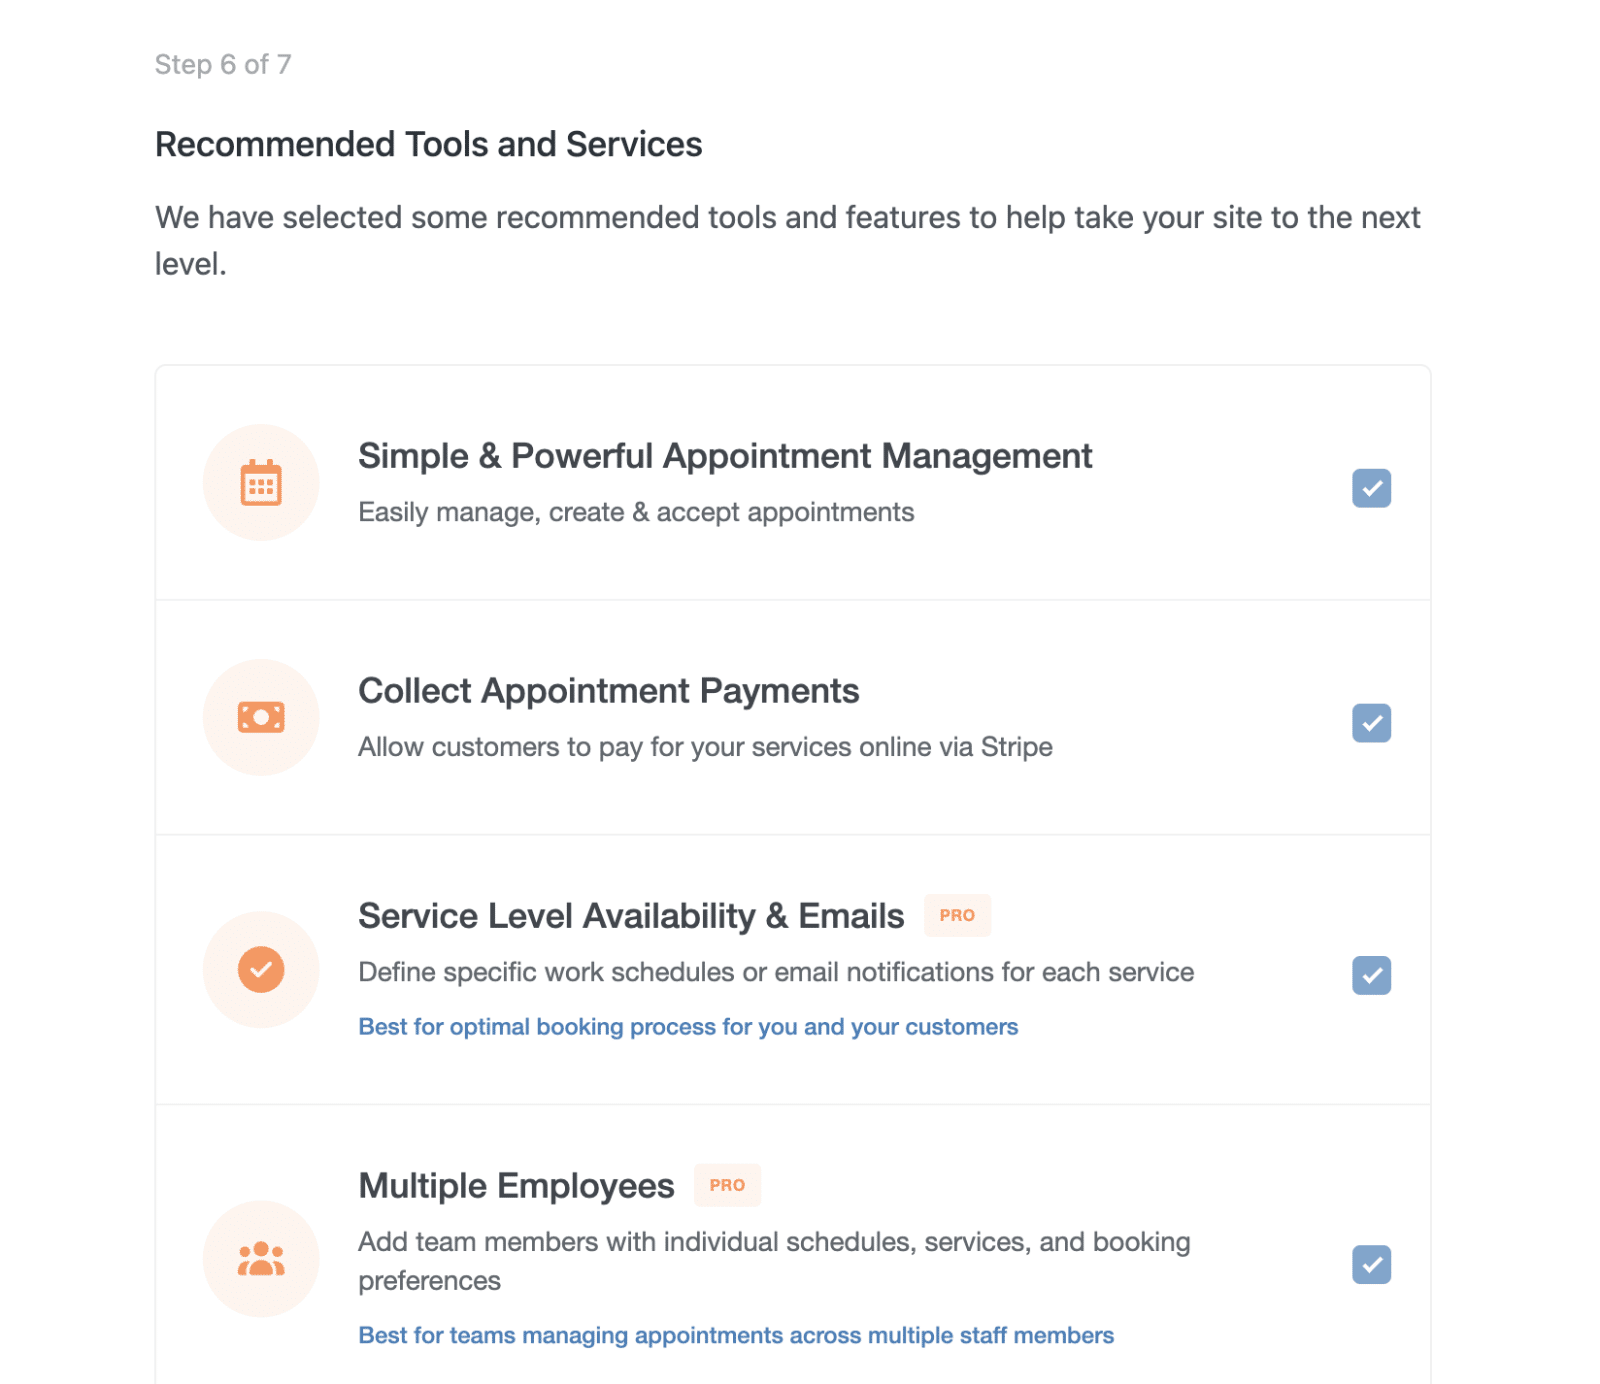
Available recommendations includes:
- Simple & Powerful Appointment Management – Core booking features.
- Collect Appointment Payments – Enable payment collection via Stripe.
- Service Level Availability & Emails (PRO) – Set specific schedules and notifications for each service.
- Multiple Employees (PRO) – Add team members with individual schedules.
- Reliably Send Booking Emails (RECOMMENDED) – This will install WP Mail SMTP for reliable email delivery.
- Join the Sugar Calendar community! – Opt in to receive updates and tips.
Each option includes a checkbox that’s checked by default. You can uncheck any tools you don’t want to enable.
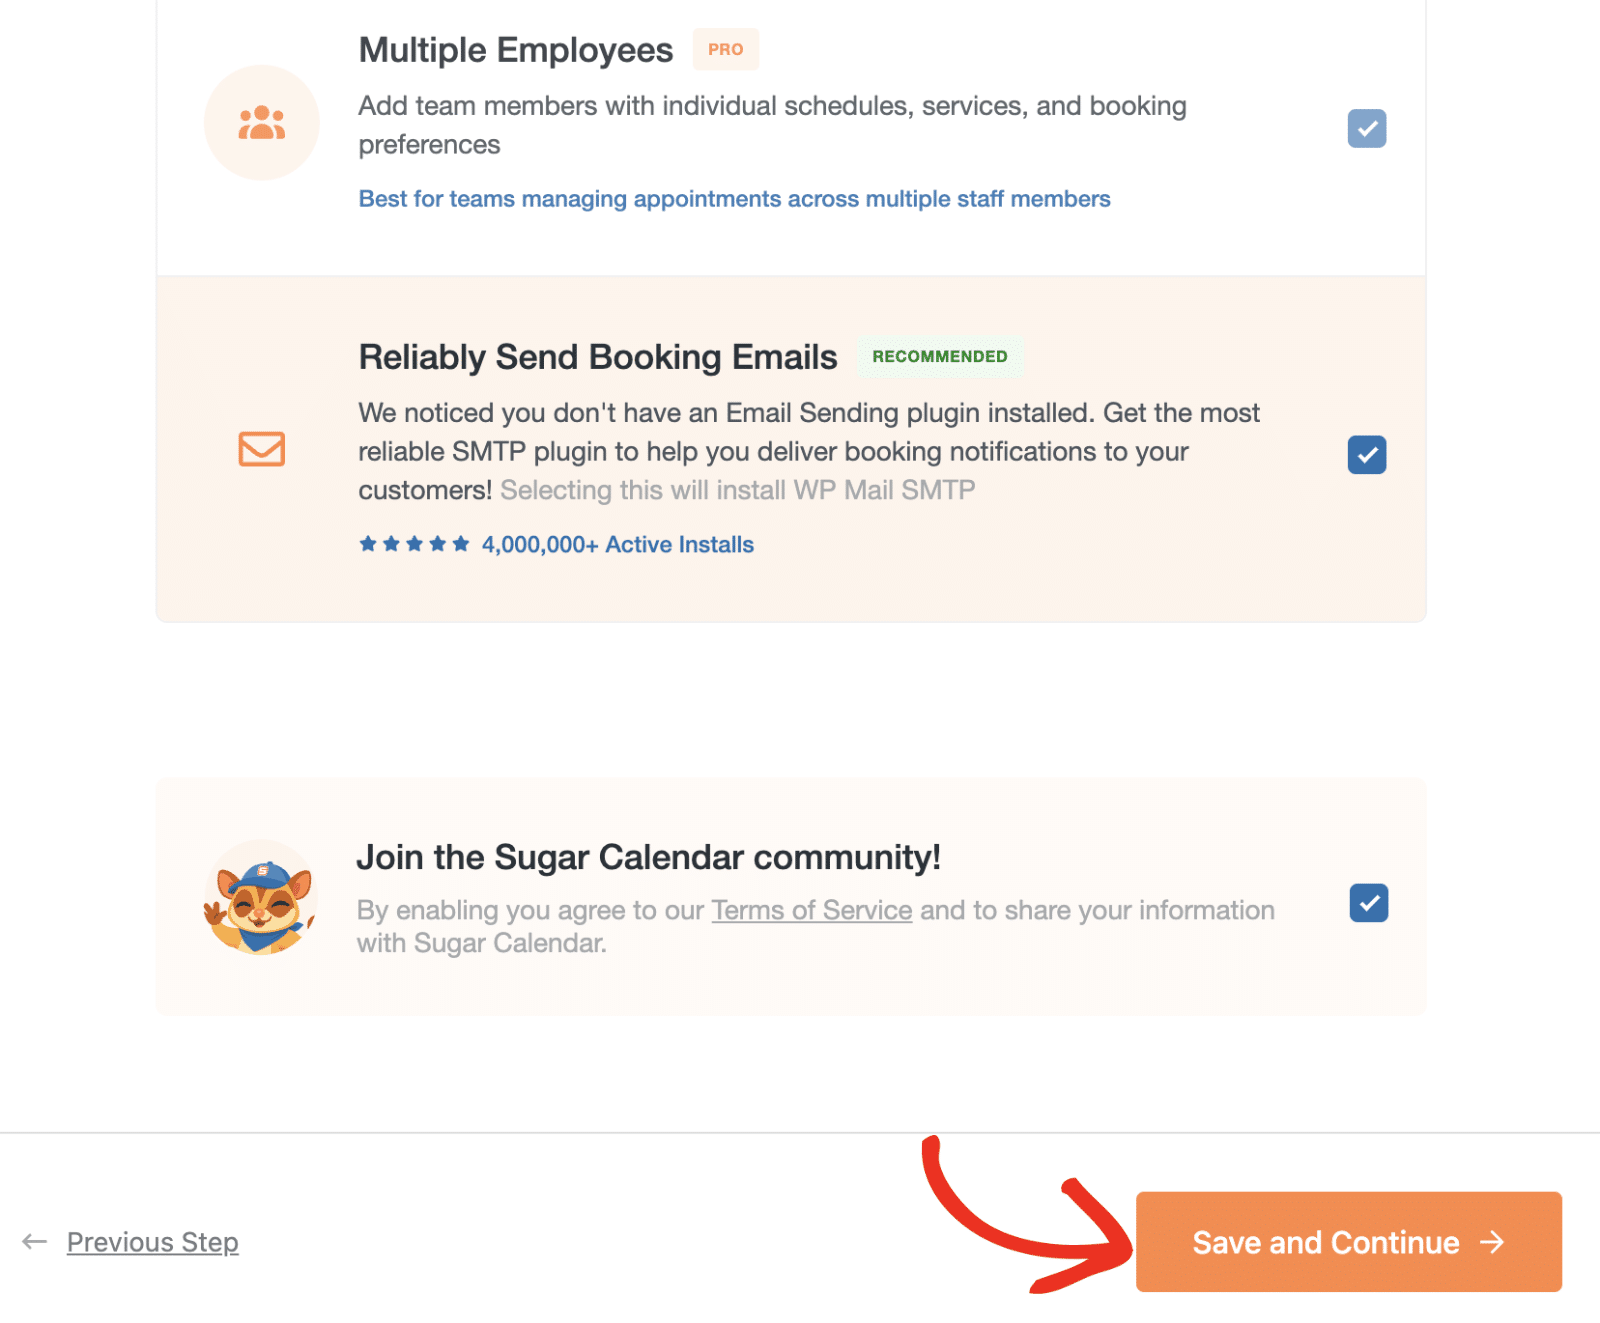
After making your selections, click Save and Continue.
Step 7: Verifying Your License
Lastly, you’ll be presented with a form to verify your Sugar Calendar Bookings license. If you’re using the Lite plugin, you can simply click Skip this Step to proceed.
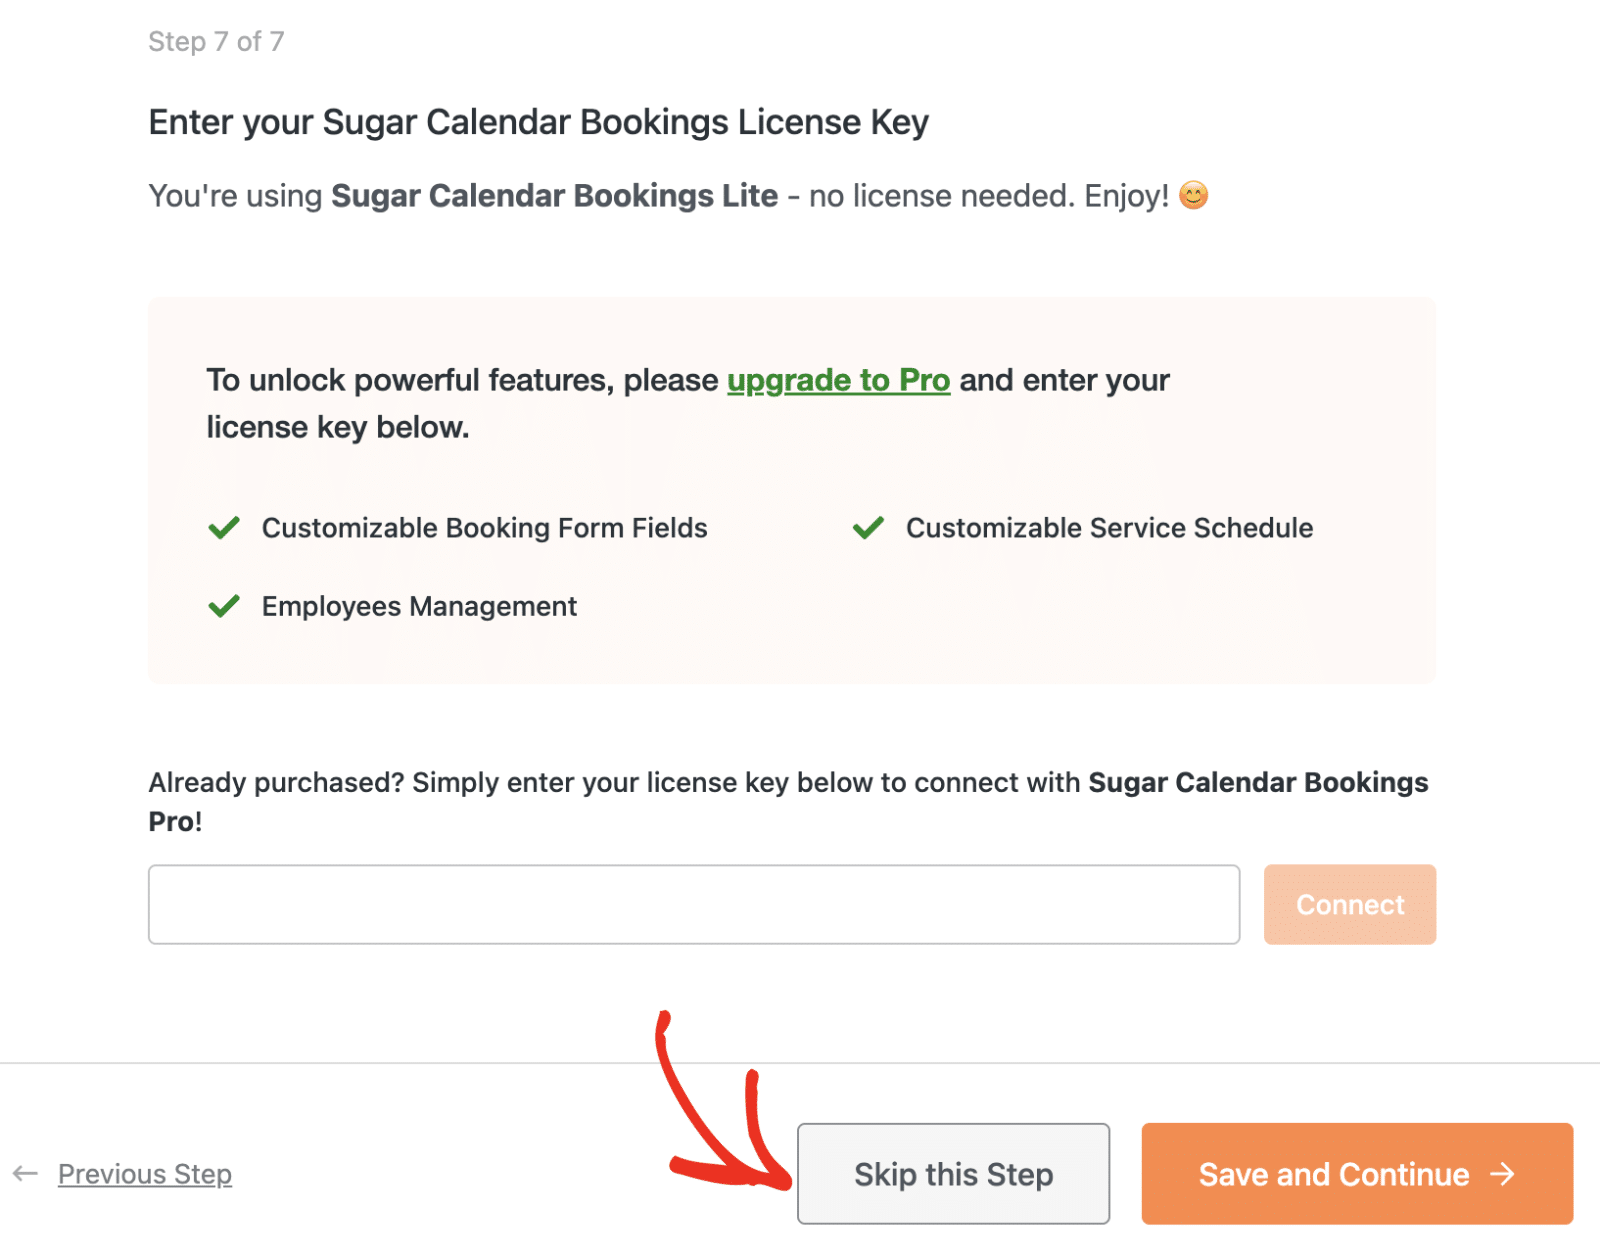
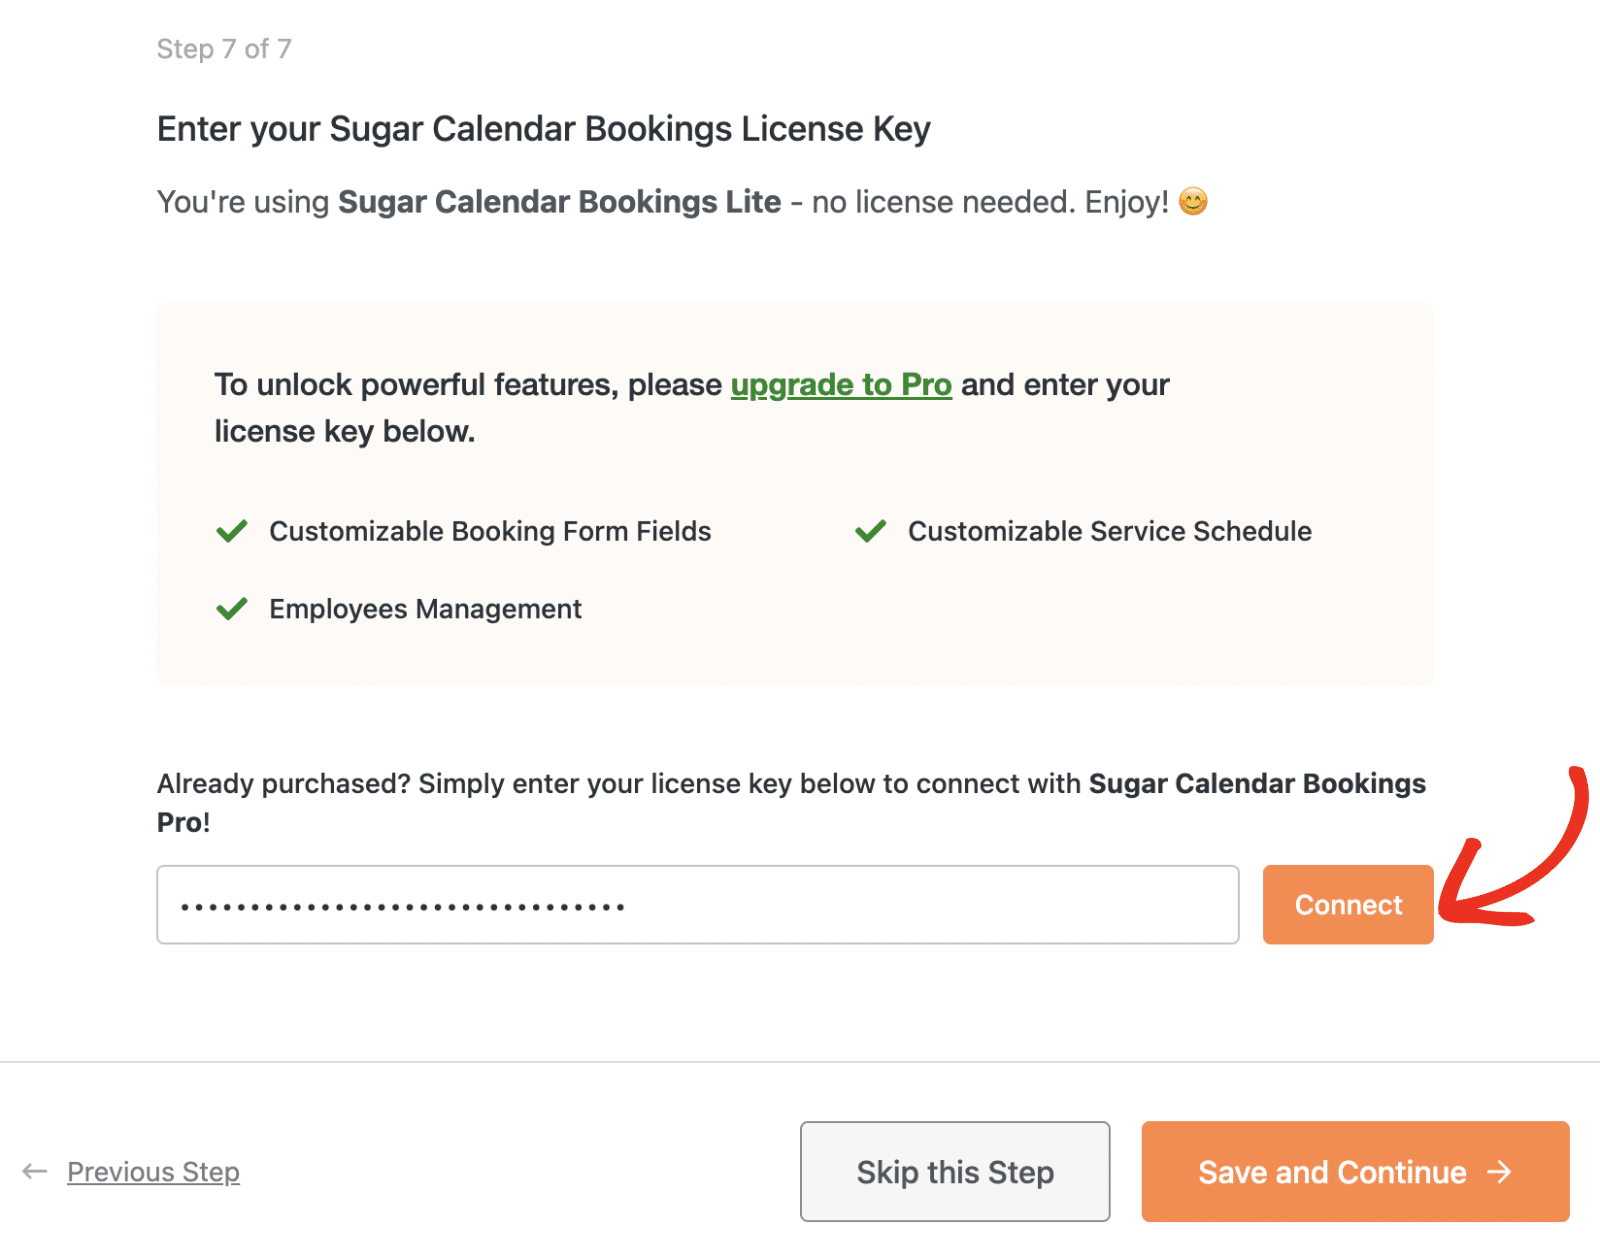
However, if you’ve purchased a license, you’ll be able to activate it here. Verifying your license gives you access to automatic updates and premium features.
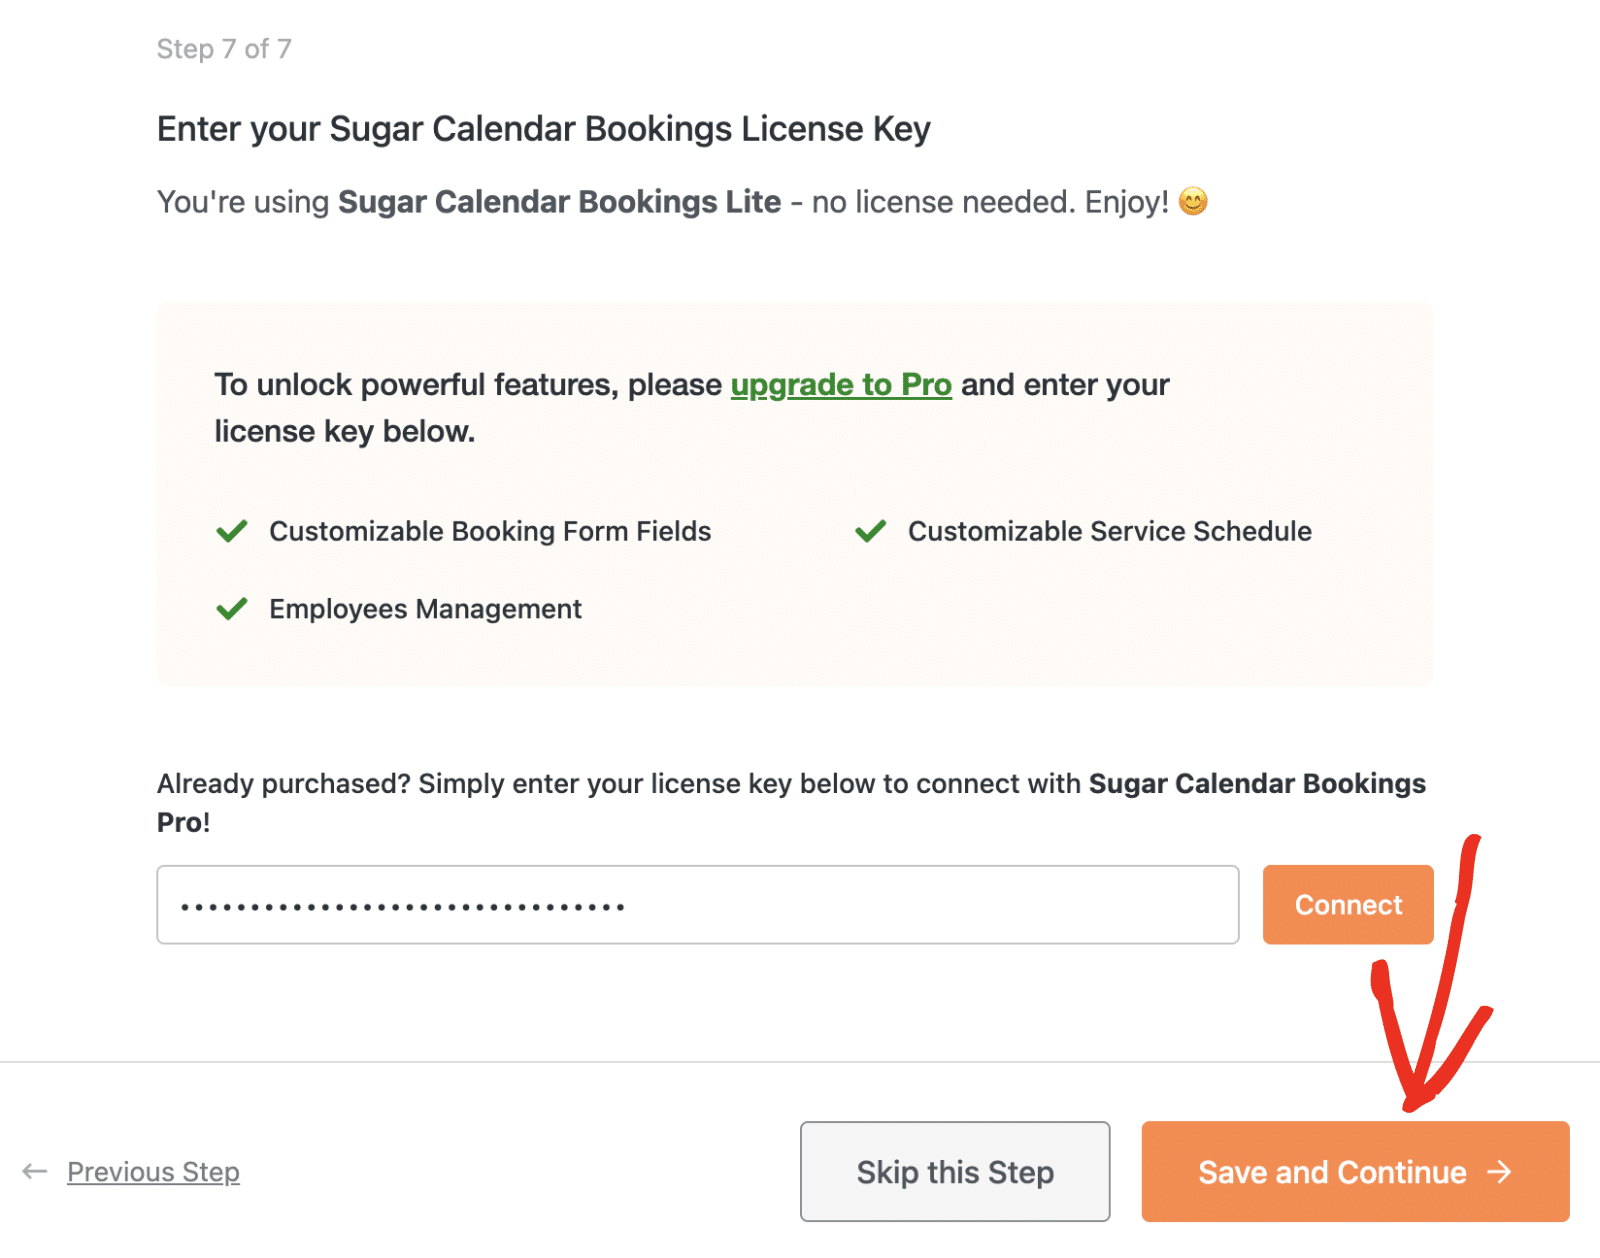
After copying the license key, go ahead and paste it into the license key field and click Connect.
Once done, click the Save and Continue button to complete the setup process.
You’ll see a congratulations screen confirming your booking system is ready to accept appointments!

From here, you can click:
- Create your First Booking! to start accepting appointments.
- Join VIP Club to connect with the Sugar Calendar community.
- Read Documentation to explore our comprehensive guides.
- Go to Settings to customize your booking system further.
Frequently Asked Questions
These are answers to some of the top questions we receive about using the Setup Wizard in Sugar Calendar Bookings.
How can I access the Setup Wizard manually?
Sugar Calendar Bookings’ Setup Wizard only appears when you first install the plugin. However, you can manually relaunch the wizard through the following URL:
https://example.com/wp-admin/admin.php?page=sugar-calendar-bookings-calendar&sugar_calendar_bookings_setup_wizard=1Note: Be sure to replace example.com with your actual site URL.
That’s it! You’ve now completed the Sugar Calendar Bookings Setup Wizard.
Next, would you like to show the services you created on your site’s frontend? See our guide on displaying the booking form to learn how.