Would you like to integrate Sugar Calendar Events with your WooCommerce store? Sugar Calendar integrates seamlessly with WooCommerce, allowing you to use a WooCommerce product as a ticket for your events.
In this guide, we’ll show you how to use WooCommerce products as event tickets on your site.
In This Article
Requirements:
- You’ll need to have the Event Ticketing addon installed and activated on your site.
- The WooCommerce plugin needs to be installed and configured on your site. For details about setting up WooCommerce, refer to their official guide.
Setting Up WooCommerce Product for Tickets
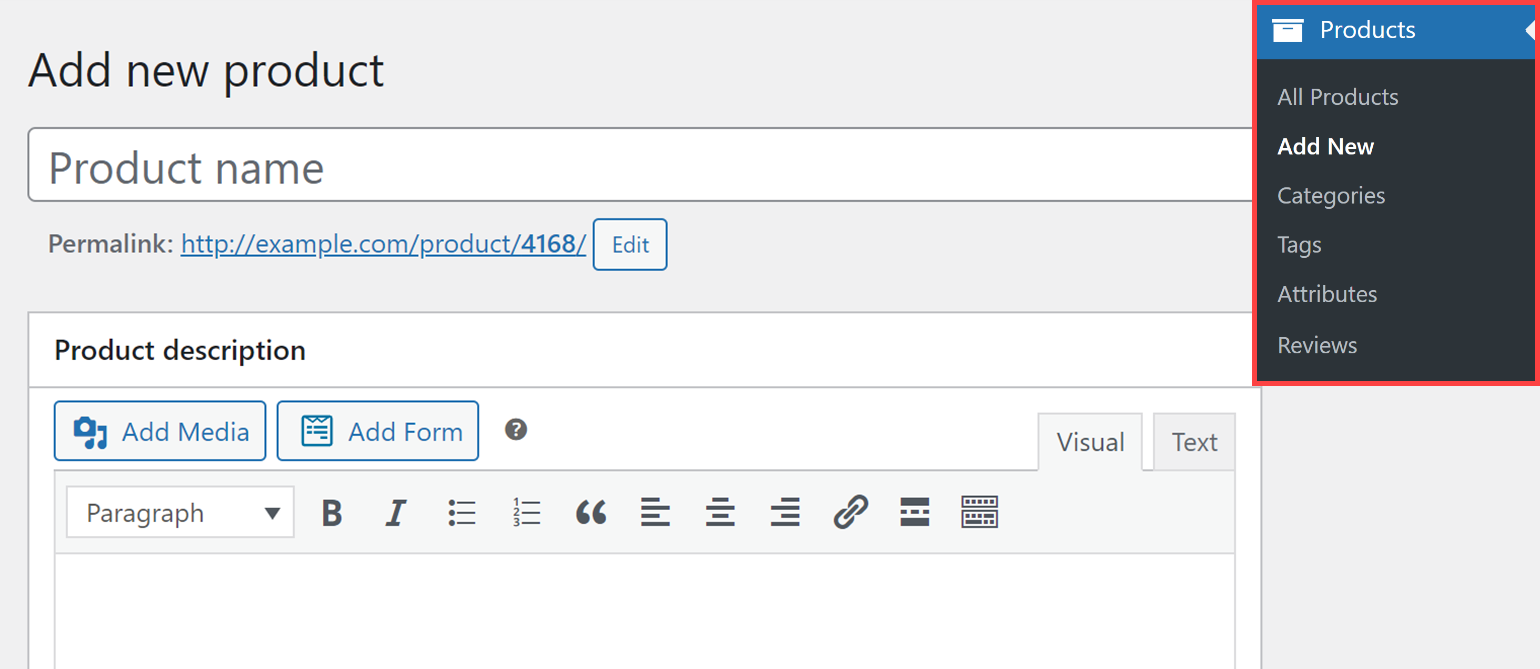
Start by creating a product to use as a ticket. You can do this by going to Products » Add New from your WordPress admin sidebar. Once here, add the product’s name that you’d like to create.
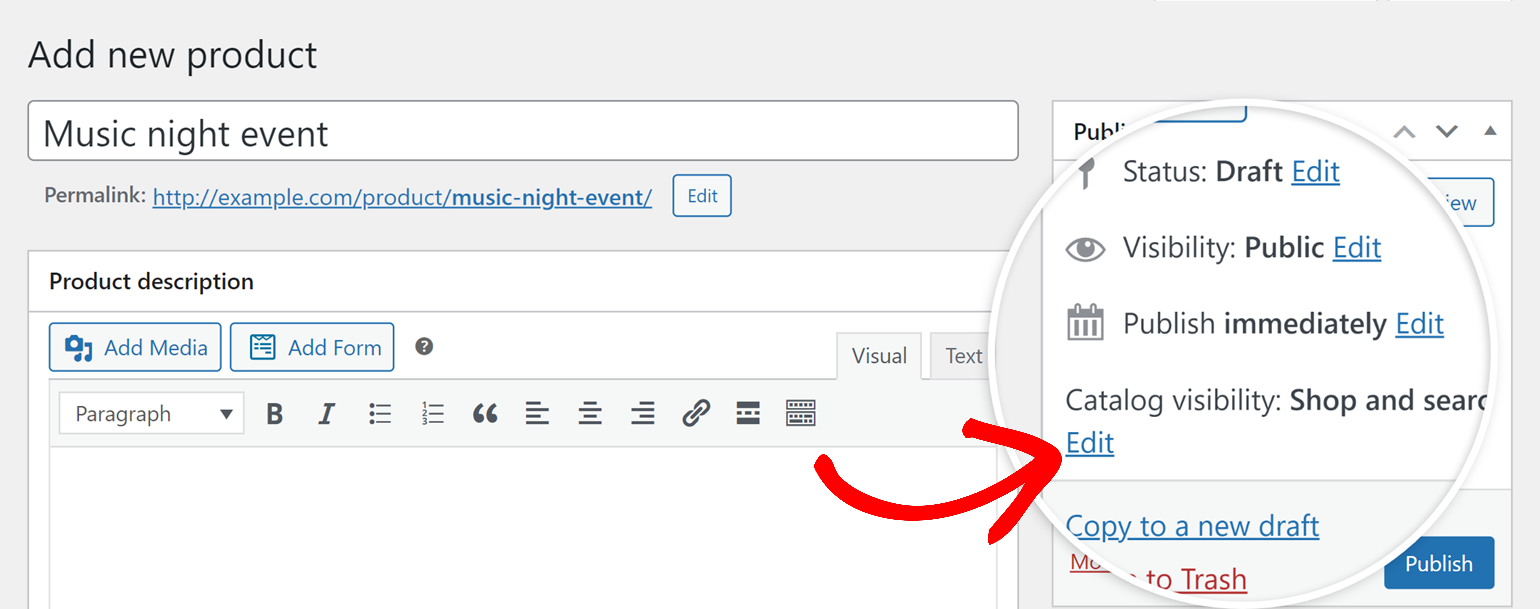
Then, set the product’s visibility to hidden so it won’t appear in your store catalog. To do this, click on Edit under the Catalog Visibility section.
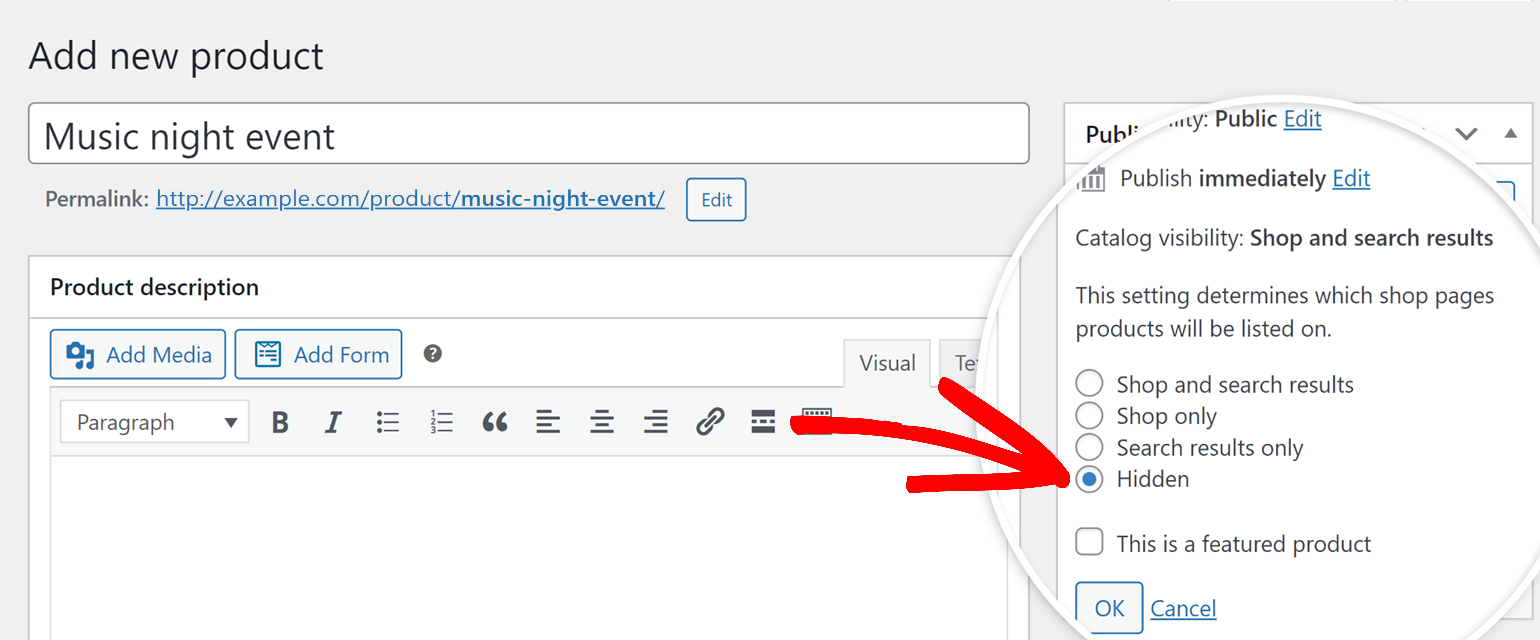
Then, choose Hidden from the options and click OK.
You can leave the product description and price blank. This product will never be shown to customers, so no description or image is necessary.
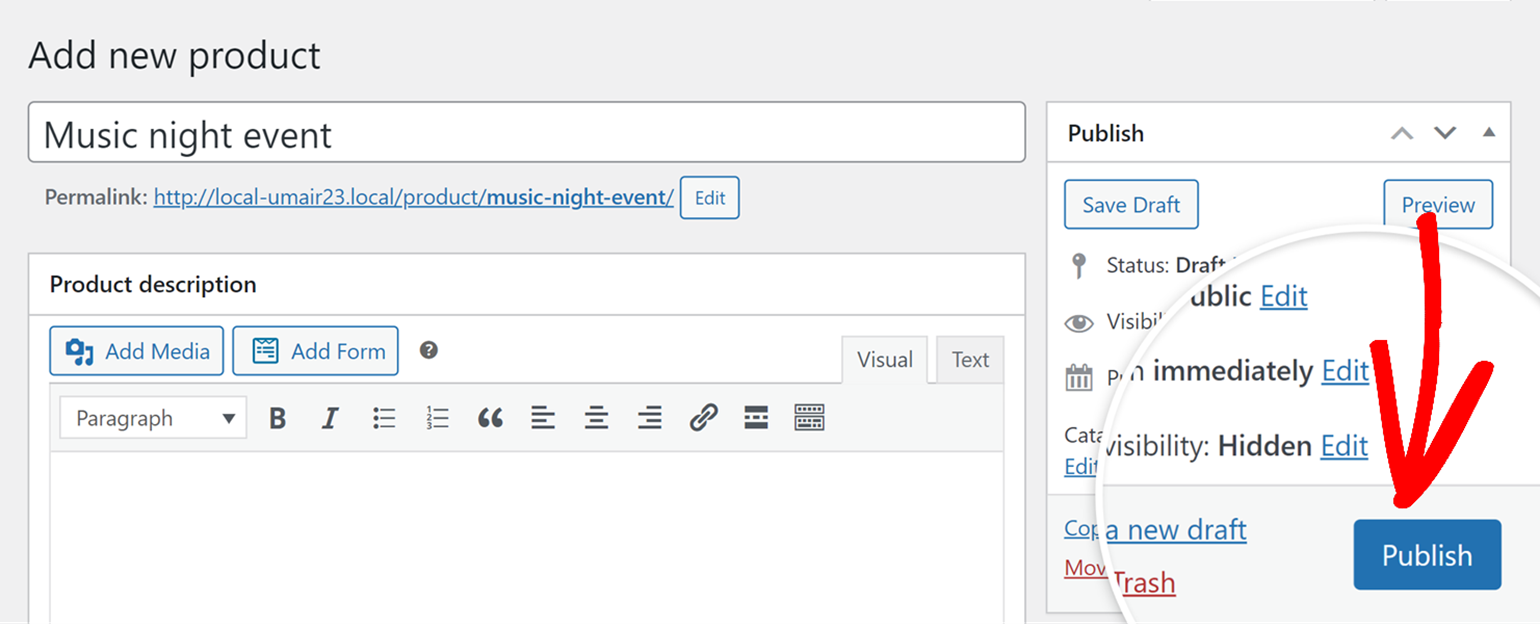
Once done, click on Publish to add the product.
Configuring Sugar Calendar for WooCommerce Integration
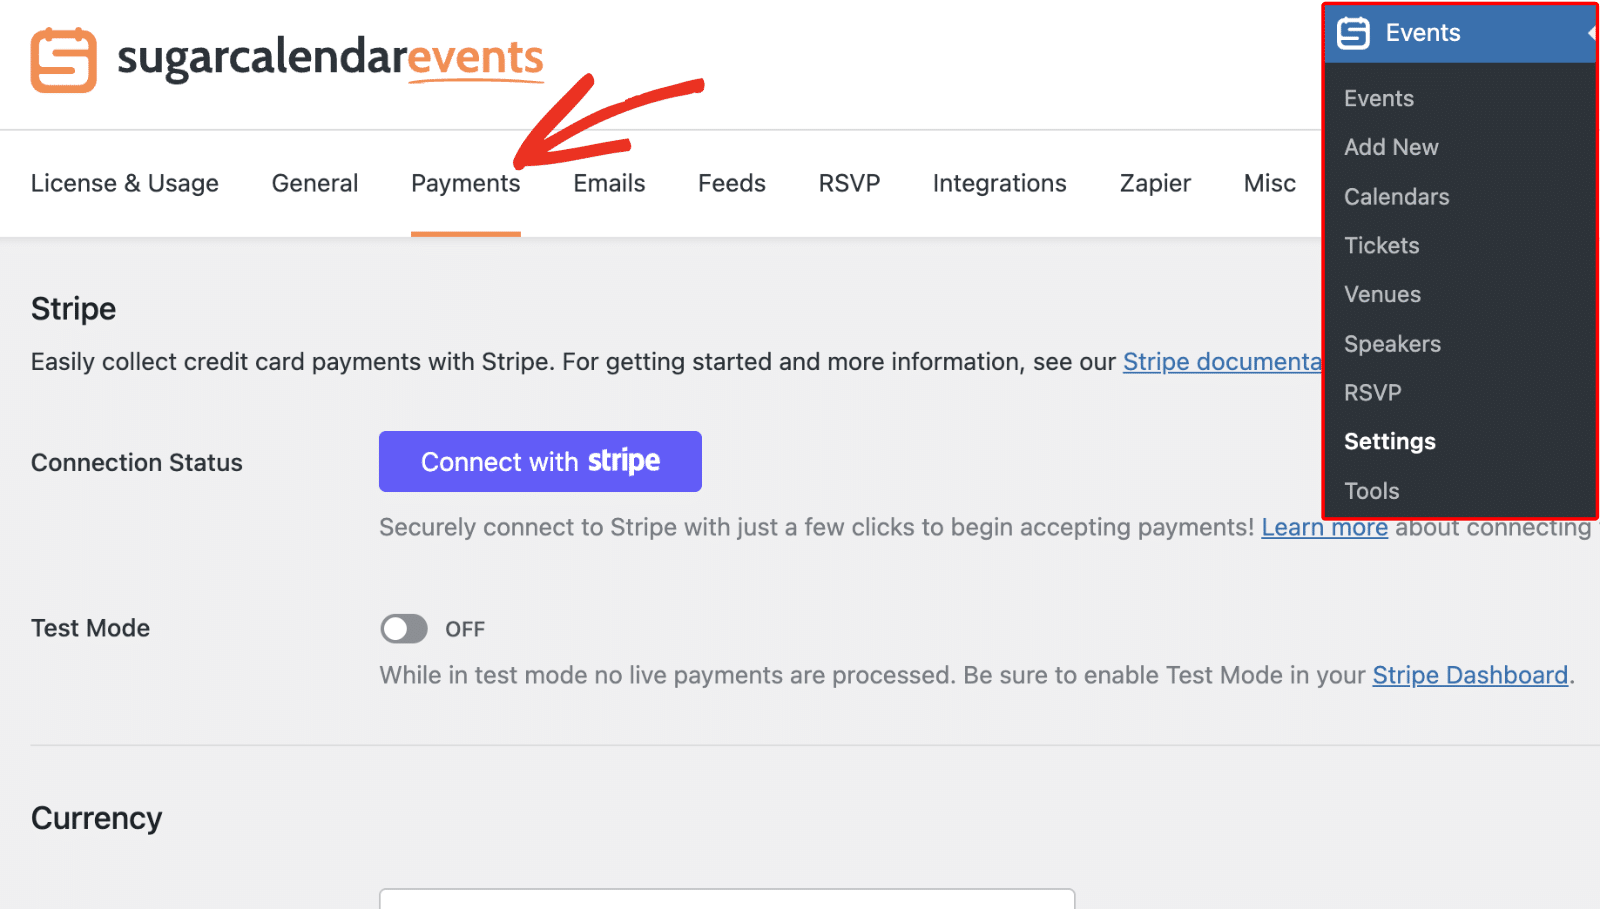
Next, navigate to Events » Settings and click on the Payments tab.
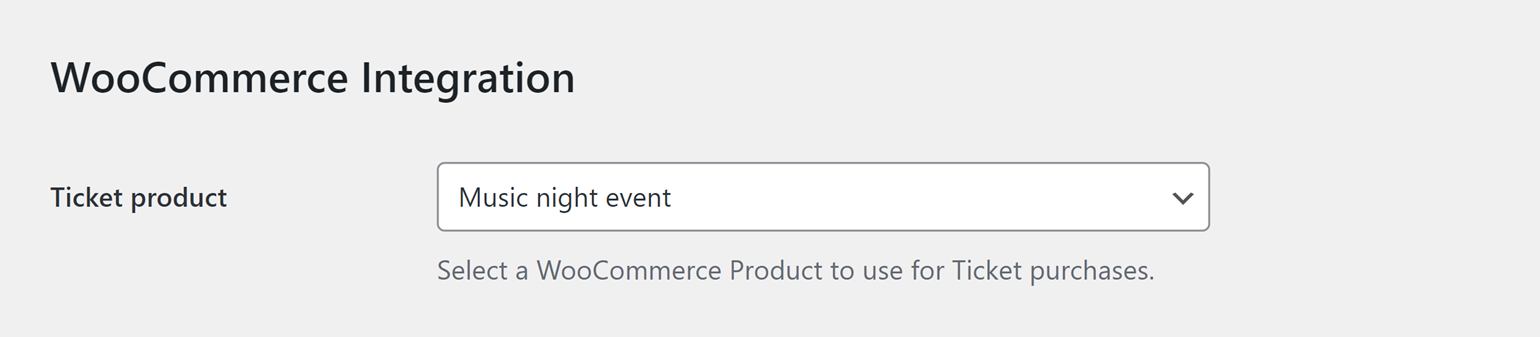
Scroll down to the WooCommerce Integration section and select the WooCommerce product you created earlier from the Ticket Product dropdown to use this product for ticket purchases.
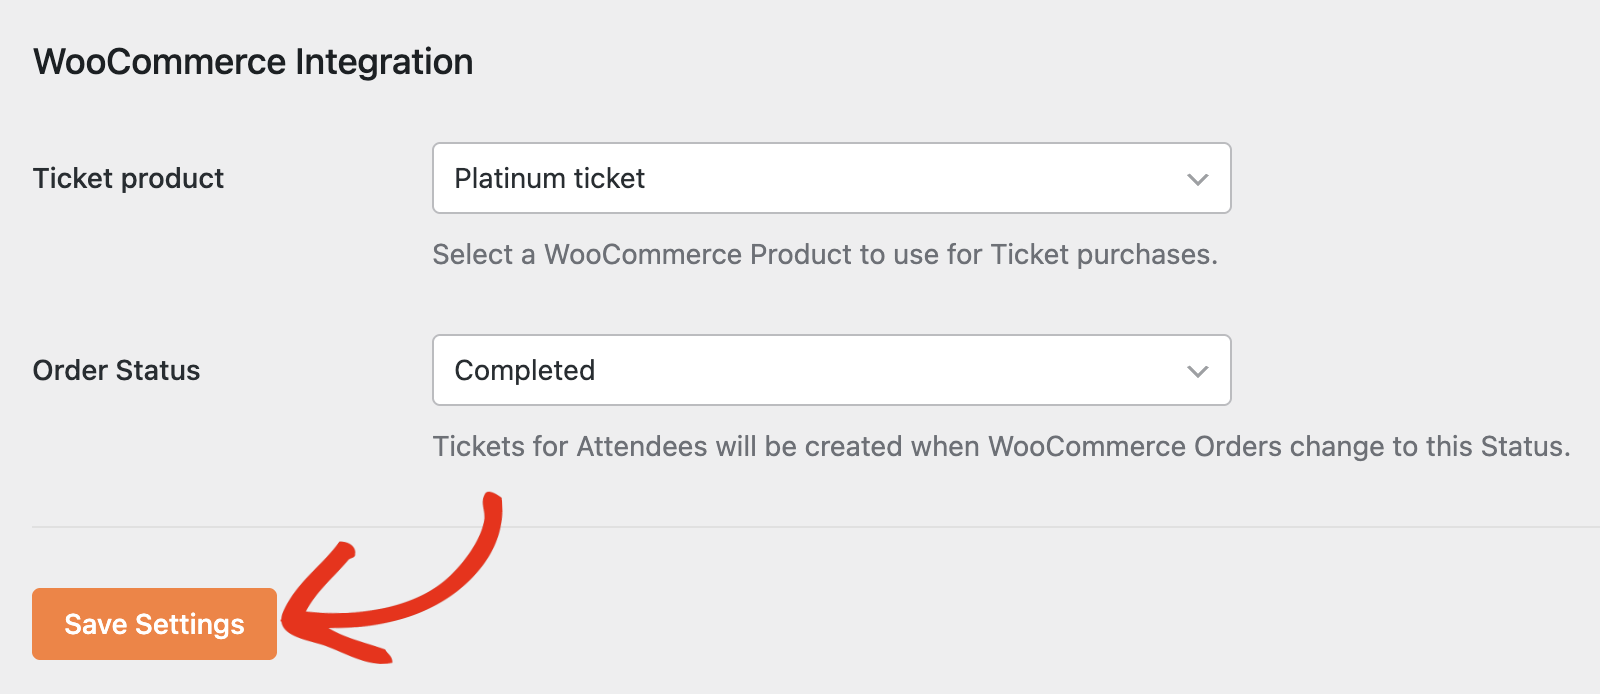
Then, choose the order status from the Order Status dropdown that will trigger the creation of tickets for attendees. Use the Completed option.

After selecting the product and status, scroll down and click Save Settings to update your changes.
Once done, you can enable WooCommerce checkout for individual events.
To do so, go to Events » Add New to create a new event or edit an existing event. Then, click on the Tickets tab in the event editor.
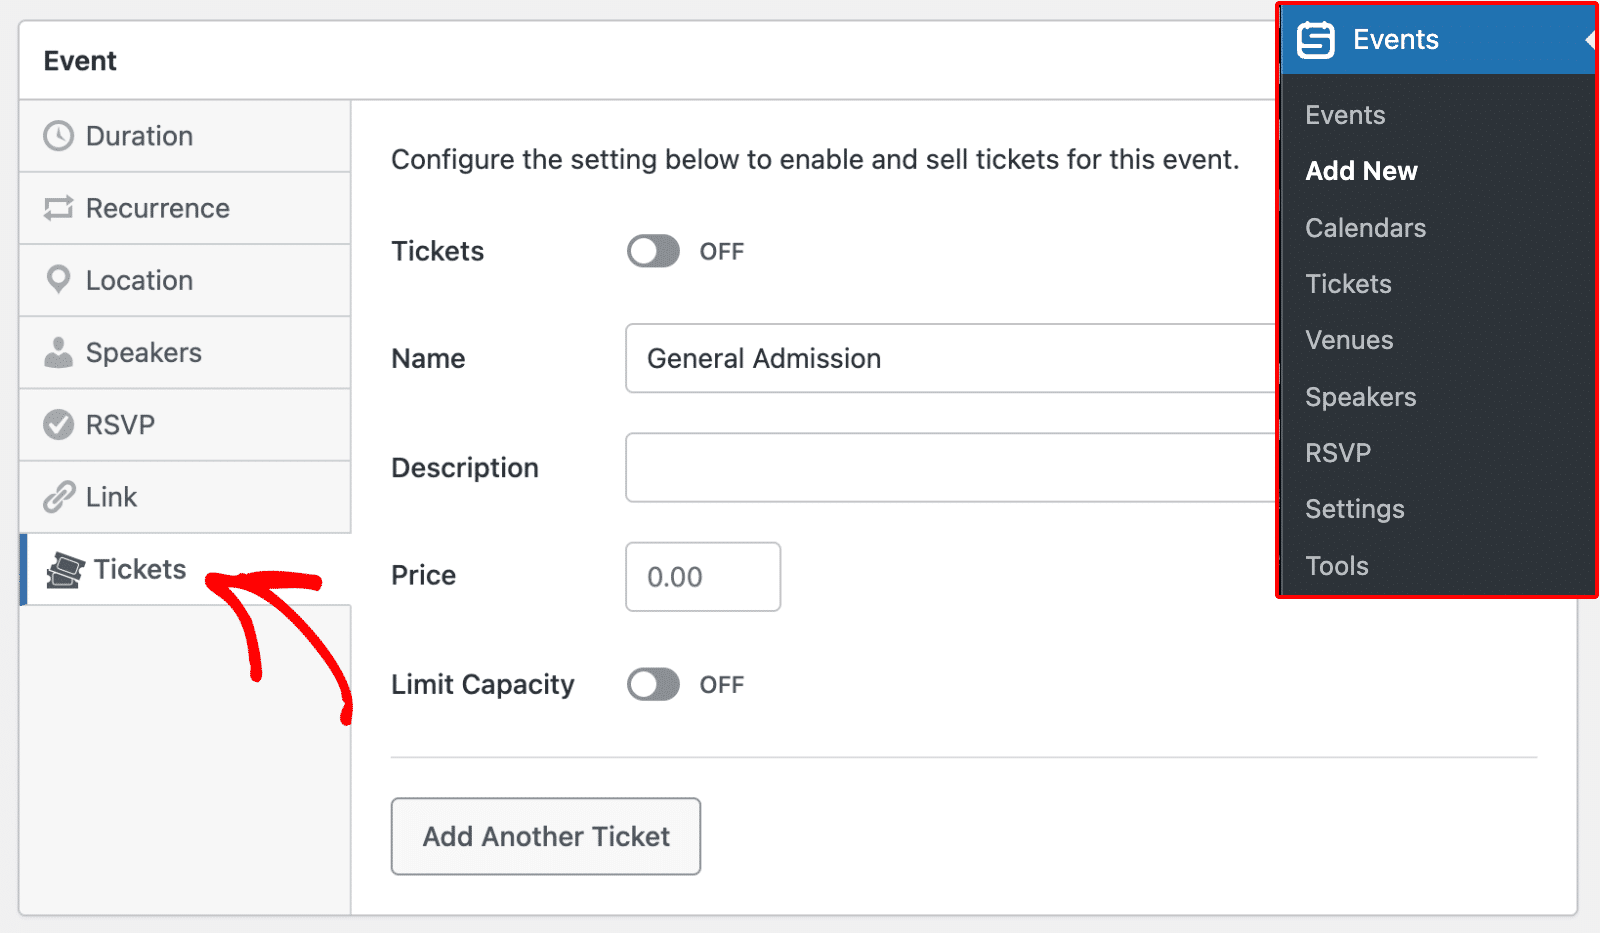
Next, enable the Tickets option and set the price and capacity for your event.
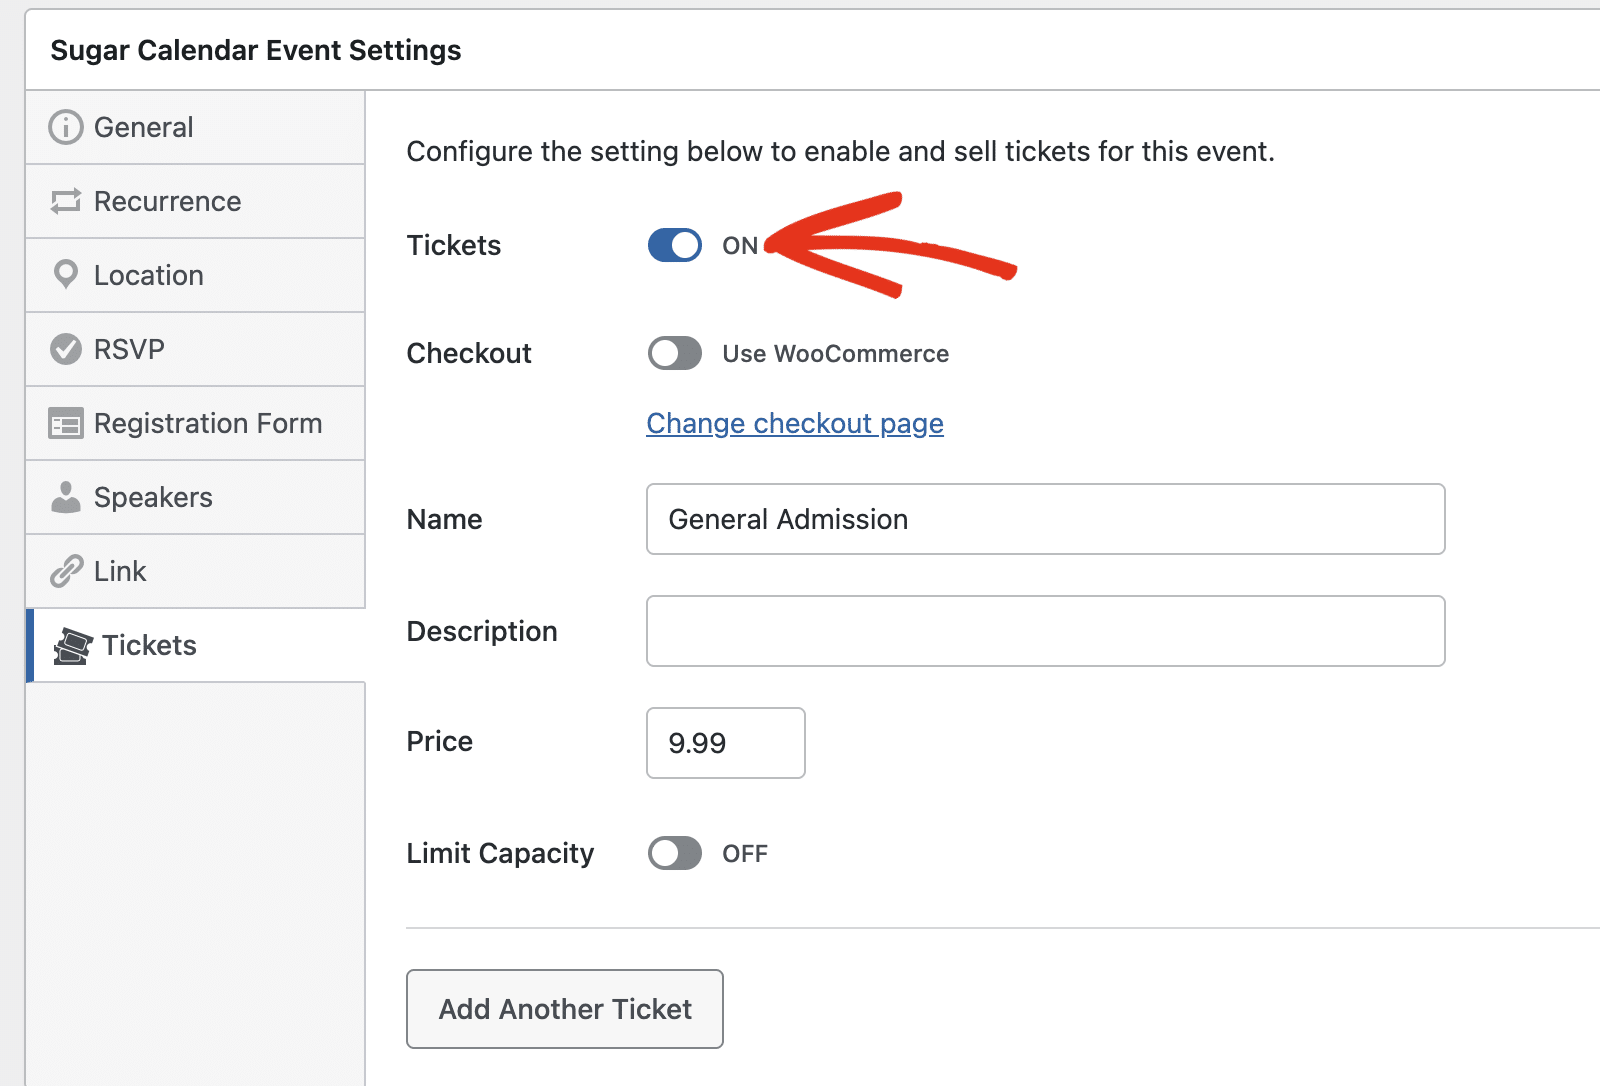
From there, set the Use WooCommerce toggle button to the ON position.
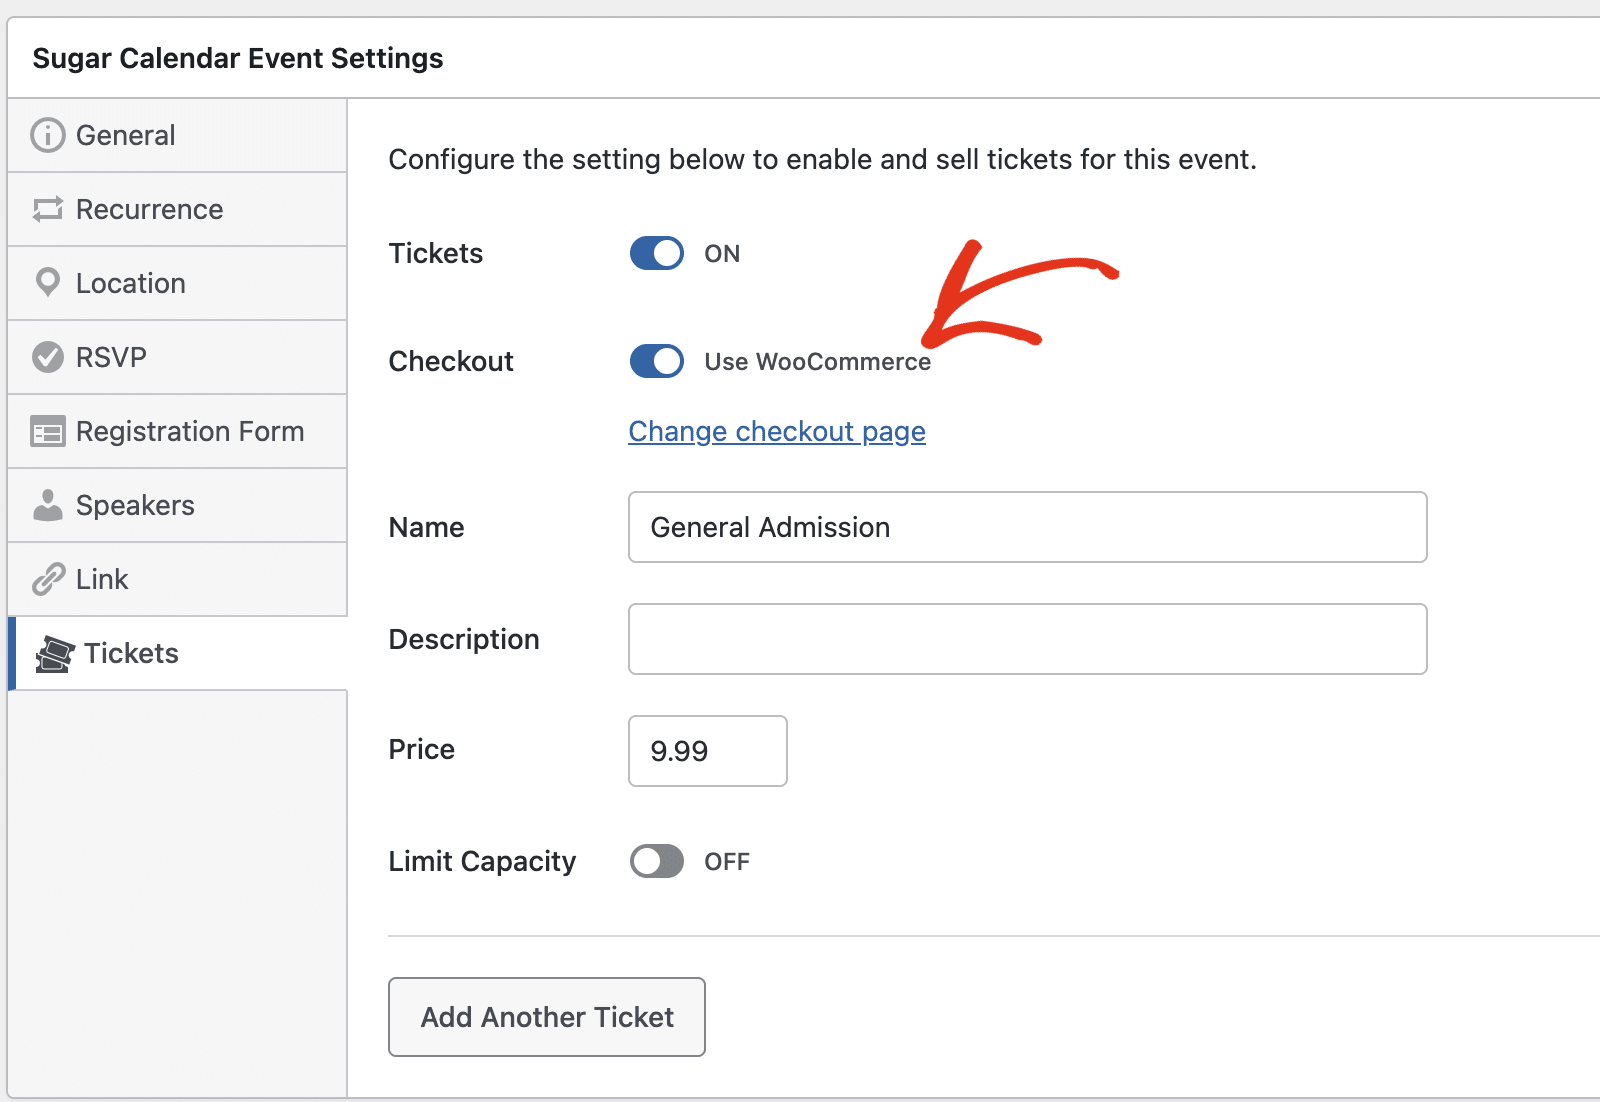
Once the WooCommerce checkout is enabled, customers will be redirected to the WooCommerce cart page after clicking the Add to Cart button on the event details page. They can complete their purchase using the standard WooCommerce checkout experience.
That’s it! You’ve now learned how to use WooCommerce and Sugar Calendar Events to accept ticket sales in WordPress.
Next, would you like to view and track ticket sales in WordPress? Be sure to see our guide on managing ticket sales to learn how.